Hictop auto leveling desktop 3d printer prusa i3
Auto-Levelling the Hictop Prusa i3 – Marc Smith
Apr 16
I’ve been having lots of fun with my DIY 3D printer. It’s such an impressive technology demonstration that the school picked up one for my Tech Club to build – which they did in about 6 hours flat. It took me 12 hours to assemble the same kit. I noticed that Hictop have added some improvements such as supplying much higher quality Z threaded rods and new X ends to accommodate them. The Z rods have definitely been the weakest part of the Hictop Prusa design and I’ve already upgraded my machine to use the improved 8mm pitched machined rods.
The other weak part of the design has been bed calibration or levelling. In theory, once you’ve levelled the bed, you should be good to go, however, in practice the bed needs to be re-levelled after almost every print. Bed levelling requires adjusting 4 tiny, hard to reach thumb screws located under the base plate with the aim of adjusting the distance between the extruder tip and bed to be around the thickness of a piece of paper. It’s a complete drag but failure to start a print without a level bed results in either the first layer failing to stick or the extruder getting blocked.
Enter auto-levelling. Marlin, the Arduino based software that runs the printer, supports a clever feature that allows you to print onto an uneven bed by mathematically compensating in software and adjusting the print head to match the bed. It doesn’t actually level the bed at all but rather takes sample points from each corner of the bed prior to printing and then adjusts accordingly on the fly while it prints. A more accurate term for the process would be ‘auto bed compensation’ but I think seeing the terms ‘auto’ and ‘level’ together is enough to compel any DIY 3D printer user.
There are a number of ways to achieve auto-levelling, all of which require some form of switch or probe to sample the bed position prior to printing. A small servo with a contact switch was one of the original methods but inductive, contactless switches seem to be the norm now.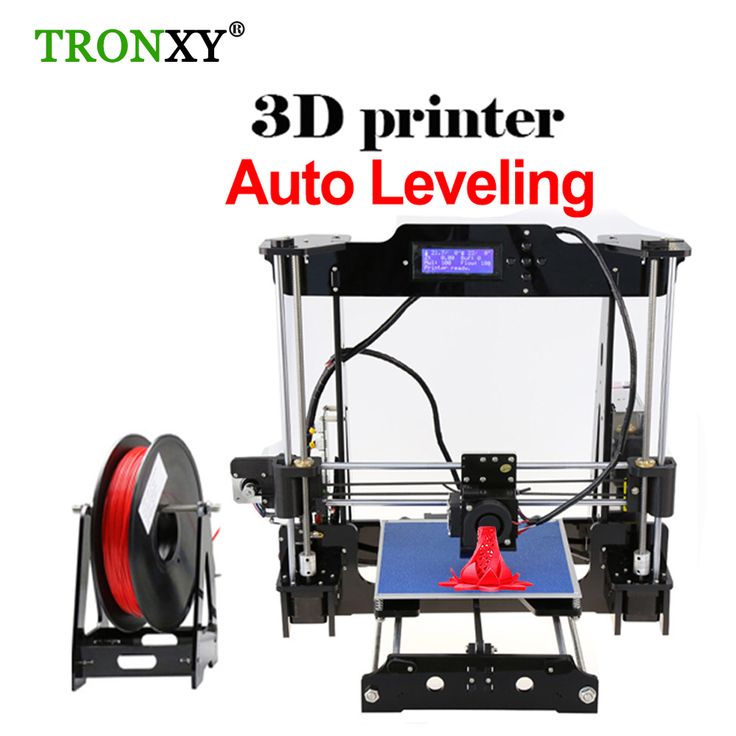 My problem with inductive switches is that they require a metal bed to probe and don’t typically work well through glass which is my preferred bed material. I decided to go with a capacitive sensor instead.
First of all, my hat is off to Tom whose Youtube video does an excellent job explaining the process. Although his video is about using an inductive sensor, the exact same process applies. My purpose here is to explain where I deviated with the use of a capacitive sensor and how it applies specifically to the Hictop printer (although this could apply to most Prusa i3 designs).
Before you even begin, you must have a working Marlin configuration and be able to upload to your printer board. Hictop supplied me, upon request, the full Marlin installation but there were errors in their configuration.h (like the X stepper being reversed) and they are using an early version of Marlin which does not support auto-levelling. My first task was to download the latest version of Marlin and transfer all the settings, manually, from the older configuration.h file into the new one. This proved to be slightly more involved than I was expecting due to having also upgraded my control panel to the larger, full screen graphics controller. But in the end, I managed to get it all working. Click here to download my configuration.h file but keep in mind this includes support for the full screen graphics controller which is not standard on the Hictop.
Next up was the hardware. Again, this was not as straightforward as I thought. The sensor I chose is the LJC18A3-H-Z/BX capacitive sensor from Amazon. It’s a big sucker with an 18mm diameter but is quite light for the size. I found this part from thingiverse.com which allows mounting the sensor to the left of the fan duct. I’m not thrilled about adding this extra weight to the head but it remains to be seen what impact this will have on print speed. I did take the effort of printing the new fan duct in ABS. I dislike printing with ABS but the proximity to heated parts makes it a better choice than PLA.
The wiring of the sensor was also a bit of a challenge and I’ve taken a slightly different approach than most people in the reprap forums. There’s a lot of conflicting information out there regarding the wiring of these proximity sensors and this is further confused by different types of sensors that behave electronically in very different ways. The LJC18A3-H-Z/BX is an NPN, normally open type switch which upon triggering clamps the signal pin to ground (unlike the more popular PNP type sensors which output the input voltage to the signal pin upon triggering). Tom’s video deals with PNP type inductive sensors and he explains creating a voltage divider to protect overloading the printer board.
While this shouldn’t apply to the LJC18A3-H-Z/BX NPN type sensor due to the fact it does not deliver voltage when triggered, I found that in its untriggered state, it still produced around 10v across the signal pin when supplied with 12v.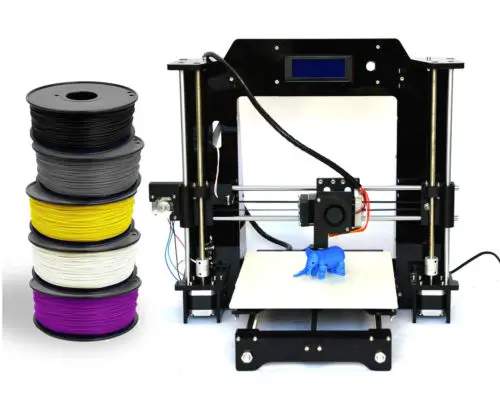 There are conflicting reports whether or not the internal pullup resisters on the ramps board are able to regulate this or whether a voltage divider/regulator is required. There was even a guy who powered the sensor via the signal pin! which is a pretty ridiculous shot in the dark.
The LJC18A3-H-Z/BX has a specified input voltage between 6-36v and some report success driving it with 5v meaning it could be hooked up straight to the ramp board’s Z-stop terminal with no other circuit – although I suspect this would affect its stability. Instead, I decided to run the sensor at its supported minimum 6v via a simple DC-DC buck converter (available on eBay for a few quid). This results in an open voltage of around 3.9v on the signal pin when untriggered which is safe for the ramps board and sufficient to trigger its high state for switching. Due to it being a normally open circuit, there was no need to reverse the logic in Marlin and after a little trial and error setting the Z offset, auto-levelling is working great.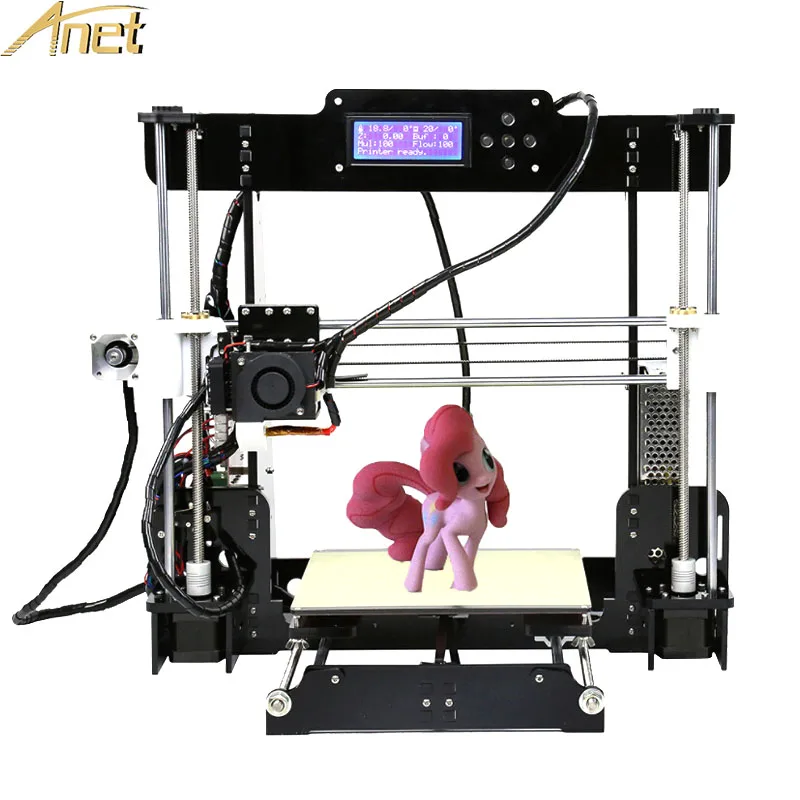
‘Buck’ converter mounted to the RAMPS board
I haven’t bothered performing repeatability tests like some people have published in forums. I swear the pixel-peepers exist in pretty much every online community. I’ve also ignored the mindless debates on inductive vs capacitive vs contact vs infrared. What I can tell you is after about a dozen prints, I’m seeing consistent results with a higher level of accuracy across the bed than I ever achieved by manual calibration. Unfortunately, I still can’t swap out different thickness bed materials. Obviously, the capacitance is influenced by the material and layer thickness but I’m sure inductive sensors fluctuate in much the same way. What I can now do is just print and not worry about the first layer adhering properly to the bed and that adds further enjoyment and satisfaction using my DIY machine.
UPDATE: I notice Hictop are now selling an auto-level version of this kit for a little more money.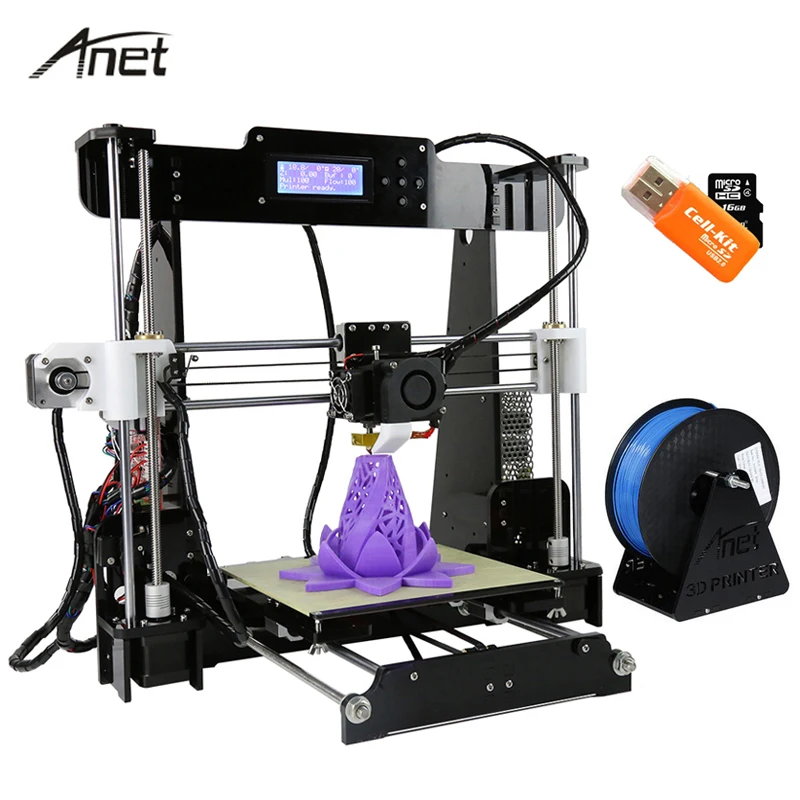 It appears they have mounted a box type proximity sensor (probably inductive?) to the back of the X carriage. This may alleviate extra weight on the head but would park the sensor further away from the extruder tip. Anyway, nice to see Hictop addressing these design deficiencies and I would certainly recommend going for the auto-level function.
UPDATE 2: After weeks of successful printing, the sensor became erratic and failed. Amazon promptly replaced and I’m back up and running.
HICTOP Prusa I3 3D Desktop Printer Review (Updated 2023)
If you’re currently trying to decide what’s the best 3D printer to buy on the market at a lower budget, look no further than the HICTOP Prusa I3 3D Desktop Printer.
Before making this purchase, I literally spent hours on-end looking through every option. Reviews form other customers were an integral part to my decision-making process.
When reading reviews, make sure to take your time, because they are all accurate in a way.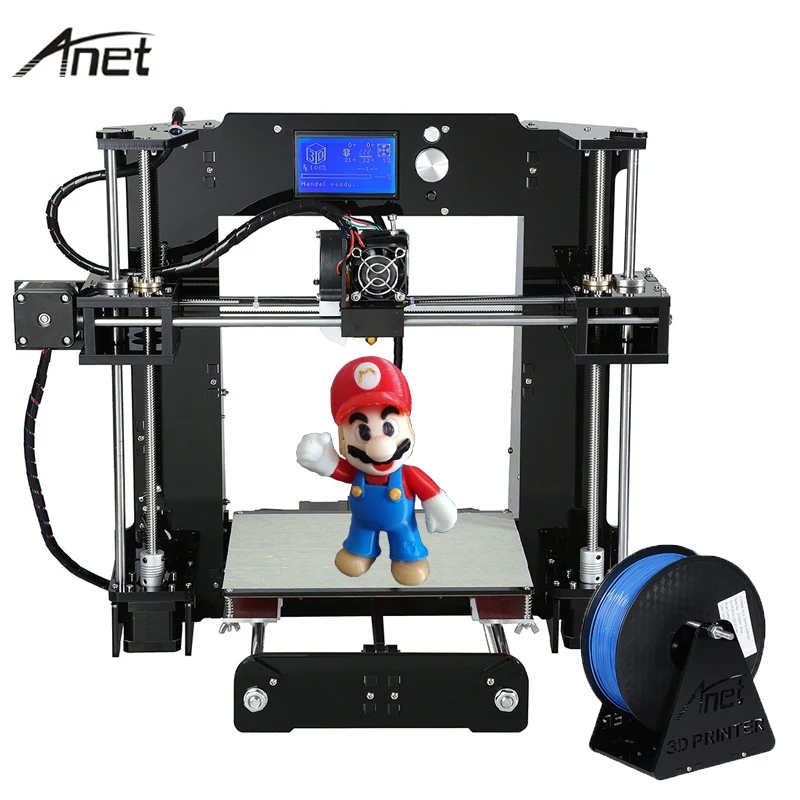
This printer is for people who are comfortable with learning something new and challenging themselves, and tends to be a predominant theme with other customers purchasing the same printer.
If you do it right, you can get the print quality to be superb, and I highly recommend this printer to any teacher, student, or someone looking to gain a new hobby in the field.
Print Quality
You may notice that when you first open the printer, the quality of the prints may not be that great. That’s because you have to automatically adjust the printer settings to get it where you want to be.
The HICTOP Prusa I3 3D Desktop Printer came with the Cura software, which isn’t bad, but I prefer to use Reeptier.
After messing around with the exrusion speed, printing speed, and fill densities, I noticed that it made a big difference in the quality of my prints.
After adjusting Repeater settings, I managed to print moving parts that are key to structural integrity of certain products.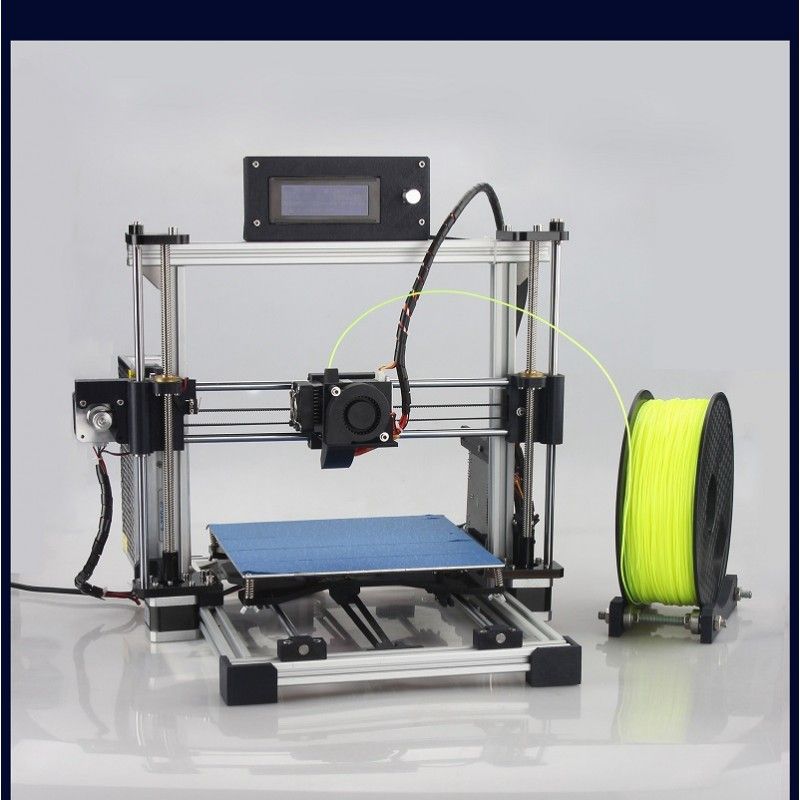 This is definitely a 5-star printer for anyone who is a do-it-yourselfer.
Assembly
This was a bit of a concern for me, especially given the fact that it’s my first time ordering a 3D printer.
I noticed many comments that stated that the instructions were poor. The video that shows instructions are incredibly fast and come with no words, only making the assembly that much more stressful and difficult.
However, in the midst of all of this, the building and tinkering process was definitely the most enjoyable part of buying this product. For visual learners, it’s not difficult to rewind and pause at certain points of the instructional video.
Doing so, it was easy to learn that the support structures of the z-axis movement work best when one side is left without the vertical support rod.
If both supports are in, it’s possible that the motor becomes jammed up.
It’s possible to build this machine by yourself, but if you have a friend nearby, it’s not a bad idea to have him help you out during the installation of some larger parts.
If you’re wondering how long it actually took me to completely assemble, I spent three days on it with 5 hours each day, for a total of 15 hours.
The main reason for taking such a long time is because I made a lot of mistakes having it been my first printer, and thus I had to go back and correct them.
However, this was a LOT of fun and totally worth it. Spending so much time on something that can be used for both instruction and fun is definitely worth it.
Software And Motherboard
The HIC company is kind enough in the fact that they consider everything that you need to get your printer going, and therefore place it in one box.
As mentioned above, the software that’s included is called Cura and comes with a nice slicer to make your 3D prints exactly how you like them, but I definitely prefer to use the Repeater software so that I can obtain manual control of the different axes.
The motherboard that’s included is not a common one (MKS Base v1.2). While some of you might consider this a small speed bump, if you know how to code using Arduino software, it’s completely compatible (Firmware for motherboard can be found here).
My one negative comment is that the HIC Technology Company doesn’t come with a configuration.h file, the file that tells the board exactly what to do.
Ihad to mess around with a config file, but afterwards rendered the board as inoperable due to my frustration.
I emailed the company and told the my dilemma, only to be met with excellent customer service who will be able to help you troubleshoot problems if you’re patient.
Fortunately, a kind person who bought this printer was able to give me a working configuration.h file that I was able to edit for my own preferences.
Overall, I give the motherboard 4 stars. I don’t rate it at 5 stars due to the fact that it’s not mainstream and they didn’t include a configuration file. Other than that, no complaints.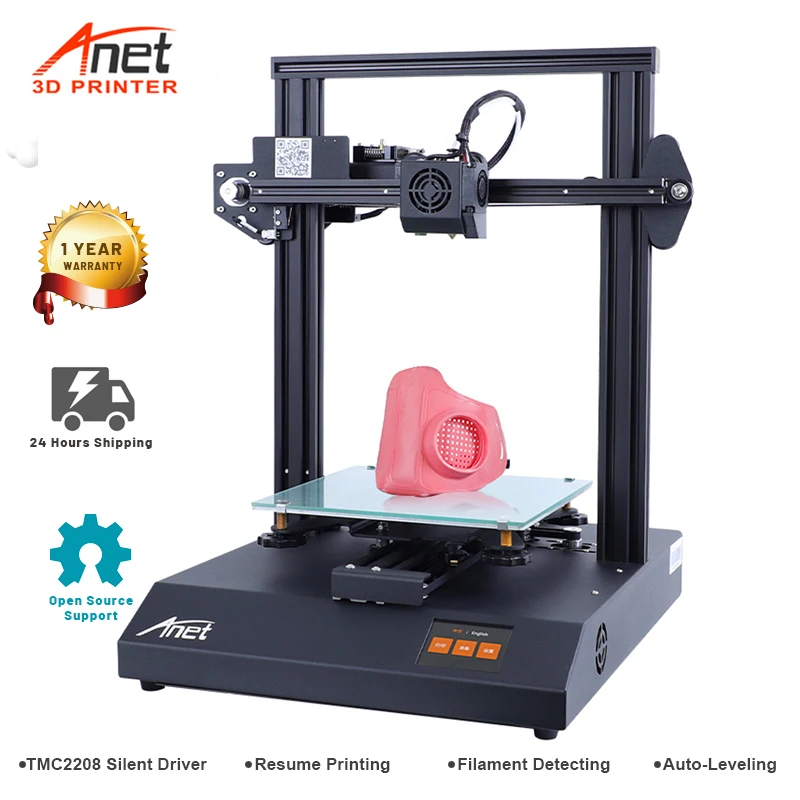
DO NOT let this deter you from purchasing this product if you’re looking for the best 3D printer out there for your budget.
Future Use
They did a good job in making the Prusa I3 3D Desktop Printer completely customizable and upgradable.
There were some things that I would’ve liked to change, and I found out that I can simply purchase different parts. For example, the Y-axis endstop.
I noticed that it doesn’t make contact with the printing bed, meaning you have to manually stop the bed while homing the printer.
For me personally, I plan on developing my own printing part that will allow the bed to auto-home, and I’m going to use this printer to make it. Definitely 5 stars for the printer’s adaptability.
Furthermore, it’s possible to install an additional extruder if you’re willing to buy the parts – the motherboard has plenty of room for that.
What Can You Make?
The bed is a nice, large size, especially for an introductory printer.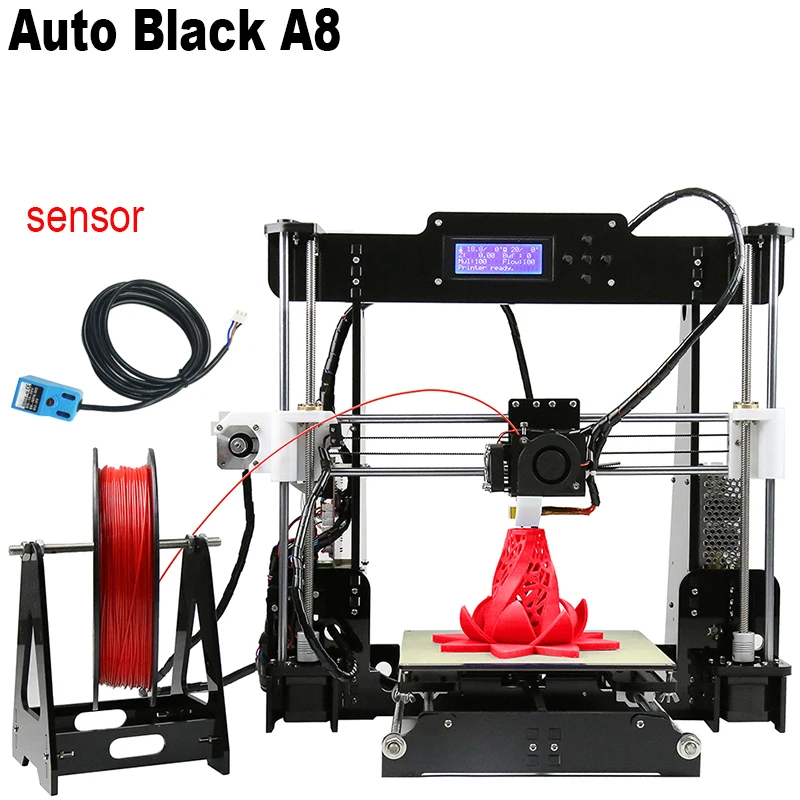 My Repeater software thinks the bed has a size of 200x200x170, but the printer can definitely make things that are much larger.
All you have to do is adjust the configuration, endstops, and software and you’ve got yourself a top-shelf machine. The other printer that my company uses costs about $15,000 (Tech Printer).
With that being said, I’ve had friends show me their phone case projects along with other printed objects, and this printer makes projects that are highly comparable.
While this one doesn’t come with all the fancy bells & whistles, you’re still getting something that can make products that are just as good for only a fraction of the price.
I’ve made gyroscopes, toys, printer parts, office supplies, phone cases, and I don’t plan on stopping there. I plan on designing some printing disks this weekend. Another 5 stars for its potential and performance.
Final Thoughts
Based on what I’ve stated in this review, I have to give the HICTOP Prusa I3 3D Desktop Printer a 4.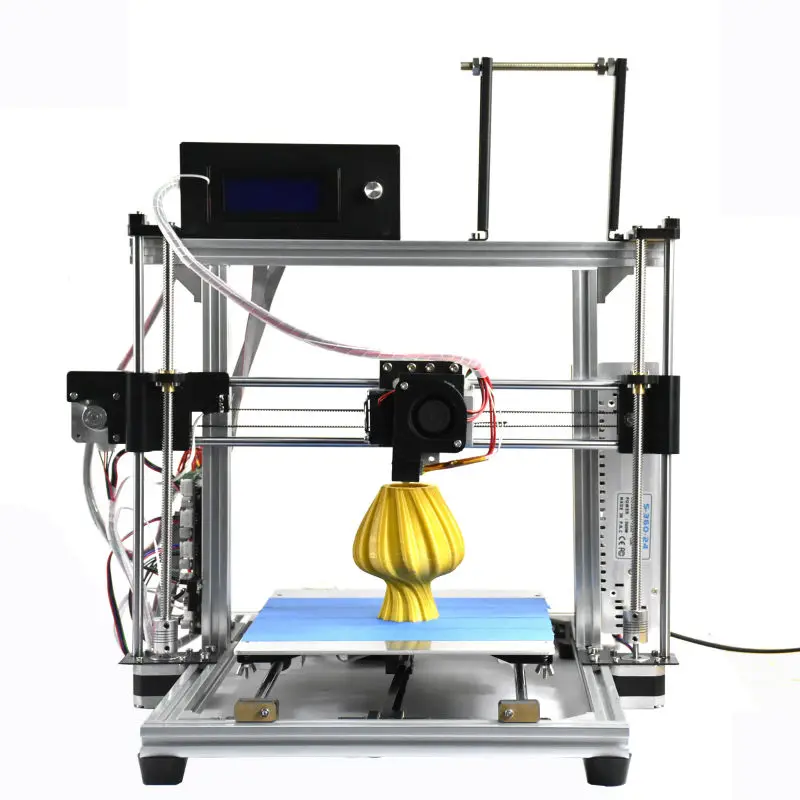 5 star review.
I highly recommend reading all other reviews before you purchase, as understanding that this is a learning tool is key to avoid frustration with this product.
While learning can be a bit stressful, it definitely makes the reward that much more satisfying. The software & motherboard can use some improvement, yet you can find all of the resources that you need at no cost.
Print quality is incredible, but you have to remember that this depends completely on the user. Get this printer to hone your skills in the new 3D realm.
Customer service is great, so don’t worry if you see any negative reviews on this end. If you’re looking for something that’s both a learning-tool and a powerful workhorse, you’ve definitely chosen the right printer.
For those of you who are intelligent and optimistic learners with a passion for improving and driving the scientific progress of life, it would be a huge favor to yourself to treat yourself to this experience, which I cannot fully express in words.
After my purchase, I can’t possibly be happier, as it’s EASILY the best $400 I’ve ever spent. I hope this review helps you in your 3D Printer purchasing process.
Highly recommended.
Tags:HICTOP, Prusa
[mc4wp_form]
Original or copy Prusa i3. What to choose?
ThePrusa i3 is not only a Josef Prusa branded 3D printer, it is also the standard layout for many budget 3D printers. The original Prusa i3 evolved from the RepRap project, which eventually led to the creation of Prusa Research, a popular manufacturer of high quality open source 3D printers.
Since the release of the original i3 in 2012, Prusa Research has released several updated versions of the 3D printer, including the Prusa i3 MK2, MK3, MK3S and finally MK3S+. Meanwhile, apart from the official Prusa i3 releases, many other companies have been making clones of the original Prusa i3. nine0003
These clones follow the Prusa i3 design and even use the term "Prusa i3" to describe the layout.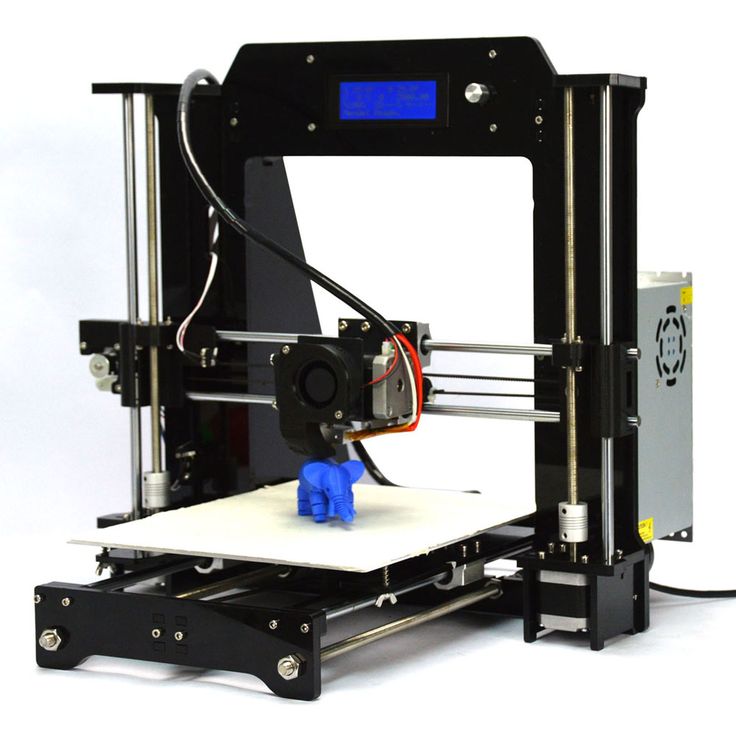 i3 clones usually look like the original Prusa i3 but use cheaper parts to lower the overall price and attract more buyers. Clone manufacturers make 3D printers as cheap as possible, which is why they are often sold under open source licenses.
It's worth noting that while 3D printers like the Ender 3 or Anet A8 were inspired by the original Prusa i3 design and are technically i3 clones, they now essentially exist in their own categories. Many of them now have their own development history and are not related to Prusa printers. What this all means is that when we use the word "clone" we are referring to the similar Prusa i3 style that some 3D printers use, including the Ender 3 and Anet A8. nine0003
Although the original and clones may seem similar, there are significant differences between them. So which is better? The main differences are quality and cost, but there are other factors as well. In this article, we will try to understand these differences.
Original Prusa i3
Original Prusa i3 is one of the most famous open source 3D printers. Its widespread success has led Prusa Research and other manufacturers to create many official and unofficial versions. For this reason, we will be using the official Prusa i3 MK3S+ as our reference Prusa i3 printer. nine0003
Currently, when the MK3S is being retired, only the MK3S+ is available for purchase. While the ~$1,200 price tag for a pre-assembled MK3S+ (~$900 per kit) might seem intimidating, you get what you pay for. The MK3S+ is a great deal thanks to the attention to detail and quality assurance.
The main factors that determine the benefits of MK3S + can be divided into three groups: the 3D printer itself, the firmware and the ecosystem.
Original Prusa i3: mechanics and design
The MK3S+ is assembled from high quality parts and assemblies that you can rely on for your 3D printing work day in and day out.
To begin with, it comes with the official E3D V6 all-metal hot end, a high quality and branded hot end. The MK3S+ also uses a 32-bit motherboard with dynamic stepper motor drivers, making this 3D printer both quiet and powerful.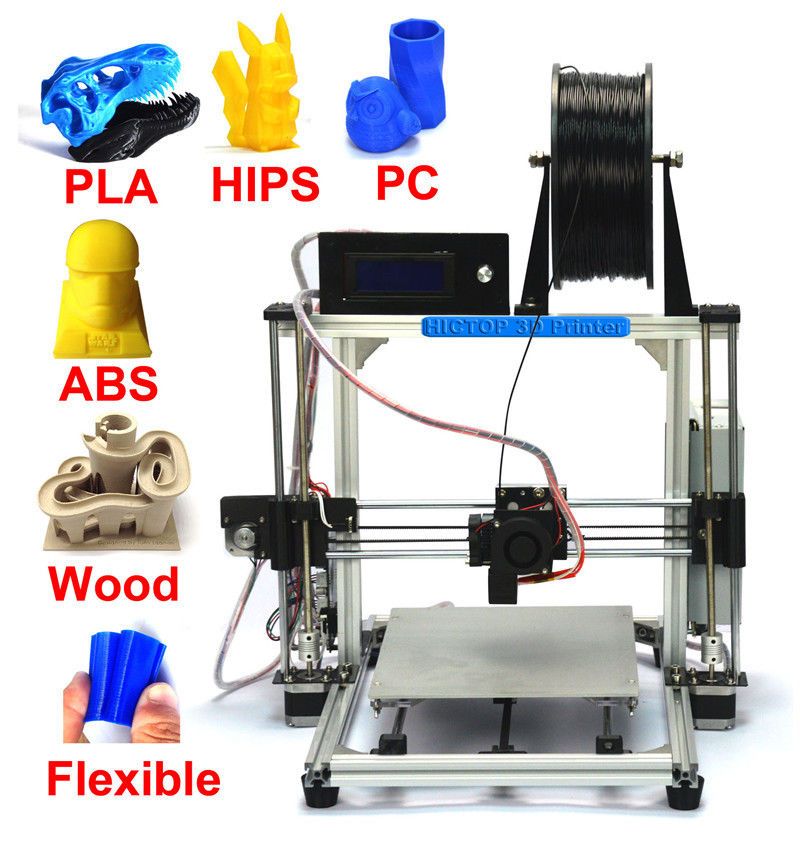 In addition, in the electronics, the MK3S+ uses multiple sensors to improve print reliability. nine0003
Unlike the alternate Bowden style many printers use, the MK3S+ has a direct drive system that allows printing on flexible plastics. There are even dual motors in the Z-axis, allowing for higher quality 3D printing. The printer is equipped with a full color display and a quiet Noctua fan, unlike many other copies that use a single color LCD display and noisier fans. And one of the most important advantages of the original Prusa i3 is the PEI spring steel desktop and automatic table leveling features not found in comparable desktop 3D printers. nine0003
Overall, the MK3S+ uses higher quality parts that together deliver consistently high quality 3D prints.
Original Prusa i3: Firmware
Firmware is another key aspect of the MK3S+. First, you can easily change the firmware using the PrusaSlicer (attached to the printer's Rambo motherboard). This is partly because Prusa Research uses Marlin-based firmware for all of its FDM printers, including the MK3S+.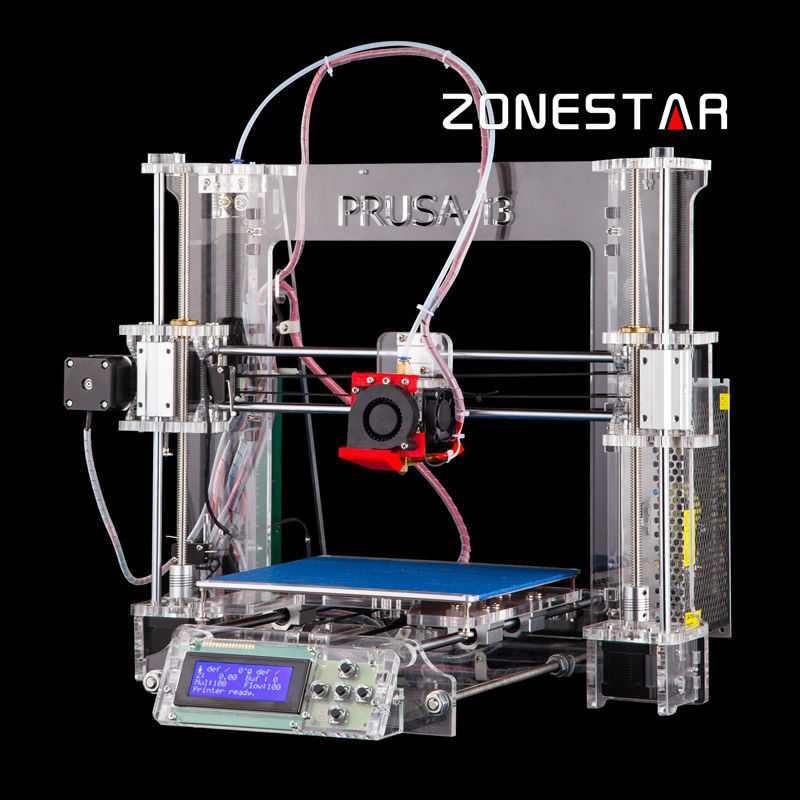
In terms of firmware, what sets the MK3S+ apart from other printers in its class is the frequent firmware updates that Prusa releases. Unlike many other 3D printer manufacturers, Prusa has released very stable firmware without sacrificing some of the latest and greatest features such as linear advancement that improves 3D print quality.
Original Prusa i3 User Support
When you purchase a 3D printer from Prusa Research, you get guaranteed company support, documentation, product support and more. You know that you can count on Prusa to help you if you run into problems with your 3D printer. nine0003
Since the Prusa MK3S+ is the main printer for Prusa, they also offer a number of upgrades. For example, MMU2S will give you access to multi-color printing. You can also purchase spare parts and assemblies without worrying about their compatibility.
In addition to this, Prusa offers its own 3D file repository known as PrusaPrinters. There you can find 3D models and specific suggestions for setting up 3D printing.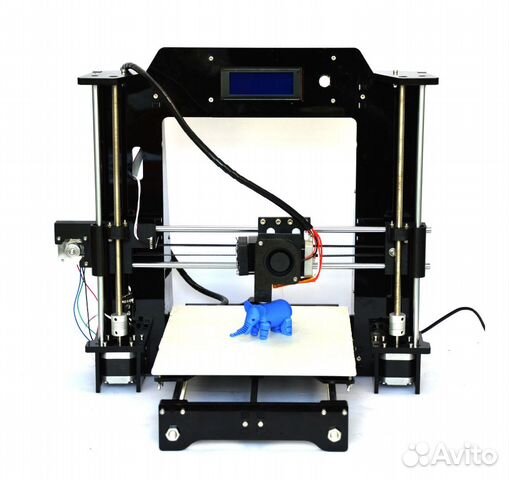 Prusa is also very active in the maker community, with a great blog where you can ask questions and learn how to fix, upgrade and set up your 3D printer. nine0003
Prusa i3 copies
After the success of the Prusa i3, other manufacturers also looked into 3D printing and created i3 clones. Generally speaking, such manufacturers try to keep the cost of a 3D printer as low as possible while retaining key features.
Below we will use Creality Ender 3 and Anet A8 as examples of Prusa i3 clones. Anet A8 can be considered a "closer" clone as the frame and some features are very similar. On the other hand, Ender 3 is not so much a clone as it is the result of development that was originally inspired by the Prusa i3. nine0003
As in the previous section, the important factors influencing the decision to buy a Prusa i3 clone can be divided into three groups: the 3D printer itself, the firmware, and the ecosystem.
Prusa i3 replicas: mechanics and construction
Most of the clones are missing many small features that make all the difference when it comes to 3D print quality and usability. For example, the Anet A8 usually comes with unbranded parts and even important parts like the hot end are often less reliable. The Ender 3, for example, uses a Bowden 3D printing plastic feed system because it's a simpler design than the direct drive system on the MK3S+. nine0003
Virtually all clones lack automatic table leveling. This means that you will have to manually calibrate the 3D printer bed.
Prusa i3 clones usually use lower quality electronics. For example, using a more budget motherboard results in fewer features and noisy drive drivers. Both the Ender 3 and the Anet A8 use poor quality fans, and although they are not the most important part of the design, they affect the noise level of the 3D printer. The Anet A8 uses two z-drives, but this is more of an exception to the rule and most copies only use one, leading to more 3D print quality issues. nine0003
Prusa i3 copies: firmware
Prusa i3 clones are usually open source, but changing firmware can cause problems.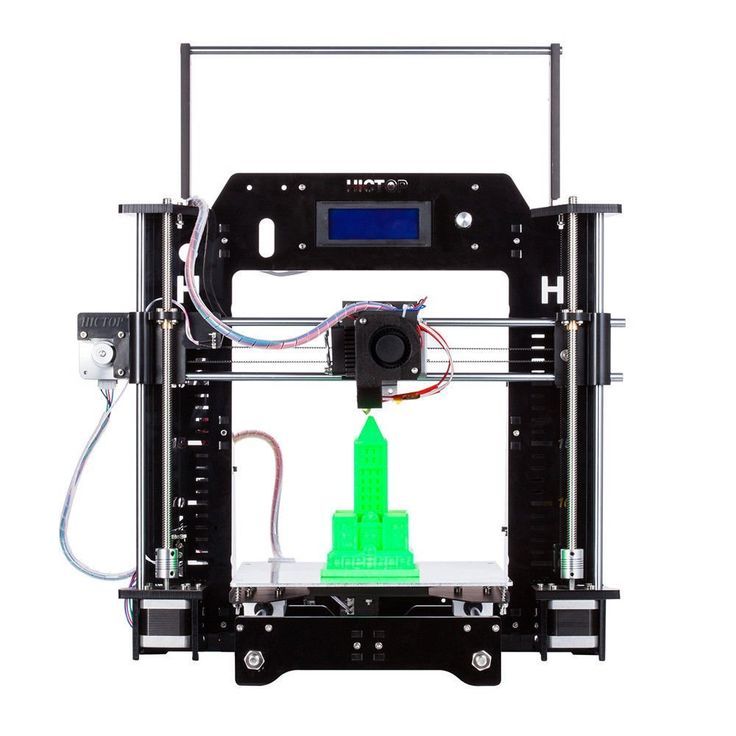 For example, both the original Ender 3 and Anet A8 require a bootloader (which is often used as an Arduino Uno) to update the firmware. However, most clones can run several different types of firmware such as regular Marlin, Vanilla Marlin and Th4D Marlin.
No matter how similar the clone is to the original Prusa i3, most of them use similar outdated Marlin-based firmware. Unlike Prusa, clone makers rarely release updates to their firmware, and even updates don't include the latest features. Cloned software is known to lack security features and disable many of Marlin's great features, such as "Linear Advance" (a setting that stabilizes filament pressure in the nozzle), because motherboards cannot provide the necessary processing power. nine0003
Prusa i3 Copies: User Support
Finally, don't count on good user support, as clone makers usually don't provide good documentation. In the case of copies of Prusa i3 3D printers, there may be problems with the return of goods.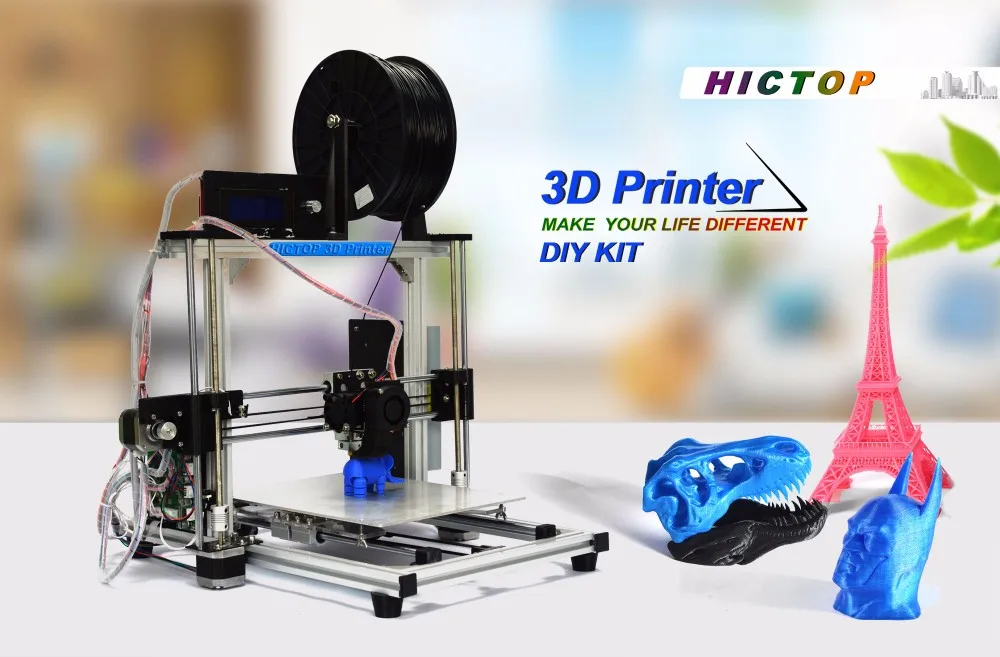 Manufacturers usually don't provide model-specific updates like Prusa Research does for their 3D printers.
However, successful copies sometimes form a strong DIY community and you can find a lot of information about modifications and improvements to your 3D printer. Good examples of 3D printers with a large community and a wealth of information on the internet are the Ender 3 and Anet A8. However, it should be borne in mind that it is worth being able to filter information, and you will make all modifications at your own risk. nine0003
So what to buy - original or clone Prusa i3?
The original Prusa i3 is a great 3D printer, but the clones have an attractive lower price. However, quality matters a lot. The small individual parts of a 3D printer, such as fans, motherboard, and sensors, may seem unimportant, but they all contribute to a better 3D print.
Although real Prusa i3 printers are much more expensive than clones, they provide more useful features and quality.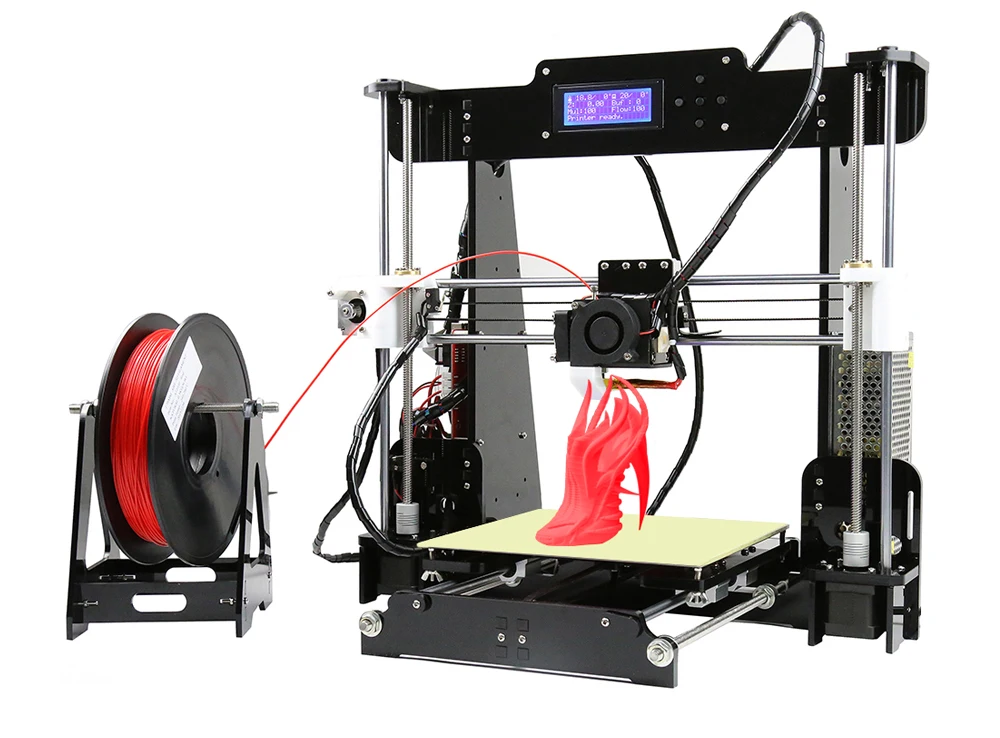 Copies include only the necessary basis for 3D printing and it is the price that reflects this fact. Prusa i3 clones contain unbranded parts, usually of lower quality. On the one hand, this is a minus, but on the other hand, replacing them will also be cheaper. nine0003
Perhaps the biggest difference between an original transaction and a clone is quality control. A genuine Prusa i3 printer with its high quality parts makes 3D printing easy, while a clone will require you to fiddle around to get a good 3D print result. An original Prusa i3 printer like the MK3S+ will likely last longer than a clone and be less likely to break.
Buying an original Prusa i3 3D printer is probably the best choice if you are looking for a higher end printer that you will use for a long time. On the other hand, if you're new to 3D printing, want to give it a try, like repairing and modifying 3D printers, or on a tight budget, you should consider purchasing a clone. nine0003
Your first 3D print with Prusa i3 MK3S / Amperka
The 3D printer needs to be checked and configured before printing.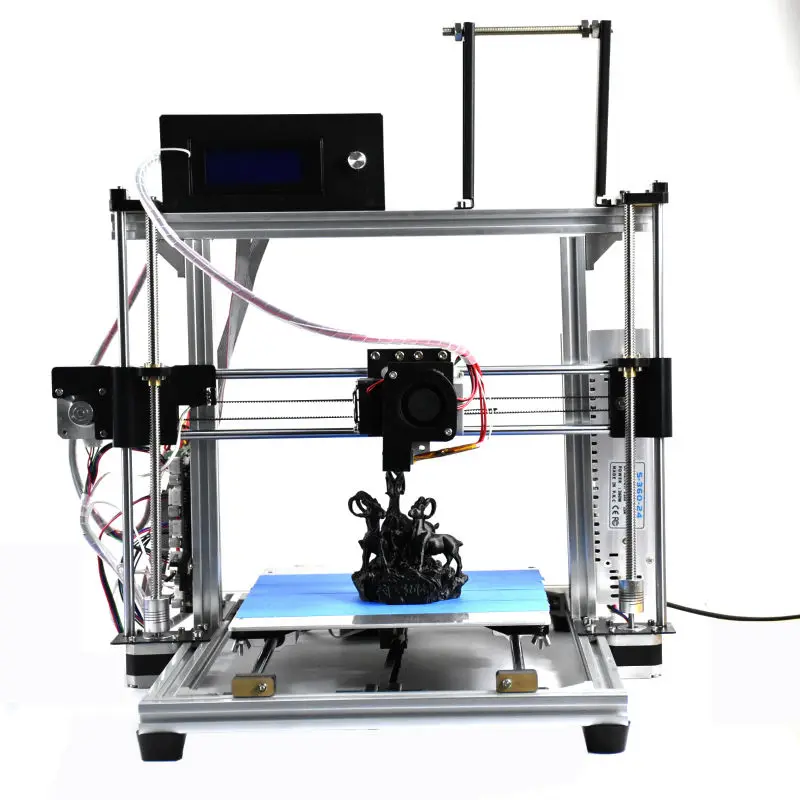 With the Prusa i3 MK3S, you don't have to manually level the table: the manufacturer has taken care of everything and added auto-calibration at the firmware level. However, when you turn it on for the first time, you must wait while the printer performs self-diagnosis and self-calibration.
Automatic printer test on first start
First make sure that the table sensor is a short distance from the surface of the print platform. If it is lower, then the sensor will scratch the table. nine0003
Turn on the printer. At the first start, the program for checking the components of the printer is activated. This will help to identify possible assembly errors or defective components.
Note that the ✖ button below the encoder is used to stop printing in an emergency and reset the printer when something goes wrong. Don't press it for no reason.
Agree to the automatic check by pressing the encoder.
The fan test will run first, then the table, hot end and printer axes test.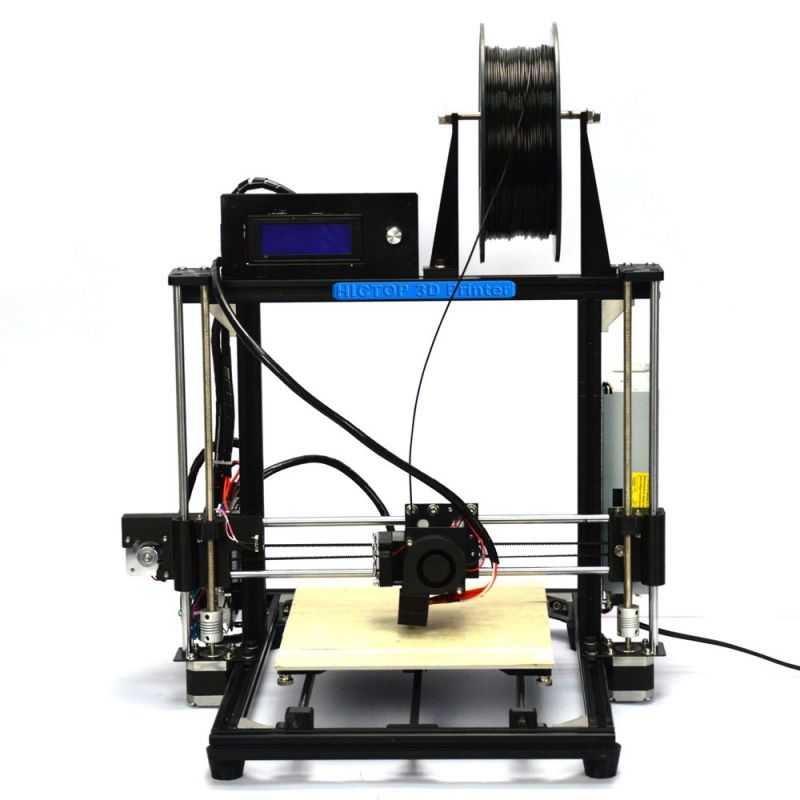
Printer Calibration
After self-diagnosis, the printer will prompt you to automatically search for reference points to calibrate the table. This will take about 12 minutes. Remove the removable metal sheet from the table and start the process.
Place a sheet of paper under the nozzle to prevent the printer from scratching the table. If the nozzle starts to scratch the sheet, then you have fixed the magnetic table sensor too high. In this case, press the reset button and lower the sensor closer to the table surface. nine0003
Then put the metal sheet on the platform and proceed with the calibration.
For better adhesion, it is worth smearing the coating with the adhesive stick from the kit. Try to apply an even layer. Instead of the glue from the kit, you can use other means to improve adhesion, for example, hairspray, masking tape or BF-2 glue.
Next, you need to load the plastic into the extruder.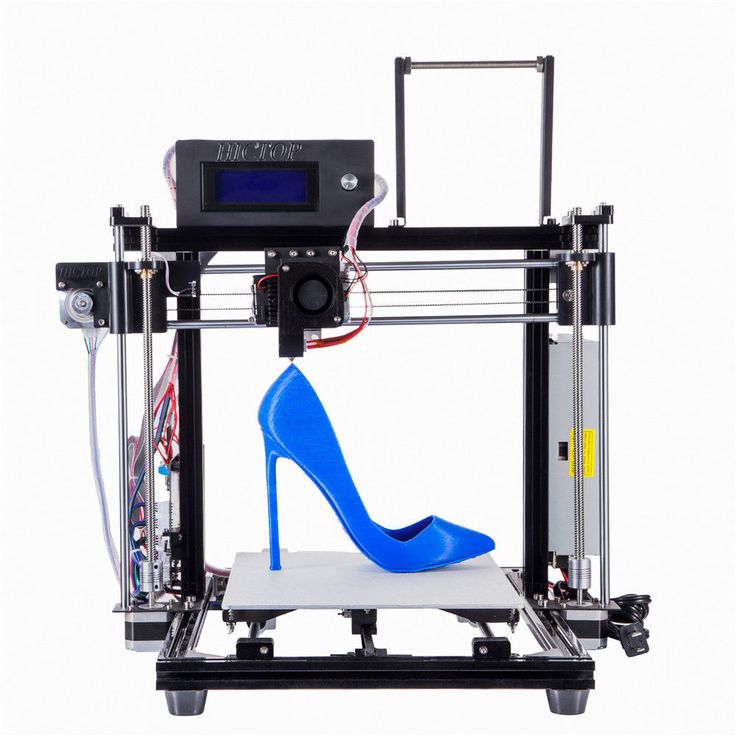 When the filament sensor is installed correctly, the filament should retract automatically. If you are having trouble loading bar stock, go to Filament Sensor Setup at the end of this manual. There you will find a life hack that will help you with the correct installation. nine0003
Next you need to specify the type of plastic. The printer comes with a spool of PLA plastic, so we will choose it.
Install the spool of plastic on the holder. Insert the end of the filament into the hole on the extruder.
The printer will automatically retract the bar to the end and extrude some plastic from the nozzle.
Make sure that the plastic of the color of the installed coil is pouring out of the nozzle. If you change from one color filament to another, then you can squeeze out a little more plastic in the menu to remove the remnants of the previous color. nine0003
After that, you need to adjust the print height of the first layer.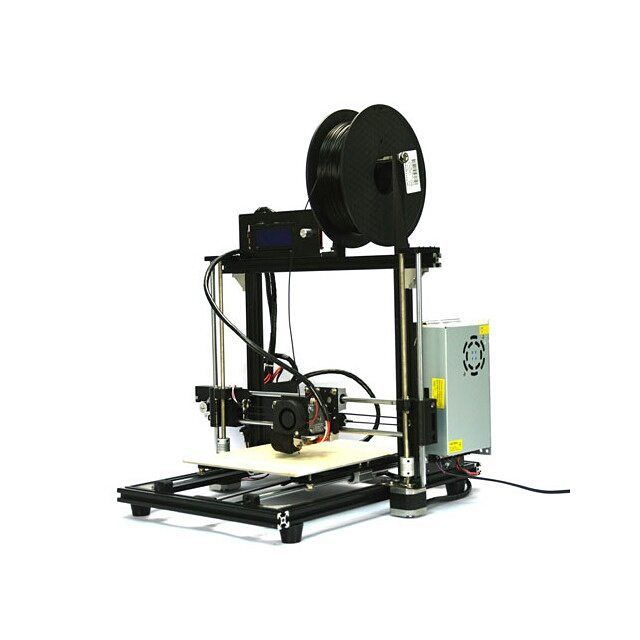 The printer has already automatically determined and compensated for the tilt of the table, but the distance from the nozzle to the surface must be set manually.
Turn the encoder to adjust the distance between nozzle and table. By changing this gap, achieve the best quality of the first layer. Then save the set parameter by pressing the encoder.
The nozzle must not be too close to the table. Ideally, the first layer should adhere well to the surface (as in the top line), but not smudge or fade (as in the bottom line). nine0003
Check that the square printed well at the end of the calibration.
If you have not set the optimal layer thickness, you can repeat the calibration operation again.
Printing a model from a memory card
Insert an SD memory card into the slot on the side of the display module. There are already prepared files for printing on the card from the kit - choose what you like best.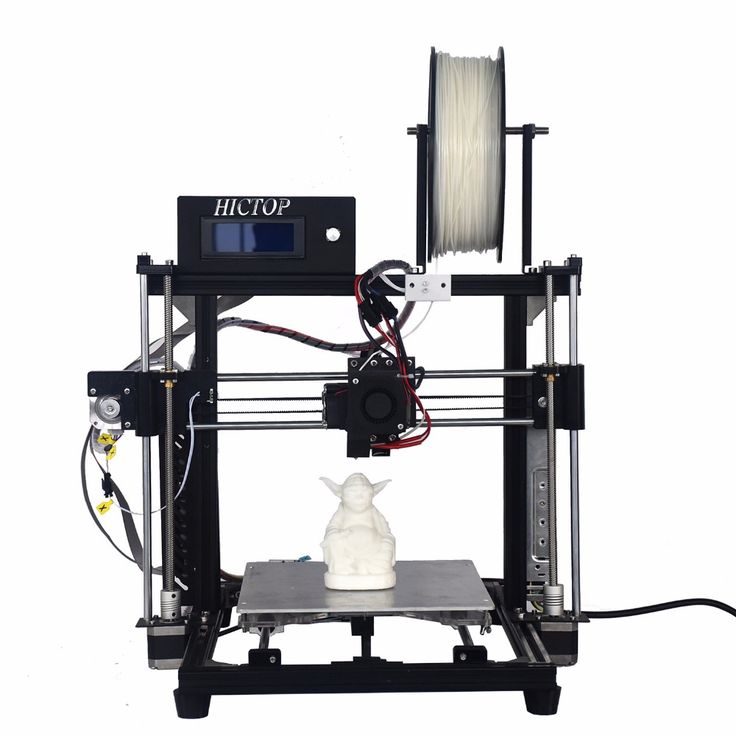 Note that each file name has an estimated print time. nine0003
So, we will print the 3DBenchy boat, which is already on the memory card.
After selecting the model file, the printer will start heating the bed and extruder. Encoder during printing, you can adjust the speed.
Always wait until the table top has cooled to room temperature before removing the model. Then remove the metal sheet from the platform, bend it a little, and the part will bounce off by itself.
Quiet printer mode
If you are bothered by the noise of the motors, try setting the printer to quiet mode. This disables skip-step tracking, which helps print at high speeds, but the noise is noticeably reduced.
To activate the silent mode, go to the "Settings" section.
Next, switch the "Mode" item to the "Stealth" mode. The printer will then print in quiet motor driver mode.
Change of plastic
To change the plastic, select the menu item "Unload filament".
The printer will ask you for the type of filament and start to heat up the change nozzle.
After heating, press the encoder to confirm the removal of the bar from the extruder.
Plastic is loaded automatically. Insert the filament into the hole on the extruder and the printer will push the rod towards the nozzle.
Model Slicing
You can use any slicer to prepare models for the Prusa i3 MK3S - for example Cura. nine0003
For simplicity, we will use the manufacturer's native program. Download and install Prusa Slicer from the official site.
Please select your preferred language during installation.
Next, specify which slicer components you want to install. You can leave them as default.
After installation, you will see the program window. It has a switch of operating modes: "Advanced" and "Expert" increase the number of parameters available to the user. nine0003
In the tab on the right, you can change the pre-configured plastics and printers, enable support and change the filling.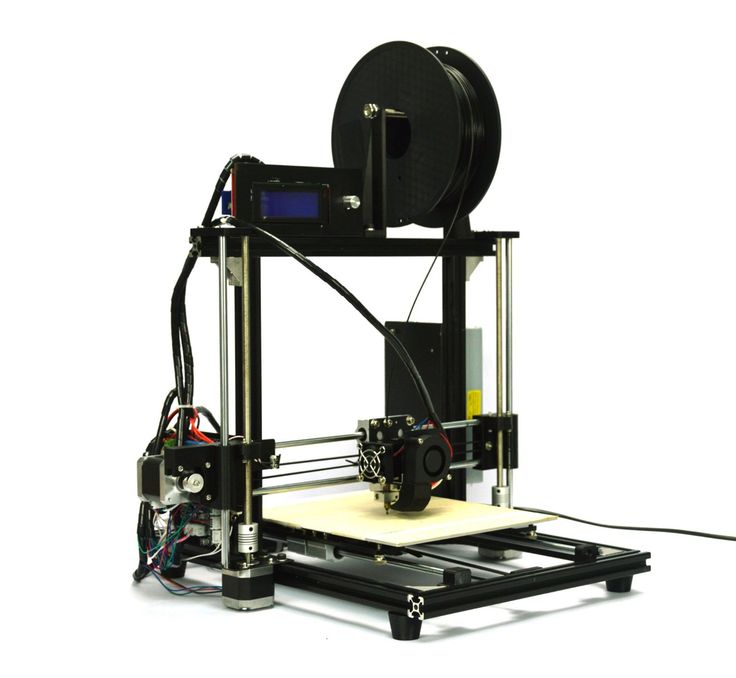
Open the 3D model in .stl format with the program. It will appear in the workspace. For example, take the 3DBenchy boat model.
The tools on the left allow you to scale and move the model.
The tabs at the top are print settings that can be left at default.
Press the "Cut" button. The model will be displayed in layers, and the slicer will generate the appropriate G-code for the printer. At this stage, you can look at the nozzle trajectory and see the slicing errors, if any.
Click on the "Export G-code" button and save it to a file. If you have connected a memory card, you can save the file directly to it by pressing the button with the SD card icon.
Filament sensor adjustment
If the plastic cannot be loaded automatically, it means that the filament sensor is crooked. Follow our tips to install it as evenly as possible and achieve reliable operation. nine0003
Unscrew the cap from the top of the extruder.


