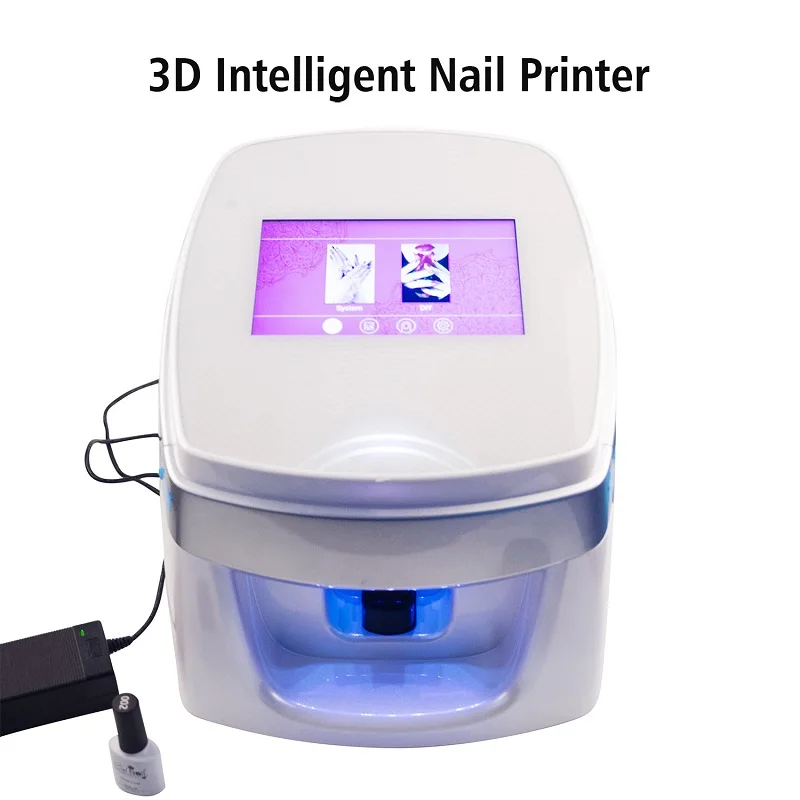
Heater for 3d printer
Best Heaters for 3D Printer Enclosure Heating
3D Insider is ad supported and earns money from clicks, commissions from sales, and other ways.
When 3D printing with challenging filaments like ABS and Nylon, you want to make sure that there is as little heat loss as possible. The usual solution to this is to use a 3D printer enclosure to envelop the heat and reduce the rate of heat loss to the environment. However, this may not be enough. If you live in a cold region, the heat loss even with an enclosure may still not be acceptable.
An enclosure heater is a way to provide active heating inside the enclosure. This is quite unconventional, so what’s the best equipment for this method?
Why use a 3D printer enclosure heater?
To preface this entire discussion, it’s worth mentioning that using active heating inside an enclosure is not something that is commonly done. This means that you’re not likely to find equipment that is specifically designed for this purpose. Instead, there will be a healthy amount of DIY involved.
Why go all the bother of building an enclosure with active heating? As with any heating solution, the ultimate goal is to prevent warping or improve layer adhesion. This is important when dealing with notoriously difficult filaments like ABS, Polycarbonate, or Nylon.
Normally, using an enclosure with a heated bed is enough to address any heating-related issues. More problems can come up if you’re trying a print a particularly tall model. If the heated bed is the primary source of heat, it tends to dissipate rapidly the farther away from the bed the layers are. This often leads to layer delamination and warping in the upper parts of a model.
The goal of an enclosure heater is to make sure that the temperature is constant at every point inside the enclosure. This eliminates the issue of heat localization and avoids problems in 3D printing large or tall objects.
The best heaters to use for enclosure heating
There isn’t really a single product that is specially designed as a heated for a 3D printer enclosure.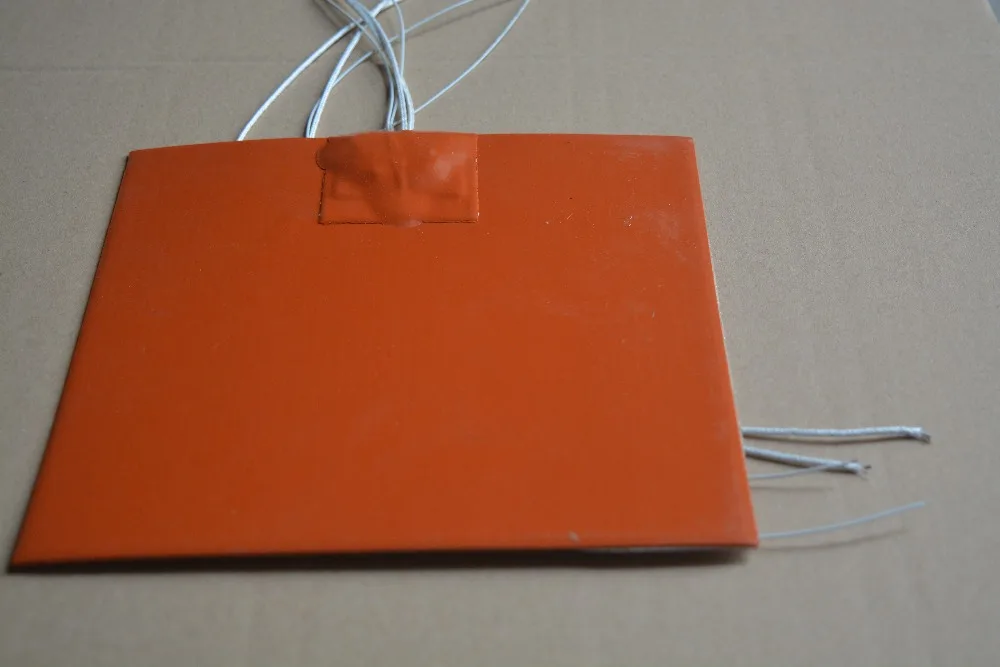 Instead, we will have to make do with makeshift solutions.
The first order of business is a thermocouple for temperature monitoring. In case you go for an electronic heat source, it would be best to get an integrated temperature controller and thermocouple such as this module from Docooler. Not only does it provide a temperature readout but it can also regulate the output of a digitally controlled heat source.
As for the actual heat source, here are some options to consider:
Light bulb
The cheapest and simplest option is a standard halogen light bulb. Make sure to get a light bulb that is compatible with a dimmer to allow for temperature control.
Take note that a light bulb isn’t exactly designed to generate heat. It would have to be positioned close to the print to make any difference. If your build chamber is small, then a light bulb would be perfectly viable.
The great thing about light bulbs being so inexpensive is that you can use several of them at the same time.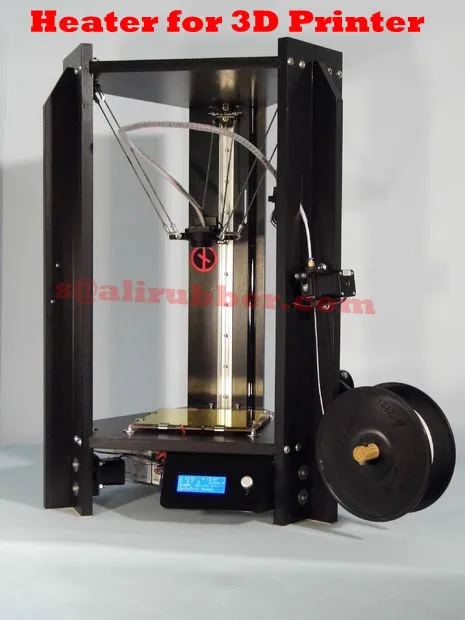 Having problems with a “cold spot” in your print chamber? Then point another light bulb on that particular spot.
IR heating lamp
A step up from a halogen light bulb, an IR heating lamp was actually meant to give off copious amounts of heat. Typically used for spas, chicken coops, and reptile pet tanks, IR heating can keep a large space warm even in winter. They also aren’t expensive – this pair of heat flood light bulbs from the KOR brand cost less than $20.
The advantage of an IR heating lamp is that a single lamp is usually enough to provide heat even to a large build chamber. Just take note that the heat can get very intense near the lamp itself, so keep it away from any parts that can easily burn or melt. Using two IR lamps is also a possible option when printing in winter or if you have a very large printing chamber.
Hairdryer
This is an option for those who aren’t keen on buying an additional accessory for 3D printing. Since most households already have a hairdryer, then you might as well give this approach a shot.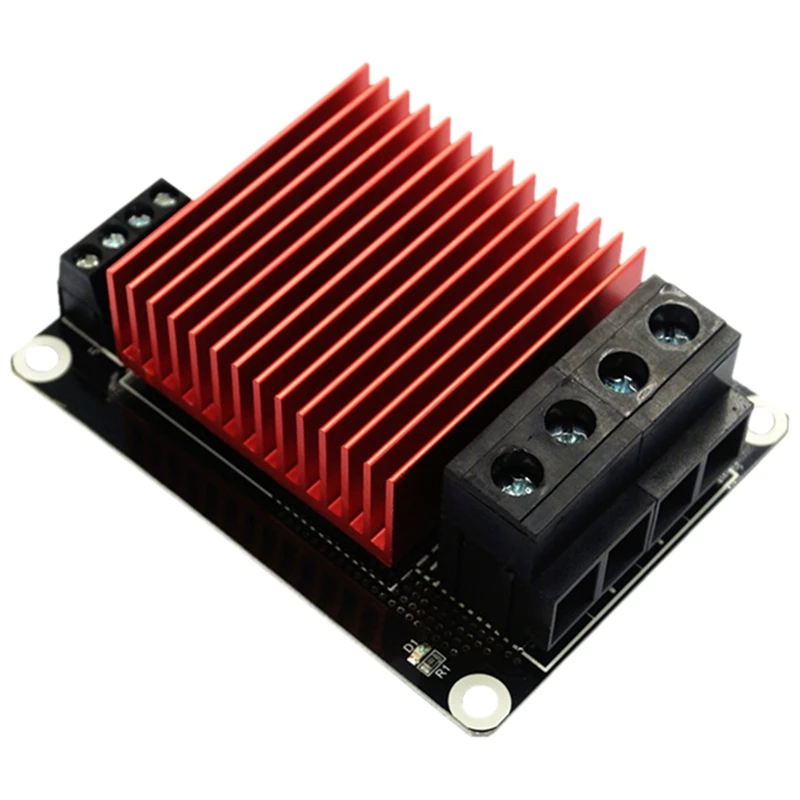
To use a hairdryer for enclosure heating, simply cut a hole in your enclosure and stick the outlet of the hairdryer inside. Depending on your hairdryer, there should be some way to regulate its output, even if it’s just a low or high setting. This lack of adjustment is the major limitation of using a hairdryer, aside from the fact that they aren’t exactly built to run for several hours on end.
PTC fan air heater
A PTC (positive temperature coefficient) fan heater is a fan that is specifically designed to blow hot air into a small space. This is perfect for a 3D printer enclosure as the forced convection naturally encourages even heating at all points in the chamber. It also generates heat faster than a bulb or heating lamp.
This 12V PTC fan air heater from Mumusuki is a convenient option as it is already pre-wired for connection to a temperature controller like the one we have linked to above. This combination should help you maintain a constant temperature inside the chamber without having to readjust the position and intensity of the heat source periodically.
Portable space heater
If you use a portable space heater for your car, then the same device can also be used to maintain heat inside a 3D printer enclosure. This compact heater from Honeywell would be a very good option.
Compared to a PTC fan, a commercial space heater isn’t pre-wired for connection to a temperature controller. Instead, you’ll have to take it apart and look for the wires that regulate its heat output. The benefit of the Honeywell space heater is that it comes in a ceramic case that protects its internal components from getting damaged because of the heat.
A few tips on maintaining enclosure temperature
Not all filaments need a heated chamber
If you’re printing with PLA or ABS, then you really don’t need to bother with a heated enclosure. In fact, you can get by without an enclosure at all!
Just as important as using a heated enclosure is hitting the proper temperature for the filament you’re working with. The smallest bit of added heat helps, even if you can’t hit the target temperature.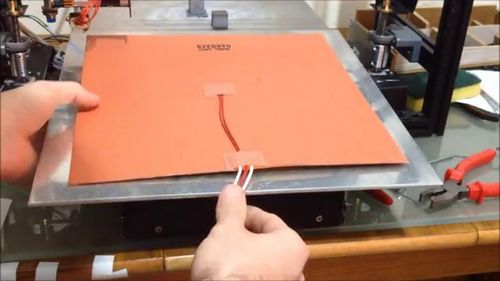 Going over the recommended temperature for your filament would be a bigger problem, as your prints might start drooping ever so slowly.
Consider insulating your enclosure
Most 3D printer enclosures, particularly DIY ones, are made of clear material on all sides. While this is great for keeping an eye on your print, you don’t really need a 360-degree view of your project as it is printing.
Instead, consider adding a layer of insulation on a few sides of the enclosure. This will further minimize heat loss and reduce the power needed to maintain the temperature of your print chamber Make sure to use insulation material that’s fireproof, such as ceramic fiber.
Don’t blow cold air into a warm enclosure
When a 3D printer is enclosed, there needs to be a way for the air to vent out to remove any toxic fumes or microplastic particles. This means that you need to draw in air from the environment to maintain the pressure of the chamber. The problem is that you could be drawing in cold air, which is as good as not having an enclosure at all.
A good option is to build a mechanism that filters the hot vented air and recirculates it back into the print chamber. This means that you’ll also be blowing hot air back into the chamber, making it a lot easier to maintain the internal temperature.
Keep your printer’s electronics outside the heated enclosure
If you’re designing your own 3D printer enclosure, do it in a way that keeps your printer’s electronics outside the heated area. This includes your printer’s control boards and, more importantly, its power supply. Take note that the power supply already generates its own heat – it probably does not help to make it any hotter.
As a general rule, your printer’s control boards and power supply should not be exposed to temperatures exceeding 50 °C. Doing so makes them a lot more prone to breaking down prematurely.
Final thoughts
Providing active heating to an enclosed chamber is already quite extreme as far as 3D printing techniques go. It’s a measure that we would only recommend if you’ve already tried all the usual solutions to warping and delamination.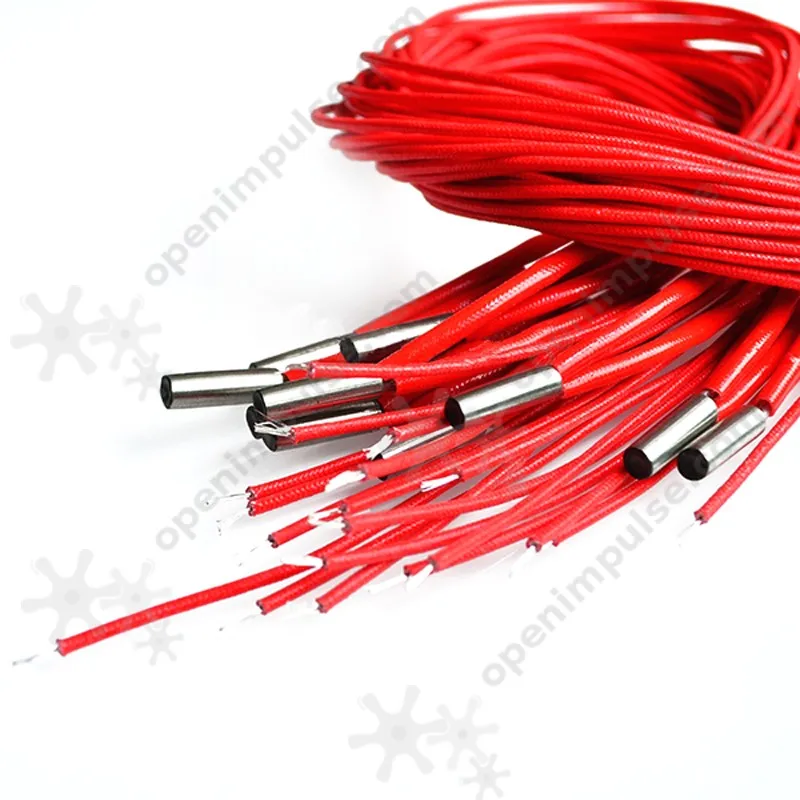 It’s still a valid approach, though, especially if you’re working on an exceptionally large model.
The biggest issue with heated enclosures is that it requires quite a bit of DIY work. You’ll have to rely on makeshift solutions using heating lamps or space heaters. Even if you can’t get the heating to work perfectly, this is what you need to keep in mind – every little bit of added heat helps.
Warning; 3D printers should never be left unattended. They can pose a firesafety hazard.
Heating Resin Printers During Winter
This 4D Filtration resource is user-supported by donations, affiliate links, and/or ads.
Last Updated: April 10th, 2022
The following simulations are intended to provide a comparison between heating setups for resin 3D printers under a variety of temperatures.
The recommended method of heating resin printers is by using a 250-500 W ceramic heater that is temperature-controlled. This is the most reliable method since you can set your desired resin temperature. A 250 W heater should be good for temperatures no colder than -5°C, provided that your printer is enclosed. A 500 W heater is suitable for temperatures no colder than approximately -35°C.
The ideal situation for resin printing during the winter would be to have the printer in a garage, enclosed, heated, and ready to be vented when printing has concluded. Printing can be done indoors in a separate and sealed room, but you will have to rely on larger 1,500 W heaters due to the continuous ventilation required.
Table of Contents
- No Enclosure or Heater
- No Enclosure, Small Heating Pad
- Enclosure, Small Heating Pad
- Enclosure, Large Heating Pad
- Enclosure, Ceramic Heater Thermal Runaway
- Recommended: Enclosure, Ceramic Heater Temperature Controlled
- Example Setup: Two Printers + Grow Tent + Controller + Heater
Assumptions
- Small resin printer with a rated power of 45 W distributed across the base for simplification, cycling on for 1.
 5 s (exposure time) and off for 17 s (1 mm/s lift and retract over 8 mm + 1 s light-off delay).
 - The printer cover is acrylic, the grow tent enclosure is oxford fabric, the vat and base are aluminum, and the resin has a thermal conductivity of 0.2 W/(m·K).
- There is approximately 310 grams (≈270 ml) of resin in the vat.
- No forced convection, wind, or drafts across the printer or enclosure.
- Target temperature of 30°C on the heater + controller setups.
No Enclosure or Heat Source
20°C (68°F) Ambient
When it is warm outside the main concern with resin printing is ventilation. During winter we have to make sure the resin stays at an adequate temperature as well (usually 20-25°C for budget resin and 25°C+ for engineering resin).
One balanced option is to have the printer in a garage while not venting till after printing has finished; this keeps fumes outside the residence and provides the opportunity for efficient heating. A printer in the residence can be heated, but heating the air that is instantly vented is not efficient.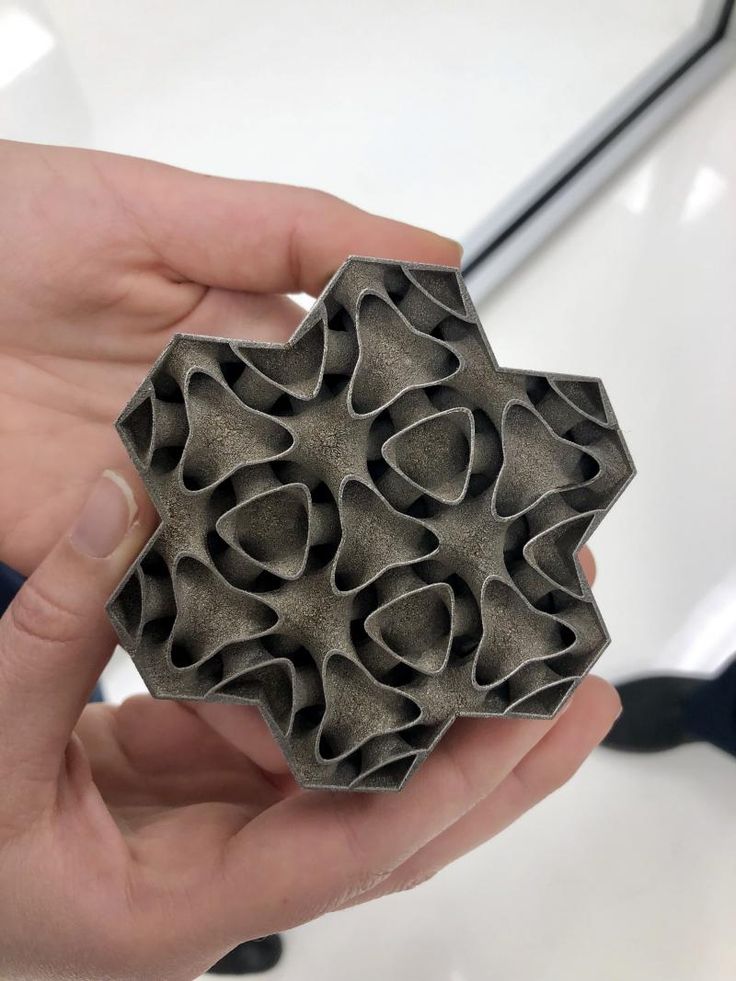
No Enclosure & Small Heating Pad
20°C (68°F) Ambient
Adding a small heating pad is a safe and cheap method to raise the temperature of the resin during printing. Raising the temperature in a warmer environment can still be useful for engineering resins and reducing the exposure time on budget resin.
10°C (50°F) Ambient
When temperatures begin to drop, even the 6.5 W heating pad will be able to adequately support budget resin.
0°C (32°F) Ambient
The small heating pad becomes insufficient near-freezing temperatures. For a cold garage, an enclosure and a higher wattage heat source will be needed.
Grow Tent Enclosure & Small Heating Pad
20°C (68°F) Ambient
A grow tent enclosure provides only a minimal increase in the resin temperature during the warmer times of the year. However, it will aid in proper ventilation.
10°C (50°F) Ambient
When temperatures begin to drop, the added insulation of the enclosure becomes apparent.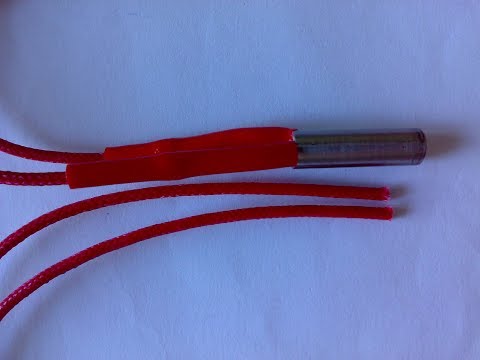 There is a ≈1°C increase in the resin.
0°C (32°F) Ambient
At freezing temperatures, the enclosure will bump the resin temperature up by ≈2°C, but the ≈17°C resin is still below the recommended levels. The resin can print at this temperature but the exposure times and risk of failure will be higher.
Grow Tent
$60+
Wide grow tents can fit the
printer + wash & cure machine
Amazon - VivosunAmazon - AC Infinity
Grow Tent Enclosure & Large Heating Pad
0°C (32°F) Ambient
Swapping the small 6.5 W heat pad for a larger 18 W variant will raise budget resin into its recommended range.
This heating pad can be attached to the interior or exterior of the acrylic cover, with the former being more efficient. You can use various attachment methods such as kapton tape, nylon string, or zip ties so long as the pad is not punctured.
Small Heat Pads
$12+
Dimensions: 3x20x0. 05"
05"
Rated Power: 6.5 W
VivosunAmazon - VivosunAmazon - AC Infinity
Large Heat Pads
$16+
Dimensions: 10x20x0.05"
Rated Power: 18 W
VivosunAmazon - VivosunAmazon - Inkbird
Grow Tent Enclosure & Heater Thermal Runaway
0°C (32°F) Ambient
Adding more wattage will heat up the enclosure and resin faster but you have to be careful. Here you can see where a 250 W ceramic heater pointed at the printer will heat the resin towards 60°C. Beyond ruining the resin, this can damage electronics, warp plastic components, waste electricity, and start a fire.
Grow Tent Enclosure & Temperature Controlled Heater
0°C (32°F) Ambient
An efficient manner in which to manage the 250 W heat source is by using an inline controller or by purchasing a specialized unit.
You will be able to place the controller within the enclosure and set your desired temperature.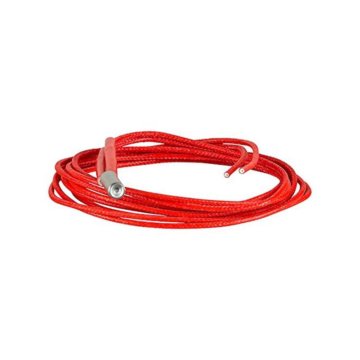 In this example, the heater outlet is parallel to the printer and the controller is on the far side behind the printer. Placing the controller's sensor probe too close to the heater's outlet will result in a lower resin temperature and placing it far away will heat the resin above your set temperature.
-20°C (-4°F) Ambient
The lower winter temperatures will lower the variance in the resin temperature. In this and the prior example, the target for the controller was 30°C. The prior example allowed the resin to rise ≈5°C above while this one is ≈1°C above.
The temperature-controlled heater will provide the best results to keep the resin at your desired target, but this method is more expensive to employ and uses more energy than the heating pads. Make sure that the controller you choose is rated for the power draw of the heater.
Lasko Heater
$20+
Rated Power: 200 W
For Temps Above: 5°C
AmazonHome DepotLowes
Honeywell Heater
$26
Rated Power: 170/250 W
For Temps Above: -5°C
Amazon
Amazon Basics
$20
Rated Power: 500 W
For Temps Above: -35°C
Amazon
Controllers
$18-35
Auto-cycles ceramic heaters and pads to a set temp
Amazon - InkbirdAmazon - BN-Link
Lower wattage heaters outside the printer work fine for temperatures above freezing but they do not have enough heat output for anything below this. Higher wattage heaters (500-1,500 W) will work below freezing but you must be careful so as not to overheat the printer or start a fire.
The incubator heater creates a heated chamber for the resin 3D printer. This type of heater is certainly efficient, but it can only heat one printer and is not plug and play.
Lower outdoor temperatures, wind drafts, and cracks in the grow tent will decrease both the efficiency with the heater and the maximum temperature it will be able to reach.
Resin Heating Setup Examples
Two Printers + Grow Tent + Controller + Heater
This particular example utilizes an open-air ventilation setup in a separate and sealed indoor room. The grow tent keeps the heat in and allows printing without the printer covers. A wide grow tent, such as the one pictured, has plenty of room for multiple printers or a wash and cure machine.
The heat source is one of the small Lasko heaters with an Inkbird controller - you can see the sensor probe dangling from the top of the tent.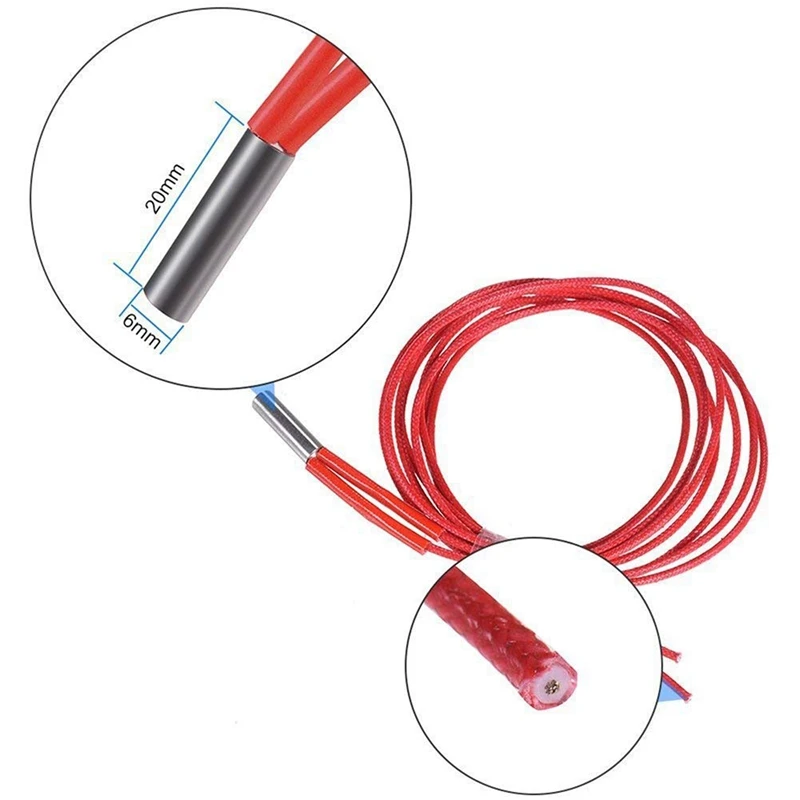 For this setup, the controller is set to kick on when the temperature drops below 28°C. It will then run until it surpasses 32°C, where it will turn off and wait until it drops again. This keeps the entire grow tent near 30°C while reducing the wear on the controller.
This is the internal temperature of the grow tent setup above with an ambient temperature of ≈4°C. This test was conducted without the additional heat output of a resin printer and with minimal to moderate convection (drafts) on the outside of the grow tent.
This test demonstrates that a 200 W heater will max out at ≈26°C under ≈4°C ambient. However, it reaches 20°C+ within 10 minutes of starting up.
We will be conducting additional tests in the near future.
Ultimate Resin Guide - compare resin printers, resin material, and equipment
Preparing for Resin Printing - setting up an enclosure, heating, ventilation, filtration, and cleaning equipment
FDM Printers Guide - comparison table and top picks for filament printers
Resin Properties or Filament Properties - comparison table and top picks for materials
Did we miss anything or do you have any information worth an update? Let us know!
Like the resources? Consider supporting us via donation, referral links, or purchases!
informational article of the Polymernagrev company on the website tvoy-nagrev.
 ru
ru
Although 3D printing has been developed for a long time, it is becoming more and more popular. There are new versions of three-dimensional printers that can produce a wide variety of high-precision products. If earlier it was possible to use only primitive polymers as a material, then over the past few years the list of raw materials for printing on a 3D printer has increased significantly. And not only a wide variety of plastic options with all kinds of colors are used, but also more serious metal materials. There are already whole developments of parts for rockets and aircraft made on a three-dimensional printer. nine0003
In the technology of manufacturing products on a 3D printer, probably the most important factor is uniform and correct heating of the workpiece . Therefore, heating elements in this type of production perform one of the most important functions.
Each filament at the exit from the nozzle of a three-dimensional printer is heated by elements such as a finger-type heater or a flat aluminum heater.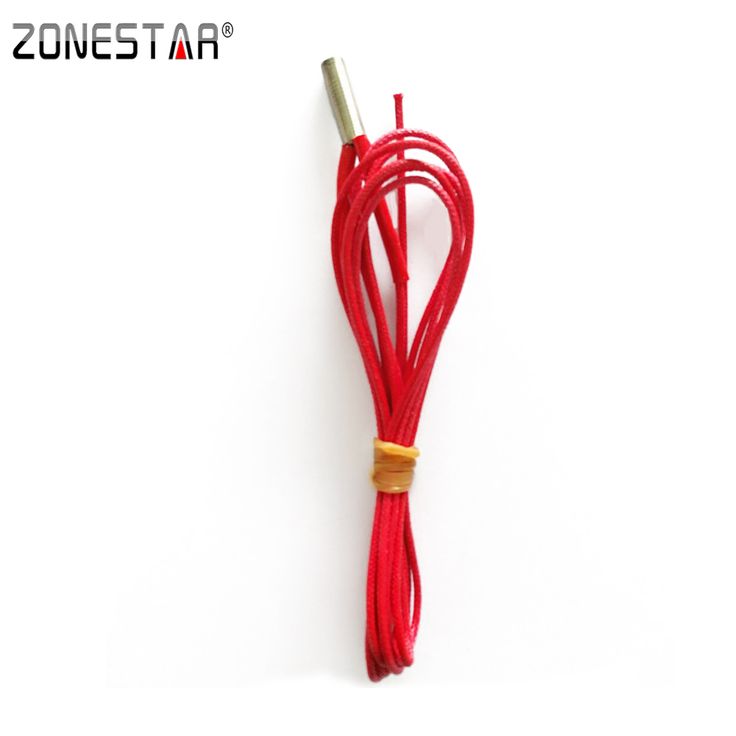 Many users are often worried about the low speed of printing, and they can not find a way out of this situation. And the main factor affecting the speed is the operation of the installed heating element and its possible characteristics. nine0003
Some time ago, 3D printers were produced only with induction heating, but it was imperfect and had a lot of drawbacks. To date, there is a wide selection of printers with a contact heating type , which has proven itself very well.
When choosing a contact heater for a 3D printer, first of all pay attention to its power and heating speed . These are the most important criteria in choosing a heater for a 3D printer. Also, the heater must be capable of temperature control and high-precision heat generation within a certain range. nine0003
An LED display showing the heating temperature will make it easy to control printing. Contact heater must operate within 0.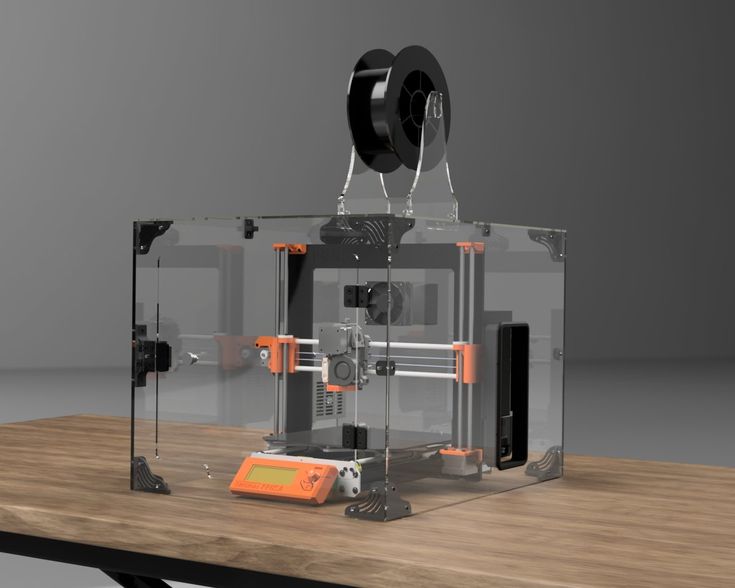 5 degrees Celsius . Its temperature production can be controlled by special sensors or an installed thermocouple.
The work of a three-dimensional printer is based on the layer-by-layer manufacturing of products previously designed by a computer program. During processing, a three-dimensional model is saved in STL format, after which the equipment forms a real product. nine0003
Overlay layer-by-layer printing is made on a special desktop. Each layer is applied in stages. This continues until the product is completely printed.
3D printing allows you to create physical objects designed on a computer. New developments show us the versatility of using 3D printers in a wide variety of areas of human life.
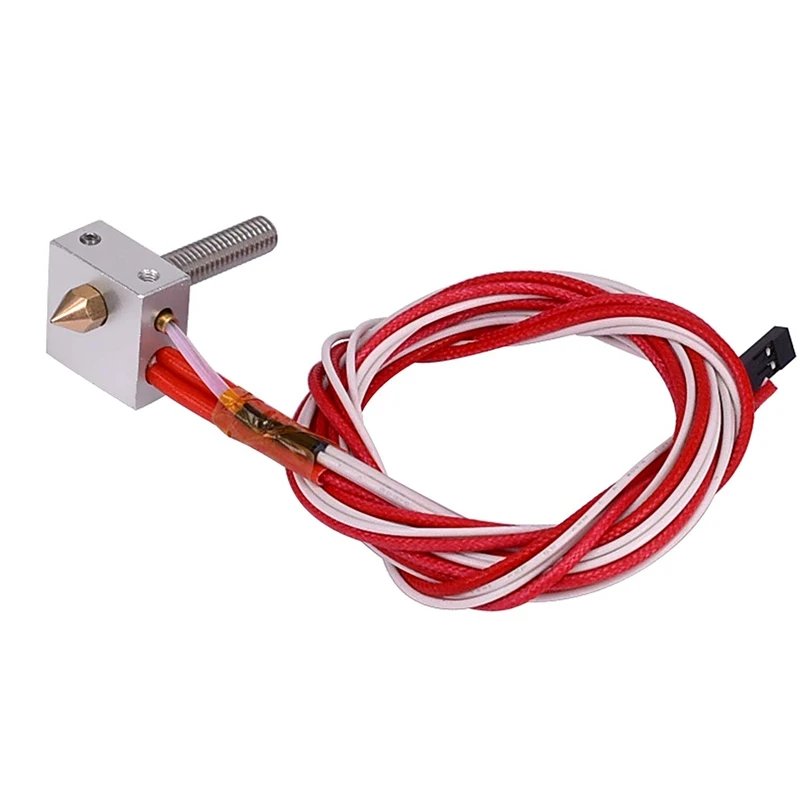
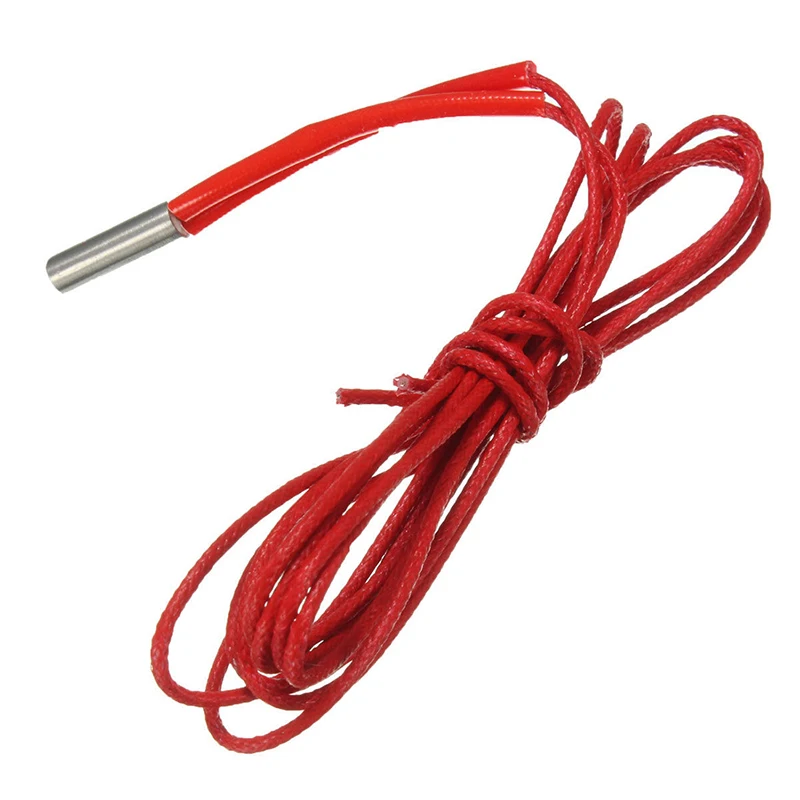
Cartridge heater for 3D printing
Cartridge heater for 3D equipment is made to order only. The minimum diameter of the finger heating element can be 3 mm and the length 50 mm. Despite the small geometric dimensions, this type of heater has a fairly high power density.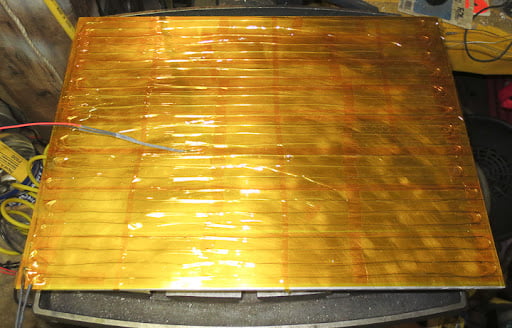 The cartridge heating element is installed in a specially designated hole in the printer equipment and is connected to the network through contact leads. If necessary, the manager of "Polymernagrev" will help you choose the most optimal version of the cartridge heater for your printer model. nine0003
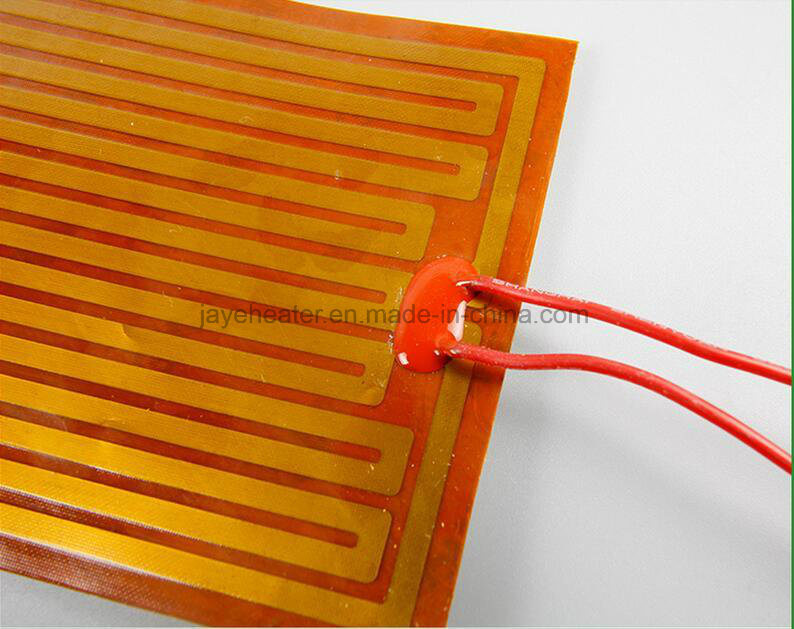
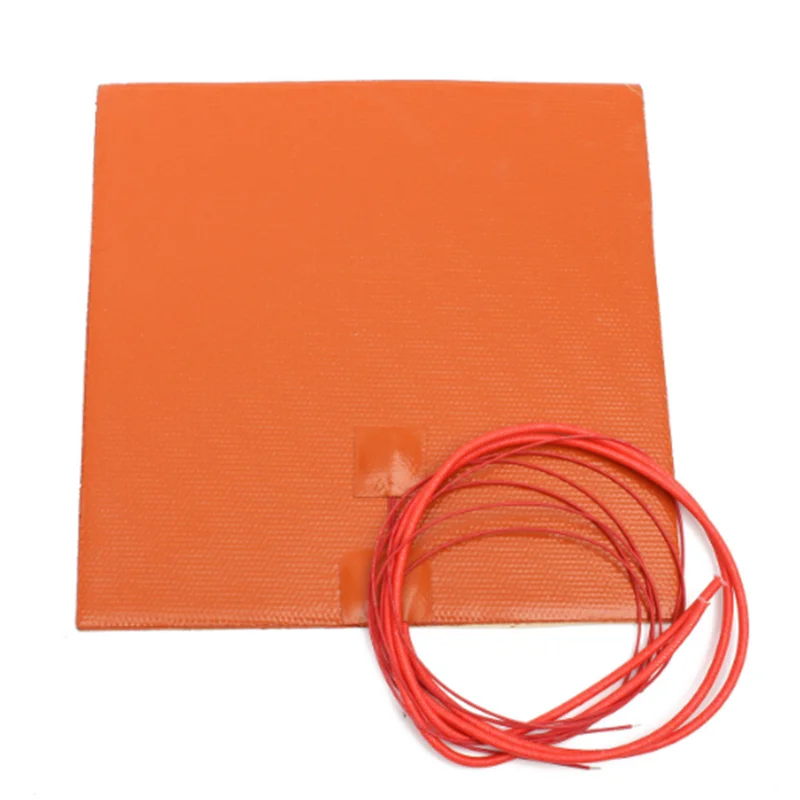
Cast heater for 3D printing
Cast heater is universal in its application and can be installed not only for heating narrow parts of the equipment, but also for heating individual components. Polymernagrev manufactures molded heaters for 3D printers to order for individual models. Our heaters can be either flat or cylindrical.
The quality of the manufactured products depends on the quality of the heater. nine0007 A properly selected heater gives a 90% guarantee of the production of 3D products without defects.
3D Printing: All About Heatle
The heating of plastic filaments in specialized printers equipped with heated extruders and print beds creates the basis for the formation of products from molten filaments, also known as 3D printing.
Currently, 3D printers are being used to create tools, camera equipment, medical models, phones and tech accessories, home decor items, toys, and fashion, just to name a few. The applications for 3D printing are almost limitless. nine0003
Since 2009, when the main patent for portable 3D printers expired, 3D printing has grown into an industry of its own. As a result, 3D printers are one of the defining products of our time.
3D printers are now being used to create just about anything you can imagine - tools, camera equipment, medical models, phone and personal technology accessories, home decor, toys, and fashion, just to name a few. Its applications are almost endless. Theoretically, any solid object can be made with 3D printing. Although some limitations in technology prevent printing in certain sizes and materials, research and development is rapidly expanding the possibilities. nine0003
The most popular type of 3D printing is Fused Deposition Modeling (FDM).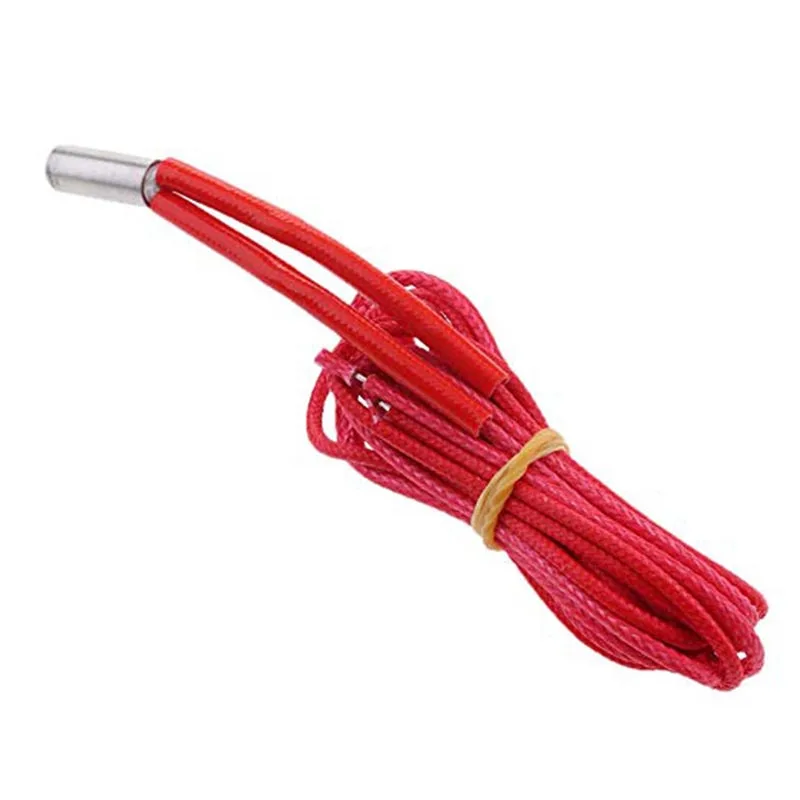 The product is modeled on the printer by melting and extruding a spool of plastic filament through the nozzle as it moves up, down, and across the specified XYZ coordinates.
Creating a product using the FDM process looks something like this:
- The 3D model is created using the software.
- The model is exported as a stereolithography file (.stl format) and then imported into the slicing software. nine0075
- The file is split into product layers and specific tool paths are generated.
- The design is sent to the printer.
Within minutes - or possibly hours or days, depending on the size and complexity of the part - the part is made by additive manufacturing.
3D printing heater
3D objects are made by melting, molding and cooling plastic.
Several key components create and manage heat in an FDM printer: nine0003
- Extruder.
- Work table.
- Multi-layer cooling fan.

A closer look at each of them will explain how they affect the print result.
Extruder.
The extruder is where most of the printer technology resides. It consists of a cold end that pulls the filament through the system and a hot end that melts the filament as it is extruded. nine0003
Inside the hot end of the extruder is a heating block. As a rule, this is an aluminum element with a hole for a cartridge heating element. The heating element melts the filament as it passes through the heat pipe and reaches the nozzle.
The extruder also has a fan heatsink. This cooling element helps prevent heat from entering parts of the extruder that need to be kept at cooler temperatures.
Another element of the extruder worth mentioning is the thermistor or thermocouple. This temperature sensor detects and helps regulate the temperature of the hot end. nine0003
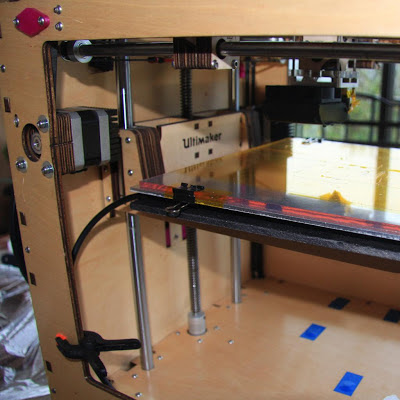
Work table.
The desktop is the surface on which the filament is deposited in a predetermined form during the printing process. Most PCBs are heated to prevent the plastic from cooling too quickly and deforming the product. Printtables typically maintain temperatures somewhere between 50 and 100°C. Specific temperature requirements depend on what type of plastic is being used.
Some printers do not have heated stages. These machines are limited in the materials they can print with. Also, materials may not adhere to these layers and melted parts are more likely to pop out of the middle of the print. nine0003
Multilayer cooling fan.
The cover fan cools the plastic after exiting the nozzle. This element helps the created product to keep its shape when printed.
Heat control: solving heating problems
Since 3D printing is so dependent on heating temperature, any temperature issues can easily disrupt the entire process. Common problems encountered in 3D printing include
- Thermal creep
- Deformation and bending.
- Melted or deformed items.
- Cracks on the sides of the taller item.
- Slope or bend at the bottom (elephant foot).
- Blurry or undefined first layer.
Manufacturers can face such problems due to non-ideal temperatures.
As research and development in 3D printing continues, improved technology offers even more precise control over higher temperatures, producing high-quality printed products from difficult-to-work materials.
Thermal creep
Heat creep occurs when heat is distributed unevenly through the hot end of the extruder. This happens when the filament cools as it is extruded and heat travels up the thermal barrier tube. This will cause the filament to heat up and swell too early and stick to the walls of the thermal barrier tube. Heat creep can cause clogs that stop printing, and such clogs are difficult to remove. nine0003
As a result, thermal barrier tubes are often designed to prevent thermal creep. The teeth or filaments in the pipe help prevent heat from entering places where it is not needed. In addition, there are several preventive measures that can be taken to prevent a negative effect.
- First, ceramic insulation tape must be added around the heater block.
- Second, when the printer is not printing, do not leave it hot. nine0075
- Third, avoid using low quality filament that may expand unevenly.
- Finally, if possible, always unload the filament when printing is complete.
Deformation and bending.
Product warping occurs when the plastic is cooled too quickly after extrusion. Because the plastic shrinks slightly when cooled, rapid cooling can cause the plastic to bend as it solidifies. nine0003
Warping can be prevented by keeping the plastic just below its melting temperature on the print bed. If warping occurs, the temperature of the print engine may need to be increased.
Melted or deformed seal.
Overheating is to blame when printed pieces look saggy. FDM printing requires a precise balance between a temperature that allows good flow and a temperature that ensures fast curing. nine0003
To fix melted prints, adjust the temperature settings of . First, make sure the temperature is within the appropriate parameters for the material. Then try decreasing the nozzle temperature by 5°C at a time.
Cracks on sides of higher prints.
Sometimes when the higher pieces are 3D printed, cracks can appear between some of the higher layers. This is because these layers too far away from the heat of the printed layer . After extrusion, the filament cools too quickly and is not as tacky as it should be. This results in small spaces or cracks between the layers.
To prevent the filament from cooling too quickly, try to increase the temperature of the extruder by about 10°C.
Slope or bend at the base.
Bending or warping near the base of printed objects occurs when the weight of the model presses on the lower layers before they cool down properly.
This deformation of the lower layers is eliminated by faster cooling. This can be achieved by lowering the platen temperature by 5°C at a time until the desired results are achieved.
Blurry and undefined first layer.
Sometimes the first layer can be blurry. When this happens, the corners feel vague and the filaments look messy. This usually happens because0104 The print bed is too hot and this causes the plastic to lose its shape.
The solution to this problem is probably pretty obvious. It may be necessary for to reduce the temperature of the platen by 5°C at a time until the desired results are achieved.
The threads come in a variety of colors and textures and offer effects ranging from glow in the dark to the look and smell of wood.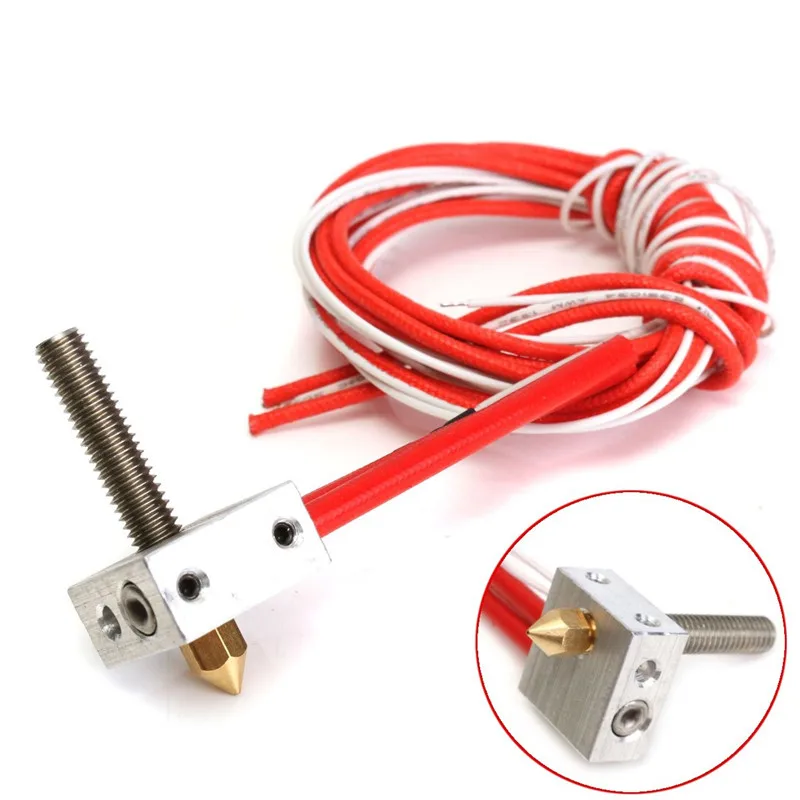 nine0150
Material temperature limits
There are several filament options for . The threads come in a variety of colors, textures and offer effects ranging from glow in the dark to the look and smell of wood. An important part of mastering the use of these different materials is understanding the specific temperature requirements for each material. Failure to comply with these parameters may result in any of the temperature related problems mentioned. nine0003
Higher temperatures equals more capability . When 3D printers can maintain higher temperatures during production, more filament options become available. However, working at higher temperatures requires special technology in a 3D printer.
For example, it is not uncommon for extruder hot ends to be made up of both metal and polyetheretherketone (PEEK) or polytetrafluoroethylene (PTFE). While PEEK and PTFE provide excellent insulation, they limit the hot end temperature to no more than 240°C. However, when all-metal hot ends are used, temperatures can be effectively maintained above 300°C. This opens the door to the use of a range of different materials. nine0003
New developments in FDM technology are paving the way for even higher temperatures during 3D printing. Last year, a 3D printer manufacturer introduced a line of high-temperature printer components that allow the hot ends of an extruder to reach temperatures in excess of 400°C. Printtables on the same devices can reach temperatures in excess of 200°C.
Ideal temperatures for various materials:
Polylactic acid (PLA)
Acrylonitrile Butadiene Styrene (ABS)
Polyamide (nylon)
Polyethylene terephthalate (PET / PETG / PETT)
Acrylonitrile styrene acrylate (ASA)
Polypropylene (pp)
Thermoplastic elastomer (TPE)
Thermoplastic polyurethane (TPU)
Wooden Threads
Polycarbonate
Polyvinyl alcohol (PVA)
As 3D printing research and development continues, the improved technology continues to offer even finer control over higher temperatures.