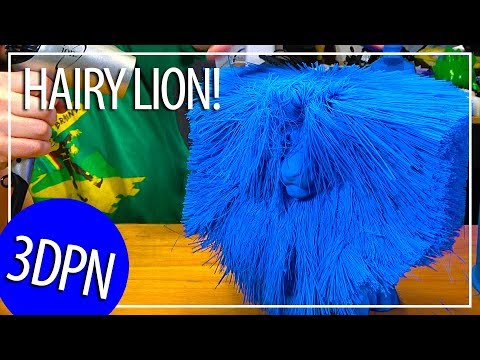
Hairy lion 3d print
Free 3D file Hairy Lion・3D printer model to download・Cults
120mm fan
Free
car panels attention ugly attention
Free
signboard panel displays 3d
Free
signboard panel displays 3d
Free
signboard panel displays 3d
Free
Best 3D printer files of the Game category
Roadhog Cosplay Mask
€6.19
Adeptus Mechanicus.Thanatar-Calix Siege-Automata.
€18
Construction game
Free
Low-Poly Charmander - Multi and Dual Extrusion version
Free
Skar Bran® The Flaked One
Free
BADABOOM_CATAPULT
Free
Best sellers of the category Game
Dancing skeleton
€3. 38
Enourmous Imperial Heavy Tank
€10
Chopper Motorcycle Print-In-Place
€1
Lazy Cat
€3.85
Nice Flexi Dragon
€1.77
Imperial Heavy Weapons & Regimental Flags [PRESUPPORTED]
€2
Heavy Imperial Fire Support Weapons [Presupported]
€5
Articulated Dragon
€3.85
Warriors of Iron Heads and MK 3 Shoulder pads
€4.30 -15% €3.66
Alteyr Emberwatch
€9.65
RC 1/10 Dodge Challenger
€7.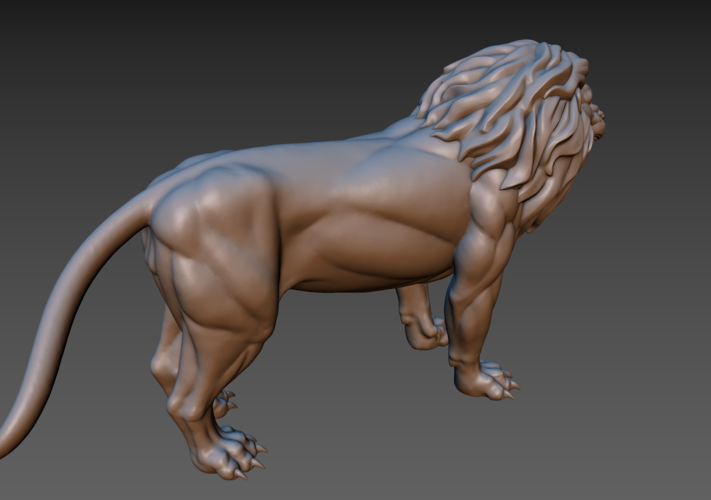 50
50
Voidwalker Exosuits Truescale
€14.82
Catafrac Heavy Armoured Warriors - Civil War Wargear Pack
€2.50
Articulated Snowman
€2.88
Off-Road Car
€2
Flexi Flying Unicorn
€1.05
Would you like to support Cults?
You like Cults and you want to help us continue the adventure independently? Please note that we are a small team of 3 people, therefore it is very simple to support us to maintain the activity and create future developments. Here are 4 solutions accessible to all:
ADVERTISING: Disable your AdBlock banner blocker and click on our banner ads.
AFFILIATION: Make your purchases online by clicking on our affiliate links here Amazon.
DONATE: If you want, you can make a donation via PayPal.
WORD OF MOUTH: Invite your friends to come, discover the platform and the magnificent 3D files shared by the community!
Hairy 3D Prints - Hairy Lion and Einstein
3D printing nurtures creativity and curiosity. Some more advanced makers start to find standard printing boring. They look for a challenge and push the boundaries of this technology. They “torture test” their 3D printers to see the maximum capability. New ideas are born. Designing hairy 3D prints is one of such innovative ideas.
We first learned about this feature thanks to Daniel Norée when he posted his Furry Vase on Twitter. He borrowed an idea from Mark Peeters, the creator of Drooloop Flowers (in the picture above). We have printed a whole bunch of these flowers and yes, indeed, it is a completely new and interesting technique. The idea of hairy 3D prints was immediately picked up by 3D printing enthusiasts who dedicated their time and used their imagination to create many fun hairy objects. Hairy 3D printing technique using bridges were mentioned in 2014.
(Image: 3DWithUs)
One of our favourite hairy 3D prints is Hairy Einstein designed by Print That Thing. Great physicist Albert Einstein looks very real after Jwall remixed this model. In his YouTube video, Jwall shows how he added hair to the original design by freeform3d and what software he used. It took us a while before we became brave enough to print it as this model looks quite weird in the slicer software. There are a lot of bridging without attachment points. This in practice produces curls. “I have no special talents. I am only passionately curious.” (Albert Einstein 1879-1955)
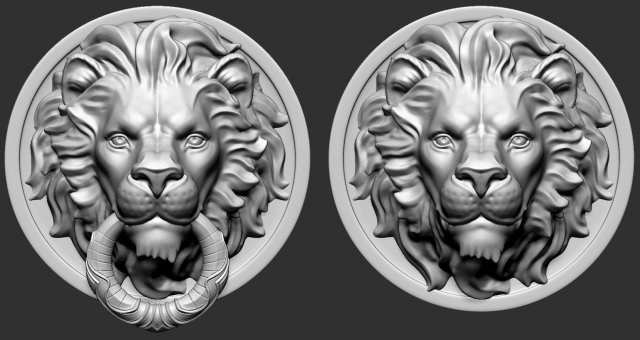
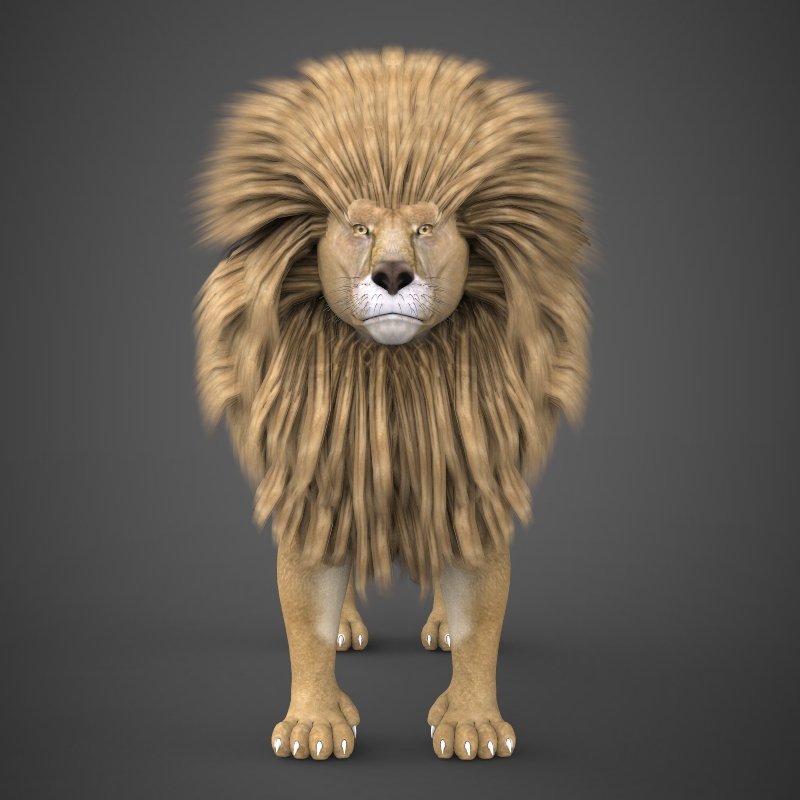
Hairy Lion, by Primoz Cepin, is one of the hairy 3D prints that became a huge hit before the Einstein model was created. It had a massive success in 3D printing community, similar to Baby Groot and Pangalion. We could not resist and tried to print it. We must admit that getting the settings right was not easy and we would not recommend this print to beginners.
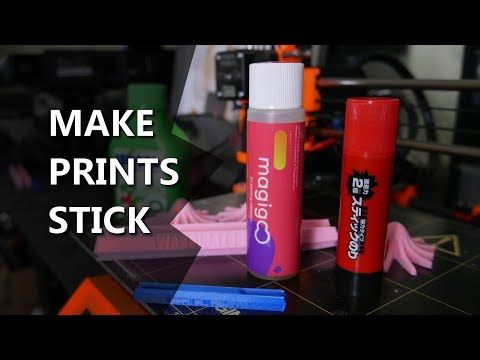
You have to know your slicer software well, also reading designer’s instructions carefully can provide some clues. It is very likely that an object is impossible to scale as then the hair may come out detached. Also, as we show in our video below, we encountered a problem with the shell.
HATCHBOX Brown ABS Filament on Amazon (affiliate link)
Because it is very thin, it can easily come off the bed during the printing process. We were close to “killing the print” and starting all over again. Later we learned that adding a brim helps in this situation. This Hairy Lion became very popular at my wife’s office. Everyone hinted that it looked like Aslan from The Chronicles of Narnia.
Hairy 3D Prints Tips and Tricks
– First of all – read designer’s instruction very carefully, go through their recommendation.
– Model scaling should be done with extra caution as it might lead to baldness and other fails.
– Consider adding a brim in a slicer software if using thin wall shell.
– Learn how to put settings right in your slicer software, optimise it for bridging in some cases.
– Use the filament with good bridging properties. ABS is the best, but PLA also works well.
– Switch off the cooling fan in other cases.
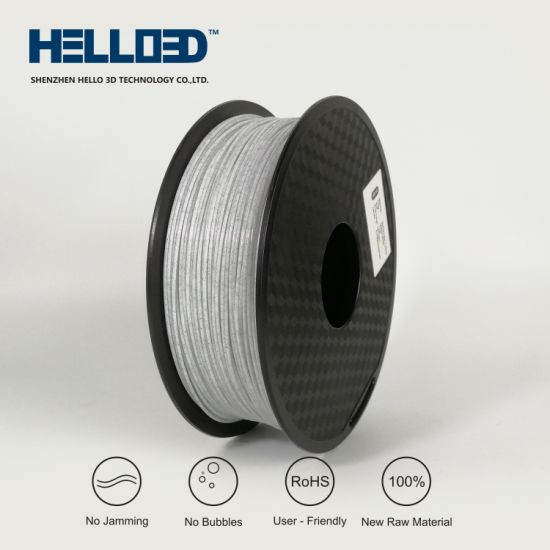
SUNLU Rainbow Silk PLA Filament on Amazon (affiliate link)
STL files:
Drooloop Flowers:
Thingiverse
The Furry Vase:
Thingiverse
Hairy Einstein:
Cults
Hairy Lion:
Thingiverse
(Image: 3DWithUs)
5 COOL THINGS ON A 3D PRINTER FLASHFORGE ADVENTURER 3 — voltNik
Hello friends, I have prepared for you 5 cool things that can be printed on a 3D printer. And at the same time take a look at the new printer in a closed case.
- Groot: Or rather, baby Groot from the second part of the movie "Guardians of the Galaxy".
 If anyone does not know, this is such a living tree that says: “I am Groot!”, And he is usually answered: “I am Iron Man!”. The model was printed with golden PLA plastic with 0.2 mm layers stacking - this is considered standard quality, and the maximum available for the printer is 0.1 mm, but then printing will take twice as long. Layer stacking at 0.2 is only visible in close-ups, so don't worry about it. Groot turned out to be really cool, you can plant grass in his head instead of a brain - then, of course, you will need to water it so that it does not fade.
 - Hairy lion: This model is specially printed inside the cylinder, it is needed in order for the extruder to pull and fix the strands of plastic hair, which in the future will imitate the lion's mane. After printing is complete, you will need to cut off the outer holding cylinder with a knife and wire cutters. You will get such a funny lion, as if he was shocked, or even looks like a brush. We take a hair dryer, set it to 100 degrees and carefully comb the lion cub.
 And after laying, we get an awesomely beautiful king of animals.
 - Cat: This is a lowpoly model, i.e. this means few polygons, so we see angularity on the edges. The printing of such models is very popular today and they look interesting, as if cut diamonds. This cat was printed without supports and the printer printed the hinged parts of the body well, which means that the plastic blowing system is good and it hardens quickly.
- Thanos: Large bust of the main supervillain of the Marvel universe. He clearly appeared in the latest Avengers: Infinity War. The model of Thanos turned out to be very detailed and accurate, it completely repeats this character from the film, right one to one, and the printer completely conveyed this detail. This is probably the coolest model of all that I printed on 3D printers, excellent detail: scars, fords, crumpled suit. PLA plastic is well painted with water-soluble acrylic paints, so the model can then be painted with a brush or airbrush.
- Minion Points: I printed this model three times already. The support came off the first time, the second time the print was successful, but when the supports were removed, the glasses were badly damaged, and the third time the plastic ran out and the model was not printed, but because I turned the glasses over when printing for the third time - it turned out that the initial piece from the first came up to the third seal. By gluing everything together, I got a pair of minion points from the Despicable Me cartoon. They look very ugly.
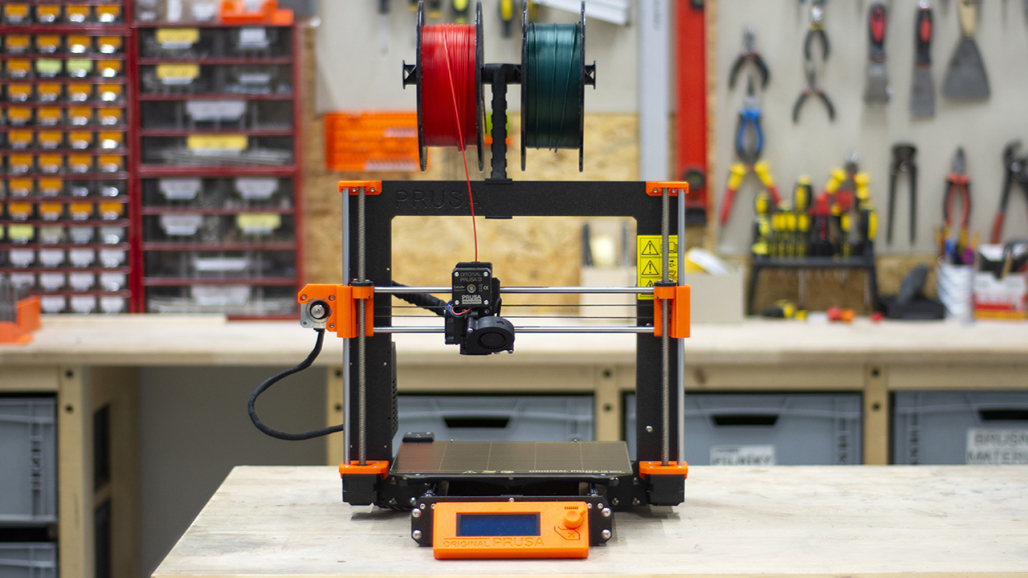
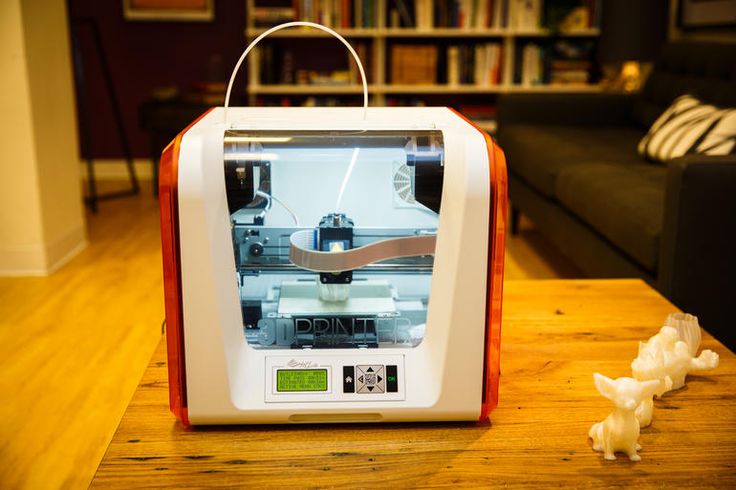
You can find links to all models in the description of this video, printing was carried out on a FlashForge Adventurer 3 3D printer provided for testing by the official distributor of this brand of printers in Russia, the Tsvetnoy Mir company. The print area of the printer is a cube with edges of 15 centimeters, there is a table heating, LED illumination of the print area with an extruder, the ability to connect to a cloud service and start printing remotely from anywhere in the world, and the most interesting thing about this printer is the camera. It allows you to monitor the printing process remotely - to control and manage it. This is useful when the printer is located in the next room away from your workplace, you will not need to get up and check how the printing is going.
The printer is positioned as safe, with the ability to start printing by children. Its body is closed, and the extruder is additionally thermally insulated with a casing - so it will be impossible to get burned on it. Starting to print is the simplest, for this you use your own FlashForge slicer with a minimum of settings and ready-made presets for the printer and the desired type of plastic. For printing, you only need to set the required quality and, if necessary, install support.
Touch screen controls make it easy to select and print files. But as I said earlier, the printer can be connected to the Internet, either with an Ethernet cable or Wi-Fi. And then you can choose to connect to one of two cloud services, where there are already different ready-made models for 3D printing.
i.e. you select a model right in the browser, then set the parameters and prepare it for printing, there is a slicer right in the cloud and you can set the print settings: temperature, quality, i.e. fully prepare the task for the printer, and there is also a start button for printing. Thus, thanks to the presence of a camera, you will immediately see the launch process and control it.
I also appreciated the work of FlashForge technical support - I give them a five for their work, they answer questions very quickly and provide real help. I got a pre-serial sample of the printer with the initial firmware, in which the video camera was not turned on. But after a short communication by mail, they sent me a ready-made update, specially prepared for my printer, which solved the problem and turned on the camera. I am sure that you will not have such a problem with the printer, so there is no point in telling in detail.
I looked inside the case and looked at the motherboard, it has quiet TMC2208 stepper motor drivers installed. The printer prints very quietly, but of course there is noise. The noisiest thing in it is the fans that work to cool the extruder, plastic and the board itself.
The spool with plastic in this printer is located immediately inside the case, but not all spools fit, you need thin 250 or 500 grams. Kilogram ones will definitely not fit into the compartment and will act. The printer comes with one spool of white plastic and it is enough to print a dozen medium models. But of course, no one forbids you to open the compartment cover and put the coil next to the printer - you can use any one that way. The hotplate cover is removable, so the printed model can be pulled out of the printer and carefully peeled off with a curve without using a spatula - which is convenient. The printer also looks great in the interior of the apartment, it has a finished, neat look and is not at all similar to open models of garage printers. Joke.
And some more technical details. The printer is built on a Linux platform with the OpenWRT operating system, so you have the ability to connect to it via TELNET command line, manage it, install additional applications and change settings.
I would like to express my gratitude to the Tsvetnoy Mir company for the opportunity to look at this interesting printer model in a closed case. The company sells printers, equipment and consumables for 3D printing. The range includes not only personal, but also industrial equipment. There are many 3D pens on sale, as well as multi-colored plastics for three-dimensional drawing and 3D printing.
The link to the store and the printer itself is in the description of this video, and that's it for today, I say goodbye, have a good day everyone and bye-bye!
3D printed plastic post-processing: mechanical and chemical
3D printing post-processing
The most popular finishing methods for 3D printed objects are sanding, sandblasting and solvent vapor processing.
It is a misconception that 3D printing cannot produce objects that are as smooth and polished as traditional industrial technologies. Such claims can be countered with simple sandpaper, and this finishing technique is very common.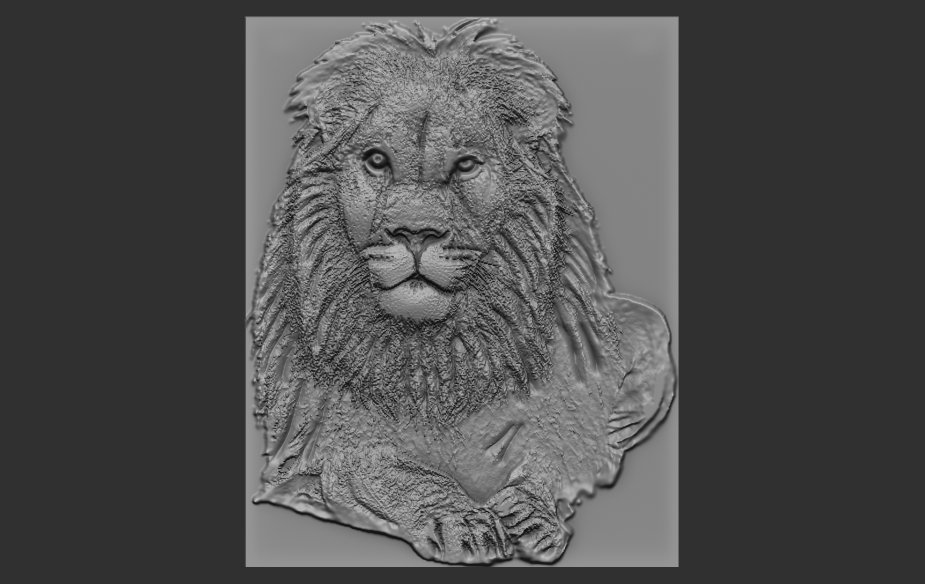
Which finishing technique is used depends largely on the geometry and material of the part. These factors determine both the level of aesthetics that can be achieved and its functionality, because different methods allow you to achieve different textures and appearances. Some methods are better suited for prototypes and exhibition models, while others are better for machine parts.
Post sanding
Sanding eliminates the disadvantages of 3D printing. For most 3D printer products, to give smoothness and in order to get rid of lines in the places where layers overlap, it is enough to finish with an emery cloth.
Everyone knows how to use the skin. A small piece of the skin is taken, the product is processed and mechanical grinding movements are carried out. The process itself is efficient and inexpensive.
There are not so many restrictions on post-processing with a scissor. The main thing is that the product is not too small.
Sandblasting post-processing
The next most common post-processing of products is sandblasting. The operator directs the nozzle with the sprayed fine material. The process is short and takes only 5-10 minutes. The result is completely smooth.
The technology can be easily converted and completely different materials can be used. The technology can be applied at any stage of product production. The flexibility of the technology is due to the fact that the smallest particles are used to process the product.
The main limitation of "sandblasting" is the size of the object. The process is carried out in a closed chamber with dimensions of 60 x 80 x 80 cm - this is the main limitation. Also, it should be noted that you can only process one part at a time.
Steam post-processing
The most recent post-processing method in use is steam processing. The part is placed in the atmosphere of the evaporated substance. Vapor particles are fused into the surface of the product by about 2 microns, making it smooth and shiny in an instant. However, it is worth noting that if you like a matte surface, then it is better for you to carry out additional sandblasting after processing in pairs.