Glue sticks for 3d printing
What are Bed Adhesives in 3D Printing?
One of the issues that people face when 3D printing is getting their prints to stick to the build plate. If a print does not stick to the build plate properly, then it could move during the print process which will cause it to fail.
Manufacturers have, of course, devised remedies for this. Ultimaker 3D printers have a heated build plate for better bed adhesion and reduced warping and curling (the heated plate stops prints from cooling down rapidly, avoiding contraction). Some manufacturers have taken a simpler route, though – MarkForged recommends people use an Elmer’s Glue Stick to create a sticky layer on the build plate.
The simple truth of bed adhesives – whether they are cheap glue or expensive tapes – is that all of them have the same aim: to prevent warping, curling, print failure and to reduce waste. It is important to point out though that not all materials require a bed adhesive to stick to the build plate. PLA, for instance, adheres well to a heated build plate without adhesive. However, when glue or tape is used, the risk of warping and curling is reduced considerably.
How do bed adhesives work?
Simply put, bed adhesives work by forming a stickier layer for prints to adhere to. In the case of heated build plates (which are necessary for printing materials with a higher melting point than PLA), hard materials like ABS and CPE can warp even with support structures. The reason for this is the smooth glass plate with the introduction of heat; the print material sometimes doesn’t cool quickly enough to be strong. By introducing a layer of glue, print-bed adhesion is improved, and the glue also acts as a layer of protection for the glass.
Adhesives also eliminate the risk of print movement. If a print moves just a little during the print process, then it will fail. We regularly receive questions from people asking why their prints keep failing, and it is more often than not because they aren’t using an adhesive on their build plate.
Are there alternatives to external adhesives?
It is possible to print a ‘brim’ with your print, which is a thin platform around your print that helps ensure successful adhesion. These work because your part or model will be printed on a layer of filament, rather than directly on the build plate itself. Cura, Ultimaker’s software, allows you to create a brim quickly and the brim itself can simply be cut away afterwards. However, even with a brim, we still recommend using a bed adhesive to protect the build plate.
What are the best adhesives?
We are of the belief that what works best for manufacturers and the 3D printing community will work best for you.
So, here’s a list of products and who uses them:
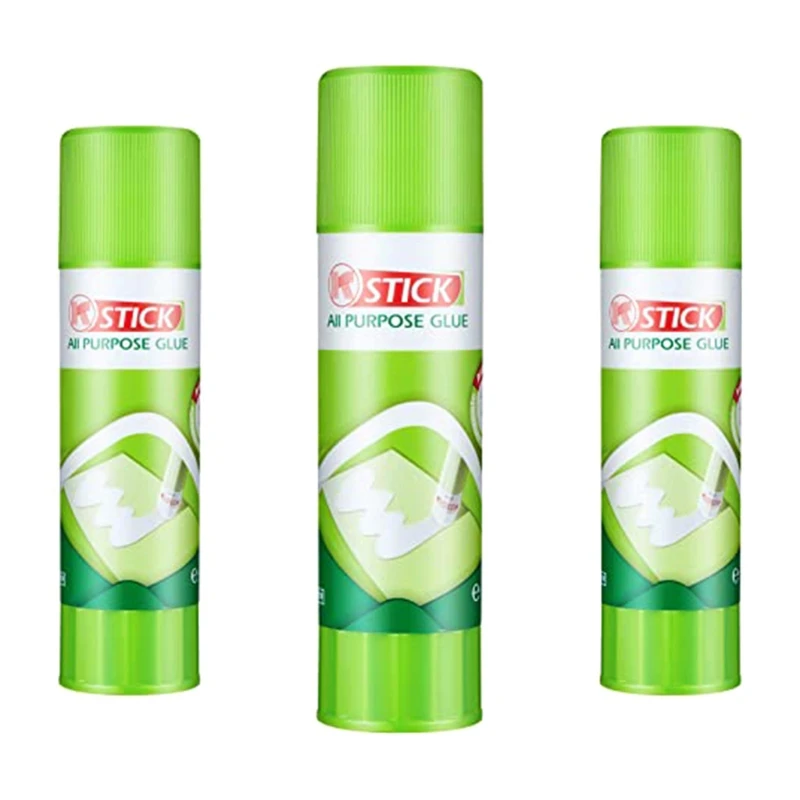
Elmer’s Disappearing Purple Glue Stick – Recommended by MarkForged and other brands
Cheap and effective, Elmer’s Disappearing Purple Glue Stick is used by pros and hobbyists alike to improve print bed adhesion.
UHU stic- Recommended by the 3D printing community
If you can’t get hold of an Elmer’s sick, the UHU stic is the next best thing.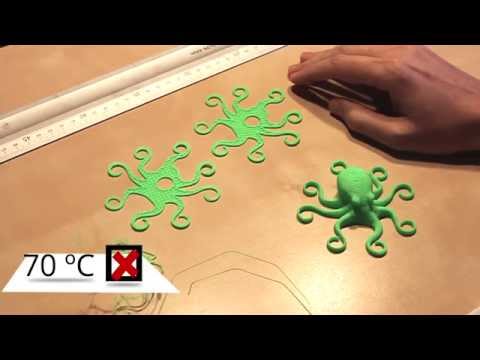 It works just as well, and like Elmer’s stick, it can be used with PVA support material.
Makerbot Build Plate Tape – Recommended by Makerbot.
Makerbot’s Build Plate Tape is designed for Makerbot printers, but it can be used with any printer. The textured surface improves adhesion and lasts for several prints.
Blue Painter’s Tape – Recommended by 3D Platform
If you don’t want to use glue, the textured surface of blue painter’s tape lends itself well to bed adhesion. It can be used with PLA, ABS and high-temp thermoplastics.
Essentium’s 3D Printing Bed Adhesive – recommended by Essentium
Essentium 3D Printing Bed Adhesive is for printing nylon filaments. It works with nylon filament and other high-temp materials, formulated to reduce contraction.
Out of the above adhesives, we have had excellent results with Elmer’s Disappearing Purple Glue Stick, the UHU stic, and blue painter’s tape. Blue painter’s tape can be picked up at any hardware store, or even your local supermarket. It can be pulled away from a glass build plate easily, without leaving any residue behind, and the grippy surface is ideal for ABS and CPE. Glue sticks are another excellent option, and they don’t cost very much either.
Just be careful with what glue sticks you use. Elmer’s Disappearing Purple Glue Stick and the UHU stic are tried, tested and proven. We tried the Original Pritt Glue Stick but didn’t get good results and this sentiment is echoed by most people who’ve tried it.
Also, remember to calibrate your build plate periodically. Today, most 3D printers will do this for you, but you will need to calibrate manually if you have manual levelling. Having a level build plate is crucial for good bed adhesion, print quality and reliability.
Best 3D Printer Bed Adhesives – Sprays, Glue & More – 3D Printerly
There are many options when it comes to 3D printer bed adhesives, and it can start to get people confused on what they should be using.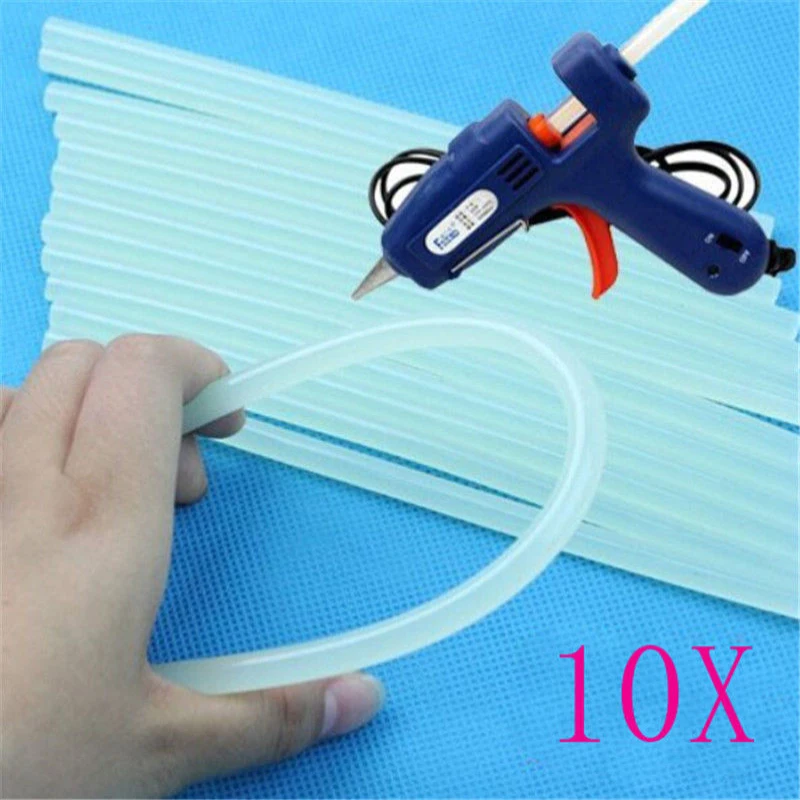 This article is going to try and simplify your options to narrow down what you should make use of.
You can choose from different glue sticks, hairsprays, mixtures like ABS slurry, types of tape to stick down to your print bed, or even print surfaces that have great adhesion by themselves.
Keep reading through this article for some great products and tips throughout.
What is the Best Adhesive/Glue to Use for 3D Printer Beds?
Elmer’s disappearing glue stick is the leading brand to use for 3D beds because of its easy and hassle-free bonding. The glue formula is purple, but it dries transparently while ensuring a strong bond.
As this glue dries fast, stays smooth, and provides strong adhesion, it can be used in various 3D printing projects.
Elmer’s disappearing glue stick is non-toxic, acid-free, safe, and easily washable. You can trust its quality for all of your 3D printing projects without any doubt.
- Easy to use
- No mess bonding
- Easy to see where glue has been applied
- Dries clear
- Non-toxic and safe
- Washable and dissolves with water
A user shared his experience stating that the factor of having purple color while applying and then drying transparent is a great help in 3D printing.
It helped him a lot especially when it comes to ensuring effective coverage of the whole print bed. Its strong adhesion also allowed him to use only a thin layer to get the job done.
Get some Elmer’s Disappearing Glue Stick from Amazon today.
How to Use Glue Stick for 3D Printer Bed Adhesion
- Make sure your bed is leveled properly before applying the glue
- Heat up your build surface
- Start from the top corner from your bed and apply the glue in long downward motions to the other end
- Use reasonable pressure, so you don’t apply the glue unevenly
- Let the glue dry for a minute to see a matte finish and start your printing process.
What is the Best Spray/Hairspray to Use for 3D Printer Build Surfaces?
Different hair sprays are widely used for 3D printer build surfaces but L’Oréal Paris Advanced Hairspray is considered one of the best.
It offers an extremely strong bond for your 3D prints. This anti-humidity hairspray can be applied evenly and dries extremely fast.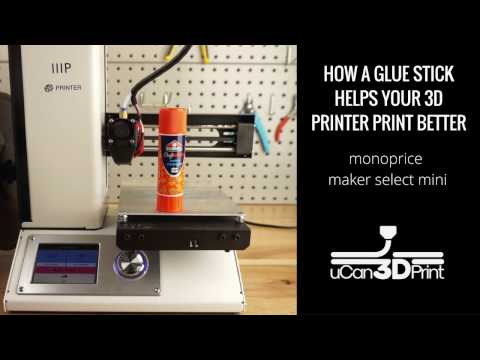
When it comes to ease of use, you cannot beat a hair spray because you only have to spray the print bed, and you are ready to go.
- Humidity resistant
- String adhesion properties
- Pleasant odor
- Easy to use
A user stated in his feedback that he has been using this to spray his hair for a long time but when he read that it can be used in 3D printing, he decided to give it a try.
Using this hairspray changed his way of working as it can be applied easily, provide strong adhesion, and bring amazing results with most of the 3D printer filaments.
One thing to keep in mind is that it is highly flammable so keep it away from direct fire or flames.
Check out the L’Oréal Paris Advanced Hairstyle Lock It Bold Control Hairspray on Amazon.
How to Use Hairspray for 3D Printer Bed Adhesion
- Give your bed surface a wipe with a sterile pad, isopropyl alcohol or a good surface cleaner
- Dry the bed surface with a paper towel – make sure not to touch the top surface with your fingers
- Heat up the print bed to your desired temperature
- Get your hairspray and apply short, even sprays across the bed surface
- Some people recommend putting your can of hairspray under warm water before spraying – to provide a finer mist
What is the Best Adhesion Tape to Use for Your Build Platform?
ScotchBlue Original Painter’s Tape is the one of the best adhesion tapes to use for your build platform.
This blue tape offers strong adhesion to the print bed no matter whether you are using ABS or PLA. Some filament bonds to build surfaces really strongly, making it hard to remove, so with the painter’s tape, it provides an extra surface to reduce that bond.
Once your model has finished printing on the build plate, it is a lot easier to remove in comparison to without.
The tape is easy to use and remove as well because of its 6.25 inches width. This width allows you to put a piece of this tape on a large part of your print bed instead of cutting and pasting various 1-inch parts of adhesion tape.
For almost all types of the commonly used print bed, only a small piece of this tape will be enough for your whole print.
- Adheres well to the print bed
- Easy print removal
- Easy to apply and remove
- Leave no residues behind
One of the users says that he used this blue tape while printing PLA, ABS, and PETG and got the expected results. It adheres well and is easy to use.
Another reviewer of this product says “for 3D printing, I’ll never not use this product” because its very effective, and you can even use the same tape over again until it rips.
The tape being so wide means that it doesn’t take many runs over the build surface to cover the whole thing.
You can check out this amazing ScotchBlue Original Painter’s Tape on Amazon.
How to Use Painter’s Tape for 3D Printer Bed Adhesion
- Simply take some tape and place the roll at the top of the bed surface
- Unroll the tape to cover the bed from top to bottom and repeat until the whole bed is covered
- It should be done sticky side down onto the bed.
How Do You Increase Bed Adhesion?
Although there are many minor to major techniques and settings that can increase the bed adhesion but the most beneficial are listed below.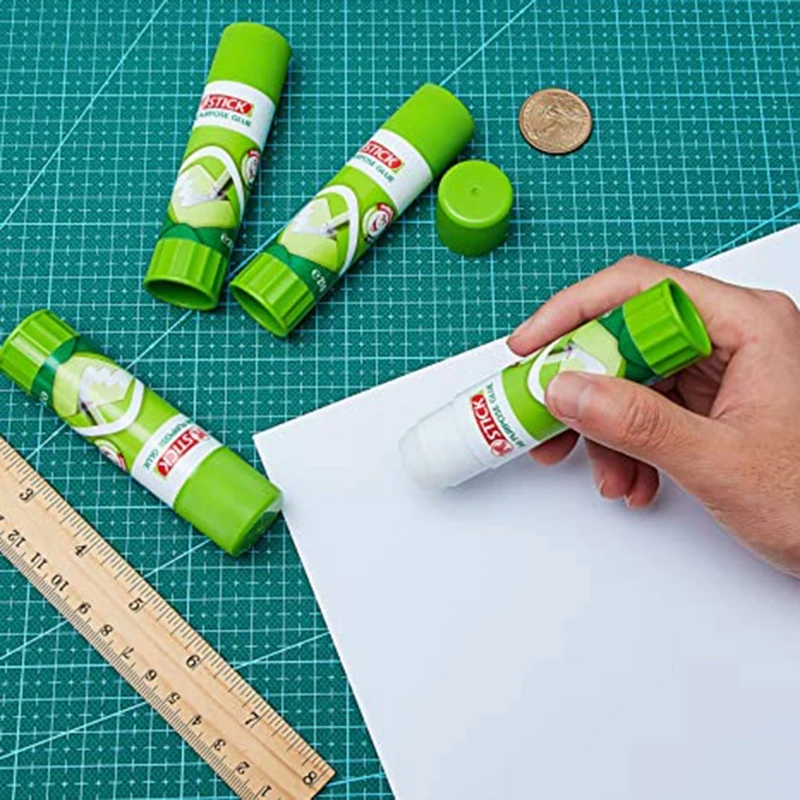 You can enhance bed adhesion if you:
- Clean the Build Plate to Remove Dirt and Residues
- Level the Build Plate Perfectly
- Alter and Adjust the Cooling Fan Speed
- Calibrate Nozzle and Printing Temperature
- Take Help from 3D Printer Brims and Rafts
- Configure and Calibrate First Layers Settings
- Use 3D Printer Bed Adhesives
Best Print Bed Adhesion for 3D Printing ABS
There are many options when it comes to getting the best bed plate adhesion for your ABS 3D prints. Most of these options work well, so you can choose between them depending on what works for you.
- Glue Sticks
- ABS Slurry/Juice
- Painter’s Tape
- Using a PEI bed surface
The video below shows you how to make the famous “ABS Slurry” that many people mention for getting good adhesion for ABS. It’s simply a mixture of ABS filament dissolved in acetone, until the consistency is fairly thick (like yogurt).
3D Printing Glue Stick Vs Hairspray – Which is Better?
Both glue stick and hairspray can provide you with successful adhesion for your 3D prints to the print bed, but people wonder which is better.
Many people who have tried both say that hairspray tends to bring more success overall, especially with surfaces like borosilicate glass and ABS filament.
Glue sticks can stick a little too well for PLA on glass surfaces, especially if it is a larger 3D print.
Other people mention that using Elmer’s Disappearing Glue provided the best results to get rid of warping issues, allowing them to go from using rafts and brims to just skirts.
Hairspray is really easy to clean compared to glue. A simple wash with hot water should take the layer of hairspray and doesn’t chunk together like glue does.
Some people said that hairspray can be messy, too liquid, and annoying to clean off, but this depends on what type of hairspray you are getting as not all brands are the same.
One user who uses hairspray said that they spray their before a 3D print and only washes it off after around 10 prints, so you can really make life easier once you use the right product and know the proper process.
When you look at other people’s experiences with glue sticks and hairspray, the general idea seems to be that hairspray is cleaner, easier to clean and re-apply, and lasts more 3D prints before needing to apply another coat.
Glue can be pretty messy, and for one person who does time lapses, glue doesn’t look too great, especially on glass.
When you hear the experience of one user, they say “hairspray on a glass bed is pure magic”.
Using a PEI Bed Surface for 3D Print Adhesion
PEI sheets are adhesive plastic sheet material that is specially designed to bear the heat cycles of 3D printing. Gizmo Dork’s PEI Sheet from Amazon is a very popular and well-loved product in the 3D printing community.
These sheets adhere well to the print bed while allowing you to print models of your interest.
PEI sheets don’t require any constant cleaning, maintenance, chemical adhesives, and provide a smooth fine print that can be removed easily.
And again about adhesion... (glue sticks part 2)
3D printing
here: http://3dtoday.ru/blogs/mister-magomedov80-yandex-ru/adhesion-kalyakaexperience123/
This site has written a lot of articles about adhesion agents for 3D printing. I would also like to contribute my little bit, in connection with which I purchased several different samples of glue sticks (more precisely, all the samples that I could find on sale). nine0003
I want to clarify that the tests are carried out on a ZAV printer, in a heat chamber, with ABS 'Prostoplast' plastic, at a temperature of 230/95.
The first sample is 'ErichKrause' pencil glue (the most common glue is a pencil in all stationery stores), which, upon arrival at home, was the very first smeared in two layers on a clean, washed 4-mm mirror.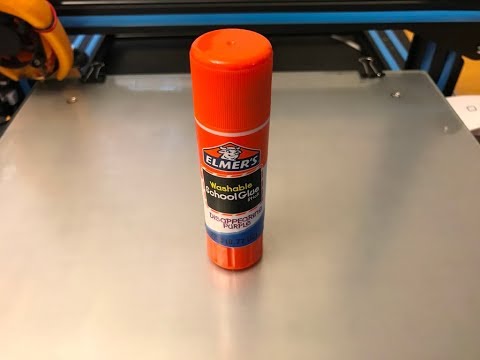
A model of a classic spinner was sent to print, which was already on a flash drive. The first layer went perfectly, the part did not come off, even in the absence of a skirt. Given that the area of adhesion of the print to the mirror was minimal... the glue stick did the job! nine0003
I am very satisfied with the initial print using this sample. The second print of the same model, in the same place was successful! The part didn't come off!
Next, for test printing, I chose the model http://www.thingiverse.com/thing:802145 the so-called 'gyroscope'.
'Gyroscope'
Let's move on to the next test participant. Sample #2 is a strange triangular shaped glue called 'De Vente'. Glue of lilac color with an unpleasant smell. Applied to the mirror in two layers, the first print went well. The second print in the same place came out just as well. Fingerprints are removed from the mirror without difficulty. This adhesive is usable. nine0003
Sample #2.
Sample #3 'Silwerhof' glue stick This glue sample is based on PVP. Glue is applied easily to the mirror. The plastic adhered perfectly on the first print and also stuck on the second print without any problems. The prints come off the mirror with difficulty.
sample no. 3.
sample no. 4 glue stick 'A+'. This glue is designed for gluing paper, cardboard and fabric. The glue is applied to the mirror with difficulty and sticks strongly. In this connection, it was applied in one layer. The adhesion of this sample is weak, the plastic does not stick well even at the first printing (although for some reason I had hopes for it :)). Glue in the trash! nine0003
Sample No. 4.
Printing result with sample No. 4.
Sample No. 5 'ErichKrause Joy' glue stick, which was also hoped for, did not fit for printing at all, the plastic did not stick at all. Summary: in the trash!
sample no. 5.
sample no. 6 'Hatber' glue stick applied easily, first print and second print went well.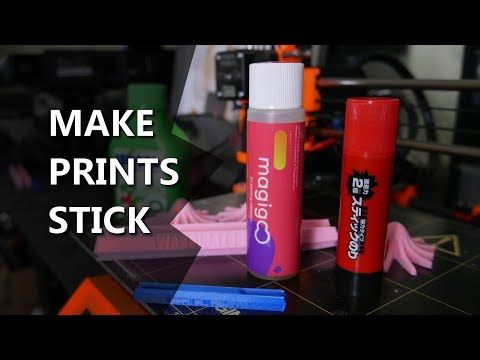
swatch no. 6.
swatch no. 7 'De Vente' gel adhesive stick, colorless, pleasant smelling, applied with great difficulty and in a thick layer, therefore, it was applied in one layer. However, this did not prevent the plastic from sticking to the surface perfectly, on the first print and the second! This glue remains as a 'helper';)). nine0003
Sample no. 7.
left side of mirror smeared with sample no. 6, right side with sample no. 7.
sample no. . The part comes off with difficulty. This glue goes to 'helpers'.
Sample No. 8.
Sample No. 9 PVP-based glue stick 'Alingar', I was not satisfied with this glue, the first print was unsuccessful, I didn't even start the second one. nine0003
Sample No. 9.
And the last one....
glue stick 'Tukzar' apparently Turkish) is not suitable for printing, throw it away!
Good luck everyone! Thank you for your attention).
Subscribe to the author
Subscribe
Don't want
38
Overview of glue sticks and adhesion varnishes for beginners
Hello, dear readers of the portal 3d today.
For a long time I wanted to write an article about those means for plastic adhesion that I tried myself. The materials I chose were glue sticks and hairsprays, because. they are the easiest and most enjoyable to use. The article was rather published for beginners to look for their own remedy, so there are no revelations here. nine0003
1) Gingko glue stick "Work-Home-Office-Creativity" from "Uncle Liao" from China.
The worst I've ever seen on the road to good adhesion. It dries quickly, everything peels off and bends, you need to smear it with enough oil to have at least some effect.
Pluses:
- forms a continuous film after several applications;
- quite common (at least in the Tula region).
Cons:
- poor adhesion, and that says it all.
Subjective assessment: 2/10.
2) Erich Krause glue stick, originally from sunny Russia.
Definitely a skill to work with, parts often come off the table.
Pros:
- available almost everywhere.
Cons:
- mediocre adhesion.
Subjective assessment: 4/10.
3) Mega fixation hairspray "Taft three weather" from Schwarzkopf Professional. nine0003
Slightly better than the previous sample, but not much.
Pros:
- not pronounced.
Cons:
- very afraid of drafts when printing with ABS plastic.
Subjective assessment: 5/10.
4) Extra strong hairspray Delight from Russia. Sold in various wholesale stores and Magnet.
Pros:
- the price is 50 rubles. For a huge balloon that will last forever. nine0003
Minuses:
- with a little effort, even a hot table is torn off, but it is suitable for printing with certain reservations.
Subjective rating: 6/10.
5) Oriflame "More" Swedish hairspray.
I got it quite by accident. It glues well, although sometimes the skirt starts to peel off very slowly, but if the print is less than 5 hours, then it's okay.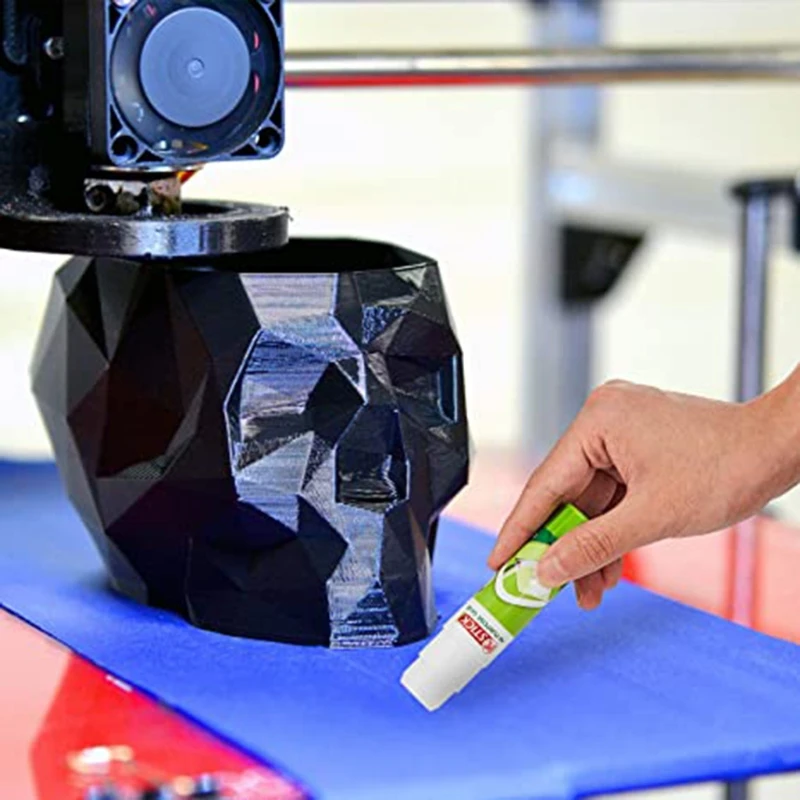
Pros:
- compact; nine0003
- very sticky and slow drying. After finishing in the evening, you can print on the old varnish pass in the morning.
Cons:
- slightly sticky surface of the part after peeling off the table;
- now it is quite difficult to get it.
Subjective rating: 7/10.
6) Nelly Spanish strong hold varnish.
Was very widely known in narrow circles of 3D printers.
Pros:
- strong adhesion;
- compact size unlike other varnishes.
Cons:
- strong adhesion, oddly enough. The students, having gone too far with varnish, tore off the cold part along with pieces of glass.
is the biggest minus. This varnish is no longer produced. Therefore, it can only be bought from old stocks.
Subjective assessment: 8/10.
7) Magic glue stick "Kalyaka-malyaka".
Here's our purple favorite. Many recommend it, and, as it turned out, for good reason.