Glue 3d printed parts together
5 Ways to Bond and Glue 3D Printed Parts – Maker Hacks
Finishing is an important part of 3d printing, but how do you combine, glue, and bond your 3d printed parts to get a 3d printing result you can be proud of?
Finishing 3D prints is as important to getting a good final 3D print as dialling the printer in. One way to get a good outcome is to create your print in multi-part assemblies, but how do you combine them to get a 3d printing result you can be proud of?
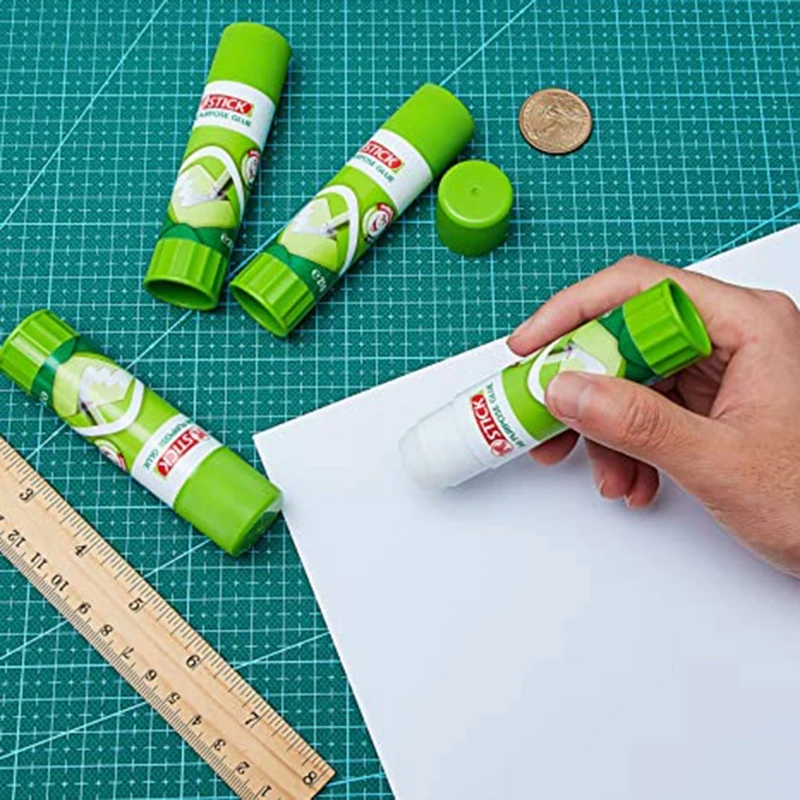
Super Glue
Glue is the default go-to for joining 3D printed parts, be that Super Glue, Gorilla Glue, or two part epoxy, but while that is a common and flexible choice, it’s not the only one, and can be pricey in comparison to some other options …
Solvent
Rather than adding glue, you can bond parts through, essentially, chemically melting it (given due care and ventilation, etc).
Why is that important? Well, with solvent, what is left is just the plastic – nothing added. Also, being a watery liquid, it can drip, seep and draw into places other methods can not reach.
Most people know that ABS can be solvent welded with Acetone, which is commonly found at hardware stores in bulk, or drug stores (sold as nail polish remover – just get the pure stuff). What I was surprised to learn is some PLA can solvent weld with it too!
I tried it out on some natural no-name ebay PLA and it worked great 🙂
Make sure you use a natural brush rather than one with plastic bristles for obvious reasons!
Solvent welding PLA with acetoneHIPS can be dissolved by limonene, but you can also use Polystyrene modelling solvent, just like when you build model airplanes!
Another advantage to solvent is, in addition to brushing it on neat, you can make a slurry to fill larger gaps by dissolving some filament for a while to make a thicker consistency.
Heat
As well as solvent melting, you can also, obviously, use heat. Usually melting filament comes from the extruder or leaving your part in a hot car, but a soldering iron or even hot air gun can be employed.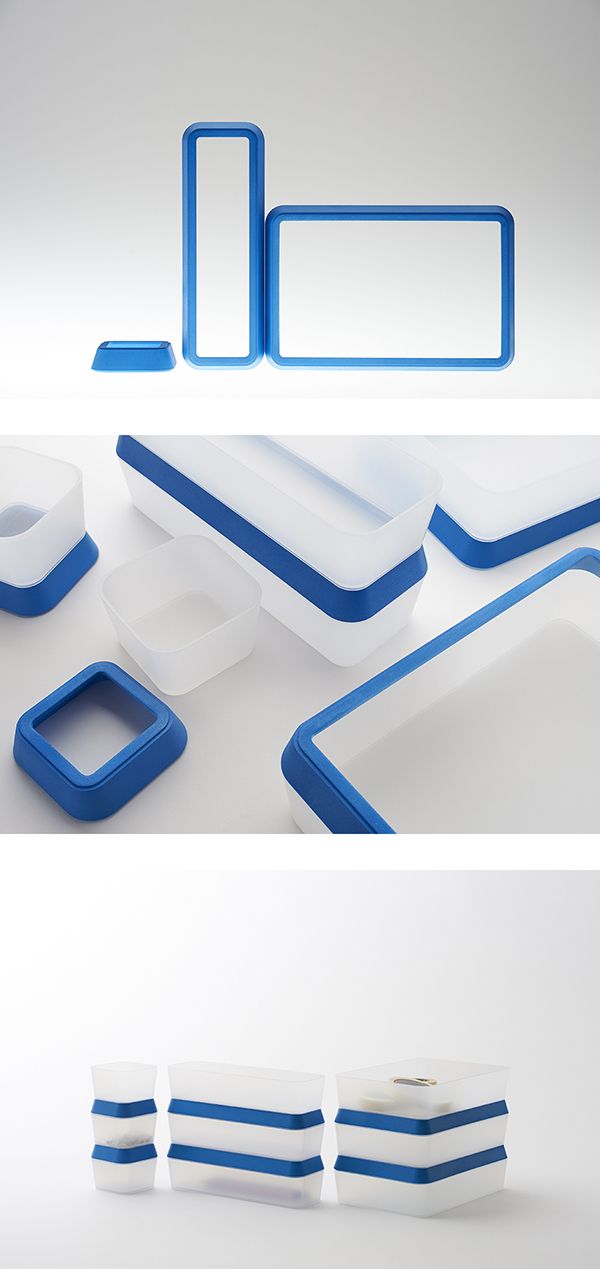 Heat melting is likely my least favourite technique.
Friction
If you have a Dremel-like tool then you can insert some filament into the collet where the drill bit would usually go, then get it up to speed while applying light pressure against where you want to join. Experiment with speeds to get the sweet spot, and it can work very well, with strong joints.
3D Pen
I have written about my bonding experiments with 3D pens before, and since then I have only gotten to like the technique more. This is probably my favourite technique because it doesn’t involve solvents, doesn’t deform the print, and allows you to colour match!
Plug in the pen to warm Will show green when up to temperature Wipe the nozzle Purge any existing filament Quickly apply hot filament Work the outside of joins Let coolYour favourite technique?
What is your favourite bonding technique? Let us know in the Facebook group!
Category: Hacks, Tips, and TutorialsTag: 3d pen, 3d printing, acetone, bonding, finishing, glue, making, modelling, repairing
What is the Best Glue for 3D Printing Bonds? PLA, ABS, PETG – 3D Printerly
3D prints can get detached and broken sometimes, so you want to find a way to stick it back together.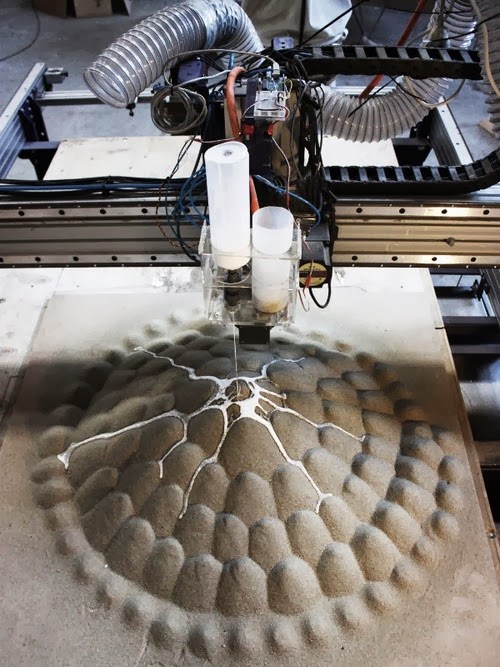 This leads many people to wonder whether superglue works on PLA and other 3D printing materials, so I decided to look into it.
There are so many options that you can use for gluing 3D prints together and they differ across material types. This article should simplify the process and make it easier for you to choose a solid option that you can stick with.
Keep on reading through this article for some more information about getting the best glue for your 3D prints once and for all.
What is the Best Glue for 3D Printing Bonds?
The best glue for 3D printing is superglue because it provides a strong bond between plastic and is very easy to use. A good brand of superglue cures quickly, so for materials like PLA, ABS, and PETG, it should work great. It doesn’t work so well for flexible filament like TPU or Nylon.
There are other options out there that several 3D printer users have success with, but superglue is the most recommended.
Make sure you are in a ventilated place and are wearing a protective mask and goggles when using some of these adhesives. They can be fairly irritating to your breathing and skin if you come into contact with it.
If you want to get some good quality superglue for your 3D prints, I’d recommend getting yourself some Gorilla Super Glue (20 Grams) from Amazon.
This one does take some extra time to cure, so you can use a separate activator like baking soda to speed up the curing process. Other people have said even water works well to achieve this, although it’s going to run as you would expect.
You can also go with the Bob Smith Industries BSI Maxi Cure Clear Adhesive from Amazon. It comes as a combination pack of the superglue and an accelerator to cure in just 10-25 seconds.
It states that it can bond metal, plastic, wood, ceramics, rubber, leather and more.
A further read into this article will give you an insight into things you can use in gluing your 3D print.
What is the Best Glue for PLA?
The best glue for PLA 3D prints is superglue. Other popular options are 2-part epoxy resins that are mixed together to activate then cures together to bond two objects. A specialized glue that works very well for PLA is PLA Gloop. It bonds PLA 3D prints together strongly, but can also be used as a bed adhesive.
Superglue has a short time for curing and it forms just a thin layer of bonding that is mostly not visible to the eyes when done carefully. One user said you can remove excess superglue with baby oil as it penetrates the bond between the plastic and the superglue itself.
Other adhesives that join PLA are:
- Epoxy Resin
- 3D Gloop
- Contact Cement
- Hot Glue Gun
- Acetone
- Soldering Iron
- 3D Printing Pen
Epoxy Resin
Epoxy resin is a popular solution to gluing and combining up 3D prints, especially for rigid materials like PLA.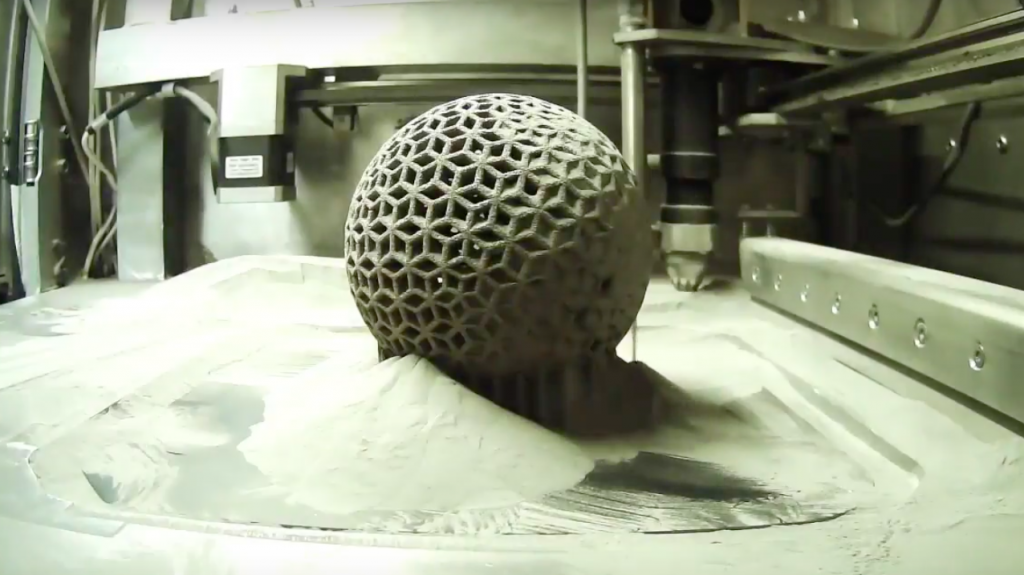 It does take longer to cure than superglue though, taking around 5 minutes to set, and another 10-15 minutes to fully cure.
The difference is the level of strength that you get with the right kind of epoxy resin.
It’s a great solution to joining up those larger 3D prints like cosplay items and other similar items. You’ll get the best results with an epoxy resin by clamping it down during the curing process.
I’d recommend going with the Loctite Epoxy Instant Mix from Amazon for your 3D printing needs if you go with this option.
3D Gloop
3D Gloop is a great alternative to superglue and may even be a better product for bonding/gluing PLA 3D prints together. It is known to be a solvent which actually slightly melts the PLA plastic and weld it together.
In the video below by MatterHackers, you can see just how well this product works to stick PLA together. It also can be used as a bed adhesive to help 3D prints stick to the bed while printing.
Contact Cement
Contact cement is also great at bonding PLA, though some people have complained about the visibility of the adhesive after using it. With practice, you should be able to apply is carefully and smoothly to not show up very much.
You can also sand any areas which show the contact cement on your PLA prints with 120 grit sandpaper.
A popular one that I found on Amazon is the Permatex Contact Cement 1.5 oz. It’s known to be great for instant bonding applications, is heat and water resistant, and can even bond rubber to glass and metal.
They mention that no clamping is required for this product to work well.
Hot Glue Gun
You can’t go wrong with a hot glue gun when it comes to gluing plastics, being a very popular solution for many applications.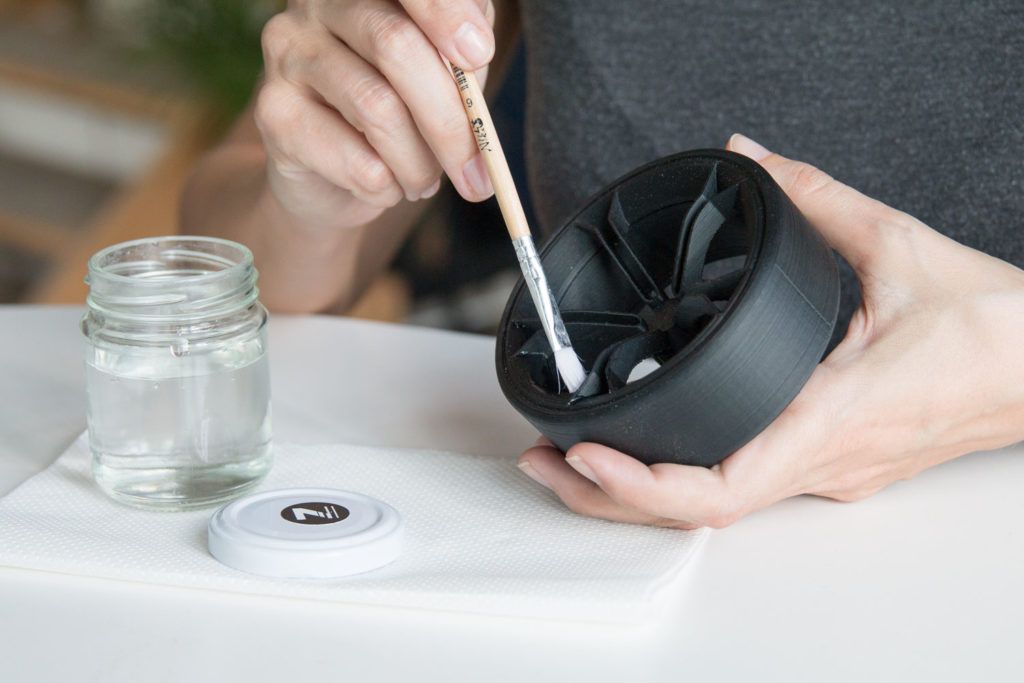 It has pretty good strength and isn’t too difficult to apply, with a 45-second application time.
When you do use this though, the glue tends to be fairly thick, so it would be better for larger 3D prints and big projects like cosplay armor. For something like miniatures or smaller 3D prints, I wouldn’t recommend using a hot glue gun.
I’d recommend going with the Gorilla Dual Temp Mini Hot Glue Gun Kit with 30 Hot Glue Sticks from Amazon.
- It has a precision nozzle that makes operation a lot easier
- An easy-squeeze trigger
- Weather-resistant hot glue sticks so you can use it in or outdoors
- 45-second working time and withstands strong impacts
- Has an insulated nozzle that prevents burns
- It also has an integrated stand to keep the nozzle off other surfaces
Acetone
This has been known to weld and smooth PLA but only with certain types, most likely based on the manufacturing methods and chemical properties. Thomas Sanladerer shows us this in the video below.
You can get yourself a bottle of Pure Acetone from Amazon for a pretty good price.
Soldering Iron
Another method of “gluing” PLA together consists of using a soldering iron to apply enough heat to melt the PLA part, then hold it together so it hardens and joins. It’s obviously not a glue, but it works very well to bond PLA parts together.
You can also use a line of the same filament you used to print the object, then solder that into both the 3D printed plastic parts to weld it together as shown in the video below.
The basic instructions of this video are to:
- Get your 3D printed pieces and make sure the surface is good enough to together
- Get your soldering iron and set it to a temperature around 200°C
- Use a length of the PLA filament you used for printing
- Line up the length of filament with the 3D print and melt the filament to use as a solder to combine the pieces together.
 You want to filament to actually get into the gaps and holes
 - Let the PLA cool down and it should be joined together strongly.
A great one that should work well for the purpose of joining PLA together is the Anbes 60W Soldering Iron Kit from Amazon.
Here is another video which shows you how to weld together two parts. It was from a 3D print that failed halfway, which he split up and managed to print the other half and then combine it with soldering.
3D Printing Pen
A lesser known solution for gluing or joining PLA 3D printed parts together is to use a 3D printing pen. It’s not as popular since it isn’t as effective as the other solutions, but it definitely has its uses for 3D printing.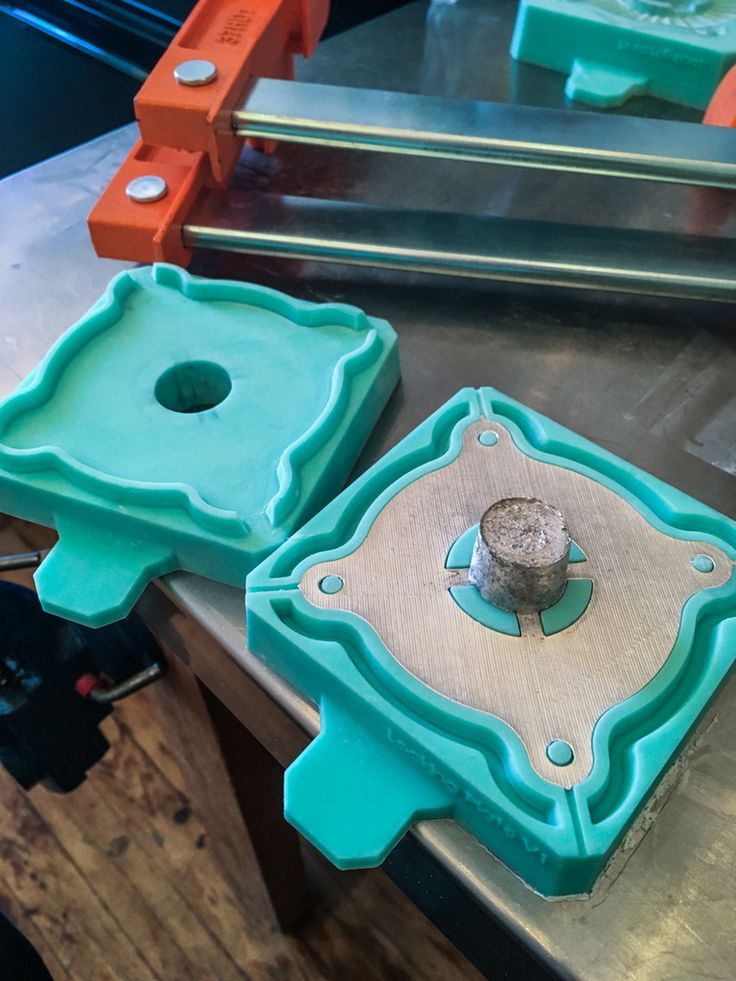
It’s similar to the soldering iron in a way, but uses the heat from a 3D printing pen to join PLA plastic parts together.
The MYNT3D Professional Printing 3D Pen from Amazon is a great choice.
One user did mention how they used this specific 3D printing pen to weld pieces of prototype parts together since they were too big to print in one part.
You can get better results with “gluing” pieces together by applying heat from a hair dryer or heat gun. It’s a pretty quick solution since you don’t have to hold things for long periods of time to set.
You should try to use fairly high temperatures to achieve this as compared to what you would usually set, though heat controls for this 3D printing pen is really simple.
It can also be used to fix small imperfections and gaps in your other 3D prints which is very practical.
What is the Best Glue for ABS?
A popular product to glue ABS 3D prints is acetone because it is a solvent which can actually dissolve ABS then harden up again.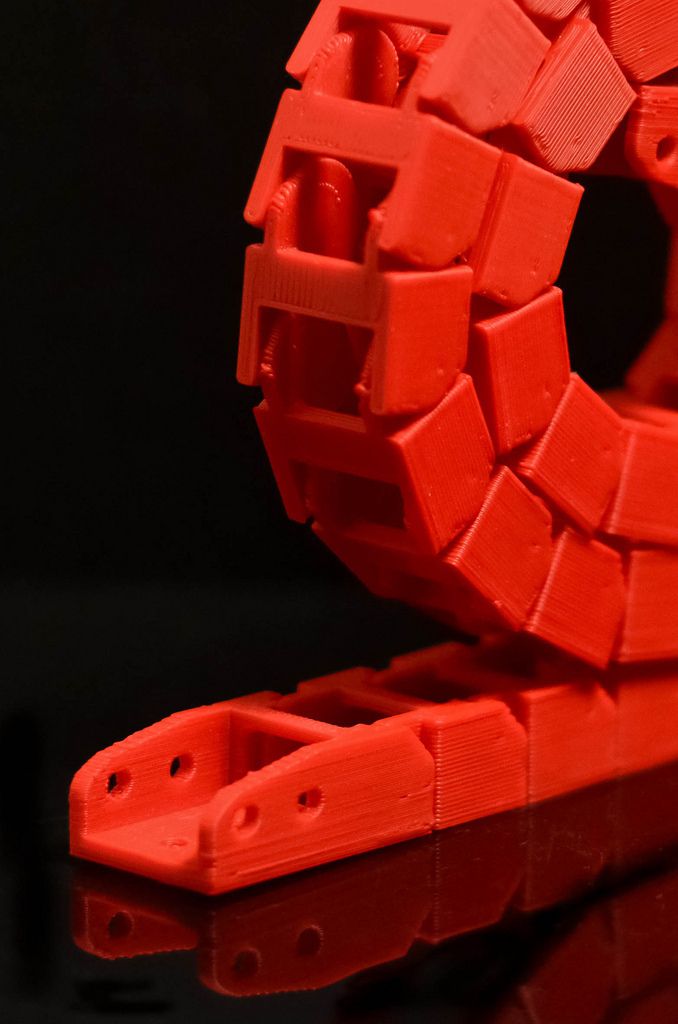 When you apply acetone to both ABS parts then hold it together, the softened part will start to form a strong bond until it cures fully. This process is called solvent bonding.
Other great glues or adhesives you can use for ABS are:
- Superglue
- ABS Juice, Glue, Slurry
- Epoxy
- Polyurethane
- Hot Glue Gun
Superglue
As previously mentioned, superglue is great for rigid objects and plastics. You can apply some superglue to your ABS 3D print and have it glue together fairly quickly.
You want to ensure that your objects are aligned nicely before you apply the superglue though because once it cures, you won’t be able to realign it nicely.
ABS Juice, Glue, Slurry
Another great set of products is ABS juice, glue and slurry, which are very similar in characteristics but mainly differ in thickness. You mainly want to use ABS slurry which is the thickest of the three to repair ABS prints and help with gluing pieces together.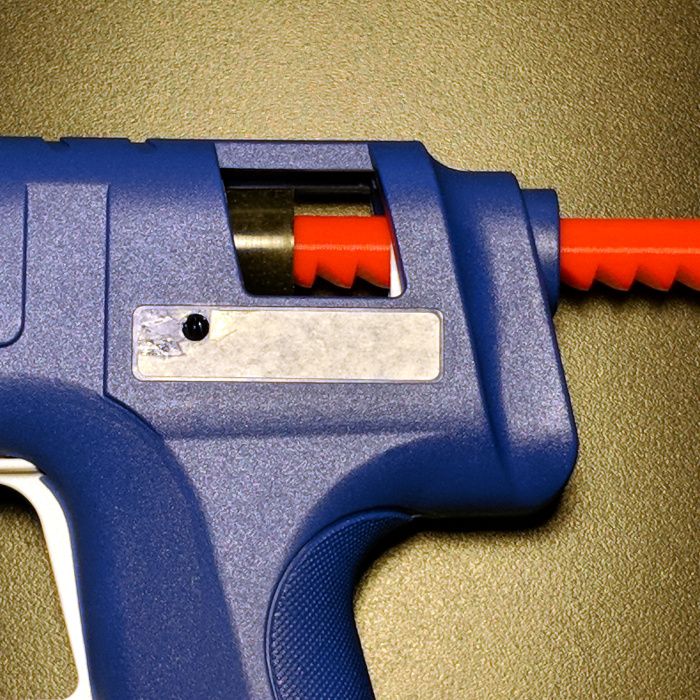
It’s also used as a way to repair layer separation.
Epoxy
Epoxies are a great method for bonding and gluing ABS plastic 3D prints.
One advantage of epoxies is that they are water and chemical resistant, making them a suitable choice for high-strength bonding. It requires no heat to cure, although if you want an accelerated result, you can apply heat.
Again, I’d go with the Loctite Epoxy Instant Mix from Amazon.
Hot Glue Gun
This is another fast way of gluing your ABS together. Simply load some filaments into the gun and use the heated extrusion to join the parts. It can also fill gaps. Ensure not to move the nozzle too close to the ABS to avoid melting.
Surface Preparation: It is important to prepare the surfaces of the ABS parts you want to glue by cleaning, degreasing, and sanding.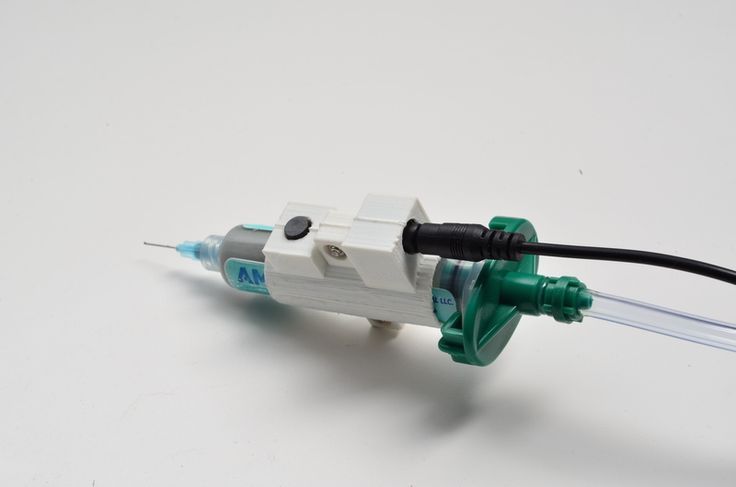
Caution: The precautionary measure against the dangers that can arise from using acetone is keeping it away from flame because it is highly inflammable. Also, use it in a ventilated space to avoid excessive inhalation.
What is the Best Glue for PETG?
The best glue for PETG is superglue since it holds the parts together strongly and still maintains the quality and integrity of the 3D print.
You won’t need to bother about clamping the parts together as it pretty quickly bonds together and cures fast. Loctite glue and gorilla glue is some of the best.
Other adhesives that can glue PETG are:
- Two-Part Epoxy
- Hot Glue Gun
- Solder Iron
Two-Part Epoxy
A two-part epoxy is pretty popular with 3D printer users to glue PETG parts together. They usually come with another container in the pack called the hardener or accelerator.
The two products are meant to be mixed together before applying it to the surface of the PETG.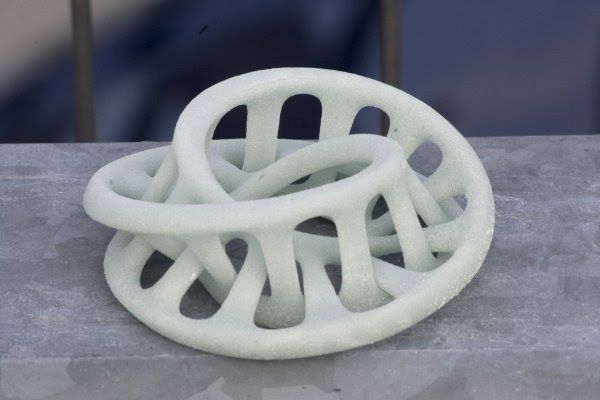
Although, the curing time varies; some take 5 minutes, while some take more time. The combination of a hardener and the glue itself will make a long-lasting and strong bond between the parts.
Hot Glue Gun
Most of the tests that were carried out on PETG using a hot glue gun prove its ability to bond two PETG permanently.
Check out this video on YouTube where a series of tests were carried out on different adhesives and the hot glue gun was confirmed to be one of the most reliable.
Again, I’d recommend going with the Gorilla Dual Temp Mini Hot Glue Gun Kit with 30 Hot Glue Sticks from Amazon.
Soldering Iron
A soldering iron with a temperature control option can glue PETG parts when used in melting the surfaces of the print.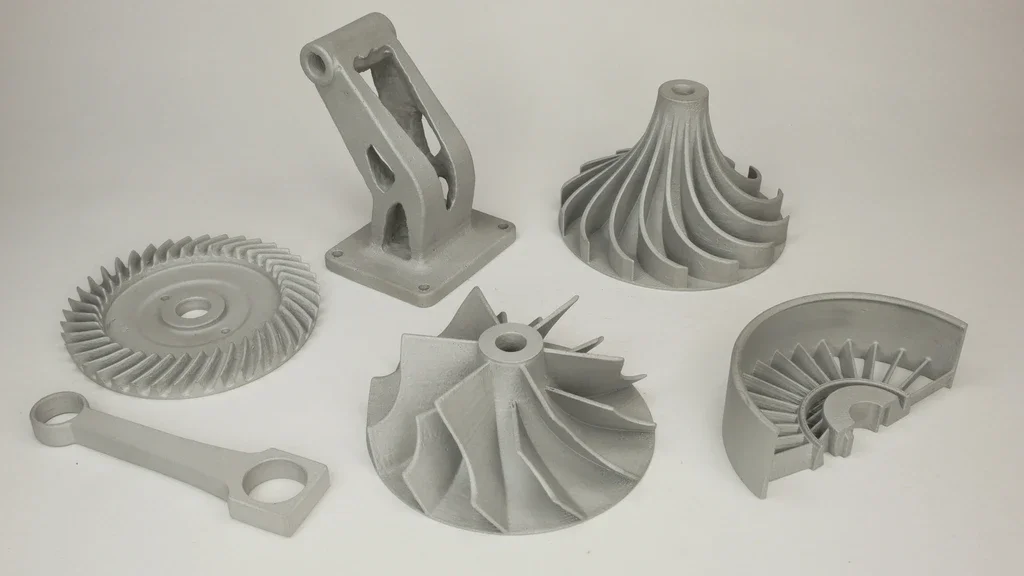 This process requires patience and it will yield good results in the end.
Ensure to wear a protective mask and goggle when using any of these adhesives. Use it in a ventilated area.
It works in the same way that it would with PLA, so you can watch the video in that section to see how you would do this with PETG.
What is the Best Glue for TPU?
The best glue for TPU is flexible superglue like Loctite 406 Superglue. It is designed in a way that allows it to bond rubber and flexible materials together with ease. The bonding and curing times of this glue is very quick and provides a strong bond which can’t easily be broken.
Other glues that work well with TPU are:
- Flexible Superglue
- DMF (N-Dimethylformamide)
- THF (Tetrahydrofuran)
- Soldering Iron
Flexible Superglue
A tried and tested product that works great to glue TPU 3D prints is the Genuine Loctite 406 Superglue Instant Adhesive from Amazon.
It has the following features:
- Rapid bonding with plastic and flexible materials
- Great adhesion of materials that are hard to bond
- Multi-purpose and works in many applications
- Very easy to use
It does have a pretty small margin of error, so you want to be very quick and accurate when using this stuff. It has an early bond strength said by users to be in just seconds, showing just how strong it is.
One user even bonded a broken rubber roller belt with this product. It’s best used to join TPU with another type of material like PLA. For TPU to TPU, it can still work well, but the solvents below are more efficient.
DMF (N-Dimethylformamide)
DMF is a solvent that can melt your two pieces of TPU or flexible filament together. When it comes to joining up TPU with another TPU 3D printed part, using a solvent is usually the best solution.
THF (Tetrahydrofuran)
THF is another pretty strong solvent which dissolves TPU and allows you to bond two separate TPU prints by applying it on the surface and holding it together.
Soldering Iron
Similar to using a soldering iron for PLA and other materials, it can also be used for TPU and flexible 3D prints.
In the video below, he uses a soldering iron with a flat mouth to create a specific space for the TPU to be bonded together. He then filled it up with TPU filament and heated it up to let the parts soften and bond together.
After the TPU parts harden, it should create a very strong bond that can’t easily be pulled apart, unless the soldering wasn’t done accurately.
What is the Best Glue for Nylon?
The best glue for Nylon is a hot glue gun. Superglue doesn’t work as well with Nylon unless you have a flexible superglue. Many people have gotten great results when gluing Nylon with a hot glue gun. You can choose a method of heat like a soldering iron to bond Nylon 3D prints together.
Other methods you can adhere nylons are:
- Hot Glue Gun
- Soldering Iron
- 3D Printing Pen
You may think epoxy and superglue can work well on Nylon but it doesn’t have the same effect, mainly because of the flexibility and composition. You could do well with some of the flexible superglues mentioned in the TPU section above.
I’d recommend going with the hot glue gun or the soldering iron option. Another great method for “gluing” Nylon together would be a friction welding method which works with a rotary tool to heat up the surface and bond it together with friction.
It actually works pretty well for all sorts of materials, though you’ll want to keep safety in mind due to the dust and fumes it can cause. Some people even recommend combining the hot glue gun and friction welding method for even better results.
Another technique which isn’t talked about a lot of friction welding. You don’t need any kind of adhesive, but you do need a special tool to get this method working properly.
A Dremel Lite 7760 Cordless Rotary Tool from Amazon is a great product to use for friction welding.
Can You Use Superglue on PLA? What To Do If It Doesn’t Work
You can use superglue on PLA as a way to join parts together. It’s one of the best options for bonding PLA 3D prints, especially for smaller parts.
In some cases where superglue doesn’t work on PLA, it could be because:
- There are too many cavities or gaps where the parts are supposed to join together
- There was the presence of moisture or water on the surface which inhibits bonding
- The quality of your superglue isn’t at its best
- The PLA is exposed to heat which might break the bonding
If it doesn’t work, I’d recommend sanding the surface of both PLA parts to ensure a better fit.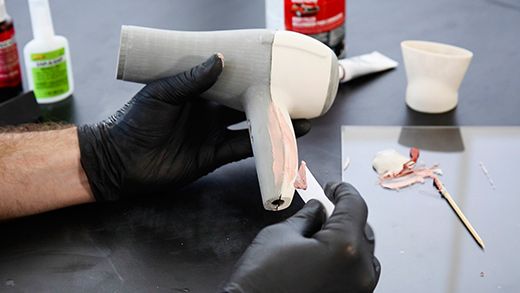 You want to use fairly low grit sandpaper like 120 grit to really prepare the surface to be glued together.
You also want to get another brand of superglue that cures faster and has better bonding properties, especially if your superglue is not very effective.
Does Contact Cement Work on PLA?
Yes, contact cement does work on PLA to glue 3D printed pieces together. It usually has a strong bond and also leaves you room for correction unlike with superglue.
Contact cement dissolves the surface of the PLA when applied and this process aids the bonding. A 3D enthusiast agreed with the fact that contact cement works on PLA, but you do need to use a good, reliable product that is known to work with your material.
When you follow the instructions of the specific contact cement you have, you should be able to have success in joining your parts together.
Best Glue for 3D Printed Miniatures (Minis)
The best glue for 3D printed miniatures is standard superglue (Cyanoacrylate).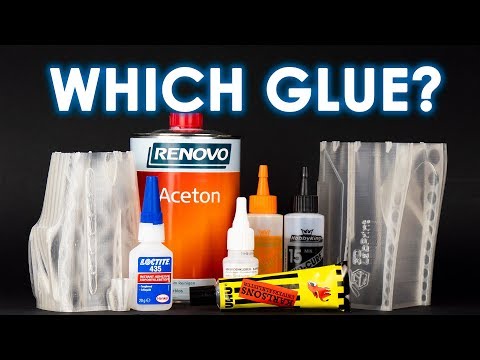 It provides a strong bond for your 3D prints and cures pretty quickly. You’ll usually have to hold the piece on the model for it to set, but you can use an activator to speed up the curing process.
Accessibility is easy as compared to some solvents, it is very effective and easy to use, as well as being really cheap and long-lasting.
Other adhesives like epoxy work too, but they tend to have a longer curing time. There are definitely some quick-curing epoxies that you can make use of for minis, which many people have had success with.
Contact cement glue is another good option for plastic minis. They bond quickly too (although not as quick as glue) through melting and subsequent fusion. This bond is lasting and more durable than CA.
I wouldn’t use contact cement for very small minis because of the noticeable damage the corrosion will do to the parts.
How Do You Connect & Join PLA Filament Together?
It’s possible to connect and join two pieces of filament or even rolls of filament using a piece of a PTFE tube and a lighter. This is great for when you have small strands of filament left over from spools, which you can join end-to-end.
The method consists of pushing through the filament through the tube, lighting one end with a lighter so it’s softened, pulled it back through the PTFE tube and pushing the second piece of filament in the tube so it can then join together and harden.
The video below shows how it’s done very clearly.
On a final note, if you have followed the instructions above in terms of avoiding certain adhesives for certain materials (like superglue for nylons), you should be good to go by sticking to the recommended ones.
Printed to be soldered, cannot be glued!
Greetings, dear readers!
Assembly and processing of printed parts on a 3D printer is an activity for the patient. Not much effort is required. Depending on the situation, sometimes you have to invent something, especially when the object is printed out in parts that need to be combined into one solid structure. It is the experience of solving such a problem that I want to share.
Description of the problem
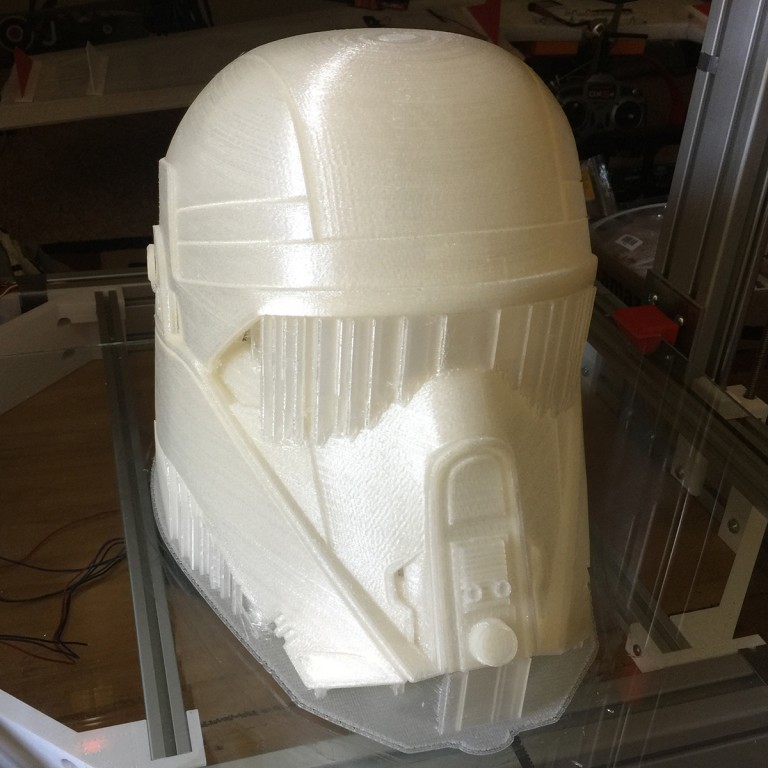
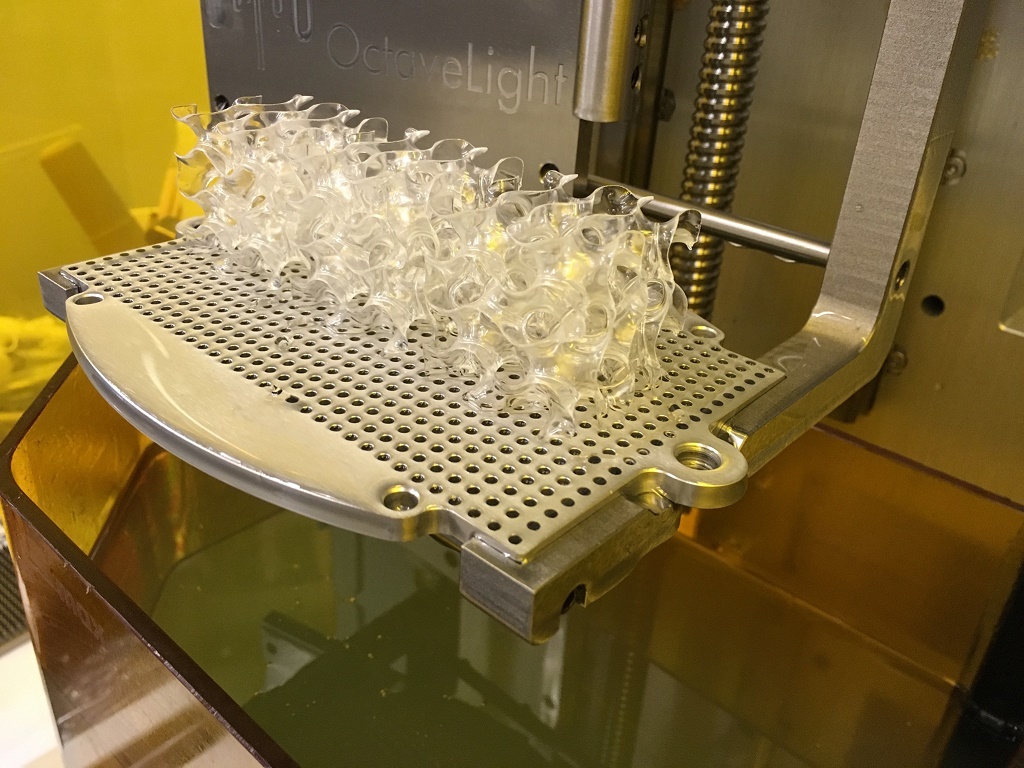
It was required to reproduce in reality a ready-made leg model for a large life-size puppet. I don’t present the doll model itself here yet, since it is not yet completed, and the leg model is presented below. In particular, we will reproduce only the boot.
The final model of the boot was quite large (foot length 600 mm), so before printing it had to be cut into pieces to fit in the working area of the printer. Thus, we got a lot of details that, after printing, needed to be combined into one.
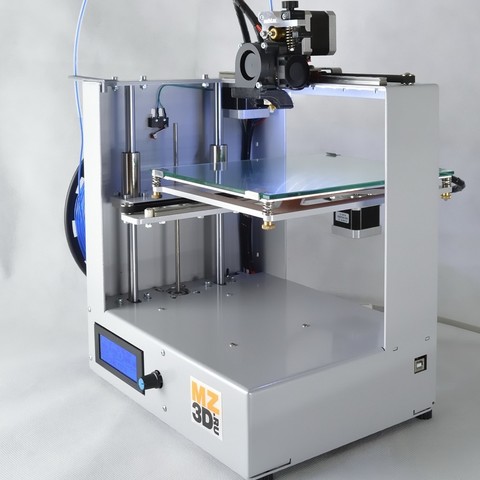
Printed on a SoloPrint 3D printer using PLA plastic from Print Product. Given that the final shoe will be walked on, it means that it will be subjected to decent loads, so the walls of the boot are made thick - the thickness of the plastic varies from 5 mm to 20 mm.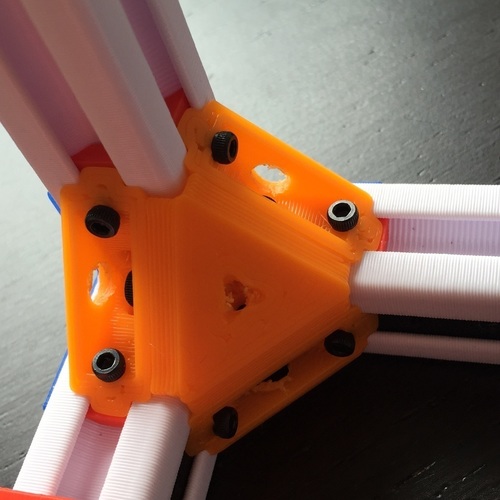 All plastic is dressed on the frame.
The print results are below:
Now the task was to assemble and glue it all, and then attach it to the stilts.
Previously, I did not have to work closely with PLA plastic, I came across it only in terms of finished products.
PLA is the most capricious plastic I have ever worked with. Due to its low melting point, a number of processing difficulties arise. In particular, when processed with a grinder, the surface immediately turns into an “old sweater with spools”.
During milling or drilling, plastic immediately sticks to the cutting tool. The situation is just as bad with gluing parts with various adhesives: either it doesn’t glue at all, or it’s barely and ... In general, it’s no good.
Experiments
The issue of gluing is very acute!!! And after much experimentation with adhesives and solvents, it was decided to 'weld the parts'. Welding is conditional, rather soldering ...
I took a soldering iron and the remains of PLA thread. First, I grabbed it with dots and then melted it along the seam and compensated for filling with already liquid plastic into the formed groove with a thread. The downside of this is the yellow seam and a huge amount of time wasted, as well as the 'beautiful' pungent smell from almost burning PLA.
Then I came up with the idea of an extruder, in the form of a nozzle on a soldering iron, in order to soften the walls of the printed ones with a sting and feed almost liquid PLA directly into the inside.
The result is this mini extruder:
The results of the crash test of the soldered part showed a pretty good result: the blows were made with a hammer (I won’t say in Newtons, but if you move your finger like that, then most likely there will be a fracture). As a result, most of the seams remained in place, everything around burst.
It is worth considering the fact that the seam turned out to be a 'shallow solder' and holds well. I think the experiment brought good news.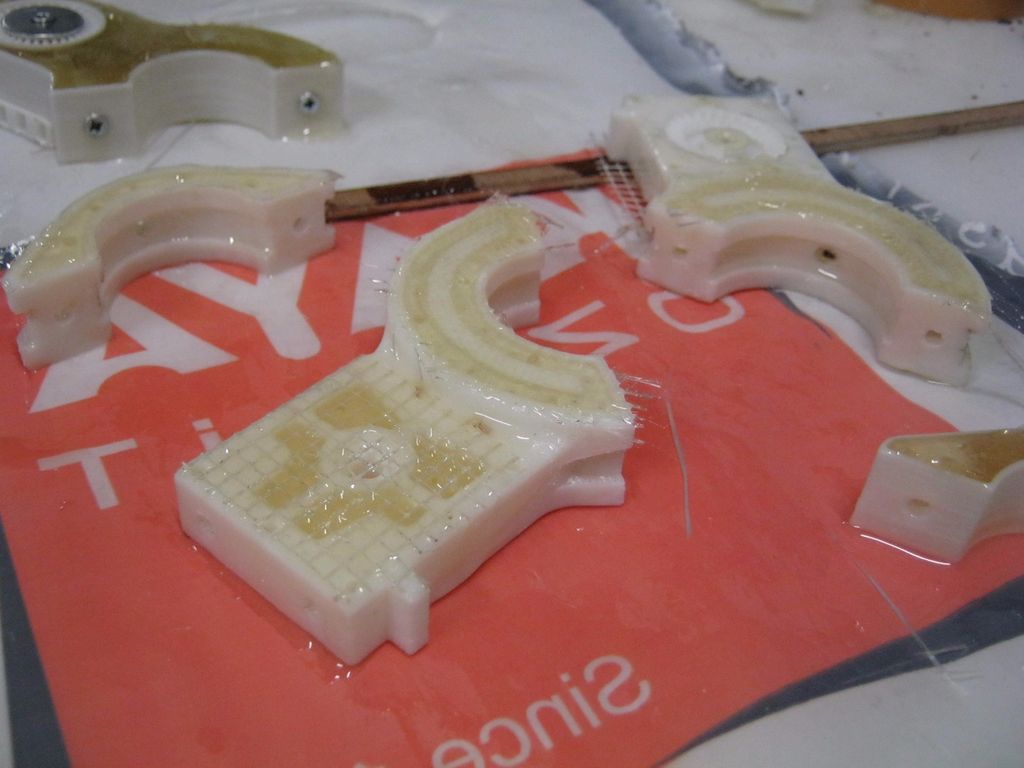
Separately, I would like to note about the seam:
In the photo, the borders of the material are marked with a silver line, and the seam is circled in black. The depth of the seam is approximately 2.3 mm - 2.6 mm, the wall of the material in this area is 14.5 mm.
I will add another seam test,
1 - the seam is simply poured onto the surface
2 - the seam is shallow, about 1.5-2 mm
3 - a seam of 4-5 mm
attempts to cut down a screwdriver and a hammer
cut (the seams are painted with silver)
and as a result, the external seams are cleaner
on the left with a manual way, on the right by an extruder
Conclusions 9000
, we will hold it results:
It turned out to speed up the soldering process, minimize unpleasant odors and get a fairly solid construction. The final result is shown below.
The extruder has been repeatedly upgraded in the process and flowed into this form.
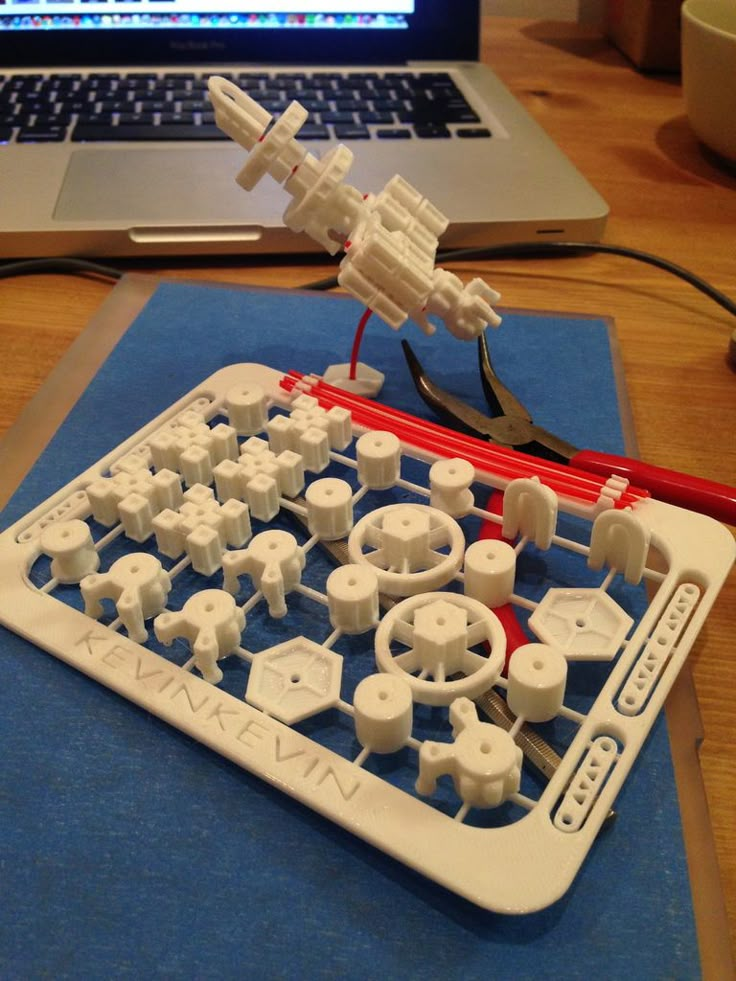
Work is underway on automatic feed, and as a test, the following gearbox was assembled:
I hope that my experience will be useful to someone. And also with pleasure I will accept your feedback on the content of this article.
Good luck to everyone and more successful experiments.
Bonding a 3D printed model
Share on Facebook Share on Twitter Share on Vkontakte
This guide will help you properly glue the separately printed parts of a 3D product printed with 3D printed and made of a white, strong and flexible material known as nylon 12 or polyamide 12. We will look at the elements that were made by 3D printer EOS based on selective laser sintering (SLS) technology . For EOS, PA 2200 is used.
Note that these recommendations only apply to nylon 12 or polyamide 12. Other materials have completely different properties that require special consideration.
Introduction
First of all, I would like to advise users to glue the model only in exceptional cases: if it breaks or you need a product that exceeds the maximum printing capabilities of selective laser sintering technology (20x25x33 cm).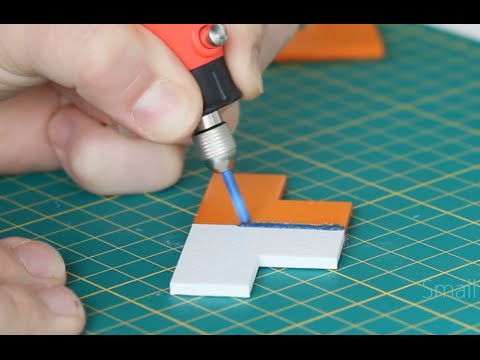 As a good example for our guide, we will take the model of a stress ball (you can see it in the photo above).
How often and easily elements of a model printed on 9 break0086 3D printer depends on its design and the material from which it is made. For example, the thin tail of a monkey figurine can easily break if you press hard on it with your finger. However, if the model has as few protruding parts as possible (the same limbs), then it will be possible to break it only with a hammer. Selective laser sintering makes nylon extremely durable and resistant to various influences. Therefore, when the product breaks, cracks form on it, first of all. Thanks to the diamond-shaped structure, the ball turned out to be quite impact-resistant. Yes, and the model broke only after someone stepped on it through negligence.
Let's look at how we can glue our 3D product.
Superglue
The real name of superglue is cyanoacrylate.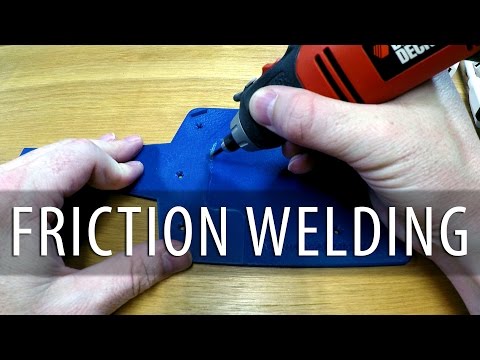 This variety also includes substances such as ethyl-2-cyanoacrylate, n-butyl-cyanoacrylate and 2-octyl-cyanoacrylate. The most common superglue is ethyl 2-cyanoacrylate. The other two varieties are mainly used in medicine, so you are unlikely to find them in a regular store. However, all of these adhesives can be used to repair or join parts made from nylon 12.
Araldit (epoxy resin)
An alternative to superglue is ordinary epoxy resin. However, we decided to still use superglue for our small repair, because it is somewhat more convenient to use.
Very Important
Be sure to read the instructions on the packaging carefully and follow them. For example, you need to use the adhesive in a well-ventilated area and store the substance out of the reach of children. Moreover, do not let the glue get into your eyes, otherwise the consequences will be terrible.
Getting Started
The adhesive should be applied sparingly, removing residue with a paper clip. After drying, the color of the glue is slightly different from the material of the model, so its excess does not look very aesthetically pleasing. The glue connects the parts of the product so firmly that it does not even need to be sanded. If the surfaces to be glued are cleaned in advance, this will only enhance the effect. Having studied the next photo of the ball, you can make sure that the repair was successful. At the same time, the gluing line is almost imperceptible.
Glue doesn't always work
However, glue doesn't always work. Basically, problems arise due to the fact that the properties of the adhesive and the material from which is made 3D model are different. Nylon 12 (polyamide 12) is not as flexible as glue. As a result, although our ball was completely repaired, its properties were not completely restored. After half an hour of continuous bouncing, the ball disintegrated again, because. the glue could not withstand the pressure of external forces on the sphere of the model. Thus, superglue only returns the appearance of the product, but the functionality is different. Therefore, it is not recommended to restore products such as springs or hinges with glue.
Painting the glued part
If you paint a model that has been glued in some places, the join lines, like the glue itself, may become more visible. In other cases, as can be seen in the photo of our ball, painting, on the contrary, only hid the defects. We used regular paint like Tamiya Spray.
When gluing before painting, it is very important to carefully apply the adhesive, making sure that it does not spread and remove residues in time. Otherwise, the paint will stick to the glue and it will become more visible. In addition, using a regular paper clip, carefully remove the remaining paint in the holes.
Finally
We recommend using adhesive only in exceptional cases, such as when you need to restore the product to its original appearance.