G lab 3d print
3D Print – The University of Alabama Libraries
- The University of Alabama Libraries
- 3D Print
How to print
University Libraries is pleased to offer 3D printing services to the University community in Bruno, Gorgas, McLure, and Rodgers Libraries for a fee. In Bruno, Gorgas, and McLure libraries staff will print the design and notify you when to pick up your completed job at the circulation desk in the library to which you submitted the request. In Rodgers, after training, you print the object yourself. STL files must be approved by staff before they can be printed. You may email completed 3D image (STL) files to:
Bruno: [email protected] Gorgas: [email protected] McLure: [email protected] Rodgers: [email protected]
The University Libraries is now charging for 3D printing: Bruno and McLure: $2/print job Rodgers: $15/print job
Gorgas Ultimakers: Small Prints: $3 dollars (30 grams or less) Medium Prints: $6 dollars (31 – 61) Large Prints: $11 dollars (61 – 120) Very Large Prints: customized pricing (grams X . 09)
For more information, please contact the circulation desks at any of the University Libraries and review the 3D Printing Guidelines. If printing at Rodgers Library, check out the Makerspaces Guide.
Available Options
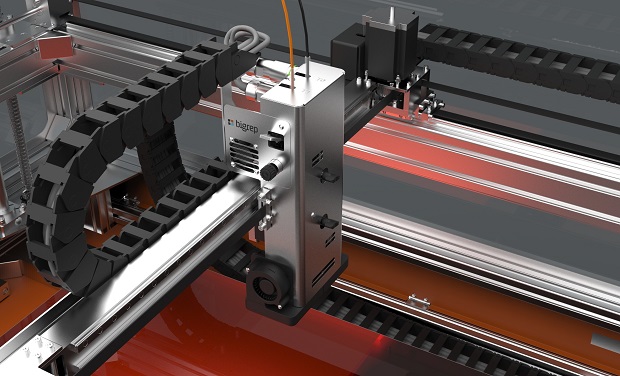
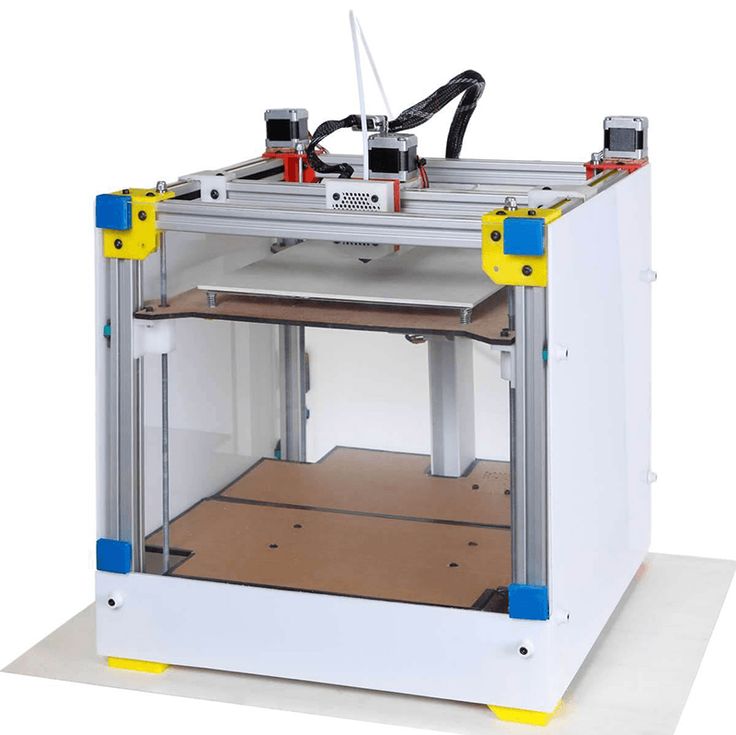
3D Printers Located in Gorgas Library
Ultimaker S5
Maximum build size: 13(w) x 9.4(h) x 11.8(d) inches or 33(w) x 24(h) x 30(d) cm, XYZ Resolution: 6.9, 6.9, 2.5 micron, Nozzle diameters: 0.4 mm (Default), 0.25 mm, 0.4 mm, 0.6 mm. 0.8 mm, Layer resolutions: 0.4 mm nozzle: 200 – 20 micron (Default), 0.25 mm nozzle: 150 – 60 micron, 0.6 mm nozzle: 300 – 20 micron, 0.8 mm nozzle: 600 – 20 micron, Supported file types: Ultimaker Cura: STL, OBJ, X3D, 3MF, BMP, GIF, JPG, PNG, Printable formats: G, GCODE, GCODE.gz, UFP, Available Print Media: ABS, PLA, and PVA, Ultimaker Cura Print Software:https://ultimaker.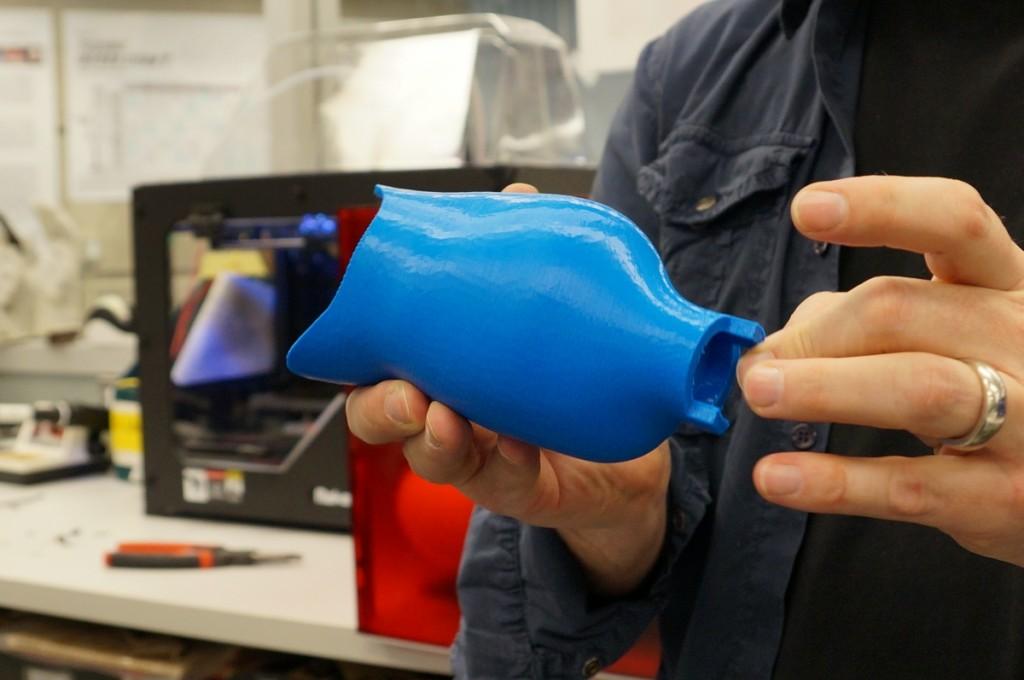 com/software/ultimaker-cura
Learn More
3D Printers Located in Bruno and McLure Libraries
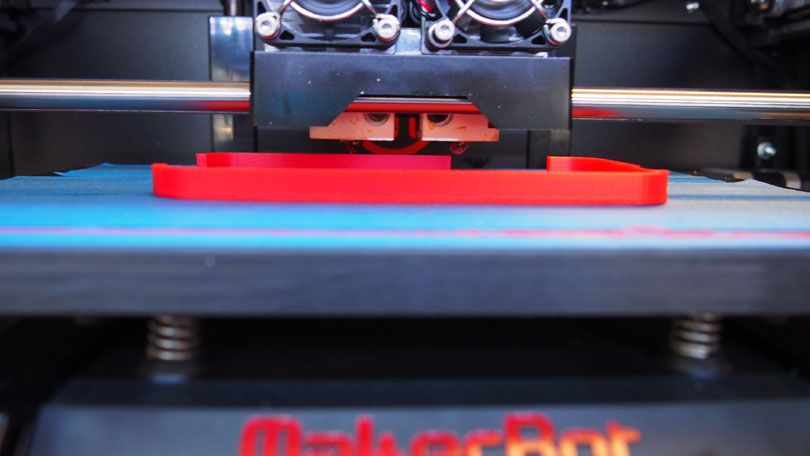
da Vinci 1.0 Pro 3D Printer
Maximum build size: 7.8(w) x 7.8(h) x 7.8(d) inches or 20(w) x 20(h) x 20(d) cm Z AXIS RESOLUTION: 0.100mm (0.004″ / 100 microns) LAYER THICKNESS: 100 microns, 200 microns, 300 microns for fast and 400 microns for ultra fast mode.
Learn More
3D Studio Located in Rodgers Library
Now offering self-service and training for 3D printing and 3D scanning at Rodgers. Sign up at the Rodgers Library circulation desk. Full service for 3D Printing remains available. To send print jobs for full service 3D Printing or for questions related to 3D Printing, 3D Scanning, or the Rodgers 3D studio in general, please email [email protected].
Participation in a 3D Printer Training and Safety Workshop offered by a Rodgers Library staff member is required prior to use. 3D Printer Training is offered during the spring, summer, and fall semesters, when classes are in session. There is a signup sheet posted at the Rodgers circulation desk with training times. For more information contact [email protected].
NextEngine Desktop 3D Scanner
Kit and notebook at circulation desk
3D Studio Policies
Stratasys 3D Printer
Kit and notebook at circulation desk
3D Studio Policies
About 3D Printing
WHAT IS 3D PRINTING?
3D printing or additive manufacturing is a process of making three dimensional solid objects from a digital file. The creation of a 3D printed object is achieved using additive processes. In an additive process an object is created by laying down successive layers of material until the entire object is created. Each of these layers can be seen as a thinly sliced horizontal cross-section of the eventual object. (From http://3dprinting.com/what-is-3d-printing)
HOW DOES IT WORK?
It all starts with making a virtual design of the object you want to create. This virtual design is made in a CAD (Computer Aided Design) file using a 3D modeling program (for the creation of a totally new object) or with the use of a 3D scanner (to copy an existing object). This scanner makes a 3D digital copy of an object and puts it into a 3D modeling program.
To prepare the digital file created in a 3D modeling program for printing, the software slices the final model into hundreds or thousands of horizontal layers. When this prepared file is uploaded in the 3D printer, the printer creates the object layer by layer. The 3D printer reads every slice (or 2D image) and proceeds to create the object blending each layer together with no sign of the layering visible, resulting in one three dimensional object.
(From http://3dprinting.com/what-is-3d-printing/#howitworks)
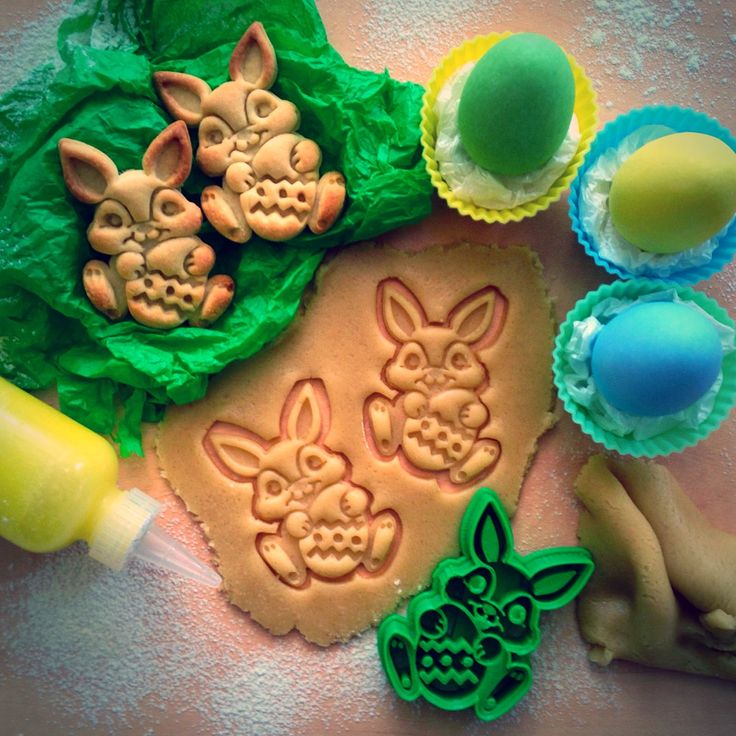
ExampleMore printed projects can be found in this google photos album.
Help
For questions about 3D Printing service, please contact the appropriate email address below for assistance, or post your question to the UA3DLIB google message board.
Bruno: [email protected] Gorgas: [email protected] McLure: [email protected] Rodgers: [email protected]
3D Printing — Syracuse Architecture
The school’s 3D printers create models in resin, plastic or nylon powder. The printers are fee-based and open to Arch students and faculty, first-come-first-serve, but with preference given to digital fabrication classes. Only architecture-related work will be printed (no ornaments, gifts for friends, jewelry, etc.).
3D Printer Types
We have several models to choose from. Factors to help you decide which model to use include: choice of material, length of time to print, cost, resolution, and how much work it takes to post-process the model after it leaves the printer.
1) formlabs form 2 - resin
The Formlabs Form 2 creates models in white, black or clear resin. It uses a photopolymer-based process to shoot a laser across the liquid resin to solidify a thin layer, which is repeated to create the model. The technology is called stereolithography (SLA).
The support material is also resin and must be removed after the model is finished printing. It takes about 1-2 hours to print one inch in height, and the max model size in inches is 5.7 L x 5.7 W x 6.9 H. The cost is $0.15 per ml. Of the three types of printers, this produces models with the best resolution and durability, but is more expensive. Check the queue for the Form 2 here .
2) Formlabs Fuse 1 - Nylon Powder (laser sintering)
The Formlabs Fuse 1 makes models from a dark gray nylon powder, the layers of nylon powder are laser sintered together layer by layer. Models can be up to 6.3 L x 6.3 W x 11.6 H in inches.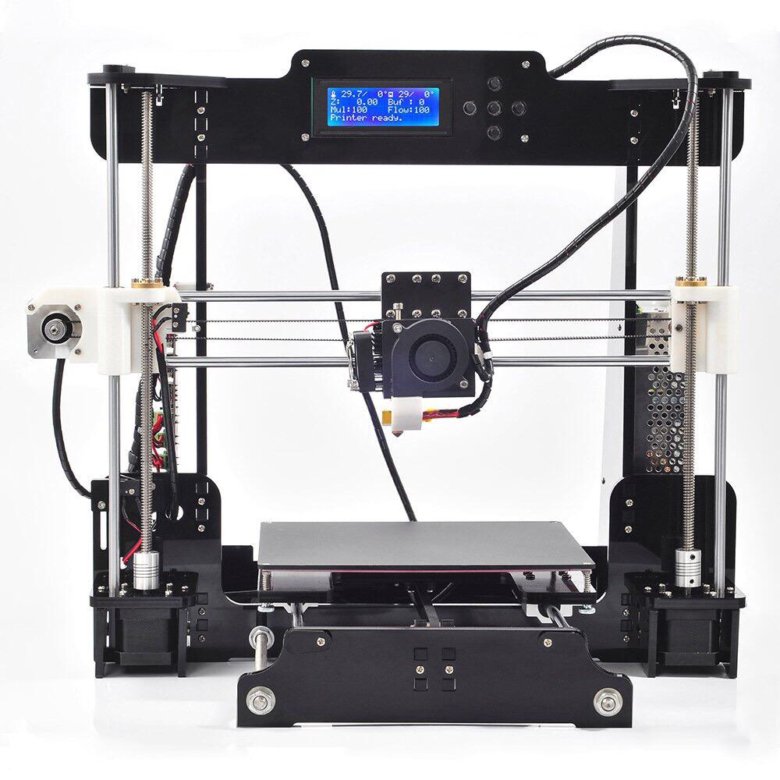 Time to print is approximately 2 hours per inch in height, but when finished, models require a couple of hours to cool down. The cost is $0.15 per gram. Wall thickness can be as thin as 1/16” of an inch. Models are strong and ready to be manipulated or painted after they have cooled down. Models are paintable. Check the queue for the Fuse 1 here . View the Fuse design guide .
3) Zortrax - FDM (fused deposition modeling)
The Zortrax M300 prints using a 1.75 mm bioplastic filament called PLA (in many colors!). Think of it as a hot glue gun that lays down plastic in 100 micron layers. Maximum build size in inches is 11 L x 11 W x 11 H. At 6 cents per gram, it’s very inexpensive. Time to print is approximately 1 hour per inch in height, although full size models can take 25 hours or more to print. The models are fairly durable, but removing the support material can be extremely difficult.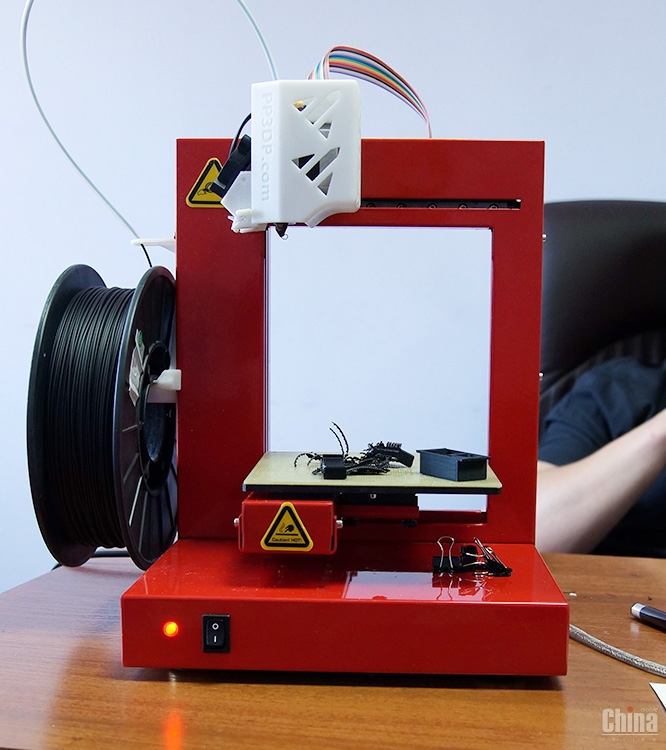 Check the queue for the Zortrax here .
Maximum Build Size (inches)
| Fuse 1 | Form 2 | Zortrax | |
| X (length) | 6.3” | 5.7” | 11” |
| Y (width) | 6. 3” 3” | 5.7” | 11” |
| Z (height) | 11.6” | 6.9” | 11” |
Cost
The cost is based on volume or weight and will be calculated before it is printed. Fees are deducted from your lab printing account prior to printing. If there are insufficient funds in your account, the model will not be printed. The cost to build a model is usually cheapest on the Zortrax, followed by the Form 2, then the Fuse 1.
| Fuse 1 | Form 2 | Zortrax |
| $0.15 per gram | $0.15 per ml | $0.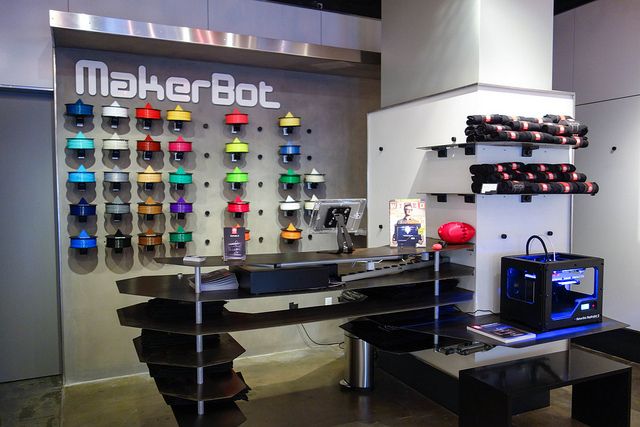 06 per gram 06 per gram |
If you would like to know the cost prior to printing, be sure to check the appropriate box on the 3D Printer Job Submission Form and we will contact you.
Time to Print
Models take from 1-36 hours to print, based on size. We will attempt to print multiple models at once when possible. Students should plan to queue their files several days in advance of deadlines.In general, the Fuse 1 usually prints fastest, followed by the Zortrax, then the Form 2.
3D Printer Comparison
| Fuse 1 | Form 2 | Zortrax | |
| Speed: | Medium | Medium | Medium |
| Cost: | High | Highest | Lowest |
| Durability: | Highest | Highest | Medium High |
| Resolution: | High | Highest | Medium |
| Post-processing: | Low to none | Moderate to High | Moderate to High |
How to Prepare Model for Printing
- Models are created in 3D programs such as Rhino and must be saved in the STL format.
 Use the following steps to prepare your model in Rhino.
 - Make sure your model unit scale is in inches, not feet. Even though the dimension scale may be in inches, you still need to make sure the model units are in inches. In Rhino, type ‘units’ on the command line to change this. Your finished model size should be 1:1 with the size you want it printed.
- When working with surfaces, use BooleanUnion to combine the objects into one polysurface. Click Solid > Union. If the union doesn’t work, you will likely have errors and other problems later. Rework the model so that the union is successful before going on to the next step.
- After the Union command has been applied, create a Polygon Mesh. Highlight the object, select Mesh > From NURBS Object. With highly curved surfaces, increase the number of triangles in the mesh.
 Straight surfaces need less.
 - Next, click the object to select the Polygon Mesh. With the mesh selected, drag it off the polysurfaces. Don’t forgot to do this, otherwise you may inadvertently export the surfaces along with the mesh!
- Issue the command CheckMesh to see if you have a good mesh. If you have a bad mesh, search Rhino help for ‘check/repair meshes’. This will give you many fix-it commands. A common problem is naked or unjoined edges, which are revealed with the command ShowEdges, and usually fixed with MatchMeshEdge. FillMeshHoles will repair holes, but is more likely to change the shape of the model. ExtractDuplicateMeshFaces will separate identical faces for easier removal, but be aware it could generate naked edges. It may be helpful to make a copy of the mesh before using these tools in order to check the results. Visit this page for more tips on creating a good STL file from Rhino.
- Check out this detailed guide on preparing your model in Rhino.
- When done fixing the model, export the Polygon Mesh as an STL file (export ONLY the mesh—make sure the polysurfaces aren’t underneath or you may get tons of errors when checking in Magics). Select the mesh, then click File > Export Selected. Change the Save As Type to STL. When the File Type Options appears, choose BINARY. Export each model to a separate STL—don’t combine them in one STL.
Use Magics to fix errors and check the model
- After creating the STL file, check the model in Magics, which is a software program available on the lab computers.
- Magics has a Fix Wizard which repairs common problems.
 Click Tools, Fix Wizard. Click Diagnose on the left, then click the Update button to see what errors are present.
 - Ideally in Magics, you want to end up with zero errors in each category and one shell. If there are errors, you can click ‘Go to Advised Step’ to walk through the fix-it steps. Or you can pick an area listed on the left to work on, such as ‘Normals’, and try letting it automatically fix the errors. Each time you fix some errors, go back to Diagnose and reclick the Update button to check the error counts. Sometimes the automatic fixing can drastically change the model so use with care. There’s also a ‘combined fix’ but with more complex models this usually gives poor results.
- Other useful tools in Magics under the Tools menu are Triangle Reduction, Extrude, Offset Part, and Smoothing. If you make changes to the model in Magics, use File > Save Part As to keep it in the STL format.
How to Submit Your File - Drop Box and Job Form
- Copy your STL file into the ‘Drop Box - 3D Printer’ folder, which is found inside the Student Drop folder on the G drive on the lab computers. Make sure the filename includes your NetID (i.e. jrsmith-myfile-01.stl).
- If you have several parts to print, put each part in its own STL file. Do not give us an STL file with multiple parts.
- Fill out online 3D Printer Job Submission Form
Post-production and model pick up
- Look to the 3D queue to see notification of completion.
- Form 2 and Zortrax models may require trimming of the resin or plastic supports.

- All finished, printed parts will be placed on the cart for pick up. Please do not touch any other prints except your own.
Finishing Your Model - Painting, Sanding, Gluing
- Sanding - Sand the model to remove imperfections or layer lines from the surface. Wet sanding tends to keep the part cool and prevent melted material from “gumming up” the sand paper. It also minimizes dust. If you dry sand the part, wear a NIOSH-approved (or equivalent) dust mask. Do not sand Zprinter powder models that have been dipped in the cyanoacrylate (Colorbond) bath.
- Painting - Before painting a part, wipe the surface with isopropyl alcohol and apply a lacquer-based paint primer. After priming, brush on any oil- or water-based paint that is compatible with the primer.
 Excellent painting results have also been achieved with air brushes and water-based acrylic paint.
 - Gluing - Use “super glue” (cyanoacrylate) to join parts. Wipe the mating surfaces thoroughly with isopropyl alcohol before gluing for a stronger bond.
Refund Process
Refunds will be granted only if the printer malfunctions. Models that are delicate and may not print successfully will be alerted by technician if you choose to proceed you are responsible for all charges. Errors in the STL file are a student’s responsibility.
Other places to 3D Print (no affilation with SOA)
- VPA Fabrication lab at the Warehouse, 443-0479
- SU Makerspace - 029 Kimmell Hall (311 Waverly Ave).
 Hours M-F, 1pm-5pm
 - CADimensions - 6310 Fly Rd, Syracuse. 434-9787
- Shapeways (online)
- 3dprintingpricecheck.com - compares pricing for multiple services
3D printing laboratory - All about plastics - education, technology, perspectives
Prototyping and modeling using 3D printers has recently become more and more widespread. This is due not only to the development and cheapening of equipment for creating three-dimensional models, the emergence of new polymeric materials for three-dimensional printing, but also the emergence of the need for such modeling for medical products, aircraft parts, instrumentation, automotive and aircraft manufacturing, as well as souvenirs. and other areas. The use of polymeric materials for structural purposes for prototyping made it possible to produce not only models, but also small batches of technical products.
According to the recent study “3D Printing Market (2013-2020)” published by Markets and Markets (“M&M”), between 2013 and 2020, the annual growth of the 3D printing market will be 23%, resulting in will grow to 8.4 billion US dollars by 2020 (http://www.orgprint.com/wiki/3d-pechat/obzor-tehnologij-3D-pechati).
3D printing is a technology for creating three-dimensional objects from a digital sample (CAD) by layer-by-layer application of additive materials. 3D printing methods include stereolithography (SLA), powder laser sintering (SLS), electron beam melting (EBM), layer-by-layer printing with molten polymer thread (FDM), formation of three-dimensional models from layer-by-layer sheet material (LOM) and others.
Initially, 3D printing was used exclusively for prototyping objects, but recently a radical step has been taken towards production. Automotive, aerospace, medical, and consumer products are among the industries that are actively embracing 3D printing. According to M&M, 3D printing in medicine and aerospace will grow exponentially in the near future. 3D printing has significant growth potential, it is indispensable where piece production of personalized products is needed.
This article touches upon some aspects of 3D printing, which is carried out by layer-by-layer printing with a melted polymer thread (rod).
Layer-by-layer printing with a molten polymer thread , also known as Fused Deposition Modeling or simply FDM, is used to obtain single products that are close in their functional characteristics to serial products, as well as for the manufacture of investment molds for casting metals.
The main polymer materials used in FDM technology in Russia are ABS plastic, PLA (polylactide), to a lesser extent polyamide (PA-12 or PA-11), TPU, PET-G and a number of other polymers. Almost all polymeric materials are imported.
High impact polystyrene (HIPS) is used as support polymers. This material is used for printing ABS plastic, PMMA, PET-G. Polyvinyl alcohol PVA (PVOH, PVA or PVAL) is also used as a support polymer, however, due to the water solubility of this polymer, it is more difficult to obtain a thread from it, modification of the standard technology is required.
At the Interplastica-2018 exhibition, work was announced on the synthesis of special grades of structural polymer materials for 3D printers at the Kabardino-Balkarian State University (PSU, PFS, etc.). In the report of KNRTU (Kazan), the topic of using PP filament for 3D printing was mentioned, which is not surprising, since in the Republic of Tatarstan a wide range of PP grades is produced by Nizhnekamskneftekhim PJSC. The problem with polyolefins in printing is associated with poor adhesion to the 3D printer substrate and high shrinkage when cooled.
FDM printing technology is as follows: a polymer thread is fed into a heated head with a controlled temperature, in the head it is heated to a melt state and the resulting thermoplastic modeling material is fed with high precision in thin layers onto the working surface of a 3D printer.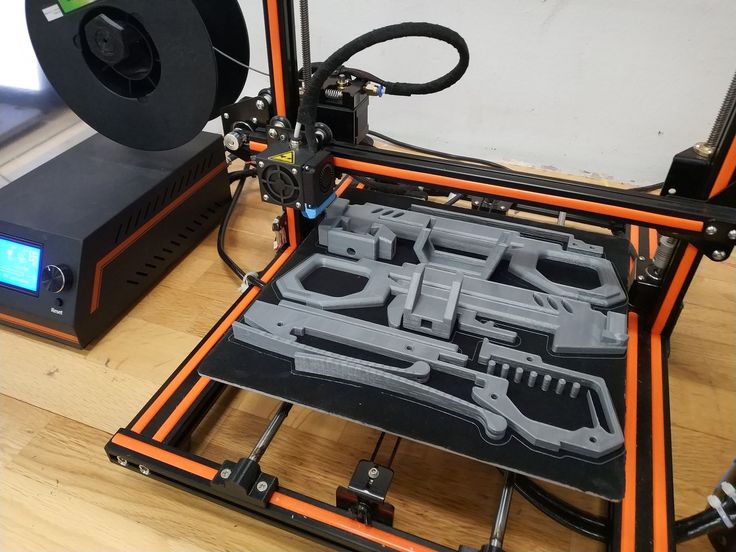 The layers are applied on top of each other, joined together and cooled, gradually forming the finished product.
The diameter of the nozzle through which a thread with a diameter of 3 or more often 1.75 mm is fed is 0.3-0.4 mm in the first case, and 0.1-0.3 mm in the second case. Therefore, the requirements for a polymer thread should be quite stringent in terms of sizing (thickness variation), stability of rheological properties (melt flow), melt purity (presence of impurities or contaminants).
1 shows the scheme of printing polymer thread FDM
1. Flow chart of 3D printing by FDM polymer filament printing.
The production of thread (rod) for FDM technology is carried out on extrusion plants for extruding rod, including a dryer, an extruder, usually a single-strand extrusion head, a calibrator (if necessary), a cooling bath, a gauge for the thickness (diameter) of the thread, 2 (rarely 4 -x positional) bar winder on the coil. There is a lot of information on the Internet about homemade filament extruders, as a rule, of low productivity and low quality filament. However, the production of thread must be carried out on specialized extrusion lines.
A diagram of such a line is shown in fig. 2.
Fig. 2. Extrusion plant for the production of polymer thread
I would like to note that for the wide development of FDM technology in our country, it is necessary to clearly define the characteristics of polymer materials that determine the possibility of their use in 3D printing technology with a polymer thread, as well as to synthesize or modify industrial polymers in order to obtaining material with the required characteristics. In particular, both thermophysical properties (for example, the thermal diffusivity coefficient, which determines the cooling rate of the material), and rheological properties (fluidity at different temperatures), as well as temperature parameters of the weldability of layers depending on the properties of the feedstock, etc., should be taken into account.
3D printing in Moscow at the 3D printing laboratory
Application of 3d printing
Gaining popularity and being in great demand, 3d printing on order is becoming an integral and indispensable part of life in our time.
The manufacture of cases and volumetric products is a very profitable solution when small-scale production is spreading.
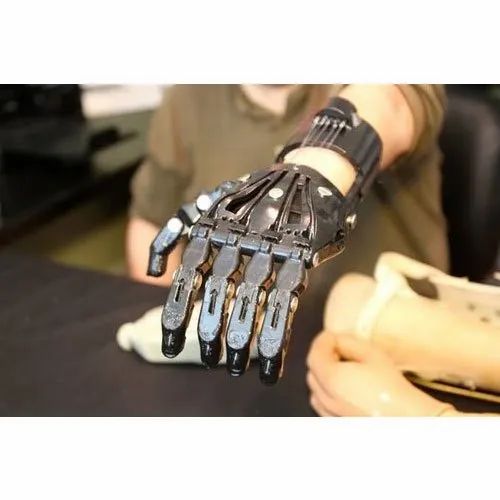
Layer-by-layer material growth technologies (or fabber technologies) for creating physical objects came to Russia not so long ago, but their popularity is growing rapidly. Performing 3D printing - in Moscow or in any other city - is not a problem today. Products for various purposes - from prostheses to parts for cars and aircraft - can be made on the basis of the fabber method.
The term “additive manufacturing” is accepted in industry guides, however, this technology has become commonly referred to as “3d printing” and it is in this version that it is used in the startup environment, between entrepreneurs and journalists.
Layer-by-layer build-up is applicable both for creating prototypes, prototypes of a future product, and for direct manufacturing of parts and solid objects.
Where is the 3d printer used
In what case may 3D printing be required? At the stage of product development, when it is required to visualize it and determine the likelihood of defects or unsatisfactory quality during production. It is also in demand for creating prototypes of architectural objects, as well as for prototyping.
Prototyping of parts, production of tooling - for example, molds for casting; assembly tools - this is not a complete list of cases when they decide to use 3D printing on order. Moscow in this regard is in a much more advantageous position compared to other Russian regions, since ideas and technologies, for the most part, are concentrated here.
We use additive technologies and high-quality materials to make your models, which will then be presented in many industries after printing: medicine, science and education, architecture and construction, energy and oil and gas industry, automotive and mechanical engineering, aerospace industry, jewelry manufacturing .
3D printing, ordering the release of a single item or a series is possible only on the basis of three-dimensional modeling based on special software products - this is where work on a separate project begins. If you want to create a copy or form of an existing object, you will need to apply three-dimensional scanning.
The principle of operation of a 3d printer
Ordering 3d printing means placing an order for the reproduction of a digital three-dimensional model of an object in physical form by horizontal layering of a substance. Layering is carried out using additive installations or three-dimensional printers, the variety of which is quite large today.
For each of the layering methods, including lamination, fusion, sintering, extrusion, jet spraying, UV curing, there is a separate category of devices. To create an accurate three-dimensional geometric product (3d model) that can perform any function, "3D printer" is used - this is the general name for a whole family of equipment capable of performing 3d printing on order (Moscow). At its core, each device is a numerically controlled machine that performs layering operations.
To reproduce the desired objects, it is necessary to use different 3D printing technologies that differ from each other.
Here are the main 3D printing technologies:
- Fused deposition modeling (FDM). ABS and PLA printing with this technology is the most popular of all 3D printing technologies. It is used in most desktop 3D printers and represents an ideal price / quality ratio, which allows printing by layer-by-layer supply of a filament of molten plastic;
- Laser stereolithography (SLA). Photopolymer printing using SLA technology allows you to form an object by layer-by-layer laser illumination of a liquid photopolymer resin, which hardens under the influence of radiation. One of the variations of this technology is DLP 3D printing. It uses a special projector instead of a laser. Both 3D printing methods are used to create objects with a high degree of detail. In the case of DLP printing, speed is also an added advantage;
- Selective laser sintering (SLS). Reproduction is performed by layer-by-layer melting of a special powder under the action of laser radiation.
 This 3D printing method is widely used in the industry for the manufacture of durable metal elements.
To order printing on a 3d printer using any of the above methods, you must select the material in which the product will be made. What will be the composition of the product, such will be the cost of the work.
Printing on a 3D printer is possible using powder forms of gypsum, polystyrene, polyamides, metal alloys; liquid photopolymers, wax and other materials. The specific task and requirements for the final product depend on which consumables are selected. It is important that with this production method, whatever you choose, there is almost no mechanical post-processing required.
In order to understand the principle of 3D printing, it is necessary to reproduce the step-by-step process of creating models.
Let's describe some stages of 3D printing:
- 3D modeling of the required object according to the specified parameters;
- loading a file with a digital model into a slicer program that generates a control code for a 3D printer;
- setting the required 3D printing parameters;
- writing a code to a removable memory that connects to a 3D printer;
- 3D model reproduction.

Objects are reproduced progressively in the desired shape, the selected material is applied layer by layer, forming the finished product.
The possibilities of 3D printing are almost limitless, that is, you can make anything you want and this is a huge advantage of this type of printing. In some technologies, for very thin overhanging elements, supports are provided, thanks to which, sagging can be avoided.
Such a brief description of the stages, where there is no ready and detailed analysis of the complete picture of the 3D printing process, gives only an idea of the essence of the technique.
What equipment does LAB3DPrint 9 have0045
Due to the fact that 3D printers are quite expensive equipment, and not everyone can use 3D technologies, but there is a need, our company provides printing services quickly, efficiently and in accordance with your wishes, will complete your task.
The high speed and accuracy of printing, as well as the maximum reliability of our 3D printers, reduce the cost of all types of 3D printing.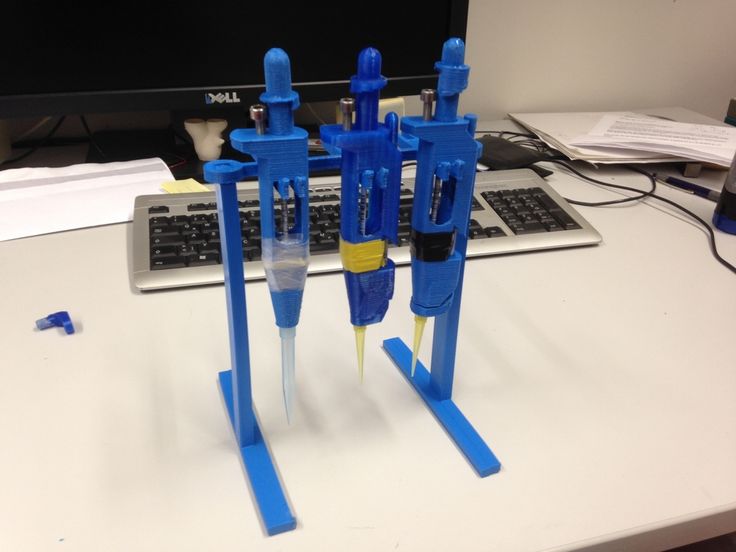
We can order a full range of preparatory work and the actual printing on a 3D printer (Moscow) using various methods and materials. We have all the necessary equipment and software.
Our company works with professional equipment, so the quality of the finished product is guaranteed and the result exceeds all expectations.
In the case of infrequent 3D printing, there is simply no point in purchasing expensive equipment, and the only thing you can do is entrust the creation of any object to us. When you need to print various products, for example, a part made of photopolymer or Abs plastic, you can safely use the services of our company by contacting the site where delivery and payment are processed.
Benefits of Lab3DPrint
Our company provides 3d printing services, creating industrial design items, product prototypes, functional models, layouts, souvenirs and many other objects from sketches and drawings.
Depending on what device and what printing material is used, these will be the cost and turnaround time.