Epoxy resin for 3d printed parts
Epoxy Method - NExT Lab
This is one of the easiest methods to finish your 3d-prints and fill the striations in your print to get a smooth finish. The process is quite fast and will usually leave you with a gloss finish as epoxy resins are used for finishing surfaces such as timber floors. However, this can be easily worked around by spray painting your parts post smoothing in the same manner you would in previous methods.
One of the drawbacks of this method is the price of the product. It is not cheap but can be readily found in hardware and hobby stores, as well as online. Aside from that the method is quite fast and produces a decent finish level.
This method is useful for post processing prints with complex geometries where it would be difficult to get to all the parts with a spray application.
Pro Tip: Sand your parts with 1000 grit (or higher) sanding paper prior to applying the epoxy. Sanding it first will make the process of smoothing the surface of your parts easier and yield a higher finish quality. Apply the sanding paper in a gentle circular motion (following the instructions on the sanding method) then use isopropyl wipes to clean your parts prior to applying the resin.
Summary
Category | Rating |
★ ★ ★ ★ ★ | |
Finish Quality | ★ ★ ★ ☆ ☆ |
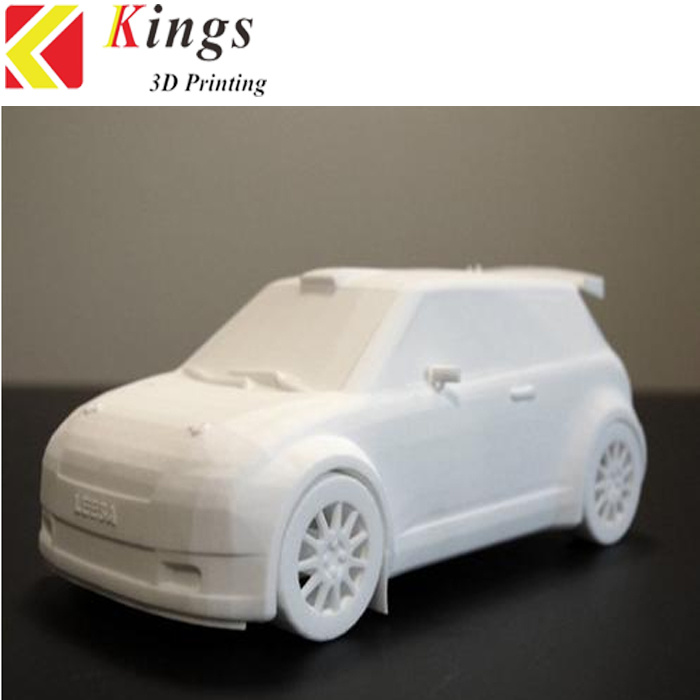
PLA smoothing using Epoxy Finishing Resin
Post Processing 3D Printed Parts using Epoxy Resin
Materials
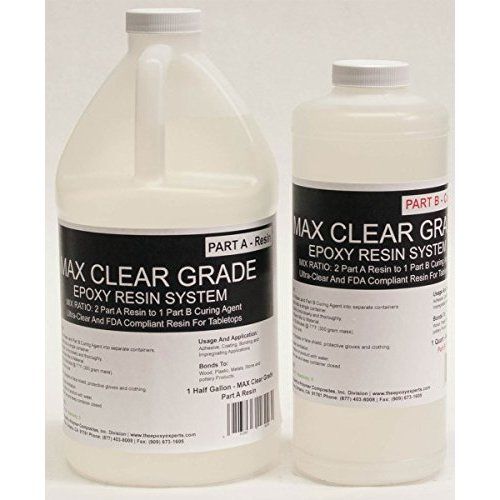
General finishing Epoxy Resin (such as Z-POXY PT-40 Finishing Resin)
High-cover aerosol paint + primer
Isopropyl wipes or similar to clean part
Method
1
.

Ensure that your parts are clean and dry, wipe part down with isopropyl wipes or similar.
2
.
Ensure that your part is not sitting directly on top of the table or surface you are using to work. This will ensure your part doesn't stick to your work surface but will also allow you to access all sides and corners of your part evenly. So sit your part off the work surface by using a sacrificial block or similar.
3
.
Pour your resin into a little plastic container, then pour the hardener onto the resin in order to complete your epoxy. Mix thoroughly and begin using mixture straight away.
4
.
Using a brush (the size of the brush you use should be relevant to your part size - not too big, not too small) apply the epoxy to your print evenly. It is important not to lather the epoxy on as that will produce an inconsistent and undesirable finish.
5
.
Leave to dry for up to 12 hours before applying your high-coverage spray paint. Follow the same steps as previous to applying your desired choice of colour paint.
Can You Use Epoxy Coating on PLA Printed Objects?
Coming up with the real 3D prints is just the beginning. Whether it sells or attracts the needed attention lies on the input you put in place to attain an excellent finishing.
The invention of epoxy coating comes in time to eliminate the inefficiencies in other types of coating.
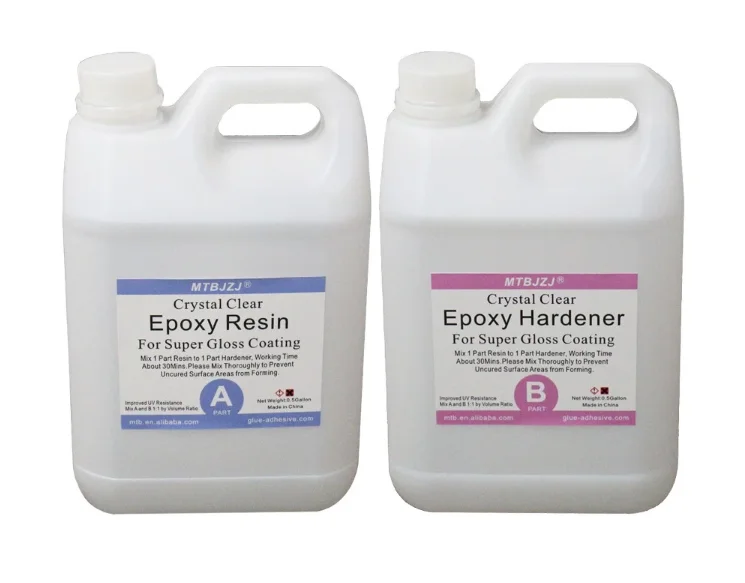
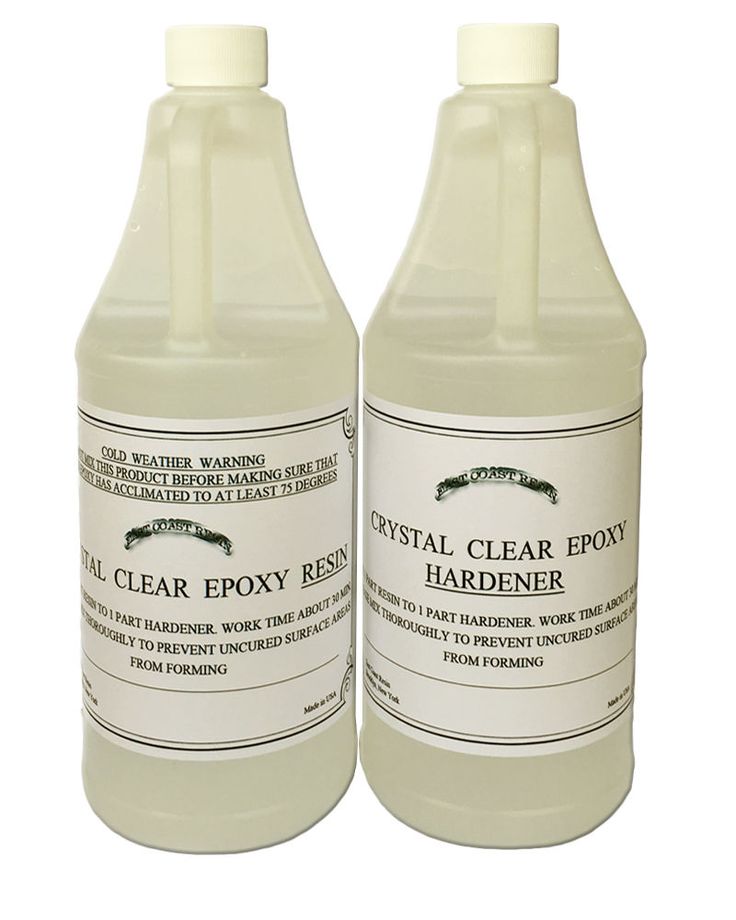
What is Epoxy Coating?Epoxy coating refers to an insoluble surface coating that results from the use of epoxy paint. The paint is a mixture of two chemicals—a hardener and epoxy resin.
Due to its chemical properties, the resultant coating is usually solvent-resistant, durable and tough. Otherwise, the paint works well for all projects geared towards achieving a smooth and fine feel.
PLA filaments are highly used in 3D printing. To make these 3D printed objects more durable and better looking, you can use different coatings such as epoxy. Here is a quick guide on how to use epoxy resin to make PLA objects last longer.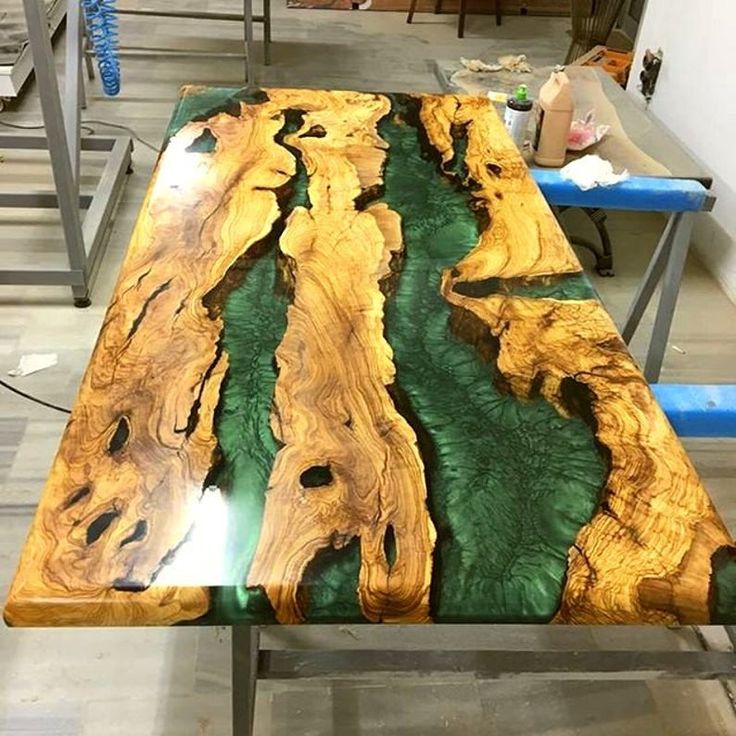
How to Use Epoxy to Strengthen PLA Prints?
How to Use Epoxy to Strengthen PLA Prints?
Epoxy resins are highly unfiled solid contents. They have the ability to seal porous and semi-porous PLA contents to achieve a remarkable strength.
Usually, an increase in the melting temperatures of the resin contents leads to the resultant increase of the penetrative depth. Hence, a remarkable adhesive characteristic of the coated item. To strengthen the prints:
- 3D print the PLA object as per the required design
- Cool the print, remove the overdone part and do a last-minute clean-up
- Pour an adequate amount of the liquid epoxy into a cup. You can go ahead and measure the weight to come up with the correct working weight
- Pre-warm the solution to attain a viscous fluid that is easy to work with
- Pour the resultant solution into a thick plastic bag. Then, mix thoroughly
- Place the PLA printed part into the thick plastic bag.
 Go ahead and cover the entire surface of the object with the viscous fluid
 - Allow the PLA print to soak in the fluid for about 20-25 minutes. This duration is enough for seeping of the epoxy resin materials into the pores of the printed object.
- Pull out the printed object from the liquid and allow it to dry. Where there is a limited time, you can oven-dry the material at a temperature range of between 100-120 °F. This technique enables the material to drip off the excess solutions more quickly hence faster drying.
Numerous types of PLA prints exist out there. Some of these prints require advanced technology to come up with while some are not so much sophisticated.
The form of smoothing method to choose relies mostly on the technological advancements used and the period employed in their make-up. The most type of smoothing used includes:
Heat Gun
Using a heat gun to smooth 3D prints is one of the easiest methods ever. 3D prints are made of plastics. Upon exposure to high temperatures, they usually sag and melt.
However, it is worth noting that PLA prints are highly susceptible to temperatures. High or concentrated heat can result in melting of the whole object.
Using a heat gun calls for additional use of the butane torch. The torch helps in the even distribution of the heat to the object’s surface. This ensures that the heat is not concentrated on specific parts to avoid melting of the parts.
The even distribution of the heat will help every single part of the object to reach the melting temperature.
During this moment, the surface tension takes an effect to help with smoothing of the whole object and eliminating the risks of sagging.
However, before deciding on using the heat gun for the smoothing of the PLA products, it is prudent to be well versed with its precautionary measures.
Otherwise, you can end up burning some of your body parts.
Sanding
Sanding is a basic requirement for manual removal of the layer line from the prints. The process is usually done prior to polishing, vacuum forming or silicone moulding.
When sanding the PLA prints, it is advisable to start with sandpapers of lower grits as you move upwards. The 80 grits sandpaper is the ideal option for roughening.
However, you will realize that the sanding process requires too much effort. In this case, it is advisable to employ the use of an electric sander.
Once you are done with the roughing process, use a sanding paper of higher grits e.g. 120 and 240 to achieve a fine and excellent surface. Once you have attained a glass-like surface, you can be free to vacuum and polish the object with a paint of your choice.
Just like in any kind of PLA printing work, make sure that you keep yourself away from harmful objects such as the resultant particles. Any eye protection gear works best. Also, to attain an even feel, do not over-sand specific places.
This can lead to the generation of heat hence resulting in melting. A wet-dry sanding paper is ideal for cooling the surface of the object for a gorgeous PLA print.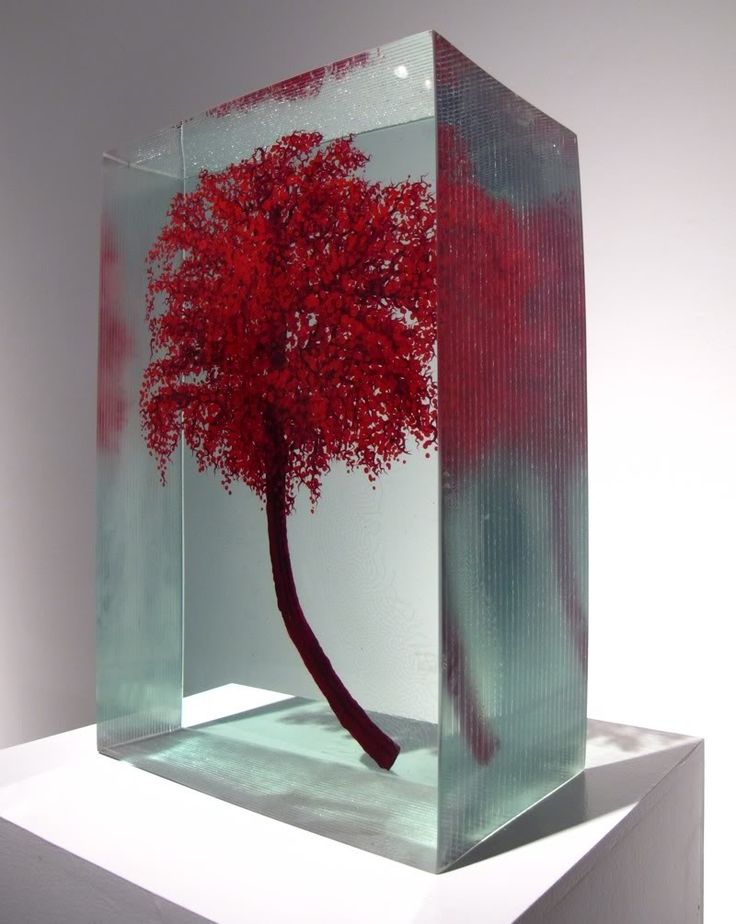 Otherwise, sanding is not enough to remove all the layer lines.
Epoxy has several potential health effects. When a dusted epoxy is inhaled, the consumer can be posed to risks such as inflammation and irritation of the throat, nose and other parts of the respiration organs.
However, there are a lot more questions when it comes to whether the paint can be used on the drinking vessels such as cups and jugs or not.
However, scientists have come up with food-safe epoxy that can be used to caulk various vessels used in daily life to carry and serve food. This type of epoxy can also be used to coat PLA.
When going for epoxy resin for coating PLA products that will be in contact with some of your basic drinks, it is, therefore, necessary to ask for the food-safe paints.
This is the only option through which you can eliminate any uncertainties that result from the use of the paint over the objects.
Best Ways to Waterproof PLA PrintsPLA prints float like an ice cube when placed on water. Rather than floating ON the water, they slightly get immersed hence float IN the water.
This incident is very common with ornaments printed while bearing the thoughts of optimized print time or with standard settings. Some of the methods that you can use to waterproof your PLA prints include:
Waxing
Waxing is the simplest and the most affordable solution to attaining a watertight 3D print. However, before enlisting waxing as the final solution to the problem, it is prudent to understand the parts of the 3D prints to ascertain the specific places you need to caulk. That place(s) should be the ones that get in touch with water so often.
Having deduced the places, you can go ahead and apply wax along its grain. Beeswax or paraffin is the best option. But, if you are after the colours, you can go for the crayons.
All you need is to melt the wax and apply it on the surface of the print. It should not be bulky.
Just a thin sheet over the surface is enough to do with. For even sheet, use the heat gun to melt any clumsy particles that can give the ornament a weird look.
Multiple Cells
3D printing is a technology that advances with every passing second. Other than the PLA prints, scientists have gone ahead to devise a method of using organic cells to achieve 100% waterproof prints.
But, away with that. You can apply multiple cells (layers) of molecules when designing the print to achieve an outstanding jewel that is highly waterproof. This works even with the PLA prints.
For gorgeousness, do not overdo the cells. They should be thin enough to allow for overlapping without burying the shape of the object. Secondly, ensure that the cells are uniform.
By so doing, the water-resistance nature will be evenly distributed through one corner of the print to the other.
This also helps in attaining durability by eliminating the effects of different wear and tear forces to a specific part.
RecommendationClick to Buy from Amazon
The smooth XTC-3D is one product of its own that you should not miss out on the list of your 3D finishing materials.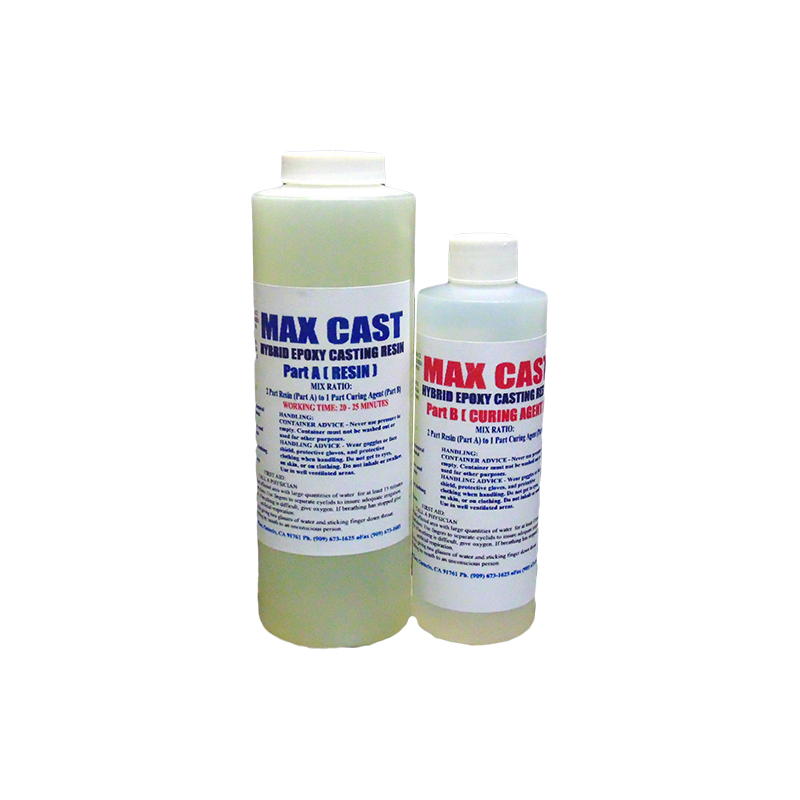 It comes in the form of two small bottles labelled A and B that contains the epoxy resin and the hardener.
The product is not only simple to use, but also safe and more efficient. BY mixing the epoxy resin and the hardener, you will achieve a hard coating that can last years without substantial damage.
The first thing that you automatically liken about this product is the fact that it works in almost all the 3D items. It is highly compatible with all SLA and SLS printed objects.
Other than the PLA, this item makes an excellent finish on objects such as plywood, powder printed parts, ABS and rigid media.
It can also be used as a coating on EPS, EPDM and urethane foam. Additionally, you can also include it in the list of workshop materials for coating cardboard, fabrics, wood, wood, plaster and paper.
Check Price & Details on Amazon »
ConclusionFor your value for money, consider purchasing the original version of the smoother item from certified and legitimate sellers.
These sellers are available 24 hours a day online to enable an easier and convenient purchase and shipping.
SLA 3D printing: how durable is the resin?
SLA 3D printing is said to produce complex and precise parts with good surface quality. In addition, due to the wide variety of resins, the range of SLA applications is constantly expanding. However, when tough and functional parts are required, SLA printing is usually not the choice. Why?
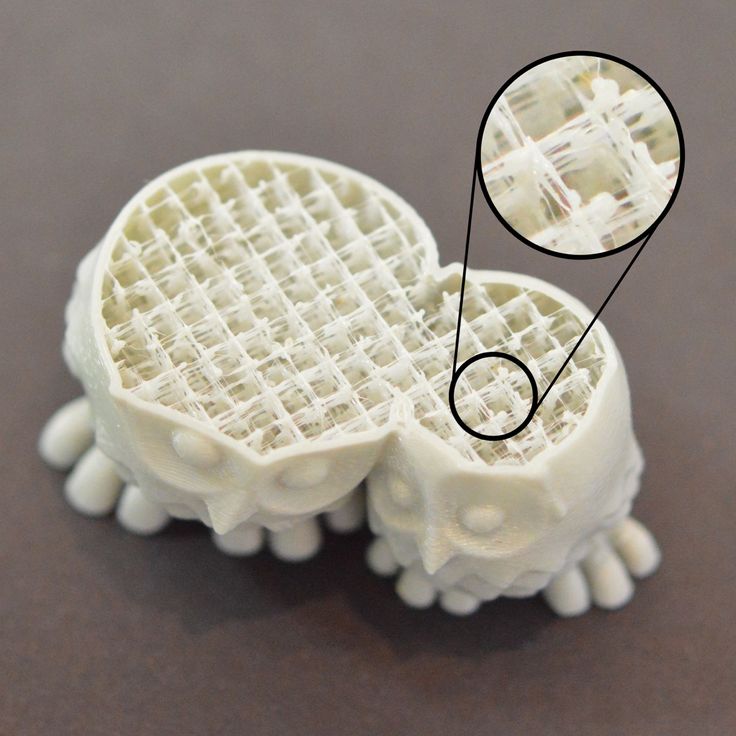
See how durable your resin print can be (Photo: SolidSmack)
Well, it is true that most standard resins are relatively brittle compared to other 3D printing materials and are not recommended for stressed parts or outdoor use, but there are tough and durable resins on the market that are specifically designed for more durable applications. .
In this article, we'll take a look at these tough 3D printing resins and show you just how strong they can actually be.
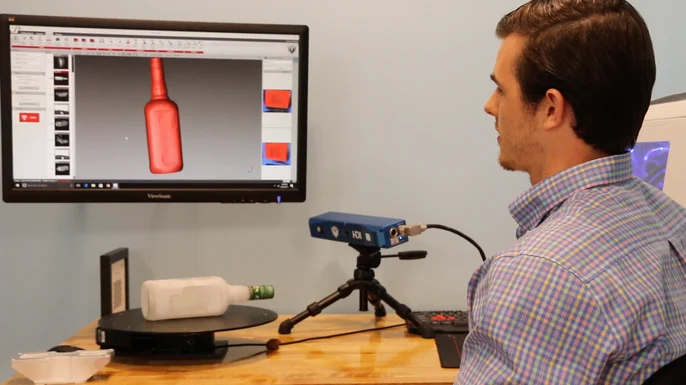
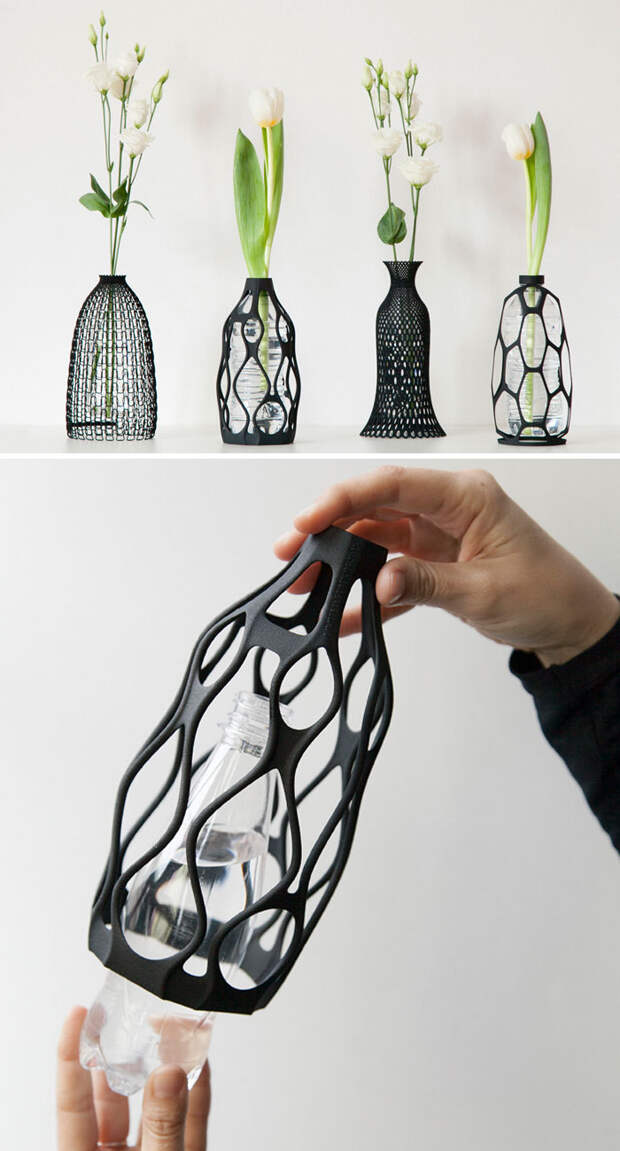
There are many SLA resins on the market, each suitable for a specific application (Source: Pinterest)
Most 3D printing resins are based on epoxy or acrylate, the latter being more commonly used in desktop printers. Therefore, SLA-printed parts are considered to be fragile and are most suitable for decorative applications and prototypes rather than functional and load-bearing components. But this is true only if the resin is chosen incorrectly. nine0003
Examples of heavy duty resin can be found in a wide variety of industries. There are casting resins for jewelry making and 3D printing in the field of dentistry for making mouthguards, crowns and surgical guides. There are also high temperature resins that are suitable for a variety of industrial applications, and even resins that can produce rubber-like parts.
Let's take a look at the strongest resins available and find out how durable they are compared to other FDM 3D printing materials. nine0003
Cycle test in progress (Source: Afinko)
Let's start with a brief look at the mechanical property, which is closely related to the tensile strength of the material. Tensile strength is defined as the maximum stress a particular material can withstand when stretched before failure.
The higher the tensile strength, the stronger the material is considered. nine0003
Now about resins. Let's first compare standard 3D printing resins with resins sold as rigid, and then compare these stiffer resins with common FDM materials such as ABS, PLA, and PETG.
Standard and hard resins
Hard resins show double strength compared to standard resins (Source: Lucas Carolo via All3DP)
with a standard resin, chosen as a standard, was a color UF-mol of ANYCUBIC because the Photon SLA printer is one of the most popular on the market. nine0003
It is clear from the graph above how much stronger the hard resins are compared to the standard. In fact, the three resins selected for this comparison—Formlabs Tough 2000, eSun Hard-Tough, and Siraya Tech "Blu"—show nearly double the tensile strength of Anycubic resin. (The Formlabs rigid resin line, including 2000, can only be used with the latest Formlabs printers.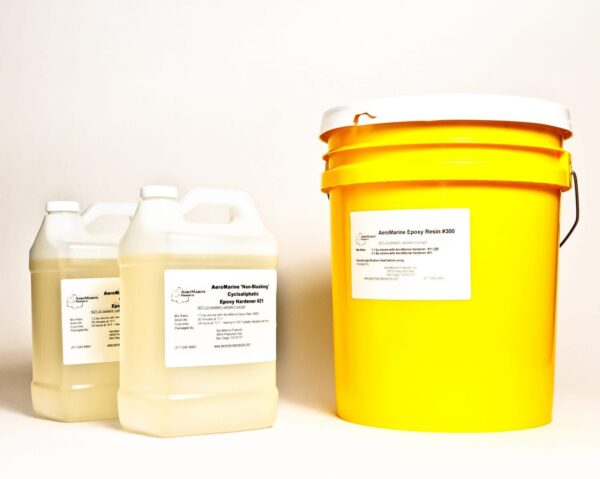 )
)
Just because a resin is strong does not mean that prints made with these resins will be twice as strong as when printed with standard resin. Other factors such as model design and print parameters also play an important role in the final strength of the product. However, comparing tensile strength is an easy way to determine which material is stronger. nine0003
But how do these tough resins stand up to other plastics produced by FDM 3D printers?
Siraya Blu had more strength than some FDM materials (Source: CNC Kitchen via YouTube) , who developed a test method in which a 3D printed hook is stretched to failure, simulating a tensile test. nine0003 Stefan constantly tests different materials with this method and the results are shown in the graph above. In a video where he tests Siraya Blu resin, Stefan found that Siraya's rigid resin was stronger than some FDM materials such as ABS and ASA, although not as strong as PLA and PETG. SLA print (left) has the same strength regardless of orientation, but FDM print does not (right) (Source: Formlabs) Although material properties largely determine the strength of a given print, there are other important factors that can affect mechanical performance. How a design is printed greatly affects its durability. For example, a certain component can be strengthened by distributing more material in places where stress will be concentrated. The freedom of design afforded by 3D printing means that there are often computational tools such as topology optimization that automate the process. nine0003 How a part is made also depends on how well it can withstand external influences. In the context of 3D printing, this is determined by the print settings determined during slicing. It is well known that the height of higher layers greatly affects the strength of FDM parts and this is also true for SLA prints. Most FDM slicers have multiple infill densities and patterns to reduce media and print time, however they are rare in SLA. Anisotropy is when a physical property of an object or material has a different value when measured in different directions. This happens in 3D printing when FDM printed objects display different material properties depending on the direction in which the part is assembled. More specifically, this happens when a lower adhesion is created between layers on the Z axis, which causes lower tensile strength compared to the X or Y axis. As you can see in the image above, when a weight is applied to an FDM print that is not oriented or not modeled for anisotropy, it may break. However, when it comes to SLA printing, the opposite is true because the resin is isotropic. During his testing with Siraya's Blu, Stefan confirmed this by experimentally showing that the parts are equally strong regardless of the assembly direction. Formlabs also came to the same conclusion, which is discussed in their article on the isotropic properties of SLA printing. Orthesa on an ankle joint from a durable resin (source: Animake) Given everything that we learned, it becomes clear that when choosing the correct resin, 3D-first-clock SLA can produce imprints of durable like FDM. To illustrate this point, here is an inspiring example of how resin prints strong, functional, and complex parts in the world of orthopedics. Matej Vlašić's son Nick from Slovenia was born with cerebral palsy and could not stand or walk without assistance. Mr. Vlašić created special orthopedic ankle orthoses for Nick using SLA printing. About a year later, the final product design allowed Nick to walk for several days. nine0003 Like many other orthotic devices, AFOs must be strong enough to provide support while supporting the entire body weight during movement. Mr. Vlašić used Formlabs resin, which proved to be durable and comfortable even over long periods of use. Thanks to this success, Mr. Vlašić founded Animake. Source SLA 3D-rendering, 3D-printed orthopedic devices, FDM resin, Chitabox slider, Anycubs resin, FormLabs Tu000 liquid photopolymer for 3D printer. Classification of materials for SLA/DLP 3D printing. Hello everyone, Friends! With you 3DTool! This article compares photopolymer resins using Formlabs SLA 3D printing products - standard , tough tough , Photopolymers from FormLabs Detailed review of the Formlabs Form 3 3D printer The stereolithography prints plastic parts with high resolution, good fine detail, and a smooth surface. Due to the variety of photopolymer resins available for SLA, this technology is used in many different industries: 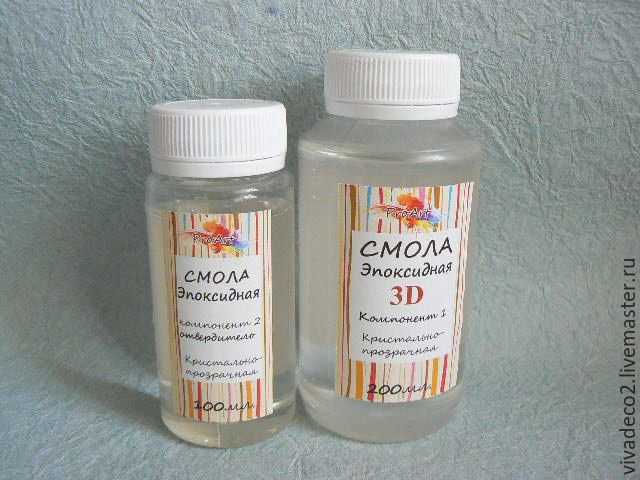
 However, the third-party ChiTuBox slicer includes these features, which provide the ability to increase toughness while optimizing material utilization. nine0003
  nine0003
  He and his team provide diagnostic treatments and 3D printed orthotics to help other children in need of special AFOs. nine0003
 Tags:
Contents:
Introduction
Engineering photopolymers have certain mechanical and thermal properties
Dental and medical photopolymers have biocompatibility certificates.
Cast photopolymers have a zero ash content after burning. nine0003
SLA 3D printing resin overview
SLA uses a laser to cure a liquid photopolymer resin. This process is called photopolymerization. Various combinations of polymers and other additives that are part of the resin allow you to get different material properties.
The main advantages and limitations that are common to all resins in SLA 3D printing are:
Benefits:
Weaknesses:
Base Resins for SLA
Post-Processing SLA/DLP 3D Printing Article
Standard photopolymer resin - Standard
Standard resins produce parts with high stiffness, detail and a smooth surface. The low cost of resins, from $250 per liter, makes them ideal for prototypes.
The color of the resin also affects its properties. For example, in FormLabs products, gray resin is suitable for models with fine details, and white resin for parts that require the smoothest possible surface. nine0003
Benefits of using Standard grade resins:
Cons Standard:
Also included in the class of "Standard" photopolymer resins from FormLabs is the Color KIT - a set of special dyes and "Color Base" photopolymer resin for mixing and obtaining a variety of color solutions.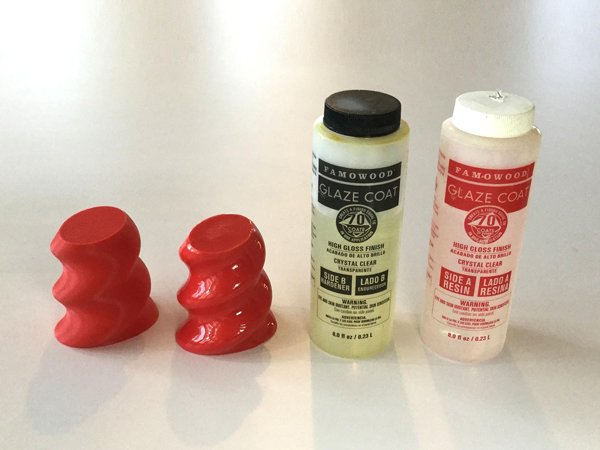 This eliminates the need for painting parts after 3D printing.
FormLabs Engineering Photopolymer Resins
Engineering resins have a range of properties for injection molded plastics.
All engineering resins require additional UV curing, such as using the Form Cure, to achieve their maximum properties.
Tough photopolymer resin - Tough (similar to ABS)
Tough resin was developed for models that need to withstand high loads and be durable. nine0003
This material produces strong, shatter-resistant parts and functional prototypes such as snap-on housings.
Pros:
Cons:
Ideal for: functional prototypes, mechanical parts
Durable photopolymer resin - Durable
Durable resin is a wear-resistant and flexible material with mechanical properties similar to polypropylene.
Durable photopolymer produces models with a smooth glossy surface and high resistance to deformation.
Durable Resin is ideal for:
- Bushings and bearings;
- Various functional compounds
Pros:
Cons:
-
Not suitable for thin wall parts (recommended minimum wall thickness 1mm)
-
Low heat distortion temperature
-
Low flexural strength (lower than hard resin)
Ideal for: functional prototypes. nine0003
Refractory Photopolymer Resin - Formlabs High Temp Resin
The heat resistant resin is ideal for parts that require high temperature resistance and operate at high temperatures.
Formlabs High Temp Resin provides the highest melting point (HDT): 238°C at 0.45 MPa.
The resin should be used to print detailed, accurate prototypes with high heat resistance.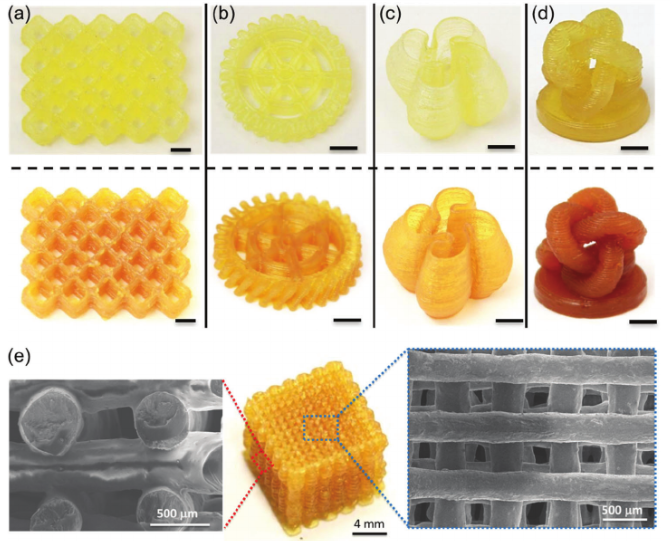 nine0003
Pros:
Cons:
Flexible Resin
Rubber-like resin allows flexible parts to be made. This material has a low tensile strength and high elongation at break and is well suited for parts that will be bent or compressed.
It can also be used to add ergonomic features to multi-material assemblies such as: dies, wearable prototypes, handles, pads and grips. nine0003
Pros:
-
High flexibility (high elongation at break)
-
Low hardness (simulates 80A durometer rubber)
-
High impact resistance
Cons:
-
Doesn't have all the properties of real rubber nine0003
-
Requires extensive support structures
-
Material properties deteriorate over time as the part is exposed to ultraviolet radiation (sunlight)
-
Not suitable for thin wall parts (recommended minimum wall thickness 1mm)
Ideal for flexible prototyping.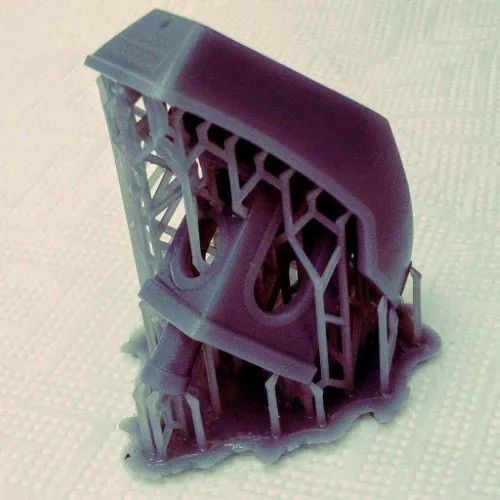 nine0003
Ceramic Photopolymer Resin - Rigid Resin
This resin is reinforced with glass, which provides very high rigidity and a polished surface. The polymer is very resistant to deformation and is excellent for 3D printing thin elements.
Ideal for: molds and tooling, jigs, manifolds, retainers, electrical and automotive fixture housings
nine0003
Thermal management components printed with SLA ceramic (hard) resin. Image credit: Formlabs
How to choose the right resin for your application
The table below shows the main mechanical properties of photopolymers for SLA:
Source: Formlabs
Standard resin ( standart ) has high tensile strength but is very brittle (very low elongation at break) so it is not suitable for functional parts. The ability to create a good part surface makes it ideal for visual prototypes and art models. nine0003
Durable ( durable ) resin has the highest impact strength and elongation at break of any other SLA material. Best suited for prototyping parts with moving parts and latches. It lacks, however, the strength of thermoplastic 3D printing materials such as SLA nylon.
tough tough resin is a compromise between the material properties of tough and standard resin. It has a high tensile strength, so it is best suited for rigid parts that require high hardness. nine0003
heat resistant resin ( heat resistant ) can withstand temperatures above 200 o o C, but has poor impact strength and is even more brittle than standard resin.
ceramic ( ceramic reinforce ) resin has the highest tensile strength and flexural modulus, but is brittle (poor elongation at break and toughness). This resin is preferred for thin wall parts that require increased rigidity.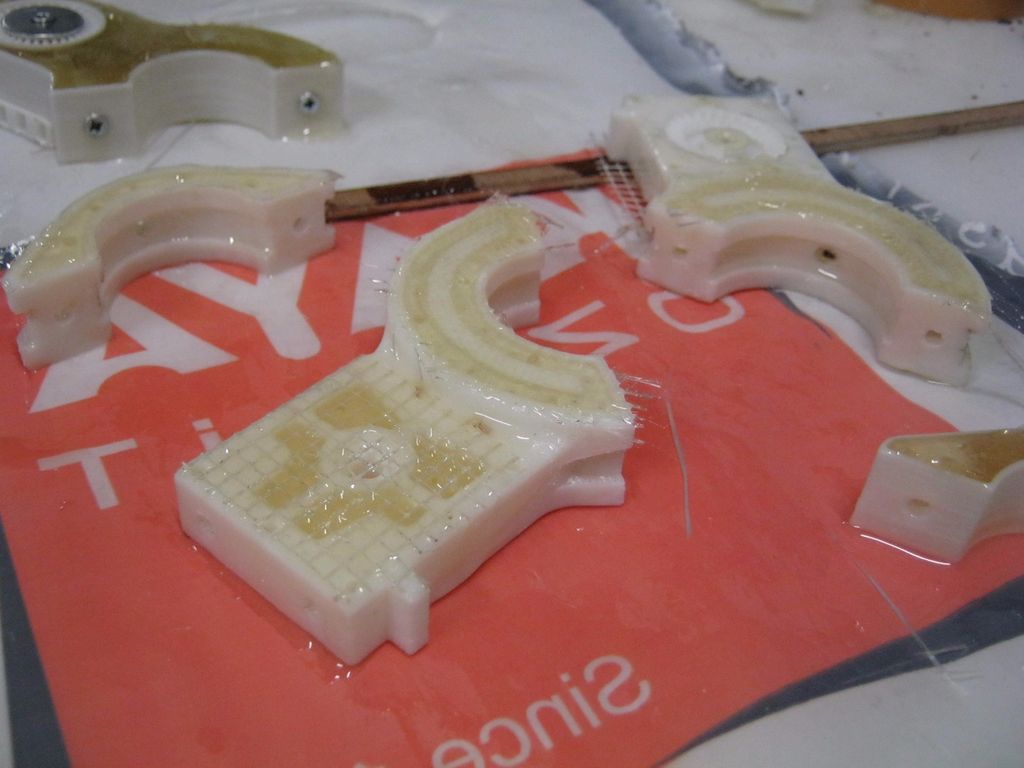 nine0003
The graphs below compare the mechanical properties of the most common SLA materials visually:
Comparison chart for elongation at break and toughness for common SLA printing specifications and standard media. Image courtesy of Formlabs.
Stress-strain curves for conventional SLA technologies and standard materials. Image credit: Formlabs nine0003
Comparative chart of material properties of various technical resins. Image credit: Formlabs.
Dental and medical resins
Photopolymer resin for medical devices - Custom MEDICAL Appliances (Biosomosa Class 1 biocompatible resins can be used to make medical equipment such as surgical guides. Parts printed on this resin can be steam sterilized in an autoclave for direct use in the operating room. nine0003
Pros:
Cons:
- Moderate wear and tear resistance
Ideal for: Surgical aids and appliances
Dental Long Term Biocompatible Resin - Dental Long Term (Biocompatible Class 2A)
These resins are specially formulated for long term dental fixtures. Class 2A biocompatible resins can come into contact with the human body for up to a year.
High resistance to breakage and wear make this resin ideal for making rigid cotter pins or retainers.
Pros:
Cons:
-
High price nine0003
Ideal for: durable dental instruments, fracture and wear resistant medical parts, rigid cotter pins, retainers
What is the difference between class 1 and class 2a biocompatibility?
Class 1 biocompatibility rules apply to materials that are allowed to be used for:
-
non-invasive devices that come into contact with intact skin nine0003
-
devices for temporary use or short-term use in the mouth or ear canal or in the nasal cavity
-
reusable surgical instruments
Class 2a biocompatibility rules apply to materials that are allowed to be used for:
-
devices that come into contact with bodily fluids or open wounds nine0003
-
devices used to introduce substances into or remove substances from the human body
-
invasive short-term devices such as invasive surgical items
-
long-term implantable devices placed in the teeth
Photopolymer resin in SLA 3D printing for jewelers
Jewelry resins
This material allows you to print models with fine details and a smooth surface without leaving ash or residue after burning.