Envision one 3d printer
Envision One - ETEC
Skip to content
Team DM
Platforms
Metal and composites 3D printing 3D printing solutions for health care Industrial-grade polymer 3D printing™
Sand and tooling 3D printing solutions 3D printers for sheet metalMaterials
Breakthrough photopolymer development Advancing 3D printed upcycled woodApps & More
The hydraulic additive manufacturing experts Multi-material powder recoating technology Driving digital transformation in dentistryDesktop Family
Rapid production of strong, fully-isotropic end-use parts
• Overview
The Envision One features patented CDLM (continuous digital light manufacturing) technology, which enables the ability for continuous printing. With little to no delay between layers, the Envision One delivers exceptional speed, print resolution, surface finish, and part properties.
· Key Features
High-speed continuous printing
Finish an entire 3L build volume in just 4. 5 hours – 30% faster than competing systems and 10x faster than desktop SLA.
Best-in-class part performance
The Envision One leverages long-chain polymer chemistry to produce strong, stable parts. The result is isotropic parts suitable for end-use applications and capable of standing up to the most demanding conditions.
High accuracy and resolution
Featuring patented “domeless” printing technology, the Envision One eliminates any concerns about how “doming” may impact accuracy on the Z axis. High-resolution (60 um XY) printing and patented pixel tuning technology make it easy to create fine features and smooth surface finishes suitable for end-use parts.
· Feature 1
High-speed continuous printing
The cDLM process allows for continuous printing without the need to peel each layer off the film after it is polymerized.
A ‘dead zone’ is formed by flowing a thin layer of oxygen above the film of the printing bed. Within this ‘dead zone’ the polymerization process is inhibited ensuring the layer being printed adheres to the layer above and not the printing bed film.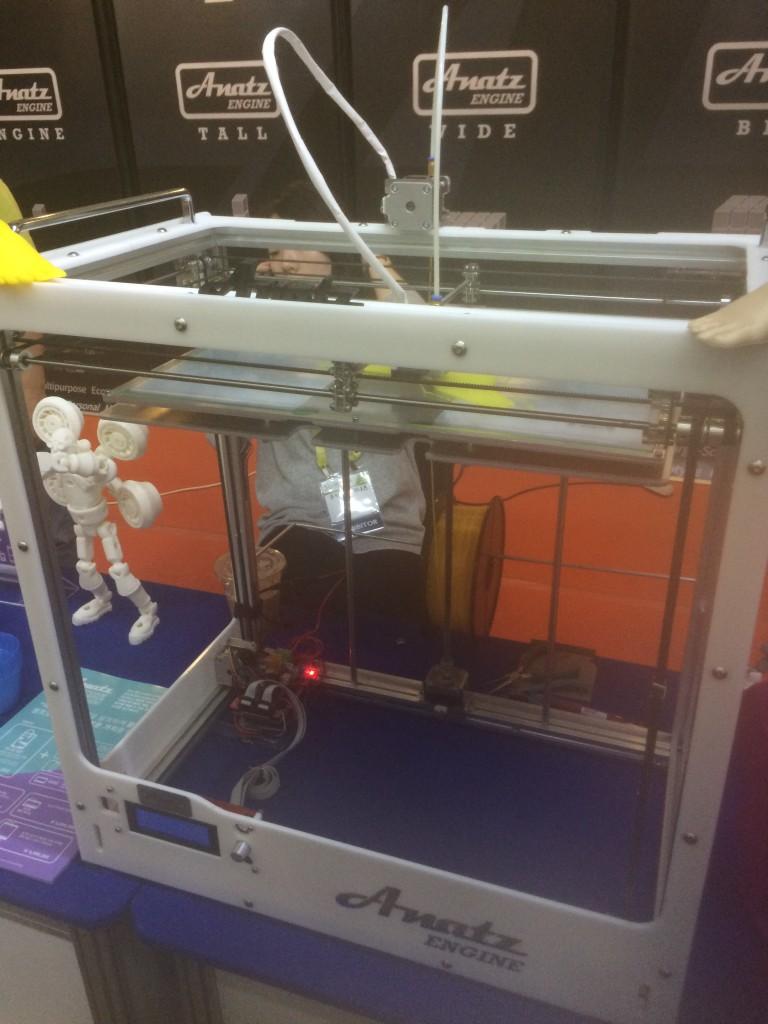 This ‘dead zone’ is what enables continuous printing, where the build plate can continually move in the Z axis, leading to faster, more reliable prints.
Made Possible By:
Patented CDLM print process
Patented domeless print basement
· Feature 2
Best-in-class part performance
The Envision One cDLM produces end-use parts with properties that meet or exceed that of traditionally manufactured plastic components, such as injection molded plastics
Unlike most plastic additive manufacturing methods, parts created via CDLM are made up of entangled long-chain polymers, making them fully isotropic. This is vastly different from processes like FDM, which create anisotropic parts with few, if any, polymer chains between each layer. To create those long-chain polymers, printers must be able to process highly viscous resins which require large amounts of power to polymerize. Their high viscosity means these resins cannot be jetted (PolyJet), and would take too long to process with vector based polymerization methods (SLA).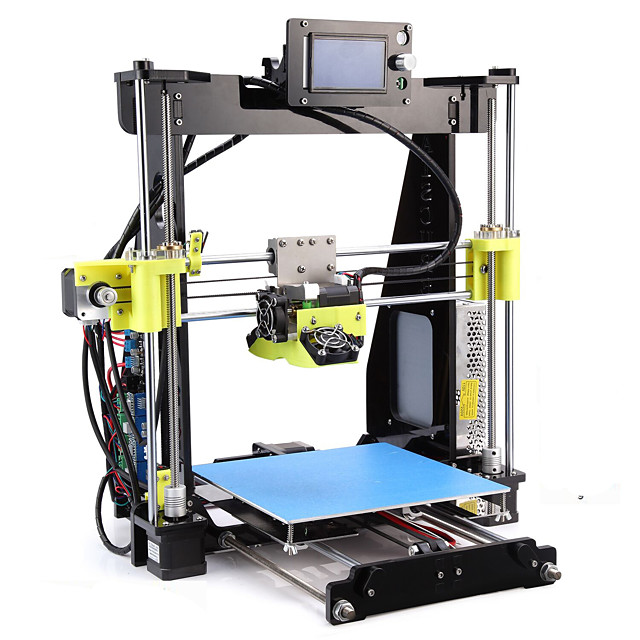
Made Possible By:
Long-chain molecules
Isotropic material properties
High-power projector
· Feature 3
High-resolution printing
The Envision One cDLM delivers best in class part resolution and accuracy to print incredibly crisp features and hold tightest tolerances.
DLP is known for having incredibly high resolution parts and the EnvisionONE CDLM takes accuracy to new heights.
By using industrial DLP chips, verus cheaper consumer grade chips, and a custom designed optical train enable high contrast and minimal distortion for the projected picture resulting in accuracy down to the micron level.
The cDLM domeless printing process eliminates the “dome” effect to deliver incredible Z accuracy.
Made Possible By:
CDLM domeless printing
Industrial DLP chips
Custom-designed optics
· Feature 4
Easy to use software
The brains of the Envision One cDLM is EnvisionONE RP which streamlines the entire fabrication process, ensuring optimal part orientations, print settings, and printer productivity.
Intuitive, easy-to-use Envision One RP software automates support generation and part orientation, while an integrated file repair tool patches meshes and readies the parts for print. Cloud software allows users to remotely manage the system, send jobs to multiple printers and monitor job progress, while over-the-air software and firmware updates ensure users have access to the most up-to-date tools and processes.
Made Possible By:
Build it print profiles for each material
Automated support generation
Optimized part orientation calculator
Customer Story
3D Composites
We make parts that go from outer space all the way to 10,000 feet below the ocean, and everywhere in between because of the versatility of the ETEC machines. In four months, we’ve probably done over 4,000 parts already. With the Envision One, we can hold tolerances down to two-tenths of a millimeter, and the build time is just phenomenal for 3D printing – there’s nothing anywhere close to it.
 We’re excited to grow with ETEC, the technology is amazingly repeatable.
Kim Gustafson, Owner, 3D Composites
· Systems
Our Systems
- Printer technology
- Build envelope
- Models
- XY Resolution
- Z Resolution
- Printer technology
- Build envelope
- Models
- XY Resolution
- Z Resolution
- Printer technology
- Build envelope
- Models
- XY Resolution
- Z Resolution
- Printer technology
- Build envelope
- Models
- XY Resolution
- Z Resolution
- Printer technology
- Build envelope
- Models
- XY Resolution
- Z Resolution
Envision One Desktop 3D Printer for Dental
Read our latest news here ➞
Speed Without Compromise
Envision One
The most advanced desktop 3D printer combines speed, simplicity, and innovation to provide your end-to-end solution for all your dental applications.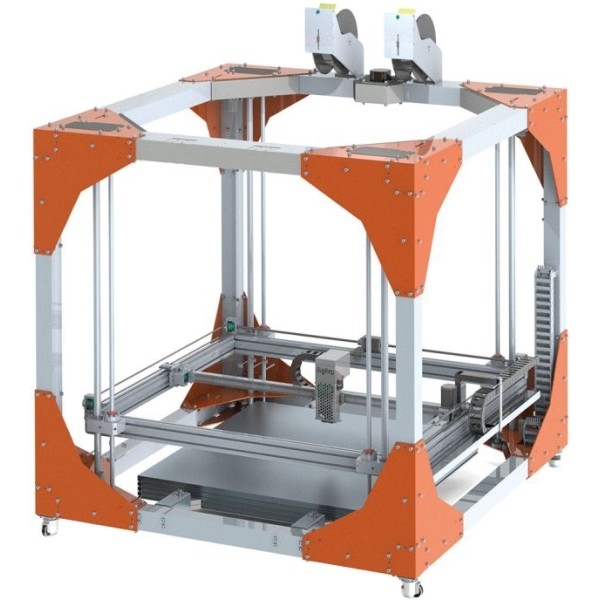
Order the Envision One Now
Request a Demo
Request a Virtual Product Demo
Let us show you how Envision One fits into your dental practice with a simple workflow that ensures quality parts produced with speed and accuracy.
Request a Demo
A Comprehensive System for Intuitive Workflow
1. Personalize
Easily take digital impressions by using one of the 25 compatible leading dental scanners with our full Exocad integration.
2. Prepare
Use design software to enhance those digital impressions or simply use our one click Hyperprint automated workflow to let the software do all the work.
3. Print
Our printer uses advanced technology backed by more than 2 decades of development to deliver speed and performance.
4. Post Process
Rapidly clean and cure your 3D printed parts so you have stronger dental applications in less time.
Designed for High Volume Production
Engineered to run day and night in a production environment, the Envision One also offers remote monitoring and job starting capabilities for ease of use.
Accuracy With Minimal Supports
Proprietary design software parameter optimization delivers accurate parts every time with minimal supports.
385nm LED Projection Tech that Delivers Speed & Strength
Our custom projector used in Envision One delivers high-intensity light uniformly across the entire build surface. Developed specifically for 3D printing, each projector’s output is checked at key points across the build surface for accuracy measured down to the individual pixel. It’s the only way to ensure a perfect, accurate print. Every single time.
Premium grade, FDA-cleared
Rapidly Growing Leading Dental Portfolio with >60 Validated Materials.

Now Offering Open Certified Materials
Desktop Health's large library of FDA-cleared biocompatible resins and precise model materials represent outstanding value and quality for every clinical application.
See Our Materials
Quality Results for Every Application
Best in class range of materials for digital dentistry.
SmileGuard™ Resin
E-Model Light DLP
Flexcera™ Smile Ultra+
Flexcera™ Smile
Flexcera™ Base
Model Z
E-Orthoshape
Model X
E-Tray
E-Denstone
Press-E-Cast
E-Guard
E-Guide
Request a Sample Now
Feel the future of 3D printing in your hands--request a free printed sample sent directly to you or your practice.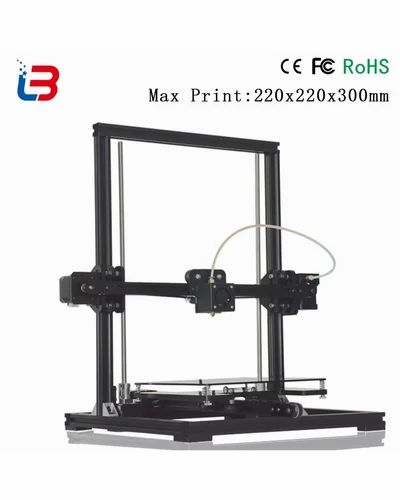
Request a Free Sample Part
Save Time. Just Hyperprint
Do more with our 1 click design and rapid prototyping software made to maximize output and efficiency.
Learn more about our software
Complete Clean and Cure Solution
Streamline and automate post-processing with the wash and cure products that complete your 3D printing system.
Explore Our Solutions
Trusted by Dental Industry Leaders
Your Simple & Complete Digital Dentistry Workflow
Bring high-quality 3D printing to your dental lab today - order the complete package of all the tools you need for seamless integration.
Order Now
Request a Sample Part
Products
Einstein™ Series
Flexcera™
D4K Pro Dental
Envision One CDLM
Software
Materials
Contact
+1 (866) DH HELP U
Contact Sales
Support
About Desktop Metal
Careers
Sign up to get updates
© 2021 Desktop Metal, Inc.
10 rules for preparing a model for 3D printing / Habr
Download the model, print it, use it - what could be easier!? But, if we talk about FDM 3D printers, then not every model can be printed, and almost every model (not prepared for 3D printing) has to be prepared, and for this it is necessary to imagine how this 3D printing goes.
First, a couple of definitions:
Slicer is a program for converting a 3D model into a control code for a 3D printer. (There are plenty to choose from: Kisslacer, Slic3r, Skineforge, etc.). It is necessary, because the printer will not be able to immediately eat the 3D model (at least not the printer in question).
Slicing (slicing) is the process of translating a 3D model into a control code.
The model is cut (sliced) in layers. Each layer consists of a perimeter and/or fill. The model may have a different percentage of filling with a fill, and there may not be a fill (hollow model).
On each layer, movements occur along the XY axes with the application of a plastic melt. After printing one layer, it moves along the Z axis to the layer above, the next layer is printed, and so on.
1. Mesh
Intersecting faces and edges can lead to funny slicing artifacts. Therefore, if the model consists of several objects, then they must be reduced to one.
But it must be said that not all slicers are sensitive to the grid (for example, Slic3er).
And even if the grid is crooked, and it’s too lazy to fix it manually, then there is an excellent free cloud service cloud.nettfab.com that will help in most cases.
2. Flat base
Desirable, but not mandatory. A flat base will help the model stay on the printer table better. If the model peels off (this process is called delamination), then the geometry of the base of the model will be broken, and this can lead to a shift in the XY coordinates, which is even worse.
If the model does not have a flat base or the base area is small, then it is printed on a raft - a printed substrate.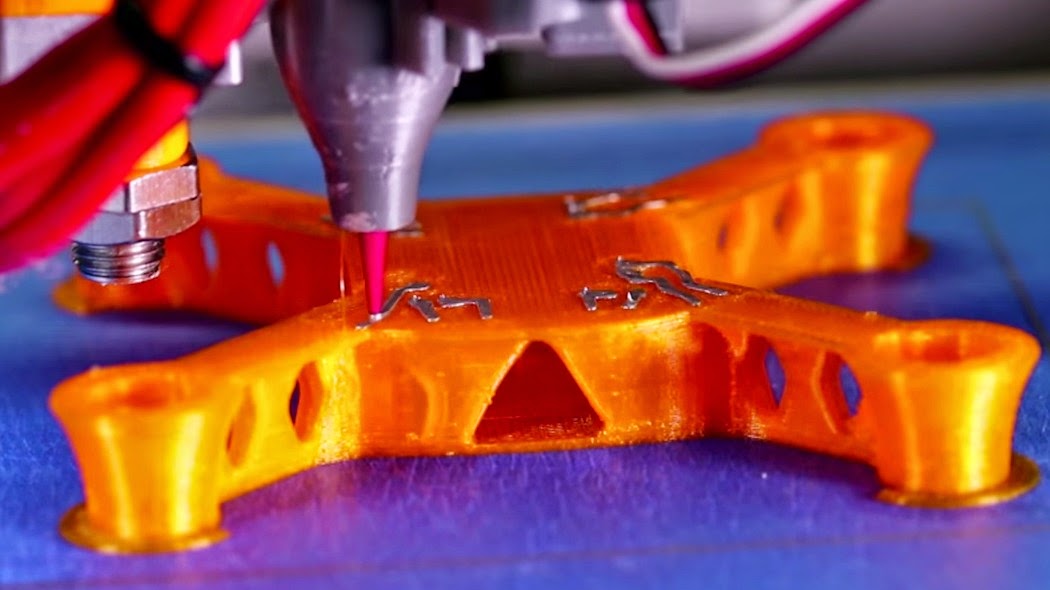 The raft damages the surface of the model it comes into contact with. Therefore, if possible, it is better to do without it.
3. Wall thickness
The walls must be equal to or thicker than the nozzle diameter. Otherwise, the printer simply will not be able to print them. The wall thickness depends on how many perimeters will be printed. So with 3 perimeters and a nozzle of 0.5mm, the wall thickness should be from 0.5, 1, 1.5, 2, 2.5, 3mm, and above it can be any. That is, the wall thickness should be a multiple of the nozzle diameter if it is less than N * d, where N is the number of perimeters, d is the nozzle diameter.
4. Minimum overhangs
Each overhanging element requires a supporting structure - support. The fewer overhanging elements, the less supports you need, the less material and printing time you need to spend on them, and the cheaper the print will be.
In addition, the support spoils the surface in contact with it.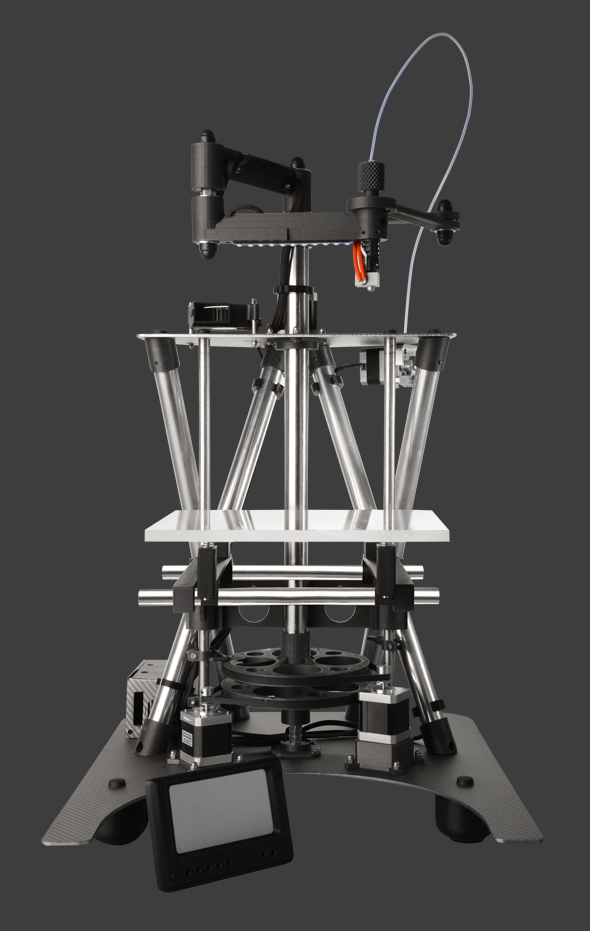
It is allowed to print without wall supports, which have an inclination angle of not more than 70 degrees.
5. Precision
Accuracy along the XY axes depends on backlash, structural rigidity, belts, in general, on the mechanics of the printer. And it is about 0.3 mm for hobby printers.
The Z-axis accuracy is determined by the layer height ( 0.1-0.4 mm). Hence, the height of the model will be a multiple of the height of the layer.
It should also be taken into account that after cooling, the material shrinks, and at the same time the geometry of the object changes.
There is also a software side of the problem - not every slicer correctly processes internal dimensions, so it is better to increase the diameter of the holes by 0.1-0.2 mm.
6. Small parts
Small details are quite difficult to reproduce on an FDM printer. They cannot be reproduced at all if they are smaller than the nozzle diameter. In addition, when processing the surface, small details will become less noticeable or disappear altogether.
7. Bottlenecks
Bottlenecks are very difficult to handle. If possible, it is necessary to avoid such places that require processing, which cannot be approached with a sandpaper or a microdrill. Of course, you can treat the surface in a solvent bath, but then small elements will melt.
8. Large models
When modeling, it is necessary to take into account the maximum possible dimensions of the print. If the model is larger than these dimensions, then it must be cut in order to print in parts. And since these parts will stick together, it would be nice to immediately provide connections, for example, a dovetail.
9. Desktop location
How to place the model on the desktop depends on its strength.
The load should be distributed across the print layers, not lengthwise.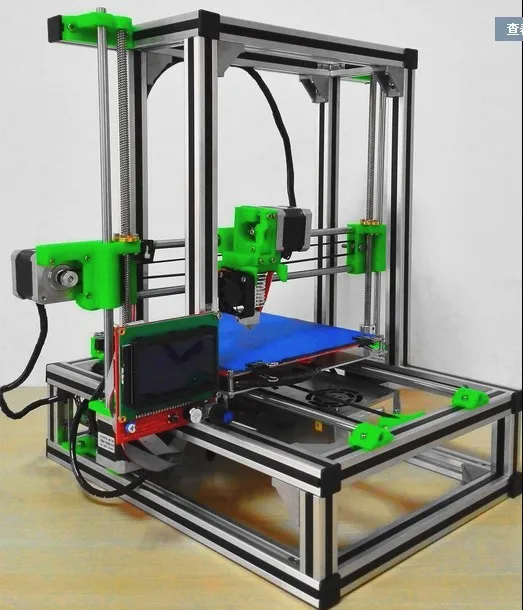 Otherwise, the layers may disperse, because. adhesion between layers is not 100%.
To make it clear, let's look at two L-shaped models. The lines show the print layers.
The strength of the printed part depends on how the force is applied relative to the layers. In this case, a small force will be enough for the right "G" to break it.
10. File format
Slicers work with the STL file format. Therefore, you need to save the model for printing in this format. Almost any 3D editor can export to this format on its own or using plugins.
PS:
Now you know the intricacies of modeling for FDM 3D printing and, I hope, they will be useful to you. Happy 3D modeling!
How a 3D printer works, what can be printed with a 3D printer
The 3D printer is a technology that allows you to create real objects from a digital model. It all started in the 80s under the name "rapid prototyping", which was the goal of the technology: to create a prototype faster and cheaper. A lot has changed since then, and today 3D printers allow you to create anything you can imagine.
Contents:
- What is 3D printing?
- How does a 3D printer work?
- What can be printed?
The 3D printer allows you to create objects that are almost identical to their virtual models. That is why the scope of these technologies is so wide.
What is 3D printing?
3D printing is an additive manufacturing process because, unlike traditional subtractive manufacturing, 3D printing does not remove material, but adds it, layer by layer - that is, builds or grows.
- In the first stage of printing, the data from the drawing or 3D model is read by the printer.
- Next is the sequential overlay of layers.
- These layers, consisting of sheet material, liquid or powder, are combined with each other, turning into the final form.
With limited production of parts, 3D printing will be faster and cheaper.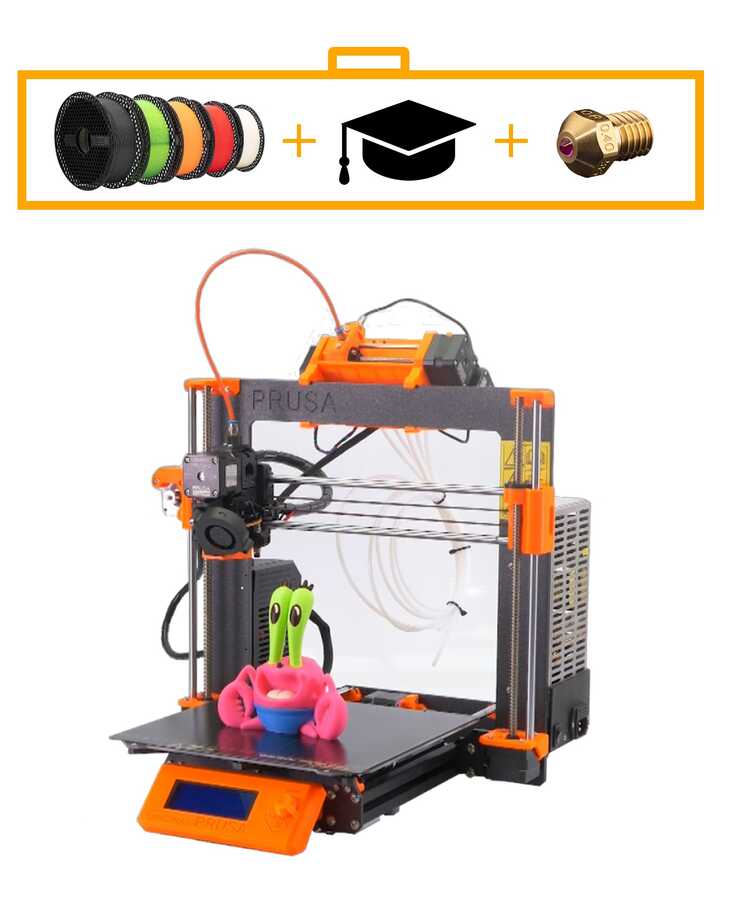 The world of 3D printing does not stand still and therefore there are more and more different technologies competing with each other on the market. The difference lies in the printing process itself. Some technologies create layers by softening or melting the material, then they provide layer-by-layer application of this same material. Other technologies involve the use of liquid materials, which acquire a solid form in the process under the influence of various factors.
In order to print something , you first need a 3D model of the object, which you can create in a 3D modeling program (CAD - Computer Aided Design), or use a 3D scanner to scan the object you want print. There are also easier options, such as looking for models on the internet that have been created and made available to other people.
Once your design is ready, all you have to do is import it into Slicer, a program that converts the model into codes and instructions for a 3D printer, most of the programs are open source and free. The slicer will convert your project into a gcode file ready to be printed as a physical object. Simply save the file to the included SD card and insert it into your 3D printer and hit print.
The whole process can take several hours and sometimes even days. It all depends on the size, material and complexity of the model. Some 3D printers use two different materials. One of them is part of the model itself, the other acts as a prop that supports parts of the model hanging in the air. The second material is subsequently removed.
How does a 3D printer work?
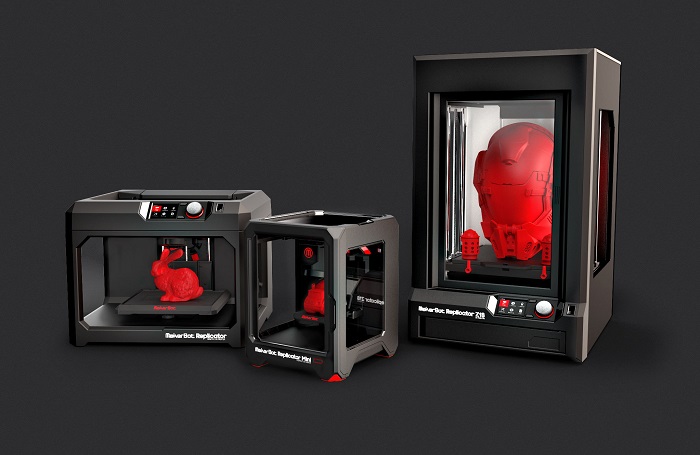
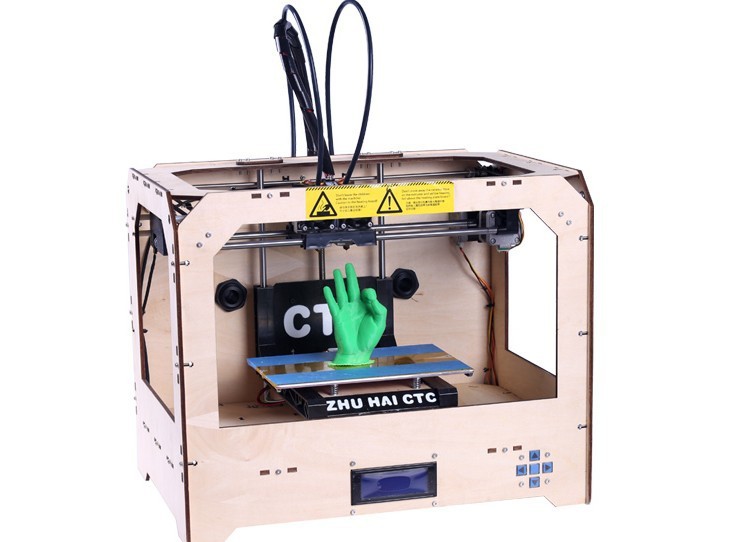
Although there are several 3D printing technologies, most create an object by building up many successive thin layers of material. Typically desktop 3D printers use plastic filaments (1) which are fed into the printer by the feeder (2) . The filament melts into the print head (3) which extrudes the material onto the platform (4) creating the object layer by layer.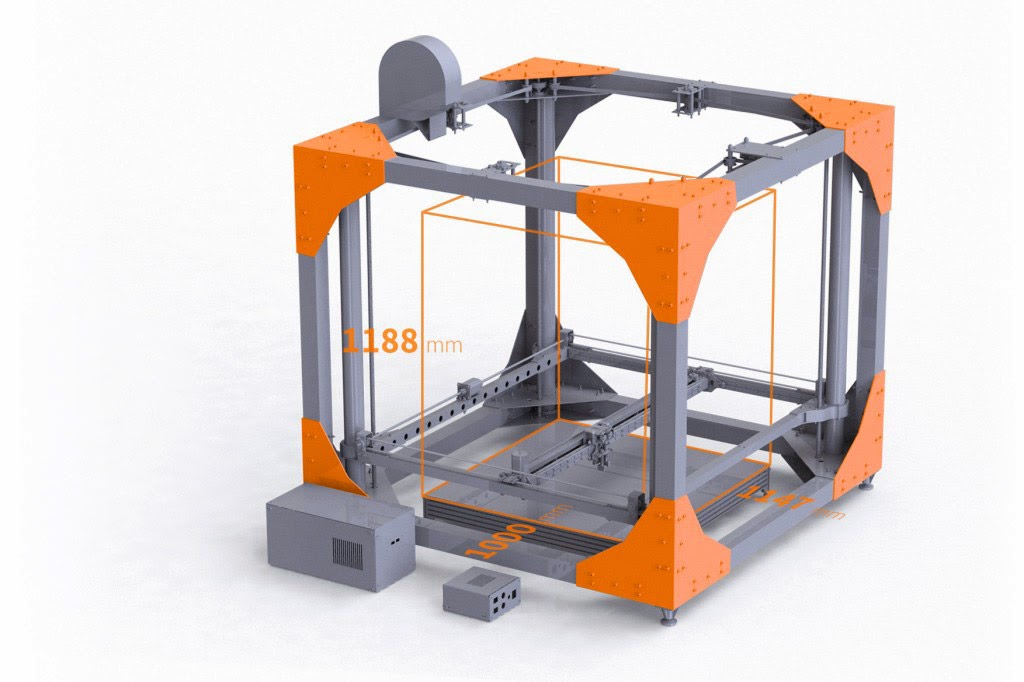 Once the printer starts printing, all you have to do is wait - it's easy.
Of course, as you become an advanced user, playing with the settings and tweaking your printer can lead to even better results.
What can be 3D printed?
The possibilities of 3D printers are endless and they are now becoming a common tool in fields such as engineering, industrial design, manufacturing and architecture. Here are some typical use cases:
Custom Models
Create custom products that perfectly match your needs in terms of size and shape. Do something that would be impossible with any other technology.
Rapid Prototyping
3D printing allows you to quickly create a model or prototype, helping engineers, designers and companies get feedback on their projects in a short time.
Complex geometry
Models that are hard to imagine can be easily created with a 3D printer. These models are good for teaching others about complex geometry in a fun and useful way.


