Dyeing nylon 3d print
The Quick and Easy Way
Currently, the Markforged materials suite offers two different types of plastic: Nylon and Onyx. This limits the colors you have essentially to translucent white and matte black, with “highlights” of yellow (Kevlar), pink (fiberglass) or black (carbon fiber). Sometimes you may want your parts in a different color for an aesthetic or professional touch. We’ve discussed the nylon dyeing process in the past, but today we’ll show you an even simpler method to color your 3D printed parts almost any color you want, with just a tea kettle and some dye.
Nylon is a hygroscopic material, meaning that it can easily absorb water (this is why you need to store it in a drybox). This affects the part if the nylon gets wet prior to printing, but won’t degrade the 3D printed nylon part post-printing. Therefore, when nylon absorbs water with a water-soluble dye, it absorbs the water and dye and ends up permanently colored. By heating up some water and adding dye, the dye can easily diffuse into the water, and the combination, when heated, can more easily dissolve into the 3D printed nylon. This allows the part to absorb the dyed water quickly.
Our old dyeing process, if not executed well, could leave parts with bubbles or warped spots, and this method ends up being a lot quicker. Here are the steps we advise:
1. Selecting Dye:We suggest using RIT liquid dye for dyeing 3D printed nylon parts- although it is listed as a fabric dye, it works really well on our nylon (because nylon is commonly used for fabrics!). If you choose to use another dye, just ensure that it works on nylon. You can purchase RIT liquid dye here. You can choose to dye your parts pretty much whatever color you want as long as you can find it!
RIT Dye, the suggested brand Markforged uses for dyeing 3D printed parts.2. Preparing the 3D Printed Part:There isn’t much needed to prepare the part, but just remember to remove the support material, and clean excess glue off of the bottom face of the print, or else the nylon will not absorb dye through that face. In this example, I printed our standard Markforged nylon sample part.
Apart from the dye and the part, you’ll also need a tea kettle and/or a microwave, a container or mug you don’t want to drink from again that fits your part fully inside of it, a pair of pliers or tweezers you can use to pick up your part, and a paper towel (not pictured). It’s best if the container is insulated, like a mug or bowl, so heat doesn’t escape easily. Just make sure you only use it for dyeing and not for drinking after you use it to dye parts, so label it clearly and don’t store it with the rest of your kitchenware!
The materials needed to dye 3D printed parts.4. Preparing the Solution:You’ll want to use about a 5:1 water to dye ratio. For lighter dyes or larger parts though, we suggest a more concentrated solution of about 3:1. Figure out about how much liquid you need to completely submerge the part, and pour just the dye into the container. Boil some water in a kettle or on a stove. Once it’s boiled, pour it carefully into the container with the dye.
Pick the part up with the pliers and submerge it in the dye solution. This is important to do immediately, while the water is still hot, or else the part won’t absorb the dye well. You may want to monitor the temperature of the solution with a thermometer (this one is what some of our engineers use). The dye works best between 60C and 80C. Below 60C, and the dye won’t seep in well. Above 80C, and the part may warp or bubble.
Dip the part in the container, and check it every few minutes until you get the shade you want.I leave parts in for about a minute, but it’s really up to you: the longer you leave the part in the dye, the darker it will be. Usually, what I’ll do is dip my parts in and pull them out or glance in every few seconds until I get the look that I like.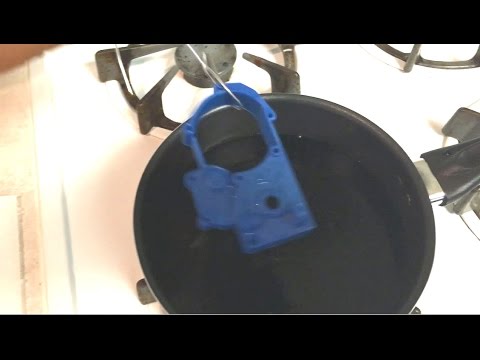 Here are a few examples of red dyed nylon parts left in for different amounts of time:
Rinse the part under running water for a bit to clean off any excess dye. then lay the part out on a paper towel, pat it down, and let it dry for a few minutes.
7. Other Tips:
Reusing Dye: The dye is less effective when cool. If the dye has cooled down (which you can check if you have a thermometer, as mentioned above) and you want to reuse it to dye more parts, just take your parts out and reheat the solution in the microwave until it is simmering.
Keeping Dye Hot: If you have a large part and you’re concerned that the solution won’t stay at temperature, using a laboratory hot plate to keep the dye temperature within range will ensure the solution won’t cool down during the process.
Alternative – Using the Microwave: If you don’t have access to a tea kettle, you can dye parts with just a microwave.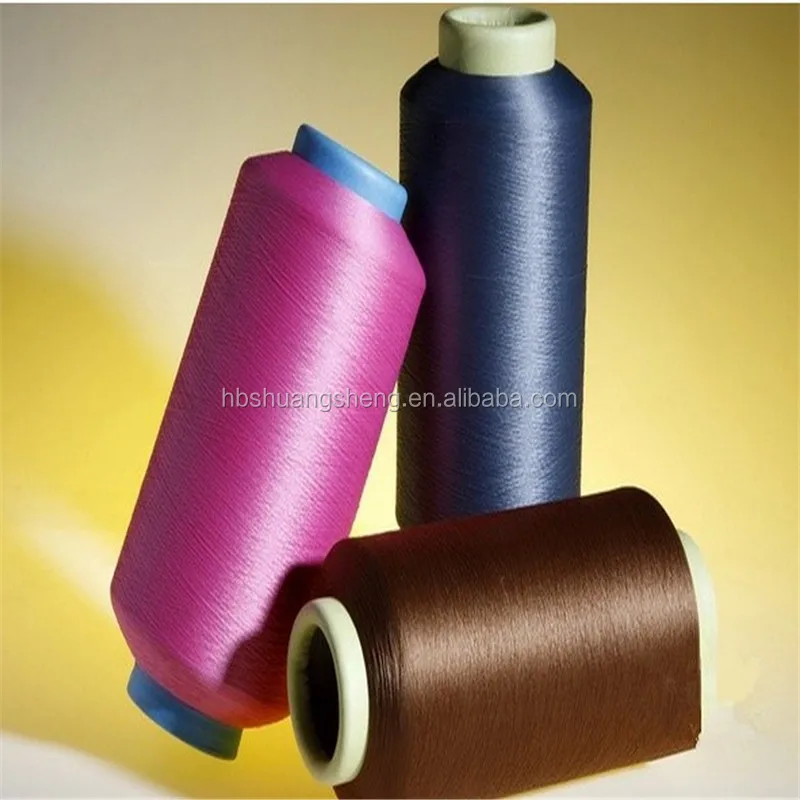 Instead of heating up the water in the tea kettle, mix the dye and the water in the container first, and then heat it up in the microwave until simmering. Remove the container and dip the parts in as described in Step 6.
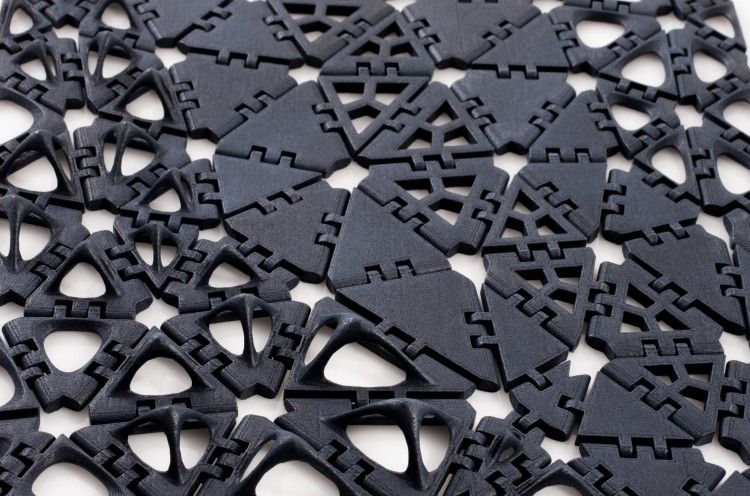
Fiber Appearance with Dye: Because fiber layers can usually be seen through the nylon, they also can show through even when the nylon is dyed. If you want to hide the fibers, the part should be dyed a bit darker, but they still show through a little bit. Here are some examples with carbon fiber, our darkest fiber material:
Dyeing darker will hide the fiber to a point.Dyeing Onyx: Our other plastic material, Onyx, does not produce the same results because we are dyeing an already black material. Onyx already has a superb matte black surface finish, so you may not want to dye it anyway. However, after a bit of time, it does give parts an slight colored tinge:
Onyx is black,, but the dye does slightly affect its color.I hope these steps helped simplify the dying process so that you can easily make alternately colored parts. Don’t forget to order a sample part if you want to try dyeing it yourself!
How To: Dye Nylon 3D Prints
Learn how to dye your nylon 3D printed parts to make the perfect custom color in this step-by-step guide.
Alec Richter
October 13, 2017
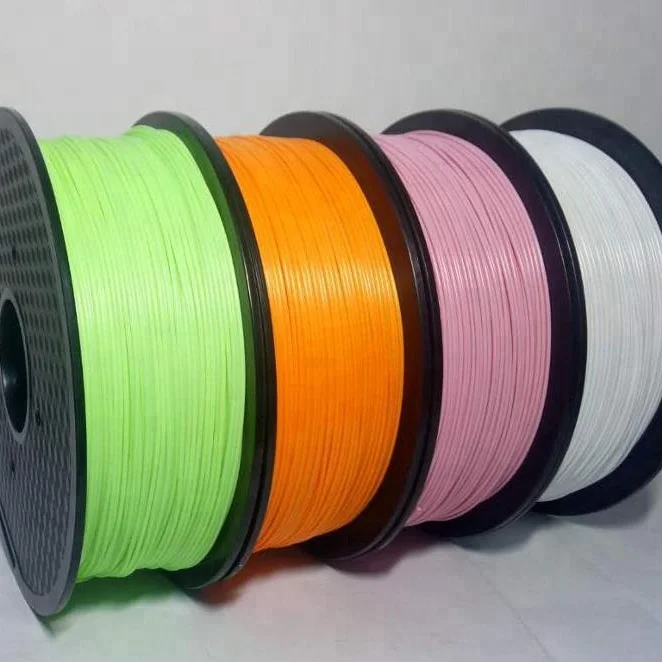
Not very long ago, nylon was available in only a couple colors: black, natural, and if you’re lucky, white. Now, you can get nylon in a variety of colors in our PRO Series Nylon, like red, orange, green, blue, white, gray, or black. While there are certainly more options to choose from, there aren’t nearly as many colors when compared to filament like PLA, ABS, or PETG. What are you supposed to do if you need a printed part with the strength, flexibility, and durability of nylon, but you need a color that you’ve only been able to find in PLA? Simple, dye it! Dyeing plastics is really easy and is something I’ve been doing for years for cosplay.
Finding a dye is an easy process; you can probably even find them at your local grocery store.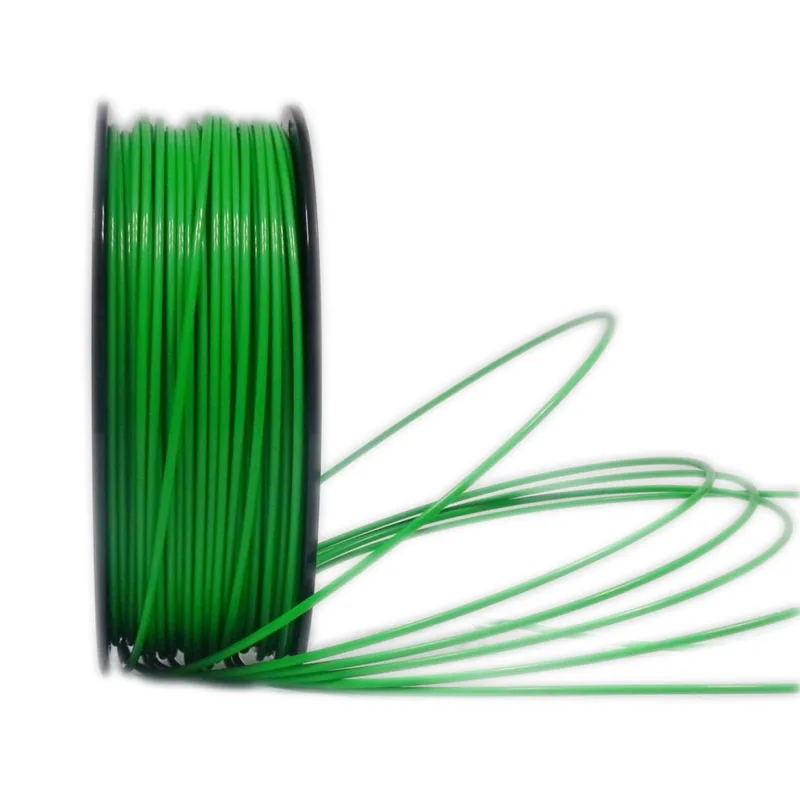 The two brands you want to keep an eye out for are iDye Poly (has to be Poly since that’s specifically designed for nylon fabrics and acetates) and Rit DyeMore (DyeMore is also specifically formulated for synthetic fabrics). iDye Poly is available in 16 different colors, and Rit DyeMore is available in 12, so there is a variety of colors, and then you can mix colors from there. I’m going to use Rit “Racing Red” and mix it with "Sapphire Blue” to get closer to a crimson color.
There are two different ways you can go about dyeing your material: you can dye the filament before you print it, or you can dye your part. I recommend dyeing your nylon 3D print rather than your filament, so this article will be about that method. I will explain later the reason why you shouldn't dye your filament. On with the project!
Splotchy and completely undyed spots are a possibility if you dye filament.
A Lesson on Nylon and Water
Even though your print will be submerged in water, being hygroscopic isn’t a problem.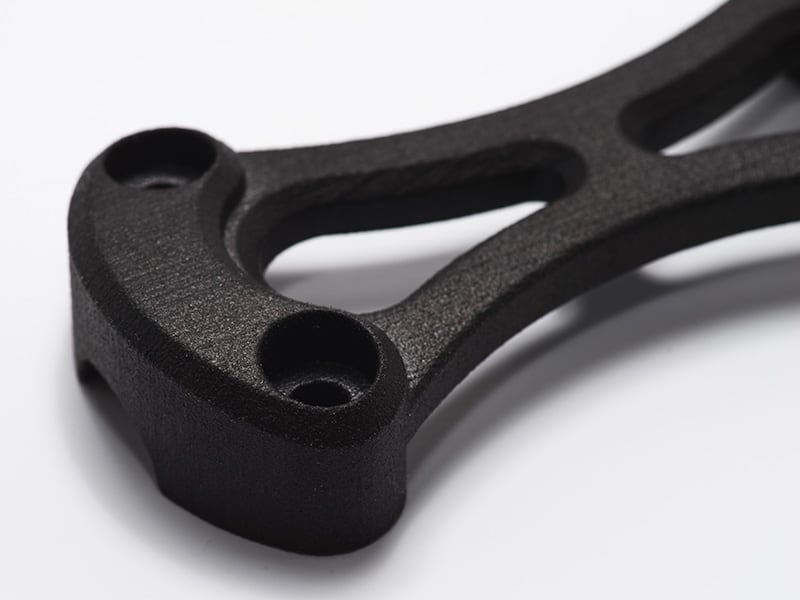 Being hygroscopic is only a problem if the nylon is heated to glass transition temperature, because what happens is wet nylon that’s been heated has its molecular chains break down and be filled with water molecules, thereby making a weaker bond and a weaker print. Boiling water isn’t hot enough to break those chains, and the water it absorbs won’t affect its structural integrity either.
Method 1: Dying Your Finished Nylon Printed Part
As I mentioned before, we'd be focusing on dying a Nylon part after it's been printed - here is everything you need to know!
Gather Materials and Equipment for Dyeing Nylon Prints
You will need:
- Dye colors of your choice
- Nylon 3D Prints
- A container deep enough for your print, and you don’t mind dyeing it.
- Second container to rinse dyed 3D print
- Thermometer
- Water
- Mixing utensil
- Pliers or tongs
- Timer
Optional:
- Wire to hang 3D print
- Weight to keep 3D print submerged.
Here are all the equipment and materials you will need
Step 1: Drying Nylon Filament
If you’ve ever printed with nylon, you know it’s hygroscopic. If you haven’t, what that means is nylon readily absorbs water from the air, and if we’ve just had it submerged in a bath of water, it’s going to be really wet. Before doing any nylon prints, you always want to make sure that your nylon has been dried.To dry it, set your oven to 180 degrees Fahrenheit (not Celsius!), making sure to allow your oven to preheat before putting your filament in. Leave in the oven for 4 to 6 hours. After it’s done baking, immediately print with it or store in a container with desiccant until you are ready to print. We have a vacuum oven to rapidly dry filament within half an hour. Another option is to use a PrintDry to dry the nylon, keep it dry, and print straight from it.
We have a vacuum oven, so our method is a little different, but a kitchen oven or a PrintDry works just as well.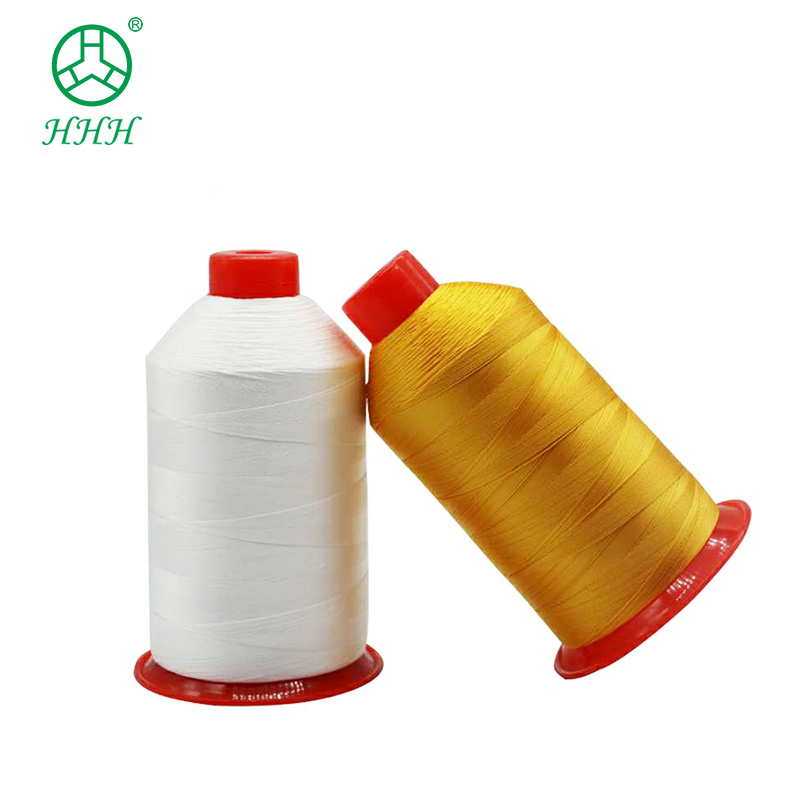
Step 2: Prepare your 3D prints.
Depending on how long you leave your 3D print in the dyed water will affect the concentration of color in the final print. Print 5 small test prints (either small Phils, test cubes, or whatever you'd like) so you can test what time you like best. I printed out 5 of these MatterHackers swatches, and left them in for varying amounts of time. Five minutes looked dark enough but not too dark, so that's how long I would be dyeing the Phil I printed.
Note: Make sure to clean off any PVA glue or hairspray from the bottom of your print, otherwise anywhere there's glue the dye won't take as strongly.
These test print, as an example, were left in for varying amounts of time to see what amount of time works best to dye my nylon the color I want. From left to right: 30 sec, 1min, 2min, 5min, and 10min.
Step 3: Prepare the Dye Solution
Take the container you are going to be dyeing in and fill it with water. Be sure to leave enough room from the top for the 3D print (and a weight if necessary) to displace and not spill over. Depending on the color you want to create, you may need to add more or less dye. For my crimson mix, I used about half the bottle of red and a quick spurt of blue. In your other container, fill it with cold water. This container will be used to quickly cool the filament and “lock in” the color.
I think our PRO Series Burgundy is out best color, and I want to try and match that with nylon.
Step 4: Dyeing the Nylon 3D Print
Preferably, use a hotplate outside to dye your filament, so you don’t dye the ceiling in your workspace with dyed steam. Heat up the water to about 140° Fahrenheit, and keep an eye on the thermometer. You will need to turn off the heat before it reaches 140°, because the water holds temperature really well and even if you turn it off when it reads 140°F, it could reach as high as 160° before it starts to cool down (like it did for me). When it's at a temperature you're satisfied with, gently lower your test prints into the water. You need to see how much dye is enough, how long to get the right color intensity, do you need more of dye A or B, etc. Once you’ve found the sweet spot, place in your 3D print and start your timer. If you don’t get all of it submerged, your prints will come out striped or splotchy. This could have an interesting effect if done intentionally, otherwise submerging it will ensure your entire print is one uniform color. When the timer has stopped, remove it and dunk it in the second container.
It=E2=80=99s much easier to dye just a finished print.
Method 2: Dyeing Nylon Filament Before Printing
This method is much more difficult since you need to put the filament in without a wire, weight, or anything touching it since those spots won't take dye as strongly as the rest of the filament, if at all. Not only that, but you have to unspool the filament and hope you have enough or don't have a print failure using up your dyed filament. If you choose to dye your filament though, there isn't much you have to do differently. All you have to do is dye the nylon, dry it in an oven after following the same steps as before, and printing with it as normal.
MatterControl estimated that Phil will take 5 meters of filament, so I cut off 10 meters so I have enough for print failures and a little wiggle room just to be safe. Better to have too much than not enough.
And that’s all there is to it. It’s very wordy, but dyeing nylon is just as easy as boiling pasta. With this information you can create nylon 3D prints in colors exclusive to you and your work, so get started dyeing nylon. I’d love to see what unique colors you can blend and 3D print.
Is there something you'd like to see Alec create using 3D printing? Let us know in the comments below, or send an email to [email protected].
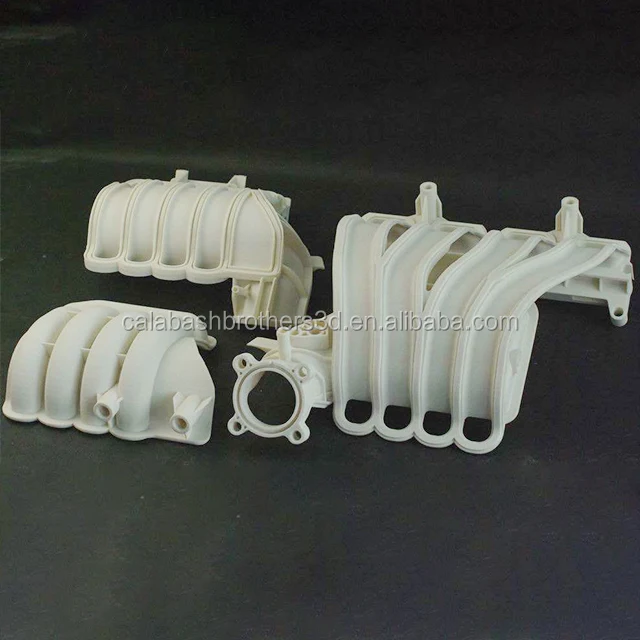
Nylon dyeing at home. 3D printed in dyed nylon.
I needed colored nylon, an order came, and such that none of the material, except for yellow or orange nylon, was suitable for the characteristics, and painting with something on top was not suitable.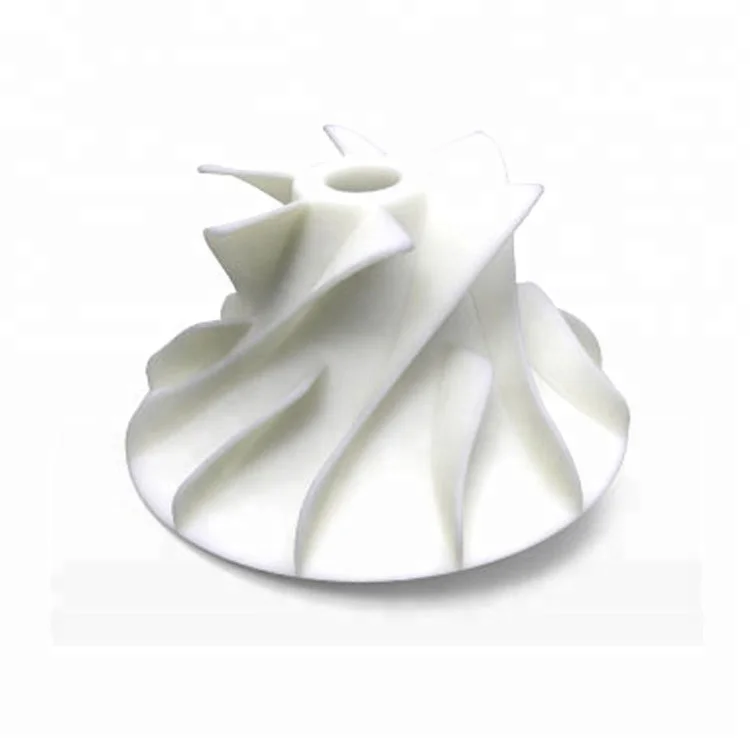 The part had to be transparent. And since it is hard to find such nylon, the person was refused, but he thought - how to solve this problem? Actually, the article is about it.
Let's figure it out
To begin with, let's figure out what nylon is - it is a good material with excellent performance properties, capricious in printing, but at the same time so popular that even trimmer fishing line is used.
Manufacturers, for some reason, and most likely due to the lack of demand for colored nylon, are in no hurry to release colored versions of the material on the market.
Nylon is a polyamide, known in our country under the brand name "Kapron", and nylon threads and fabrics were perfectly able to be dyed by our mothers at home. A filament is the same thread, only of a larger diameter, so we will dye it the same way as threads for needlework.
Getting started painting
Well, let's try to get a colored rod, or paint finished products while maintaining transparency.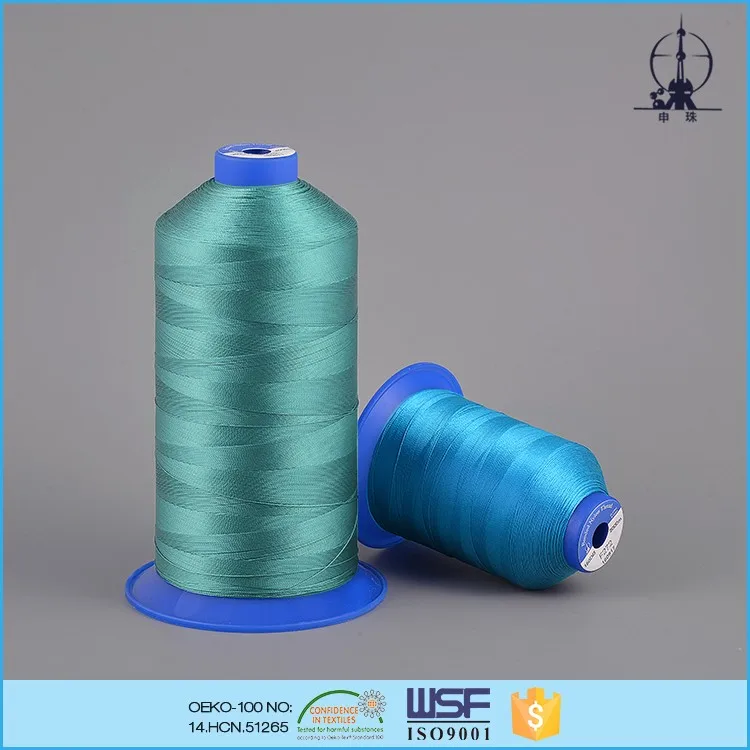 As a dye, you can use any direct dye for cotton fabrics, which can be bought at hardware stores, or a special dye for nylon threads, which can also be bought at the store. Food coloring and turmeric also proved to be suitable for use.
Two coloring methods were tested - from an old Soviet reference book, and from a dye package.
Looking ahead, I’ll say that the methods differ slightly, however, the method from the dye packaging worked equally well in all cases, and with all the dyes that were used, while the “Soviet” method gave non-painting of the rod, as in the photo.
And below is a photograph of the dyed rod:
Therefore, I will consider the method from the packaging, if there is an instruction from the dye manufacturer, then follow it, taking into account the correction for the dyeing temperature - nylon cannot be heated above 75 degrees.
Coloring turned out to be most convenient in a multicooker with a predetermined temperature, heating the dye solution in a water bath, in any non-food dish convenient for this, in my case these were liter glass jars (uncomfortable, but affordable).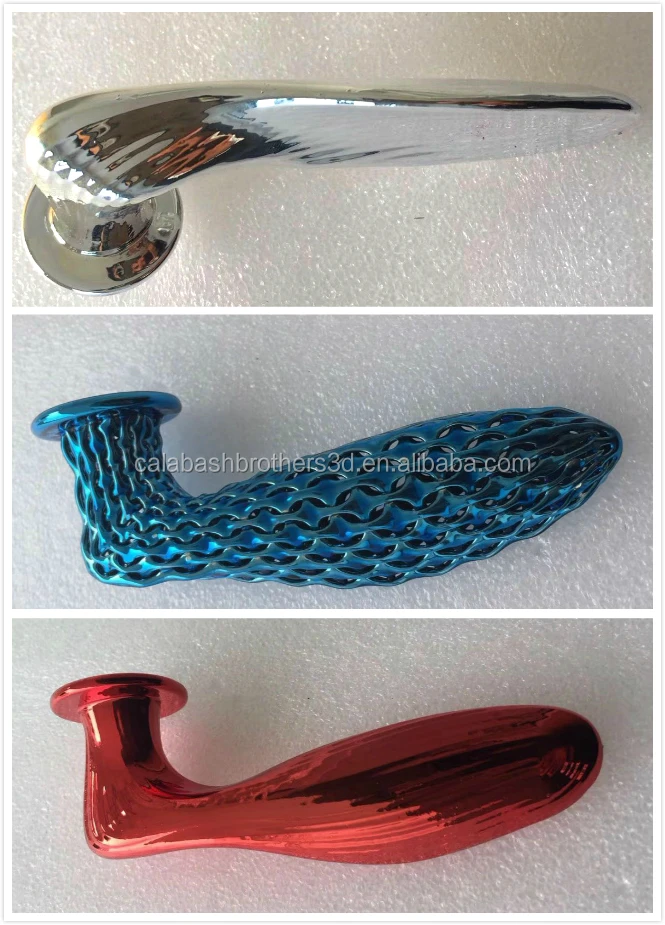
It is better to use any convenient wide non-food vessel in which you can completely immerse the rod in the most straightened form.
It is interesting to try painting in the washing machine, as it is written in the instructions, but it is difficult to imagine the amount of plastic for this method. For tests and work, 10-20 meters are enough for me, which can be painted "on demand" in a bank.
Approximate instructions for dyeing for cotton thread (suitable for food dyes, for special ones, see the package)
I will not reprint, a good quality photo will say more.
This is a valid instruction sheet for aniline-based direct dye, including food dye, such as Easter egg kit or turmeric.
There are special dyes for kapron-nylon - they contain a color fixer and their instructions are slightly different from those given. Be careful!
If you dye with turmeric, then the dye solution must be filtered from spice particles, otherwise you may get an uneven shade of color in the part of the rod that lies in the sediment of the solution, as in the photo below:
The only thing I notice is nylon it is undesirable to heat above 75 degrees.
In addition to the filament, nylon prints can be dyed. However, the part must be 100% filled, or thin-walled, for example, the body of something, since it is difficult to “drown” a hollow part in a solution, and it is unrealistic to dry it from a solution that has got inside.
If the solution enters the part, the nylon will be destroyed by the vinegar used to fix the color.
Nylon was dried for 4 hours at 50 degrees
and sent to print.
I printed a low-poly cat, I took the model here https://www.thingiverse.com/thing:3003775
I don’t know what happened to the material, but it cracked and bubbled terribly. What affected - a day spent after drying in a humid room (61%) in a zip bag or insufficient time and temperature (drying together in PETG, in a gentle mode), but the plastic turned out to be damp on the print.
Dry the filament thoroughly after painting.
Nylon must be dried immediately before printing.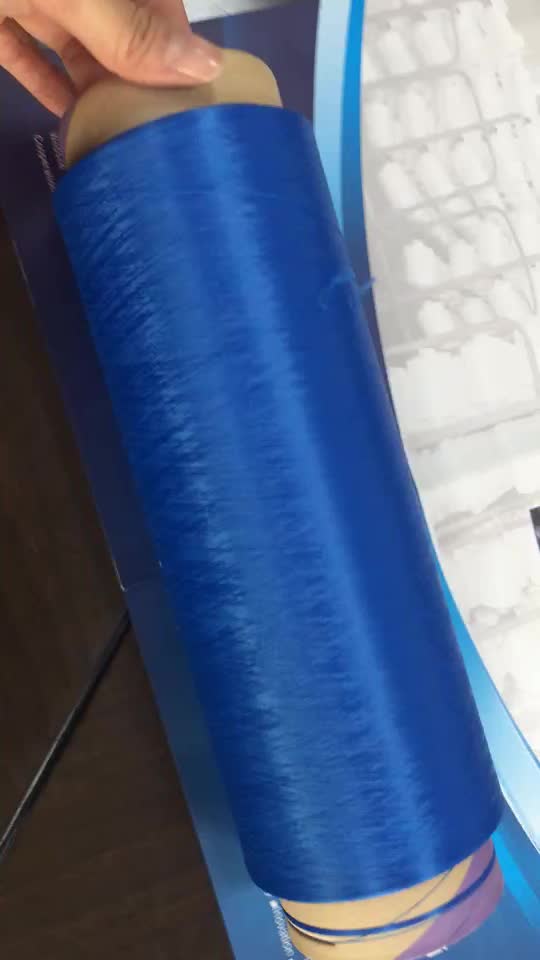
Results
The actual results. The photo hardly conveys the true color and appearance of the part, plus the dampness of the plastic affected the quality of the print. I did not reprint, because the result is already clear and predictable.
Turmeric when printed gives an interesting color and appearance of amber, as well as indescribable aroma of spices, turning the workshop into a branch of the Uzbek canteen.
It is better to use food coloring instead - it is more stable and does not smell.
Blue dye for cotton fabrics gave an unexpectedly rich purple color that completely dyed the bar. But neither the photo nor even the video could convey this color. Shines, reflects light, spoils the frame. :)
Dyeing finished products:
Dyed nylon waste that had accumulated lately
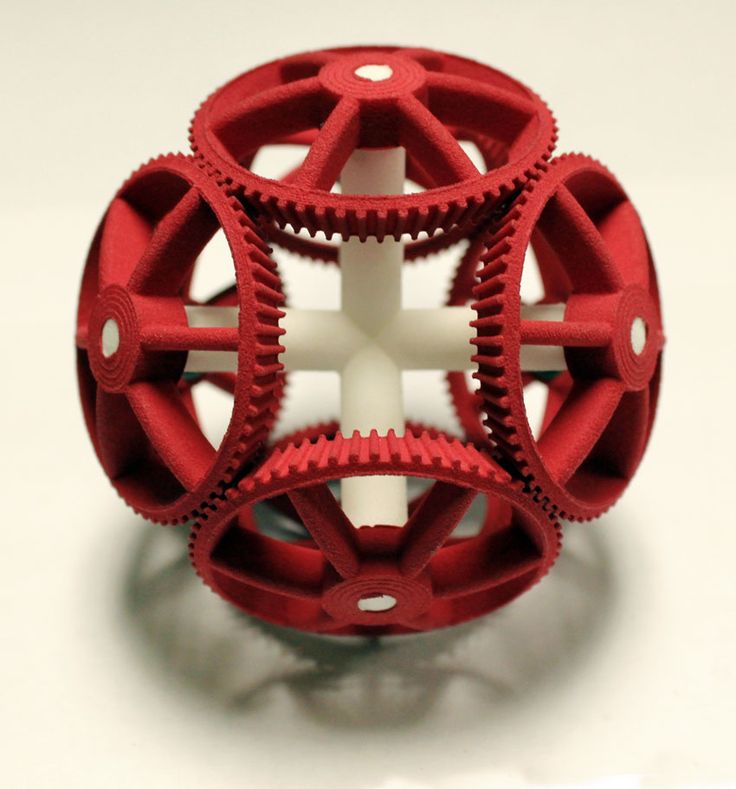
Red - food coloring from the Easter set, solid gear with 100% infill.
Yellow - turmeric, hollow test cube.
Undyed gear - unsuccessful attempt to paint the part with pigment dye for soap makers, nylon is dyed only with direct dye, pigment ones do not work.
Red, thin gear - repainted hollow gear, not pigmented.
CONCLUSION
I liked the color of the filament.
Printed parts can also be dyed, but be aware that hollow parts are not airtight, the solution remains inside the part, acetic acid destroys nylon, and the part may swell and warp slightly when heated.
I do not recommend painting hollow parts, although it is possible.
And that's all for me, good printing to everyone, to be continued.
P.S.
Since I had the colorless SBS GLASS from FDPLAST, I also decided to test it for staining. SBS dyed worse than nylon, but the print result was interesting.
Painting recommendations for 3D models (PLA, ABS, PETG, NYLON)
3DPrintStory Reviews Recommendations for painting 3D models (PLA, ABS, PETG, NYLON)
Despite multi-material extruders and a stunning variety of 3D printable plastic colors, you'll still want to paint some of your 3D models sooner or later.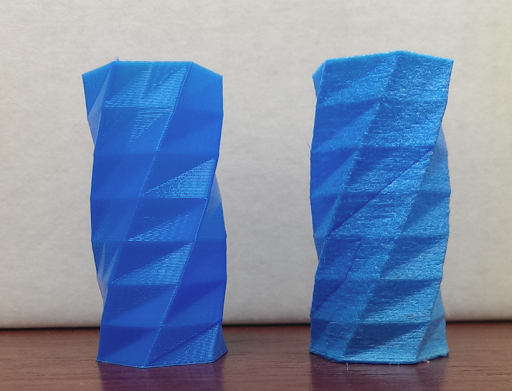 The most common reason is to improve the external 3D model, especially if you are printing on an FDM 3D printer where the model is built up by layering material over time. It is FDM 3D printers that form a model with feature lines along the Z axis.
When finishing a 3D model, small cavities between layers are sanded, filled, or both. The result is a smoother surface. Painting can also help protect the model from the environment.
This article is divided into two parts: the first will introduce you to the different techniques for painting a 3D model, and the second will (hopefully) answer all your little questions about painting techniques and how best to do it. Read on to find out how to enhance your 3D models with paint!
Primer is paint's best friend
Priming a printed model improves ink adhesion. With any painting method (other than nylon dyeing), using a primer is a good idea. Spray primer is said to be the easiest way to get good results.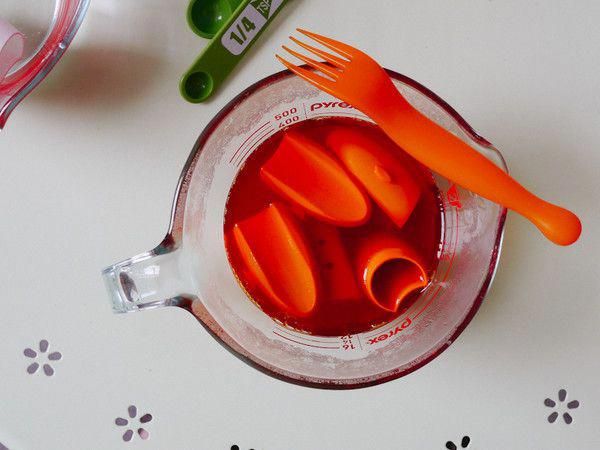 The process for using the primer is very simple:
- Clean and sand your 3D model.
- Apply the primer in thin, even coats.
- Sand after first and last coats to achieve a smooth finish.
- Let each coat dry according to the instructions supplied with the primer.
Method 1: Paint with a brush
Best for: PLA, ABS, PETG plastics.
If you paint a 3D printed model with a brush, you will definitely achieve a unique "handmade" effect.
Try a few brushes first because it's easier to get good results with a comfortable brush. As a rule, it is enough to use only 1 or 2 different flat brushes.
Brush
- Choose a quality brush that is hard enough to handle the viscosity of the paint you are working on.
- Experiment with different bristle types and handle shapes to find the one that works for you.
- Pause the paint to clean the brush as soon as the paint starts to dry.
 Naturally, the brush must be cleaned after each use. Do not leave drying paint on the brush bristles.
 - After cleaning, the brush must be stored on the handle and not on the bristles.
Paint
When it comes to painting with a brush, acrylic paints are your best bet.
Painting process
- Clean and sand your 3D printed model.
- Apply the paint in thin, even coats.
- Let the individual layers dry.
Method 2: Spray painting
Best for: PLA, ABS, PETG plastics.
If you want to paint your 3D printed model evenly using one color, then spraying will give the best result.
Spray can
Some brands offer nozzles with different specifications.
Shake can according to manufacturer's recommendations before use. Allows the paint to come out more evenly.
Keep the nozzle clean. This is usually achieved by spraying the inverted can slightly at the end of each session.
Keep can away from open flame and store in a cool place. Don't forget that this is a high pressure container!
Paint
When looking for spray paint, you will find that there are many varieties. If you want to use a specific shade, please read the RAL, CMYK and RGB values on the can carefully.
Painting process
- Clean and sand your 3D printed model.
- Start spraying by aiming the spray a little beyond the edge of the object you want to paint.
- Apply the paint by spraying onto the surface you want to paint in slow, even strokes.
- Stop spraying by directing the jet a little beyond the object you want to paint.
- Let the paint dry.
Method 3 Liquid Color (nylon only)
Best for: NYLON plastics.
Instead of trying to get paint to adhere to the surface of your 3D printed nylon model, we recommend using liquid dye instead. Note that this will not work with other materials. Although PLA is hygroscopic and absorbs some water from the environment, it cannot be dyed by absorbing dye. ABS and PETG are also not suitable for this technique.
In order for the ink to give a good pronounced color after absorption, it is better to use a translucent or white nylon material when 3D printing. Darker nylon fibers can also be dyed, but the color will be much less pronounced.
Colorant
There are many brands of colorant to choose from, but MatterHackers recommends Rit DyeMore for example. But in general, if the dye is intended for synthetic fabric, then everything will be in order.
Staining process
Since nylon is very hygroscopic, it absorbs water even outdoors. This is why you should always dry your nylon material before 3D printing. We recommend painting the finished model, not unprinted.
How to use
Read the manufacturer's instructions for your colorant. In short, using a dye is a pretty simple method:
- Clean up your 3D model.
 When sanding, remember that painting will not cover scratches and marks on the surface of your model. Everything will be visible even after staining.
 - Mix the dye with water and heat in a saucepan.
- Use a thermometer to monitor the dye temperature. Follow the manufacturer's instructions, but keep the temperature below the thermal deflection temperature of the filaments.
- Attach the weight to the 3D print and dip it into the paint pot.
- After coloring, rinse well in a bath of cool water.
- To make sure you get the color you expect, it's worth doing a few test coats.
How to tell if a paint will set with a 3D model
Probably the most important factor in causing a paint or liquid of your choice to stick to a solid surface is the difference in surface energy between the liquid and the solid. The one with the most surface tension always wins (surface tension has its own unit called dynamos, or dynamos per square centimeter).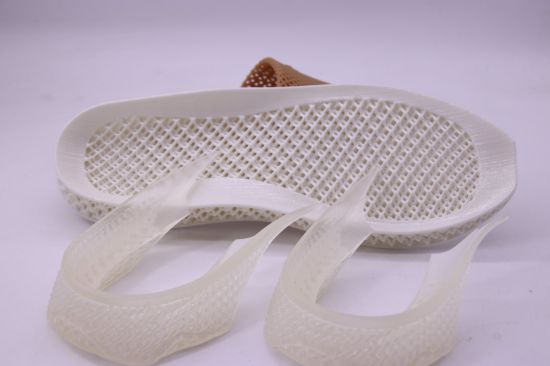
The general rule is that the surface tension of the paint must be at least 10 units lower than the solid material for good adhesion. This means that we have a liquid with a high wetting ability on a solid, and we need wetting.
To get an idea of how well the surface being painted is wetted, pay attention to the shape of the drop of liquid on the solid surface:
- Apply a drop of paint or liquid to the surface of the 3D model you want to process.
- If a liquid forms a ball, it has too much surface tension to effectively wet the object, and the solid cannot "pull" the liquid onto itself.
- If the liquid spreads over the surface, forming something like a lens, wetting is better.
Is it possible to paint a 3D model from any material?
Painting 3D models from PLA and ABS plastics is a fairly simple task.
PETG can have paint durability issues, but the same techniques apply as for PLA and ABS. But if you really need a rich, vibrant color, then it's best to print your 3D PETG model in the desired color and leave it as it is.
When it comes to nylon, which is used for 3D printing, we must remember that the paint does not set well. In general, it is possible to paint with acrylics and nylons, but this will require some heat treatment to maximize the surface tension and allow the paint to wet. Often this is done with an open flame or plasma... In general, this does not look easy at home, so it is better to use dyes.
Planning before 3D printing
In order to facilitate the process of finishing and painting, before 3D printing your model, we recommend that you consider the following:
- Lower 3D printing resolution saves printing time, but increases processing time.
- Consider the geometry of your model. Your tools should reach where you want to sand or paint.
- Do the smallest details need sanding, priming or both? If so, can they handle it without breaking?
- If dimensional accuracy is important for some parts of your 3D model, you may need to take this into account when modeling.
Learn more