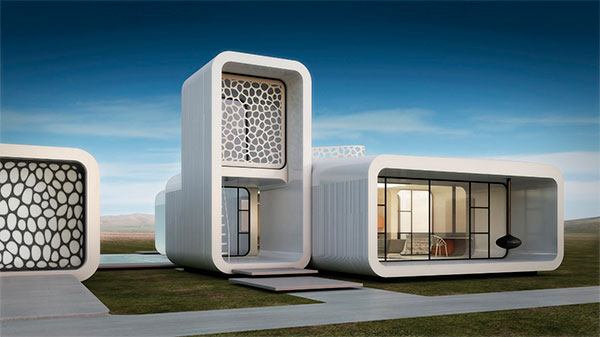
Dds 3d printer
3D Digital Dental Design & Production
Delivering 3D printed parts is a process that requires several key components to work, much less work efficiently. Cutting corners in any of these areas can cost you time and money. 3DDDS is unique in that we can design a seamless workflow for your lab or dental office, or our full service production facility provides support in areas that simply do not make sense to keep in-house.
3D SCANNING
Better patient experience
High resolution scans simplify the process, reducing a patient's intraoral discomfort.
Reduced costs
Accuracy and efficiency reduce costs by eliminating the need for impression trays and materials as well as any retakes.
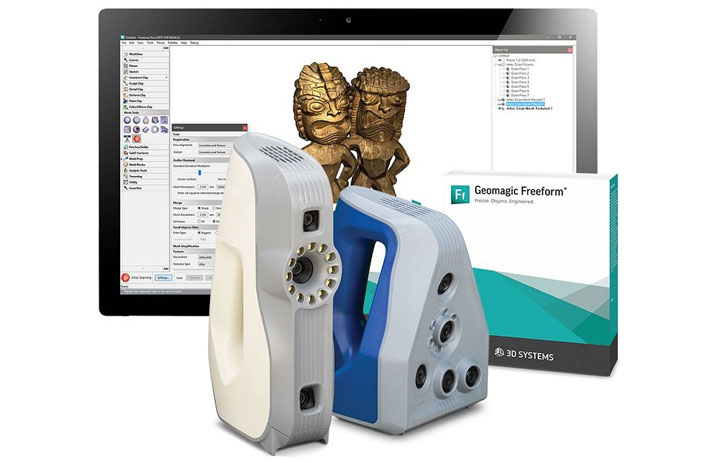
See our Scanner Bundles
CAD/CAM DENTAL DESIGN
Digital dentistry is complex
The design software you choose to work with is essential to your success, as is the clinician producing the files.
Available in both open and closed architectures and the equipment selected often times determines the software. Before you choose any software, it is important to determine compatibility, and that it comes with adequate training and support.
3D DDS can help you expand and modify your service offering delivering products that maximize your profitability while minimizing training and integration costs.
3DDDS also provides complete outsourced design services.
Software we support
Selection
The selection of 3D printers is growing at a phenomenal rate offering solutions for just about anyone to get into the filed. Unfortunately this complicates things.
Not every printer or print technology is suited for every need.
Accuracy
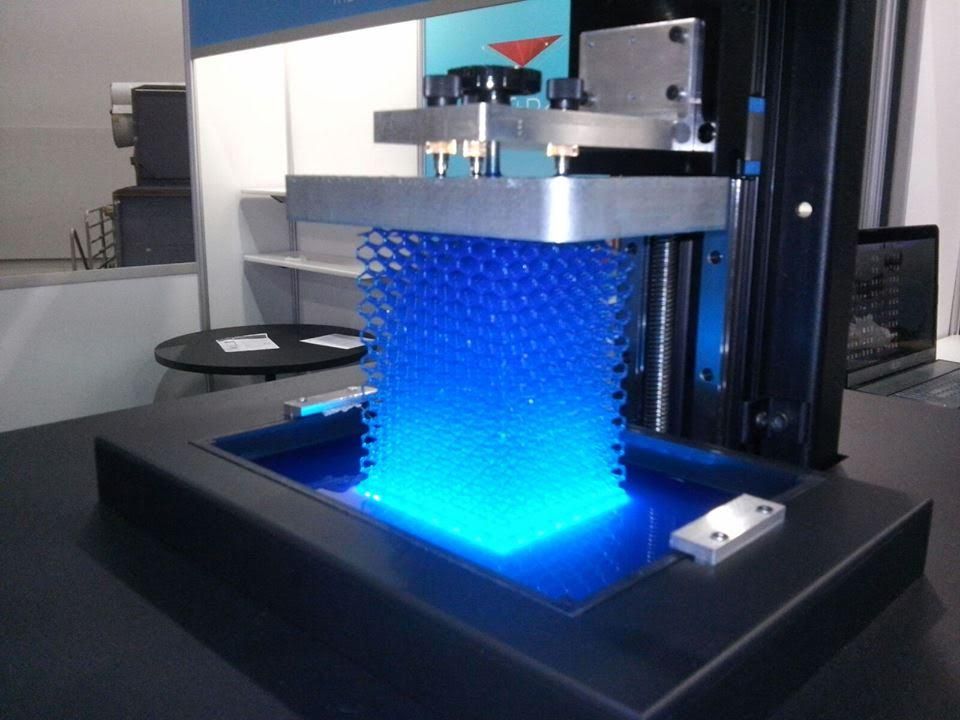
Understanding a printer's resolution can help you set expectations. Common resin 3D printers include DLP, SLA and LFS systems which use light to cure layers. All are considered high resolution but each deliver different prints.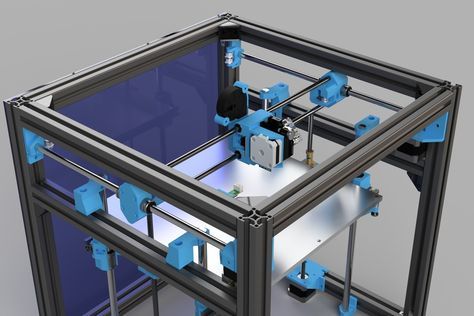
Efficiency / Volume
In addition to resolution, when deciding on a printer, you should also consider material use, build plate size, peel force, etc.
Material Selection
Not every printer is validated with every resin. It is critical to understand what materials will work with the printer you are considering, particular if you intend to produce bio-compatible parts.
3DDDS is a full service 3D production facility that provides overflow services to labs and dentists nationally.
See our Printer Bundles
POST PROCESSING
One of the most important, yet most overlooked steps in the 3D print workflow is post processing.
You cannot ignore your post processing and expect decent results, much less produce at scale. Your wash and curing systems need to be suited to the type of materials you are working with.
Curing systems must be able to produce optimal UV wavelengths and thermal outputs to ensure efficient curing times, increasing productivity.
Digital Workflow • 3D DDS
There is a popular misconception circulating that a 3d printer makes dentures, provisionals, splints or surgical guides. That is not exactly the whole truth. A 3D printer plays a part in making a dental appliance but it is part of a system or workflow that allows for the creation of that dental appliance.
Irrespective of using traditional techniques or digital technology to fabricate an appliance, there are a series of steps starting with data acquisition and ending when the appliance is inserted into the patient. This series of steps is the workflow used to create a dental appliance. These steps along with the equipment, software, and raw materials is your workflow solution to making an appliance. To simplify this, whether using a traditional or digital workflow, there are the same basic steps to the workflow.
- Data Acquisition
- Prepare Data
- Case Design
- Prepare Design for Manufacturing
- Manufacture
- Polish and prepare for insert
The 2 processes are similar but uses different “raw materials and equipment” to get to a similar result.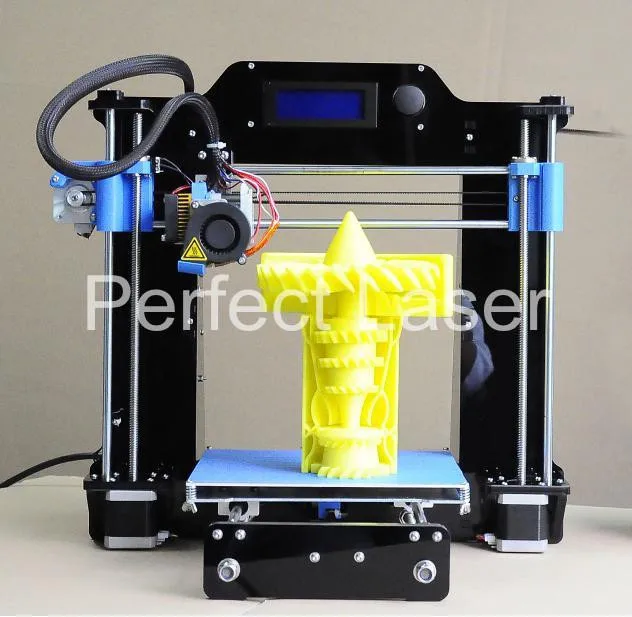 Let’s look at a real-world situation with a side by side comparison between traditional and digital to better understand this concept.
Let’s assume for this example we are making a splint.
TRADITIONAL WORKFLOW
| DATA ACQUISITION | TIME TO COMPLETE |
| Goopy impressions of Upper and Lower arches with a bite registration | 30 minutes |
DIGITAL WORKFLOW
| DATA ACQUISITION | TIME TO COMPLETE |
| Scanned impressions of Upper and Lower arches with a bite registration. | 10 minutes |
TRADITIONAL WORKFLOW
| DATA PREPARATION | TIME TO COMPLETE |
Impressions are poured in stone, trimmed, and mounted on an articulator using the bite registration. Working model is duplicated and mounted for use during design and manufacturing Working model is duplicated and mounted for use during design and manufacturing | 90 minutes |
DIGITAL WORKFLOW
| DATA PREPARATION | TIME TO COMPLETE |
| Stl files are imported into dental CAD software, trimmed, and virtually aligned. | 5 minutes |
TRADITIONAL WORKFLOW
| DESIGN "MOCKUP" | TIME TO COMPLETE |
| Wax is manually shaped on the duplicate model using the articulation to create a design replica of the splint. | 20 minutes |
DIGITAL WORKFLOW
| DESIGN "MOCKUP" | TIME TO COMPLETE |
A computer-generated replica of the final appliance is created using software to design instead of raw materials. | 5 minutes |
TRADITIONAL WORKFLOW
| DESIGN PREPARATION | TIME TO COMPLETE |
| The wax replica and duplicate model will be flasked in a mold to prepare for processing. The wax will then be boiled out of the mold and separator is applied to the mold. | 45 minutes |
DIGITAL WORKFLOW
| DESIGN PREPARATION | TIME TO COMPLETE |
| “Nesting” software is used to prepare and place the computer-generated design into a file for printer to produce the appliance directly without any additional steps or materials. | 5 minutes |
TRADITIONAL WORKFLOW
| PRODUCTION | TIME TO COMPLETE |
Acrylic is added to the mold using the lost wax injection molding technique to create the appliance. | 60 minutes |
DIGITAL WORKFLOW
| PRODUCTION | TIME TO COMPLETE |
| Nested splint is sent to the printer for 3D printing splint. | 45 minutes |
TRADITIONAL WORKFLOW
| FINISH | TIME TO COMPLETE |
| Break out acrylic from the mold. Remove all stone from the model. Trim and fit splint on the articulated model. Polish on the lathe to a high shine. | 60 minutes |
DIGITAL WORKFLOW
| FINISH | TIME TO COMPLETE |
Remove splint from the printer build plate.
| 25 minutes |
Free 3D file DDS Function Generator Power Supply Case・Model for Download and 3D Printing・Cults
Din rail for mega 2560
Free
9v power bank
free
lead screw m8x16
free
ciclop 3D scanner Nano Shield
Free
SI4735 -ESP32 -TFT TOUCH BODY
Free
MKS TFT 3.
 2" CASE 15DEG SLANT
 Free
Universal NPN-PNP INDUCTIVE SENSOR Automatic bed level opto-isolator interface board
Free
Arduino ProMini mini 9 programming clamp0004
Free
The best files for 3D printers in the Tools category
Tracing Set
Free
Handplane
Free
Wall or Ceiling Holder for Parkside PTSS1200 Rail and PSS1 C2 Track Saw Guide
0,99 €
Threaded Nozzle Rack T-nut
Free
Fortnite LLama
0.96 €
Paracord Survival Pulley
Free
COVID-19 Mask Cap, Covered
Free
BOOKMARK CUT ANIMAL - 02
2,90 €
Bestsellers in the Tools category
Tool holder for 3D printer V3.
 0
0 1.06 €
telephone ring holder
0,90 €
Spartan pen holder
1,80 €
Printer boxes for Ikea Lack Table
1,99 €
PRECISION CALIPER 3D PRINT DIY
3.11 €
UNIVERSAL BED LEVELING INDICATOR FOR VERY ALL PRINTERS
2,87 €
Business card embossing system
3 €
GEAR AND DRIVE
€9.61 -40% 5.76€
Cut-Man - PET bottle cutter with handle!
€3.49
Ender 3 Briss fang Gen2, red lizard, spider, nf crazy, dragonfly, etc.

€1.80
Bit holder Spartan 4 mm Hex
1,80 €
PRECISE DIAL INDICATOR 3D PRINT DIY
1.90 €
Cooling system Minimus Hotend
€2.38 -thirty% 1.67 €
Armadillo - flexible wire conduit
€1.72 -thirty% 1.20 €
Display holder FLSUN v400
4.99 €
Quick Print Paint Bottle Rack (6 sizes)
2.91 €
Do you want to support Cults?
Do you like Cults and want to help us continue our journey on our own ? Please note that we are a small team of 3 people , so support us in keeping the activity going and making future designs of is very easy. Here are 4 solutions available to everyone:
-
ADVERTISING: Disable the AdBlock banner blocker and click on our banner ads.
-
AFFILIATION: Shop online with our affiliate links here Amazon.
-
DONATIONS: If you want, you can donate via PayPal here.
-
* INVITE FRIENDS: * Invite your friends, discover the platform and great 3D files shared by the community!
3D-printed implants help bone growth
Chemical-coated ceramic implants promoted bone growth in the area of the defect, and the implant itself gradually dissolved.
NYU surgeons and scientists showed that the implanted structures were naturally absorbed into the test animals as new bone gradually replaced the implant. The research team published the results of their study in the journal Tissue Engineering and Regenerative Medicine
Implants to replace the bone defect were created using 3D robotic printing.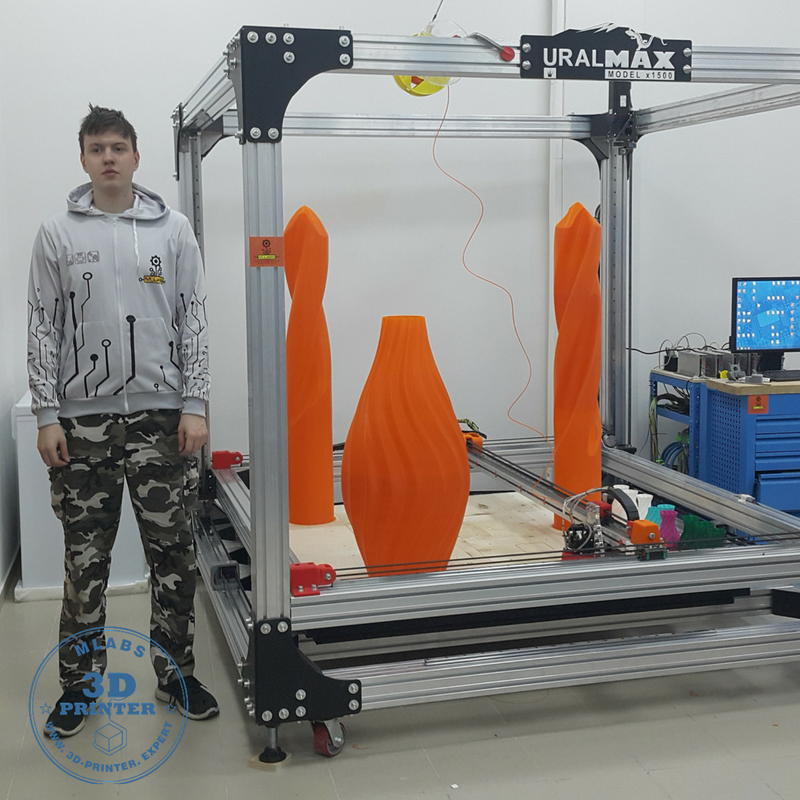 First, 2D layers were printed, they fit into a three-dimensional object, which then, after heating, gave it the final ceramic shape. This 3D printing technology has recently been applied in medicine to print skin, ears and heart valves.
“Our 3D structure represents the best implant because of its ability to regenerate real bone,” says bioengineer Paulo Coelho, DDS, PhD. "Our latest research results bring us closer to the possibility of creating implants to repair congenital bone defects in children or people with injured limbs."
Scientists believe their new ceramic implant is more similar in composition and shape to real bone tissue than other implants that have added plastic elasticizers for flexibility.
An important feature of the created ceramic devices is that they were constructed from molecules of beta-tricalcium phosphate - the same chemicals found in bone tissue, which allows the body to dissolve the implants.
NYU-made implants had one feature - they were coated with dipyridamole, an antiplatelet agent that has the property of accelerating bone formation. In addition, dipyridamole stimulates the formation of new vessels by attracting and activating bone stem cells, which, in turn, gives the newly formed bone tissue flexibility. According to the researchers, these soft tissues give the implant-grown bone scaffold the same flexibility as natural bone.
Dr. Bruce N. Kronstein, NYU believes dipyridamole, which has been known for over 50 years as a safe blood thinner, is key. And since the release of dipyridamole from the surface of the implant occurs gradually, as the implant is resorbed, the risk of side effects of this drug is significantly reduced.
In animal experiments, researchers have used implants to repair small defects created surgically by creating holes and removing pieces of bone.
The scientists found that 6 months after implantation, the animals' bodies resorbed almost 77% of the implant. They also noted that as the implants dissolve, bone tissue replaces the supporting lattice structures of the implant.


