Cad cam 3d printer
CAD/CAM and 3D Printing | Dental Economics
Science & Tech
Digital dentistry is my Royale with Cheese
July 26, 2022
Have you ever thought of digital dentistry as being like a hamburger? Or a road map with pit stops? Well, kick off your shoes and follow along as Dr. Shawn Van de Vyver compares...
211035296 © Zhukovsky | Dreamstime.com
CAD/CAM and 3D Printing
How to choose the right CAD/CAM design software
Matthew Newman
Feb. 10, 2022
© Zhukovsky | Dreamstime.com
CAD/CAM and 3D Printing
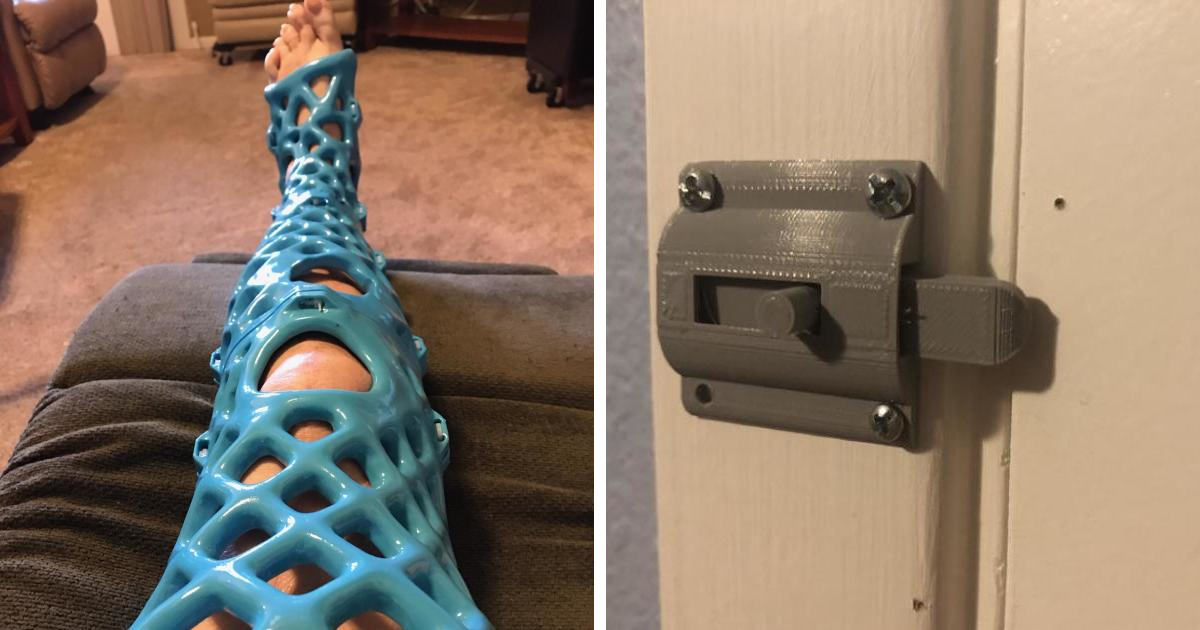
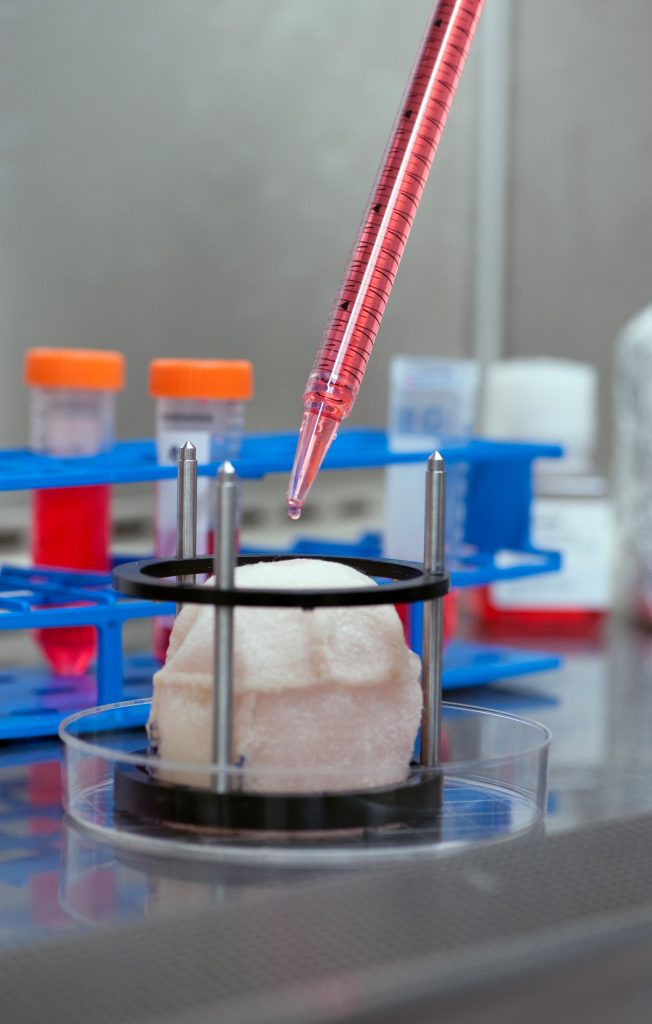
Why do you need a 3D dental printer?
Matthew Newman
July 7, 2021
Science & Tech
3D printing for the technologically challenged
August de Oliveira, DDS
March 1, 2021
CAD/CAM and 3D Printing
Dental 3D printing: The technology of now
March 1, 2021
Image courtesy of Keyprint
CAD/CAM and 3D Printing
Pearls for Your Practice: KeySplint Soft resin
Joshua Austin, DDS, MAGD
Dec. 2, 2020
Image courtesy of SprintRay
CAD/CAM and 3D Printing
Pearls for Your Practice: SprintRay Pro Cure
Joshua Austin, DDS, MAGD
Nov. 1, 2020
CAD/CAM and 3D Printing
My dental practice’s transition to in-office milling
Thomas J. Rolfes, DDS, FAGD
Oct. 1, 2020
Diagnostic Imaging and CBCT
How diagnostic technologies impact your practice and ROI
Lisa Smith, MBA
Aug. 10, 2020
CAD/CAM and 3D Printing
Using 3-D printing to improve removable denture workflow
Craig Harder, DDS
June 1, 2020
Lasers
Advice for owning a thriving, ever-evolving dental practice
Timothy Anderson, DDS
May 1, 2020
Do you want to have the Netflix, Apple, or Amazon of dental practices? Dr. Timothy Anderson shares tips from his experience in this crash course on how to grow your practice for...
CAD/CAM and 3D Printing
New Grandio Blocs from Voco advance the science of CAD/CAM materials
Joshua Austin, DDS, MAGD
March 12, 2020
Voco's new nano-ceramic hybrid CAD/CAM block has tooth-like elasticity and thermal expansion, allowing for thinner crown margins. Watch this interview from the Chicago Midwinter...
CAD/CAM and 3D Printing
Restless dental patients can remain CALM with Planmeca
Feb. 26, 2020
When using Planmeca’s CALM technology, Dr. Michael Moroni has been able to filter out the motion of patients who have tremors and other medical conditions that prevent them from...
© Mari1408 | Dreamstime.com
CAD/CAM and 3D Printing
Is CAD/CAM a good fit for your dental practice?
Matthew Newman
Jan. 1, 2020
Matthew Newman says technology is too prevalent to sit on the sidelines without exploring your options. Here are some factors to consider when deciding to incorporate CAD/CAM ...
Science & Tech
Digital dentistry and its integration are also matters of customer service
Alvaro Ordonez, DDS
Dec. 1, 2019
Dr. Alvaro Ordonez says, “Today, scanning, planning, designing, milling, and 3-D printing are realities within reach of every contemporary dental practitioner and require only...
3D Printing versus CAD/CAM Milling in Dentistry
For dental restorations and prosthetics, a new day has dawned. The potential for ill-fitting dental work has gone from significant to minuscule with the introduction of CAD/CAM Milling and digital 3D Printing. Patients appreciate not having to endure foul-tasting, gag-inducing impression material, as well. They also like having a permanent, cosmetic crown secured in one visit. Most dentist, lab owners, technicians, and technology gurus agree that digital impressions and fabrication will replace traditional methods of creating dentures, partials, bridges, and crowns. But we no longer have just CAD/CAM milling. We now have 3D printing as a viable option for fabrication. How can a lab, or a dentist, know whether CAD/CAM or digital printing is better? The answer depends upon what the doctor seeks – speed, accuracy, low cost?
The first computer-aided design and computer-aided manufacturing (CAD/CAM) machine was created in the 1960s for building parts of the automobile, the Renault. In dentistry, CAD/CAM milling has been used in the UK and US for two decades, though only in the past decade have we seen a widespread use in the dental office. Still, CAD/CAM’s limitations seem to be keeping the technology from becoming status quo in the general dentist’s office. Of those that own CAD/CAM milling machines for in-office use, some research claims that one out of ten don’t actually employ the technology.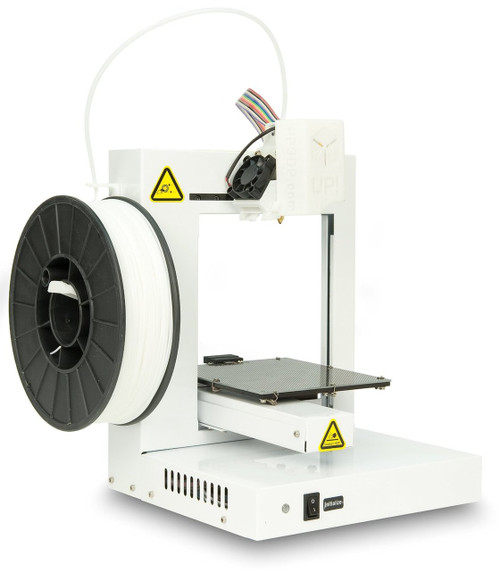 They’ve invested in it, then given up because the learning curve was too great or they didn’t like the results.
The introduction of CAD/CAM concepts into dental applications was the brainchild of Prof. Francois Duret in his thesis written at the Université Claude Bernard, Faculté d’Odontologie, in Lyon, France in 1973, entitled “Empreinte Optique” (Optical Impression). He developed a CAD/CAM device, obtained a patent for it in 1984, and brought it to the Chicago Midwinter Meeting in 1989. There, he fabricated a crown in 4 hours as attendees watched.
3D Printing was introduced in 1984, as an invention accredited to 3D Systems Corp’s Chuck Hull. At first, the printer created prototypes, and use of 3D printing in production didn’t take off until the 2000s. According to the Internet, the first dental restoration was fabricated by a 3D printer, in conjunction with CAD software, about a decade ago.
Materials Limitations
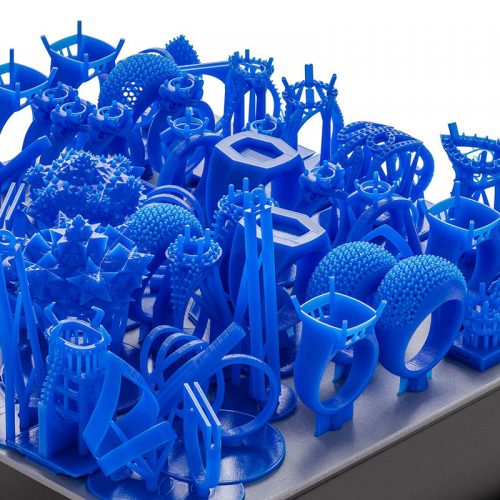
Usually, CAD/CAM milling uses ceramics, such as the feldspathic porcelain CEREC® Blocs.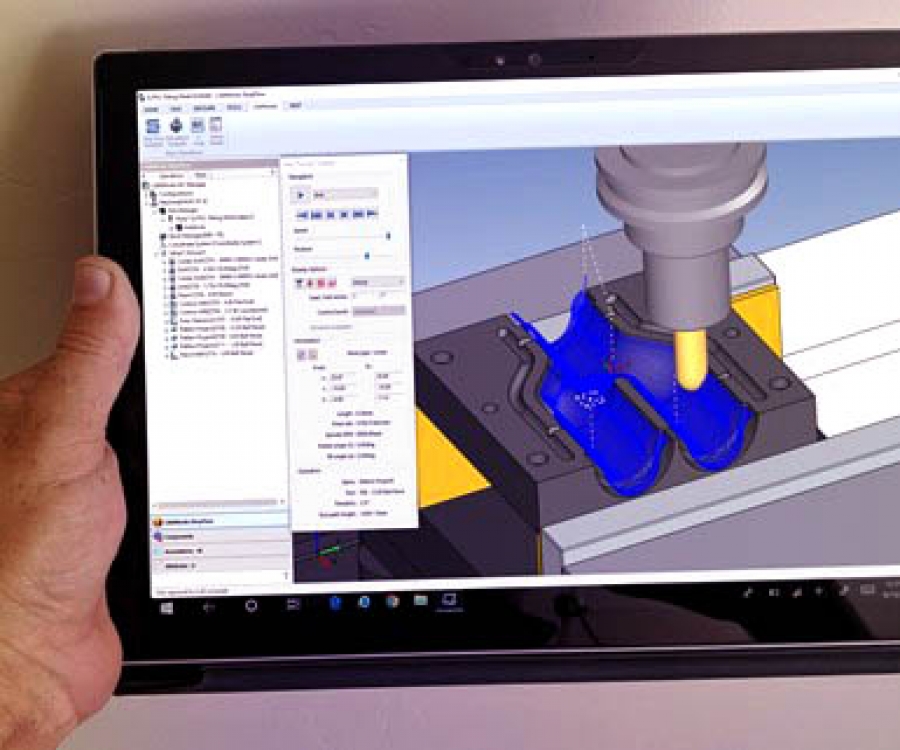 3D printing works with resins, printing a restoration in layers until it is complete. Non-precious metal alloys in powder form can be melted and layered using 3D printing, then coated with ceramic, though this is a relatively new technique.
Speed & Ease of Use
Digital printing is much faster than CAD/CAM milling. According to what dentists and lab techs are saying on various forums, 3D printing is easier to use than CAD/CAM, as well. Many dentists who own CAD/CAM milling machines only use them for ideal cases, like those that require single posterior crowns. Other restorations are sent to dental labs for a more reliable and detailed result.
Accuracy
For accuracy, 3D printers have a definite advantage over CAD/CAM because there are no tools or burs, which are required to mill. Tools create a limitation: a CAD/CAM milling machine cannot create anything smaller than the tools it uses. Milling is a removal process, whereas printing is an additive process. Curves, holes, and tiny shapes are no problem for a 3D printer. Furthermore, multiple parts can be printed at once and printing produces little or no little waste product.
Cost
In general, the cost of 3D printers is taking a dive, which is great for technology-minded dentists and lab owners. One 3D printer, the Solidoodle, costs under $500! Of course, it’s not for medical/dental use, but compared to the previous low-cost 3D printer at $1200, Solidoodle has taken affordability in 3D printing to new levels. When it comes to the cost of CAD/CAM compared to 3D printing in dentistry, CAD/CAM is more affordable and will continue to improve and evolve. If you factor in the cost of time, however, the output of a digital printer is vastly greater than that of a milling machine.
Future
Researchers see no ceiling on capabilities of 3D printing, yet. For instance, in the future, dental restorations may feature openings through which medication can be administered.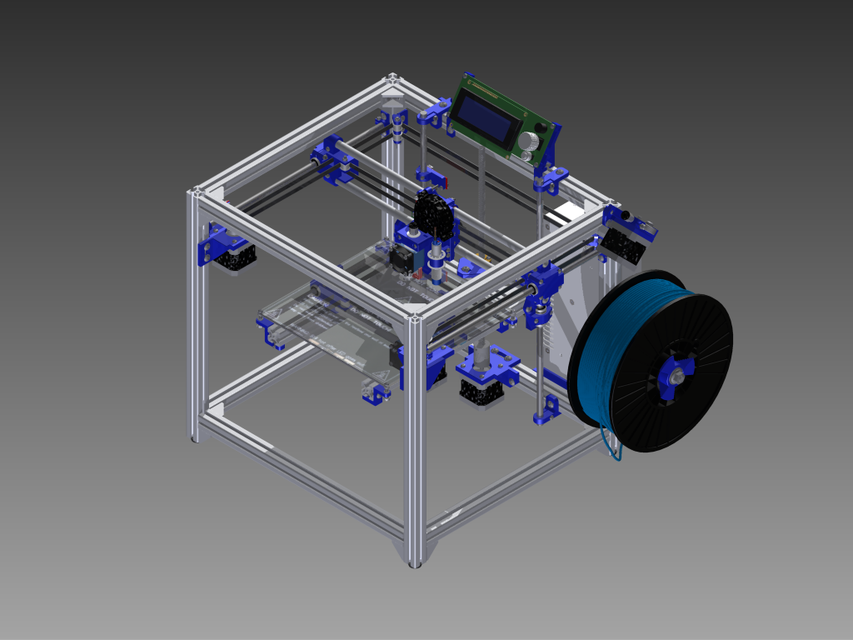 The detail that’s possible with 3D printing also opens opportunities for improving attachments, anchoring, and longevity. So back to the original questions, how can a lab, or a dentist, know whether CAD/CAM or digital printing is better? The answer depends upon what the doctor seeks, and while technology-driven fabrication of dental restorations and prosthetics is advancing at breakneck speed, there may be wisdom in waiting a bit longer before making an investment.
Source(s): FrancoisDuret.com, pinfex.com
Infographic(s): pinfex.com
Publisher(s): Eli Ganon
Like this:
Like Loading...
Simple 3D printing timelapse. Webcam, computer and printer only. (Not a manual, more like a sketch)
Why do I need to buy a RASPBERRY to shoot 3D prints?
We have a computer, a printer and a webcam - isn't that enough?
Enough, and now I'll tell you how to organize shooting for printers with MARLIN firmware with only a computer and a webcam.
Strictly speaking, time-lapse can also be shot on a mobile phone, such a mode has long existed in many modern smartphones, but for the needs of 3D printing, this is not a very successful idea, since the picture will turn out to be too jerky, especially when shooting with prush.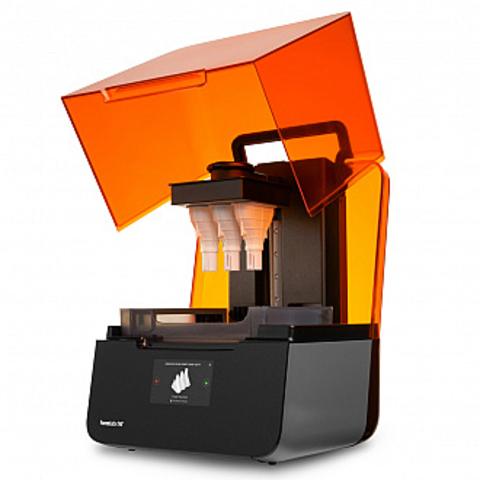
So a regular camera will not suit us, unless it can work in webcam mode when connected to a computer, like many modern cameras. A modern camera capable of working in webcam mode is the best webcam.
Raspbery and OCTOPRINT - although they are of higher quality, they are complicated, expensive and redundant for a simple time-lapse, so I'm not even going to consider them. I note that a two-megapixel camera, and in modern models with a higher resolution, is a good plus for Raspbery's karma.
Everything should be easier.
We will need:
- Printer with MARLIN installed
- Any available computer with WINDOWS
- USB webcam
- USB cable to connect the computer to the printer manual editing of the g-code
- A program that receives commands from the printer and forms a picture. (download link)
On the last point, I didn’t find such a program on the Internet, I had to sketch it myself, brazenly stealing from free access the first code I came across to work with the DIRECTSHOW library.
The original webcam program was written in C#, using WPF, which I'm not good at, so I apologize for the somewhat clumsy interface.
However, if you have the desire and ability, then the original project is in the same place, by reference, you can rewrite it for yourself. And if I have time and desire, I will probably finish my WPF education and rewrite it in a more convenient version.
All
Next, we need to cut the printed model in the slicer, adding the command M118 SMILE to the code before each layer change - this command sends the specified message via the serial port to the computer, and the program reads it and takes a picture from the camera.
In order not to edit the code manually, you can use the capabilities of the slicer, for example, for Simplify3D, you need to add the line M118 SMILE to the script Layer changed .
Copy the cut code to the card, connect the printer and webcam to the computer.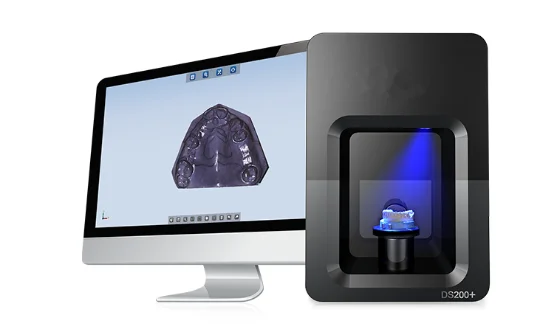 Download the program and unpack the archive.
Program settings:
Go to the folder Resources and in the file SerialPortSettings.txt write down your printer connection parameters, com port number, transfer speed, Databits value, according to the instructions for your printer.
Save the file and run the program WebCam.exe .
Here the antivirus may swear at you, because I am an unknown publisher, and the program requires access to the webcam, but I can assure you that there is nothing malicious in the program, it just reads data from the COM port, webcam and writes images to folder Photo inside the program directory.
An exception can be set for Anti-Virus.
The source code is at the link, you can check, rewrite, modify, in general, you can do anything with the code. =)
If you wrote down the port settings correctly, the program will start without warning about the unavailability of the printer.
Otherwise, if the printer is not connected or the port settings are incorrect, the program will be able to record timelapse only by timer. We set the switch to record at the command of the printer, press the "start recording" button, and start printing from the flash drive.
Each print layer will be photographed, numbered and placed in the Photo folder in the program directory.
Well, then, in any available editor, be it Photoshop or OpenShoot Video Editor, open the resulting files as a sequence, set the number of frames and export the video.
Time lapse is ready.
That's all for me, I wish everyone a clean print, to be continued.
Traditional video:
p.s.
The purpose of this article was to give a fresh idea for the implementation of timelapse, without complex and expensive equipment.
What attracts me to the solution is that it is possible to connect any webcam, including a video camera or a camera capable of working in webcam mode, and receive frames on any computer.
Of course, anyone can adapt the process of taking a picture from the camera on command to any available language, system, etc.
Do whatever you want - the printer transmits the command, the computer reads, the camera shoots.
How to choose a 3D printer, or why you need a heating table and a closed chamber / Sudo Null IT News0001
Different models of 3D printers differ in the maximum heating temperature of the printing table. In this article I will talk about the different categories of printers for this very important parameter. After all, the range of materials that the printer can print also depends on the heating of the table. I will also touch on the question of why a closed chamber is needed.
Printers without underbed heating
They are able to print only one type of plastic - PLA. This material is suitable for prototypes, souvenirs, and when heated to 60 ° C, it becomes soft and the product loses its shape. With great effort on such printers, you can try to print with other materials, but the result will not please you. Usually these are Prusa-type printers with a movable table, but there are also "cubes".
Problems occur due to shrinkage (reduction in size) of the plastic product after cooling. If the plastic shrinks (and this is almost all plastics, except for PLA), then the edges of the product begin to tear off the table on which the print is being made, the geometry of the product is irreparably damaged or it completely peels off from the table, risking damage to the print head, which continues to move.
The plus (or minus?) of such printers is that manufacturers save not only on the table heater, but on everything else. Therefore, these are cheap printers.
At the same time, in the description of such printers, the absence of table heating may not be indicated in any way (be careful!), but sometimes the possibility of printing with other plastics, except for PLA, is indicated, which misleads the buyer. And you will encounter printing problems after purchasing such a printer.
The best known non-heated printer is the Makerbot Replicator 2
From Chinese models - TEVO Michelangelo
Next, the story will be about more interesting printers with a heated table from 100 ° C to 170 ° C, which are designed for printing with plastics with shrinkage - from classic ABS to Polycarbonate. The higher the maximum temperature of the table, the more plastics you can print, because. heating of the table prevents damage to the part due to shrinkage during printing. At the same time, the higher the melting temperature of the plastic, the stronger the table should be heated.
Printers with heated table up to 100°C
Suitable for printing with many plastics, except for technical ones. At the same time, printing large products with popular ABS plastic at such a low temperature will be problematic. In reality, ABS requires from 110°C to 130°C on the table, especially for cheap brands with high shrinkage, which are very widely represented on the market.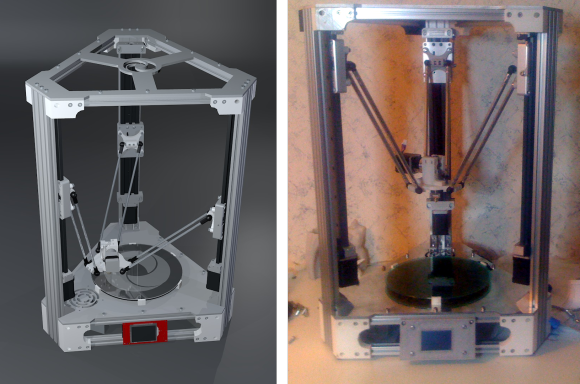 Printing with more interesting technical plastics - nylon, polypropylene, polycarbonate, on such printers will not work at all.
Chinese printers include Anycubic, various Flashforge models.
Printers with heated table up to 120°C
Perfect for ABS printing. But, if you need to print large ABS products, then such a printer also needs a closed print chamber. It is needed to maintain a high air temperature around the printed product, which reduces shrinkage during printing along the entire height of the product. The higher the chamber temperature is kept, the better for printing!
And this is where things get interesting. Those manufacturers who have conventional models with an "open chamber" cover them with a plastic transparent "aquarium" on top, and sellers offer them under the guise of printers with a closed chamber! Of course, such a solution is cheap, but the larger the volume of the chamber, the more difficult it is to maintain a high temperature in it, and in this case the volume increases significantly. This means that in such printers, the temperature in the chamber will be lower than necessary for high-quality printing.
Even more interesting is the situation when the printer is closed on the sides, but completely open on top and does not have any cover at all. At the same time, sellers pass them off as printers with a closed camera (be careful!).
The question is, why not cover any printer from above completely, without increasing the volume with an "aquarium"? Yes, because all simple models are designed so that a bundle of wires rises vertically from the extruder (print head), as well as a tube through which a thread with plastic is fed (look carefully at the photos of the printer from all sides when choosing). All this sticks out from the top of the printer and does not allow it to close normally. This is especially true for printers with remote Bowden plastic feed, where the motor pushing the plastic thread is placed on the printer body.
It would seem, so what? Well, turn the wires to the side of the extruder so that they do not stick up and do not interfere . .. However, for this you need to apply design solutions with a horizontal arrangement of wires and tubes suitable for the extruder, and design the printer initially taking into account the closed chamber.
Interestingly, even some expensive closed imported printers have a large height and an increased clearance inside the chamber between the extruder and the top cover, because. in them, the designers could not (did not want to) turn the plastic supply tube horizontally. So, in them the volume of the chamber is larger than necessary.
Most of both imported and domestic printers fall into this category.
Printers with heated table from 130°C to 150°C
These printers are already quite well developed by designers. Most of these printers do have a well-heated closed chamber with side wires and extruder tubes. They can print both large products made of ABS plastic, and small products made of technical plastics - nylon, polypropylene, polycarbonate.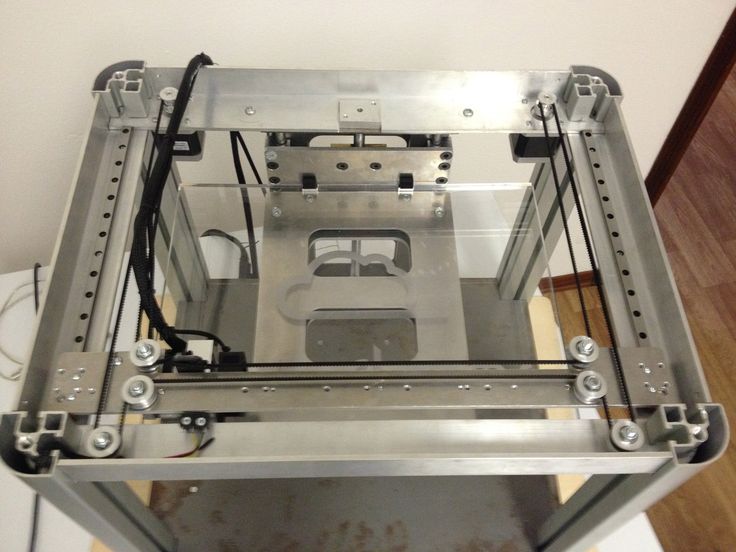
Of the domestic printers in this category, we note Picaso3D and PrintBox3D.
Printers with heated table up to 170°C
Here we come to closed printers with a very high table temperature. These printers have been engineered to take into account the trend in 3D printing to increase operating temperatures, which means the ability to print with increasingly durable, heat-resistant plastics. There are few such printers, they are expensive, with rare exceptions.
Why heat the table so much? The fact is that the higher the melting temperature of the plastic, the more the table and the surrounding air in the chamber must be heated, otherwise the product will peel off the table during printing and printing will be interrupted. So, for polycarbonate, the extruder print temperature can reach 310 ° C. If small details can be printed at a table temperature of 130°C, then medium ones are already from 150°C, and large ones can be kept on the table only at 170°C.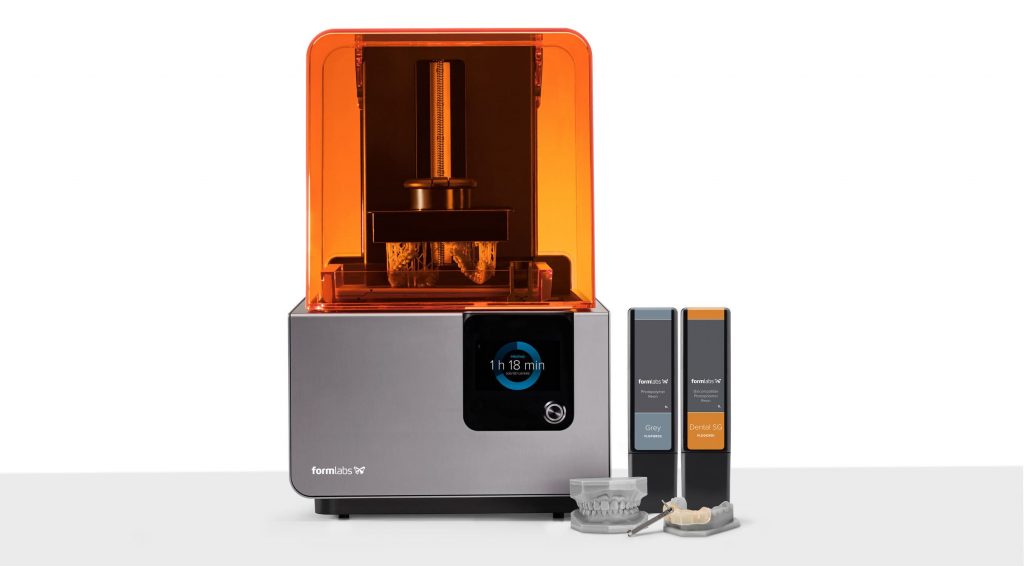
In addition, these printers have the potential to print other refractory plastics. For example, at an extruder temperature of 400°C, PEEK (polyether ether ketone) can be printed. This refractory and durable plastic is used in aviation and space technology.
In this high-temperature category, we note the Chinese Intamsys FUNMAT HT printer with an extruder temperature of up to 450°C, a bed temperature of up to 160°C.
From the domestic ones, we cannot fail to mention the Faberant Cube
3D printer with extruder temperature up to 340°C, bed temperature up to 170°C.
Terminals
If you want to print with different plastics, and not just one PLA, then the 3D printer must have a heated bed. If you intend to print large ABS products, then you need a real closed chamber, without an "aquarium" on top. The higher the maximum table temperature, the greater the range of materials you can use in your printer.