Byu 3d printer
Additive Manufacturing Lab
Overview
The Additive Manufacturing Laboratory is located in 155 Crabtree Building, amid BYU's state-of-the-art suite of research and teaching MFGEN laboratories. In the AML, students, faculty and the public can make use of 3D printing services and learn how to design, optimize, and print their own creations.
What is Additive Manufacturing?
Additive Manufacturing(AM) is the technical term for what is commonly called 3D printing. There are many technologies in AM, all of which add material layer-by-layer to create a custom part. See below to find out what 3D printing options the AML can offer!
Services
Already have a design?
If you have a CAD model of your design, the AML can help you prepare the model for 3D printing, choose an appropriate material and process, and make any changes to improve its producibility. Our trained student lab supervisors can print the part and notify you when it is ready.
Still working on a design?
If you do not yet have a finished CAD model ready to print, our lab supervisors can advise you on tips to make your design printable, and they can point you to on-campus resources to help you develop your initial idea into a printable CAD file.
Want to learn how to 3D print?
There are several locations on campus that offer 3D printing services, but the AML is the only location at BYU open to all students to get hands-on training in 3D printing. Our lab supervisors are happy to provide basic training and walk you through the steps to set up your print and operate a desktop FFF/FDM 3D printer. They can also provide advice on how you can operate your own 3D printer at home!
Equipment
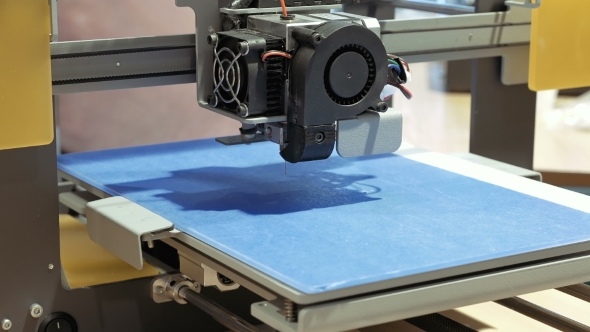
FFF/FDM (Filament) 3D Printing
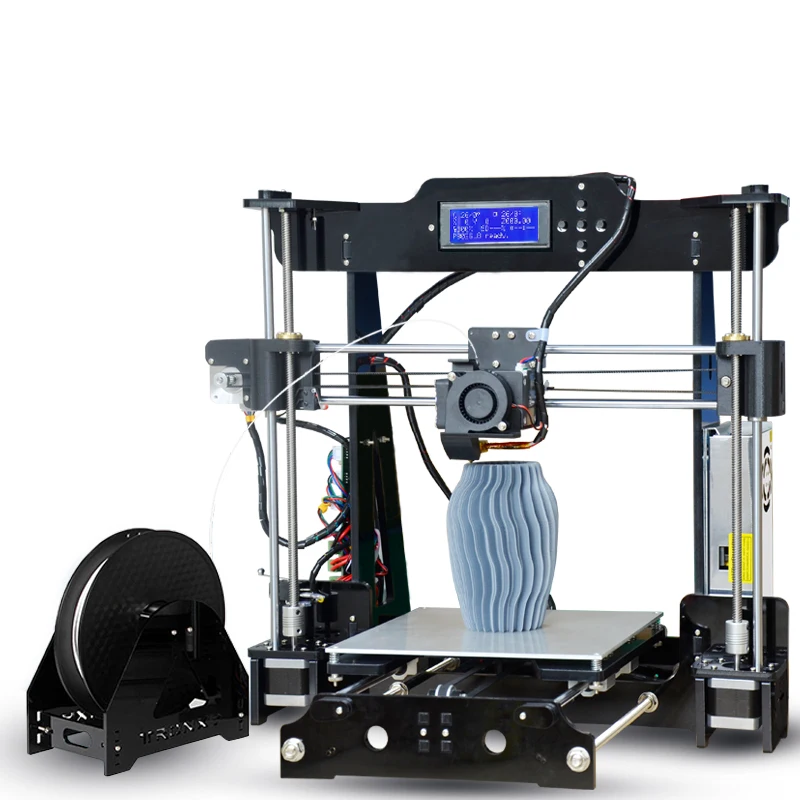
The AML has several Prusa i3 MK3s 3D printers, which produce parts by extruding melted plastic though a nozzle. These printers can make parts out of several common types of plastic, including PLA, PETG, ABS, AND TPU. One experimental printer is also set up to print in multiple colors and materials in the same part.
For parts bigger than the print volume of the Prusa machines, the lab also has a Blackbelt continuous 3D printer. This machine prints onto a conveyer belt instead of a fixed bed, allowing the production of extra long parts or large batches of parts. The nozzle also prints at 45 degrees instead of vertically, which can reduce the need for supports in many prints.
FGF (Granule/Pellet) 3D Printing
Need to go even bigger? The AML's Ambit Xtrude is a Large-Area Additive Manufacturing (LAAM) system that extrudes plastic from pellets instead of from filament. With a high-volume auger feed and a nozzle 8x the size of most desktop machines, it can print in minutes what would typically take hours or days. The tradeoff is a rough surface finish, but this can be remedied by "Hybrid Manufacturing," where a part is 3D printed to near-net shape and then machined down to the required tolerances and surface finish.
SLA (Resin) 3D Printing
After filament-based printing, SLA printing using resins is the most popular desktop technology for additive manufacturing. The AML uses a Prusa SL1 to create parts from a photosensitive resin. These parts are typically more brittle than FFF/FDM parts, but have much better fine details and surface finish.
SLS (Powder) 3D Printing
The AML can produce true engineering-strength parts in its Sinterit Lisa Pro, which uses SLS technology to fuse Nylon powder using a high-powered laser. Printing using this machine is slightly more expensive the the other polymer/plastic-based technologies, but will offer the best overall material properties in final production parts for capstone projects and other high-importance applications.
SLM (Metal Powder) 3D Printing
The centerpiece of the AML is the Concept Laser M2 Cusing Multilaser Machine. Twin 400-W lasers operate in tandem to melt metal powder into fully dense parts in steel, nickel alloys, even aluminum and titanium. Producing metal parts through SLM additive manufacturing is significantly more expensive than machining or casting them, but the Concept Laser M2 is an excellent option for producing complicated geometries that cannot be made through conventional manufacturing processes.
Pricing
Polymer-based printing (FFF, FGF, SLA, SLS) is priced by the final mass of the part, including any necessary supports. There is a $2.50 minimum charge per order for FFF and $5.00 minimum charge for FGF, SLA, and SLS .
| Machine | Material | Price |
|---|---|---|
| Prusa MK3s (FFF) | PLA or PETG | $0.05/g |
| Prusa MK3s (FFF) | ABS or TPU | $0.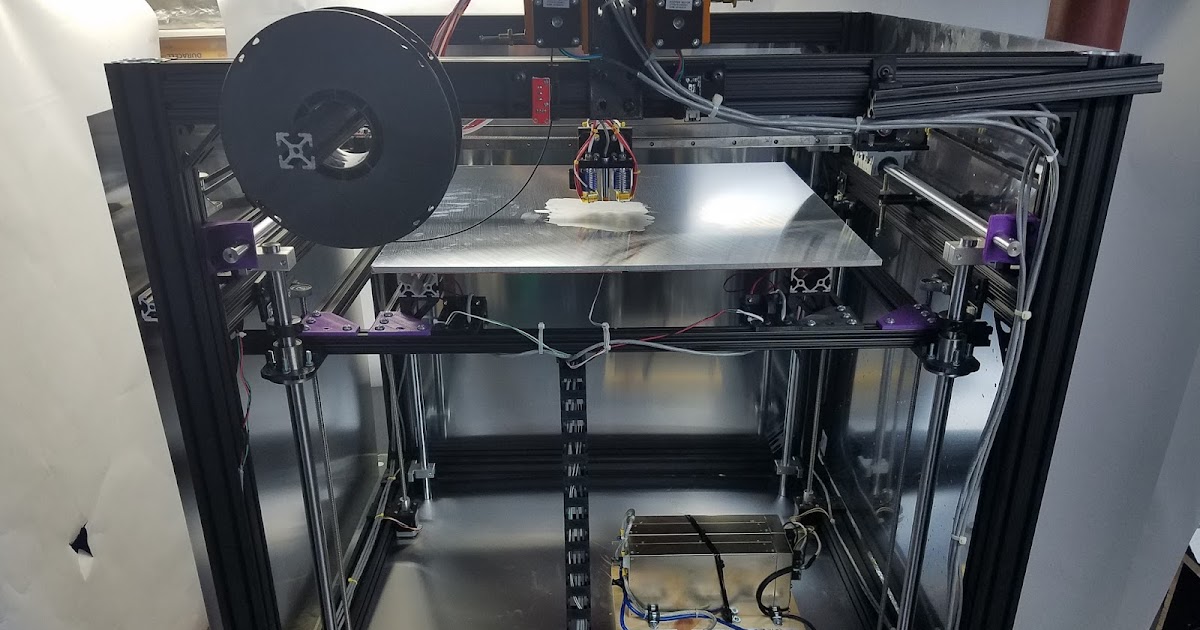 15/g 15/g |
| Blackbelt (FFF) | PLA, PETG, or NGEN | $0.20/g |
| AMBIT XTRUDE (FGF) | PETG | $0.30/g |
| AMBIT XTRUDE (FGF) | ABS with carbon or glass | $0.40/g |
| Prusa SL1 (SLA) | Resin | $0.25/g |
| Sinterit Lisa Pro (SLS) | Nylon PA-12 | $0.50/g |
Metal additive manufacturing (SLM) is priced based on the amount of powder used, set-up time, build time, and other factors.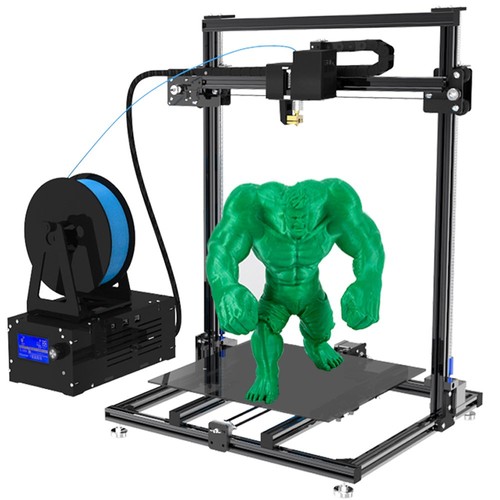 For pricing, please contact the lab for a free consultation.
Contact and Scheduling
To order a print, schedule a consultation, or just learn more about 3D printing options at BYU, please contact the lab supervisor at [email protected]
Lab-on-a-Chip devices smaller than ever thanks to new 3D printing techniques from BYU
BYU researchers can 3D print microfluidic devices with components smaller than ever before.Photo by BYU Photo
BYU researchers can 3D print microfluidic devices with components smaller than ever before.Photo by BYU Photo
Researchers at Brigham Young University have demonstrated the ability to create microfluidic lab-on-a-chip devices with channels and valves smaller than ever before. Using a new 3D printing technique, the team has created chips with valves that are only 15 microns in size.
In a new paper published in Nature Communications, BYU engineering professor Greg Nordin and an interdisciplinary team of students and professors detail a generalized 3D printing process that enables the fabrication of much higher resolution 3D components without increasing the resolution of the 3D printer.
“We have taken the conventional 3D printing approach and generalized it to something that is broader in scope and has significantly more capability,” Nordin said. “This kind of expansion of the 3D printing paradigm to something beyond the traditional approach is what has enabled us to do all this miniaturization and integration.”
Photo by BYU Photo
Photo by BYU Photo
For the uninitiated, microfluidic devices are tiny, coin-sized microchips that include a set of nearly microscopic channels, valves and pumps etched into the material of the chip. They’re designed to sort out and analyze disease biomarkers, cells and other small structures from samples of liquids, like blood, through their channels.
Currently, the process to create these devices is time consuming and expensive. Due to the precision needed, new prototypes are typically created and tested in a cleanroom — a designated lab environment free from dust and other contaminants. Not only does the complicated and expensive nature of this process make it difficult to manufacture and distribute the lab-on-a-chip technology on a large scale, but it also puts major limitations on the size and type of microfluidic devices that can be made.
To overcome these obstacles, Nordin and his team turned to 3D printing methods back in 2017. In the latest publication, the group, including several undergraduates, innovated the way that printed layers on the chip are stacked. Instead of printing all the layers uniform, a technique typically seen in traditional methods of 3D printing, they changed the thickness, order, and number of layers stacked. These small changes resulted in dramatic advantages that now allow for the chip to be manufactured at a fraction of the cost, and at a much smaller scale than before.
“People have been working on lab-on-a-chip devices for 20+ years, but making prototypes in cleanrooms is an inhibitor to success,” Nordin said. “The road to market stops with clean rooms. With 3D printing, there is a road to market.”
This method of creating smaller microfluidic devices has important implications, but is work that not many others are taking on. According to Nordin, commercial 3D printers typically can’t produce the small sizes of channels and valves needed for microfluidic devices. Even the best commercial printers can’t print anything smaller than 27 microns, but Nordin’s new technology print as small as 7.6 microns.
“The bottom line is that commercial 3D printers and commercial materials just can’t meet the resolution needs we have for this type of technology,” Nordin said. “We’re printing chips with sophisticated components that have 60-70 tiny valves and 20-30 pumps — components that couldn’t be printed before now.”
Nordin and his team are hoping that their new development will set in motion more microfluidic research and development. Due to the lower cost it now takes to create these devices, this type of work will become more accessible to more people, and will result in more discoveries and progress in the field.
This development has already had a big impact on future BYU research as well. Nordin is currently facilitating research with six different BYU professors to better understand the real-world applications now possible with this new 3D printing method. Some of this multidisciplinary research is directed toward using this new printing technology to more accurately determine preterm birth biomarkers. Other aspects are focused on creating treatment plans for patients suffering with lung diseases and understanding tissue and cell activity on a smaller scale.
“Our new approach gets you over some of the big hurdles that block using this technology in real world applications,” he said. “We have yet to see that someone takes that and runs with it, but we certainly hope they will.”
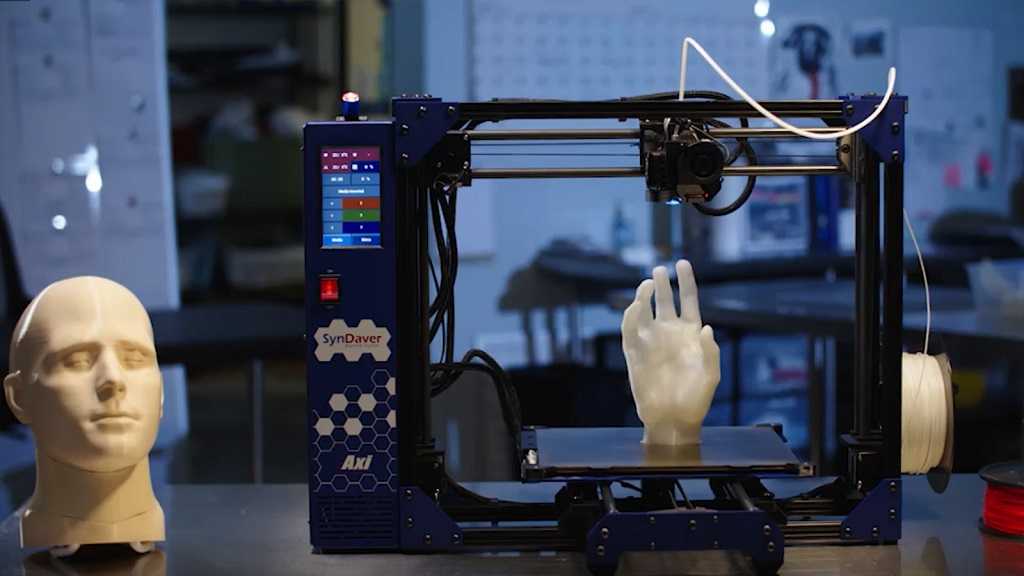
Engineering professor Greg Nordin and this team of students and professors has found a way to 3D print microfluidic devices smaller than ever before, yet fully functional.
Photo by BYU Photo
Engineering professor Greg Nordin and this team of students and professors has found a way to 3D print microfluidic devices smaller than ever before, yet fully functional.Photo by BYU Photo
Media Contact: Todd Hollingshead
How I made my plane / Sudo Null IT News
Hello, dear Khabrovites!
My name is Konstantin Tomarevsky. I am an engineer at Deutsche Telekom IT Solutions. I wanted to share with you my old idea, which I am trying to translate into hardware.
I am an aeronautical engineer by training. When I entered the University of St. Petersburg State Polytechnic University, I dreamed that I would design airplanes (well, or space rockets), work in some design bureau and spend working days doing mathematical calculations, laboratory stands and field tests.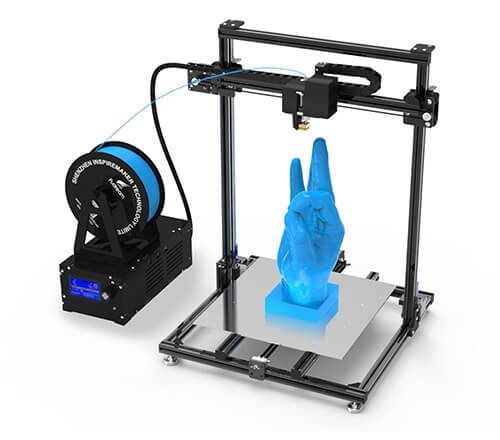 I graduated from the University, having received a lot of theoretical knowledge there, but never having touched real practice. A lot of time has passed, but the idea that my knowledge remained knowledge, and was not embodied in a practical plane, did not leave me, and I decided to try to make an aircraft, albeit not at all large, but actually functioning according to all the rules. nine0003
Initial idea
My university profile is aircraft control systems. I have always been interested in how an aircraft (glider, airplane) behaves depending on its control, that is, on how its control surfaces deviate, how fast and in what configuration. Another interesting point is the efficiency of control planes. At different flight speeds, their deviation acts on the aircraft with different efforts. If you choose deviations for different speeds, you can make soft control of the aircraft. nine0013
The first idea was to purchase a ready-made full-fledged airframe model and design radio control with an integrated automated control system, including an autopilot. On the radio side, I advanced far enough and assembled two identical transceivers to work out the digital control channel. I'll talk about this in another post if you're interested.
After a long search, I realized that I wanted to create from scratch not only the control system, but also the glider itself, so that it would be my glider, unlike any other. It was not very interesting to repeat what had already been created. nine0003
Idea development
Once upon a time, back in school days, I went to the radio club. Next to it, on the floor, there were also a ship model and an aircraft model. I sometimes went to aircraft modelers and watched how they work. When I started working on this project, I scoured the Internet for the technology of creating aircraft models, reviewed a lot of videos on YouTube and realized that this was not enough for me. I don't want to create a single model out of anything. What was needed was real technology, with the help of which, using it once, I could make equally accurate models in any quantity. Like on a conveyor. The choice immediately fell on 3D modeling and 3D printing. These technologies make it possible to create a wide variety of airfoil shapes with great precision. nine0003
Airframe calculation
That's another problem. First of all, it was necessary to determine the size. Looking ahead, it depended on how the model would have to be cut so that it could be printed on a 3D printer - the print area is not “rubber”. I decided that it would be a narrow-body low-wing aircraft with a classic tail. I entered the following parameters:
- body length: 90 cm
Wing parameters:
- span: 130 cm
- elongation: 7.8
- narrowing 2.5
- area: 2160 sq. see
- geometric twist - 4 degrees
- aerodynamic twist - no
- Cross V - 5 degrees
- wing profile - TsAGI-718 14%
Motor:
- brushless electric
- claimed engine thrust ~ 10N
- Two-bladed propeller 10 X 7 nine0029
- Engine
- 6000 mAh Lithium polymer battery
- 6 servos
- 3 landing gear
Tricycle landing gear - with main struts under the wings and a nose strut. All landing gear is retractable, the front landing gear can be rotated. With a mass of the entire structure with all power and control components and electronics of 1.8 kg, the estimated take-off speed at an angle of attack of 12 degrees is approximately 10 m / s.
Engineering
In the first year of university, we had engineering graphics on a computer in the Compass environment. Therefore, even now the choice of the modeling environment fell on him. Only then we did not go through 3D, so we had to master this area ourselves. And it turned out to be very interesting! Here's what happened:
Or so:
3D printing
One of the simplest 3D printers was purchased for printing. In fact, airframe calculation, design and printing were closely intertwined. Having reached design and printing at a certain stage, I often had to go back and revise the calculations, the initial parameters. Something was too difficult to implement, given the limited print area of the printer and printing features, something was simply discarded as unnecessary. Some parts (for example wings) had to be redesigned taking into account the strength of the plastic (thicken the walls). Another of the tasks was to make sure that there was not a single glued or soldered joint. I tried to design the model in such a way that some parts could be redesigned and reprinted without affecting the entire model. After much effort and about 230 hours of printing and retyping, this is what came out:
I started designing the model from the tail. The tail was also printed first. From this, the print quality of the tail is not the best. Gradually mastering printing, I brought it to a fairly high quality. The mass of the whole structure turned out to be a little more than 2 kg, which turned out to be slightly more than the design one.
Tail view:
Nose landing gear:
Engine location:
Subtotal
What we have in terms of interior equipment:
Flight tests have not yet been conducted. There's a lot more to be done. In addition, I have not yet decided on the choice of control panel. I will talk about this in future posts.
Let's remember the good old dispute that stirred up many forums on the Internet at one time - will it take off or not take off? nine0003
Free STL file Anycubic Kossel Top Belt Tensioner・3D Printed Design Download・Cults
Lucky Charm 2023
Free
Heart pen holder (for printing in Vasemode)
Free
Rocket Launcher
Free
nine0010 Anycubic Kossel tool holderFree
Anycubic Kossel Extruder Handwheel Deltastyle
Free
Anycubic Kossel extruder upgrade for TPU
Free
Cable holder Anycubic Kossel Hotend
Free
Anycubic Kossel Parts Cooler
Free
The best files for 3D printers in the Tools category
SCI fully adjustable Drill Bit Grinding Tool
8. 47 €
47 €
Fiat Freemont shift knob cap
3 €
Wall Bottle Opener
Free
nine0010 Parametric drill stopFree
Radial Engine, Sleeve Valve Type
37.65 €
Club Hammer 1500 Grams holder 040 I ENFORCE I for screws or peg board
Free
ROTATING RACK FOR PAINT BIGVALLEJO
3,50 €
Cricut DIY Face Shield - Uses Binder Covers
Free
Bestsellers in the Tools category
Ender 3, 3 V2, 3 pro, 3 max, dual 40mm axial fan hot end duct / fang. CR-10, Micro Swiss direct drive and bowden compatible.
 No support required for printing
 1.56 €
Cooling system Minimus Hotend
2.33 €
nine0010 Ender 3 S1 pro fan duct 5015 40201.30 €
Ender 3 S1 BEST cable guide - vertical
€2.50 -25% 1.88 €
Shrek Pooping Toothpaste Topper
2.82 €
Ender 3 Briss fang Gen2, red lizard, spider, nf crazy, dragonfly, etc. nine0011
1.73 €
SUPERBOX
1,50 €
Phone holder
2.44 €
Quick Print Paint Bottle Rack (6 sizes)
€2.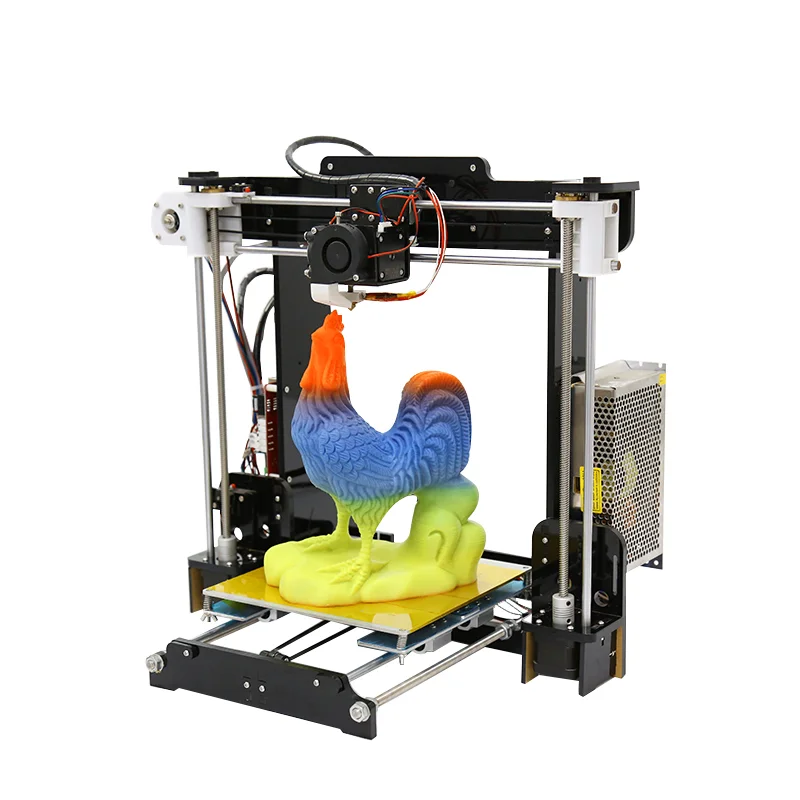 87
87
telephone ring holder
0,90 €
Bit holder Spartan 4 mm Hex
€1.80
INDICATOR FOR BETTER BED LEVELING FOR ENDER 3 V2
2.81 €
Cut-Man - PET bottle cutter with handle!
€3.49
Case for Chill Buddy lighter
0,93 €
Armadillo - flexible wire conduit
1.68 €
ENDER 3 S1/S1 PRO REEL HOLDER AND DEPORTED COIL
€2.13 -twenty% 1.71 €
Do you want to support Cults?
Do you like Cults and want to help us continue our journey on our own ? Please note that we are a small team of 3 people , so supporting us in maintaining activities and creating future developments is very easy.