Building a prusa i3 3d printer
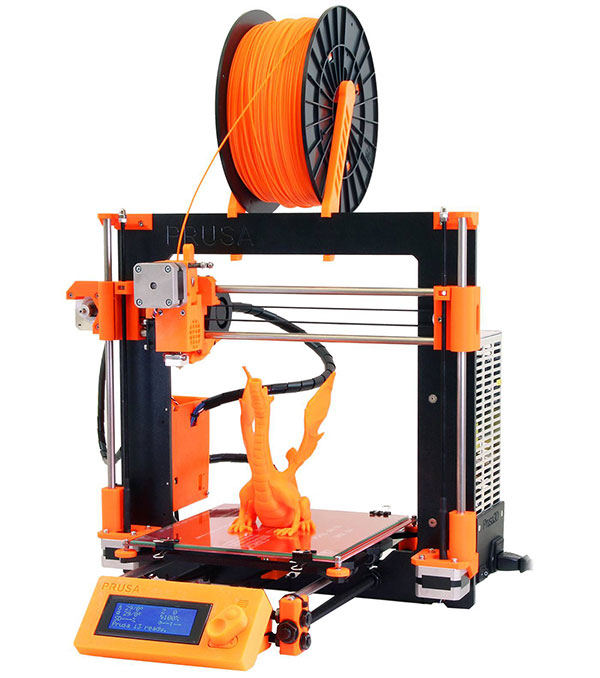
Building a 3D printer: the Prusa i3 MK3S+
It’s been on my wishlist for a long time: a 3D printer. Every time I put an ugly microcontroller somewhere in the house, I thought, “How crazy would it be if I could print a nice enclosure right now?”.
After doing some spring cleaning, we suddenly had some extra space in our house. This space was big enough to put a table with a 3D printer. So, I started dreaming about having one. And once I’m dreaming about something, it’s too late.
Doing some spring cleaning, making some space.Choosing a printer
The first choice to make if you want to buy a 3D printer is whether you wish to have one that applies layers of plastic on top of each other (FDM) or one where a chemical liquid is exposed with light, and thus a model is created (resin).
Because I don’t want to mess with chemical fluids, I made my choice quickly.
I then did my research, and it soon became apparent that there are roughly three price segments within the FDM printers:
- The ultracheap: for sometimes less than $100, you can buy a 3D printer on Aliexpress that is often quite solid.
The most significant disadvantage is the bad support, and that to get the print quality good, you usually have to do numerous upgrades (which can make the final cost even more expensive)
- The average: decent printers that are all between 500 and 1000 euros in terms of price, and where you can count on quality and proper support.
- The very expensive: like the Ultimaker S3 for more than 3000 euros. These are pretty plug’n’play, but more for professionals.
I can handle quite a bit of tinkering, tweaking, and frustration, but in the end, I want something that keeps working once it works. And also, I want to get support in better English than on Aliexpress.
On All3DP, they publish a monthly Buyer’s Guide on 3D printers. For several months now, they recommend the Prusa i3 as the best buy. I looked around for alternatives, but I was sure that it would be a Prusa after watching the documentary below.
Prusa?
Prusa is a Czech company founded by Joseph Prusa, which designs and manufactures open-source printers. Joseph created the first design of Prusa in the context of RepRap, a project by Professor Adrien Bowyer that aims to build machines that can reproduce themselves. That project laid the base for the 3D printer revolution we’ve seen in the last ten years.
In their early days, Prusa made several printers a week with two employees. Today, they employ 600 employees and send over 2000 printers every week.
It is also lovely to see that they are using their success to support the (local) community. For example, Prusa runs a gigantic maker space on the ground floor of their 9-story factory. They manage to be more than just a printer maker. They are a love brand.
If you buy a Prusa, you have two options: a kit you have to build yourself or a ready-made one. I chose the kit. That’s almost 300 euros cheaper, and it was recommended to me everywhere. Building a Prusa is very fun, and you suddenly learn how your printer works on the inside.
One disadvantage to buying a Prusa: because they are so popular, the waiting time is weeks. When I ordered, the waiting period was four weeks, and that’s long.
Putting it together
On a beautiful Monday, DPD finally rang the door with a large box containing the kit.
Looking around on the Internet, you’ll find a wide range of build times for the i3. Some manage to put it together in 4 hours, and others will spend 20 hours building it. Some people find it an absolute joy, and others find it rather frustrating. I did it myself in about 12 hours.
The complete building instructions are online, and customers can leave comments per step. Reading these comments before you start a step can save you an incredible amount of time. For example, I wasted half an hour by pushing two bearings against each other, which should have remained separate, which the comments clearly warned against doing.
The building itself is super fun. Anyone who likes to build LEGO or likes to put together IKEA cabinets will recognize the emotions you’ll be feeling. Sometimes you have no idea what you’re doing, or you can’t see screws anymore, but there is a certain satisfaction by the end of each chapter. And then you can also eat a few candy bears because Prusa puts a bag of Haribo inside each kit. Candy bears are tasty.
The two most difficult parts are assembling the printhead (the extruder) and the cabling and electronics. With those two steps, you really have to keep your head.
I was pretty surprised everything worked when I first powere
d on the Prusa for the very first time. It runs a self-check, and everything was connected correctly.
Calibration and Tuning
Putting the printer together is only the beginning.
Prusa printers have a lot of technology on board to make printing as simple as possible: they calibrate their axes themselves and correct for errors in the bed leveling. They can also detect crashes, and if the power goes out, they can continue printing without any problem.
But you will still have to do some things yourself: like calibrating the first layer. The printer does not know precisely how close its print opening (the nozzle) is to the print bed. So you have to set that right in steps of thousandths of a millimeter. This calibration is not complex, but you do have to put some time into it. You have to do it right. Otherwise, your print will come loose, and you’ll end up with a huge mess.
Also, you need to get your temperature settings right. Each material is different and requires different settings for both the material and the bed. PrusaSlicer, the program that converts 3D files into commands for the printer, already contains many manufacturers’ profiles. Still, here too, you’ll need to tune some settings occasionally or create a profile yourself.
I’m not saying 3D printing is challenging, but even with all the technological tools that a Prusa has on board, it is a continuous learning process. It’s certainly not an HP Deskjet that you plug into an outlet, and you don’t have to worry about it anymore.
Daily use
The Prusa is – once properly calibrated – a dream to work with. The printer has been running almost non-stop for a week, and I don’t really have to worry about it.
The quality of the prints is excellent, and it amazes who sees them. The time when a 3D print was a crappy object with clearly visible layers is clearly behind us.
In the meantime, I have bought a shitload of rolls of filament. Both the Prusament that is made by Prusa itself and which has rigorous quality requirements, as well as cheaper brands such as Real Filament and AmazonBasics and print perfectly.
A few questions
How big can a Prusa i3 print?
This question gets asked by everyone. The answer is 25x21x21 cm (width*length*height). That’s not super big, but if you want to fill that up, you’re printing for 48 hours or more.
Does 3D printing cost a lot?
Besides the cost of the printer: no. A roll of filament (the plastic you print with) costs somewhere between 20 and 30 euros for a kilo. Unique finished such as wood and satin also cost this much, but per 500 grams.
All that plastic can’t be good for the environment, can it?
PLA, the most commonly used material for filament, is made from corn. In terms of production, that is good. Because of the low melting temperature, we can’t recycle it together with other plastics. So there is still work to be done on recyclability.
But by making your own everyday objects, you save a lot of packaging materials and single-use plastics, which in turn benefits the environment.
A few learnings
- Order a bottle of 95% cleaning alcohol (IPA). Finger marks on the circuit board release a print very quickly. I re-calibrated mine twice because I thought my first layer started too high.
- Also, order a torque wrench and Allen bits. Having one is so much more convenient than those mini Allen keys you get.
- Use the 7×7 bedlevelling. This setting adds at most 1 minute to your prints but makes for a much better first layer.
- The belt of my Y-axis was initially much too loose. Print the Belt Tension Tester to set the perfect tension.
- Order a roll of Prusament PETG with your printer because you need it for the Belt Tension Tester.
 And add the Textured Plate because PETG can stick very severely to the supplied Smooth Plate.
 - Take the time to learn about 3D printing in advance. The series “3D Printing Basics” by Thomas Sanladerer is highly recommended.
- If you want to learn how to model in a CAD environment, the Fusion 360 tutorials from Product Design Online are excellent.
- Be patient in building and first steps. Everything will be fine anyway, and there’s very little you can do wrong. It won’t be 100% perfect from the first time, but you can tweak everything afterward.
- Buy a Raspberry Pi and put OctoPrint on it. This way, you can keep an eye on your printer over your network. Soon I’ll write something about all the crazy things you can do with OctoPrint.
So, these are my experiences about putting together a Prusa i3 MK3S+. Questions or remarks? Please leave them below!
Building the Prusa i3 MK3S+ 3D Printer
Ever fancied your own 3d printer or not sure which one to get. We show you the fun build process and demo a few of the objects that we have printed on the Prusa i3 MK3S+ and our original Qidi Tech 3d printer.
You save money by building it yourself and it's also a fun learning experience.
- Video
- The build
- Build Time
- What Is In The Box
- Haribos
- Tools
- First Steps To Haribo City
- X Axis And A Stuck Finger
- Z Axis
- E Axis Extruder Assembly
- Screen and Heatbed
- PSU Electronics and Cable Management
- Plugging In And Our First Print
- Prusa i3 MK3S+ vs Qidi Tech 1 3D Printer Compared
- Should You Buy A 3D Printer
- A Week With The Prusa And Part 2
Video#
The build#
Build Time#
We expected to build this in an evening but vastly underestimated how long it would take.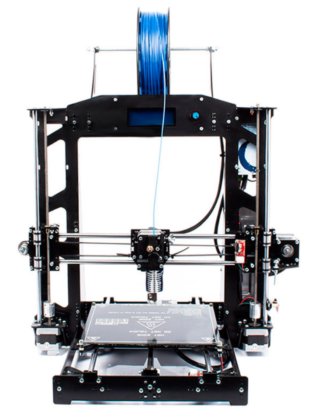 You really are putting almost everything together yourself.
It took 2 long evenings and everyone was in bed by the time our brother finished up on the final evening.
What Is In The Box#
Many of the parts are 3D printed on Prusa Printers, you get all the tools you need, great instructions and everything you will need is in the box.
Even filament to make your 1st print. We bought an extra build plate which is less smooth as we will be printing with PETG as well as PLA and the PETG may stick to the smooth build plate too solidly.
Haribos#
As you reach certain milestones the instructions tell you how many of the supplied Haribos to eat. A really nice touch which our brother deserved most of as he did most of the work on this project.
Tools#
We used a pen knife to cut the zip ties but everything else can be build using the following included tools.
- Needle-node Pliers
- Assortment of Allen Keys (6)
- Philips Screwdriver
First Steps To Haribo City#
You start out building the Y axis which looks like you are building 90 percent of the printer.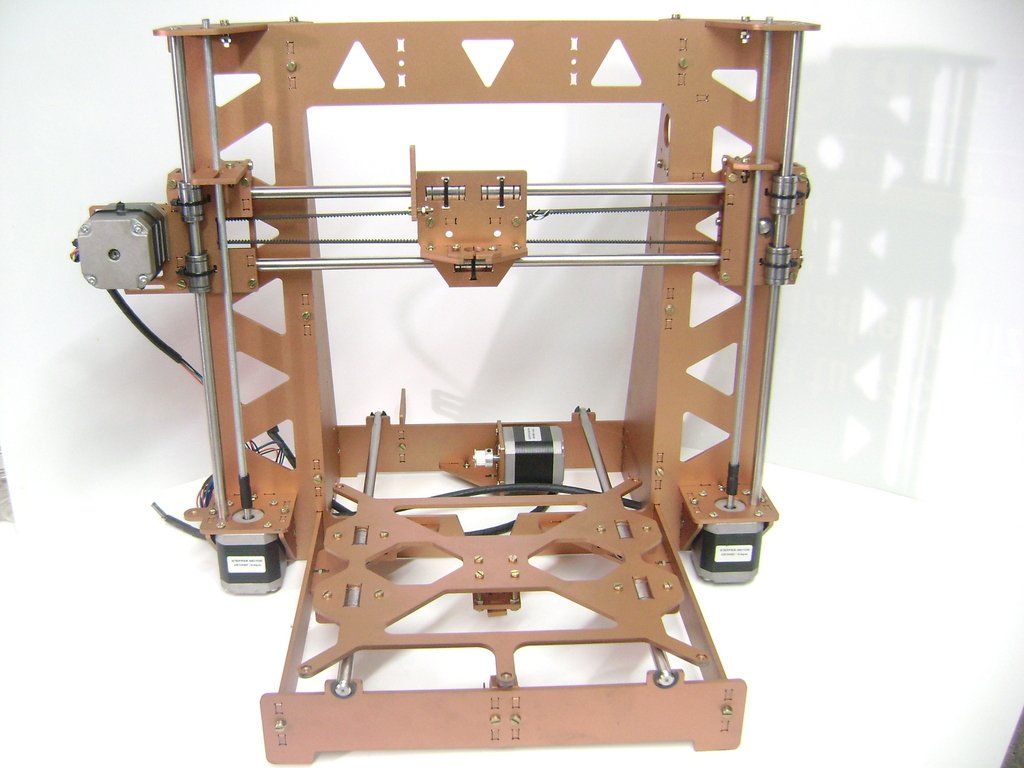 It's relatively quick and easy and progress seems fast.
It's an important stage as you don't want to bend the frame we got it to within 1mm but not perfect. The Y axis will move the build plate back and forth in the Y direction.
You add the Y axis stepper motor, belt, and bearings which is a little more involved but it still feels like you'll be finished soon. If only we knew.
X Axis And A Stuck Finger#
Adding the linear bearings I got my finger stuck as I was pressing them in. It's a fiddly stage and the instructions warned about losing the tiny ball bearings so we took our time.
The X axis will move the extruder left and right
Z Axis#
The Z axis moved the extruder up and down and was pretty similar adding the linear bearings, mounting the stepper motors, pretty swift work.
E Axis Extruder Assembly#
It was clear this wouldn't be done in one evening this got pretty complex now. Many pages from the instruction manual things really stepped up a few levels.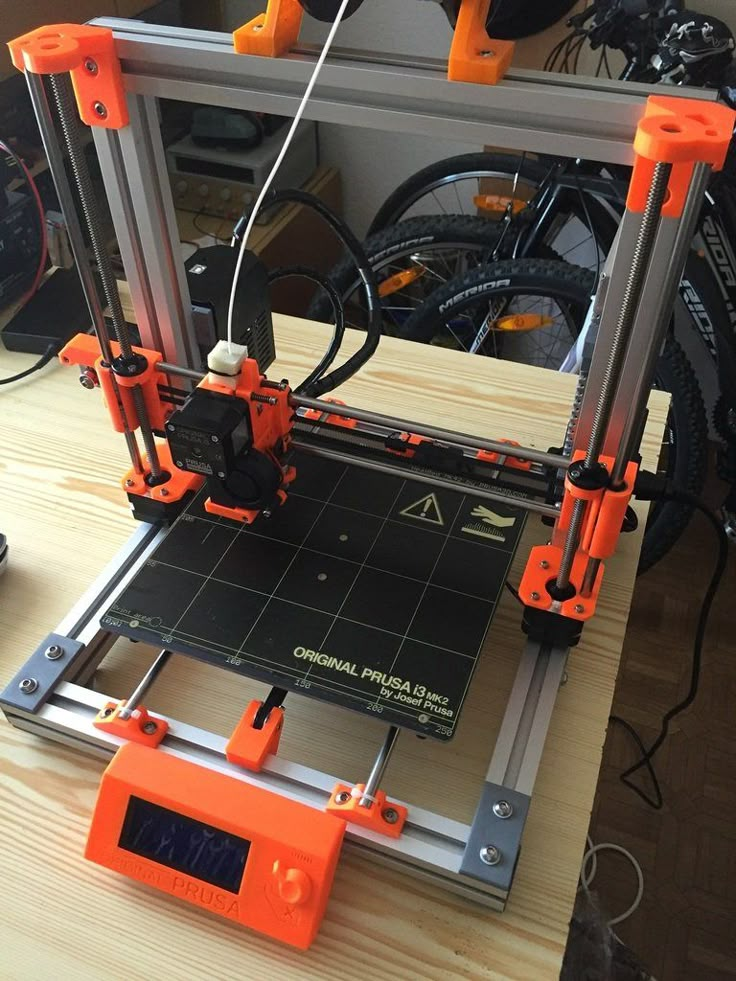
Our brother got a great insight to the inner workings of the printer from this process.
You add the hot end, filament sensor parts with steel ball, lever, IR sensor and magnet.
The gears need to be added an aligned and you see how the filament is pulled through the hot end. You add the stepper motor and even the fan.
The Pina sensor is added her which measures distance from the build plate it's truly a mammoth task.
Screen and Heatbed#
To be honest my brother was the only one left at this point and he wanted to stop, but finished up the LCD screen and Heat-bed which was a step down in complexity and relatively quick progress.
Tantalisingly close to finishing but we had to call it a night at this point.
PSU Electronics and Cable Management#
Mounting the PSU was quick but we spent time with our cable management to get it really neat.
It was very hard to connect everything up to the main electronic board, there really isn't any spare space in there and it was very frustrating.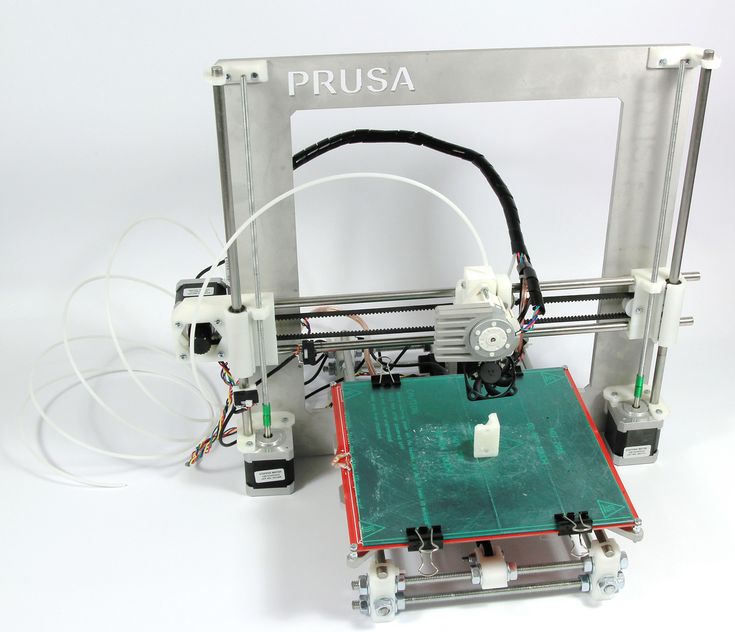 We were so close to testing it all out but this stage was time consuming and fiddly.
We didn't know at the time but we made a mistake with the IR sensor at this point.
Plugging In And Our First Print#
Everyone but our Brother & Dad were in bed, here is my brother just after the machine has calibrated and he's doing the very first print.
Calibration took a while and we had to turn off the filament sensor because it wasn't working and wouldn't print.
Prusa i3 MK3S+ vs Qidi Tech 1 3D Printer Compared#
This should be a kind of downgrade as our old Qidi had dual extruders and the Prusa only one. The Qidi has an enclosure which is a bonus.
However where the Prusa shines is the quality, reliability, and easy of the prints. It took a long time to dial in the settings for the Qidi and the Prusa just works immediately.
The build plate is a real step up with removable magnetic plates. The Qidi place was very difficult to manage and only really worked when we added a piece of glass to it.
The Qidi customer support was amazing, sending us parts for free event though we didn't buy it from them.
Prusa customer support was not needed as the instructions were great and everything just worked, although we did make a mistake with the filament sensor.
Should You Buy A 3D Printer#
If you have the funds we would recommend a 3D printer, but they are expensive to buy and run.
You'd have to do a lot of 3D printing to get a return on your investment, although it's hard to quantify the fun & learning you have in the process of 3D printing.
A Week With The Prusa And Part 2#
We've had a week with the printer and made lots of prints and modifications. The printer is amazing, better than anything we expected.
In part 2 we show the modifications, prints, and how the filament sensor works. We were blown away by the nuts and bolts we printed.
Archive. DIY Prusa i3 Steel 3D printer
We are starting a series of articles that will describe all the stages of collecting and preparing for operation the DIY kit of the Prusa i3 Steel 3D printer. If you have already purchased it, then here is the link where you can do it :)
Instructions for assembling a 3D printer includes 6 parts:
1. Assembling the frame
2. Assembly of the carriage for the heating platform
3. Assembling the mounts of the Z-axis motors
4. Assembly of X-axis carriages
5. Installing the plastic holder and display fixtures
6. Installation and connection of electronics
The instruction manual consists of 5 parts:
1. 3D printer firmware
2. Install Repetier-Host
3. Calibration of heating platform
4. Setting up Slic3r
5. The first print
In this part, as you already understood, we will collect the main part of the frame.
We take the largest part from the frame kit and use M3x12 bolts to fasten 2 ribs to it (see images 1 and 2). We stretch the bolts NOT to the end (this way it will be easier for us to fasten the following parts).
fig. 1. Frame main part fig. 2. The main part of the frame (rear view)
Now you need to assemble the back wall with the Y-axis motor mount. To do this, you need to take:
- rear wall metal parts;
- Nema 17 engine;
- toothed pulley;
- 4 spacer nuts M3x10.
Fig. 3. Details of the rear wall
First, using M3x12 bolts and M3 nuts, we twist the metal parts. After that, we fasten the toothed pulley to Nema 17 so that the teeth are in the middle between 2 parts (as in picture 4).
Fig. 4. Rear wall assembled
After you have screwed the pulley, you need to fix the motor. To do this, take 4 spacer nuts and the same number of M3x20 bolts (see Fig. 5 and 6). Tighten the bolts to the maximum and proceed to the next step.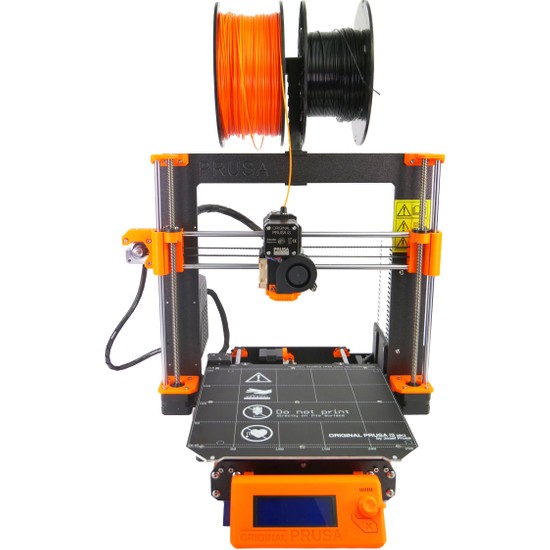
fig. 5. Rear wall (side view) . . . fig. 6. Rear wall (front view)
After the rear wall is fully assembled, it can be attached to the body using M3x12 bolts (there are 9 of them so far0024 NOT must be pressed to the end). Picture 7 shows how the rear wall screwed to the case should look like.
Fig. 7. Screwed back wall
We proceed to the assembly of the front wall. Image 8 shows which components you need to take for this. In addition to metal parts, an M3x20 bolt, an M3 washer and a nut, an M3 bypass roller (without teeth) is also needed. An M3 washer can be installed between the bypass roller and metal parts, but note that the roller must rotate freely in the assembled structure.
Fig. 8. Details for the front wall
We assemble all parts of the front wall and get the result as in the picture 9.
Fig. 9. Front wall assembled
Attention!!! The following image shows how the parts that secure the bypass roller should be arranged (check if you have the bypass roller installed in the same position as in the picture).
fig. 10. Front wall (side view)
After we have assembled the front wall, we can fix it in the body using the same M3x12 bolts (until we reach them too).
Fig. 11. Screwed front wall
The stiffeners can now be fixed. Since we didn't fully tighten all the bolts, this should be pretty easy.
Fig. 12. Bolted stiffeners
After we have fixed the stiffeners, we can tighten all the M3x12 bolts that did not last. The main part of the frame is assembled. Now you can move on to assembling the Y-axis carriage.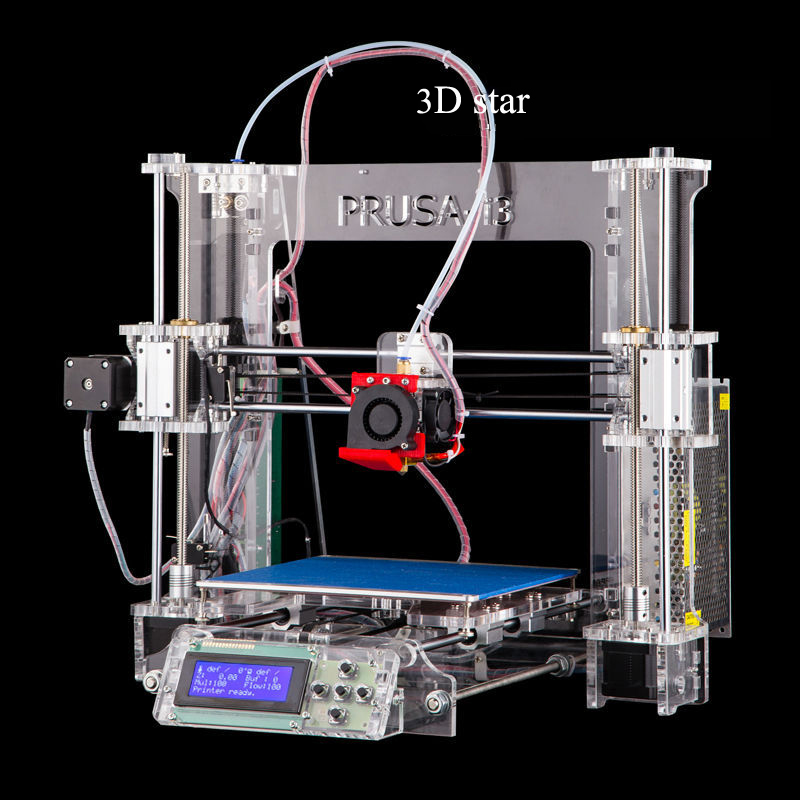
Part 2. Assembling the carriage for the heating platform
First impressions of the RepRap Prusa i3 3D printer
RepRap is an open and cheap DIY 3D printer project. There are many modifications of RepRap. According to my observations, the Prusa i3 modification is the most popular. As long as it's an open project, you can make and buy all the necessary parts yourself, or buy a ready-made kit for assembly. As you may know from previous posts, I prefer not to worry and buy ready-made kits.
You can buy a Prusa i3 3D printer on AliExpress for around $200. I collected such a printer. If you do not want to wait for a package from China (typically a month or two), the same assembly kit can be purchased from Russian online stores, in particular, Avito. True, this option will cost more.
Assembled 3D printer at work:
Regarding assembly. Despite the fact that the assembly instructions are complete and unambiguous, the assembly is quite complicated. It took me one day off and two weekday evenings. I highly recommend that you first practice on simpler assembly kits, for example, a DIY soldering station from CustomElectronics or a MeArm robotic arm. Keep in mind that you will need a lot of free space to build a 3D printer. I occupied an entire room for this case. Also note that, among others, the printer uses is a very small piece that is surprisingly easy to lose. Believe me, there is nothing fun in crawling on the carpet with a flashlight for half an hour, I checked!
All necessary assembly tools included. However, I'm not a big fan of Allen wrench hexagonal wrenches, so I recommend getting a good set of screwdrivers like this, or even better, a screwdriver, I have a DeWALT DCD700C2 model. Believe it or not, a hammer was also very useful to me when assembling. Soldering is not required to assemble the 3D printer, since all wires are connected using terminals. The only exception is the plug, which turned out to be American, not European.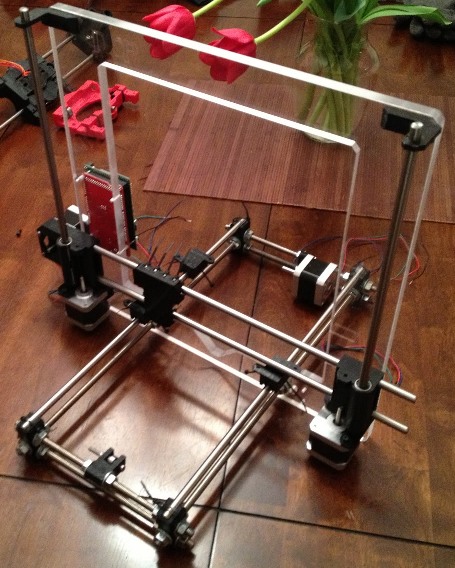 Accordingly, it will either have to be soldered or an adapter purchased. The printer uses 3D printed parts that have both supports and print artifacts. To eliminate them, I used side cutters and a couple of times a mini-drill. Finally, I note that it is proposed to fix the thermal insulation in the lower part of the heating table with a rather narrow PET tape. This tape peeled off very quickly for me, I had to re-glue it with a wider tape.
Regarding printing. Models for 3D printing are distributed in STL format. There are many catalogs of ready-made models - thingiverse.com and others. The model is driven into a slicer program, in which you specify the print options and get a .gcode file. This file is written to an SD card that is inserted into the 3D printer. The printer interprets the GCode, printing the model as a result. It is also possible to print via USB, but this option is fraught with data transfer failures (which happen, I checked) and therefore is not recommended.
There are many slicer programs.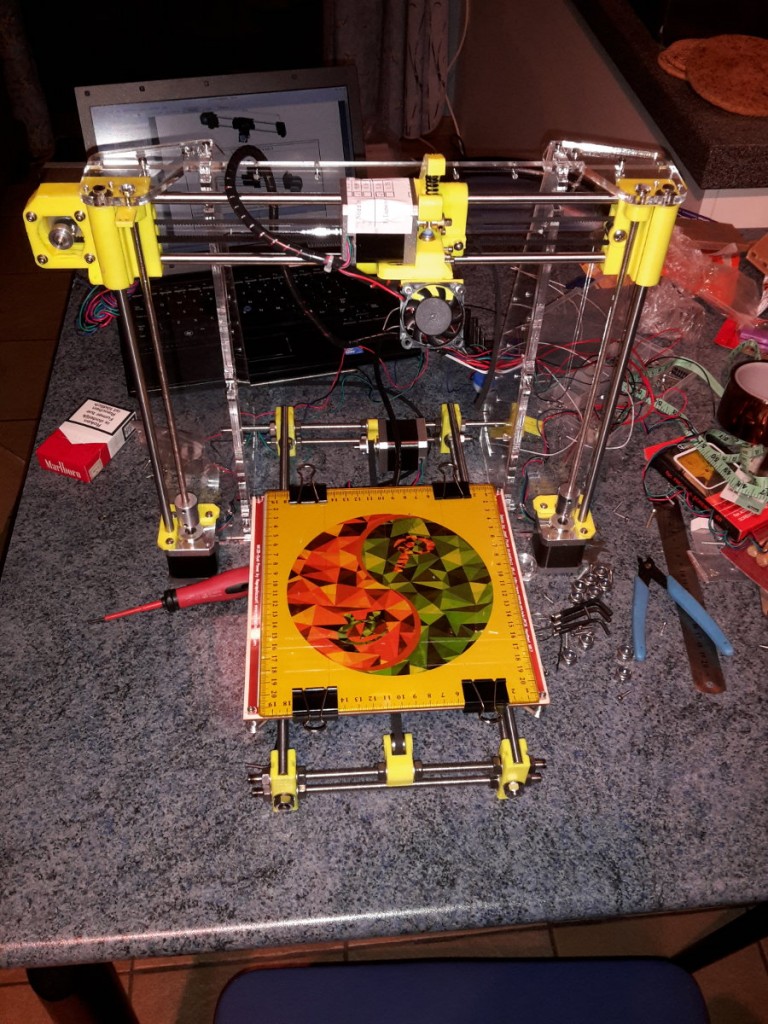 I have used Cura. It's open source and runs on everything, including Linux. Appearance of the program (clickable, PNG 1366 x 768, 151 Kb):
Examples of printed models:
SD card. In fact, this is the logo of Ultimaker, which is currently sponsoring the development of Cura. The printer came with a small skein of blue plastic (most likely PLA), with which I printed this keychain. To the right of it, you see the enclosure for the Arduino Nano. Please note that this case is designed for a board without soldered combs.
In the background is the case for the Arduino Uno. I modified this model in Blender by cutting holes in the lid for a screen from Nokia 5110 and some control element, for example, an encoder. Blender supports import/export from/to STL, so if you want you can create models using only it. You can find tons of tutorials on using Blender on YouTube. For example, this video shows how to make holes in objects, and this video shows how to work with a mesh and get the model at the correct scale.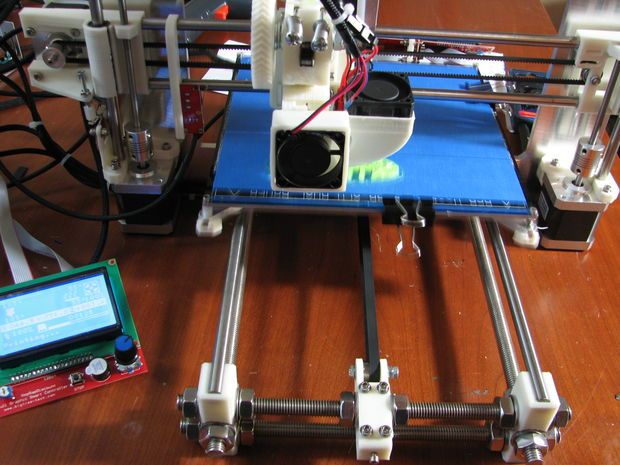
Addition: Later I found out that FreeCAD or OpenSCAD is much more suitable for designing new models. These programs are extremely easy to use and learn in just a matter of minutes. In addition, they do not have problems with the scale of the models. An excellent tutorial on both programs can be found on the OpenTechLab YouTube channel hosted by Joel Holdsworth: Prototype Enclosures with FreeCAD & OpenSCAD.
It can be seen that the last case has a slight squeeze in one corner of both the case itself and the lid. What to do with it is not clear to me yet. The working version that was bought is not the most successful plastic.
Addition: It turned out that such artifacts (folding, warping) occur when printing large enough models with ABS plastic, if a constant temperature of all layers of the model is not maintained. Read about how to deal with this in the post Building a thermal chamber for a 3D printer and printing with ABS. The summary is that it is better to use PLA plastic.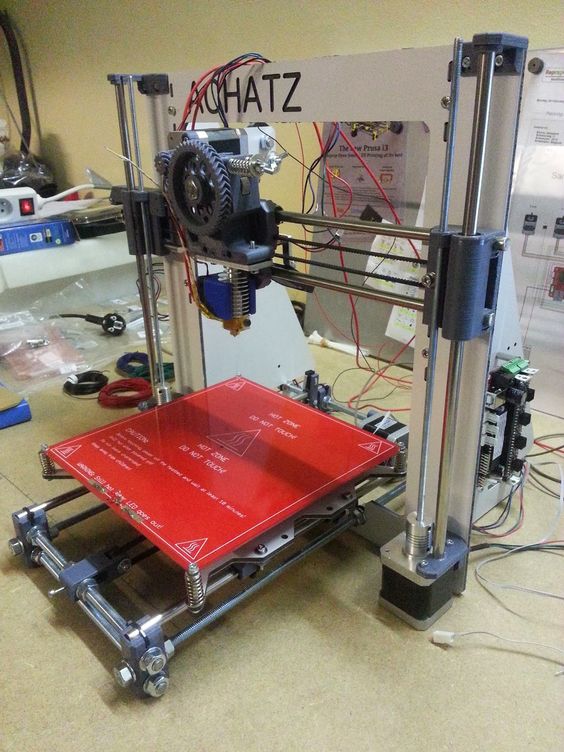 When printing with PLA, it doesn't hurt to put something on the 3D printer's table so that the plastic adheres better to it. Lately, I've been applying several coats of hairspray (“Taft is thick and fluffy,” but should work with others). In addition to PLA, consider also PETG plastic. It is a little more difficult to print than PLA, but it is less fragile.
It is worth noting that the RepRap Prusa i3 is far from being the most accurate and, more importantly, far from being the fastest 3D printer in the world. In particular, it takes more than five hours to print a case for Arduino Uno in the minimum quality. So, if you are late somewhere, or for some reason you need maximum printing accuracy, RepRap is unlikely to suit you. But this is perhaps the cheapest 3D printer that can now be found. The printer is quite capable of making cases for your DIY electronics, as well as domes and chassis for quadcopters, figurines for desktop game prototypes (for example, for running mechanics), knobs for potentiometers and encoders, parts for all kinds of mechanical devices, for example, the RepRap itself, and many other such things.


