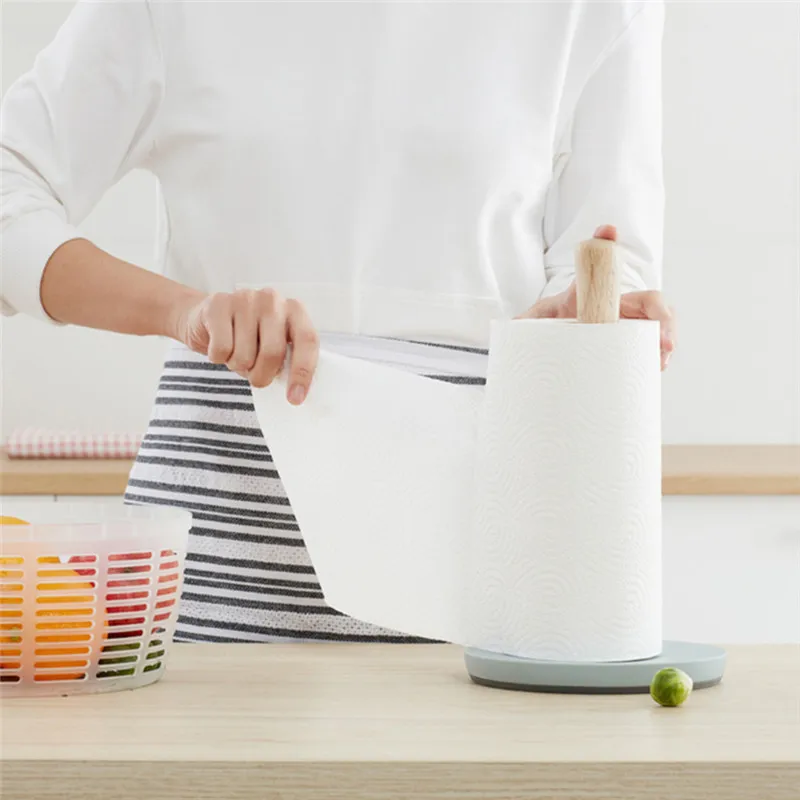
Best ptfe tube for 3d printer
Is It Worth Getting? – 3D Printerly
If you are in the 3D printing field, you may have come across or heard of the Capricorn PTFE Tubing for Bowden 3D printers. This article is going to look into this product in detail and review it, so you have a better knowledge of its efficacy and functional use.
Stick around for some key details on this product and add it to your 3D printer.
When you step into the market for your printer needs, your main priority is getting better quality at an affordable price.
Going from one seller to another, you hear mixed techniques of upselling, that too, without any reviews from the users – it wastes your time and money – because, in the end, you might buy the printing accessory that doesn’t work up to the mark.
CLICK HERE TO VIEW ON AMAZON
The Capricorn PTFE Bowden Tubing is one of the most well-regarded and high-end tubing models among all the others used for 3D printing. The product comes with efficient and rare features that every brand or model doesn’t provide.
Its functions make your 3D printing go as smoothly as possible. Let’s have a look at each of the tubing’s features in detail.
Tight Tolerance
The Capricorn PTFE Bowden Tubing is backed by the structure with tight tolerance. This tight tolerance makes sure that room for error is cleared. It leads the filament directly to the hotend – so there is no place between extruder and hotend for any type of mishap or spill.
This is one of the most essential features that people usually overlook. However, in Capricorn PTFE Bowden Tubing, tight tolerance is noticeably advantageous.
Moreover, the structure of the tube is also uniform, which means that it fits perfectly tight on both ends, and there is a little-to-none chance that it ever loses.
Temperature Proof
This 1-meter long PTFE Tubing is rated very highly because of its brilliant capability of withstanding the hottest temperature – it means you can print on your 3D for hours and hours without worrying about the tubing.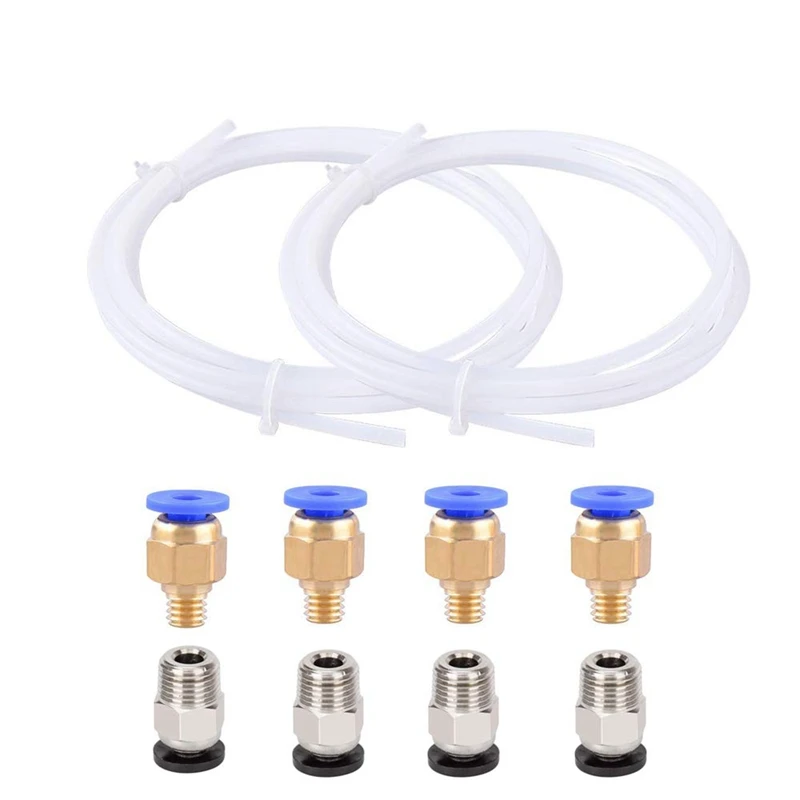
It’s perfect for exotic filaments – such as ABS, Nylon, Polycarbonate, etc.
Any standard PTFE tubing would melt down and cause you to experience dangerous levels of “off-gassing” if the hotend reaches the temperature over 240°C. This worsens the condition of your printer and creates irreparable damage.
This PTFE tube can go up to 300°C and allow you a safe 3D printing due to its advanced manufacturing methods.
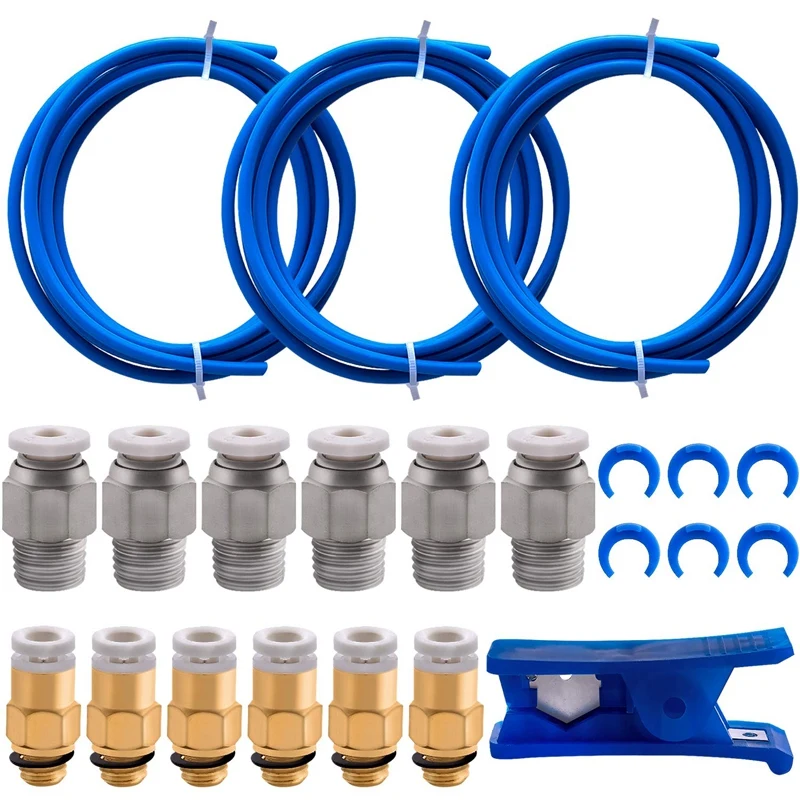
Upgraded Pneumatic Fittings
This brilliant Capricorn PTFE Bowden Tubing comes with “metal teeth” provided within the package. These metal teeth can be referred to teeth-shaped fittings at the end of the tube, which makes it very hard to pull out a tube once it’s fitted with stainless steel fittings.
Upgraded Pneumatic Fittings allow a smooth running of the tube – and it’s better than cheap and disposable fittings and locking mechanisms provided by local brands.
With upgraded pneumatics, the extruder fitting is PC4-M6, and the fitting of the hotend is PC4-M10.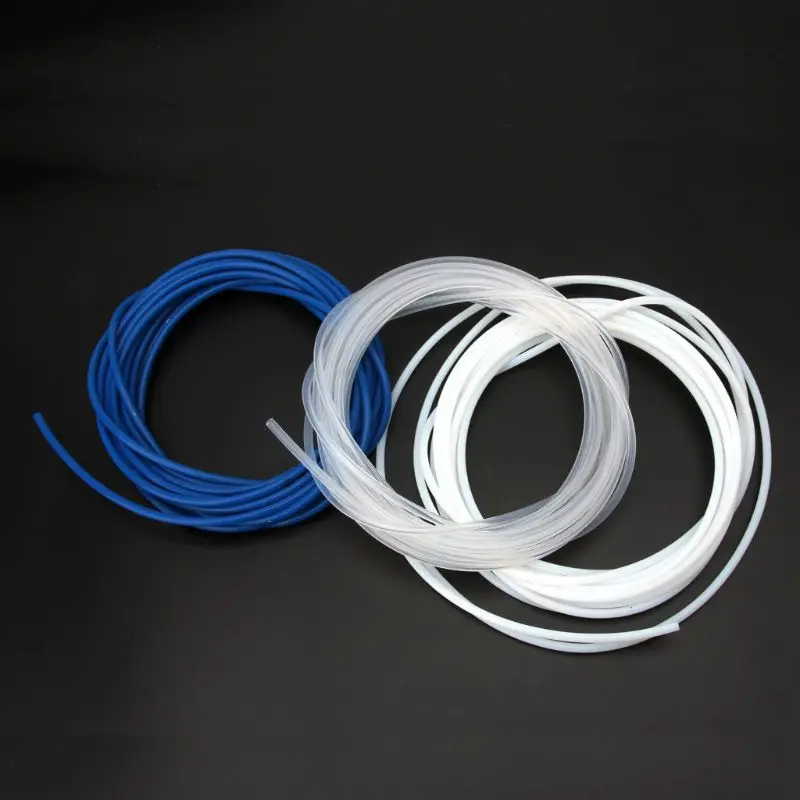 In the package, the clip is also provided that noticeably increases the hotend’s precision by removing potential leakage of the tubing while the process of retracting or extruding.
A PTFE Cutter
One great advantage of the Capricorn PTFE Bowden Tubing is that it comes with a PTFE cutter. This cutter has an extra sharp razor, which is used to ensure that PTFE Tube is cut flat and smooth from both sides. Uneven cuttings can cause leakage – and not every cutter or blade can cut a PTFE tube.
So PTFE Cutter – included in the package – provides a great advantage to prevent any mishap or error, like heat creep, when feeding and retracting.
With that being said, you should keep the cutter out of sight when not using, because its extreme sharpness can be dangerous and accidental if fell into the wrong hands.
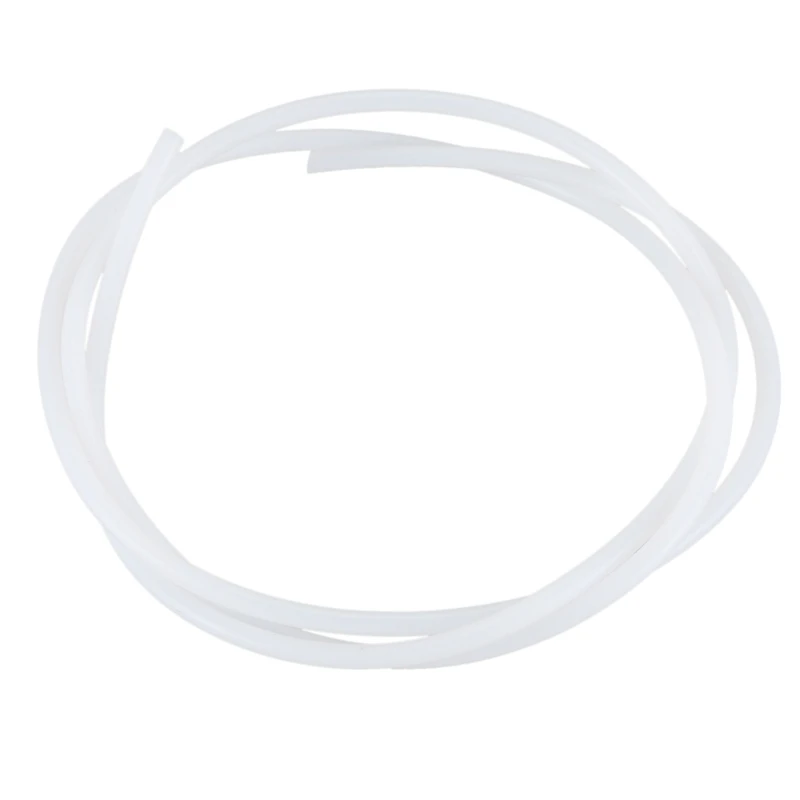
Long Length of 1 Meter
PTFE Tubes are known to be shorter but this tubing is 1-meter long. If you have some experience with 3D printing, you’d know that 1 meter is a perfectly ideal length in PTFE tubing. Therefore, it adds a vast amount to productivity.
Moreover, the long-length comes with uniform and smooth surface – texture and roughness can make it bouncy and loose.
Excellent Extrusion and Retraction
If you take a brief round of the print accessories market, you will know that many cheap printers come with sub-par PTFE accessories that are not even designed for 3D printing.
Therefore, if you use them for 3D printing, it will not only provide a worse result but also damage your expensive 3D printer. These cheap tubes give extremely poor results in extrusion and retraction.
The Capricorn PTFE Bowden Tubing is a safe choice in this matter, its highly technical and above-par parts, when combined with an excellent 3D printer, gives off a great result in extrusion and retraction.
- Excellent extrusion
- Smooth retraction
- High-quality tubing
- Comes with cutter and clip
- Easy to set up
- Improves printing quality
- Ideal length
- Ideal filament direction
- Tighter fit
- Pocket-friendly
- Great value to money
- No off-gassing
Cons of the Capricorn PTFE Tube
- Not all parts in the package are of Capricorn brand
Specifications
| Material | PTFE |
|---|---|
| Length | 1-meter |
| Filament | 1. 75 mm 75 mm |
| Fittings | 1.75 mm |
| Package weight | 2.4 ounces |
| The metal teeth tube fitting | |
| Blue collect clip (included) | |
| Teflon tube cutter (included) |
Features
- PTFE Cutter included
- Smooth Extrusion and Retraction
- 1-meter ideally long
- Temperature Proof – Burn-proof
- Tight Tolerance
- Upgraded clippings with Stainless Steel
- The uniform structure through the length
- Immediate improvement
- Perfect for Exotic Filaments
What Do The Reviewers Say?
The Capricorn PTFE Bowden Tubing has received many positive reviews on Amazon. This product has become the Amazon’s Best Seller after the uncountable positive reviews and 4.7 out of 5-star rating on Amazon.
It is also the Number 1 Product in 3D Printing accessories.
One user on the site declared that they “immediately ran into very few issues and better printing quality after installing Capricorn PTFE Bowden Tubing. ”
”
Another user who has been using other brands for years, when switched to authentic Capricorn PTFE Bowden Tubing, gave a review that said that they could “immediately tell the difference in quality compared to what their previous printer came with.”
The user further wrote that “cutter and couplings (included in the package) work perfectly too. The result has been amazing, and they will definitely buy Capricorn again.. they have been converted.”
An experienced reviewer wrote that they have been using this tubing for many months, and it has “increased the success rate for 3D prints, which saves plenty of time and money in the long-run.”
All these reviews point in one direction: Capricorn PTFE Bowden Tubing is nothing less than the best. The wise decision for you to save your time, money, and effort would be to grab Capricorn PTFE Bowden Tubing from Amazon and get rid of the stress of unending printing issues.
Bowden Tubes and You - How to be safe : ender3
TL:DR:
Keep your Bowden tube at 220-230C at the most
Keep your printer well-ventilated
If you want to print higher temps, get an all-metal hotend so the PTFE tube doesn't get that hot
I see a lot of very different information on here about the safety of Bowden tubes.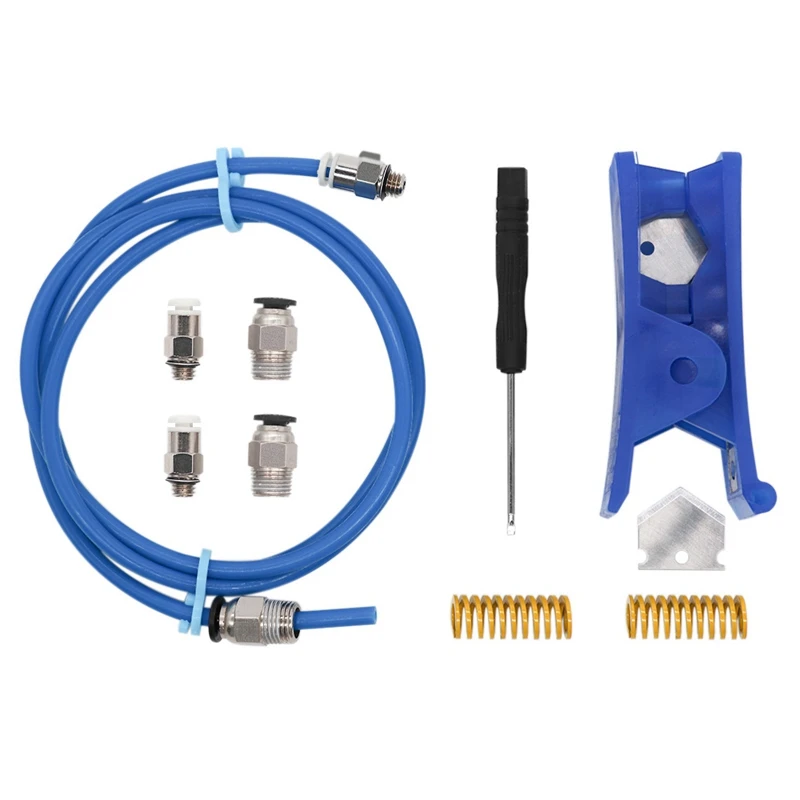 Bowden tubes are PTFE(Teflon) which is great because of the almost 0 friction it has. This makes it ideal as a filament guide material.
However, PTFE is not without precautions to take. Like with anything, you need to be careful and treat it right. 3D printers are starting to get more and more widespread, but they're not toys. They're machines that require knowledge to operate safely. This includes your Bowden tube.
Teflon offgasses when heated. At around 202C the pyrolisis of Teflon starts being detectable. This is why your tube will eventually need to be re-cut at the end because it will break down and deform.
The hotter your tube gets, the faster this goes. And the hotter it gets, the more it off-gasses.
I realize that listings will rate the white tubes at 240-260, but those ratings usually come from the Chinese suppliers, and let's be honest here, they are far from honest at all times.
Capricorn has a blasted chart that states you are okay to print to 250C, but keep in mind the title is "Will it work", not "Is it safe".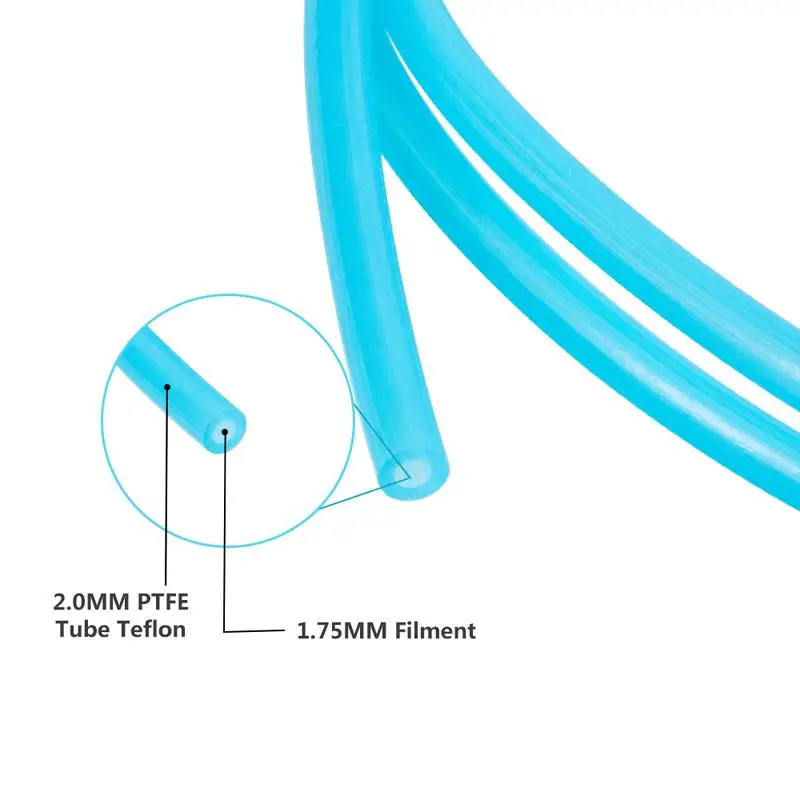 Even Capricorn, on a different page, warns people not to get their tubes hot and they outright say "Just because it works, doesn't mean there aren't precautions to be taken. If you use PTFE, or any polymer for that matter, inside the hot end or anywhere excessive temperatures may be experienced, you will potentially create harmful off-gassing.", so considering that, it's time to put to rest the rumour that you can print 250+ with Capricorn. It's simply not true. Capricorn themselves discourage it, even though they couldn't resist misleading with that temperature chart of theirs.
Some people seem to believe that a throat is the same as a heatbreak. This is also not the case. Unless your hotend is an all-metal hotend, the best you have is a PTFE lined throat. This is a two-part throat to help combat the gap between tube and nozzle, but make no mistake, the part of the throat that goes through the heating block still very much has PTFE inside of it and is subject to the same safety concerns.
To be safe, you need to keep your printer in a well ventilated area when printing with a regular hotend with PTFE in the heating chamber. If you want to print beyond 220-230, you are going to need to get an all-metal hotend with a heatbreak so the tube doesn't get to the melting chamber of the hotend. This is the only way to do it safely.
There are many models on the market, and generally you should consider going for a proper model, not a clone. You never know what the clones are actually made of, and they've been known to be leaky.
To sum up, the printer is yours and you can do what you want. But keep in mind that not all dangers are detectable right away. If they didn't add a scent marker to propane gas it would be odourless and you wouldn't know there was a leak until you blew up. Miners used to bring birds in cages to mines before the invention of detection equipment because the bird would die long before the miners as there were potentially deadly fumes that were otherwise undetectable. And if you lift things the wrong way once you won't notice, but if you do it daily your back will eventually give out and you will regret it.
So just because you've printed hotter than the suggested temperatures and didn't notice a problem doesn't mean there isn't one.
Please be safe. Printing hot isn't worth your health. Stay cool or get the right equipment. You'll be happier in the long run.
Sources:
" Between room temperature and catching fire, all polymers emit tiny amounts of harmful gasses, known as "off-gassing." The hotter they get, the more they will emit.See Chart*Because our PTFE tends to have better temperature resistance (meaning it stays firmer at higher temperatures before significant deformation than lower quality PTFE tubes, a number of users have reported success using it "inside the hot end."This is not something you should do willy-nilly. Just because it works, doesn't mean there aren't precautions to be taken.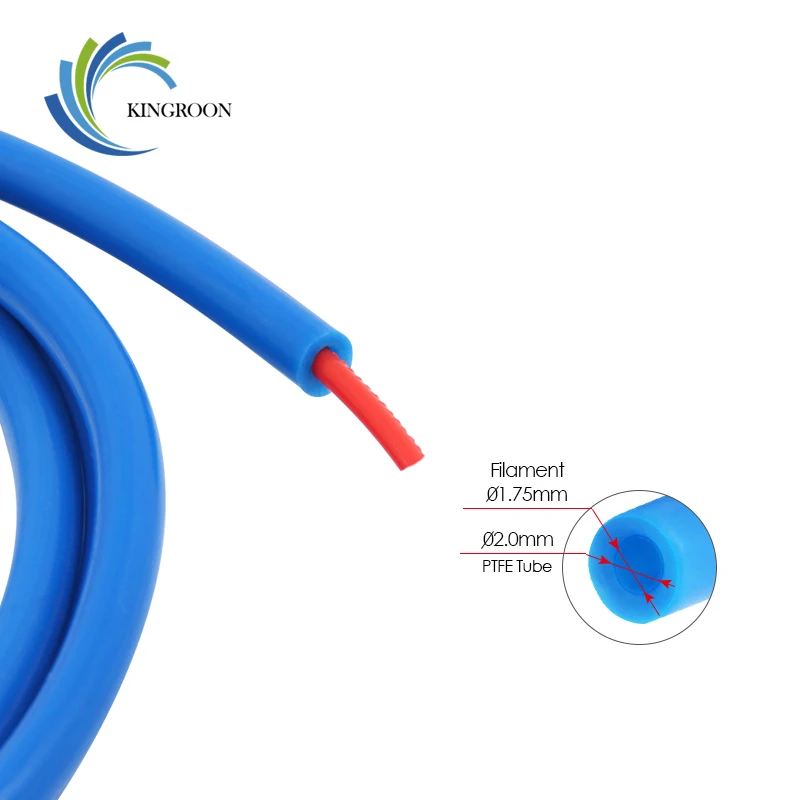 If you use PTFE, or any polymer for that matter, inside the hot end or anywhere excessive temperatures may be experienced, you will potentially create harmful off-gassing. Not only that, but the polymer you are extruding may be creating harmful gasses as well. ")
- Directly from the Capricorn website on safety
"Unfortunately, both PEEK and PTFE begin to breakdown at temperatures above 240°C. Get them above 250°C for too long and you’ll be treated to noxious fumes and a blackened mess. "
- Matterhackers on hotends
"What is emitted? It seems that beginning at 200C, PTFE begins to emit toxins, which increase in amount and type as the temperature rises. One source I read indicated that at 500C+ octafluoroisobutylene gas was emitted. This gas is apparently 10X as toxic as phosgene, a gas used in WWI during chemical attacks. Multiple studies seem to indicate plenty of bad effects from PTFE off-gassing due to high temperature. "
- Fabbaloo blog on 3D printing, some sources are linked in this blog
Such different pipes or such different 2x4
Technician
The taste and color .
 .. all Teflon tubes are different!
 Once again, thinking about how to make something less problematic out of 'drygo-tronxy-...-death', I surfed the open spaces of aliExpress in search of something so magical that everything would be fine once and for all. Not found. And I found an extremely wide range of PTFE tubes for Bowden feed and thermal barriers. And my head went round.
If for Bowden everything is more or less clear and you can somehow orient yourself by colors, then for a thermal barrier it is already more difficult. Let's start in order.
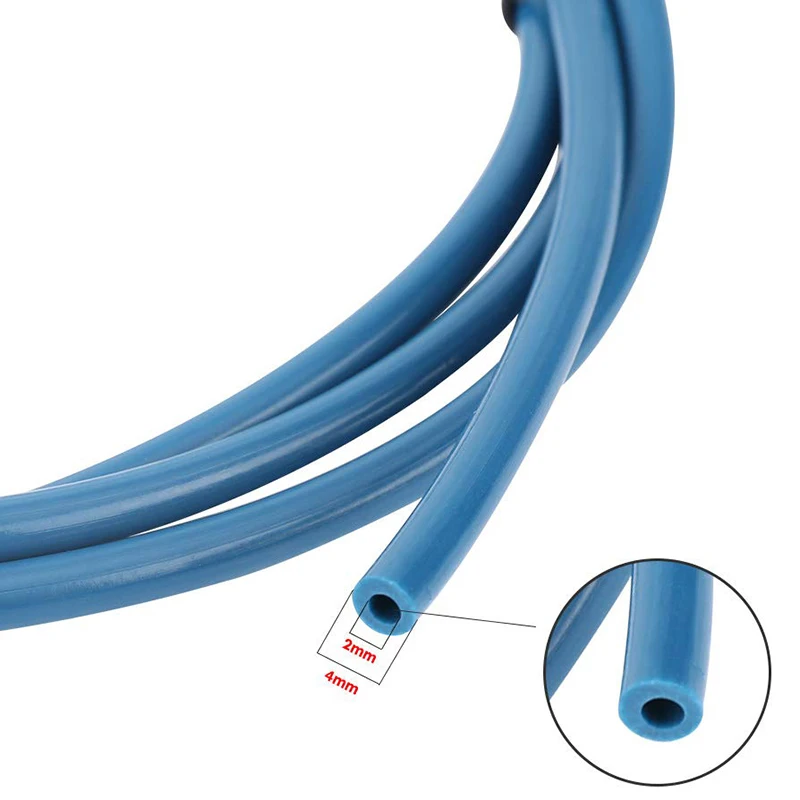
1.Bowden. The modern trend is to put a tube with an inner diameter (ID) of 1.9mm on the printer. For example, these are:
Their outer (OD) diameter is 4.0 mm. They are usually light or dark blue in color. Comrade already wrote about the advantages of their use. Glueer in Is it worth strangling your toad? . I agree with the author of that post, we must take it.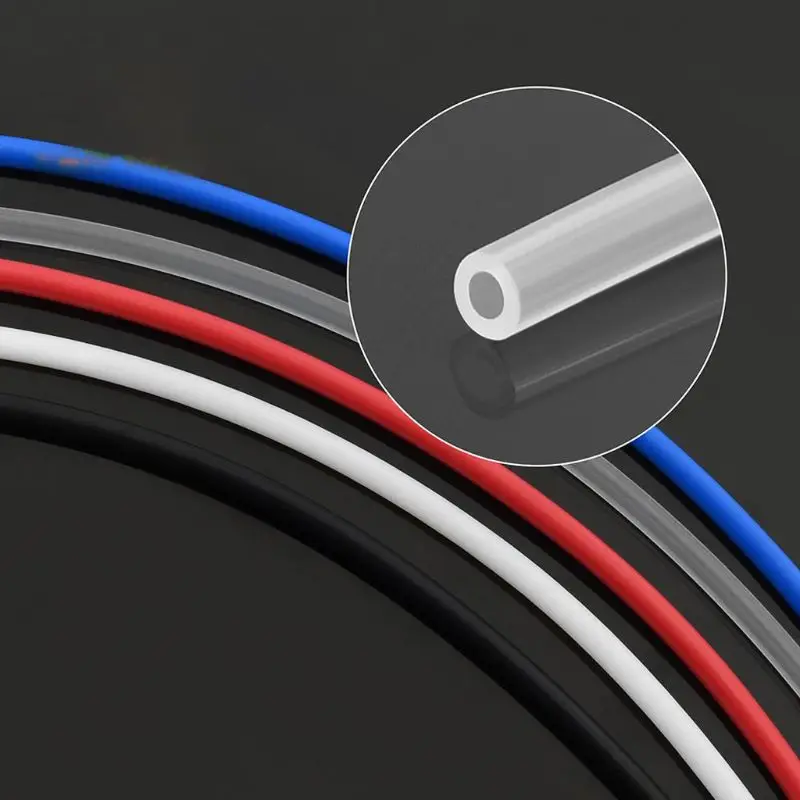 However, it is worth noting that the market now offers tubes of different colors. And here you need to be careful - among the red tubes they meet with an inner diameter of 1.8! mm. It's too optimistic in my opinion. Among the transparent tubes there are both 2.1 and 2.2 mm. At the same time, the Chinese often label them the same ID2 / OD4. Be careful when buying. Also pay attention to the operating temperature of the tubes. Most 250-260 degrees. But there are also promises of 300 degrees. Although it is possible that they are confused with the maximum.
2. Tubes in the thermal barrier.
And here everything is more fun because they are all the same color and the inner and outer diameters are dancing.
And we need such as recommended by Josef:
In other words, with an inner diameter of at least 1.85 mm. However, most offer around 2 mm.
Of course, you need to buy a tube specifically for your thermal barrier. And there are many varieties of it. Some of them:
I think it's clear that if you have a 3mm hole in the thermal barrier, and buy a tube with OD2.6, then nothing good will come of it.
In general, when buying a tube for a thermal barrier, you need to be doubly careful and look not only at what is written in the brief description, but also at what is located in the technical specifications.
And one more thing... Do not cut the pipe with scissors. There is a special tool for this:
Regards, Mnogo3D
3D printing Ryazan
Follow author
Follow
Don't want
20
More interesting articles
53
Subscribe to the author
Subscribe
Don't want
Hi all.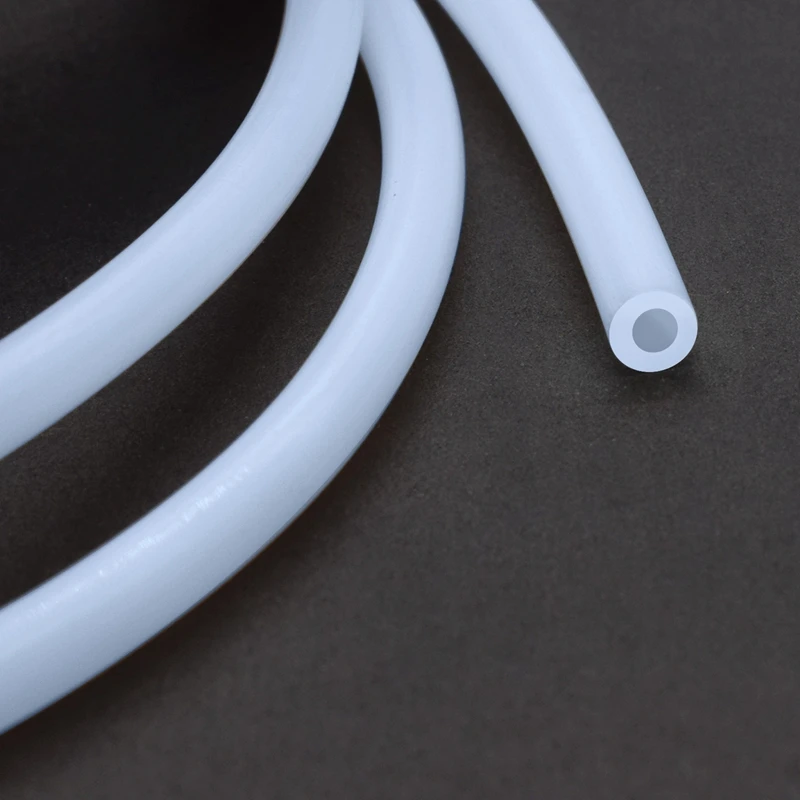 This resource has helped me a lot. It's time to say thank you.
NOT seen...
Read more
3
Follow author
Follow
Don't want
Alekmaker G.T. was purchased in 2017, and after 3 years of good work, I have accumulated c...
Read more
197
Subscribe to the author
Subscribe
Don't want
Hi all!
As Seryoga already announced, I'm starting to publish a series of articles on assembling...
Read more
13 notes about 3D printing after 3 years of owning a 3D printer / Sudo Null IT News
This article will be, first of all, of interest both to those who have directly dealt with 3D printing, that is, who owns a 3D printer, but also to those who are just about to join the ranks of 3D printers and are thinking about buying their own printer.
In the framework of this article, I would like to present my observations as a direct owner of a 3D printer for more than 3 years.
Despite the fact that 3D printers have been known for a long time and, in my memory, have become widely used, judging by the information on various resources, starting around 2010 (I may be wrong, these are my subjective observations), for a long time I ignored this area, it’s hard to say why…
Probably, he considered it some kind of “childish pampering”, another hype topic for which there is simply not enough time…
The break happened when one of the wheels on my travel suitcase wore out. You know, a big plastic suitcase, with four spinning wheels on the bottom. Unfortunately, it is a “rather disposable thing”, due to the lack of bearings on the wheels, which is why the wear of the friction point of the axle and wheel allows the suitcase to last no more than one or two seasons.
And it’s like “lightning flashed in the middle of the day: 3D printer!” It is with his help that I can fix this problem! Looking ahead, I’ll say that I didn’t succeed in fixing the suitcase in this way, so I had to use a different approach . ..
..
As a result, I "upped" him - by installing wheels from unnecessary roller skates. Thanks to this “up”, the suitcase has become a real all-terrain vehicle and, even being very loaded, it rides easily - pushed forward even with “one finger”. And even in the snow, 5-6 cm thick. A tank, not a suitcase turned out! By the way - I took spinning wheeled "units" in Leroy. Then he took off and threw out his native plastic wheels, inserting from roller skates:
But this thought itself became a kind of trigger that allowed me to finally join the world of printers and buy my first 3D printer.
Like many, before buying it, I studied various forums and sites for a long time, delving into all the subtleties. And for some reason, I immediately liked the type of printer called the delta printer. Probably because during operation it looks like some kind of "alien device".
If at your leisure you like to sit “looking into the carpet”, then with the advent of such a printer you will have a much more interesting activity, even, one might say, hypnotizing :-))
And this, in fact, is my delta (if anyone interesting), which went, let's say, "ultimate up": all the electronics were placed upstairs, on a self-made welded frame, covered with polyethylene and a magnetic door was made.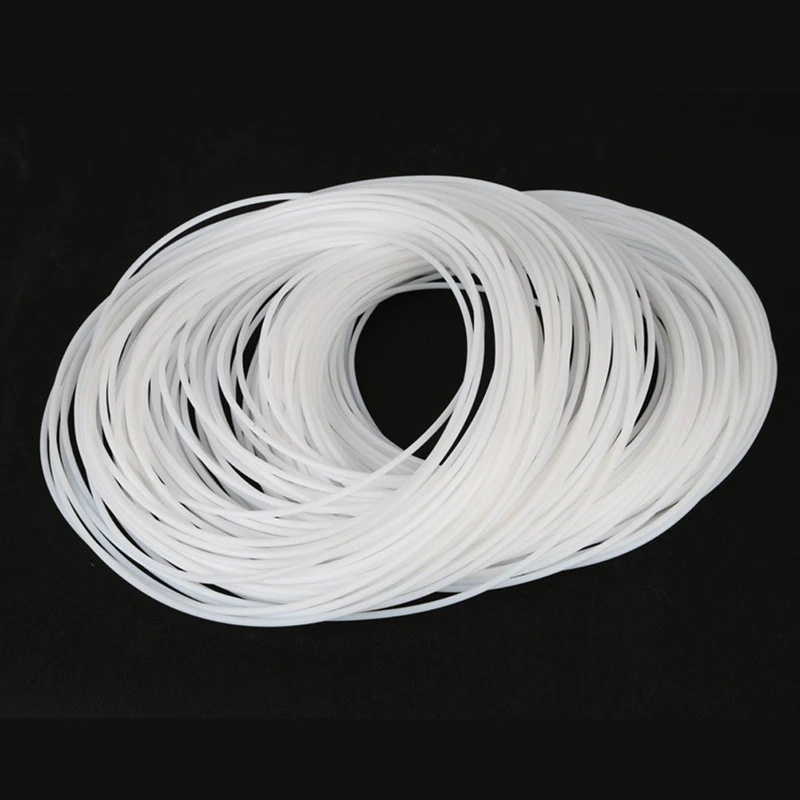 The coil with a bar is installed at the top, on the frame. The axis on which the coil is put on is machined on a lathe from aluminum and a bearing from the VAZ timing is inserted into it. As a result, the coil - "rotates even from the passage of a fly nearby":
Well, yes, I won’t argue for a long time, let’s start reviewing the main facts that I have accumulated as a result of owning this car ... The facts are purely subjective and may differ from your vision. In any case, I will be glad to comments, clarifications, etc.
▍ NOTE 1. Delta is good, but...
Here I should give a number of my observations regarding the delta printer:
- It contains a completely finished frame of the future box, which makes it easy to form a thermal chamber. I understand that many printers are made in the form factor of a “certain box” (but this point cannot be ignored), which greatly facilitates the process of wrapping this box with heat-insulating material.
 In my case, as such a material, I used a plastic film.
 - Already thanks to its design, delta allows you to work at much higher speeds than XY printers. By the way, it is on the delta principle that many modern high-speed industrial robots are built to sort various parts directly on the conveyor belt:
However, this plus does not allow to fully realize the occurrence of parasitic vibrations, even despite their suppressors:
Thus, accurate printing is possible, only at speeds (at least that was the case for me), no more than 60 mm per second. A complex procedure for aligning the movement of the head parallel to the table, which is why, for many, the so-called "lens" appears. People struggle with it with varying degrees of success, but I have not encountered this on my printer and for me, therefore, the “lens” has never been a problem. At the same point, it is worth noting the calibration of the table, which was initially absent on the first deltas, and I had to use an external third-party solution from one American do-it-yourselfer called EZBED. This solution was a hardware-software complex that allows you to quickly and easily calibrate the printing table, that is, to let the printer understand its geometry. Modern printers do not have this issue as they come with a built-in calibration solution. It is worth noting that I solved this problem by attaching a limit switch to the print head, and using the Marlin-1.1.9 firmware.
▍ NOTE 2. “Size doesn't matter...” :-)
When I got the printer, I was impressed by the possibility of huge printouts, a la the handguards of some futuristic rifles, huge body parts, etc.
However, if you try to analyze the results of your many years of practice, it turns out that in most cases, rather small objects were printed that easily fit in the palm of your hand, a maximum of two palms. Despite such a seemingly small size, the printing of these details took a significant amount of time. Of course, this very much depends on which nozzle you print with.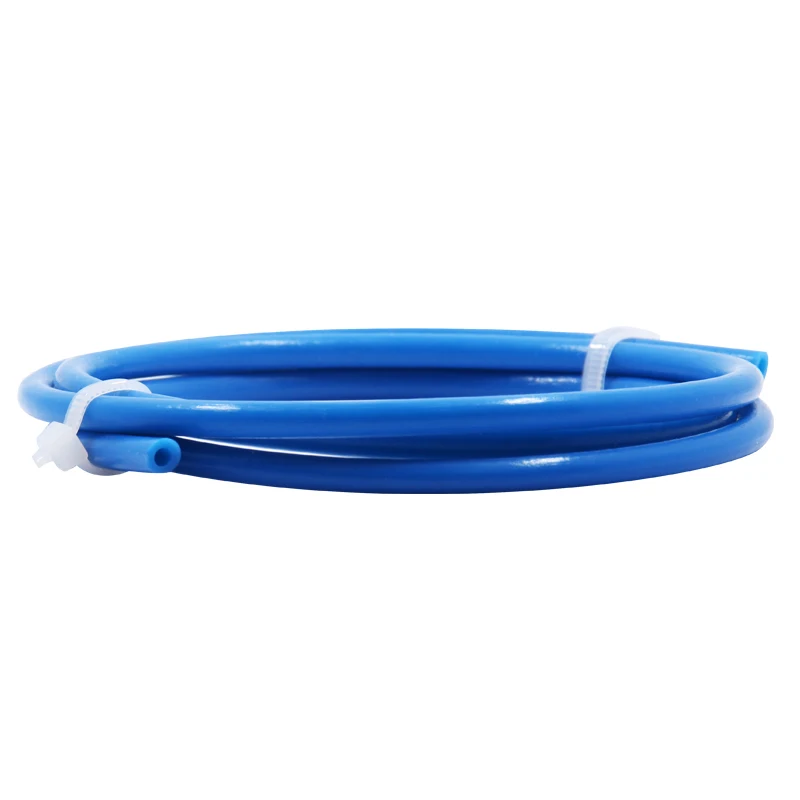 But, despite this, it is difficult to disagree with the fact that most of the printed parts will be quite utilitarian and small in size.
Therefore, to be honest, the need for a printer that allows you to print "Venus de Milo in life size" is not obvious.
Of course, you can object to me that “I’m going to buy a printer, I’ll get used to it a bit and I’ll get started!!!”
Here you need to take into account one simple point: there are no universal things. And in order to understand how much 3D printing in general and your printer, in particular, you will need to solve your problems, and how much it will be able to solve such problems, you just need to first try the 3D printing method personally and then a lot will become clear to you .
Therefore, for a beginner, I recommend taking a small printer that allows you to print extremely small items that fit in the palm of two. With such a device, you will definitely never lose, as it will always be needed. In addition, with its help you will be able to get used to the printing process and, if necessary, purchase a larger device, already clearly understanding its capabilities and ability to solve your set of tasks.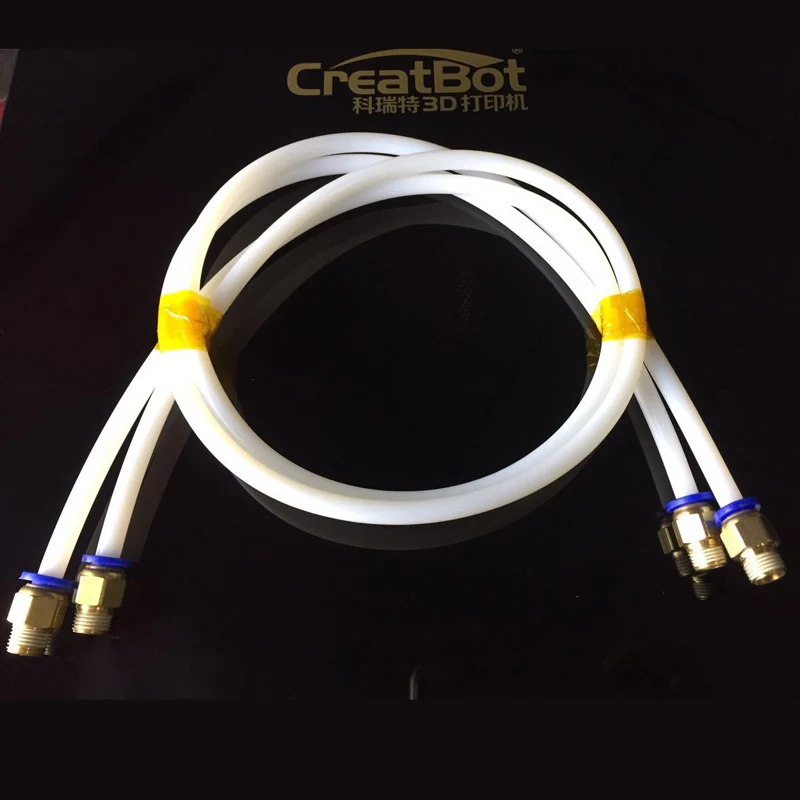
▍ NOTE 3. "What type of printer to get."
Based on the foregoing, I do not recommend taking a delta printer and this can be said right away.
Not because it is bad, in fact, it prints quite accurately, its main problem (in my opinion) is the inability to print rectangular flat, fairly large case components, as well as the inability to fully realize high-speed work, since the quality drops critically. Here it turns out to be a rather offensive situation - the printer can work quickly, but this cannot be done, since the quality will be “nothing”.
And then what kind to take? Depending on the budget and capabilities, I recommend taking any cube printer, for example, the same Core XY (the head moves, and the table goes down as the model “grows”, from top to bottom):
Image source: thingiverse.com
Such a printer allows you to easily print fairly large flat parts of cases, has good speed and accuracy. In addition, the presence of a rigid box-shaped frame allows it to be easily covered with polyethylene to create a sealed heat chamber. In addition, the very fact that the table does not move while working reduces the number of problems with model peeling.
However, the advantages of this printer will not be fully revealed if it has a direct extruder. On the one hand, it will allow printing with rubber-like materials, on the other -
large inertia and head weight. And these are parasitic vibrations, wear of the fur. parts, etc. (like everything in life, “we treat one thing and cripple another” :-))
At the initial stages, this may not be necessary, but in the future it may be necessary to print, for example, tires for your homemade car. And with this, the Bowden extruder has obvious problems. Although, in fairness, printing with such a rubber-like material is far from a daily need. However, whoever seeks will always find: over time, I found a way to “upgrade” my printer with a Bowden extruder to print with flexible materials.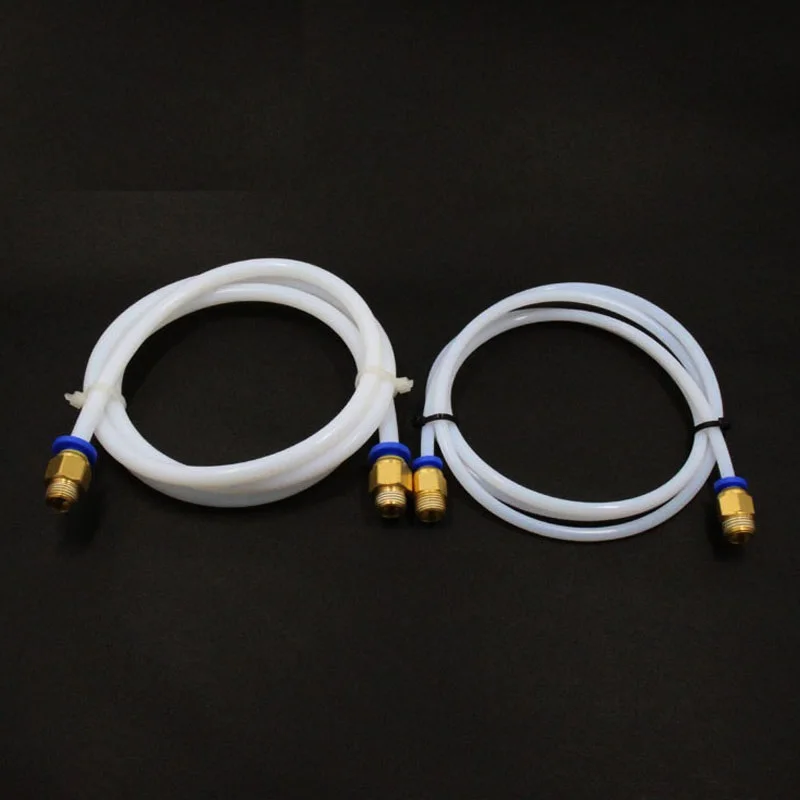 "Crutches" of course. But even so.
By the way, there are printers of a cheaper type, the so-called "drygostol", printing by moving the table and head:
They are inexpensive, moderately accurate, but they require a sufficiently high-quality gluing of the printed model to the table, because the table moves, and the model can come off when the table is jerked sharply. When printing large models, this can be a problem.
▍ NOTE 4. What to print with?
It's only a matter of taste and purpose. That is, if your printout will only stand on a shelf and should differ in some kind of aesthetic appearance, these are some requirements, if the printout is an engineering part that will be operated under conditions of increased mechanical load, these are different requirements. That is, in the first case, you can use any PLA, SBS plastics, and others with similar properties.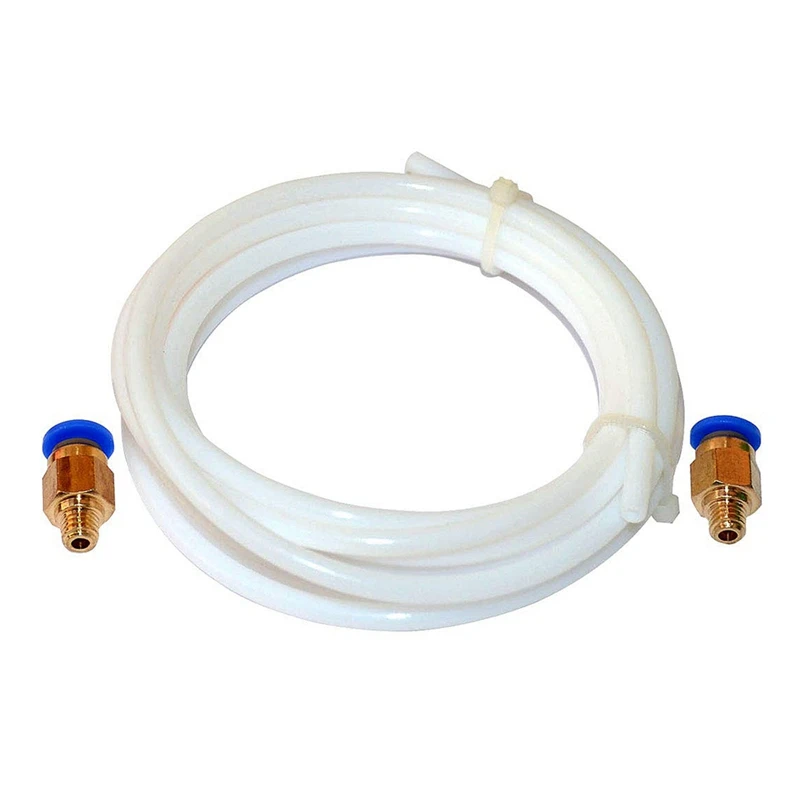
For engineering parts, for example, I only use ABS. It combines high hardness, strength and low price. Although I understand that now this last statement will cause a storm of comments in the style of “no! - there is even stronger, even better, the same PETG, etc. ":-)
I just wanted to say here that thanks to the low price and the practical experiments that I conducted with ABS plastic, I realized that it is completely meets all my requirements.
However, the fact that ABS plastic releases carcinogenic substances when heated is quite annoying and forces you to take measures to prevent poisoning. For this, my printer prints completely closed and on an open balcony. After printing, the printer chamber opens, and it remains open in this form until it is completely ventilated and cools down.
▍ NOTE 5. "ABS is difficult to type on, it flakes, peels off the table, etc..."
With a properly configured printer (in my case, at a print temperature of 205 degrees, a thermal chamber and a desktop temperature of 100 degrees), the use of auxiliary techniques, for example, among which, one can name the so-called ABS juice (which is ABS- plastic dissolved in acetone), you can create wear-resistant and durable things, without any hypothetical problems.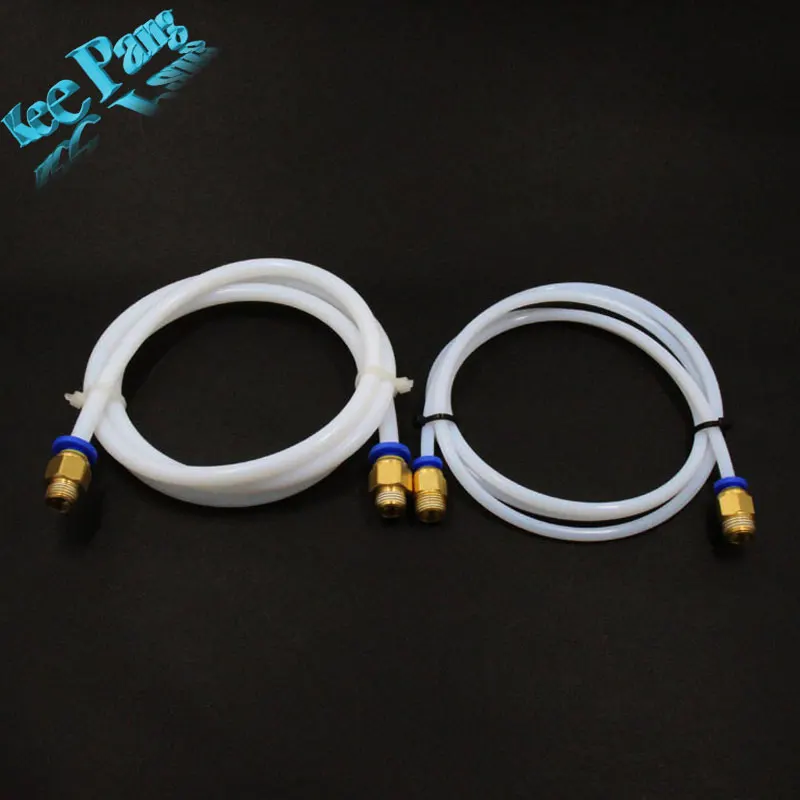
For example, my printer has been printing for many hours at temperatures well below freezing. And this happened more than once, not twice, not three! And the print quality was excellent:
12-hour ABS printing at -4 C
▍ NOTE 6. Acetone for post-processing and ABS juicing
At one time, I wrote a fairly detailed article on this topic and I will try to give the main excerpts from it. The essence of the issue here is as follows: due to the fact that different GOSTs are used for the production of acetone, acetone differs in quality. Despite the fact that it would seem that “acetone is also acetone in Africa,” nevertheless, one type of acetone can differ significantly from each other. For example, ordinary acetone, which can be bought at any hardware store, such as "1000 little things", "store near the house" and the like, is very low quality acetone, smells disgusting (although someone like it, maybe someone likes its pleasant building aroma and "aftertaste" :-))).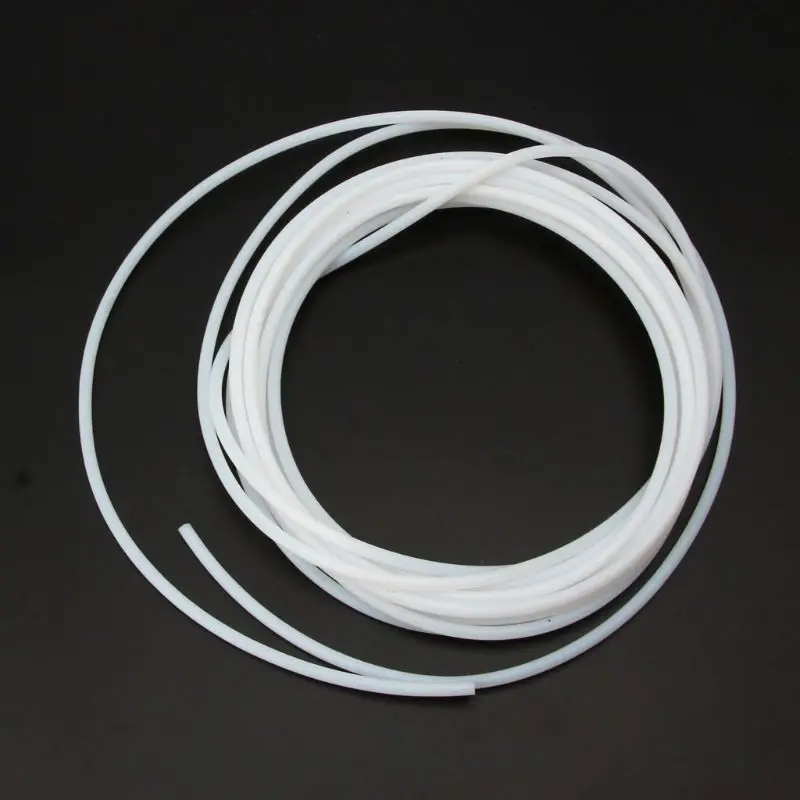
In contrast, there is a much higher quality acetone, which, however, is not found at all in any household stores, even large chain stores, such as Auchan or Leroy Merlin.
This type of acetone is found exclusively in shops that sell varnishes and paints for automotive work - that is, these are highly specialized shops for car workshops:
Acetone, which can be purchased there, is of excellent quality, smells almost like alcohol, quickly disappears,
:-) - this is a joke, of course, don't even try it.
However, its main advantage, compared to household type acetone, is that it perfectly dissolves ABS plastic and does not allow it to precipitate. For me personally, it was a very surprising observation when the same ABS plastic was perfectly dissolved with acetone from an auto shop, and completely precipitated when I tried to use household acetone (I just ran out of good acetone, and I had to use "what is ").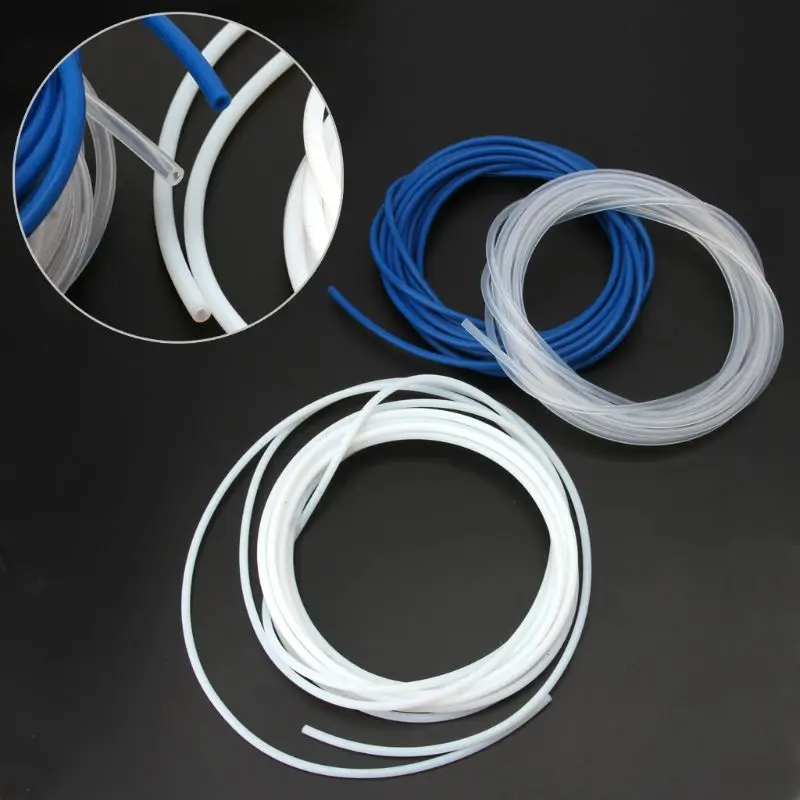
Therefore, if you want your result to be always excellent, then here is the right acetone. It should be labeled "for professional use":
▍ NOTE 7. What about ABS juice?
"ABS juice" is what printers call a mixture of acetone and pieces of ABS plastic dissolved in it. This mixture is smeared on the surface of the desktop before printing and allowed to dry. Thanks to this spread, the model easily sticks to the desktop and does not peel off during the printing process. After printing is completed and the platen has cooled down, the model can be easily separated.
All that needs to be said here is that, after trying different approaches over time, I settled on using flexible metal spatulas, also called “Japanese-style spatulas”:
According to the results of many tests, this method of spreading turned out to be one of the most convenient options, such spatulas can be cleaned very quickly and easily after work.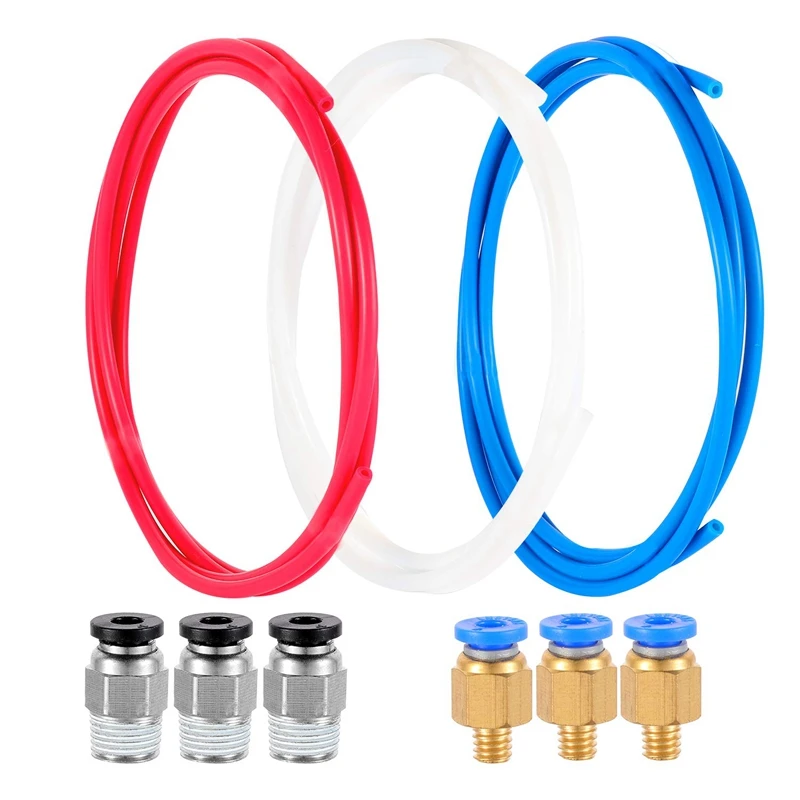 In other words, highly recommended!
▍ NOTE 8. "Yes, nothing sensible can be done on it, I indulged a little and decided to sell it, - you can't use it for anything good anyway"
I absolutely disagree with the statement above, which is periodically heard from newcomers to 3D printing. You can even say more: at the moment I can’t even imagine how I used to live without a 3D printer! Since it is he who makes it possible for any do-it-yourselfer to significantly expand their capabilities and make piece products, almost of factory quality! Of course, for this, the appropriate hands must be applied to the 3D printer, but that’s another question… and take on things that I would never have thought to take on before!
For example, among my homemade products, the following can be listed:
- Heated sole for boots, which is a hose integrated into the insole (and filled with household silicone from a household store), through which water flows, heated with a catalytic type hand warmer.
 Water is pumped using a small peristaltic pump. The engine with a metal gearbox, which is used in the creation of this pump, allows you to develop a force of 3 kg, which is even redundant for this homemade product. The engine is powered by Peltier elements mounted next to the catalytic heater. The project is currently in progress.
- Centrifugal water pump mounted on the shaft of an internal combustion engine that drives a high pressure wearable air compressor with a pressure of 500 bar. The pump pumps coolant through the casing of the high pressure pump, or rather its second stage. Despite the fact that the pump is 3D printed and runs at over 6000 rpm, nothing “fell apart, fell apart, didn’t break.” As you can see in the photo, the pump is installed instead of the “starter”, that is, the armstarter. The compressor scheme as a whole is as follows: 2 engines. Connected by clutch. One is heavy duty. The second is modified and turned into a high pressure compressor:
Yes, before assembling this, I also did not believe that this was possible. Moreover, even when I collected it, I did not believe my eyes :-))). However, it is a fact…
- I printed a number of Rank-Hilsch test tubes, the essence of which I have described in detail in this article.
- Printed mass of parts, more than 100 pieces, to create 10 web-controlled robots. There was also a detailed article about this here.
Well, and a bunch of all sorts of useful and not very crafts. As you can see from my crafts above, I have a special passion for creating some useful things, a utilitarian direction. That is, so that the printout is useful, and does not belong to the type “yyy breathe, Mikola, what am I doing here” :-), and then put it on the shelf and that's it. Although, engineers are also not alien to beauties, and this will be my next fact below.
▍ NOTE 9 Proper placement of the model when printing is half the battle
It would seem an obvious fact, but many underestimate it. Here I mean the following: by experience, I accidentally discovered that when printing various statues (in which I, completely unexpectedly for myself, discovered another passion of mine), it is advisable to place the statues at an angle to the printing table.
This allows the layers in the printout to run at an angle of approximately 45-50 degrees to the model. The result of this is that the printed model is almost completely invisible layers and the model looks like it has been post-processed, but at the same time retains a deep matte color, which, to my personal taste, is more like a marble than a glossy result of processing in an acetone bath :
An additional advantage of this method is that the layers going at an angle of 45-50 ° to the model give it additional strength. This is especially true for printing statues, which contain many thin elements that are easily chipped when the statue is accidentally dropped from a table or shelf (learned from bitter experience, this happened to me many times, and ruined some fairly decent prints).
That is, layers running across the model, if the model has a large extension in height, does not allow it to maintain sufficient strength. For better understanding, I tried to illustrate this point in the figures below:
▍ NOTE 10. Bleeding must be taken into account when printing, especially if the model is composed of separate parts and must be assembled by joining these parts to each other, entering into each other, etc.
I tried to illustrate this point in the figures below. The implication here is that if you're printing a composite model, you need to correct for the amount of bleed on the plastic (I'm not sure what it's called, but at least I tried to convey what I mean). If this is not taken into account, then the model will not fit.
For example, in my case this correction is 0.2 mm per diameter - if I want the model to fit more tightly; if I need a free joint, without excessive density, then 0.3 mm per diameter:
That is, suppose that the blue part has a size of 10x10mm. So it must be modeled in a CAD program as 9.8x9.8 mm (if we want it to sit tight) or 9.7x9.7 mm (to sit freely). Well, or expand the hole in the green part, and leave the blue one as it is.
This is often a problem when you download a prefabricated model from the Internet - but it is not going to, even if you crack! But because no amendments have been made…
For your particular case, the amendments may be different.
▍ NOTE 11. What if...
In fact, this note complements note number 8. Using a 3D printer allows you to create metal parts using a printed 3D model. For this, the casting method is used according to the lost wax or burnt model. In our case, we will deal mainly with metal casting on a burnt model.
Briefly, it looks like this: printing a 3D model (using PLA plastic) → pouring it with plaster → burning the PLA plastic, simultaneously with burning the mold, in a conventional stove oven → pouring the resulting shape with molten metal (melted in a conventional microwave) .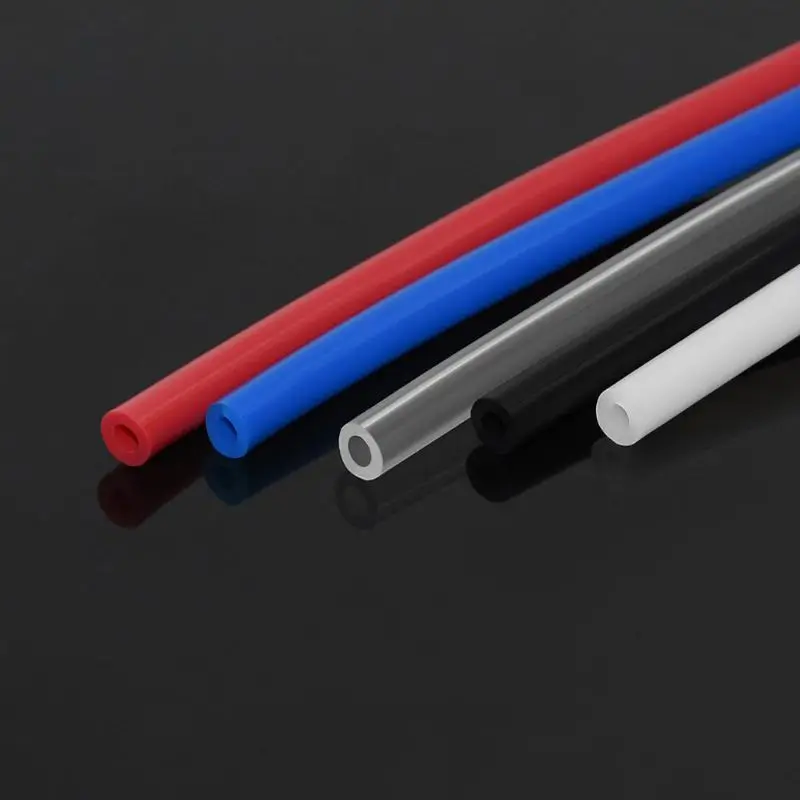
Image source: 3dtopo.com
I told about a simple method of melting metals in a home microwave oven here.
There was even a good article about casting on Habré.
▍ NOTE 12. Durability?
Despite the fact that ABS plastic is called exposed to ultraviolet radiation and, accordingly, burns out, losing its strength in the sun, in my practice, even printouts that are constantly exposed to the sun have not lost their strength and color at all, continuing to be successfully used and Currently.
It should also be added here that printouts are constantly exposed not only to the rays of the sun, but also work continuously in damp conditions!
As such printouts, I can give an example of winglets for technical cranes, which I printed out, but, unfortunately, did not photograph this process; as well as fasteners on shoes that I use “both in the snow, and in the heat and in the pouring rain, and in general are always with me”:
▍ NOTE 13.