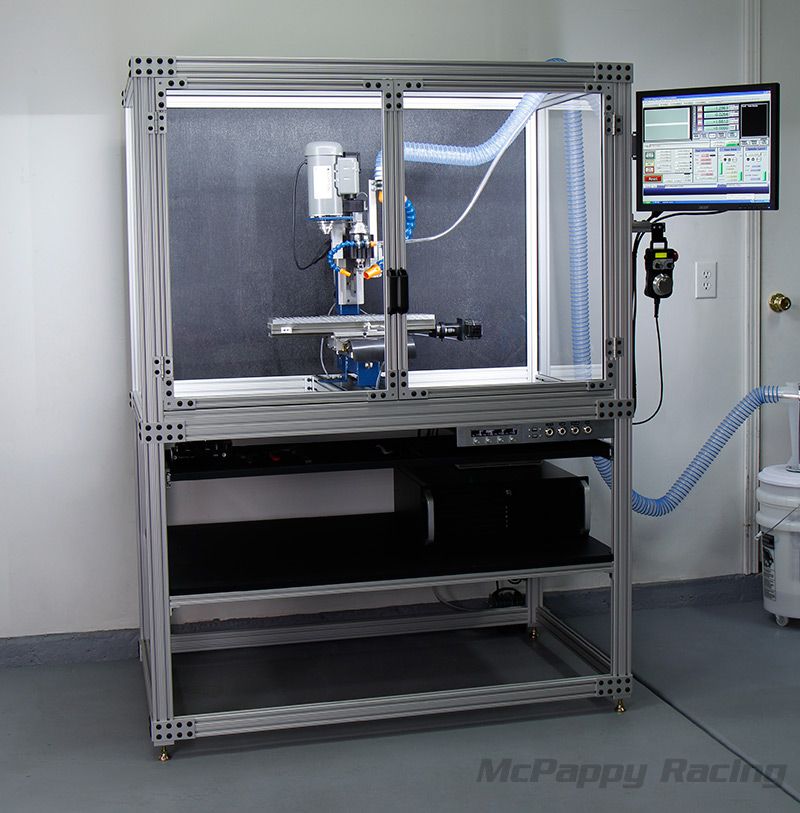
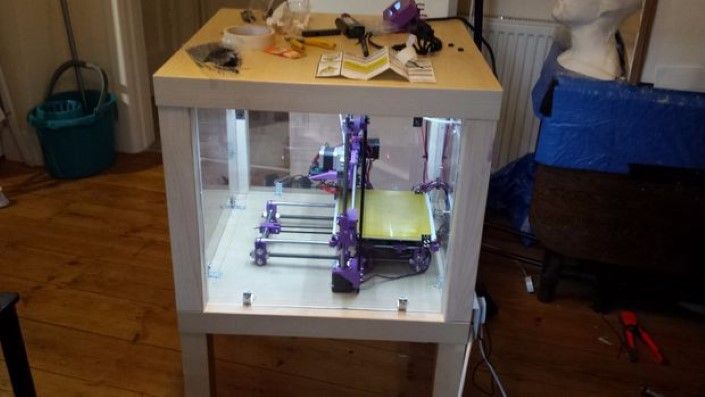
8020 3d printer enclosure
3D Printer 8020 How-To Video
IMPORTANT SAFETY INSTRUCTIONS Your safety and the safety of others are very important. Read instructions thoroughly prior to assembly. Please follow assembly instructions. Check for all parts before beginning assembly using the provided parts list to verify that all parts required to assemble the product are included. This kit contains parts that can be damaged if assembled incorrectly or in the wrong sequence. 80/20 shall not be responsible for replacing parts lost or damaged due to incorrect assembly. [Assistance is required during parts of the assembly].
80/20 QUALITY POLICY 80/20 is dedicated to providing its products free of actual defects in material and workmanship. 80/20 will replace or repair, at 80/20’s option, any product which, upon 80/20’s inspection is found to have a defect in material and/or workmanship provided such defect is reported to 80/20 in writing within one (1) year of the date of shipment from 80/20’s factory (“Quality Policy”).
80/20 LIMITED WARRANTY All 80/20 products are guaranteed to be free of actual defects in material and workmanship, provided any such defect be reported to 80/20 in writing within one (1) year of date of purchase. This warranty is limited to replacing or repairing, at 80/20's option any part which, upon 80/20 inspection is found to have a defect in material and/or workmanship.
DISCLAIMER OF IMPLIED WARRANTIES No warranty is made by 80/20, express or implied, that 80/20 products as used in a customer’s design and specifications are fit for that customer’s specific purpose. APART FROM THE ABOVE QUALITY POLICY, THERE ARE NO WARRANTIES, EXPRESS, IMPLIED, OR STATUTORY, INCLUDING, WITHOUT LIMITATION, WARRANTIES OF MERCHANTABILITY AND FITNESS FOR A PARTICULAR PURPOSE, WHICH EXTEND BEYOND THE DESCRIPTION ON THE FACE HEREOF.
LIMITATION OF REMEDIES YOUR SOLE AND EXCLUSIVE REMEDY UNDER THIS QUALITY POLICY SHALL BE PRODUCT REPAIR OR REPLACEMENT AS PROVIDED HEREIN. 80/20 SHALL NOT BE LIABLE FOR SPECIFIC, INCIDENTAL OR CONSEQUENTIAL DAMAGES ARISING OUT OF THE USE OF 80/20 PRODUCTS. This quality policy provides customer with specific legal rights, and customer may have other rights which may vary according to relevant state laws.
MAINTENANCE Regularly check fastener hardware for tightness.
CONTACT INFORMATION For assistance in the U.
 S.A, call 1-260-248-8030. If you need further assistance, you can write 80/20 Inc. with any questions or comments at 1701 South 400 East, Columbia City, IN 46725 Visit us on the web at www.8020.net
 We have temporarily removed catalog hard copy requests. Please refer to the Virtual Catalog if you would like to view it.
Address Information
Company
Phone Number
Street 1
Street 2
State/Province
Zip/Postal Code
Country
CanadaUnited StatesAfghanistanÅland IslandsAlbaniaAlgeriaAmerican SamoaAndorraAngolaAnguillaAntarcticaAntigua & BarbudaArgentinaArmeniaArubaAustraliaAustriaAzerbaijanBahamasBahrainBangladeshBarbadosBelarusBelgiumBelizeBeninBermudaBhutanBoliviaBosnia & HerzegovinaBotswanaBouvet IslandBrazilBritish Indian Ocean TerritoryBritish Virgin IslandsBruneiBulgariaBurkina FasoBurundiCambodiaCameroonCape VerdeCaribbean NetherlandsCayman IslandsCentral African RepublicChadChileChinaChristmas IslandCocos (Keeling) IslandsColombiaComorosCongo - BrazzavilleCongo - KinshasaCook IslandsCosta RicaCôte d’IvoireCroatiaCubaCuraçaoCyprusCzechiaDenmarkDjiboutiDominicaDominican RepublicEcuadorEgyptEl SalvadorEquatorial GuineaEritreaEstoniaEswatiniEthiopiaFalkland IslandsFaroe IslandsFijiFinlandFranceFrench GuianaFrench PolynesiaFrench Southern TerritoriesGabonGambiaGeorgiaGermanyGhanaGibraltarGreeceGreenlandGrenadaGuadeloupeGuamGuatemalaGuernseyGuineaGuinea-BissauGuyanaHaitiHeard & McDonald IslandsHondurasHong Kong SAR ChinaHungaryIcelandIndiaIndonesiaIranIraqIrelandIsle of ManIsraelItalyJamaicaJapanJerseyJordanKazakhstanKenyaKiribatiKosovoKuwaitKyrgyzstanLaosLatviaLebanonLesothoLiberiaLibyaLiechtensteinLithuaniaLuxembourgMacao SAR ChinaMadagascarMalawiMalaysiaMaldivesMaliMaltaMarshall IslandsMartiniqueMauritaniaMauritiusMayotteMexicoMicronesiaMoldovaMonacoMongoliaMontenegroMontserratMoroccoMozambiqueMyanmar (Burma)NamibiaNauruNepalNetherlandsNew CaledoniaNew ZealandNicaraguaNigerNigeriaNiueNorfolk IslandNorthern Mariana IslandsNorth KoreaNorth MacedoniaNorwayOmanPakistanPalauPalestinian TerritoriesPanamaPapua New GuineaParaguayPeruPhilippinesPitcairn IslandsPolandPortugalPuerto RicoQatarRéunionRomaniaRussiaRwandaSamoaSan MarinoSão Tomé & PríncipeSaudi ArabiaSenegalSerbiaSeychellesSierra LeoneSingaporeSint MaartenSlovakiaSloveniaSolomon IslandsSomaliaSouth AfricaSouth Georgia & South Sandwich IslandsSouth KoreaSpainSri LankaSt. BarthélemySt. HelenaSt. Kitts & NevisSt. LuciaSt. MartinSt. Pierre & MiquelonSt. Vincent & GrenadinesSudanSurinameSvalbard & Jan MayenSwedenSwitzerlandSyriaTaiwan, Province of ChinaTajikistanTanzaniaThailandTimor-LesteTogoTokelauTongaTrinidad & TobagoTunisiaTurkeyTurkmenistanTurks & Caicos IslandsTuvaluUgandaUkraineUnited Arab EmiratesUnited KingdomUruguayU.S. Outlying IslandsU.S. Virgin IslandsUzbekistanVanuatuVatican CityVenezuelaVietnamWallis & FutunaWestern SaharaYemenZambiaZimbabwe
Miscellaneous
How did you hear about us?
Select OneWebFriendProfessional DesignerCatalogTV commercial or other advertisementNewspaper, magazine article, or TV showOther
Comments
80/20 Aluminum Extrusions | Hackaday
May 8, 2018 by Roger Cheng
The real power of 3D printing is in infinite customization of parts. This becomes especially powerful when you combine 3D printing with existing materials. I have been developing a few simple tricks to make generic fasteners and printed connectors a perfect match for aluminum extrusion, via a novel twist or two on top of techniques you may already know.
Work long enough with 3D printers, and our ideas inevitably grow beyond our print volume. Depending on the nature of the project, it may be possible to divide into pieces then glue them together. But usually a larger project also places higher structural demands ill-suited to plastic.
Those of us lucky enough to have nice workshops can turn to woodworking, welding, or metal machining for larger projects. Whether you have that option or not, aluminum extrusion beams provide the structure we need to go bigger and to do it quickly. And as an added bonus, 3D printing can make using aluminum extrusion easier and cheaper.
Continue reading “How To Build Anything Out Of Aluminum Extrusion And 3D Printed Brackets” →
Posted in 3d Printer hacks, Featured, how-to, Skills, SliderTagged 3d printing, 80/20 aluminum extrusions, aluminum, aluminum extrusion, aluminum extrusions, structural framing systems, structuresApril 24, 2017 by Dan Maloney
Don’t you just hate it when you spend less than $400 on a 40-watt laser cutter and it turns out to have a work area the size of a sheet of copy paper? [Kostas Filosofou] sure did, but rather than stick with that limited work envelope, he modified his cheap K40 laser cutter so it has almost five times the original space.
The K40 doesn’t make any pretenses — it’s a cheap laser cutter and engraver from China. But with new units going for $344 on eBay now, it’s almost a no-brainer. Even with its limitations, you’re still getting a 40-watt CO2 laser and decent motion control hardware to play with. [Kostas] began the embiggening by removing the high-voltage power supply from its original space-hogging home to the right of the work area. With that living in a new outboard enclosure, a new X-Y gantry of extruded aluminum rails and 3D-printed parts was built, and a better exhaust fan was installed. Custom mirror assemblies were turned, better fans were added to the radiator, and oh yeah — he added a Z-axis to the bed too.
We’re sure [Kostas] ran the tab up a little on this build, but when you’re spending so little to start with, it’s easy to get carried away. Speaking of which, if you feel the need for an even bigger cutter, an enormous 100-watt unit might be more your style.
Continue reading “Laser Surgery: Expanding The Bed Of A Cheap Chinese Laser Cutter” →
Posted in Laser Hacks, Tool HacksTagged 80/20 aluminum extrusions, co2 laser, engraver, exhaust, gantry, high voltage, K40, laser cutter, mirrors, z-axisDecember 14, 2016 by Joshua Vasquez
At this point, the internet is crawling with butt-kicking homebrew 3D printers made with extruded profiles, but it’s easy to underestimate the difficulty in getting there.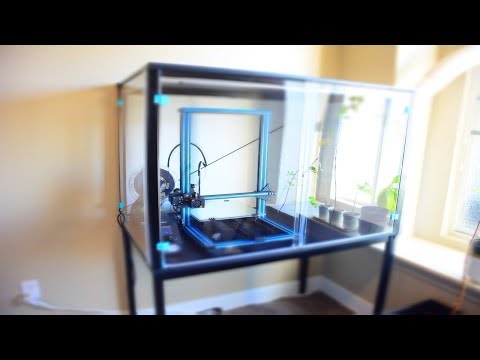 Sure, most vendors sell a suite of interlocking connectors, but how well do these structural framing systems actually fare when put to the task of handling a build with sub-millimeter tolerances?
I’ve been playing around with these parts for about two years. What I’ve found is that, yes, precise and accurate results are possible. Nevertheless, those results came to me after I failed and–dry, rinse, repeat–failed again! Only after I understood the limits of both the materials and assembly processes was I able to deliver square, dimensionally accurate gantries that could carry a laser beam around a half-square-meter workbed. That said, I wrote a quick guide to taming these beasts. Who are they? What flavors do they come in? How do we achieve those precision results? Dear reader, read on.
Continue reading “A How-To In Homebrew Design, Fab, And Assembly With Structural Framing Systems” →
Posted in Curated, Engineering, Featured, Original Art, SkillsTagged 80/20 aluminum extrusions, aluminum extrusions, Bosch Rexroth, homebrew cnc, machine design, makerbeam, OpenBeam, structural framing systems, vslotNovember 23, 2015 by George Graves
We had to do a double take when we saw this kickstarter campaign video – and we bet you will too.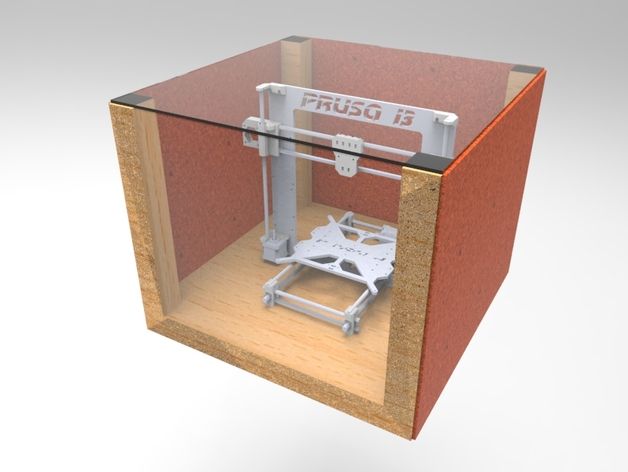 It seem as if some company called [Infento Rides] took generic 80/20 aluminum extrusions and built a viable commercial product out of it – that’s not something you see everyday. 80/20 is meant to be something that engineers use to build things like test rigs and manufacturing fixtures. It’s not exactly an item designed for the consumer or end user. But we think the DIY/teaching aspect of this idea really has
 legs wheels.
If you’re looking for [Santa] to put this under the tree this Christmas, you might be disappointed as it’s not exactly on store shelves just yet since the kickstarter campaign just ended – but we wish them well, and hope they come through.
If you’re old enough you may remember Erector Sets (they were mechanical equivalent of the 200-in-1 electronics kits) back in the day. Well, this type of product brings back memories of both. It’s a perfect tool for getting kids interested in making – sure, they aren’t “making” much, but we all start somewhere.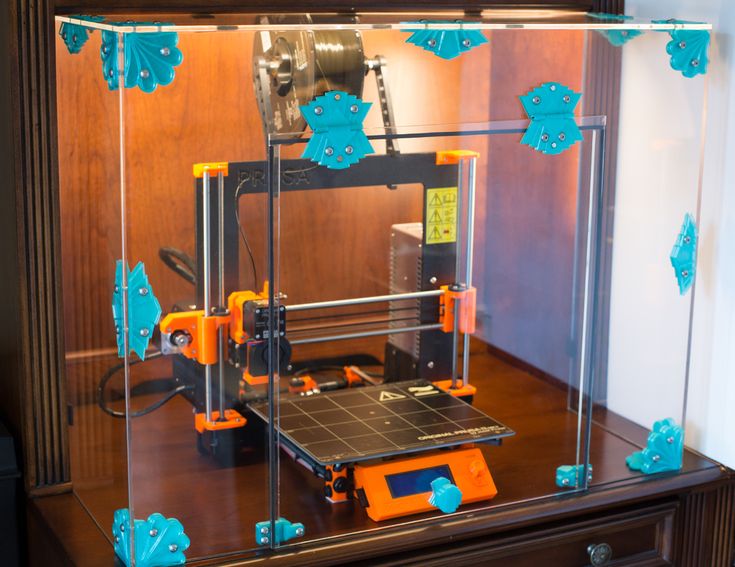
The one thing we would like to see is a more open-source type kit like the Chibikart. That and something a little less then the $300-$500 price range. But can you really put a price on teaching a child to build something, and starting that fire inside of them? Maybe not.
Continue reading “80/20 Extrusion Goes Main Stream” →
Posted in Transportation HacksTagged 80/20 aluminum extrusions, 8020, aluminum extrusions, DIY bike, kickstarterFree 3D File Vesa Monitor Arm (100x100) for Aluminum Profile 8020 1530 Series・3D Printer Design to Download・Cults
Audi R8 LMS center console button block
Free
REMIX: HTPC - pfSense mini-ITX chassis: picoPSU & PCI-E & SATA SSD
Free
Best 3D Printer Files in the Gadget Category
IKEA drawer hook
0. 62 €
62 €
Ghost Pumpkin
1.24 €
Handelbar mount for Samsung S5 with wireless Qi charging - weather proof
Free
TRANSFORMERS MASTER ACTION STYLE GOLD BEETLE
6,40 €
Key hanger, printed on site, without support
2.39 €
Keychain Spiderman Glasses
1 €
Solar Tracker
2.26 €
Magnetic GoPro mount
0.73 €
Bestsellers in the Gadget category
G17- DD17 Frame with rails
7.50 €
wall key holder (dragon ball)
1. 25 €
25 €
Application for creating a double text illusion
3,50 €
AR-15 LOWER MULTI-CAL. REINFORCED DESIGN
8,50 €
DJI AVATA 9 GoPro Mount0004
2.50 €
Writing Machine V2.0 - 2D pen plotter
6.47 €
V8 engine seal in place
€1.76 -fifty% 0.88 €
CYLINDER WALL/PISTON 2-STROKE
0.92 €
Renewed bone finger
6.48 €
Italian hand
1 €
Application for creating switchable business cards
3. 35 €
35 €
F18 SUPER HORNET - 50 MM EDF JET [RC AIRCRAFT]
12.01 €
Application to turn your photo into 10 types of jewelry
3,50 €
MECHANICAL CHRISTMAS GIFT BOX
€3.15 -fifty% 1.57 €
JEEP WRANGLER PEN HOLDER - 3-IN-1
1,85 €
Keyfob application
€3.50
Do you want to support Cults?
Do you like Cults and want to help us continue our journey on our own ? Please note that we are a small team of 3 people, so supporting us in maintaining activities and creating future developments is very easy. Here are 4 solutions available to everyone:
-
AD: Disable your AdBlock banner blocker and click on our banner ads.
-
AFFILIATION: Shop online with our affiliate links here Amazon.
-
DONATIONS: If you want, you can donate via PayPal here.
-
* INVITE YOUR FRIENDS: * Invite your friends, discover the platform and the great 3D files shared by the community!
DIY heated bed for 3D printer MC2
DIY heated bed for MC2 3D printer
DIY heated bed for MC2 3D printer
One of the previous articles introduced ABS plastic printing technology on a cold 3D bed -printer MS2 from Master Kit. And what if we make this table heated and adjustable, eliminating the AUTO_BED_LEVELING function?
https://masterkit.ru/blog/articles/delaem-podogrevaemyj-stol-dlya-3d-printera-mc2-svoimi-rukami
Having enjoyed experimenting with the MC2 printer and fine-tuning it, I came to the conclusion that it was time for me to get a heated table. There's more that the printer's electronics support this feature. And at the same time try to make this table adjustable by eliminating the AUTO_BED_LEVELING function. In principle, the function works well, I wrote about this in this article, but I wanted to try this option as well.
Actually, for this you need to purchase only the heater itself, the thermistor and springs for adjustment - this can be done on the website 3d.masterkit.ru. And figure out how to thermally untie the plastic parts of the printer, designed to mount the table, and the heater.
Digging through the cabinets, I found a piece of fiberglass. Good, smooth, 2 mm thick. I sawed off a square 220x220 mm from it. (Heater size - 214x214 mm) And, without thinking twice, I drilled 4 holes in it for M3x10 screws with a sunk head for fastening the textolite to standard glass holders and 4 holes for mounting the heater. I drilled holes of 2.5 mm in the details for fastening the glass and screwed the textolite with screws like self-tapping screws.
Now you need to attach the heater to the textolite through the springs. For a while I thought about how to make sure that the nuts of the adjusting screws were fixed, but then I decided to do without nuts at all. I cut the M3 thread directly in the fiberglass, it turned out somewhere around 4 turns. I tried several times to screw in and unscrew the spring-loaded screw. If you do this carefully, the thread holds well, does not deform. Let's see how the solution will behave during long-term operation; if the thread deteriorates, I will stick a metal nut-washer with an M3 thread on the textolite, you can print a retainer from ABS, or something like that.
Next, glue the thermistor into the central hole in the heater with heat-resistant tape or paper tape. It connects to the control board at connector T1. Also in the Marlin firmware, you must allow reading data from this sensor. To do this, in the Configuration.h tab, you need to change 0 to 1 in the line #define TEMP_SENSOR_BED 1
After that, in the RepetierHost program, you can see and set the table temperature value.
Printing glass - how could it be without it - it is convenient to fix it with stationery paper clips. You can find them in any stationery department. This is how the sandwich turned out. Pretty hefty, I must say. I decided that it would be necessary to reduce in connection with this acceleration along the Y axis, and at the same time X. We climb into the firmware again. And we halve the following parameters in Configuration.h (new values are indicated):
#define DEFAULT_MAX_ACCELERATION {4500,4500,100,9000}
#define DEFAULT_ACCELERATION 1000
Probably a little slower typing, but okay, we're not in a hurry.
In order to eliminate the influence of the extruder mounting on the positioning accuracy and to fully realize the possibility of adjusting the table, I decided to rigidly fix the extruder in its holder, for which I drilled through the details of its fastening and tightened it with screws. In this regard, I had to rearrange the Z-axis limit switch under the platform on which the X-axis is implemented. I printed a part with two slots for adjusting the limit switch and simply glued it with dichloroethane to the base connecting the three stepper motors from the bottom of the printer. Just in case, I also tightened it with a screw. Now the limit switch is triggered when the platform is lowered to the desired level.
As a power supply, taking into account the current consumption increased by 10A (!) I used an ownerless power supply from an old computer with a power of 350W. It gives 15A current on the 12V yellow wire. The heater is connected to the terminals D8 of the control board. I checked the voltage at full load, it stays at the level of 11.5-11.6V. The block does not heat up. Good!
Now let's try to print something with ABS. Test cube 30x30mm, for example. We see in RepetierHost: 100 degrees on the table, 250 on the extruder. 200 µm layer, blowing off.
Smells a little, but with the window open it's quite bearable. For me, let it smell like that, even nice!
It turned out quite a decent cube, agree! By the way, when printing, the part was not blown, because it cools the extruder by 10 degrees.