3D tree template to print
3D Paper Tree | Kids' Crafts | Fun Craft Ideas
Supplies Needed
- Brown cardstock (medium to heavy weight)
- Light weight green paper or paper in fall colors (red, yellow, orange)
- Scoring tool (e.g. blunt plastic knife, spent ballpoint pen)
- Scissors
- Glue
- Ruler
STEPS
1Print out the templates.
Print out any of these tree trunk templates on brown A4 or Letter size cardstock to come up with four identical trees.
- Small tree trunk templates - print out 2 copies
- Medium-sized tree trunk templates - print out 4 copies
- Large tree trunk templates - print out 4 copies
2Cut out the trees.
Cut out all four tree trunks.
3Glue the template pieces.
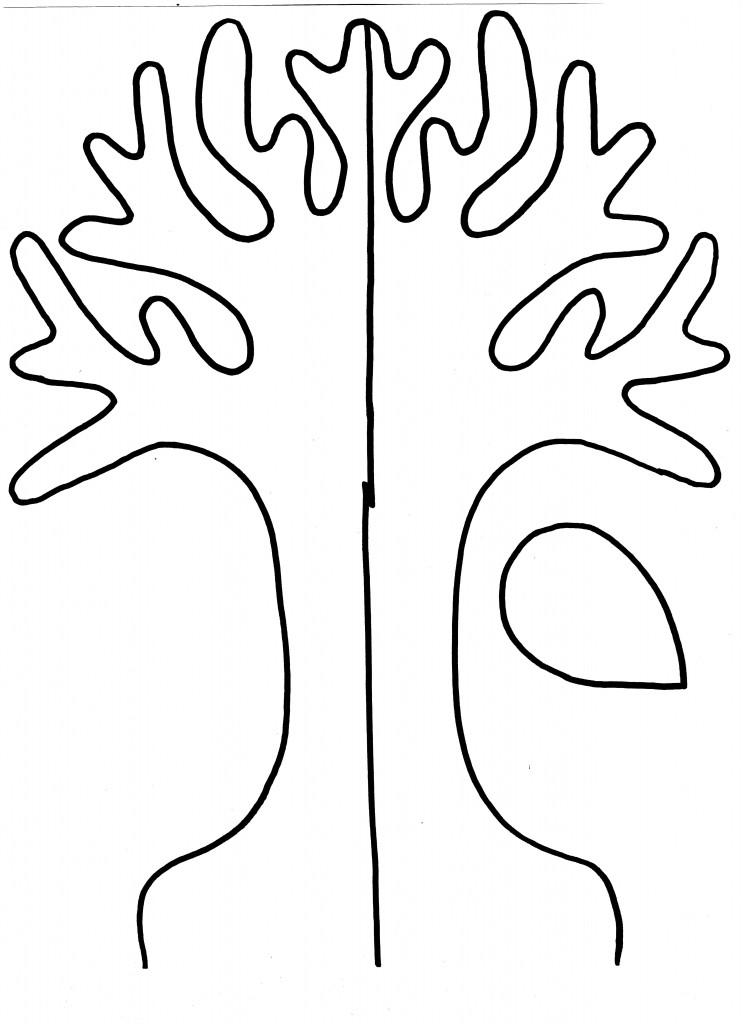
This step only applies to the large tree trunk templates. The tree consists of two sections—a top (with branches) and a bottom. Cut out both pieces. Glue the top onto the tab area of the bottom piece.
4Score along the middle line.
If you printed out the trees on thick or heavy cardstock, scoring makes folding a lot easier. Find a scoring tool such as a blunt plastic knife or a spent ballpoint pen. Place the edge of a ruler on the tree's middle line. With the ruler to guide the tool, score along the entire line. Do not score too hard as this may tear the paper. Do this for all the trees.
5Fold each tree in half.
Fold each tree along the middle line.
6Glue the first pair of trees together.
Glue two trees together along one half side, aligning them along the edges.
7Glue the 2nd pair of trees together.
Similarly glue the two remaining trees together. You now have the two sections of your three-dimensional tree trunk.
8Assemble the tree trunk.
Glue both paper tree pairs together, aligning them along the edges.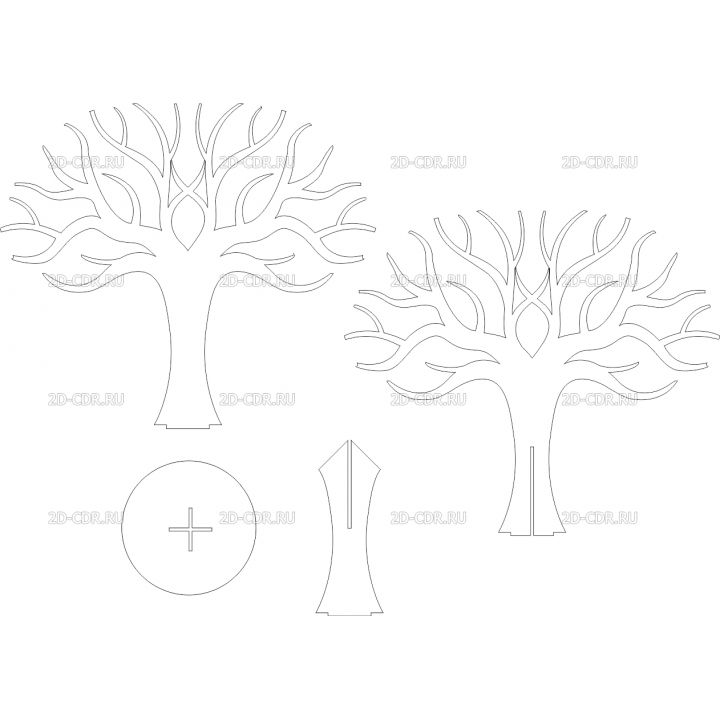
9Make the leaves.
Use light weight paper to keep the branches from sagging from the weight of the leaves. To create several paper leaves all at once:
- Cut a strip of paper. The strip's width defines the leaf width.
- Fold the strip in half several times until the folded height is about the desired leaf length.
- Fold the paper lengthwise in half.
- Cut a half-leaf shape along the folded edge.
Unfold the paper to reveal several leaves. Make enough leaves to cover your tree.
We also have these leaf templates that you can print out to match the large tree templates. The smallest leaves in each leaf set (first page of the oval-shaped leaves, heart-shaped leaves, star-shaped leaves, maples leaves, and oak leaves) are about the right size for the large tree trunk templates.
More Ideas
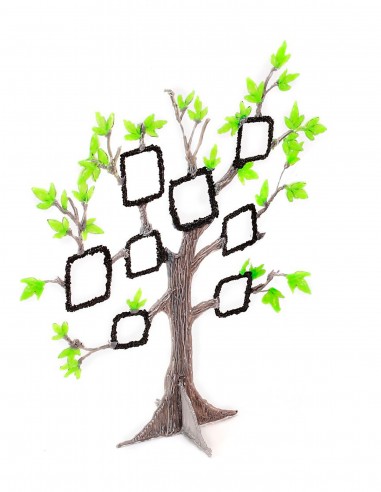
Spring Tree
Make a 3D paper tree to match the season. Spring green or light green leaves are perfect for a springtime tree. Make it more interesting with some paper or felt flowers. Draw and cut out little birds and other springtime critters to inhabit your tree.
Notice how this tree is so lush? To achieve this, print out and glue together six paper trees instead of four. Glue lots of paper leaves for a thick foliage.
Cherry Blossom Tree
Have you seen a cherry or plum blossom tree during springtime? The trees do not have any leaves but are instead full of beautiful flowers.
Use a flower-shaped craft punch to create white or pink paper flowers. Fill the branches of a small or medium-sized 3D paper tree with these blooms.
Fall Tree
Use yellow, red, orange, and brown paper to make the leaves of a fall or autumn tree. Write thankful thoughts on the leaves to create a Thanksgiving tree.
Crepe Paper Tree
Create a thick foliage using crepe paper or tissue paper. Print out the small tree trunk template on heavy cardstock. Assemble the tree trunk following Steps 1 to 8 above. Cut crepe paper or tissue paper into strips. Crumple up each strip and glue onto the branches. Glue more bunched up strips in between to achieve a lush treetop.
Fruit Tree
Cut out and glue some round paper or felt circles to make a fruit tree. You can also use fruit-shaped craft punches to make apples, strawberries, and other fruits.
Fun Shapes Tree
Instead of leaf shapes, glue other shapes for a fun tree.
You Might Also Like
3D Christmas Tree (Free Printable Template)
This 3D Christmas tree is a simple paper craft to make with your kids and build holiday memories.
If each one of your children wants to have their own Christmas tree, this easy craft can make that possible!
The best part is that it requires very few supplies and craftiness skills, which makes it the perfect project for kids of all ages.
It is so easy that you can make it as a classroom craft, or do it at home as a family activity and use the final products as homemade decorations.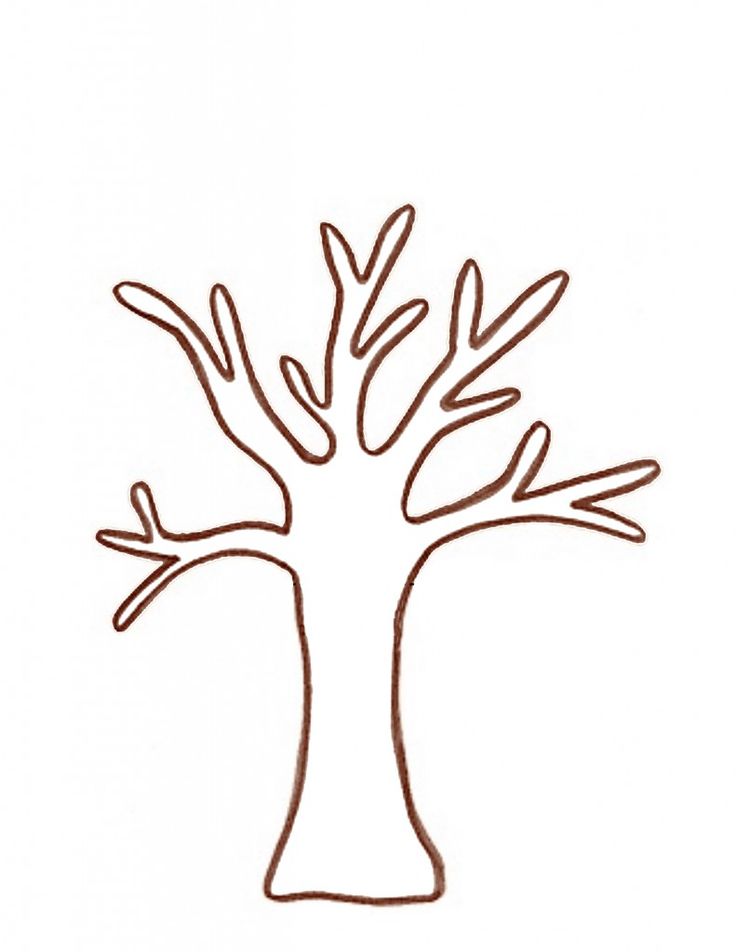
Your kids will be so proud!
Use the free printable Christmas tree template available at the end of this post to make this origami craft even easier.
Time to fold!
Keep reading this post to learn how to make your own three-dimensional Christmas tree super easily.
3D Paper Christmas Tree
To complete this DIY Christmas craft, watch the video below.
Or take a look at the step-by-step picture instructions right under it.
Supplies
To make your 3D paper Christmas Tree, you will only need a couple of materials:
- Scissors
- Ruler
- Regular paper & printer
- 3D Christmas Tree Craft Template, or
- Colored paper
How do you make a 3D Christmas tree
- Print the free Christmas tree template on regular paper and cut the squares.

Alternatively, you can also make your own paper squares.
For the crown, we used 4 green squares of the following sizes:
- 2.4 x 2.4 cm – 1 x 1 in
- 5 x 5 cm – 2 x 2 in
- 7.6 x 7.6 cm – 3 x 3 in
- 10.2 x 10.2 cm – 4 x 4 in
For the trunk, we used 1 brown square size 12.8 x 12.8 cm – 5 x 5 in.
Don’t hesitate to use different sizes if you want to make bigger trees. Just keep in mind to always make squares or the folding technique won’t work.
You can also use papers of different colors to make unique trees.
- Take one green square and fold it diagonally to make a bending line.
- Open the square and fold it diagonally in the opposite direction.
- Unfold the square and fold vertically.
- Unfold once more and fold horizontally to make a rectangle.
- Push in the left and right sides to make a triangle.
- Take the left corner and bring it to the middle, as shown below.

- Repeat on the other side.
- Fold the other 3 squares following the steps above.
- To make the trunk, take the brown square and fold it as shown on steps 2 to 6.
- Fold the right and left corners to the middle on both sides of the triangle.
- Unfold the corners and fold them inwards, as shown below.
- Now that you have all the pieces, stack them up from small to big.
These Christmas trees are ready to decorate your home.
You can glue the pieces together if you are planning to use these trees as ornaments.
Now that you have your Christmas trees, you could prompt your kids to decorate them with stickers, sequins, paper ornaments, small pom poms, or ribbons.
Let your children be as creative and imaginative as they want!
3D Christmas tree template
Ready to craft your own mini-trees?
Download the template by clicking the link below and make your own 3D Christmas trees out of paper!
DOWNLOAD THE 3D CHRISTMAS TREE TEMPLATE
*Please remember that these printables are for personal use only.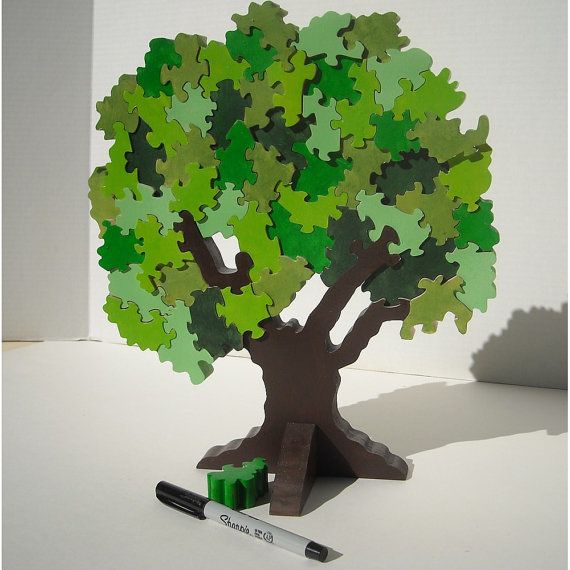 You may not sell or distribute the files. If you want to share them, please link to this post and not directly to the PDF files.
More Christmas Crafts
- Christmas pop-up card
- Nativity set
- Gingerbread house ornament
3D Paper Christmas Tree Template
Free tree STL file・3D printing object for download・Cults
Case for iPhone 13 pro max
0.62 €
HALLOWEEN
0,62 €
Case for iPhone 13 and mini
0.62 €
Mother
0.50 €
case for iphone 12
0.62 €
Marvel Baby Groot
0.50 €
wall art "tom and jerry" 4 models
0,50 €
Litophane night light for Tangled 5 models
0,50 €
Best Files for 3D Printers in the Art Category
Eater Decoration
2. 05 €
05 €
Gibson Keyring Collection | Gibson keyring collection
2,50 €
Totoro
17 €
Cute Koala
3.23 €
Chicken Chick
Free
Kim Jong Un Pen Cup
Free
Frankie (easy printing without support)
1.25 €
RAF DINNER
18.09 €
Art category bestsellers
Articulated axolotl
3.50 €
FLEXI XXLPRINT-IN-PLACE SKELETON
€10.25
Cute circus baby elephant with flexi print
3. 03 €
03 €
Bearded Dragon toy with toy, imprinted body, snap head, cute flexi
3,49 €
Articulated bat toy, body with prints, head with latches, cute flexi
3,49 €
Articulated toy "Leopard gecko", body with imprint, head with latch, cute flex
3,49 €
Baby Crystalwing, Cinderwing3D, articulating Flexi Wiggle Pet, print on site, fantasy
4,10 €
SKULL OF A BEARDED PUMPKIN
3,65 €
Triceratops on flexi printer
3.03 €
Chainsaw Man Pochita
€2.50 -fifty% 1. 25 €
25 €
Cute squirrel with flexi print
2,57 €
Flexi Print-in-Place Foot
2 €
Adorable articulated axolotl, imprinted body, snap head, cute flexi
€3.49
GHOST ZU - GHOST WITH FEET
3.07 €
Archaeopteryx nibbler
3 €
CUTE CROCODILE WITH FLEXIBLE PRINT IN PLACE
3.03 €
Do you want to support Cults?
Do you like Cults and want to help us continue our journey on our own ? Please note that we are a small team of 3 people, so supporting us in maintaining activities and creating future developments is very easy.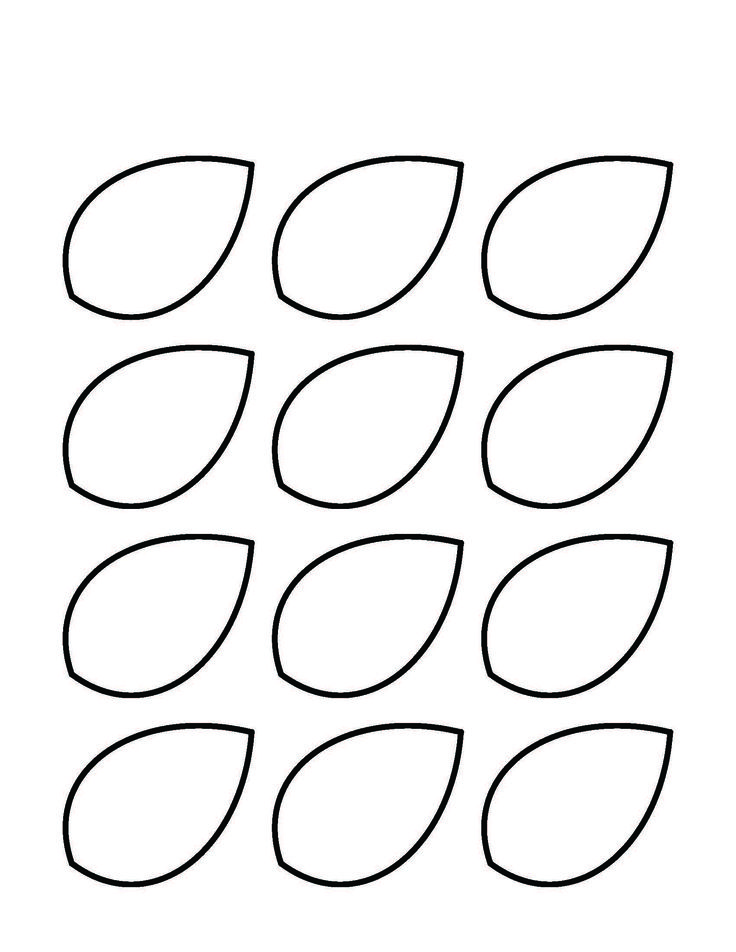 Here are 4 solutions available to everyone:
-
ADVERTISING: Disable the AdBlock banner blocker and click on our banner ads.
-
AFFILIATION: Shop online with our affiliate links here Amazon.
-
DONATIONS: If you want, you can donate via PayPal here.
-
* INVITE YOUR FRIENDS: * Invite your friends, discover the platform and the great 3D files shared by the community!
Imitation of wood texture for 3D printing. Papa Carlo Method
In the past year, printouts made of wood-filled plastics were laid out from time to time. Here are a couple of interesting works:
These heads are designed to simulate wood when printed. But printouts are still more like chipboard.
Very plausible end caps for a wooden staircase turned out by comrade eduardo:
Due to the alternation of temperature on different layers with a change in color, a texture was obtained that resembles the annual rings of a tree.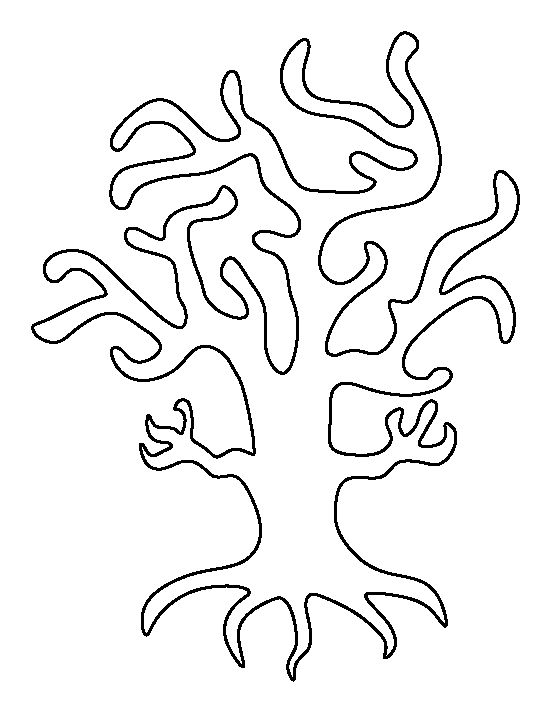
It turns out that in order for the printout to look like a real tree, you need plastic in two colors (light and dark annual rings). And it would be more logical to draw these annual rings in the model itself than to try to get them by changing the printing temperature.
We are trying to depict a product carved from wood. And why not take and draw, as plausibly as possible, a log with its structure of annual rings. And already from the log cut out any Pinocchio we need. This is, of course, a tortuous path, but it promises us an interesting result.
Let's start drawing in Solid Works. I had a little look at how the tree cuts look like:
And I started drawing my sketch:
When drawing, it is better to avoid splines and replace them with arcs, otherwise the program may start to desperately slow down.
From this sketch, extrude the boss along the path. As a trajectory, we take a slightly curved line:
It would be possible, of course, to use an ordinary elongated boss, but then the pattern will turn out to be unnaturally straight when cut.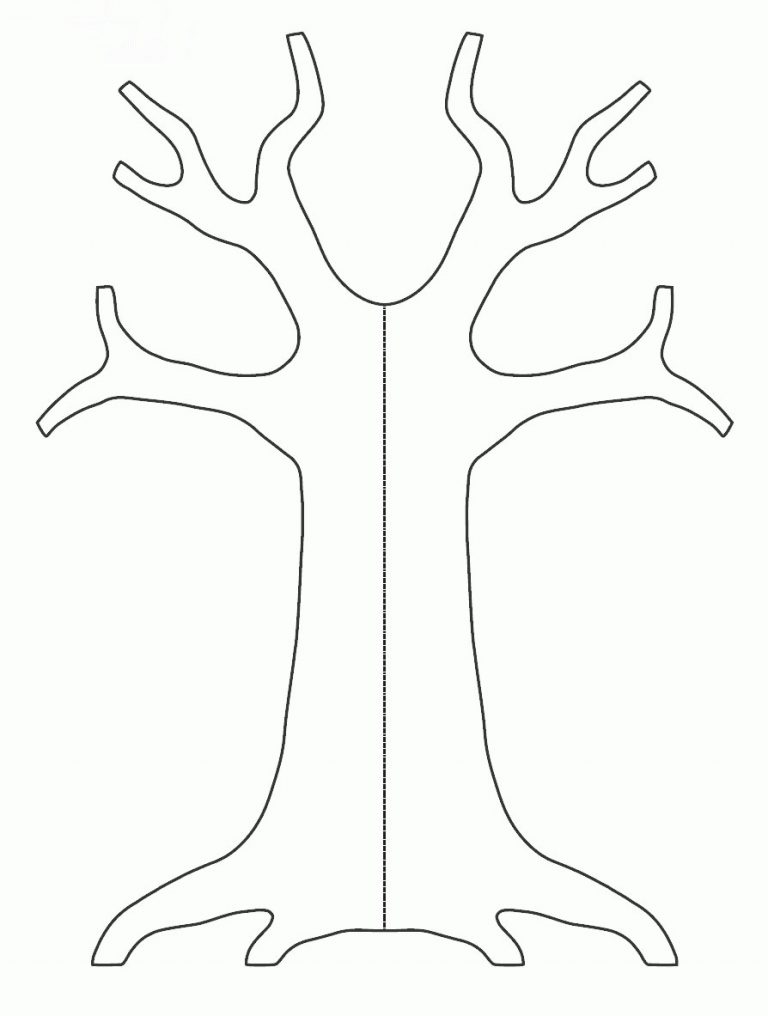
The result is a part of the log, consisting of light rings:
We extend the dark annual layers using the same boss along the path.
At the same time, we use the sketches of the profile and the trajectory from the previous boss (with light rings).
To do this, you need to make them available. You need to right-click on the thumbnails and select "display" (points):
When extruding the boss, select the areas not occupied by light layers. And an important point. It is necessary to uncheck the box "combine results":
Otherwise, all layers will merge into a single cylinder.
Now we have the same log of light and dark layers, with each layer being a separate body:
Now we can cut any shape out of the log using cutouts.
If you use a regular elongated cutout, you can get a board and even make a sign on it:
Or a dice:
If you use a rotated cutout, you can get rotation figures:
In principle, you can create absolutely any shape using operations subtraction.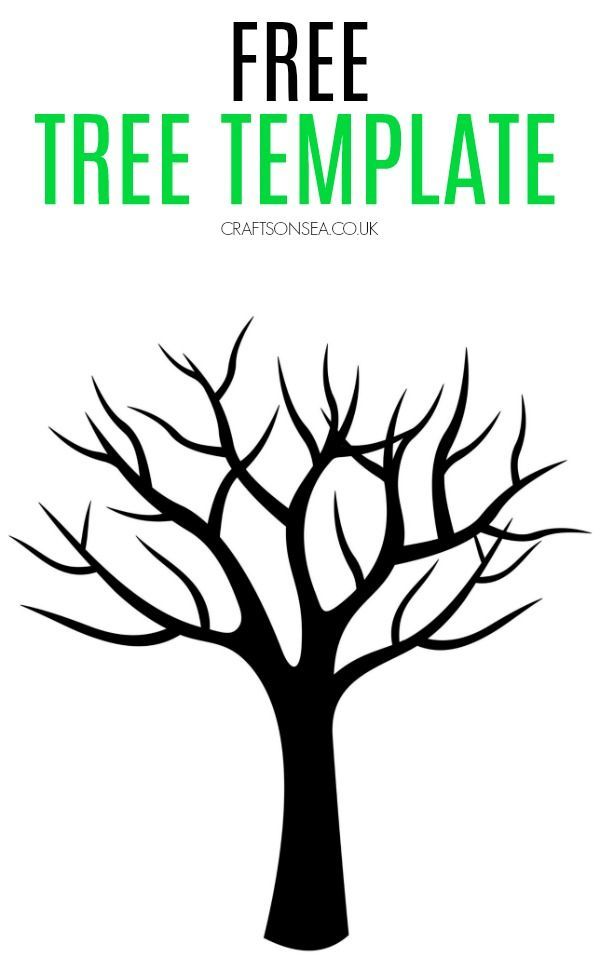
The woodgrain effect opens up a wide range of applications. Similarly, you can create models for phone cases, various devices, and even inserts in car dashboards. And everything related to the car can be very promising in terms of modeling and printing to order. Some people love cars more than their wives.
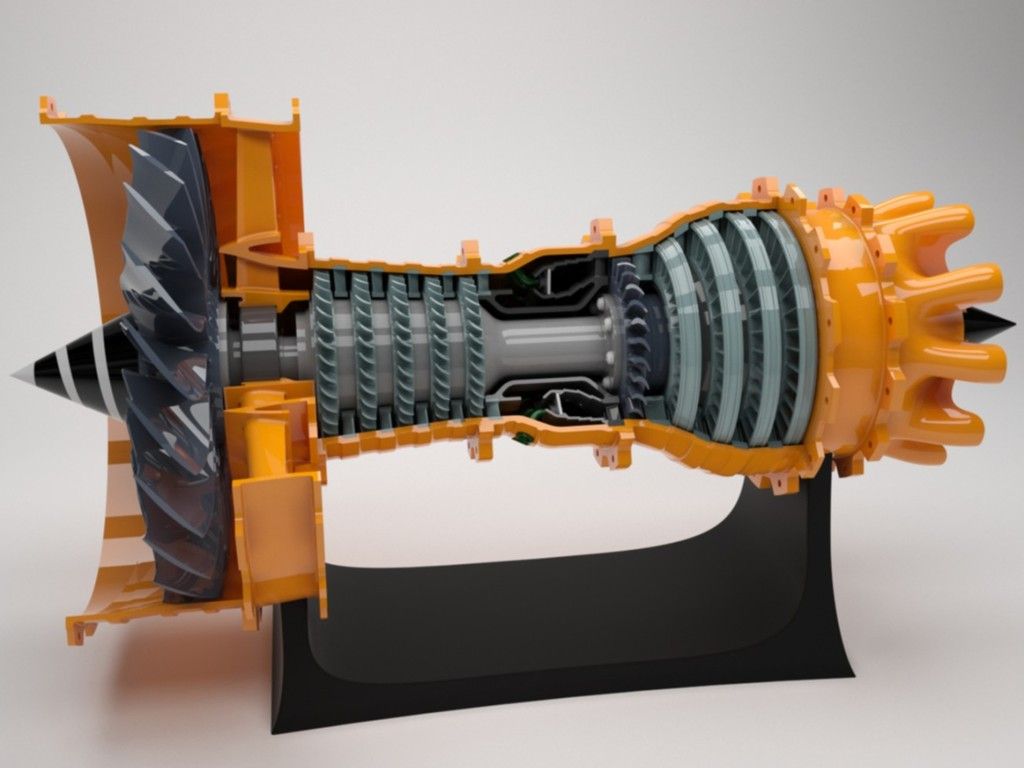
But to print dual color models, you will need a dual print head printer with good print quality, such as the ULTIMAKER 3.
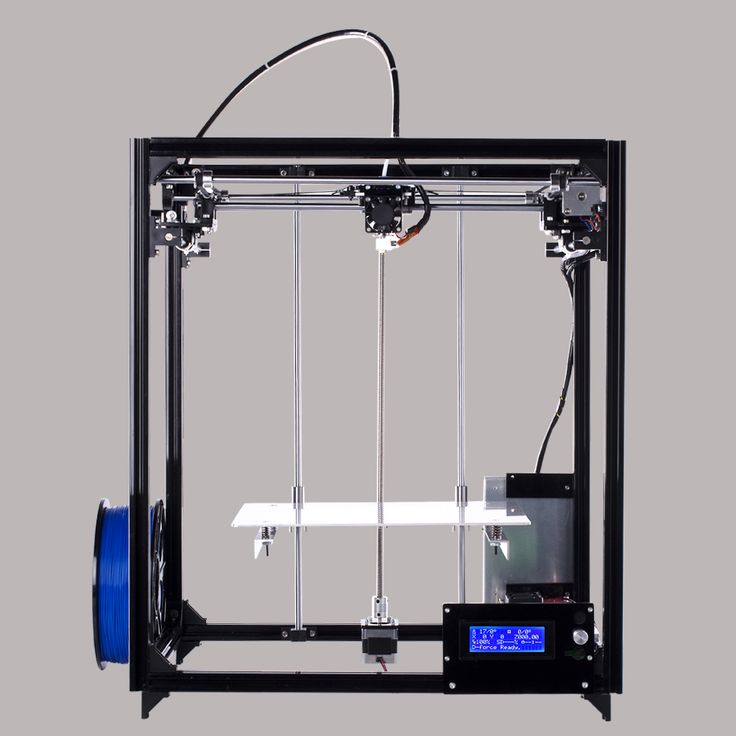
But the vast majority own single print head printers. Shouldn't it be applied already?
If you are not afraid of post-processing, then you can get by with an ordinary one-eyed Chinese.
I'll show you how:
Let's create something useful... For example, a handle for a door or for a checkpoint.
Like this (one rotated log cut):
Now let's remove dark annual rings (bodies) from the model and fill in the formed voids at a distance of 1 mm from the surface (using a rotated boss):
Save in STL format, slice, print with supports (beige PLA REC):
Now we fill the grooves with PLA-juice made of plastic of a different color.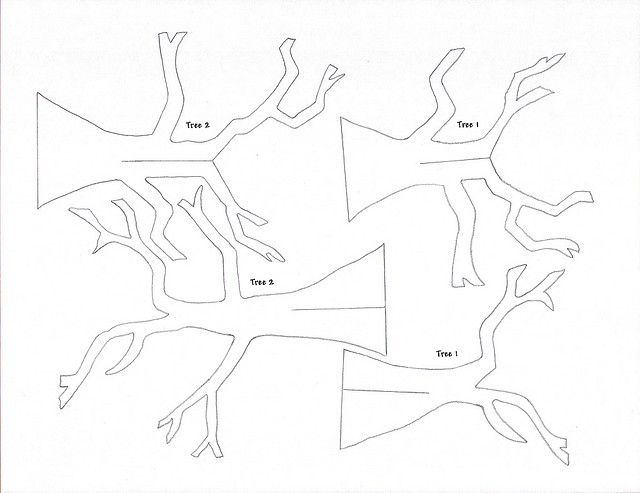 Personally, I smeared with a screwdriver. It is desirable to make the consistency thicker in order to reduce shrinkage after drying. Or we fuse plastic with a 3D pen. PLA juice has the advantage of being able to more accurately match colors by incorporating multiple colors of plastics into the solution. I got this nightmare:
After the PLA juice has dried, we grind off all the excess. For the convenience of grinding, I provided a socket for a bit for a nozzle on a screwdriver. Wet the surface with DXM with a brush to shine:
The result, of course, is not perfect. Here you can also refine the model of the log itself for greater realism, add a varnish coating with the desired shade. Also, the use of wood-filled plastic would add naturalism. But in general, in my opinion, it turned out well. Something reminiscent of the texture of pine. By the way, PLA juice after solidification contains a lot of bubbles in the mass, which also adds a sense of porous structure.