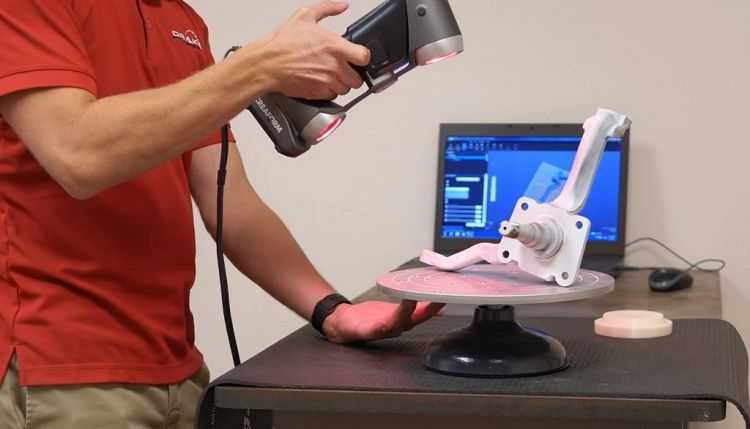
3D scanner processing
How Does a 3D Scanner Work?
Many digital engineering strategies that enable the future of product development, manufacturing, quality control, and production begin with 3D scanning. 3D scanners work with advanced technology and specialized software to create a tool that delivers game-changing results. For those still working with mechanical tools and traditional coordinate measuring machine (CMM) technology, 3D scanners work as an easy gateway to advanced manufacturing and engineering strategies. Keep reading below to understand more about how 3D scanners work and what the technology is capable of so you can begin accessing its benefits now.
Understanding How a 3D Scanner Works
A 3D scanner works by capturing data from a physical object's surface to describe its shape in an accurate, digital, three-dimensional format. Unlike measurement data from a CMM, high-quality 3D scan data is used for more than just inspection and dimensional analysis. The resulting measurement data enables faster, more accessible digital analysis and inspection in a visual, in-depth reporting method. 3D scanners also work to replicate parts in reverse engineering, assure fit, form, and function of components in remote locations, validate CAD models of 3D printed parts, and open the door to more digital strategies.
What are the Different Types of 3D Scanners?
There are many different types of 3D scanners available for various applications. Creating a digital model of any physical part requires a 3D scanner to collect accurate data to form its geometric identity, but not every type of 3D scanner works for every type of application. For example, if you are a DIY at-home hobbyist, you can make a simple 3D scanner with your mobile phone or make a 3D scanner with a Microsoft Kinect. However, while these 3D scanners work well for fun projects, they won't deliver manufacturing-grade accuracy and detailed requirements. Metrology-grade 3D scanning equipment is necessary for industrial use.
A laser 3D scanner is another type of 3D scanner that uses specialized software and a laser probe to project a laser line along the part's surface while sensor cameras continuously record the changing distance and shape of the laser line, resulting in a collection of XYZ coordinates.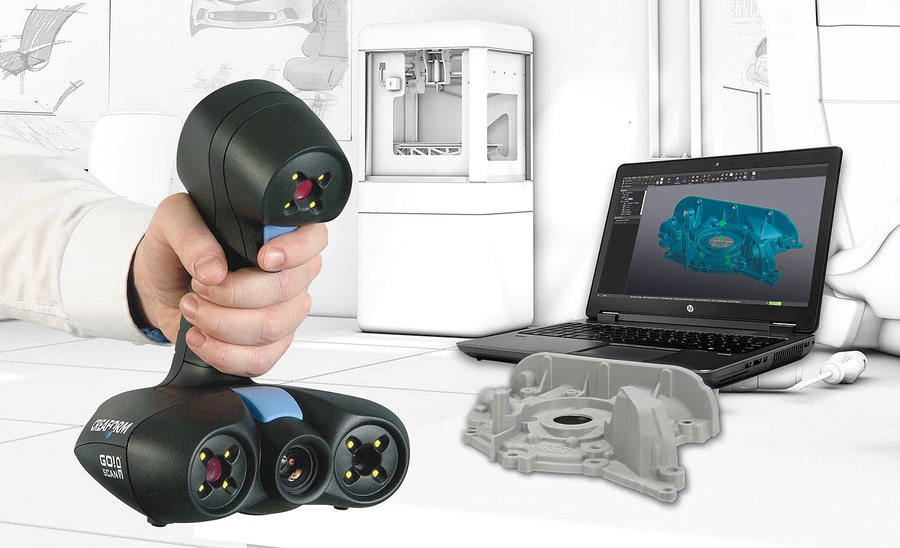 While these scanners are a quick way to collect data points from a physical object, other 3D scanners, such as structured light 3D scanners, can collect higher quality data. Structured light 3D scanners have established trust due to their high precision accuracy, which is why they're used widely throughout manufacturing.
How Does a 3D Scanner Work with Structured Light?
A 3D scanner works with structured light using the principles of triangulation. The sensor projects a precise shifting fringe pattern across the part's surface, and two cameras capture the surface geometry based on the pattern distortion, calculating 3D coordinate measurements. The 3D scanner collects and processes millions of X-Y-Z data points into a "point cloud," creating a detailed digital twin of the object. Since the distance between the sensor, cameras, and angles is all known, the principle of triangulation is applied, producing accurate, reliable measurement results.
This image depicts how structured light 3D scanners also work with the principle of triangulation.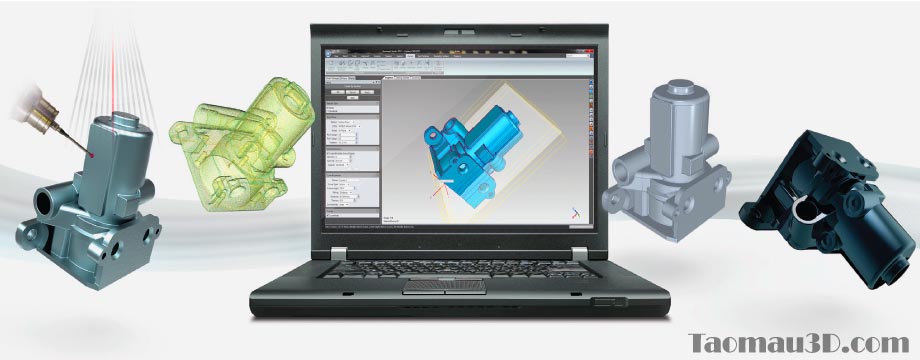 A light source sits between two cameras set angled towards each other, projecting a heterodyne "fringe" stripe-like pattern onto the physical object's surface. The stripes change in size and direction during data collection. The sensing cameras observe the contrast along the stripes' edge and assign those pixels X-Y-Z coordinates, quickly collecting precise, crisp scan data containing very little texturing. The software then transforms the data points into visible data that comprise an accurate, digital replica of the physical part.
How Does a 3D Scanner Work with LED Technology?
Structured light 3D scanners traditionally used white light. Today, different light colors are available, but the most popular are blue light 3D scanners that use LED technology. Blue light helps capture data on shinier and darker colored surfaces and filters out the ambient light present inside labs or on the manufacturing shop floor. The result is a clean, clear, precise data set with low noise.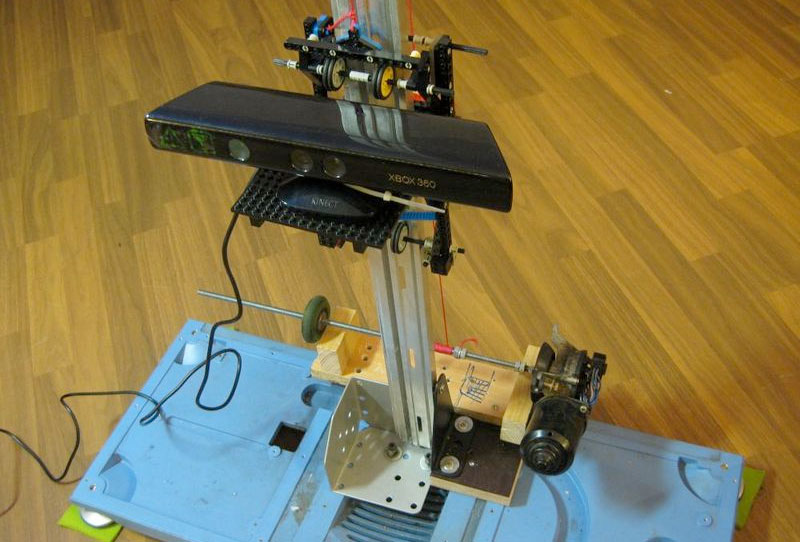
How Does a 3D Scanner Work for Quality 4.0?
The concept of Quality 4.0 incorporates advanced manufacturing technologies to propel quality processes into the future. Adopting 3D scanning lays the groundwork for these modernized dimensional inspection techniques while overcoming the shortcomings of traditional quality and manufacturing practices. For example, 3D scanners collect data that provides the ability to virtually deconstruct parts and pieces of an object without physically destructing anything. With this data, quality professionals also find problem areas, fix parts, validate and test objects before they're physically in production. The measurement data's high accuracy enables the fast and reliable creation of dimensional calculations such as CAD comparison, sectional analysis, GD&T, trend/SPC, and more.
How Does a 3D Scanner Work for Digital Twin Strategies?
3D scanners work as a tool to access digital twin concepts in Quality 4.0. The data captured with a 3D scanner becomes the physical object's digital twin; therefore, using an accurate 3D scanner matters. 3D scanners work for many digital twin applications, including digital assembly. In this method, engineers connect 3D scan data from multiple parts in remote locations for assembly within the software. The digital assembly process enables you to assess the fit of such components before physical parts are mass-produced and shipped.
3D scanners work for reverse engineering by using scan data from a physical object to create a 3D CAD model for product enhancements and archiving. Legacy parts are often described within two-dimensional drawings, not 3D CAD models. Accurate 3D scanners make it possible to reproduce legacy parts using precise three-dimensional data. The 3D scanner scans the part, and the resulting data becomes a reference to create a 3D CAD model that can be used to develop new molds, tooling, or new parts with the same dimensional characteristics as the original or engineering product enhancements. Good quality 3D scan data with a watertight mesh can also be used to 3D print a duplicate of the original and improves efficiency in the reverse engineering process.
How Does a 3D Scanner Work for Adaptive machining?
Adaptive machining is a trending process popular with aerospace and power generation turbine engine components such as airfoils, blisks, molds, and dies. In adaptive machining, accurate structured light 3D scanners digitize a part's surface geometry and send the data back to process the updated machining tool paths, allowing for real-time adjustments without having to reposition in and out of the CNC machine. This process is used with new parts and parts that need repair to help reduce operating costs and lower cycle times while increasing accuracy.
Find Out if 3D Scanning is a Good Fit for Your Application
If you're ready to learn how 3D scanners will work for your specific application, contact a Capture 3D team member today. Our 3D scanners provide an accurate, reliable solution to the advanced metrology needs of industries with diverse applications everywhere. During an in-person or virtual demo, our team will show you how 3D scanning improves product design, streamlines production lines, improves quality control, and unlocks Quality 4.0 strategies that will elevate your industry to new possibilities.
3D scanning technologies - what is 3D scanning and how does it work?
3D scanning is a technique used to capture the shape of an object using a 3D scanner. The result is a 3D file of the object which can be saved, edited, and even 3D printed. Many different 3D scanning technologies exist to 3D scan objects, environments, and people. Each 3D scanning technology comes with its own limitations, advantages, and costs.
Table of contents
Introduction
Laser triangulation 3D scanning technology
Structured light 3D scanning technology
Photogrammetry 3D scanning technology (photography)
Contact-based 3D scanning technology
Laser pulse-based 3D scanning technology
Introduction
The basic principle of 3D scanning is to use a 3D scanner to collect data about a subject.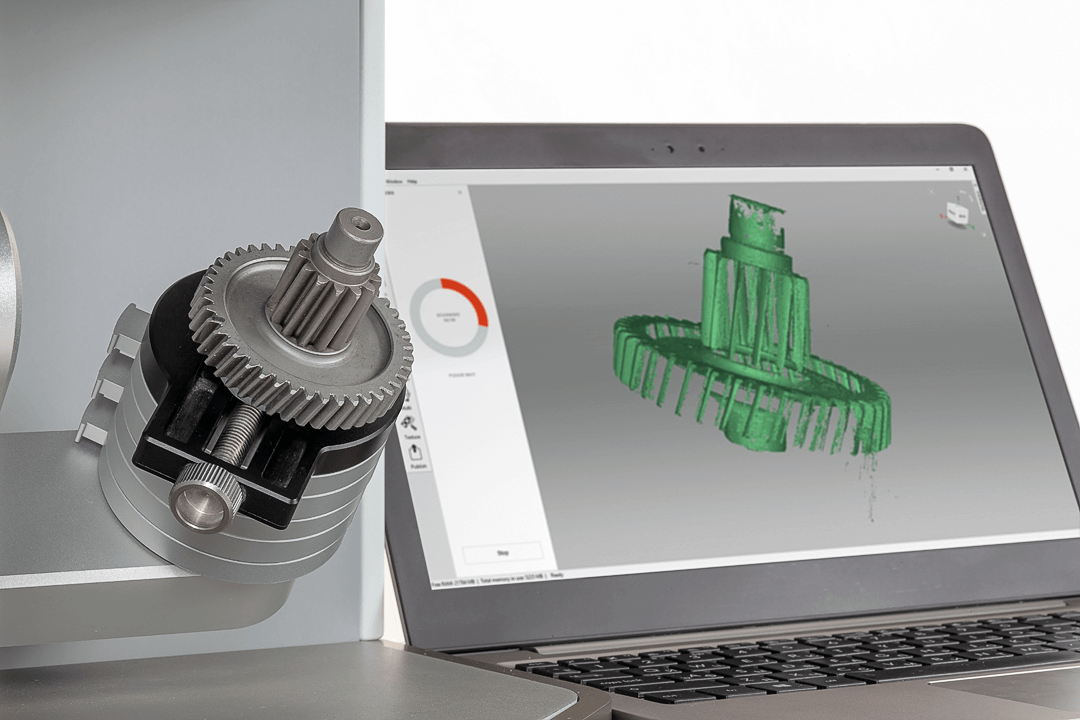 The subject can be:
- an object
- an environment (such as a room or even a landscape)
- a person (3D body scanning)
Some 3D scanners can simultaneously collect shape and color data. A 3D scanned color surface is called a texture.
3D scans are compatible with Computer-Aided Design (CAD) software and also 3D printing, after preparing the 3D model via specific software. A 3D scan can give a lot of information about the design of an object, in a process called reverse engineering.
3D scanners are powerful tools for professionals in several industries, such as automotive, aerospace, dental, and jewelry, as well as in more artistic applications such as video games, special effects, and animation movies. 3D scanning technologies rely on different physical principles and can be classified into the following categories:
- Laser triangulation: Projects a laser beam onto a surface and measures the deformation of the laser ray.

- Structured light: Measures the deformation of a light pattern when projected onto a surface to 3D scan the shape of the surface.
- Photogrammetry: Also called “3D scan from photographs”, this technology reconstructs a subject in 3D from 2D captures (photos) with computer vision and computational geometry algorithms.
- Contact-based 3D scanning technology: Relies on the sampling of several points on a surface, measured by a mechanical, optical, or physical probe.
- Laser pulse: Based on the Time of Flight (ToF) of a laser beam. The laser beam is projected onto a surface and recollected by a sensor. The time of travel of the laser between its emission and reception gives the surface’s geometrical information to the 3D scanner.
3D scanning technologies
Laser triangulation 3D scanning technology
Laser triangulation-based 3D scanners use either a laser line or a single laser point to scan across an object.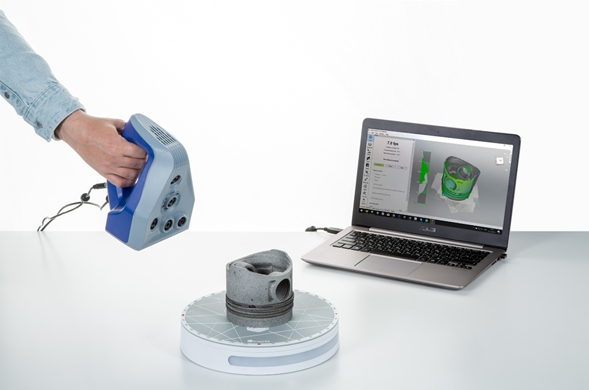 First, the 3D scanner casts its laser onto the object. As the laser light reflects off of the 3D scanned object, its initial trajectory is modified and picked up by a sensor.
Then, based on this modified trajectory and thanks to trigonometric triangulation, the system can detect the laser’s deviation angle. The calculated angle is directly linked to the distance from the object to the scanner. When the 3D scanner collects enough distances, it is capable of mapping the object’s surface to recreate it in 3D.
The main advantages of the laser triangulation technology for 3D scanning are its high resolution and accuracy.
One downside to laser triangulation technology is how sensitive it is to the properties of object’s surface; very shiny and/or transparent and/or dark surfaces are particularly problematic.
Structured light 3D scanning technology
Structured light 3D scanners use trigonometric triangulation but do not rely on a laser. Instead, they project a series of linear patterns onto the object. The system is then able to examine the edges of each line in the pattern and how the lines are deformed and to calculate the distance from the scanner to the object’s surface.
The projected structured light used for 3D scanning can be white or blue and generated by numerous types of projectors, such as Digital Light Processing (DLP) technology. The projected pattern is usually a series of light rays but can also be a randomized dot matrix.
The main advantages of structured light technology for 3D scanning are its speed and resolution, and its non-harmful light can be used for 3D body scanning.
However, structured light 3D scanners are sensitive to lighting conditions and have trouble working outdoors in broad daylight.
Photogrammetry 3D scanning technology (photography)
Photogrammetry is the science of making measurements from photographs, especially for recovering the exact positions of surface points.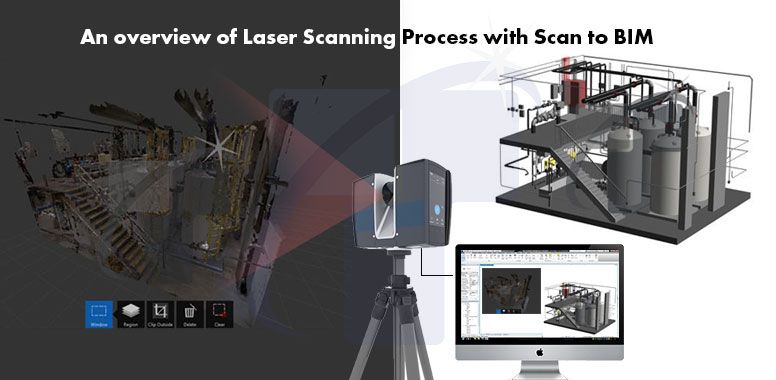 Photogrammetry is based on a mix of computer vision and powerful computational geometry algorithms.
The principle of photogrammetry is to analyze several photographs of a static subject, taken from different viewpoints, and to automatically detect pixels corresponding to a unique physical point.
This 3D scanning technology’s main challenge is to examine tens or hundreds of photos and thousands of points with high accuracy. To run such photogrammetry algorithms, a very powerful computer is required.
The main advantages of photogrammetry 3D scanning technology are its acquisition speed and ability to pick up colors and textures. Photogrammetric technology is also capable of reconstructing subjects at large scales, such as landscapes or monuments photographed from the ground or from the air, by a photography drone, for example.
The quality of the results generated by photogrammetry technology is dependent on the resolution of the input photographs. This technology can also be quite slow, depending on your software and PC setup.
Contact-based 3D scanning is also known as digitizing. This 3D scanning technology implies a contact-based form of 3D data collection.
Contact 3D scanners probe the subject via physical touch, while the object is firmly held in place. A touching probe is moved along the surface to record 3D information. The probe is sometimes attached to an articulated arm capable of collecting all its respective configurations and angles for more precision.
Some specific configurations of contact-based 3D scanners are called Coordinate Measuring Machines (CMM).
Contact 3D scanning is widely used to perform quality control after fabrication or during maintenance operations. The main advantages of the contact technology for 3D scanning are its precision and ability to 3D scan transparent or reflective surfaces.
The downsides of contact 3D scanning technology include its slow speed and inability to work with organic, freeform shapes.
Laser pulse-based 3D scanning technology
Laser pulse-based 3D scanners, also known as Time-of-Flight scanners or Lidar laser 3D scanners, measure how long a casted laser takes to hit an object and come back.
Since the speed of light is exactly known, the time it takes for the laser to come all the way back gives the exact distance between the 3D scanner and the object. In order to precisely measure the distance, the 3D scanner computes millions of laser pulses with accuracy up to the picosecond (1 picosecond equals 0.000000000001 seconds!).
Since each measure only collects one point, the 3D scanner needs to cast its laser 360 degrees around that point. To do so, the 3D scanner is usually fitted with a mirror that changes the orientation of the laser.
Time-of-Flight 3D scanners encompass both laser pulse and phase shift lasers. Phase shift laser 3D scanners are a sub-category of laser pulse 3D scanners. In addition to pulsing the laser, phase shift systems also modulate the power of the laser beam. Phase shift lasers offer better overall performance.
The main advantage of laser pulse 3D scanners is their ability to 3D scan very big objects and environments. They are, however, quite slow.
Laser pulse technology is often used by terrestrial laser 3D scanners, which are mainly destined for land surveying or to 3D scan entire buildings. Some laser pulse 3D scanners also incorporate dynamic SLAM algorithms to enhance their ability to recognize their surroundings.
review of the 10 best programs for 3D scanners: the most popular software for 3D scan
04/30/2021
Content
-
- PhotoModler Scanner
- Rapidform 9000 Rangevision Scancenter
- GEOMAGIC CONTROL CONTROL CONTROL
- FARO Scene
- 3DF Zephyr
- Colmap
- PolyWorks
- Vxmodel
- Artec Studio
- Conclusion
-
by setting the parameters manually;
-
automatically, from already laid beacons;
-
from a point cloud from overlapping images.
-
XOS - designed to regulate and control 3D scanning, as well as processing the resulting images. nine0003
-
XOR - widely used in design, as it has a huge number of tools for 3D modeling. With its help, you can create high-precision three-dimensional models (on a cloud of points) of almost anything.
-
XOV - allows you to control the quality of the resulting three-dimensional image, which makes it possible to maximize its detail.
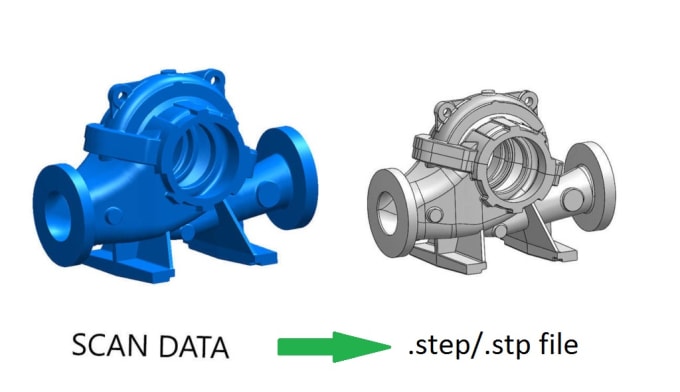 nine0003
1 3D printers have long ceased to be a curiosity for Russians. Increasingly, these devices can be found not only in manufacturing plants and in companies involved in engineering and design. They are actively used by consumers both for personal needs (creating souvenirs, figurines) and for work purposes, moreover, in various fields - medicine, construction, science, car manufacturing, etc. However, all this would be impossible without 3D scanners that transfer data about a physical object into digital format and, using special computer programs, create a three-dimensional model, which can later be sent for printing. Scanning, in fact, is only the first stage of work, but the main part of it falls on the processing of the collected information. nine0003
Specialized software not only analyzes the information received and creates a virtual copy based on it, but also helps to eliminate possible errors and errors made during the scanning process and much more.
Today we will talk about the most popular programs for 3D scanners that allow you to solve almost any user task.
Photomodeler Scanner
Very simple and functional software that can create 3D models of varying degrees of complexity. Almost everyone can understand it and learn how to use it to recreate virtual copies of anything, even a person. nine0003
You can set the characteristics of a future object in Photomodeler Scanner using 3 methods:
In the latter version, the user will also need to indicate the position of the camera during the shooting process and mark control points on the images, linking them together. nine0003
Creating a 3D model with Photomodeler Scanner
With Photomodeler Scanner, you can create all kinds of diagrams, graphs, different planes, expand a 3D line, and much more.
This application is very affordable and at the same time allows you to get professional results with a minimum of effort.
RapidForm
One of the most frequently used and convenient programs. It is distinguished by its quality and versatility, as it is suitable for many models of 3D printers. nine0003
It analyzes the data received using a 3D scanner and creates an accurate three-dimensional model. If you need to make any changes, then it will be quite easy to do this, since the program is very simple and straightforward to use.
Example of work in Rapid Form
RapidForm has several types of programs:
RangeVision ScanCenter
Software that provides the user with a huge selection of functions and tools for creating a high-precision digital three-dimensional copy of an object of any complexity. For data analysis, unique algorithms are used that make it possible to convey as clearly as possible not only the geometry of the scanned object, but also its color (up to shades, including white) and texture. At the same time, anyone can understand the RangeVision ScanCenter, as it is intuitive and easy to use. nine0003
Screenshot of the process of creating a 3D model in Range Vision
It can work in various scanning modes: free, with markers and on a turntable. The resulting file can be exported to all popular formats.
All actions of the program are automated as much as possible (calibration, adjustment, analysis of the quality of scans), which greatly simplifies the task and at the same time gives the best result at the output.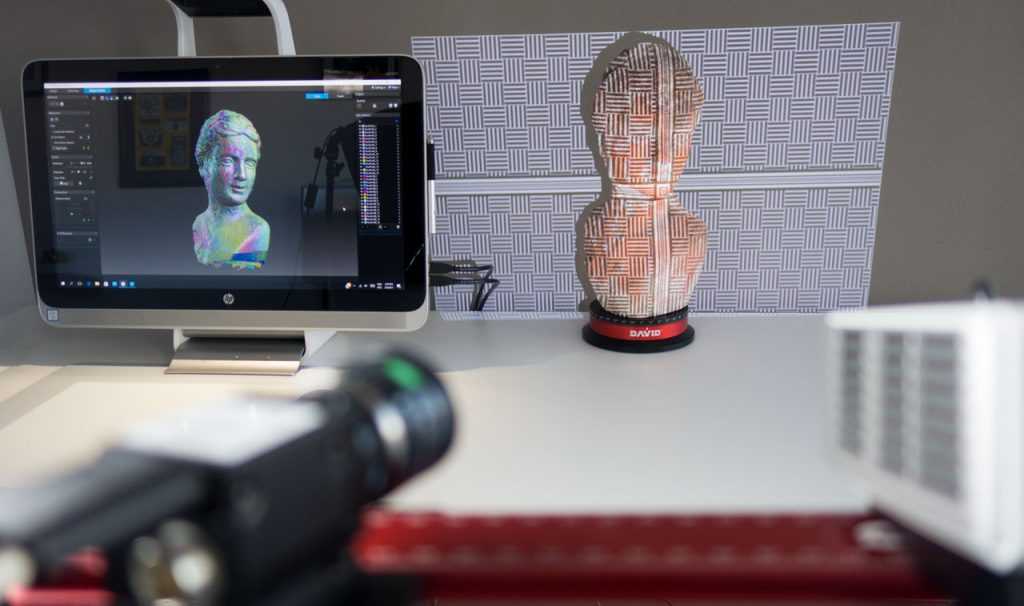 nine0003
Geomagic Control X/Design X/Wrap
Geomagic professional 3D scanning software is available in 3 versions: Wrap, Control X, Design X. They use the latest topological shape recognition technologies. They can not only project a three-dimensional image of an object, but also analyze the degree of its possible wear and deviations. Often used in reverse engineering.
Geomagic Design X 3D reverse design software. Provides the ability to combine CAD processing and 3D scan data based on a design, resulting in detailed CAD models. This can be done both automatically and manually by setting parameters and editing the processing of point clouds and polygonal meshes. nine0003
Geomagic Control X - software for quality control and geometry of 3D models. Provides users with a wide range of tools to enhance their scanning experience with reporting and data analysis capabilities.
Wrap : Used for processing point clouds and meshes, used in modeling and design. It works quickly and accurately, making it possible to optimize the resulting model without losing the original properties of the object, such as texture and texture. After processing the scan data with Wrap, the created 3D project can be printed. Suitable for both small and large items. nine0003
How to create a 3D model in Geomagic Wrap
The Geomagic software package, like other analogues, allows you to control the quality of scans and export 3D models created on their basis to various formats.
FARO Scene
Faro is a world famous manufacturer of 3D scanners, which also produces one of the most advanced software for them. One such program is Faro Scene. It is suitable for working both with "native" devices of the same brand, and for many others. nine0003
Faro Scene is widely used to create 3D models of various buildings
It is very effective in processing scans: it can combine them, carry out all kinds of measurements, visualize data, etc. In addition, thanks to the advanced functions of the program, it is possible to transfer color from a photo to a finished model by overlaying and further balancing it.
3DF Zephyr
Perhaps the most popular program among users, due to its convenience and simplicity. The interface is so clear that it is not difficult to understand it. nine0003
3D-Zephyr will not cause problems even for beginners
Suitable for both amateurs and professionals. The latter will especially like a large selection of tools and settings, including the ability to transfer the resulting three-dimensional model to CAD software.
Colmap
Indispensable in cases where you need to quickly and easily create a 3D copy of an object. Colmap makes it possible to use a 3D mesh both from one camera and from several. This approach is very convenient where you need to scan a large number of items in a short time. nine0003
Colmap example
The “minus” is that editing 3D models will not work without additional software.![]() However, the quality of such 3D images is quite acceptable.
However, the quality of such 3D images is quite acceptable.
PolyWorks
The capabilities of the program allow you to analyze the accuracy of the resulting three-dimensional copy, as well as its quality.
3D object created in PolyWorks
PolyWorks is widely used in areas where maximum detail of a 3D object and its accurate reproduction are required: medicine, automotive, construction, design, etc.
Vxmodel
Software created specifically for reverse engineering products, as well as finalizing 3D scan data. It has the function of editing a polygonal model, its alignment, extraction of primitives, construction of surfaces and export of objects. nine0003
Vxmodel can create 3D models of various parts
It can process information from any 3D scanners and translate it into CAD and prepare it for 3D printing, so it is very convenient to use. Manufactured by Creaform.
Artec Studio
Quality software with a wide range of tools. At the same time, you can use it even if you do not have the skills to work with such programs. Especially for such users, the "Autopilot" mode was developed, which simplifies the process of processing 3D scanning data as much as possible, independently selecting algorithms based on the user's answers. nine0003
3D model obtained with Artec Studio
Allows you to control the quality of the 3D model not only at the processing stage (compatible with Geomagic Control X), but also in the process, giving a color signal about how close / far the operator is from the object when scanning.
The program itself is able to select the degree of sensitivity of the scanner, as it can analyze the type and complexity of the surface. This makes it possible to digitize even dark and shiny objects. nine0003
Well determines the colors and configuration of the scanned object, making it unnecessary to apply markers. Suitable for formatting scans for CAD.
Artec Studio easily handles large amounts of data, making it ideal for 3D scanning of various buildings and structures, etc. All operations are performed very quickly and efficiently.
Conclusion
All the programs for 3D scanning discussed above have good tools and a sufficient amount of options to perform tasks of any degree of complexity. They are suitable for both professionals and ordinary users who do not have experience with such software, since they have a high degree of automation and have a fairly understandable interface. nine0003
Each major manufacturer of 3D scanners releases its own software for them, which is constantly updated and improved. However, many of these programs can easily be used on third-party devices without loss of quality. You can use any of the listed 3D modeling software.
If you need equipment for 3D printing, but it is difficult to make a choice on your own, contact Tsvetnoy Mir. The specialists of our company know absolutely everything about the process of creating three-dimensional models and will help you choose a 3D printer or scanner based on your tasks and capabilities. It is important to us that our customers get exactly what they need. nine0003
Call: +7 (495) 287-41-45, 8(800) 550-02-09 and we will answer any of your questions!
Add to compare
Product added to compare Go
| Manufacturer | Shining 3D |
Add to compare
Product added to compare Go
nine0249Add to compare
Product added to compare Go
| Manufacturer | Range Vision |
Add to compare
Product added to compare Go
| Manufacturer | nine0251 Range Vision
#Useful
Expert in the field of additive and subtractive technologies, 3D equipment and CNC machines with over 10 years of experience.
Share
all materials
How I faked a key using a 3d scanner, held a skull, a heart and a gun in my hands / Habr
Hi Habr!
Once again I visited professionals in the field of 3d printing and 3d scanning. nine0063 - Do you have anything interesting?
- That's what we have!
Manual
— Wow, what else?
High-precision industrial optical scanner
— And what do they scan mostly?
- Teeth and jewelry. There is? Spread it.
- Eh ... and easier? Anything closer to hacking to practical tasks necessary in everyday life?
- Well, you can scan a bent key, straighten it in a 3d editor, and then either print the mold for casting, or immediately recreate it on a metal 3d printer.
- OK, then you just show how the scanning and editing process takes place, and I know how a metal 3d printer works, and I also already made a mold for casting.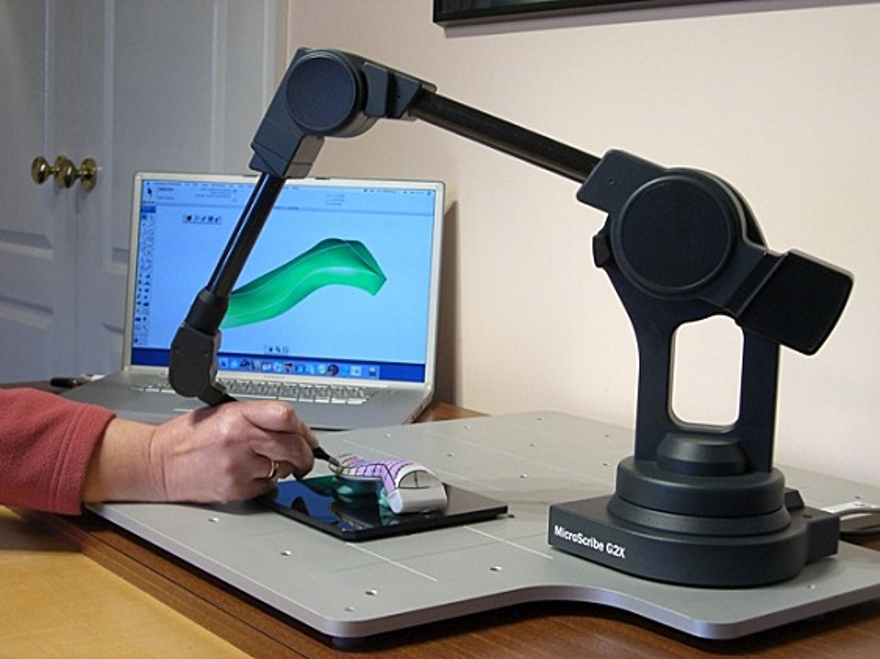
(Caution, many photos)
TTX scanner
Scan method - Phase shifting optical triangulation
Number of cameras - 2
Scan volume - 80x60x60 mm
Camera resolution - 1.4 MP
Accuracy ±0.01 mm
Output data format - STL
google price
Scan technology
"Phase shifting optical triangulation" patent
en.wikipedia.org/wiki/Structured_light
en.wikipedia.org/wiki/Structured-light_3D_scanner
The principle of creating a 3d-image of a surface from an interference pattern, used in 3d-scanners on structured light.
Scanning process
The key is attached to the platform, thanks to a special "chewing gum".
The key is too shiny. First, it must be covered with a matte film.
Talc spray
We place it in the camera for scanning, where it will be twisted and photographed
The scanned object can move along two axes (oscillation and rotation).