3D scanner from kinect
Microsoft Kinect 3D Scanner In-Depth Review
ADVERTISEMENT
8Expert Score
Microsoft Kinect
Microsoft Kinect is a simple scanner that’s able to produce decent quality 3d scans at a reasonable price.
Affordability
9
Quality
8
Speed
7
Capability
7
Practicality
7
User Expectations
10
PROS
- High-resolution scans
- Extremely compatible software
- Easy scanning process
CONS
- Need good lighting to produce good quality scans
Table of Contents
The Kinect 3D scanner uses similar 3D scanning technology to photogrammetry. The process consists of taking multiple pictures from different angles of an object. The scanner comprises a camera, an infrared camera that is meant for calculating the field of depth of object as well as around.
Both the cameras used by Kinect permits users to make a decently accurate 3D scan of almost any object that they wish to scan. But how does the scanner rank when seen in terms of value: money ratio? We can only tell by looking at it in-depth. So, let’s get started.
Features
Some of the most valuable features of the scanner are mentioned and explained below.
Affordable
Because Kinect can be constructed easily and its complete information is available online for free, you don’t need to undergo any complex process of setting it up and shipping it from anywhere. Also, the parts of which Kinect is made up, are comparatively cheaper.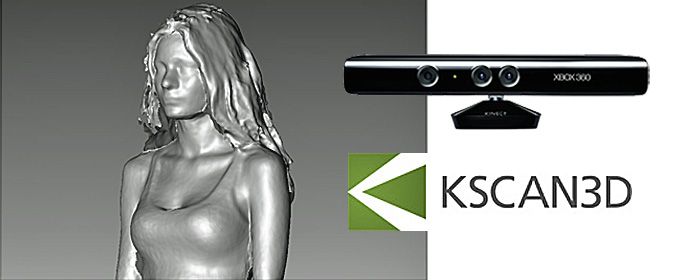
So, if you have a 3D printer all you have to do is buy the components that are necessary to make the scanner run and that’s it. You need not spend much on this scanner.
ADVERTISEMENT
DIY Kit
The complete assembly of components, as well as 3D printing of the necessary parts, can be done on your own. Just refer to the online instructions available to complete the setup.
Kinect can be constructed as other DIY kits and this makes up a great opportunity for all those who are willing to invest time in learning a little deeper about 3D scanning technology.
Easy to use software
Skanect as well as the other software that is compatible with the scanner are extremely user-friendly. Their interface allows you to reach the tool that you are searching for, extremely fast.
Also, the entire system is relatively easy to grasp. Even if you do not have any sort of technical background, it’s fine. You will still be able to operate the scanner pretty easily.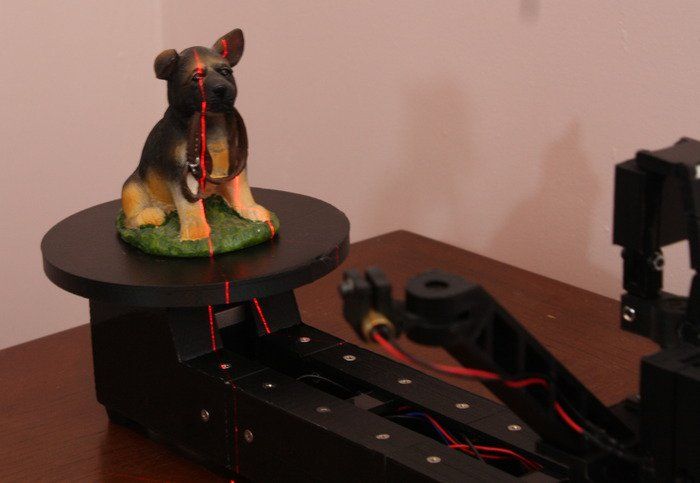
Open-source
Kinect is an open-sourced 3D scanner. This presents a great opportunity for those who wish to innovate and use a machine for obtaining the kind of work they wish to achieve. Also, it means that nothing is fixed.
The scanner can be scaled according to your project. Moreover, everything is accessible to everyone from the internet.
Specifications
Kinect is equipped with two cameras that take multiple images of an object that you wish to scan. It needs a PC adapter and a PC to produce high-quality scans of parts and functional prototypes. The device can be connected using a USB port.
ADVERTISEMENT
Price
Since it’s available as a DIY and needs to be purchased in terms of components, there isn’t any fixed cost for this scanner.
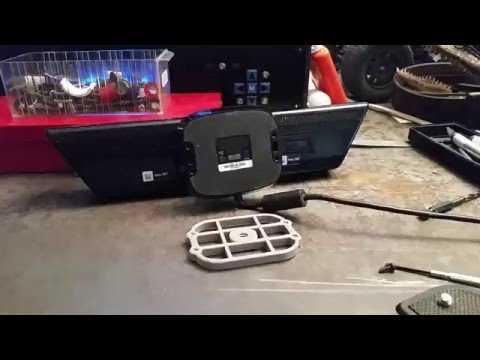
First Impression
Credit: all3dpThe first thing that you need to do is acquire the required hardware i.e. three things in order to start with the scanner:
- The Kinect: can be bought either from Xbox 360 or Xbox One.
 These are available from almost any electronics shop.
 - The PC adapter: Because Kinect is made to be used in its respective Xbox and not in a PC like other scanners, you’ll have to obtain a Kinect 360 to PC adapter.
- A PC: It can be either a laptop or desktop with a free USB port.
The minimum requirement to get you started is:
- Latest Kinect drivers downloaded
- A 64-bit Processor
- Dual-core (3.1Ghz) or faster CPU
- A 4GB of Ram
- Nvidia CUDA graphic card or a Kinect Fusion compatible GPU
- A compatible USB 3.0 port one that is offered by Intel or Renesas chipset
Setup
Credit: all3dpAlthough the Kinect needs to undergo some process before starting 3D scanning with the same, it’s good to say that you can plug it into a power source and start scanning. After having plugged it into your PC, you can download its drivers. These codes will instruct your computer on how to handle the Kinect.
For users who are running it on Windows 10, it’s likely that the drivers inside will get downloaded automatically after the recognition of Kinect by your PC. In case this doesn’t happen, simply download the drivers from Microsoft. Other than this, you will have to download software that allows you to use your Kinect for 3D scanning.
To set up Skanect, open the .exe file as soon as it’s downloaded. A simple interface will await you once the process is completed. The setup will take three steps:
- Clicking on the New section that’s present on the menu under the title “Prepare.” By doing so, you can mess around with various settings depending on which object you wish to scan.
- Choosing the bounding box size that is the most appropriate for the object. Doing so lets you choose from the presets that are already provided.
 Instead, you can also use a custom one by clicking the slider and moving it with the mouse.
 - Choosing a path for saving the scanned object. Note that this would not be the final model, but only the .skn file of the same that can be later opened in the Skanect.
After finishing the setup, click the start button to be taken to the next step of the scanning process.
ADVERTISEMENT
Scan Type
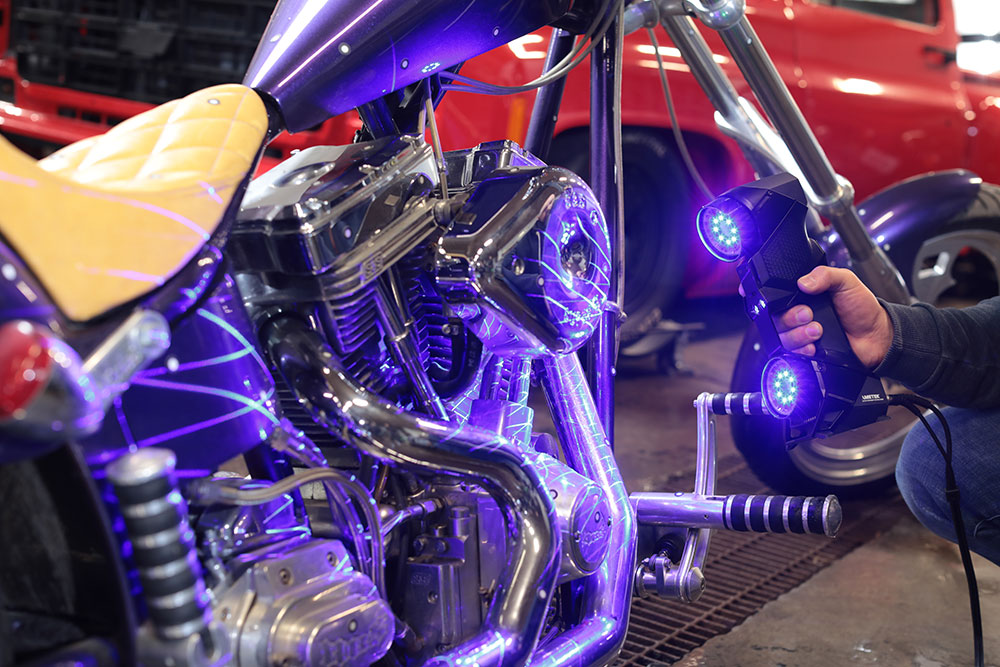
The process of scanning is quite simple. All you need to do is just hover the Kinect 3D scanner around the object as if it were orbiting the part.
While doing so, the software will use the background to help track the position of the object. So, in case you wish to rotate the object, the background will be scanning and will always be the same. This scenario applies especially to photogrammetry and for normal 3D scanning.
Ensure that there is a good amount of lighting during the entire scanning process because bad lighting won’t just make it harder, but also lead to a final render with the poorly colored model.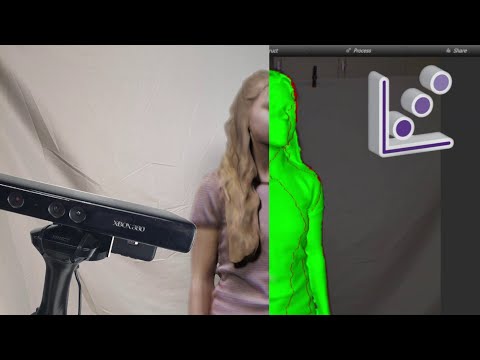 So, take your time and ensure that the scans are done slowly and with patience.
Also, check that Kinect is passed through the entire object from all the angels. This can be done by keeping an eye on your PC. Moreover, scanning makes certain that all the areas of the object are appearing neatly.
Scan Quality
Credit: all3dpKinect’s scan quality is just about average. You can see the brightness is very inconsistent. And this is because of its camera not being locked. This means that the scanner will adapt the brightness based on the direction that you’re pointing to the sensor. Also, because the cameras present on the Kinect are at wide angles to each other.
Such an arrangement makes it extremely appropriate for sensing motion as well as the depth of people present in front of the TV playing games. But it has its own downsides i.e. 3D scanning on a manual turntable is almost impossible because the tracking gets confused as your arm enters the frame.
ADVERTISEMENT
Software
Credit: all3dp3D Scan is a free Windows 10 application that uses your Kinect for creating 3D models.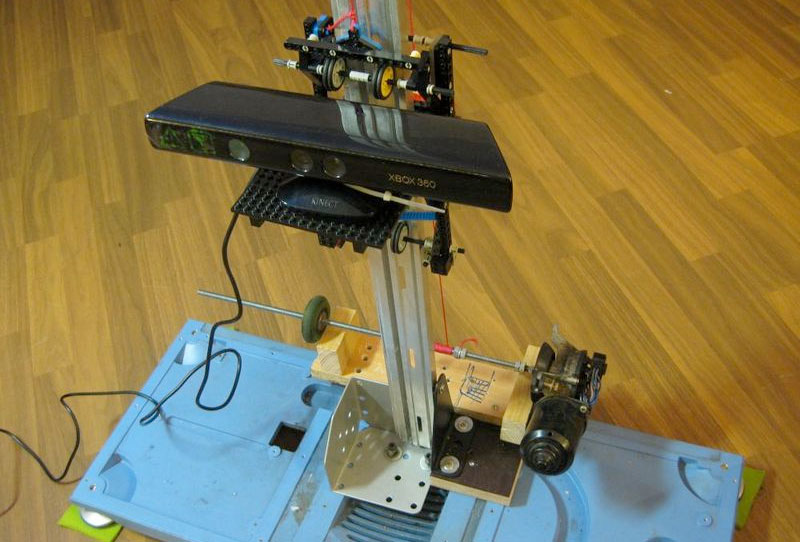 It can be downloaded from Microsoft. Other than this, you can use Skanect which is third-party software that is compatible with Kinect. It can be used by subscribing to its free or paid version.
The only difference between both of these is that the latter permits you to export the model with more faces and in color. Skanect can be downloaded from Occipital.
Customer Support
Kinect customer support is all given by its community of active users. All the solutions to your problems are available online and are accessible for free.
Parameters Influencing Buying Decision
The key factors that’ll help you decide upon the scanner are mentioned below.
3D Scanner Cost: Affordable
3D Scanner Speed: Average
3D Scan Quality: Two cameras make it possible for the scanner to deliver high-quality scans even while processing parts with intricate geometries.
3D Scanner Capability: The scanner is capable of taking multiple images of the object and then combining them to produce a single scan.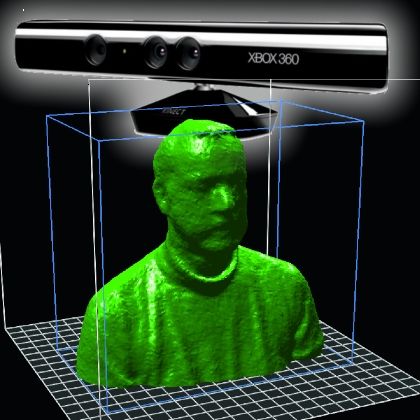
3D Scanner Practicality: It can be used for scanning everyday objects of small size and not much complex geometry.
3D Scanner User Expectations: Hobbyists, academicians, and even small manufacturers can use the scanner to achieve good results.
The Verdict
In a nutshell, Microsoft Kinect is a simple scanner that’s able to produce decent quality scans at a reasonable price. There isn’t something very fancy about the scanner, at the same time there isn’t something too lacking about the device.
Although it isn’t capable of letting you go in-depth, it doesn’t disappoint by providing bad-quality scans. Even while scanning intricate geometries, the scanner does deliver. So, enjoy the simplicity that suits your pockets.
The Kinect is Dead; How to 3D Scan Now? « Fabbaloo
By Kerry Stevenson on January 10th, 2018 in Hardware, Software
Tags: microsoft, scanning
The now defunct Microsoft KinectIt turns out that Microsoft has now officially ceased production of their popular 3D sensor, the Kinect.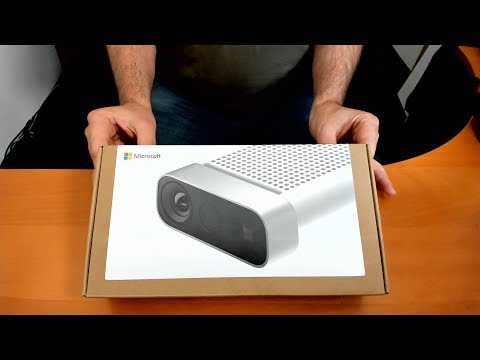 What does this mean for 3D printing?
The Kinect’s purpose originally had nothing whatsoever to do with 3D printing; it was designed as a method for Microsoft’s gaming console system, the XBox, to have an unusual input method. The idea was to have the inexpensive 3D sensor add-on detect movements from players and then incorporate them into the game.
You could, for example, brandish a sword in a game by moving your hands appropriately in front of the Kinect, which would allow the game console to place the sword in the same position as your own hand intended to hold it. A kind of virtual reality.
However, while Microsoft sold millions of these devices to the public, ingenious 3D print aficionados realized there was something interesting that could be done with the Kinect.
The device could be used as a real-time 3D scanner! The Kinect projects an array of infrared beams toward a target and returns the distance to each pixel, enabling the creation of a depth map that can be subsequently transformed to a 3D model.
Software quickly erupted to take advantage of the commonly available 3D sensor, and a number of interesting packages were available, some at no charge. One I’ve used is Skanect, which provided a very easy way to quickly obtain decent 3D scans of nearby objects, including people – but not pets or children because they can’t stay still long enough.
I’m not sure how many people in 3D printing used Kinects for 3D scanning purposes, but it could be many, as Kinects are frequently already present if one has an XBox. All you’d need is the software to get 3D scanning.
However, that route is now closing as Microsoft has officially shut down production of new Kinects, and one can suspect that the existing units may eventually no longer be usable for 3D scanning at some point when drivers are no longer issued for updated operating systems.
This will leave a slight hole in the inexpensive 3D scanning category for some desktop 3D printer operators seeking a way to generate their own 3D scanned models.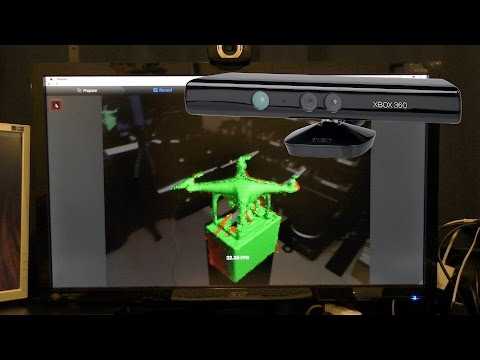
But don’t fear, there are some alternatives.
One is the Structure Sensor, sold by Occipital (who also own Skanect, by the way). It’s a Kinect-like 3D sensor that straps onto an iPad and is very usable. I’ve been 3D scanned by one of these units myself and found the results very good, at least for non-precision objects like my own body.
However, the Structure Sensor is a purchasable item, with a recent cost of USD$379, quite a bit more than a Kinect.
There are other alternatives that are far less expensive because they use a passive optical approach, rather than an active approach. In other words, they simply take pictures and derive a 3D model of a foreground subject by tracking how the background shifts from image to image. This is called photogrammetry.
Examples of these apps include: Scann3D, Trnio, and Qlone. They’re offered free in app stores, but sometimes require payment for extra features, and that may include the ability to download the generated 3D model.
Another option is to make use of Autodesk’s passive optical photogrammetry services. Autodesk Recap is the current iteration of their ever-changing 3D scanning product line. It’s a subscription service, but you can take the 30-day free trial, and then default to the “free features” after it expires. Or if you have a need for professional use with far more accurate 3D models (meaning using more than a few dozen input images), you can subscribe for around USD$40 per month.
Failing all of the above, you can likely find someone with an old Kinect that still works.
Via GameSpot
Kerry Stevenson, aka "General Fabb" has written over 8,000 stories on 3D printing at Fabbaloo since he launched the venture in 2007, with an intention to promote and grow the incredible technology of 3D printing across the world. So far, it seems to be working!
View all of Kerry Stevenson's posts.
Full-scale color 3D scanning and printing with Microsoft's 3D Builder
Of course, it's only to be expected that the company will venture into 3D printing technology after all.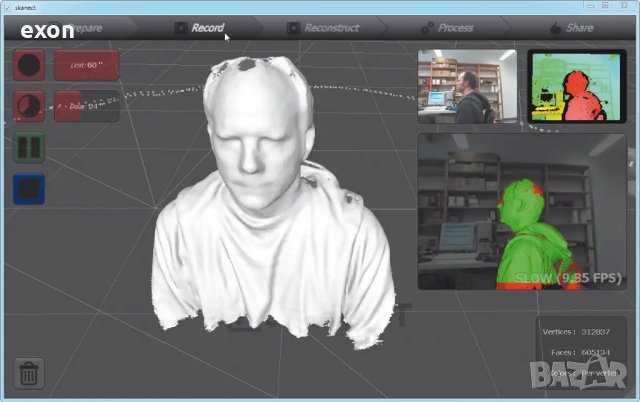 The 3D Builder app was developed about a year ago. With it, you can print effortlessly while uploading models or creating something new and original.
The 3D Builder app can be downloaded from the Windows Store. With it, you can download, view, edit, and print from a computer running Windows 8.1. But don't rush! One or two changes have been made to 3D Builder: now, thanks to a new product from Microsoft, you can enjoy really innovative and original works. The 3D Builder editor has been upgraded with the Kinect v2 sensor for Windows, which allows you to do full-scale color scanning yourself.
With the power of 3D Builder and Kinect, even inexperienced users can scan and print objects in full color. For example, if you want to scan yourself, then you will need someone who is very familiar with the device and the scanning process. And with Windows Kinect, you just have to stand still while the system scans you. The result is almost immediately displayed in the 3D Builder application, where you can improve the quality of the image and then print it.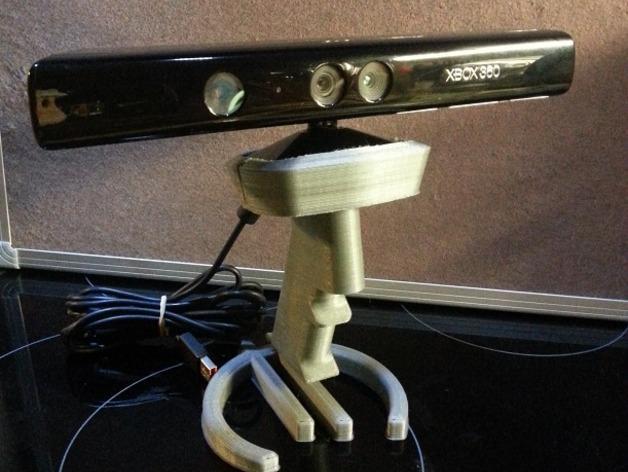
With 3D Builder you can:
- Scan color in 3D using Kinect for Windows Sensor v2;
- improve and correct models automatically before printing;
- fix models to prepare them for printing;
- print directly from a 3D printer or order models through 3D Systems;
- add inscriptions or drawings to any model;
- combine and divide objects or cut them into pieces.
While we're all excited about bringing Kinect and 3D Builder together so you can scan yourself and your friends, Microsoft's Kinect Software Development Kit 2.0 is in the pipeline. It was supplemented with 200 new features in order to make Kinect even more convenient and accessible to users. At the same time, developers managed to place their applications for Kinect in the Windows Store, including:
- 3D Builder;
- Nayi Disha - an interactive application for early childhood education;
- YAKiT is an application for creating 2D/3D character models.
“This has been frequently requested by users, and we're excited to give you the opportunity to personalize your PC experience even more with gesture control, body movement, and object recognition available to Windows users worldwide. Access to the Windows Store opens up a whole new market for businesses and individuals,” said a Microsoft spokesperson of the Kinect-integrated apps available in the Windows Store.
For best results, Microsoft highly recommends running 3D Builder with a Kinect v2 sensor for Windows.
All of these are completely free to download, except for the adapter to connect the Xbox One Kinect to a PC via USB 3.0. It can be purchased for $49.99.
Slicing an object in 3D Builder
The new Kinect Adapter for Windows also requires a USB 3.0 port and costs 19$9, won't work with Xbox 360 Kinect sensor. The Kinect for Windows Application Development Kit (SDK) version 2. 0 is currently available for free download. There are simply no additional fees for the commercial use of this software.
Source: Ink-Market.ru.
Top Ten 3D Scanners from $100 to $100,000 / Habr
Do you need a 3D model for 3D printing? There are several ways for you: you can of course create your 3D model from scratch in a 3D modeling program or find a suitable one on the Internet, but you can also scan an existing object! The purpose of this review is to help you understand the variety of 3D scanners available and offer the best in every price segment from a photogrammetric smartphone app to professional 3D scanners.
Scanners are listed in ascending price order so you can choose the one that suits your budget and use the resulting 3D models for both 3D printing and animation.
If you are not satisfied with the proposed solutions, there is an extended overview at this link.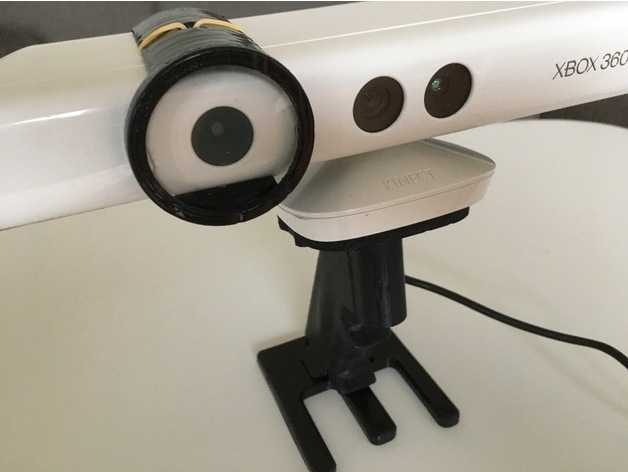
3D scanner in hand:
1. Best smartphone app: Autodesk 123D Catch (free)
Autodesk 123D Catch is a free photogrammetric application. It allows you to create a 3D model from photographs of an object taken from different angles. You can use it to scan objects, people, and even the landscape. For some applications, if you don't need perfect accuracy, you don't need special equipment. This application actually provides quite good detail and is easy to use. However, it will take you at least 30 minutes for the app to process your photos as the processing takes place on the server and it takes time to send them.
2. Best DIY 3D Scanner: Kinect ($99.99)
The Xbox Kinect is designed to expand your gaming experience. It is not designed for 3D scanning, but you can easily find manuals and third party software (like ReconstructMe) to turn it into a 3D scanner. If your arms are growing out of your shoulders, this is an interesting and inexpensive solution for 3D scanning.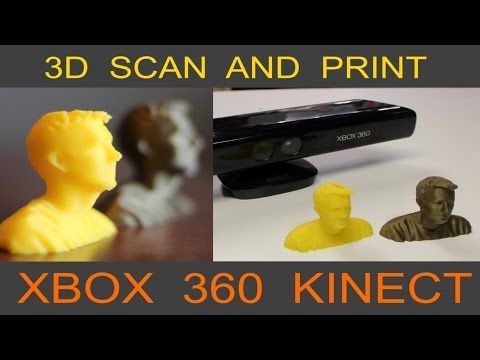
Price: $99.99
Resolution: 0.051 mm
)
This scanner can be attached to your tablet or phone (generally designed for iPad, but can be adapted to other devices). Lightweight and easy to use, with a very good resolution. Suitable for large items (can scan a full-length person) and outdoor scanning. You will be able to use it with software running on Occipital's SDK. This will increase the resolution and give you access to special features like room scanning. It probably won't be something you'll use for 3D printing, but it's interesting for game development, for example.
Price: $ 379
Resolution up to: 0.5 mm
accuracy to: 4 mm
4. The best of cheap manual 3D scanners: Cubife ($ 399)
3D 3D 3D 3D 3D 3D-scanners may be quite affordable and easy to use if you choose from inexpensive portable models. Cubify fits these criteria very well and has a relatively good resolution. But still, its capabilities are not enough for texture scanning and it is better to use it for subsequent 3D printing of one-color models.
Price: $ 399
Resolution: 0.9 mm
Resolution at a distance of 0.5 m: 1 mm
3D scanner on the table:
5. Best and cheapest table 3D 3D 3D 3D 3D 3D 3D 3D 3D 3D 3D 3D 3D 3D 3D 3D- Scanner: Matter and Form ($519)
If you're looking to take your quality to the next level, you can purchase a desktop 3D scanner. This model is compact, easy to use, and delivers good resolution, especially considering the price (not your go-to option if you're looking for perfection, but great for educational and demo purposes). The scanning process takes place with the help of a laser and a rotating platform. The scan takes about five minutes and simultaneously reads the texture of the object.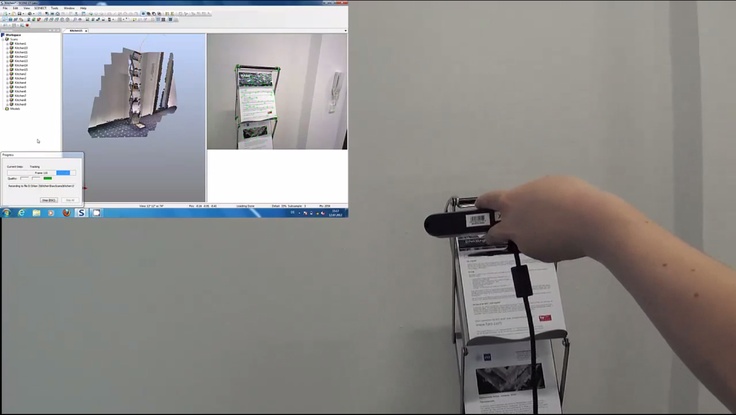
Price: $ 519
Resolution: 0.43 mm
accuracy: ± 0.25 mm
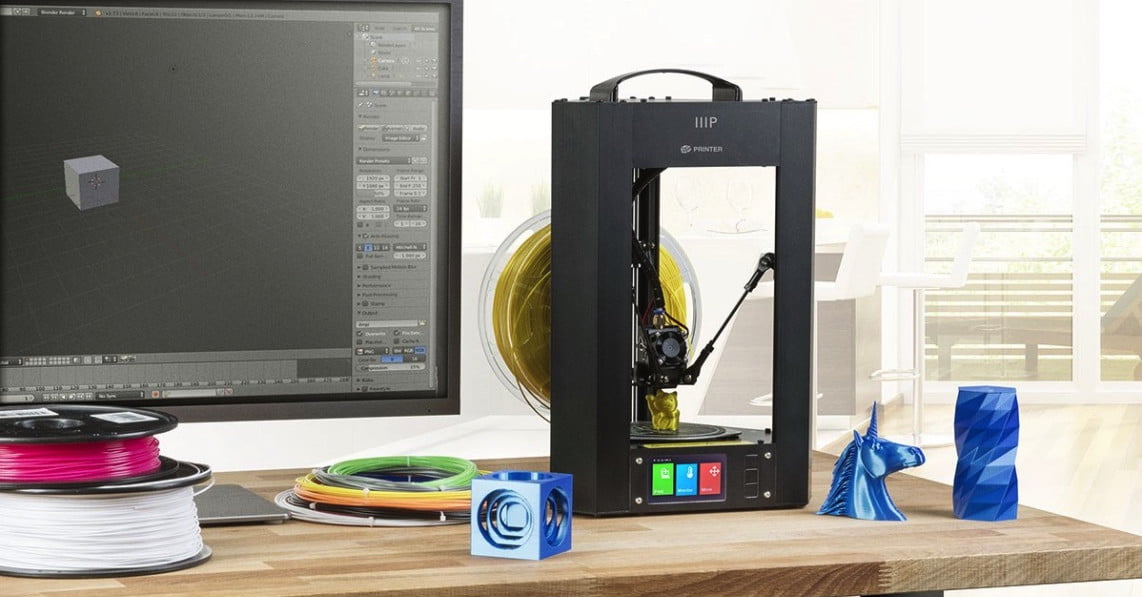
6. The best device "two in one": XYZPRINTING DA VINCI 1.0 ($ 600)
This combines a 3D scanner and a 3D printer. The quality of the models is not too high, but the price is very low for such a combined device. This makes the XYZprinting Da Vinci the easiest solution for beginners who want to get into the world of 3D scanning-printing.
Professional 3D Scanners:
7. Best Value for Handheld 3D Scanner: Fuel3D Scanify ($1490)
Very easy to use, intuitive, and feels good in the hand, this scanner delivers good accuracy and texture quality. The only limitation is that the size of the scanned area is limited, which is great for small objects, but for scanning a full-length person, for example, it will not work.
Price: $ 1490
Resolution: 0.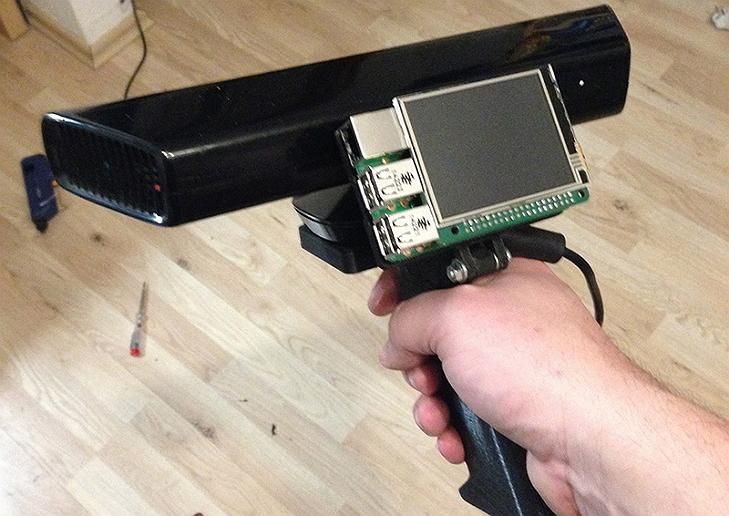 35 mm
35 mm
accuracy: to 0.3 mm
8. Best price The scanner uses a different scanning technology than others. Instead of a dual laser scanning system, it uses a structured light source and cameras for fast scanning with very fine detail down to 0.06mm! The scanner comes with DAVID Pro Edition 3 software that works with OBJ, STL and PLY 3D file formats that can be exported to other programs for further editing.
Price: $ 3995
Resolution: 0.06 mm
accuracy: 0.5% of the size of the object
9. The best desktop professional 3D-scanner: SolutionIX Rexcan 4 ($ 79 900)
is a professional The 3D scanner and its price provides much better scanning quality. Solutionix Rexcan is equipped with two cameras for greater accuracy. It uses optical phase shift triangulation technology and two high-resolution CCD cameras to provide high-precision data. The scanner can be used to scan larger objects by increasing productivity with a photogrammetric system.