3D printing with silver
Shapeways: Silver 3D Printing
925 Sterling Silver
Wax Casting
Upload a model
Loading contents...
Show menu
925 Sterling Silver
Wax Casting
Upload a model
Material info
About Silver 3D Printing
Sterling Silver (92.5% silver) is a high quality silver alloy commonly used in jewelry and other skin-safe applications. With several finishing options and the ability to showcase intricate details, 3D printing Silver offers a professional, finished look and feel. 3D printed Silver will tarnish over time, but can be polished to achieve a like-new surface. This material is a softer metal that will be more malleable with thin features.
Color & Finishes
Technology
- Wax Casting
Description
Material Highlights
3D print Silver for a high quality, shiny finish, 925 sterling that is skin-friendly, and high electrical and thermal conductivity.
Handling and Care
3D printed Silver is skin-friendly, heat-proof up to 850°C/1562°F, and offers good electrical conductivity.
Design Guidelines
Bounding Box
Bounding Box Max
89 × 89 × 100 mm
75 × 75 × 40 mm for Interlocking Parts
Bounding Box Min
2.4 × 2.4 × 0.6 mm
The bounding box is a 3D imaginary outline of a box that encloses the smallest area occupied by your model. Your model must be within the minimum and maximum bounding box sizes. If the size of the model is close to the maximum bounding box, then the printing orientation will be restricted.
Supported Wall Thickness Min
0.6 mm (Natural)
0.8 mm (Polished, Fine Detail Polished, Antique)
Unsupported Wall Thickness Min
0.6 mm (Natural)
0.8 mm (Polished, Fine Detail Polished, Antique)
A supported wall is connected at least on two sides of the wall, while an unsupported wall is connected only on one side of the wall.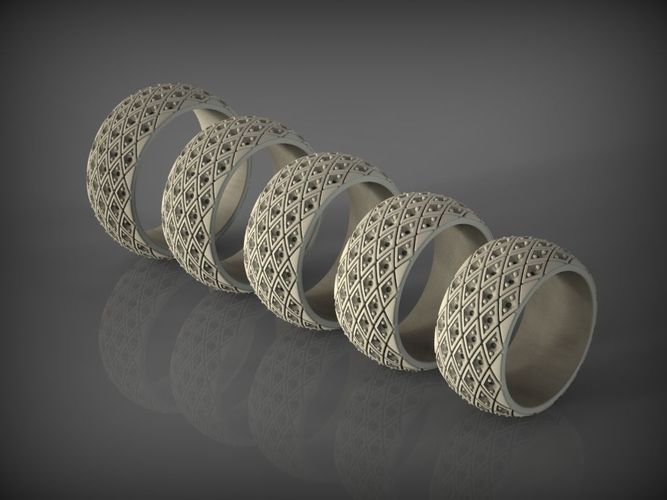 Walls that do not meet the minimum requirements may not survive printing and cleaning processes. Additionally, models may still be rejected based on the wall geometry of the model. Please consider the size of your model and reinforce the walls or add support structures as needed as minimum guidelines will not always be adequate for large models.
Supported Wires Min
0.8 mm (Natural, Polished, Fine Detail Polished, Antique)
1.5 mm (for Interlocking Parts)
Unsupported Wires Min
1.0 mm (Natural, Polished, Fine Detail Polished, Antique)
1.5 mm (for Interlocking Parts)
A wire is a circular, rectangular or even triangular feature that is thinner in its unconnected directions than its length. A supported wire is connected at least on two sides of the model, while an unsupported wire is connected on one side of the model. Wires that do not meet the minimum requirements may not survive printing and cleaning processes.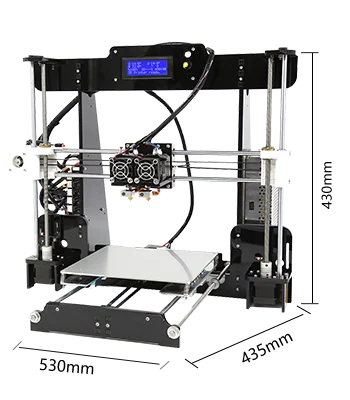 Additionally, models may still be rejected based on the wire geometry of the model. Please consider the size of your model and reinforce the wires or add support structures as needed as minimum guidelines will not always be adequate for large models.
Details
Details Min Embossed
0.3 mm high & wide (Natural, Polished, Antique)
0.4 mm high & wide (Fine Detail Polished)
Details Min Engraved
0.3 mm high & wide (Natural, Polished, Antique)
0.35 mm high & wide (Fine Detail Polished)
For text, the ratio between width and depth, should be 1:1 and sans-serif fonts are preferred for line weight consistency.
Escape Holes
Single Escape Hole Diameter (Min)
4.0 mm
Multiple Escape Hole Diameter (Min)
2. 0 mm
0 mm
Escape holes are necessary to empty the support material of a hollow model. Two escape holes at the opposite ends of the model is optimal for the support removal process. Please consider the size of your model and make the escape holes bigger or add more escape holes as needed as minimum guidelines will not always be adequate for large models.
A single escape hole at the end of a cavity will not allow material in the corners near the escape hole to fully escape. So we recommend multiple escape holes at both ends of the cavity.
Clearance
Min
0.3 mm
1.0 mm (for Interlocking Parts)
Clearance is the space between two individual parts in a model. If the space among the individual parts do not meet the minimum clearance, then parts can fuse together or can be difficult to clean. This is important for movable pieces like hinges, gears, etc.
Interlocking & Enclosed Parts
Interlocking
Yes, up to six for Natural and Polished finishes. Interlocking parts are not supported for Antique and Fine Detail Polished finishes such as 3D printed Silver.
Enclosed
No
Parts in File
Max
Up to two identical 3D printed silver parts (like earrings or cufflinks) may be uploaded in the same model file. We cannot accept multiple, unique, non-interlocking parts ordered in the same model file; there should be one file for each unique part. Also, we cannot accept sprued parts as this creates problems during the casting process.
Accuracy
Accuracy Natural: When you 3D print Silver, the model may shrink about 0.15 mm plus 1.5% after casting and finishing. For rings the inner diameter will be 0.125 - 0.15 mm smaller than your design. On average, when you 3D print Silver, the model shrinks about 1. 5% after casting and finishing. Scaling up your model by 1% will make your design closer to your desired size. Polished, Fine Detail Polished and Antique: Your model may shrink about 0.25 mm plus 2.5% after casting and finishing. For rings the inner diameter is accurate within +/- 0.1 to 0.15mm. On average, the model shrinks about 2.5% after casting and finishing. We do our best to polish the internal diameter to match your model file.
Stay up to date on promotions, case studies, and more.
Newsletter Sign up
Stay up to date on promotions, case studies, and more.
Email Address
How to Get Your Perfect Sterling Silver 3D Print | 3D Printing Blog
How to Get Your Perfect Sterling Silver 3D Print
by Fabian | November 10, 2020
Are you thinking about 3D printing in Sterling Silver? Do you wonder how we create a real physical Sterling Silver object from your 3D design? Would you like some tips and tricks for your next Silver 3D print? In this case, this blog post is for you.
A question that we get often is whether our Silver is comparable to silver items that you can find at jewelry stores. The answer is, yes. Models made in Sterling Silver are made from an alloy based on 92.5% pure silver and 7.5% other metals (usually copper). This Sterling Silver alloy is the standard alloy used to produce jewelry and, therefore, is safe for skin.
Since we use a mix of 3D printing and casting (learn more about this in the technology section below), your Sterling Silver item will have the material density and ultimate tensile strength of any traditionally produced sterling silver object. As a result of casting and polishing, you will not see any printing layers – the object surface will be smooth. The exact smoothness and color/shine of your object will depend on which finish you have in mind.
Learn to create a stunning Silver 3D print such as the ‘Gardon Ring’ by StudioSinth.
Desmond Chan’s 3D-printed Silver ring ‘Zodiac Tiger’.
The Finishes: 5 Silver ChoicesSilver is available in five different finishes, as depicted below:
- Gloss models are post-processed in a magnetic tumbler. This technique is the least aggressive process for silver. This finish is ideal for maintaining a high level of detail; however, surfaces will be left uneven and not as smooth as high-gloss models.
- High Gloss models undergo a particularly vigorous mechanical polishing process that will round off sharp corners. As a result of this technique, the silver will have the lowest level of detail, but the highest level of smoothness and shine.
- Satin models are manually post-treated with a wire brush to obtain the effect of lines on the metal.
- Sandblasted models are post-treated with an abrasive blasting operation. The surfaces of your model will get even and a smooth, matted look.

- Antique Silver features very shiny and smooth outer surfaces, while deeper areas remain darker and unsmoothed.
From top left to bottom right:
Gloss, High Gloss, Satin, Sandblasted, and Antique Silver Finishes
To enhance the quality of the item, your model is not 3D printed directly. Instead, the 3D printing part is only the first of several steps.
Step 1 – 3D Printing: To begin with, your 3D model will be printed in wax. A stereolithography 3D printer uses wax-like resin to create a 3D print of your design. Click here to learn more about the stereolithography 3D printing technology. Support structures will then be printed along with the model to make sure your model does not fall apart. These support structures will be automatically generated and manually removed after the printing process. After support structures are removed and your model is cleaned, the model can be prepared for casting.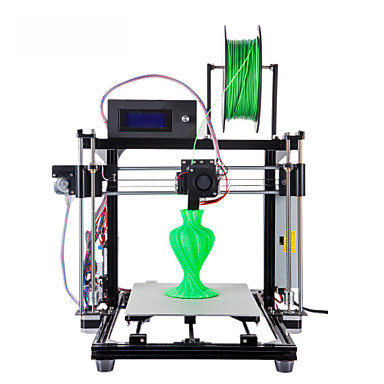
Step 2 – Casting: In order to make casting possible, one or more wax sprues will be attached to your model. Next, it will be connected with the sprue to a wax ‘tree’, together with a bunch of other models. The tree will then be placed in a flask and covered in a fine plaster. When the plaster solidifies, it will form the mold for casting the silver. The plaster mold will then be put in an oven and heated for several hours until the wax is completely burned out.
Then, the molten silver will be poured in to fill the cavities left by the wax. Once the silver has cooled and solidified, the plaster mold will be broken and the silver models removed by hand. Finally, your model will be filed and sanded to get rid of the sprues.
Step 3 – Finishing: At the end of this process, your model will manually be sanded, polished, or sandblasted for the finish you desire.
The Design: How to Get a Great Silver 3D Print/3D ModelIn order to make sure that you get the perfect Silver 3D print, we have put together a short list of six basic tips and tricks to keep in mind for your 3D design. You can find more information about this in our ‘Silver Design Guide’.
1. Wall Thickness: The minimum wall thickness for Silver is 0.5 mm – for breakable parts, it is better to add some extra strength and choose a minimum wall thickness of 1 mm.
Getting the right wall thickness is crucial for a successful print.
2. Hollowing: If you decide to print a hollow model, you need to include several (!) escape holes in your design, each with a minimum diameter of 1.5mm.
Hollow silver prints require several escape holes.
3. Feature Size: The smallest features of your design need to be at least 0.3 mm in diameter and 0.4 mm in height. For breakable details, however, it is better to choose a diameter of 0.8 mm.
Make sure that the features of your 3D model are printable.
4. Polishing & Post-Processing: Post-processing steps (finishes) will have different effects on your model. The gloss finish will erode your model by 0. 05–0.075 mm, whereas sandblasted and satin models will erode by 0.1–0.15 mm. High gloss and antique models will also erode by 0.1–0.15 mm. Additionally, sharp corners will be rounded with these two finishes.
5. Interlinking Parts: Keep in mind that it is not possible to print nested objects, hinged, and interlinking parts (such as chains).
It’s not possible to create Silver items with interlinking parts.
6. Antique: To get a good ‘antique effect’, make sure that sunken, darker parts of your design have a minimum area of 0.4 x 0.4 mm and that they lie at least 0.4 mm deep.
Make sure to keep darker parts at least 0.4 mm deeper than the surface.
Turn Your 3D Model Into a Real Silver ObjectLearn more about 3D-printed (and casted) Silver on our dedicated material page. Do you have a 3D file that is ready to be transformed into a Sterling Silver object? Then, it is time to upload it here, where you will be able to choose between five different Silver finishes or discover 18 other 3D printing materials such as Gold, Brass, or Bronze.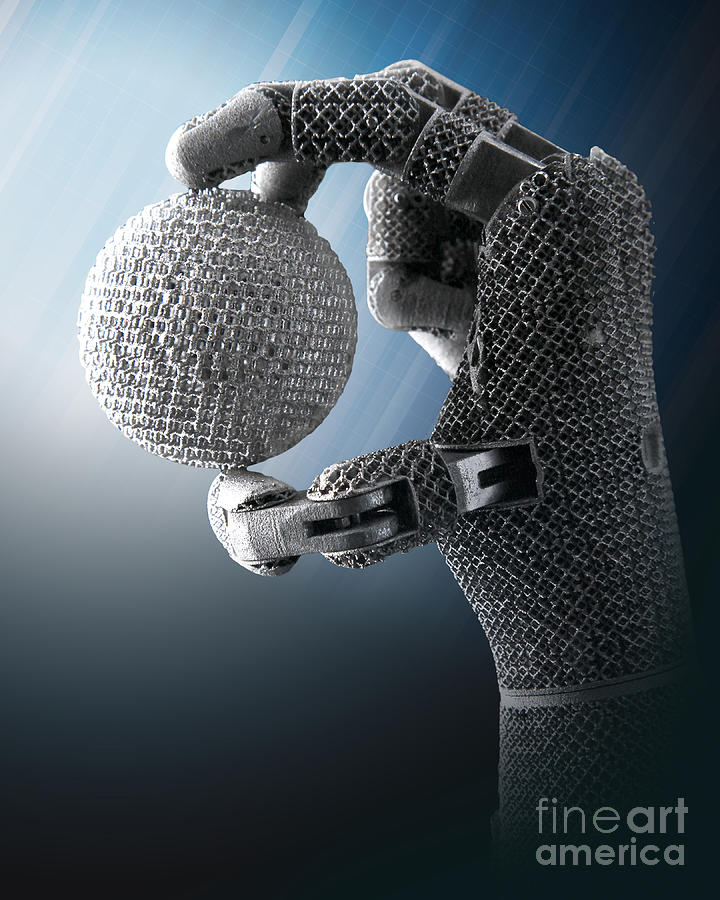 Do you need some inspiration first? We compiled a list of our 10 most outstanding silver 3D prints here.
silver cufflinks with a character from your favorite movie
We all have our favorite heroes of games and films - animation and fiction. Popular characters can often be seen on someone's T-shirt, bag, cap, scarf, calendar, mug, and other media. If you know what movie or character the person for whom you want to make a gift likes, then you can easily please him with such a piece of clothing or kitchen utensils. But how often have you had to give your friends (or yourself) cufflinks with the image of the hero of your favorite movie? nine0007
This is exactly what one of our customers decided to do when he saw on the Prototypster website a 3D model of cufflinks depicting the character of Jim Carrey from the movie The Mask. The 3D model was created by a talented 3D designer Grigory Krasnoperov (nickname @grinnt on the Prototypster.ru website) and attracted attention with its high-quality execution and detailing.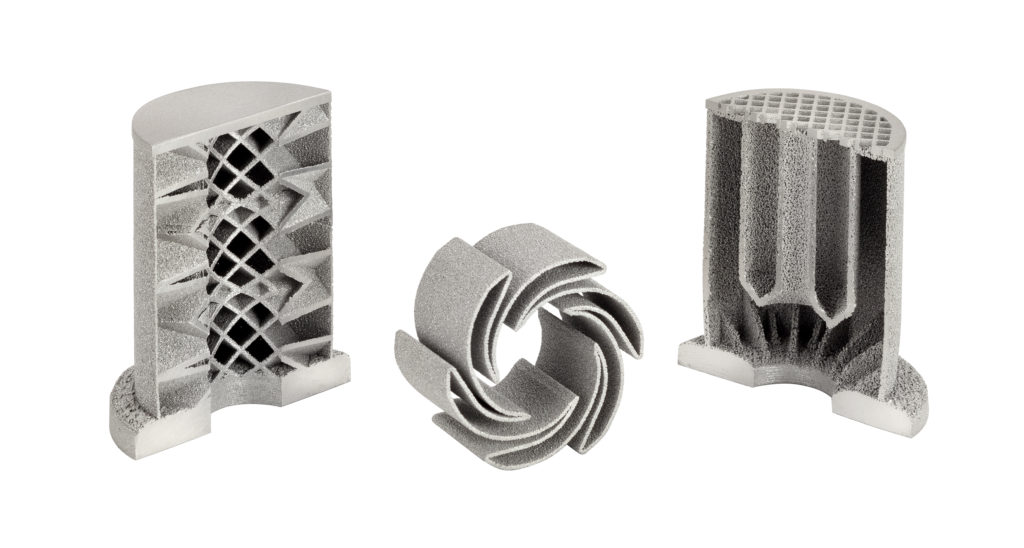
In addition, Grigory took great pleasure in creating his favorite character:
“Initially, it was a figurine-bust “Mask”, modeled back in 2012. This is one of my favorite characters0's, so I sculpted for my own pleasure.
Grigory made a 3D model of the bust in Zbrush:
“All the work was completed in 3-4 hours, after which I made a render and put the model in the “archive”, where it lay for 2.5 years. Literally not so long ago, I took it out of the bins and decided to prepare the bust for 3D printing. And later, cufflinks were also made from this model, at the request of the customer. The model was prepared for printing by Prototypster engineers and then, with the help of 3D printing and jewelers, brought to life. nine0007 The manufacturing process included several steps. First, a stencil was made on a professional jewelry 3D printer according to the 3D model of the designer @grinnt. The manufacturing technology used by the printer - laser stereolithography (SLA) and the material - yellow photopolymer - together made it possible to obtain high detail and accuracy, literally "jewelry".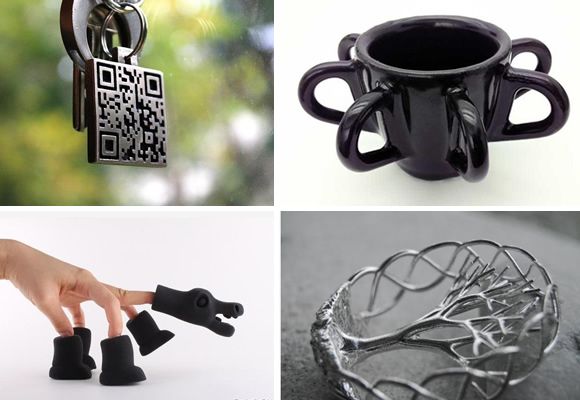
When preparing a 3D model for printing, the engineer needs to remember that the sample for future casting should be approximately 3% larger than the final model, taking into account material shrinkage and mechanical post-processing. Next, the master model is sent for casting: the wax is placed in the molding sand (gypsum) and heated until the master model has completely evaporated. Next, metal (in this case, silver) is poured into the resulting form. Then you need to let the metal cool, remove and process the product, polish it, and now a wonderful gift for a loved one is ready. nine0003
If you want to become the proud owner of 3D printed jewelry, visit the Prototypster marketplace and choose your favorite model! We also create custom designs, just email us]
Metal 3D printing
Metal 3D printing is becoming more and more popular. And this is not surprising: each metal print material offers a unique combination of practical and aesthetic properties to meet the demands of a variety of products, whether they are prototypes, miniatures, decorations, functional parts or even kitchen utensils.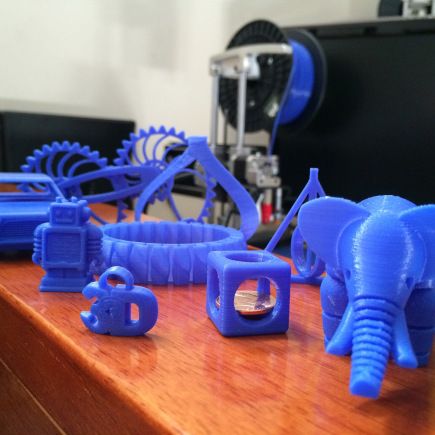 nine0003
The reasons for printing with metals are so compelling that 3D printing with metals is already being introduced into mass production. In fact, some 3D printed parts have already caught up, and some have even surpassed those produced by traditional methods.
Traditional production from metals and plastics is very wasteful - in the aircraft industry, for example, up to 90% of materials go to waste, and the yield of products that lie within tolerances in some industries is no more than 30%. nine0003
Metal 3D printing uses less energy and reduces waste to a minimum. In addition, the finished 3D printed part can be up to 60% lighter than a milled or cast part. The aviation industry alone will save billions of dollars in fuel costs by reducing the weight of structures, and strength and lightness are needed in other industries as well. Yes, and economy too.
3D metal printing at home
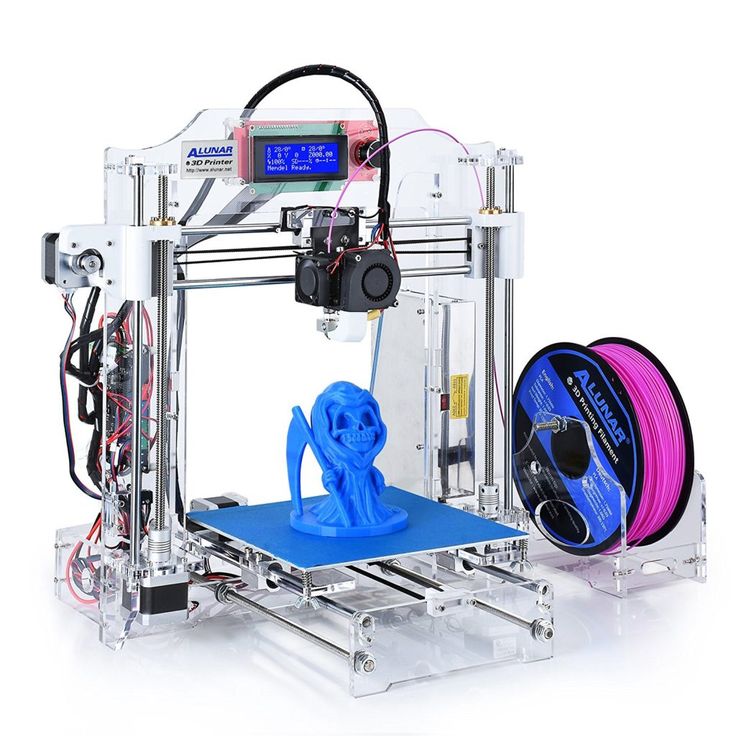
What can you do if you want to try 3D metal printing at home? Metal printing requires extremely high temperatures, it is unlikely that you can use a regular FDM 3D printer for this, at least not yet. The situation may change in 15-20 years, but now this is not available to home 3D equipment. nine0003
If you want to make metal-looking printouts at home, the best option is to use plastic containing metal particles.
Such as Colorfabb Bronzefill or Bestfilament Bronze.
These filaments contain a significant percentage of metal powders, but also enough plastic to print at low temperatures with any 3D printer. At the same time, they contain enough metal to look, feel and even weigh close to that of a metal object. nine0003
Iron-containing filament products even rust under certain conditions, which adds credibility, but they cannot rust through and deteriorate from this - and this is their advantage over real metal objects.
Benefits of these materials:
-
Unique print look
-
Ideal for jewelry, figurines, home furnishings and decor
-
High strength
-
A very small shrinkage During cooling
-
The heated table is not required
disadvantages:
-
Low flexibility of products, depends on the design of the printout
-
not considered safe when in contact with the food
-
Requires fine adjustment of nozzle temperature and filament feed rate
-
Requires post-processing of products - grinding, polishing
-
Rapid nozzle wear - metal filament is very abrasive compared to conventional materials
General printing temperature range is typically 195°C - 220°C.
Metal 3D Printing for Industry
If you want to buy a real metal 3D printer for use in your enterprise, then there are two news for you - good and bad.
The good news is that their range is quite wide and continues to expand, and it will be possible to choose a device that meets any technical requirement. Further in the article you can see this. nine0003
The only bad news is prices. The cost of professional metal printing printers starts anywhere from $200,000 and goes up indefinitely. In addition, even if you choose and purchase the most inexpensive of them, the purchase of consumables, scheduled maintenance with the replacement of components, and repairs will be a separate blow. We also do not forget about the staff and the costs of post-processing products. Yes, and at the stage of preparation for printing, you will need special software and people who can handle it.
If you are ready for all these expenses and difficulties - read on, we will present some very interesting samples.-kupit-v-soin-store.ru-2.png) nine0003
nine0003
Metal 3D printing application
GE's LEAP jet engine parts are 3D printed at AvioAero's additive manufacturing factory (Image: GE)
Metal 3D printers are already being used in some industrial sectors part of the manufacturing process that the average consumer may not be aware of:
-
The most common examples are medical implants and dental crowns, bridges, prostheses, which are already considered the best option for patients. Reason: They can be 3D printed faster and cheaper and tailored to the individual needs of each patient. nine0003
-
In addition, the aerospace industry is becoming more and more dependent on 3D printed metal products. Ge-AvioAero in Italy is the world's first fully 3D printed factory that produces components for LEAP jet engines.
-
The next industry to use metal 3D printers will be in the automotive sector.
 BMW, Audi, FCA are already seriously considering applying the technology to series production, not just prototyping (where they have been using 3D printing for years). nine0003
-
It would seem - why reinvent the wheel? But here, too, 3D metal printing has found application. For several years now, manufacturers of bicycle components and frames have been using 3D printing. Not only in the world, but also in Russia, this has become widespread. Exclusive bike manufacturer Triton is finishing a project with a 3D printed titanium frame element to reduce weight without sacrificing strength.
But before metal 3D printing really takes over the world, there are a few big challenges that need to be overcome. First of all, it is the high cost and low speed of production of large series by this method. nine0003
Metal 3D printing technologies
Most metal 3D printing processes start with powder
Much can be said about the use of metal 3D printers.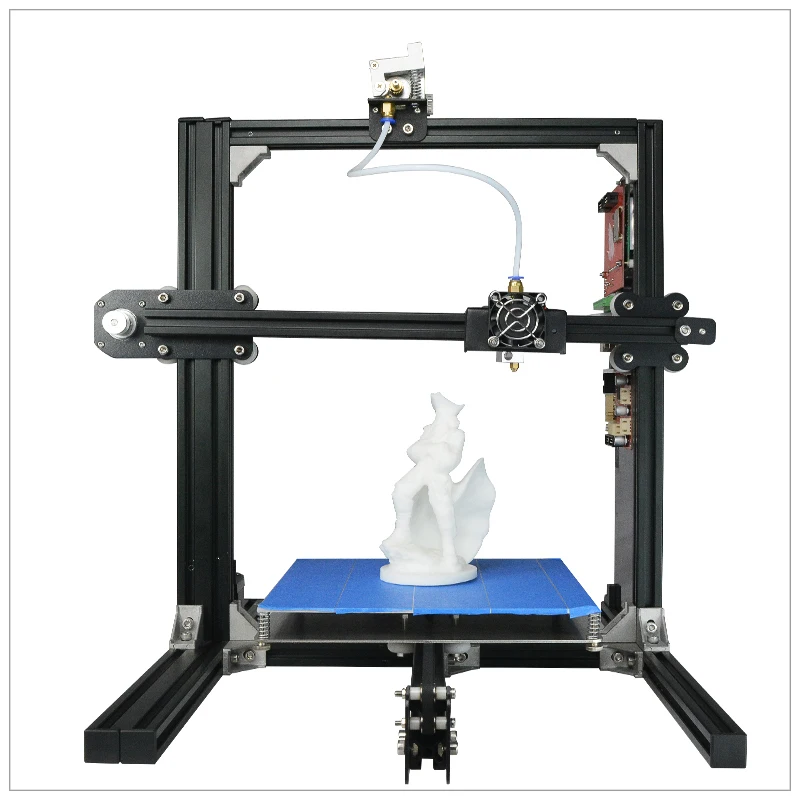 However, the basic issues are the same as with any other 3D printer: software and hardware limitations, material optimization, and multi-material printing. We won't talk much about software, except to mention that major publishers such as Autodesk, SolidWorks and SolidThinking all develop software products for use in metal 3D printing so that users can bring any shape imaginable to life. nine0003
Recently, there have been examples that 3D printed metal parts can be as strong as traditionally produced metal components, and in some cases even surpass them. Products created using DMLS have mechanical properties equivalent to those of solid cast products.
Let's take a look at the available metal 3D printing technologies:
Process #1: Powder Layer Fusion
The metal 3D printing process that most major companies use these days is known as powder layer fusion or sintering. This means that a laser or other high-energy beam fuses particles of evenly distributed metal powder into a single whole, thereby creating layers of the product, one after another. nine0003
There are eight major metal 3D printer manufacturers in the world, most of them located in Germany. Their technologies go under the acronym SLM (Selective Laser Melting) or DMLS (Direct Laser Metal Sintering).
Process #2: Binder Jetting
ExOne 3D prints metal parts by applying a binder before firing in a furnace (Image: ExOne) high-temperature furnace, where the particles are fused under pressure, making up a single metal whole. The printhead applies the coupling solution to the powder substrate in layers, like a conventional printer on sheets of paper, after which the product is sent to firing. nine0003
Another similar, but strikingly different technology based on FDM printing - mixing metal powder into metal paste. With the help of pneumatic extrusion, the 3D printer extrudes it, similar to how a 3D construction printer does with cement, to form 3D objects. After the desired shape is printed, the objects are also sintered in an oven.
This technology is used by the Mini Metal Maker, possibly the only metal 3D printer available ($1600). Add the cost of a small kiln. nine0003
Process # 3: Fused Fusion
You might think that there is no FDM-like technology among metal printing technologies, but this is not entirely true. Of course, you won't be able to melt metal filament in the hot end of your 3D printer, but the big manufacturers have the technology and use it. There are two main ways to print with solid metal material.
One of them is called DED (Directed Energy Deposition) or laser cladding. It uses a laser beam to fuse metal powder, which is slowly released and deposited from an extruder to form layers of an object using an industrial manipulator. nine0003
This is usually done inside a closed chamber, however, the recent MX3D project has implemented a similar approach to 3D printing in the construction of a real full size bridge.
The other is called EBM (Electron Beam Manufacturing), a technology for forming layers of metal raw materials under the influence of a powerful electron beam, with its help create large and very large structures.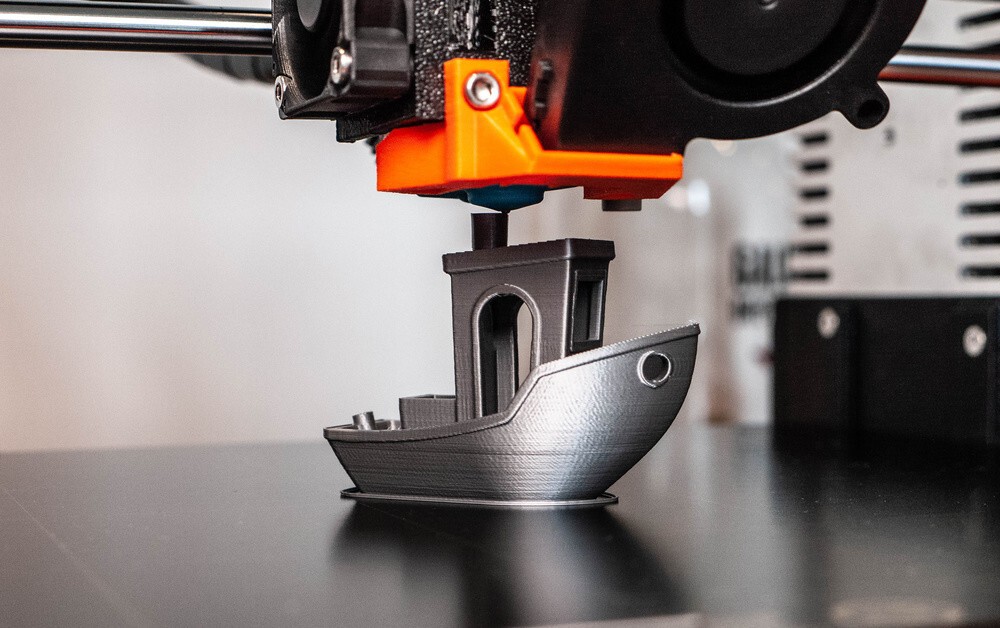 If you do not work in the defense complex of the Russian Federation or the United States, then you are unlikely to see this technology alive. nine0003
A couple of new, barely emerging technologies, used so far only by their creators, are presented below - in the section on printers.
Metals used
Ti - Titanium
Pure titanium (Ti64 or TiAl4V) is one of the most commonly used metals for 3D printing, and certainly one of the most versatile as it is both strong and light . It is used both in the sintering of powder layers, mainly in the medical industry (in personalized prosthetics), and in the aerospace and automotive industries (for the manufacture of parts and prototypes), and in other fields. The only catch is that it is highly reactive, which means it can explode easily when in powder form, so it should definitely only be used for printing in an inert Argon gas environment. nine0003
SS - Stainless Steel
Stainless steel is one of the most affordable metals for 3D printing.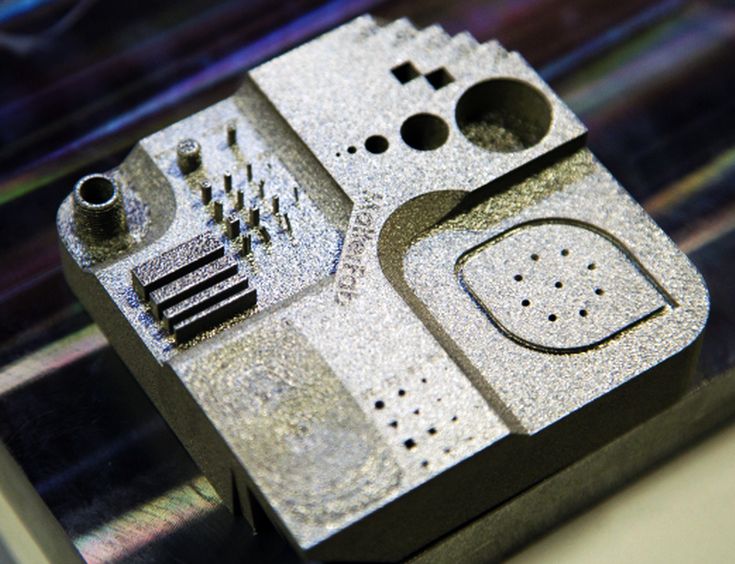 At the same time, it is very durable and can be used in a wide range of industrial and even artistic applications. This type of steel alloy containing cobalt and nickel has high elasticity and tensile strength. 3D printing of stainless steel is used mainly only in heavy industry.
Inconel
Inconel is a superalloy produced by Special Metals Corporation, a patented trademark. It consists mainly of nickel and chromium and has high heat resistance. That is why it is used mainly in the oil, chemical and aerospace industries (for example: to create distribution nozzles, on-board "black boxes").
Al - Aluminum
Due to its inherent lightness and versatility, aluminum is currently a very popular metal for 3D printing applications. It is usually used in the form of various alloys, forming their basis. But aluminum powder is explosive and is also used in printing in the inert gas Argon. nine0003
CoCr - Cobalt Chromium
This metal alloy has a very high specific strength.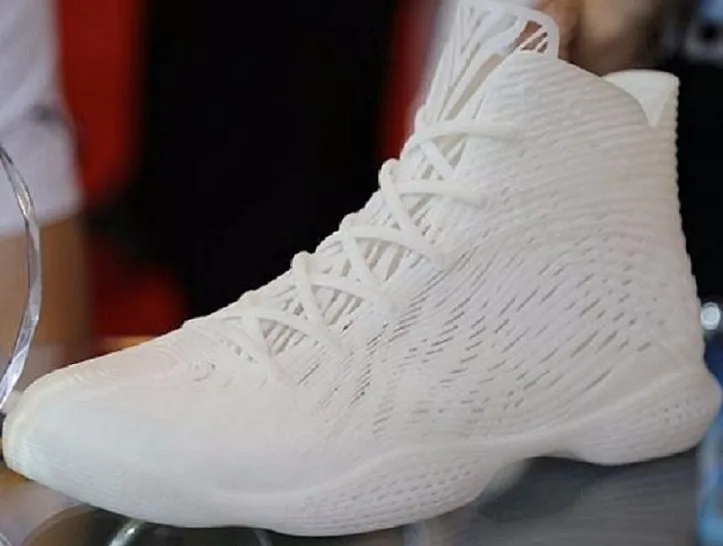 Most often it is used for 3D printing of dental crowns, bridges and clasp prostheses.
Cu - Copper
With rare exceptions, copper and its alloys - bronze, brass - are used for casting using burnt patterns, and not for direct metal printing. This is because their properties are far from ideal for industrial 3D printing applications, they are more commonly used in arts and crafts. However, they are being added to plastic filament for 3D printing on conventional 3D printers with great success. nine0003
Fe - Iron
Iron and magnetite are also commonly used as additives to PLA filament. In large-scale industry, pure iron is rarely used, and we wrote about steel above.
Au, Ag - Gold, silver and other precious metals
Most 3D printers can work with precious metals such as gold, silver and platinum. The main task when working with them is to ensure the optimal consumption of expensive material. Precious metals are used in 3D printing of jewelry and medical products, as well as in the production of electronics.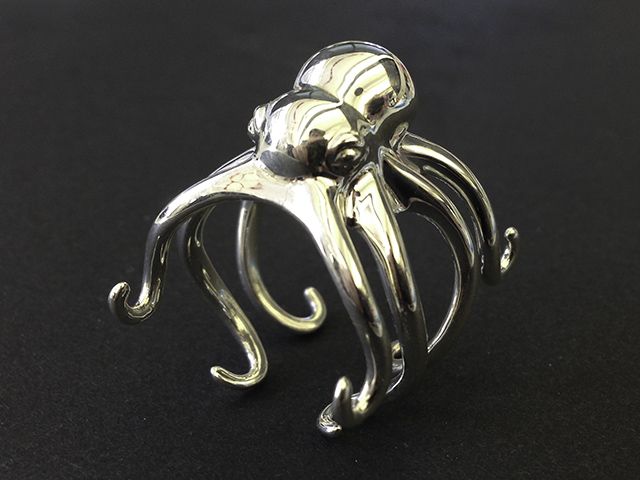 nine0003
Metal 3D Printer
# 1: Sciaky EBAM 300 - Titanium Bar
For printing really large metal structures, Sciaky's EBAM is the best choice. This device can be any size, to order. It is used primarily in the US aerospace and defense industries.
As a production model, Sciaky sells the EBAM 300. It has a working area with sides of 5791 x 1219 x 1219 mm.
The company claims that the EBAM 300 is also one of the fastest commercially available industrial 3D printers. Structural elements of aircraft, the production of which using traditional technologies could take up to six months, are now printed within 48 hours. nine0003
Sciaky's unique technology uses a high power electron beam gun to melt 3mm thick titanium filament, with a standard deposition rate of about 3-9 kg/h.
#2: Fabrisonic UAM - ultrasonic
Another way to 3D print large metal parts is Ultrasound Additive Manufacturing Technology (UAM) from Fabrisonic.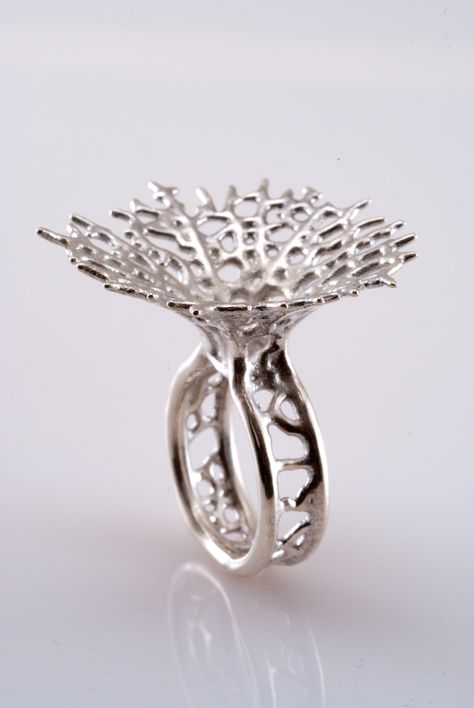 The brainchild of Fabrisonic is a three-axis CNC machine with an additional welding head. The metal layers are first cut and then welded together using ultrasound. Fabrisonic's largest 3D printer, the “7200”, has a build volume of 2 x 2 x 1.5 m.
# 3: Laser XLine 1000 - metal powder
One of the largest metal powder 3D printers on the market has long been Concept Laser's XLine 1000. It has a build area of 630 x 400 x 500mm and takes up space like a small house.
The German company that made it, which is one of the suppliers of 3D printers for aerospace giants such as Airbus, recently introduced a new printer, the XLine 2000.
2000 has two lasers and an even larger build volume of 800 x 400 x 500 mm. This machine, which uses patented LaserCUSING technology (a type of selective laser melting), can create objects from alloys of steel, aluminum, nickel, titanium, precious metals, and some pure materials (titanium and bar steels.)
Machines like this one are available all major players in the metal 3D printing market: EOS, SLM, Renishaw, Realizer and 3D Systems, as well as Shining 3D, a rapidly growing company from China.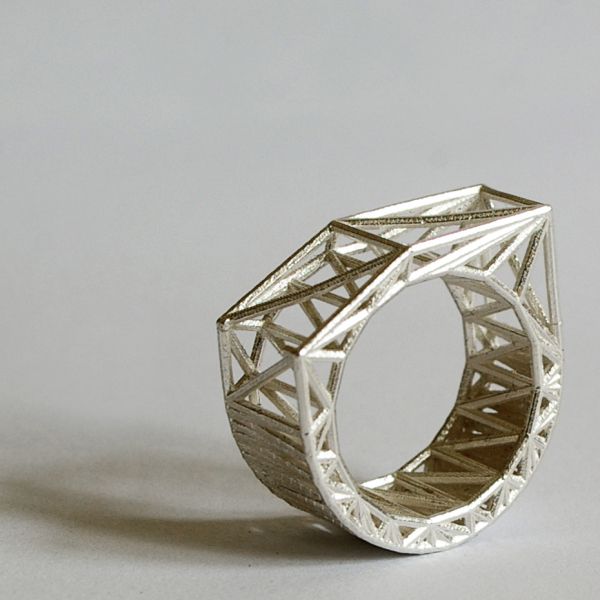 nine0003
# 4: M Line Factory - Modular 3D Factory
Displacement: 398.78 x 398.78 x 424.18 mm
1 to 4 lasers, 400 to 1000W each.
The M Line Factory concept is based on the principles of automation and interaction.
M Line Factory, from the same Concept Laser and operating on the same technology, does not focus on the size of the working area, but on the convenience of production - it is a modular architecture apparatus that divides production into separate processes in such a way that these processes can happen simultaneously, not sequentially. nine0003
This new architecture consists of 2 independent machine units:
M Line Factory PRD (Production Unit)
Production Unit consists of 3 types of modules: dosing module, printing module and overflow module (tray for finished products ). All of them can be individually activated and do not form one continuous piece of equipment. These modules are transported through a system of tunnels inside the machine. For example, when new powder is supplied, the empty powder storage module can be automatically replaced with a new one without interrupting the printing process. Finished parts can be moved outside the machine and immediately automatically replaced by the next jobs. nine0003
M Line Factory PCG (Processing Unit)
This is an independent processing unit that has an integrated sieving and powder preparation station. Unpacking, preparation for the next print job and sieving take place in a closed system, without the participation of the operator.
# 5: ORLAS CREATOR - ready to go 3D printer print directly from a complete CAD/CAM file of their own design. nine0003
All the necessary components are installed in a relatively compact case, which requires a space of 90x90x200 cm. It does not take up much space, although it looks impressive, and it weighs 350 kg.
As can be seen from the table given by the manufacturer, metal powder is sintered by a rotating laser system in layers 20-100 µm thick and with a “pixel” size of only 40 µm, in a nitrogen or argon atmosphere. You can connect it to a regular household power supply if your wiring can withstand a load of 10 amperes. Which, however, does not exceed the requirements of an average washing machine. nine0003
Laser power - 250 watts. The working area is a cylinder 100 mm in diameter and 110 mm in height.
# 6: FormUp 350 - Powder Machine Part Method (PMPM)
The FormUp 350 powered by Powder Machine Part Method (PMPM) was created by AddUp, a joint project between Fives and Michelin. This is the latest metal 3D printing machine, first introduced in November at Formnext2016.
The principle of operation of this 3D printer is the same as that of the above colleagues, but its main feature is different - it lies in its inclusion in PMPM. nine0003
The printer is designed specifically for industrial use in 24/7 mode and is designed for exactly this pace of work. The PMPM system includes quality control of all components and materials at all stages of their production and distribution, which should guarantee consistently high performance, in which Michelin has a huge long-term experience.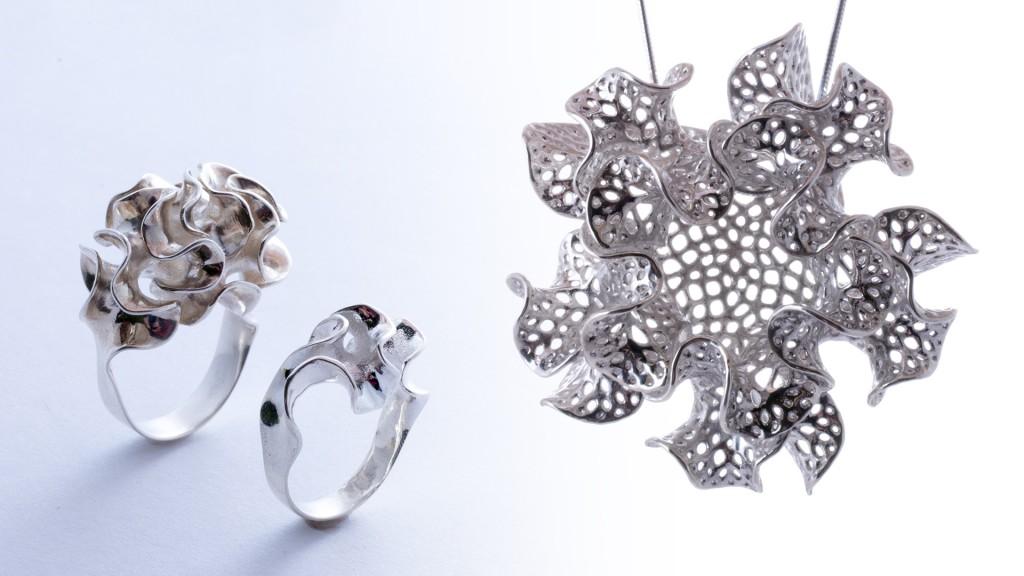
# 7: XJET - NanoParticle Jetting - metal inkjet printing
Nanoparticle injection technology involves the use of special sealed cartridges with a solution containing a suspension of metal nanoparticles. nine0003
Nanoparticles are deposited and form the material of the printed product.
Taking into account the declared features of the technology (the use of nano-sized metal particles), it is easy to believe the creators of the device when they claim its unprecedented accuracy and print resolution along all three geometric axes.
# 8: VADER Mk1 - MagnetoJet - metal inkjet printing
Zack Vader's MagnetoJet technology is based on the study of magnetohydrodynamics, and more specifically, the ability to control molten metal using magnetic fields. The essence of the development is that a drop of a strictly controlled size is formed from molten aluminum, and these drops are used for printing. nine0003
The size of such a droplet is from 200 to 500 microns, printing occurs at a speed of 1000 drops per second.
Working area of the printer: 300 mm x 300 mm x 300 mm
Working material: Aluminum and its alloys (4043, 6061, 7075) cheaper.
The Mk2 is planned for 2018 with 10 printheads, which should increase print speed by up to 30 times.
Well, let's see how they manage. nine0003
# 9: METAL X - ADAM - Atomic Diffusion
Markforged introduced a new 3D metal printing technology - ADAM, and a 3D printer working on this technology - Metal X.
ADAM (Atomic Diffusion Additive Manufacturing) - atomic diffusion technology. Printing is done with metal powder, where the metal particles are coated with a synthetic binder, which is removed after printing, allowing the metal to fuse together.
The main advantage of the technology is the absence of the need to use ultra-high temperatures directly in the printing process, which means that there are no restrictions on the refractoriness of the materials used for printing.