3D printing with light
3D printing with light
- Nature Video
Researchers develop new type of 3D printer - 'the replicator'.
- Noah Baker
- Noah Baker
View author publications
You can also search for this author in PubMed Google Scholar
You have full access to this article via your institution.
Download PDF
Conventional 3D printers build up an object layer by layer. Now a new technique prints entire objects in one go, by solidifying liquid resin using projected light.
doi: https://doi.org/10.1038/d41586-019-00410-8
-
The maser goes mainstream: Diamond microwave lasers
-
Printing Lucy
-
Acoustic holograms
Subjects
- Technology
- Materials science
Latest on:
Jobs
-
Apprentices as Precision Mechanic (f/m/d)
Helmholtz-Zentrum Berlin for Materials and Energy (HZB)
Berlin, Germany
-
Leading Talents Position in Shandong Institute of Brain Science and Brain-inspired Research, Shandong First Medical University
Shandong Institute of Brain Science and Brain-inspired Research, Shandong First Medical University
Jinan, China
-
Postdoc - Harschnitz Group - NeuroCOV project
Human Technopole
Milan, Italy
-
AI engineer in computational biology
Flanders Institute for Biotechnology (VIB)
Leuven, Belgium
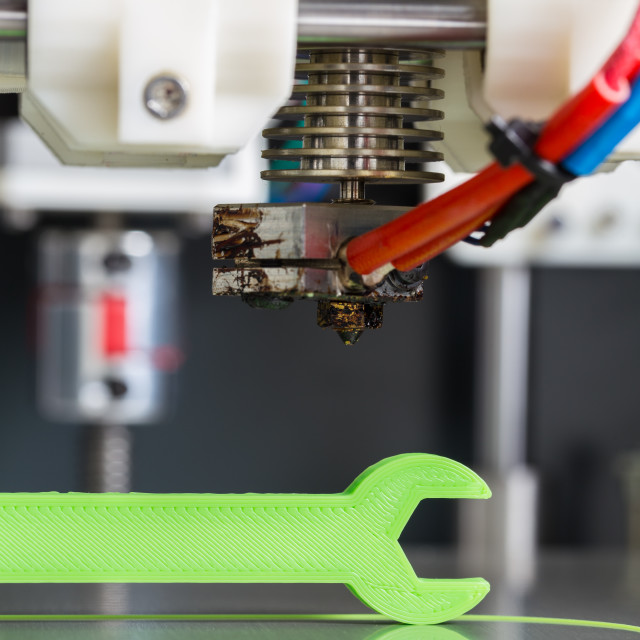
Light up your 3D prints with LEDs and bulbs!
Robots, automatic pet feeders, movie props, drones – the list of cool projects that combine the power of 3D printing and electronics is endless. That said, some if not most of the projects can be pretty intimidating. And you can get discouraged easily when you realize, that you need to learn how to solder, write your own code for Arduino or even design a circuit board. Fear not, because this time you won’t need any of that and yet we’ll light up our 3D prints!
Generally speaking, you have three options when it comes to simple light sources that work well with 3D prints:
- LED strips
- LED lightbulbs
- Small diodes
Old-school bulbs are not suitable since they generate a lot of heat.
LED strips
One of the easiest ways to add lights to your 3D prints are LED strips. They’re cheap, often come with a remote, they’re available both white and RGB and most importantly, they are easy to power. You could buy a whole roll of RGB LED strip and use your own LED controller and power supply, but not this time – we said no soldering! So instead we suggest buying an LED strip with a USB connector. This way, you can power it with any old phone charger, your PC, or a power bank.
The obvious downside of USB is its limited power, so you can’t get really long or extremely powerful LEDs. But really powerful LEDs can get pretty hot, so we wouldn’t want to use them anyway, especially with PLA.
LED strips always come with a double sided tape applied to their bottom side, so it’s really easy to install them. If you stick them on the inside wall of a box you can get nice and even illumination. Then print a front plate with a text or a logo and you’ll end up with a similar result as our recording sign.
Alternatively, you can print and wrap a cylinder with the LEDs and this way you’ll have the light coming from the center of the object. Consider printing a diffusor from, for example, clear PETG. That will make the illumination more even and hide the individual LED chips, as seen on this Voronoi/triangles lamp.
Also, LED strips work great as a light source for the build plate. You just have to print a simple light bar holder and attach it to the top of the frame.
Here are some USB LED strip listings, but you can most likely get them in your local electronics store as well:
- Aliexpress
- US Amazon
- UK Amazon
Waterproof or non-waterproof strip led strips?
Whenever you can, go with the non-waterproof version. The GEL coating that manufacturers use to waterproof the LED strip adds weight, makes the strip much harder to bend or shape. Last but not least – without direct contact with air, the LED chips will run hotter. The gel coating is pretty much unnecessary for our use.
Cutting LED strips
A cool thing about LED strips is that you can cut them with regular scissors to adjust the desired length.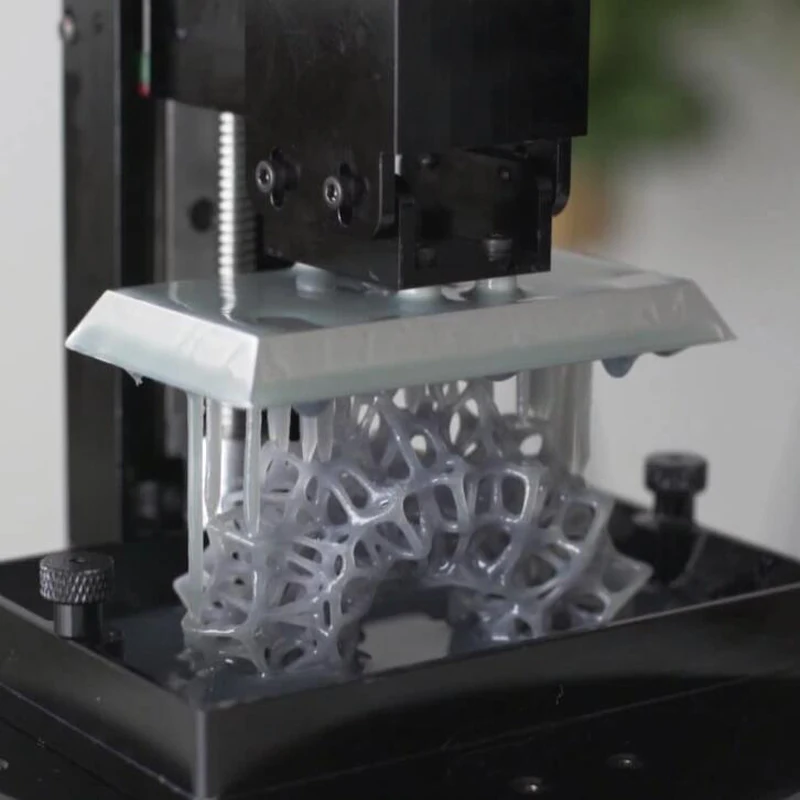 The spots, where you can cut, are always clearly marked, so make sure to watch out for them.
LED Lightbulbs
Using lightbulbs with 3D prints is pretty straightforward, you just have to buy a lightbulb socket with a cord and attach it to your 3D print. We really like the IKEA SEKOND cord set. It has a nice textile sleeve for the cable and comes in a variety of colors.
There are a few commonly used sizes of sockets:
- Medium or Standard: E27 (diameter of 27 mm)
- E27 is usually interchangeable with E26
- Intermediate: E17 (diameter of 17 mm)
- European: E14 (diameter of 14 mm)
- Candelabra: E12 (diameter of 12 mm)
Oldschool light bulbs were terribly inefficient and used to produce a ton of heat, which would be a problem with our printed parts. Luckily for us, LED light bulbs are mainstream these days, and the amount of heat they produce is significantly lower. Still, be mindful of this and check how hot does your light bulb get.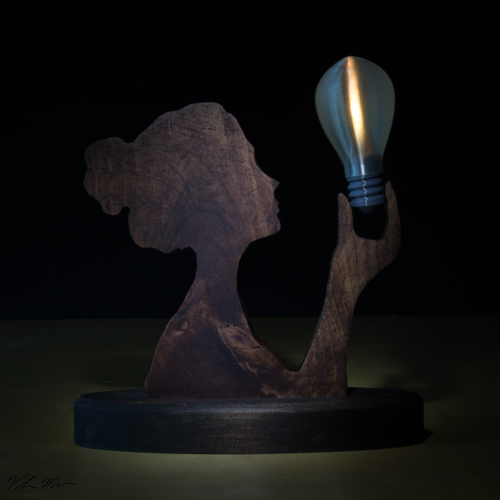
It’s quite likely, you’re not going to 3D print all of your lamp shades, maybe just a few as a cool design piece. In that case, modern smart bulbs are a great way to make your creation even cooler! They can be controlled with a voice assistant (Google Home, Alexa, Apple Homepod) and change color on demand.
Here are some smart light bulb options:
- Xiaomi Yeelight – significantly cheaper than the competition, yet fully featured
- Phillips Hue – expensive, but lots of fancy accessories
- LIFX – expensive, but greater maximum brightness
Whichever lightbulb or cord set you choose, there is one challenge in front of you. And that’s hooking up the power. Mains electricity voltage, which light bulbs run on, varies between 120V to 230V. Either of which is high enough to seriously burn you or even kill you.
So if you don’t know what you’re doing, please just stop right here and consider asking someone with more experience for help. But if you know what you’re doing it’s as simple as switching the circuit breaker off, triple checking that it actually is off, connecting the phase (brown/black) and neutral cable (blue), insulating the connection and turning the power back on. Most cord sets even come with a quick release mechanism for the cable connection.
Model links
- “Recording – quiet please” backlit sign
- Voronoi/triangles lamp
- Zuzanna lamp on Cults3D
- Ribbon lamp on Cults3D
- Prusa LED lightbar
- LED bridge lamp
- Halloween Crow on Thingiverse
Small diodes
The two previous solutions were for rather big prints. In contrast to that, individual diodes can be really tiny and fit almost everywhere. They’re usually powered by 3.3V, which is (un)coincidentally the voltage of most button cells, a type of small batteries.
For under $10 you can get a set of hundreds of LED diodes in various colors, which will usually last you, well, forever.
LED diodes on:
- Amazon US
- Amazon UK
- Aliexpress (just $0.80 per 100)
And to attach the battery to the diode, you can either use a rubber band or a printed part.
We’ve used this technique in our Halloween crow and in our miniature tabletop gaming article.
Conclusion
We’ve just scratched the surface with using electronics in 3D prints. But it’s often easy to overcomplicate things, even when it’s not necessary at all. Add even a small light to your 3D print and the result will go from good to awesome! Now we want to see what you’ll come up with! Post your creations on Twitter with the handle @Prusa3d, on Instagram with the hashtag #prusa or in any of our fan facebook groups. Happy printing!
Photopolymer 3D printer
3D printers can be sorted not only by the printing technologies used, but also by the consumables used. In this section, we will look at devices that use photopolymer resins to build models.
- 1 Consumables
- 2 Laser stereolithography (SLA)
- 3 Projector stereolithography (DLP)
- 4 Multi-jet (MJM and PolyJet)
- 5 3D pens
- 6 Additional illumination
Consumables
Photopolymer resins are liquid polymers that harden when exposed to light. As a rule, such materials are sensitive to the ultraviolet range, which determines the design of photopolymer printers. One of the common design elements is a transparent colored cap or housing made of a material that filters ultraviolet radiation. This is done both to protect the user's eyes and to protect the supplies inside the printer from exposure to sunlight and background lighting. nine0003
Photopolymer resin loaded into Form 1 3D printer
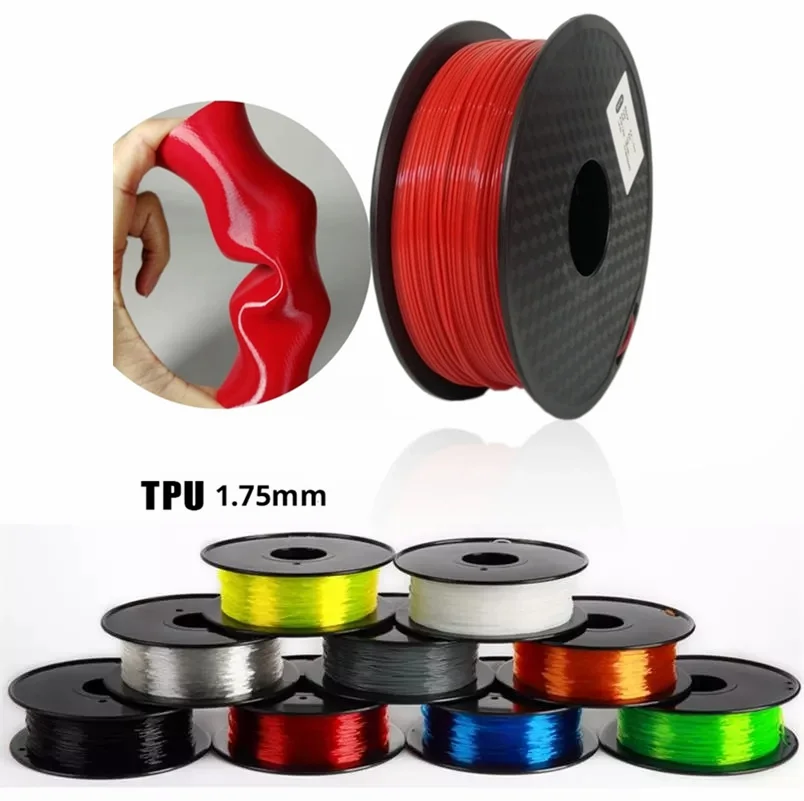
The physical properties of resins after polymerization vary widely. Both rigid and flexible options are available, transparent and matte. A wide selection of colors is also available. Resin consistency and exposure times also vary, so a range of compatible media should be considered when choosing a printer.
The last aspect to consider when choosing a material is its toxicity. There are both quite toxic options and biologically safe ones. nine0003
The cost of consumables can be considered the Achilles' heel of photopolymer printing. The plants themselves are already reaching quite acceptable price levels, but it is still quite difficult to find inexpensive photopolymer resins. It is hoped that the proliferation of inexpensive photopolymer printers will lead to an increase in the production of consumables and lower prices.
Laser Stereolithography (SLA)
SLA Model
The firstborn of photopolymer printing and modern 3D printing in general. The technology was developed in 1984 by Charles Hall, who later founded 3D Systems.
SLA printers use laser emitters to cure the photopolymer supply.
A typical SLA printer consists of a consumable tray sitting under a build platform driven vertically by a raise/lower mechanism.
Alternatively, the cuvette itself can be driven - what matters is the relative movement of the platform and the container. Above the cuvette is a laser emitter and a mirror system for deflecting the laser beam. nine0003
During the printing process, the platform is immersed in the consumable for the thickness of one layer of the digital model.
Since photopolymer resins can be quite thick, a leveling mechanism is often used to speed up the process.
SLA printer operation scheme
After leveling, the process of illumination of the material begins. Illumination is produced by laser irradiation. Most photopolymer resins are designed to cure (polymerize) when exposed to ultraviolet light, which determines the choice of laser frequency. The movement of the beam along the X and Y axes is determined by the operation of the deflecting mirrors. nine0003
After the drawing of the layer is completed, the platform is immersed in the material for the thickness of one more layer, and the process is repeated with the drawing of the next layer of the digital model.
Model building animation
SLA printing takes quite a long time, and printers using this method tend to have relatively small build areas.
This is mainly due to the high cost of laser emitters: printing large objects with a single laser will take too much time, and installing additional emitters and mirrors will complicate the design, increase the dimensions of the installation and raise the price to an unacceptable level for most users. nine0003
Despite the success of this technology, projected stereolithography is considered to be a more promising, although very similar method.
Projector Stereolithography (DLP)
Formlabs Form 1 Desktop DLP Printer
A close relative of laser stereolithography, this method uses digital LED projectors instead of laser machines with mirror deflection systems.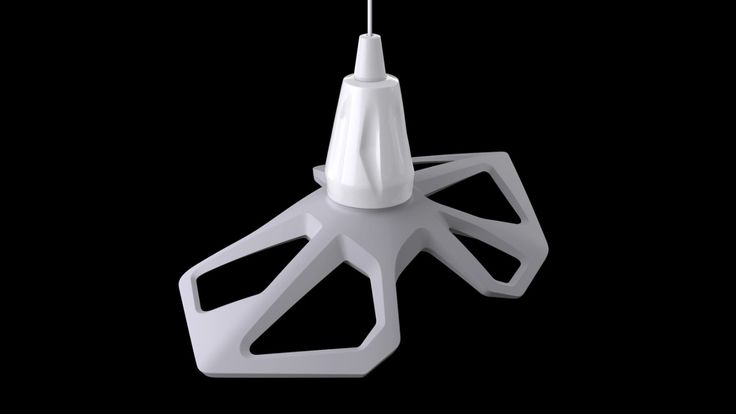 The method became popular due to the development of technology for the production of low-cost high-resolution digital projectors by Texas Instruments. nine0003
Layers are illuminated using a digital projector that highlights patterns of the entire layer, which distinguishes this method from SLA, where the "picture" emerges progressively using an ultraviolet laser.
A similar approach has previously been used on SGC-type units, but this technology used physical photomasks, making the process expensive, time consuming, slow and noisy.
FTI continues to exist, a development of SGC that is almost indistinguishable from DLP printing, as it also uses digital LED projectors. nine0003
DLP printer design
Simultaneous illumination of an entire layer using projectors can significantly speed up the printing process even compared to SLA printers that have a high scanning speed (ie beam movement).
In addition, these printers are less sensitive to rough physical impact due to the absence of delicate mirror systems.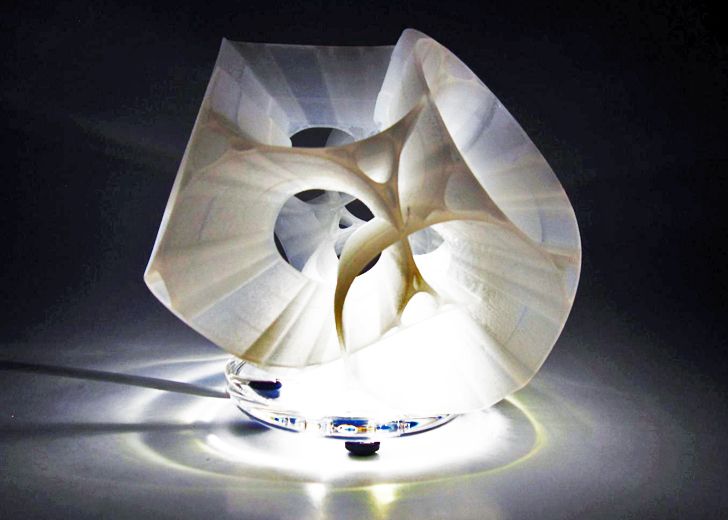
The absence of mechanical mirror systems improves accuracy. Finally, the cost of projectors sets them apart from laser systems. nine0003
Projection size can be quite significant, reaching the average of popular FDM printers.
An interesting feature of DLP printers is the ability to "reverse" or "reverse" printing.
In this case, the projector is installed under a transparent (material choice for transparency in relation to ultraviolet light) cuvette, and the platform does not sink into the material, but gradually rises, pulling out the layers of exposed polymer. nine0003
This approach eliminates the alignment mechanism and achieves even higher Z resolution than SLA printers.
In addition, the size of models in height is not limited by the depth of the cuvette, which favorably affects the dimensions of the printer and the possibility of increasing the build area.
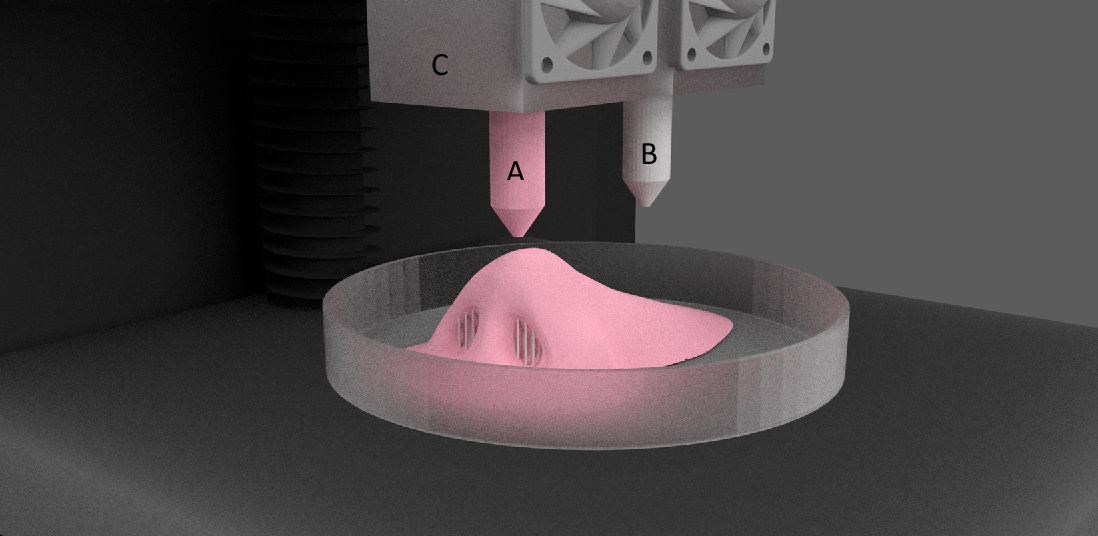
Multi-jet printing (MJM and PolyJet)
3D Systems ProJet 3500HDMax MJM printer
MJM and PolyJet technologies are practically indistinguishable from each other.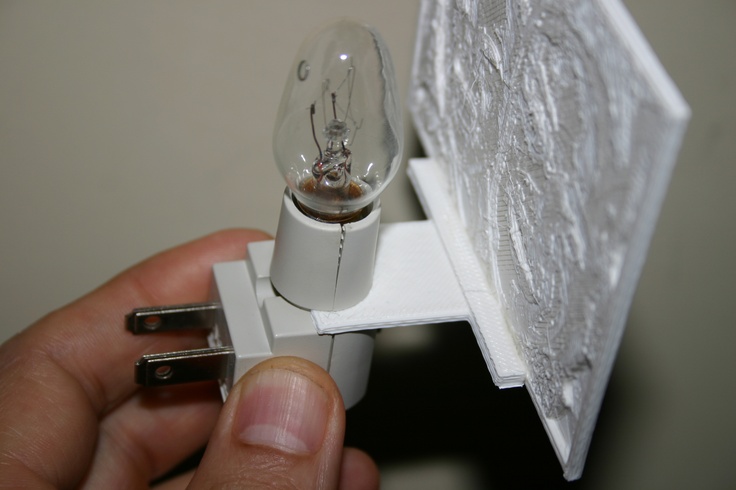 The name difference comes from the respective patents: Multi Jet Modeling is owned by 3D Systems, while PolyJet is owned by rival Stratasys. nine0003
The very principle of multi-jet polymer printing was developed by the Israeli company Objet, which eventually became a division of Stratasys.
Multi-jet printing technology combines features of 3D inkjet printing (3DP) and projection stereolithography (DLP).
How the MJM PolyJet printer works
Models are built by spraying photopolymer using linear arrays consisting of multiple nozzles.
The applied layer is immediately exposed to ultraviolet lamps - as a rule, two processes occur simultaneously.
By the time the array reaches the end of the build chamber, the previously deposited material is hard enough to print a new layer.
Composite models created on the ProJet 3500 DP dental printer
This approach allows to achieve very high printing speed, but is characterized by high design complexity, which negatively affects the cost of such installations and limits their distribution to professional use. nine0003
One of the advantages of MJM and PolyJet technologies is the ability to create composite structures from photopolymer resins with different physical characteristics.
It is therefore possible to create models with easily removable supports, use multiple colors and use flexible and rigid materials in parallel within the same model.
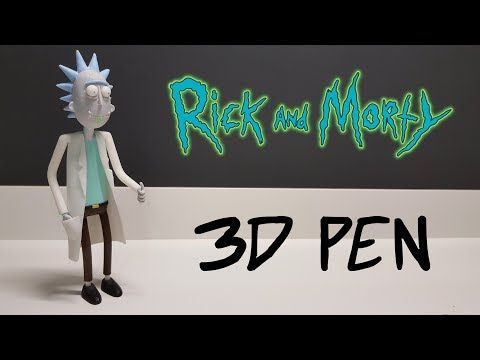
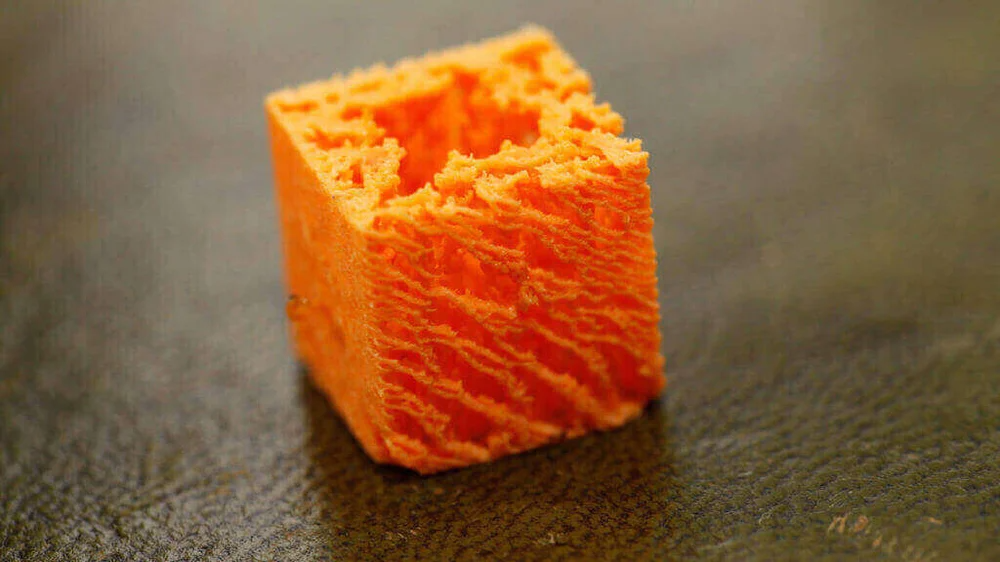
3D Pens
CreoPop 3D Pen
Recently, there has been a craze for hand-held printing devices called 3D pens. At the moment, there are three main options for such devices: drip-jet pens (DOD), called BioPen and used in the development of new methods for treating damaged tissues, FDM 3D pens, which are manual extruders (essentially similar to the usual hot glue guns, but using thermoplastics) and developments in 3D-drawing with photopolymer resins.
CreoPop 3D pen was the first "handheld resin printer". The design of this device is quite simple, because the most complex function, positioning, is performed by the user himself.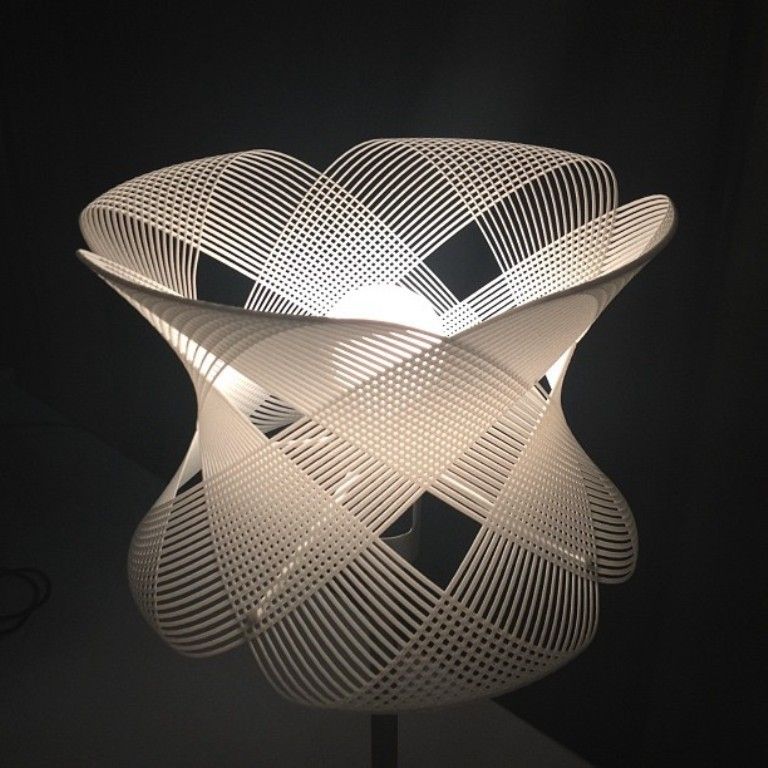 The pen only extrudes resin through the tip surrounded by LED emitters. nine0003
CreoPop 3D pen in action
This way the resin hardens immediately after application, allowing you to literally draw on air.
The advantage of such handles over FDM-analogues is the low operating temperature – there are no heating elements in the device. As a result, with such pens you can even draw on the skin.
In addition, a wide range of photopolymer resins with different physical properties can be used with such devices, which greatly expands the range of possible applications. At a minimum, this is a relatively inexpensive, but entertaining toy. nine0003
The only drawback is the relatively high cost of consumables, but such devices are unlikely to require large volumes of photopolymer resin when used in everyday life.
Additional Lighting
Final Lighting of Resin Models in a Homemade Camera
Full curing of models can take quite a long time, so models during SLA and DLP printing are only partially polymerized, sufficient to maintain the physical shape of the part.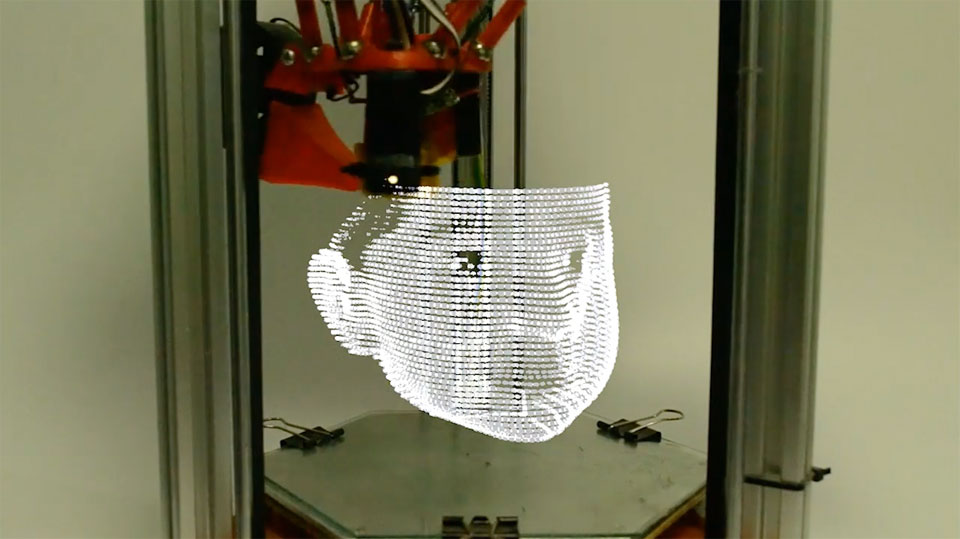 nine0003
After production, the models are usually placed in chambers equipped with ultraviolet lamps until fully cured. Of course, if possible, you can simply lay out the models in the sun - the effect will be the same.
Just keep in mind that ordinary glass practically does not transmit ultraviolet light, so exposure to sunlight must be direct.
If desired, a UV-transparent quartz glass container can be used. nine0003
Go to the main page of the Encyclopedia of 3D Printing
DLP 3D printing | Description and features of the methodology
What is DLP 3D printing?
DLP 3D printing is an additive manufacturing technique that uses liquid photopolymer resins to build objects that are cured by light waves. “Yes, this is an SLA print!” - exclaim those who are already familiar with the methods of additive manufacturing. Indeed, the principle of operation of these two technologies is almost identical. However, the curing of the object in DLP printing occurs under the influence of a different light source.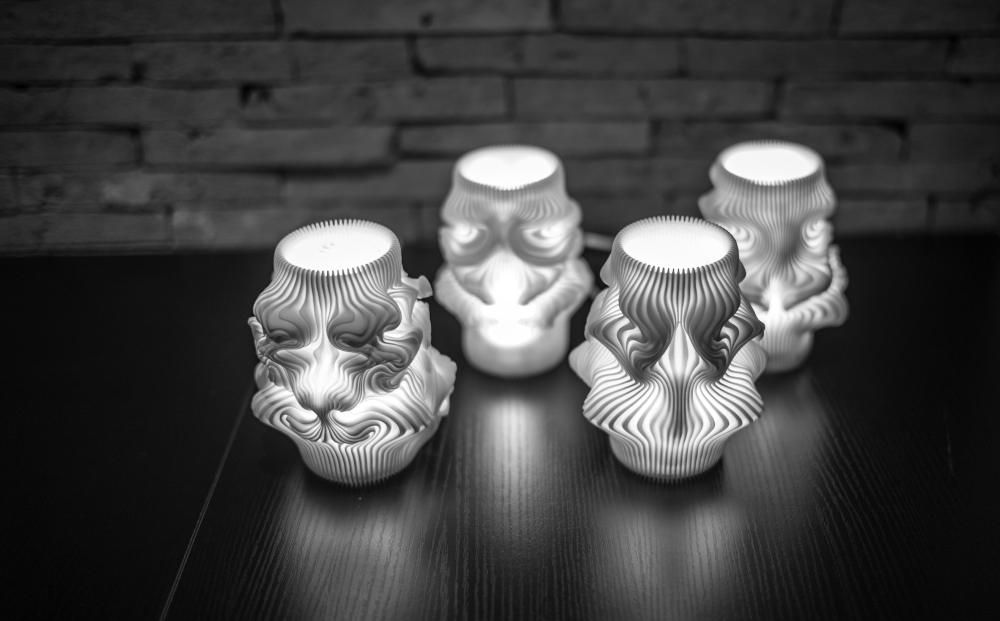 nine0003
In general, DLP 3D printing can be described as a direct analogue of SLA 3D printing, in some aspects even superior to it. For example, the print speed in DLP 3D printers is an order of magnitude higher than in SLA devices. And the difference in fidelity varies depending on the specific equipment and consumable, and is generally small. Now let's move on to the technical aspects and talk about the principle of operation of DLP technology.
Technology Description
As with all 3D printing technologies, the first step in manufacturing a physical object is to create a 3D digital model of it. We will not delve into the details of this stage, you can read more about 3D modeling for 3D printing here. The finished 3D model is loaded into a slicer program designed to set print settings and “cut” the model into layers. This step also generates supporting structures under the overhanging elements of the object. The received settings are saved, the model is converted into a control code for a 3D printer. Now you can start printing. nine0003
Above we mentioned the similarities between DLP and SLA 3D printing. It's time to talk about their difference and how DLP printers work. Instead of a laser machine (as in SLA), DLP 3D printing works with a special projector as a light source. This technique is not new: you can also find such DLP projectors in other, more common devices, for example, in TVs. Here they are also used for curing liquid consumables - photopolymer resins.
As in SLA printing, there are two options for DLP 3D printing devices: in one, the object is built from the bottom up (the working platform goes down), and vice versa (the working platform goes up). In our article, we will consider DLP 3D printing using both types of devices as an example.
Reverse DLP 3D printing
So, a special container of a 3D printer is filled with photopolymer resin to a certain level. The building platform is lowered into the container so that the gap between it and the bottom is equal to the height of one layer.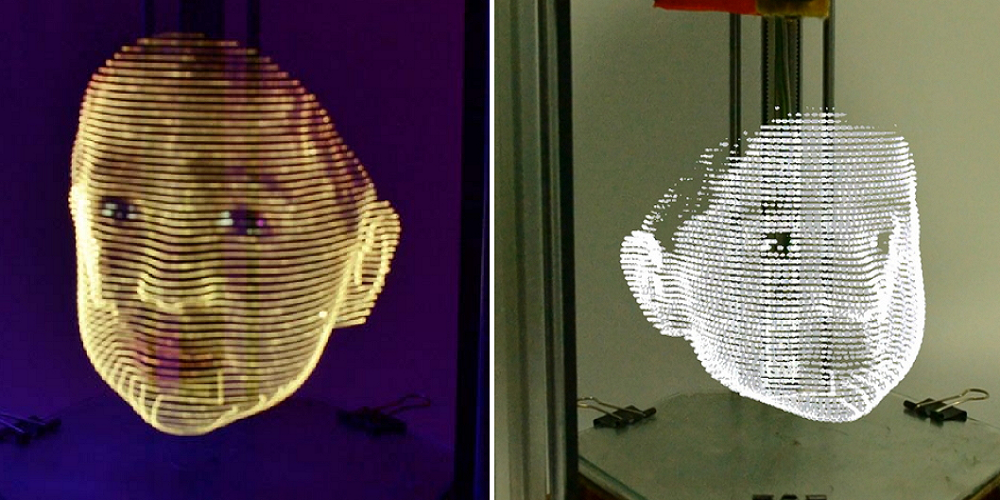 Under the tank is a DLP projector. Light corresponding to the section of the first layer of the model is projected onto the platform. After its curing, the platform rises and the illumination of the second layer begins. nine0003
So, step by step, a physical object is created. Upon completion of printing, the platform rises above the level of the photopolymer, the product is removed and cleaned of the remnants of the consumable. After that, it is necessary to perform the final illumination in a UV lamp for complete curing of the material.
Direct DLP 3D printing
Unlike reverse printing, the DLP projector is located on top, above the resin tank. In this case, the working platform is located directly in it. To build the first layer, the platform rises so that the gap between it and the surface of the consumable corresponds to the height of the first layer. nine0003
The cross section of the first layer is projected onto the platform, curing the photopolymer, after which the platform is lowered down to the height of one layer. These steps are repeated until the complete construction of the product. Further actions are identical to those described in the previous paragraph: the object is removed, cleaned of consumables and subjected to additional illumination.
Benefits
Why is DLP 3D printing so interesting? What features of it help this technique to gain more and more popularity every day? Let's watch:
- Faster print speed than SLA 3 D printers. Unlike laser stereolithography, DLP 3D printing projects an entire layer onto the photopolymer at once, and does not gradually pass through its sections with a laser. Due to this, the speed of creating products increases several times;
- High print precision. In terms of the accuracy of the created objects, DLP 3D printing is in no way inferior to SLA 3D printing: the layer height in this technique can reach 15 microns! However, it all depends on the type of 3D printer and the specific material; nine0006
- Large selection of consumables.
 As for photopolymers, their range in the 3D printing market is so wide today that it is sometimes difficult to decide. Moreover, often DLP 3D printers can work with the same consumables as SLA printers;
 - Affordable equipment price. DLP projectors are much cheaper than laser systems, which affects the cost of 3D printers for DLP printing for the better. Technology is developing rapidly and many today are opting for digital LED projection. nine0006
Among the shortcomings, it is worth highlighting only the rather high cost of consumables.
Materials used
DLP 3D printing works with liquid photopolymer resins (much the same as SLA 3D printing). Some consumables are even suitable for both methods. It depends on the wavelength of illumination and consumables. However, even specifically for digital LED projection, excellent professional lines of photopolymer resins have been developed. nine0003
So, today in the 3D printing market you can find flexible and rigid materials, transparent photopolymers and resins of a wide variety of colors.