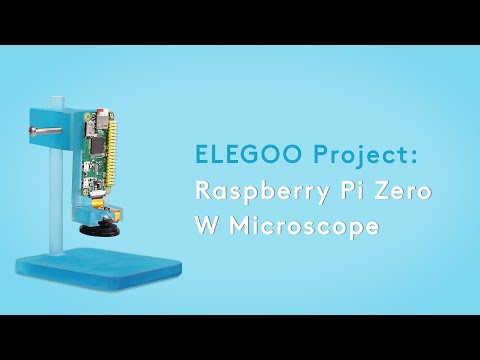
3D printing microscope
Install the Software
Raspbian-OpenFlexure
Download Raspbian-OpenFlexure
The simplest way to set up the Raspberry Pi is to download the pre-built SD card image that contains a full operating system with all the necessary software (the OpenFlexure server and OpenFlexure Connect) pre-installed.
Raspbian OpenFlexure
Full desktop OS.
Includes full graphical microscope control software.
Required:
Raspberry Pi 2 Model B (1GB RAM)
(or better)
Recommended:
Raspberry Pi 4 Model B (2GB RAM)
(or better. 8GB model not supported)
Raspbian OpenFlexure Lite
Minimal OS without desktop.
You will need another computer to control the microscope graphically.
Required:
Raspberry Pi 1 Model B+ (512mb RAM)
(or better)
Recommended:
Raspberry Pi 2 Model B (1GB RAM)
(or better. 8GB model not supported)
Write your SD card
A guide explaining how to install a Raspberry Pi operating system image onto an SD card can be found here on the Raspberry Pi website. You will need another computer with an SD card reader to install the image.
The default username is pi, with a default password openflexure.
First boot
Connect your Pi to a display, mouse, keyboard, and power. When the Pi first boots, you will be asked to complete a quick setup, before rebooting.
After rebooting, the OpenFlexure Microscope Server should run automatically. You no longer need to connect the microscope to a display or peripherals if you’re using the microscope from another computer. The server application will handle all communication to the microscope.
OpenFlexure Connect
OpenFlexure Connect is an electron-based client for the OpenFlexure Microscope. It allows for discovery of microscopes on the network and launches the Web App for control of the microscope and basic capture management.
Download OpenFlexure Connect
There is no need to download OpenFlexure Connect onto your Raspberry Pi. It’s already included with Raspbian-OpenFlexure.
Windows
Installer (x86-64)
Portable (x86-64)
Linux
AppImage (x86-64)
AppImage (ARM)
Mac OS
Currently, OpenFlexure Connect for Mac OS must be built from source. Instructions can be found in the Readme file on GitLab.
Use a Web Browser
Alternatively, you can access the OpenFlexure graphical interface from any web browser on a computer connected to the same network as your microscope.
You’ll need to know either your microscope’s IP address, or it’s hostname (by default microscope.local).
The interface runs on port 5000, and so can be accessed from either http://microscope.local:5000 or http://{your microscope's IP address}:5000 (inserting your IP address, for example http://192.168.1.60:5000).
Next steps
Use your Delta Stage
This 3D printable “laboratory-grade” open-source microscope will set you back $18
0Shares
A team of researchers at the University of Bath, UK, have developed an open-source design for a 3D printable “laboratory-grade” microscope, costing as little as $18.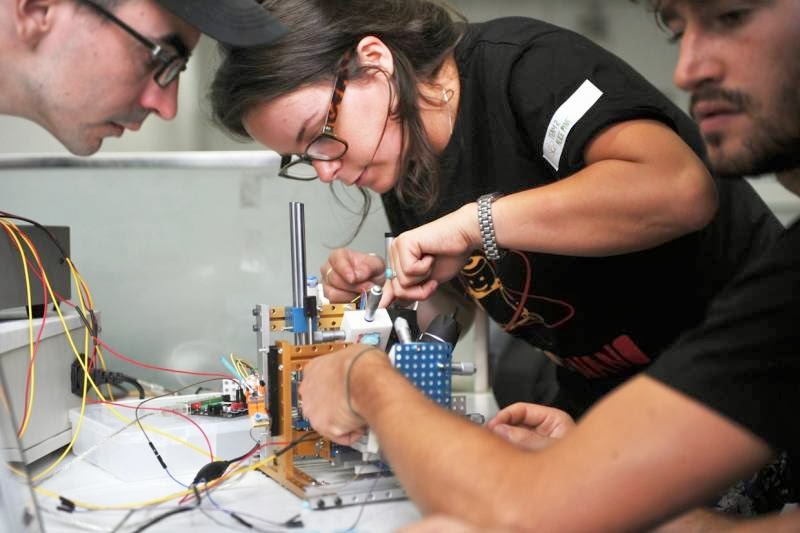
The OpenFlexure microscope is a fully automated device with motorised sample positioning, focus control and a precise mechanical stage.
As well as being easy to use, the microscope has also been designed to be more affordable than a commercial microscope. Its open-source, 3D printable design gives labs across the world the opportunity to 3D print their own precision microscopes as well, equipping them with the means to analyse samples and detect diseases.
Dr Joel Collins, co-creator of the microscope and physics researcher at the University of Bath, explains, “We want these microscopes to be used around the world – in schools, in research laboratories, in clinics and in people’s homes if they want a microscope just to play with. You need to be able to pick it up and use it straight away. You also need it to be affordable.”
The Bath-designed OpenFlexure Microscope. Photo via University of Bath.Developing an easy-to-use 3D printable microscope
The OpenFlexure project aims to increase the accessibility of high precision mechanical positioning for those with a 3D printer – for use in microscopes, micromanipulators, and more.
It was initially established by Dr Richard Bowman in 2015, currently a Professor at the Department of Physics at Bath. The project is now developed and maintained by BOING — the Bath Open INstrumentation Group. Development of the microscope also involved the collaborations of STICLab, Ifakara Health Institute, WaterScope, and the University of Cambridge.
In order to ensure the 3D printed microscope can be used by a majority of people, the researchers made sure to keep its costs low, both in terms of the upfront cost and the maintenance costs of the equipment. Whereas a commercial microscope intended for lab use can sell for tens of thousands of pounds, the OpenFlexure microscope can be constructed for £15 ($18). This price covers the cost of the printed plastic, a camera and some fastening hardware.
However, despite the low price and 3D printed construction, development of the microscope focused on guaranteeing its ability to yield high-quality images. It comes equipped with a software interface and simple alignment features to maximize ease of use, while also being customizable.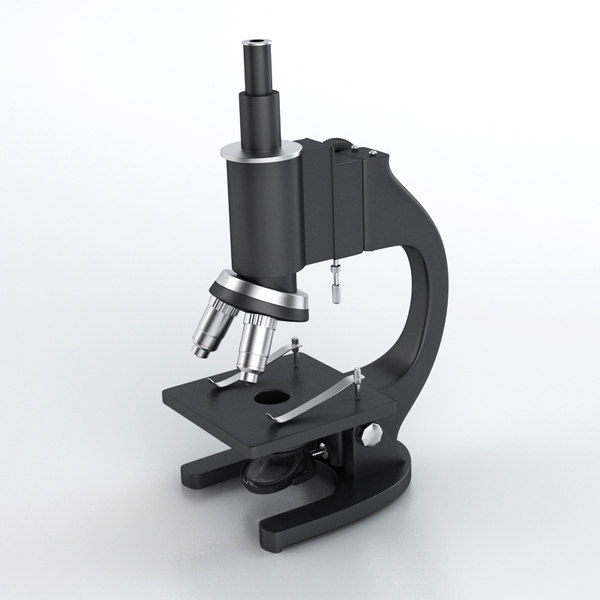 This means the OpenFlexure can be adapted for laboratory, school and home use.
Indeed, the researchers explain that over 100 OpenFlexure microscopes have been 3D printed in Tanzania and Kenya. Such a feat showcases the potential for complex hardware, designed in one part of the world, to be manufactured and adapted for use in other areas, using 3D printing and open-source design. Dr Richard Bowman explains, “Our Tanzanian partners, STICLab, have modified the design to better suit their local market, demonstrating another key strength of open source hardware – the ability to customise, improve, and take ownership of a product.”
Developing accessible optical instruments with 3D printing
This is not the first instance in which 3D printing has been used to produce low-cost optical instruments to improve their accessibility.
The Optical Society (OSA) published a study in 2019 detailing a 3D printable high-resolution digital holographic microscopy (DHM) microscope. Seeking to produce a portable, powerful and cost-effective microscope, U.S. researchers 3D printed the device to enable the diagnosis of diseases like malaria, sickle cell disease, diabetes, and others.
Made entirely from 3D printed parts and commonly found optical components, the simplicity and low cost of constructing the instrument could “increase access to low-cost medical diagnostic testing,” according to research team leader Bahram Javidi from the University of Connecticut.
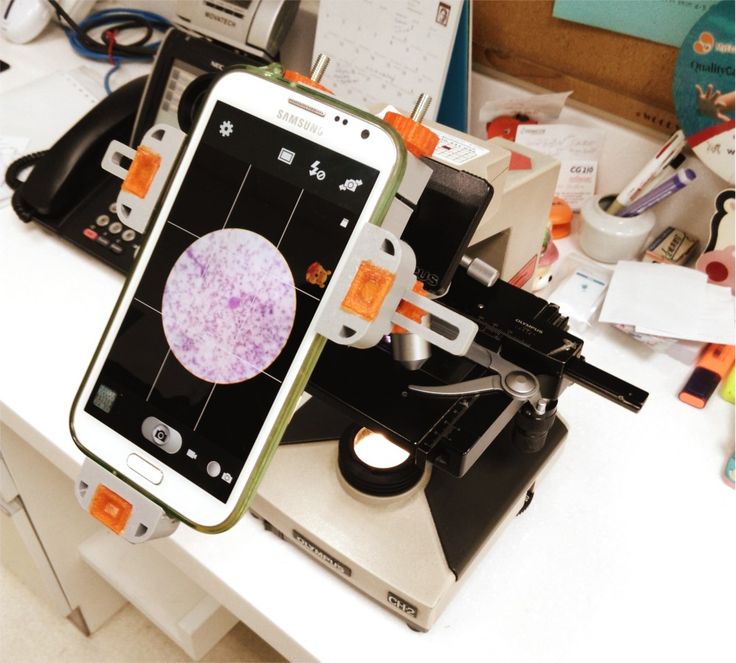
RMIT University scientists have also developed a 3D printed “clip-on” filter that can turn smartphone cameras into a powerful microscope. With the ability to analyse specimens as small as 1/200th of a millimeter, the device can be leveraged as a point of care diagnostic tool for remote healthcare clinics and field research groups.
The nominations for the 2020 3D Printing Industry Awards are now open. Who do you think should make the shortlists for this year’s show? Have your say now.
Subscribe to the 3D Printing Industry newsletter for the latest news in additive manufacturing. You can also stay connected by following us on Twitter and liking us on Facebook.
Looking for a career in additive manufacturing? Visit 3D Printing Jobs for a selection of roles in the industry.
Featured image shows the Bath-designed OpenFlexure Microscope. Photo via University of Bath.
Tags Dr Joel Collins Dr Richard Bowman OpenFlexure University of Bath
Anas Essop
Anas Essop is an English and Film graduate, who loves writing about the advancement of technology.
Making a Microscope with 3D Printing, Lego, Arduino and Raspberry Pi of the IBM Research-Europe team in Zurich, developing microfluidics technologies for medical applications. Two years ago I was asked to take high quality photos and videos of our microfluidics chips for a big exhibition. I borrowed a 4K video camera from a colleague, screwed a macro lens on it, made a diffuser using an LED matrix and plastic film, and placed all the materials using a high-quality tripod and micromanipulators.
 I managed to shoot beautiful videos about how liquids fill the microchannels. I realized that our presentations and publications needed to reach this new level of quality. However, my setup took up half the workbench in the laboratory, and it took several hours to set up one frame to record. nine0004
 We at IBM in Zurich have a tradition of inventing microscopes. In 1981, Gerd Karl Binnig and Heinrich Rohrer created a scanning tunneling microscope here. I, as a lover of homemade products, embarked on the path of creating an improved installation. The result is a $300 modular motorized microscope that combines three of my favorite adult hobbies: Arduino, Raspberry Pi, and Lego.
Photographing a microfluidic chip is not easy. The chips are usually too big to fit in the field of view of a standard microscope, but at the same time they have such small details that a conventional camera cannot capture. Uniform illumination is also extremely important, as chips are often made of transparent or highly reflective materials.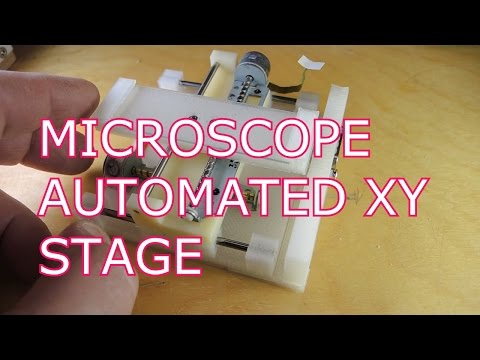 If you look at the publications of other research groups, it will be obvious that this problem is widespread. This is the motivation that led me to spend some of my free time developing a versatile and compact laboratory instrument capable of taking macro photographs from almost any angle. nine0008
Mixed components: The microscope uses a hodgepodge of different technologies and materials, including Lego bricks as the main structural components and 3D printed gears and guides for moving parts. The stepper motors, which provide precise movement, are controlled by the driver board and Ardiuno. Raspberry Pi Zero and Pi Camera modules are used for photography. I first made the microscope using specially made boards and parts printed on a high resolution printer, but before publishing I redesigned the circuit so that it can be assembled partly from ready-made parts, and partly from components that can be printed on inexpensive printers. nine0007
The first prototype was a Raspberry Pi camera module on a platform that moved in three dimensions using linear stepper motors from old CD-ROM drives. The Raspberry Pi camera was an ideal choice because it allowed you to manually set critical shooting parameters such as ISO and shutter speed. I removed the lens barrel from it, exposing the photo sensor, and made a precise mechanism that moves the lens back and forth so that high-resolution photographs can be taken. All this worked for a while, but the mechanism turned out to be fragile. Several times I broke the mechanism and damaged the photo sensor when I accidentally forced the moving parts out of range. nine0008
So I decided to do things differently. I removed the lens from the Pi camera. Then I took a lens from an inexpensive USB microscope and mounted it on another linear motor from a CD drive, so that the lens moved back and forth along the optical axis of the Pi camera. I made a casing to protect the photomatrix from Lego parts.
However, in the end, I only understood why microscopes are so expensive: the distance that the CD drive mechanism could move was not enough to get an acceptable magnification range. nine0008
I switched to a screw drive, which is used in 3D printers. For compactness, I used 3 mm diameter components instead of the popular 8 mm. Also, since when moving the lens there were problems with excess light, I decided to move the photomatrix instead. I made a platform on which the object being filmed could be moved along the x and y axes, and rotated. In the end, I ended up with six miniature stepper motors with gears that allow me to move the stage, tilt the microscope, adjust the distance to the object and focus. nine0008
Ideal angle: The Lego microscope allows you to place the sample under the homogeneous light of the LEDs. It can be moved back and forth, left and right, and rotated. The microscope can be tilted forward and backward, and the focus can be adjusted to different magnifications. The latter is done by moving the camera inside the Lego casing.
I often make custom boards with Arduino myself to make projects more compact. For this case, I designed an 18x18mm board with an ATtiny84 microcontroller and a DRV8834 motor driver.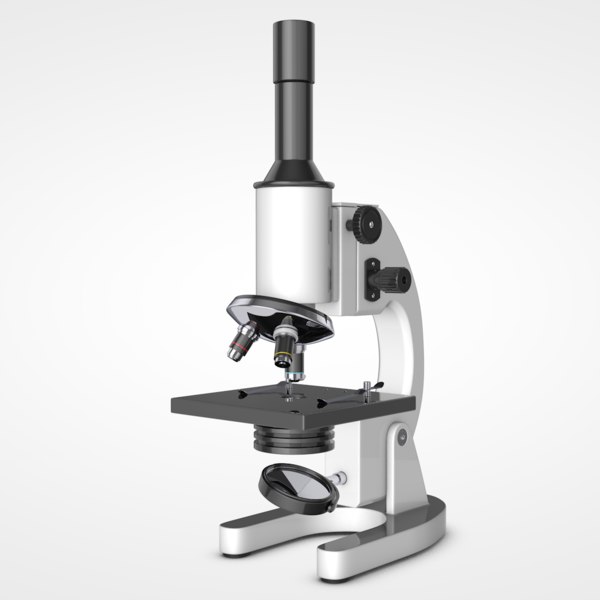 The picture of the device turned out to be unexpectedly high-quality, and the device was well suited not only for obtaining beautiful photographs of chips, but also for studying various details with a size of several micrometers, as well as a digital goniometer for measuring contact angles. I started the project with a specific purpose, but it soon became clear that it could be converted into a multi-purpose imaging system that anyone could assemble and use at home and at school. nine0008
The company supported my desire to publish instructions for assembling the device. However, in preparing the instructions for release, a few problems began to bother me. I assembled my device using an advanced 3D printer and a fully equipped workshop. The small stepper motors I used are expensive and not available in popular hobbyist electronics stores. Programming the ATtiny84 via an ISP programmer was not as convenient as programming a commercial Arduino via USB. I went back to development and redesigned the entire project from scratch using readily available components such as Arduino boards, Adafruit Industries stepper motor drivers, and the popular and inexpensive 28BYJ-48 stepper motors. nine0008
I replaced the LED lighting matrix with a more convenient and inexpensive one. I bought an LED light module from Adafruit for $3 and connected a powerful LED to it. The brightness turned out not so great, but the light came out quite homogeneous, both for illumination by reflected and transmitted light. I made the new linear motors from Lego toothed bars with gears, and drew the missing parts in FreeCAD and printed on my home Creality Ender 3 Printer 3D printer. And the new version worked just as well as the old one, if not better. nine0008
There is probably a lot more room for improvement in the project and I hope this prototype will inspire other hobbyists to make new and improved versions. Will it replace the laboratory microscope? Maybe not - but it's a great solution for schools on a tight budget. Therefore, we have made the instructions for its assembly free and open to everyone.
Best 3D Printing STL Files Microscopio・Cults
SKYBASIC Microscope stand
Free
Microscope adapter for iPhone
Free
industrial microscope
5 €
Retrofitting a stereo microscope with a modern HD digital camera
Free of charge
Lifecam Studio Microscope Camera
Free
nine0002 iPhone 6 microscope adapterFree
Microscope + pencil
17. 46 €
46 €
Spare part for microscope
Free
Digital microscope stand base (detachable)
Free
ELECTRONIC MICROSCOPE STAND
Free
adapter for smartphone with microscope
free
Box for microscope slides
Free
Capacitors and filters for microscopes
Free
microscope
Free
nine0002 storage box for microscope slidesfree
LED ring light for microscope 35 mm
Free
Desktop microscope adapter 35 mm
Free
microscope stand
3 €
microscope
2. 50 €
50 €
Cookie cutter "Lab Science" x6
1,60 €
Microscope column extension
Free
Microscope spare gear
0.75 €
Box for microscope accessories
1.84 €
nine0002 USB microscope stand (Ø30 mm)Free
DIY 10$ LASER microscope - Microscopio LASER casero 8€
Free
Micro four-thirds to microscope monocular adapter
Free
Darkfield microscopy filters
Free
Waterdrop Microscope
Free
Microscope Adapter 3"
Free
Cell phone microscope adapter for laser pointer lens
Free
Specimen Box for Microscope / Microscope Slide Box
Free
Carl Zeiss Jena Microsoft LifeCam Adapter
Free
USB Microscope Mount With Zoom Knob - Fully 3d Printed
Free
Microscope
2 €
USB microscope microscope digital magnifier stand
0,50 €
Microscope on arm
Free
nine0002 BUTTERFLY EGG VASEFree
Cell phone holder for use as a microscope or other use.