3D printer sound dampening
How To Soundproof A 3D Printer QUICKLY – Easy Home Soundproofing
Soundproofing a 3D printer isn’t a very difficult task- yet there are so many who never get around to it.
Unless you have a big space to yourself, you might seriously cheese off flatmates and/or neighbours with the incessant noises a 3D printer makes.
Even if that’s not a concern, you certainly can’t leave most amateur 3D printers on if you want a good night’s sleep!
Luckily, there are some really easy fixes that just about anyone can do.
Along with that, I’ll also cover some more involved noise reducing solutions that require a bit of technical know-how.
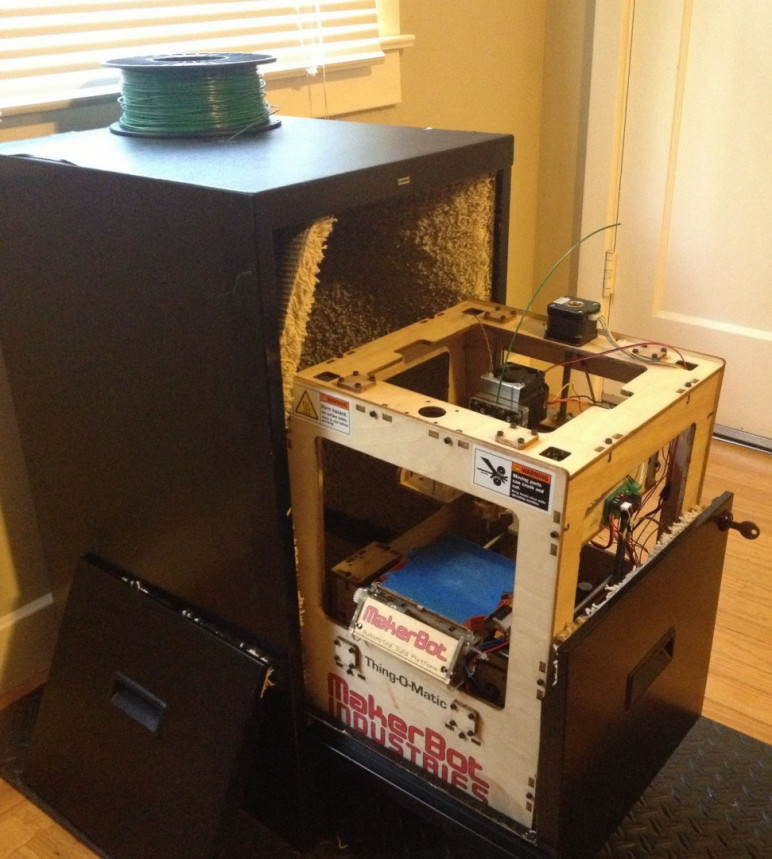
Best Way To Soundproof a 3D PrinterThe simplest way I found online was to just block all sounds coming from the printer by building a box/cabinet to place the printer in or buying one.
You might find it difficult to buy a cabinet that’s just the right size for your printer, though, so you may just have to do a bit of work here.
Going by several accounts online, you can get up to 10 dB reduction in noise doing this- that’s more than 50% noise reduction.
There are 3 things that you should keep in mind though:
First, the cabinet should not be combustible. Most DIYers will use wood , so make sure you use a thick plywood that won’t catch fire easily.
If you have found a pre-made cabinet, it’s even better if it’s made of aluminum or steel with thick insulated glass.
Secondly, also remember to think about accessibility while buying your cabinet. Ideally, you should be able to open it from all sides so that if you need to adjust or change any part of the 3D printer you don’t have to take it out entirely and then make the adjustments.
Third, you’ll want to read up on the ventilation aspect of your cabinet. My research on this suggests that you don’t need ventilation for all types of builds and having a closed environment could even be beneficial for your build.
Essentially, it all depends on the filament you use and the optimal temperature to use it.
After having gone through a couple of tutorials online to build such cabinets/ enclosures for 3D printers, I realized that there are two things you can do and then forget about the ventilation problem altogether.
Mind you, this requires one to be a little bit handy with tools and electronics, but if you are comfortable doing it, you could:
- Remove the filament coil and install it on top of the cabinet. You’ll need to drill a hole through a cabinet to allow the filament to feed through.
- It’s also a good idea to install the stepper motors outside of the cabinet since these need to be kept cool
You can read how this guy ventilated his printer enclosure here.
Some Further 3D Printer Soundproofing Tips#1 Place rubberized mats under the 3D printerSome at-home 3D printers tend to vibrate a bit excessively while functioning. The cause could be anything- from loose screws and belts to just a generally inefficient functioning of the 3D printer.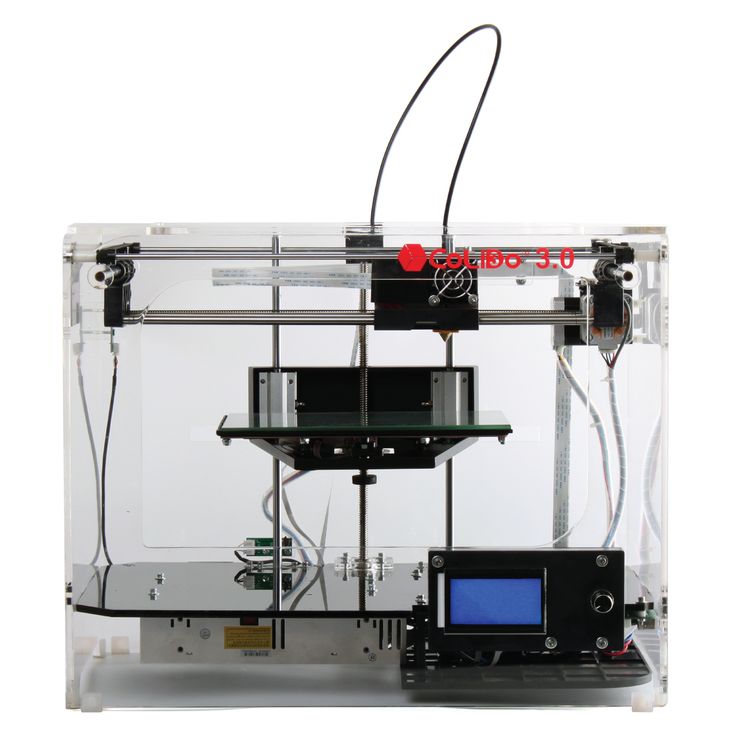
The easy fix for this is to dampen the vibrations by placing some insulation under the 3D printer. You could buy specially designed anti vibration pads such as this one on Amazon, or, if you’d rather not spend money here, try out cheap hacks such as placing a thick yoga mat under the 3D printer, cutting up spare tire tubes from the inside and using that as insulation etc.
The only thing you should keep in mind here is that your 3D printer stays level after placing the insulation under it- otherwise it will definitely affect the accuracy of your builds.
#2 Put some lubricant on your linear rodsOver time, with wear and tear, the rods that form the X, Y and Z axes accumulate dust, grime and will need to be cleaned as well as lubricated.
Ultimaker, for instance, recommends using a drop or two of sewing machine oil on each rod for this purpose.
There also are some pretty cheap lubricants that you can buy, such as this one on Amazon. While it’s not branded for printers especially, lot of people in the reviews section have mentioned that they use it for 3D printers.
If you are in a pinch and absolutely need some lubrication you can also use WD-40 as it’s usually available in most homes.
WD or ‘Water Dispersant’- 40 isn’t a normal lubricant, rather- is a mix of multiple lubricants along with water repellent substances, among other things. However, most 3D printer owners I came across on forums recommend you avoid it for this very reason- that it also has water repellant properties which makes the dries the surface you put it on.
DIY 3D Printer Soundproofing tips#1 Reduce current supply to the stepper motorThe stepper motor is a major source of noise in most 3D printers. Within permissible limits, reducing the current being supplied to it will reduce the amount of noise it makes. You will need to fiddle around with the potentiometer connected to the stepper motor a bit for this
#2 Change the stepper motorIn case the above step isn’t enough you might want to consider changing the stepper motor itself.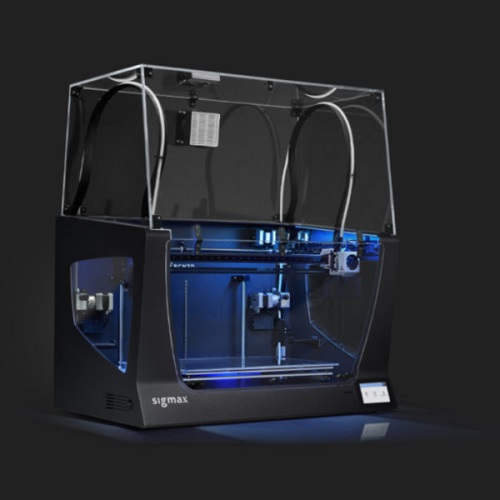 There are quite a lot of alternatives that provide relatively silent functioning as compared to the default motors in most 3D printers.
The most popular one is the TMC2130 Stepper Motor Driver. It comes with wireless integration, so the best part is that you don’t even need to manually change the resistance values or fiddle with the board at all- it automatically does that and you can monitor it from your computer.
For an in-depth look at the TMC 2130, here’s a video demonstration:
Along with the stepper motor, cooling fans are generally the noisiest parts of a 3D printer. You can easily replace them with quieter ones, such as this one on Amazon
#4 Rubber dampeners for stepper motorYou could buy specific rubber dampeners for placing under each stepper motor to dampen the vibrations, effectively, at the source.
From user reviews online- while most are happy, some of them say that it affects the build quality slightly.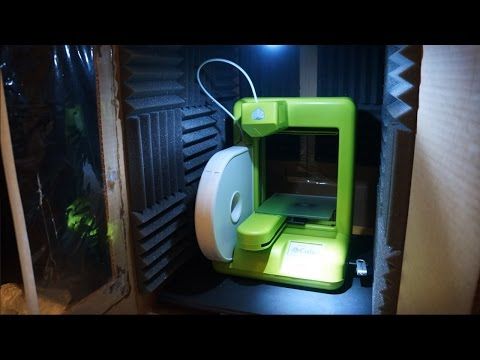 They are cheap though, so you could try them out if you wanted. The Nema 17 is the most popular solution.
This is more of a recurring maintenance tip, but you should check each and every screw- if it is too tight or too loose it might be affecting how much noise your printer makes. Similarly you should check the pulleys, belts and tighten them if they are loose.
Common Sources Of Noise In A 3D PrinterHere are the few common sources of noise in a 3D printer:
- Stepper motor
- Fan noise
- During X, Y or Z axis motion
- Vibrations from the frame of the printer
That’s about it, but I’d like to hear from you now. Have you used these tips or any other solution to quieten your 3D printer?
Let me know in the comments!
Some Cool Tips To Reduce Noise – 3D Printerly
3D printers are very useful machines, but they can be a bit of a noise disturbance depending on what 3D printer you have.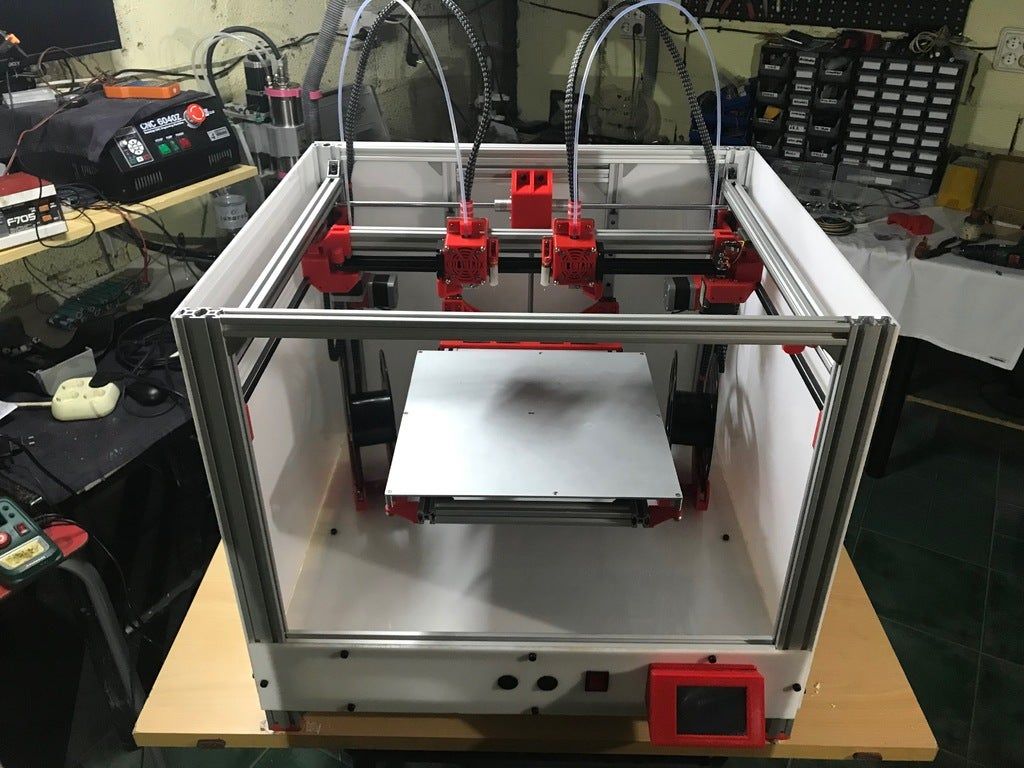 You’ve probably been thinking about getting a 3D printer and wonder, just how loud are 3D printers?
The average 3D printer is around 50 decibels, which is as loud as a normal conversation. Cheaper 3D printers tend to be the loudest, as well as FDM printers because of all the moving parts. Thankfully, there are many ways to reduce how loud your 3D printer is.
Considering 3D printers usually run for hours on end and maybe even days, it’s important for it to not be too loud. I’ve looked into how loud 3D printers can be, and also found some cool tips to reduce noise so keep reading to found out.
How Loud is the Average 3D Printer?
So as previously mentioned, the average 3D printer is roughly 50db, but this is without using techniques and tips to reduce noise. Some 3D printers are actually known to be relatively quiet.
One of these printers is the Monoprice Maker Select v2. It’s something that will be very hard to hear in the next room over. They can be too loud to have in quiet rooms such as an office or library, but if had this 3D printer in your dining room while you watch TV, it won’t be too noticeable.
It’s important to note that noise sensitivity affects people in different ways, so you should try to be as accommodating as possible.
Creality Ender 3’s are pretty loud on the surface, at roughly 58db (conversation at a restaurant), but when you convert the right parts such as stepper motor dampers and premium fans, it can be a lot quieter.
The Prusa MK3 actually has a silent mode which makes a big difference on how loud it is. On it’s a normal mode, the loudest parts seem to be the fans, which is as loud as a laptop fan at maximum capacity.
The Ultimaker 2 works pretty quietly, with just minimal noise coming from the stepper drivers and fans.
The Flashforge Creator Pro, is the opposite, where it can be heard from the next room, even with the door closed.
The Anycubic i3 Mega has an average of 55db being roughly 3 feet away.
What Makes A 3D Printer Loud?
How loud your 3D printer will depend on a few different things, but it’s mainly based on vibrations.
The main things that make a 3D printer loud are: Motors, fans, bearings and stepper drivers. Cheaper printers do tend to be a lot noisier due to the cheaper mechanical parts and result in more vibrations. A lot of the time, this can be alleviated by changing to better parts.
Most 3D printers are relatively quiet, but are still too noisy to be in the same room with for many hours. The average decibel range of 3D printers is around 40db-55db, but it can get a lot quieter with some basic techniques.
Fans also make a portion of the noise of 3D printers, similar to a laptop fan on high blast. Radial fans seem to be the loudest of fans out there.
FDM printers which are the most popular have several stepper motors in them, as well as many moving parts.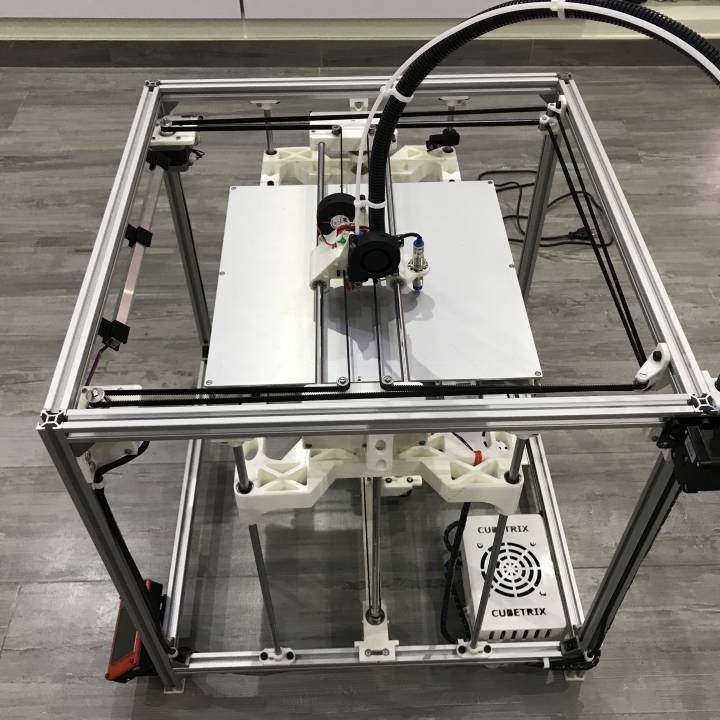 On the other hand, SLA resin printers only have a moving build plate and maybe a few smaller bits, but these a lot more expensive.
How Can I Reduce How Noisy My 3D Printer Is?
Many people wonder, “how do I make my 3D printer quieter” because they can be quite distracting, especially if it is operating near you.
If your 3D printer is loud, your best bet is first identifying what is making the most noise. If it is a vibrating noise, find out where it’s coming from then you can narrow down solutions to your issue.
Reducing Noise From A Stepper Motor
A lot of the time, simply replacing a few parts on your 3D printer will quieten it down to acceptable levels. Replacing the stepper driver is one of the main culprits of noisy printers.
Slowing your printer speed should also reduce how loud your 3D printer gets, so you can do this overnight when noise isn’t ideal in most cases. You do have to know what level you can reduce your printer speed down to, as it can affect how your printer runs.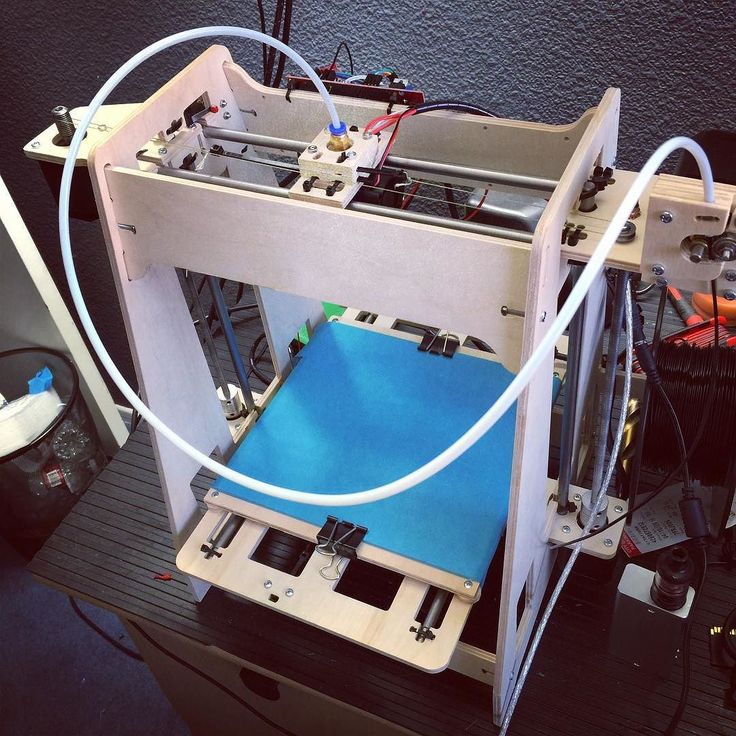 This information should be accessible online on forums or on your 3D printer brand’s website.
The 3D printing community is very helpful, and have even solved this problem for other 3D print artists out there. Here is a link for a vibration dampener for the Prusa i3 Mk2, which attaches to your printer. The comments from people who have used this design give it very positive reviews so I’d give it a go!
Dampers for stepper motors have seen huge improvements in sound reduction for many people, especially with any high-pitched harmonic sounds. A customized design for the Creality Ender 3 has great reviews and looks like it does the job, so you may not have to buy one just yet.
Is Your Cooling Fan Too Loud?
While your 3D printer is working, you can bet your fan will be working too. With cheaper 3D printers, you can expect manufacturers to use cheap parts. A cheaper cooling fan is likely to lead to problems of being loud.
Quieter fans can be purchased and installed to reduce how loud your 3D printer is and they aren’t too expensive either. If you identified your fan as being loud, this is definitely a great solution to this problem.
Reducing Noise From X, Y & Z Axis Movement
I’ve seen someone recommend using thin machine lubricant on your X and Y axis linear bearings. It has to be a thinner grease because a heavier grease will cause your internal bearings to slide instead of roll which can cause unnecessary wear and dirt build-up.
If you do want to use WD-40, make sure it is the White Lithium Grease formula and not the standard formula. The standard formula is too thin and does not act as a brush on type of lubricant. You want to use machine oil on your linear rods and bearings.
Decoupling Your 3D Printer From The Floor
With the vibrations from your 3D printer, it definitely contributes to how noisy it gets. This isn’t an ideal situation if you have neighbors below you because it can really disturb them. This is where decoupling comes in, which simply means to separate it from direct contact.
A quick DIY fix for this is to put a thick yoga mat under your printers to dampen the sound, or even carpet. This does the trick because it absorbs the vibrations below the printer. Some people have put sponges and even foam underneath to get the same result.
You want to make sure whatever you put underneath your 3D printer to dampen vibrations is straight and level. You don’t want your prints being negatively affected by having a slanted print bed.
Using a Sturdy Enclosure For Your 3D Printer
This is hands down, the easiest method to get the best results. Simply having a good quality enclosure for your 3D printer can make it so it is relatively quiet and won’t disturb yourself or people around you.
If you have a printer that’s enclosed, it will absorb some of that noise compared to an open style printer. Some printers come already enclosed, which is great but if not, you’ll benefit from getting yourself one.
If you have an open style printer, the sound can be reduced by getting foam core boards and making a box around the printer.
A basic enclosure you can get is the Creality Fireproof & Dustproof Enclosure from Amazon. One user who got this mentioned that the sound went down about half as loud as it was before, but definitely not soundproof.
You could probably even add some padding to the enclosure to improve its sound dampening effect.
More Useful Tips To Reduce Noise
You can get sorbothane feet, which are small anti-vibration rubber stands to absorb vibrations from your 3D printer. People have reported this working very well to substantially reduce sound.
Another solution is changing your board to a Duet3D board or Soundboard Heat box. These do a fantastic job with dampening loud sounds from your 3D printer.
Regular maintenance of your printer will do wonders to reduce noise, as get the most life out of it. Making sure loose screws are tightened and screws that are too tight, loosened will have a beneficial impact.
I’d recommend getting some sound dampening objects around the room such as heavy curtains, foam pads on the walls, hanging up objects so the noise vibrations don’t reflect too much.
The video below explains how to make high performance sound absorption panels for cheap.
Examples of People Making Their 3D Printer Quieter
Reading around on this issue, there are a few basic examples of people using tips to make their 3D printer quieter. One example is from someone reporting a 50% decrease in decibels after using a good quality enclosure.
Enclosures don’t only block out sounds, but they have multiple benefits such as helping with temperature stability, reducing the risk of physical injury and reducing the spread of air pollutants.
If you have the DIY skills, you can essentially make your 3D printer almost noise-free.
One individual went through many steps with their Ender 3 3D Printer:
- Replaced the frame nuts with square nuts then added on lock washers to prevent rattling.
- Replaced it’s metal bearings with higher quality Dry-Lin Polymer Bearings
- Added EVA anti-vibration pads which are designed to eliminate vibrations coming from motor-driven equipment due to its special composite foam with vibration dampening technology
- Installed cork gaskets on the motors to reduce vibration.
Are Resin 3D Printers Quiet?
Resin 3D printers are usually quiet compared to filament 3D printers, but they do still emit a decent amount of noise from the stepper motors (50 dB). You want to find a resin 3D printer that has quiet stepper motors like the Elegoo Mars 2 Pro, rather than one like the Anycubic Photon which can get loud.
Soundproof 3D Printer Enclosure
If you want to create a soundproof 3D printer enclosure, you can create an IKEA Lack Enclosure or your own DIY enclosure.
Here is a video of the IKEA Lack enclosure.
Here is a video of a DIY 3D printer enclosure.
Summary
With this information, hopefully you’ve learned that you shouldn’t worry too much about your 3D printer being loud. The advised method to reduce noise from your 3D printer is to use a combination of these methods to get the best results.
Get yourself a 3D printer enclosure, get a good quality stepper motor, cooling fan, with a thick yoga mat and make sure your printer maintenance is top-notch!
A small guide for choosing a 3D printer for beginners / Sudo Null IT News
The reason for writing this article was the article “ I wanted to buy an inexpensive 3D printer, but I looked at YouTube and got sick of ”, at the end of which the author asks to answer a few questions.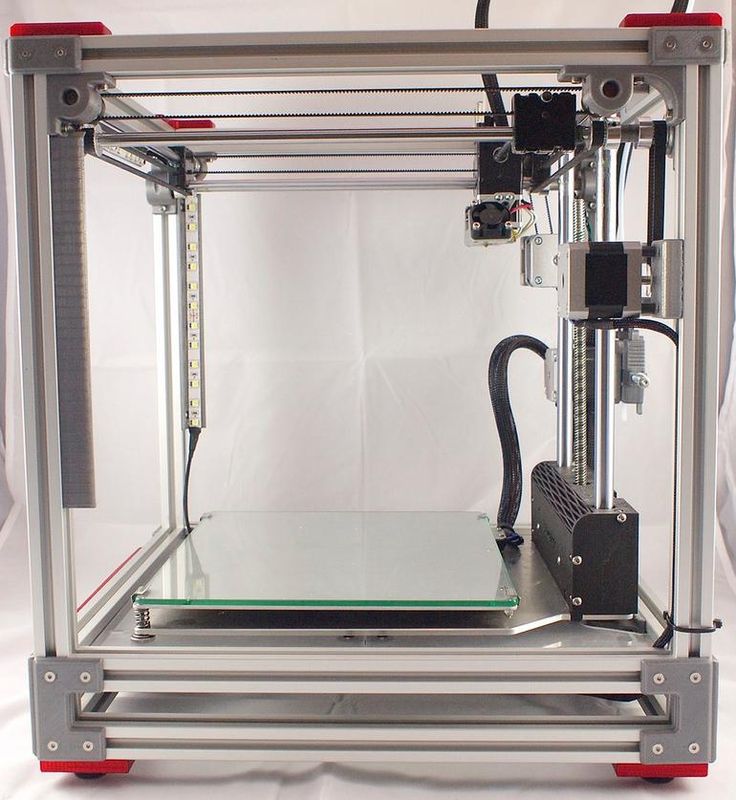 I will try to answer from the point of view of my seven years of experience as a 3D modeler and 3D printer. First, a few caveats.
This article will not contain advice: “Buy a printer from manufacturer X - it is good, and manufacturer Y - do not take it in any case”, only general recommendations.
Informal classification of printers, adopted in the domestic segment of printers.
Everything written is based on the personal experience of the author and is his personal opinion.
If these warnings do not scare you - welcome under cat.
First, let me introduce myself: my name is Maxim and I bought the first printer back in 2013. It was a Chinese clone of Makerbot 2 with the hilarious name "Migce Cuble".
Photo from the personal archive There was almost no information on 3D printing on RuNet, only one topic on the “Roboforum” and several scattered articles about what a cool thing it is - 3D printing, so to master it, I had to google a lot in English, come up with their crutches and delve deeply into the physics and technology of the printer. We must pay tribute, in the English-speaking segment, then there was an active development of this technology and interesting articles such as “Selection of the type of notches of the extruder feed gear for a specific type of plastic” or “Determination of the optimal printing temperature using a strain gauge installed on the extruder” came across. Since then, 7 years have passed. I managed to master modeling, assemble a printer from scratch, be a moderator of “3D Today” for a while, work as a freelancer in the field of modeling and printing, organize a prototyping circle for children and bring it to the Russian level. Recent achievements: volunteered as a coordinator for the supply of plastic in the project “ Anti covid makers ”. A lot has changed during this time, including printers in my home zoo. One thing has remained unchanged - the question: "What should I buy as my first printer?".
Currently, two types of printers are mainly used at home: printing using FDM (FFF) technology - layer-by-layer plastic fusion, which is fed in the form of a rod and SLA (LCD) - printing with a photocuring polymer.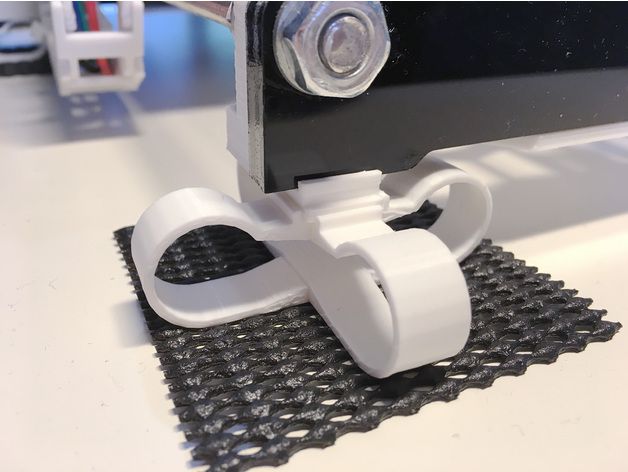 FDM technology is more common, due to the lower cost of equipment and consumables, but in recent years, the prices of LCD printers and printing resins have decreased significantly and photopolymer printing has almost caught up with FDM printing in terms of cost and entry level.
To be honest, I almost never did SLA printing and I still don’t have an LCD printer in my home zoo (but it may appear soon), so I will mainly talk about FDM printers. They can be divided into 3 main categories according to the type of mechanics:
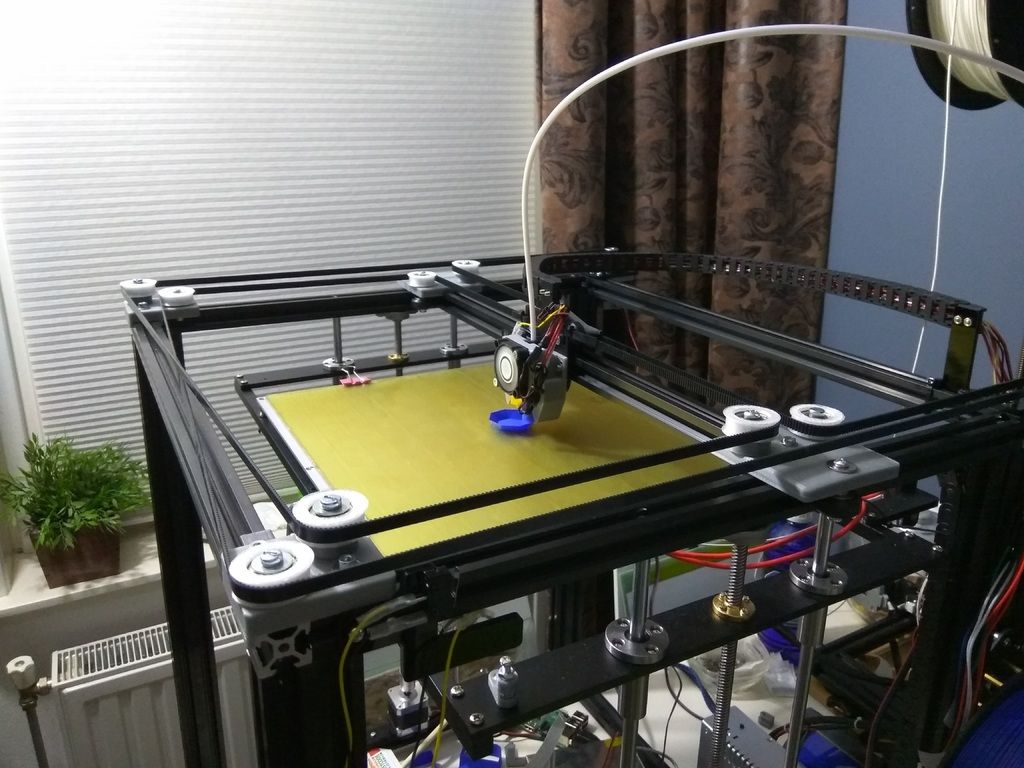
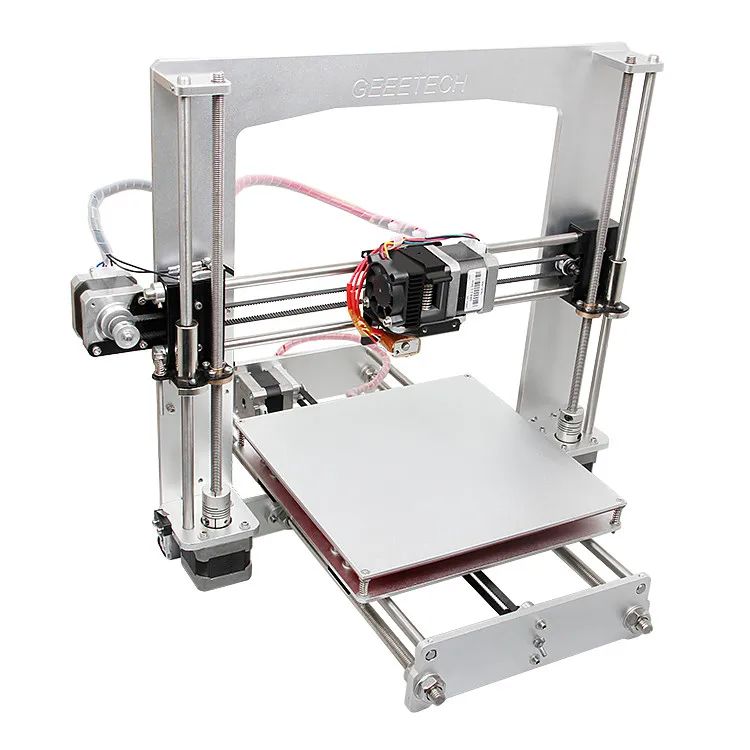
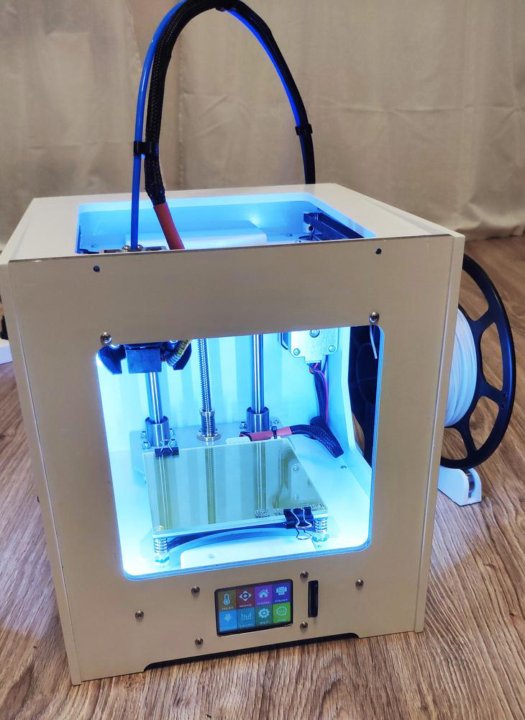
Dried tables - printers with a table that moves horizontally. Perhaps the most common printer model. It is distinguished by low cost of components, ease of assembly and adjustment, for which it is loved by the Chinese and printers. The disadvantages include the difficulty of creating a closed body and printing thin, tall parts that begin to wobble as the height increases, especially if the part is printed from flexible plastic such as TPU.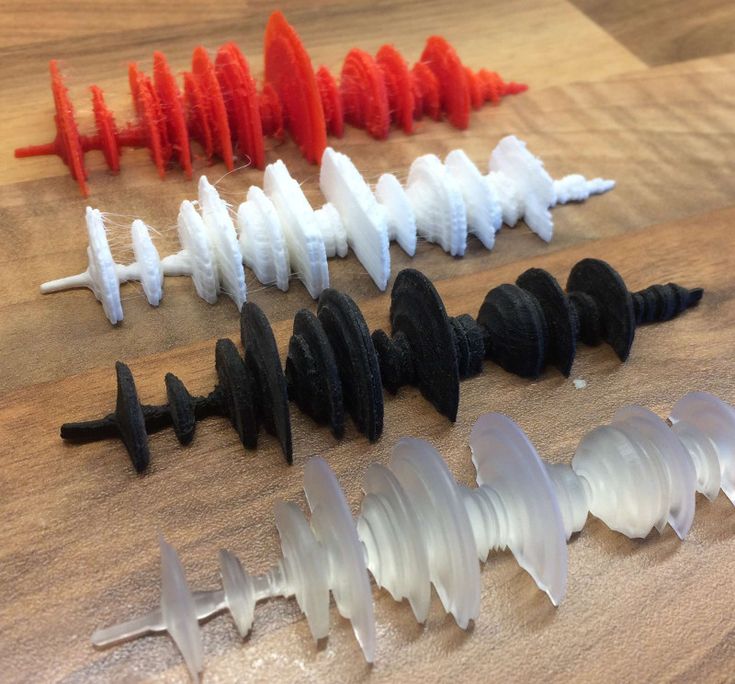
Cubes - printers in which the table travels vertically. The cost of such printers is higher, as are the requirements for straightness of hands during assembly and setup. But a properly designed die delivers faster print speeds while maintaining print quality. At the same time, the design of the printer is very easy to make closed, which allows printing with engineering plastics such as ABS and Nylon. This type of design is often used in semi-industrial and industrial grade printers. Some manufacturers manage to shove the drygost into the body of the cube, but this does not bring any special advantages for printers.
Typical cubes Delta - printers with the so-called delta kinematics, when the print head is attached to the carriages moving along vertical guides using a system of rods. The cost of the mechanics of such printers is comparable to the cost of dry-tables. Can print at very high speeds. But they are very demanding on the correctness of keeping the dimensions, the straightness of the hands during assembly and adjustment, and the speed of the “brains” due to the complex mathematical calculations of the trajectory of the head movement.
Strongly not recommended as a first printer, although the widespread use of the table level sensor somewhat reduces the requirements for straight hands during setup and operation.
Typical deltasBy availability on the market, 3 main categories can also be distinguished:
Chinese (cheap Chinese printers) are almost always designers, even if they come assembled.
-
The advantages include low cost, wide distribution and uniformity, which allows you to buy failed parts in the nearest radio shop or on well-known Chinese sites. Popular models gather around a relatively large number of users who actively share their experience in the field of self-repair and improvement of this type of printer. The most popular models will most likely be printed right out of the box, but will require improvements during more or less long-term operation.
-
The disadvantages include the quality of components / assembly and the need to refine these printers to obtain acceptable quality / print speed.
 It is recommended to take models that have already formed a large community around them. This means that most of the shortcomings have already been identified and there are standard inexpensive methods to solve them.
Kits (assembly kits, mainly domestic production) - google for the words “ ZAV ”, “ UlTi ”, “ UlTi ”, etc. Usually they are a set for assembling a plywood cube. Recently, options with metal cases have appeared. Supplied in different versions - from a kit for building a case with printed parts, ending with completely finished assembled products.
-
The pluses include a fairly good engineering study, the ability to choose the components for the mechanical and electronic parts and make the printer completely to your requirements. With good components, they provide fast, stable and high-quality printing. The price is somewhat more expensive than Chinese printers, but cheaper than semi-professional printers of domestic or European / American manufacturers.
-
The disadvantages include a decent amount of time spent on assembly and waiting for components if you decide to save money and order these components yourself from different sellers and assemble a printer from them. When assembling, direct hands are required.
Factory Printers (Semi-professional printers from domestic or American/European manufacturers). There are a lot of models, the designs are very different.
-
The advantage of this class of printers is printing with acceptable quality out of the box. In addition, you get operational reliability and warranty support from the manufacturer.
-
The main disadvantage is the price. It is often not clear what factors it depends on. You can buy a high-quality printer relatively inexpensively, or you can take something incomprehensible for a high price. The second disadvantage is the presence of specific solutions that are incompatible with popular solutions on the market: these can be nozzles with their own thread pitch, special fans, electronics, belts, and even slicers.
 Some are demanding on the quality of plastic, there are models that work only on chipped coils.
Now that we have decided on the classification of printers, we can proceed to the procedure for choosing a printer for yourself, your loved one. If you are on fire with the purchase of a 3D printer, first decide what you are going to take it for, the type and configuration of the printer depends on it. Let's analyze several typical situations:
I want to do something for myself and my family - if you don't plan to print products from engineering plastics that can withstand decent loads and temperatures, a Chinese drygostol or a cube will suffice. If you have a budget and want to figure out how the printer works before starting, and not during printing, you can look in the direction of domestic assembly kits - with them you can get the best quality and painlessly switch to engineering plastics.
I can't do anything with my hands, but I have to.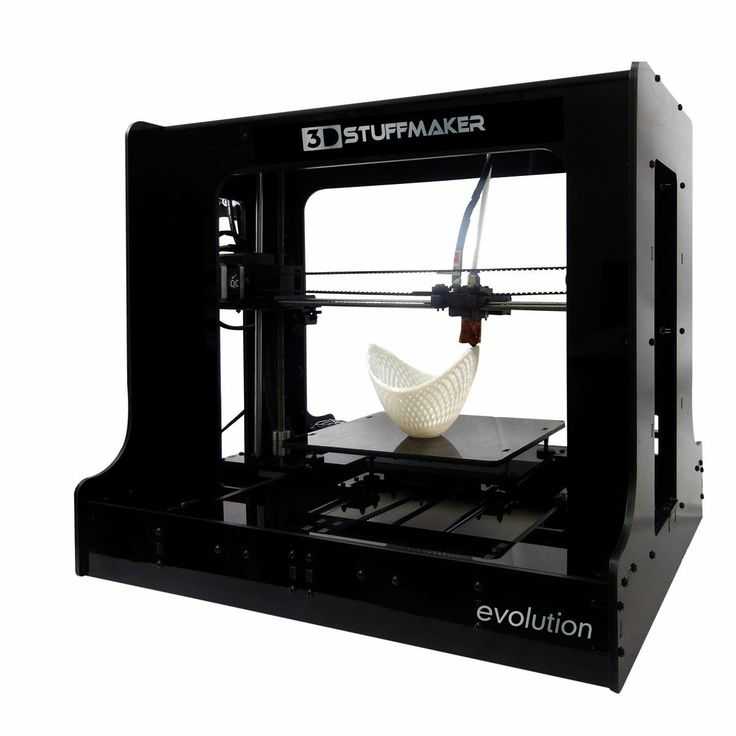 Therefore, I want a printer that will do everything for me - in this case it is better to look at semi-professional printers. If the budget is not enough, you can look at used ones or order an assembly of a domestic set - usually manufacturers offer this service through intermediaries. When ordering an assembly - look for experience and positive reviews, there are nuances.
I want to print for sale - a farm of the same type of printers, depending on the budget. If there is no budget, but there are resources for regular tuning / repair - you can even from Chinese drygosts. Additionally - a printer with a large print area, a printer with a closed case and a heated table for printing engineering plastics, an SLA / LCD printer for printing products with a high degree of detail.
Whether at work or at home, the need arises to design and print enclosures and parts. If only small prototypes are planned - an LCD printer, if functional products - a closed cube with the ability to print with engineering plastics.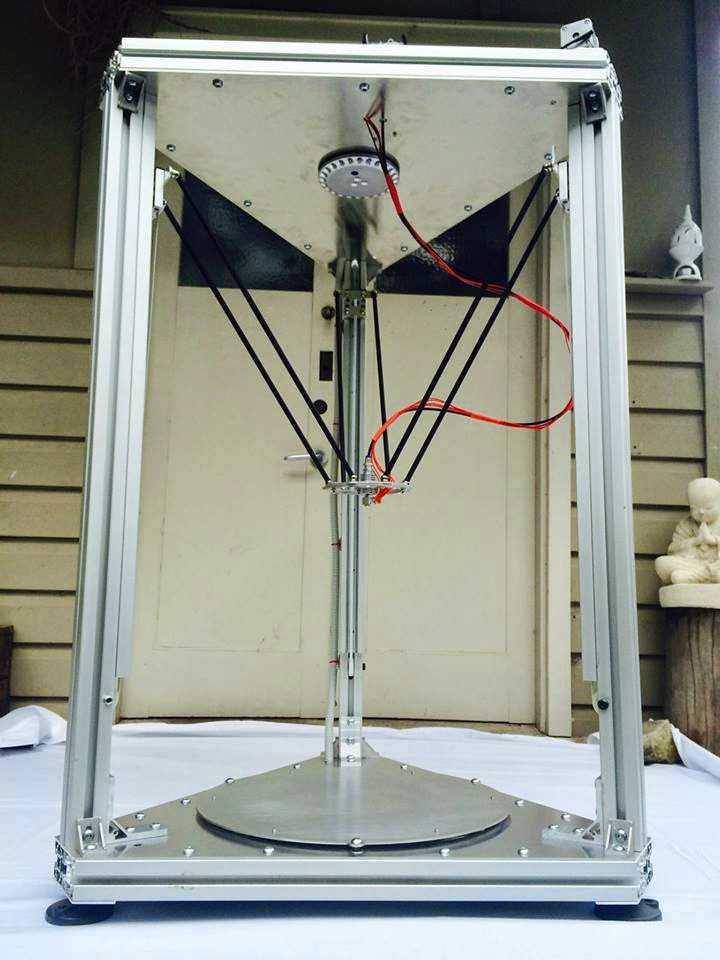
Kids are growing up and this is the technology of the future, I want you to master - see what printers are used in prototyping competitions in your area. Take the same one. May be used.
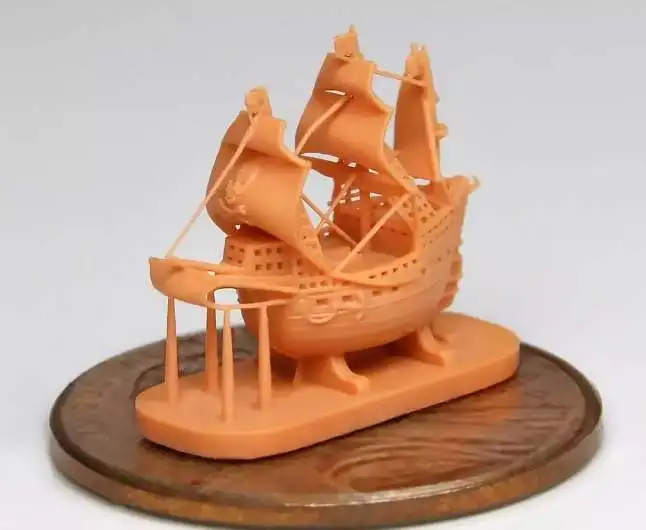
I want to make figurines for desktops, beautiful little things for home - LCD printer.
I want to figure out what kind of technology and how it works in general - a kit for assembling a domestic manufacturer. By the time you collect it, you will understand.
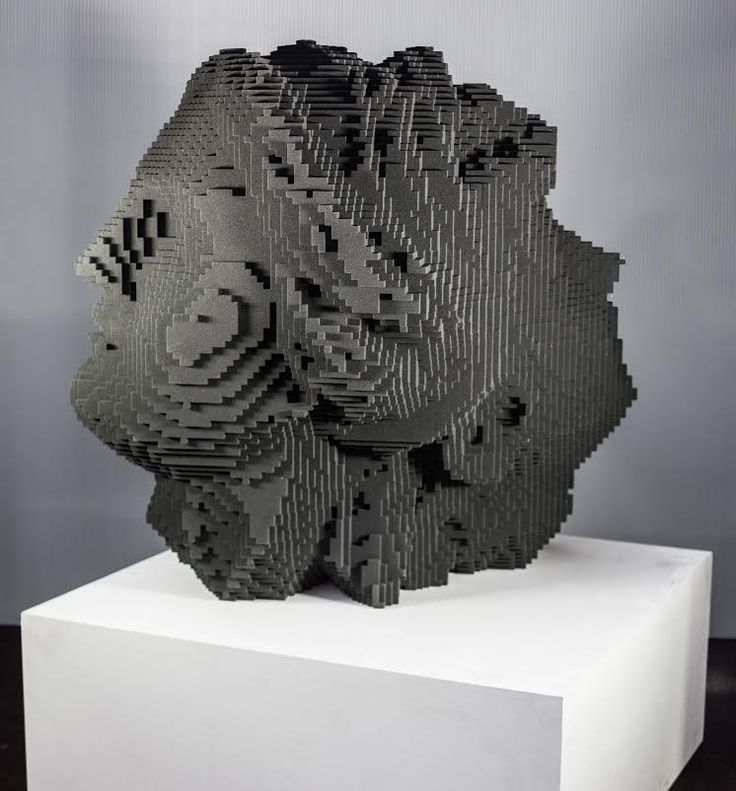
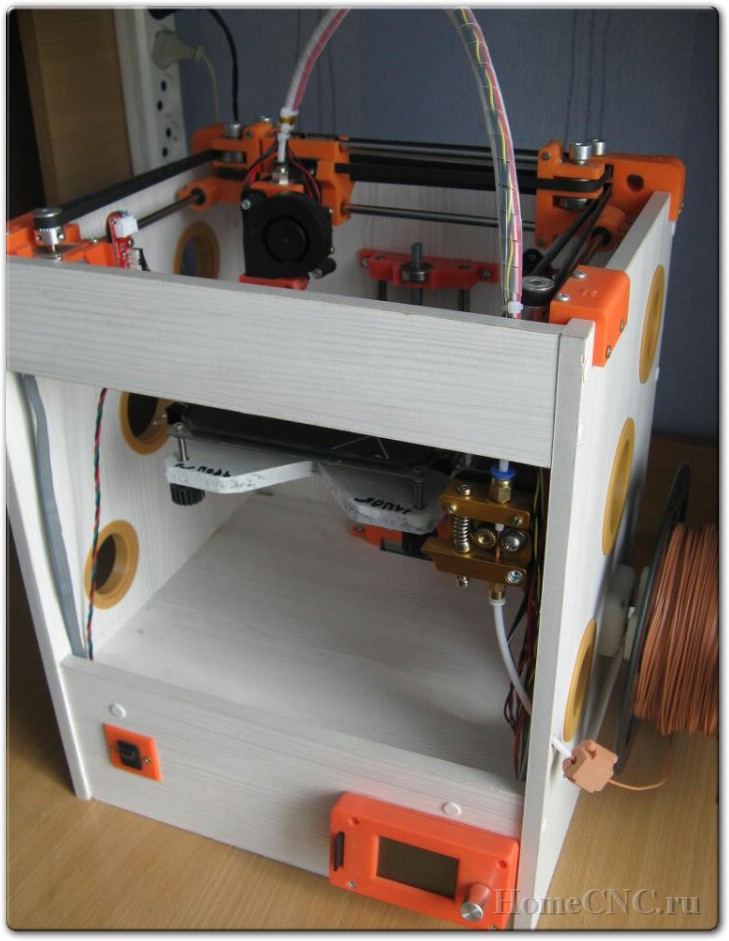
There is no money at all, but I want to print, I will collect it myself from scratch - it will turn out better and cheaper than the Chinese. Strange as it may seem, no. The cost of components with Ali will be more expensive than a printer with Ali. Of course, if there is a machine park, the ability to use it, a set of iron, shafts and electronics lying around in the corner of the workshop, it can burn out. There are options for building printers from boards and furniture rails, but their print quality is, to put it mildly, lame.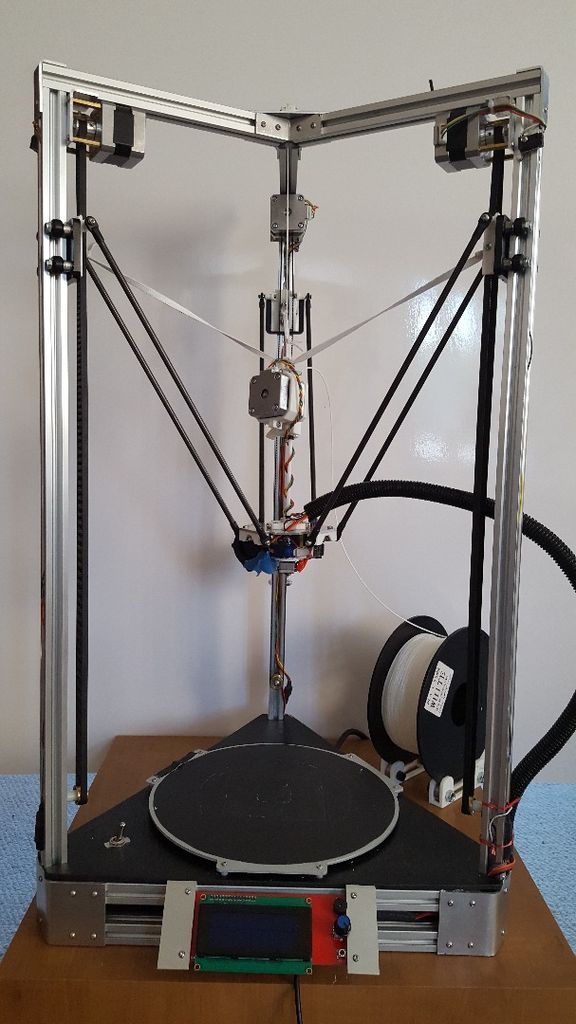 For example, the construction of the printer shown below cost its author 80-9, according to him.0 dollars.
If you want to completely build your printer from scratch, then it's better to treat it as a separate hobby and accept that it will not turn out very cheap. Well, or look in the direction of used printers.
I don’t know why I need a printer, but I want to try - a Chinese or a domestic assembly kit. Can be used. If it doesn't work, you can always resell.
Decided on the type of printer - what to look for first of all when buying ?
-
First of all - on the rigidity of the structure - the accuracy and speed of printing depend on it. It is in the direction of strengthening the rigidity that your first modifications of the Chinese printer will be directed, since the material “steel plasticine 3 (c)” is considered an unaffordable luxury for the Chinese. In the case of the purchase of domestic kits, the situation is slightly better.

-
Secondly - if the printer will be in the apartment - "silent" drivers for stepper motors. 3D printing is not a fast process, and having a constant loud enough buzzer under your ear is annoying.
-
Third - the presence of a heated table and ease of modification to a closed case. Over time, the desire (need) to print ABS will come, and it is problematic to do this on an open drygost.
-
Fourthly, the presence of a good plastic blowing system is also important.
-
Fifthly, when choosing printers with CoreXY, H-Bot or Delta mechanics, it is highly desirable to have a 32-bit control board, or you will encounter fading (freezes) at high print speeds.
-
In the sixth, seventh, etc. - there are many nuances in the design of printers. If something is unclear, feel free to ask the community.
In any case, if you are going to buy or have already bought a 3D printer, start learning some 3D editor. The easiest, in my opinion - https://www.tinkercad.com . You can simulate a washer in it or the well-known plate changer without much effort.
Over time, its capabilities will no longer be enough - then you can switch to more serious CAD systems. In my opinion, a printer should own two types of editors - a solid state for modeling technical products (CAD) and a polygonal tool (Blender, etc.) - for modeling artistic ones, but many printers consider this redundant and master only one.
On this, perhaps, I will round off - the article has already turned out to be quite voluminous, if you have questions, I will be happy to answer them in the comments or in a separate article. I’ll say right away - I won’t answer questions like: “ which is better: flying bear 5 or ender 3 ” - a lot of copies have already been broken on this topic on specialized resources, I don’t see the point in repeating.
Best regards, Maxim.
3D printing with Creatbot 3D printers
Contents
-
- High temperature Creatbot PEEK-300
- Large scale Creatbot F1000
Industrial 3D printers have their own selection criteria, these are performance, reliability, uptime, repeatability, cost-effectiveness in maintenance and operation. When developing professional solutions, Creatbot is guided by key factors - availability and efficiency.
Industrial 3D printers have a wide range of applications and can produce many different types of objects. As a rule, industrial solutions are niche and are optimized for one specific task, product or material. In turn, Creatbot presents the most optimal systems for additive manufacturing.
High Temperature Creatbot PEEK-300
The Creatbot PEEK-300 high temperature 3D printer is used to print high performance plastics such as PEEK, PEKK, PEI, etc. PEEK material is in high demand in the aerospace and medical industries. It has some of the highest operating temperatures, strength and solvent resistance that can be found in a plastic. PEKK has similar properties but is much more flexible. And PEI plastic has a high degree of fire resistance and low smoke generation, which is especially important in the aerospace and engineering industries. These materials push the limits of polymers and are actively used to replace metals in aircraft, cars and bodies.
The Creatbot PEEK-300 3D printer is equipped with engineering-grade components that can withstand high printing temperatures. In particular, a dual extruder with a heating temperature of up to 500 ° C, a chamber heated to 120 ° C, a printing platform with a temperature of up to 200 ° C and high-temperature resistant motors, guides and belts.
The patented development of the company - the direct annealing system (DAS) allows you to clearly control the annealing process right during printing. This minimizes problems with warping and cracking, which is especially important when printing large-scale functional models.
The Creatbot PEEK-300 boasts state-of-the-art thermoset control technology, a triple thermal insulation system, and an efficient water cooling system that is based on both circulating liquid cooling and air pump cooling.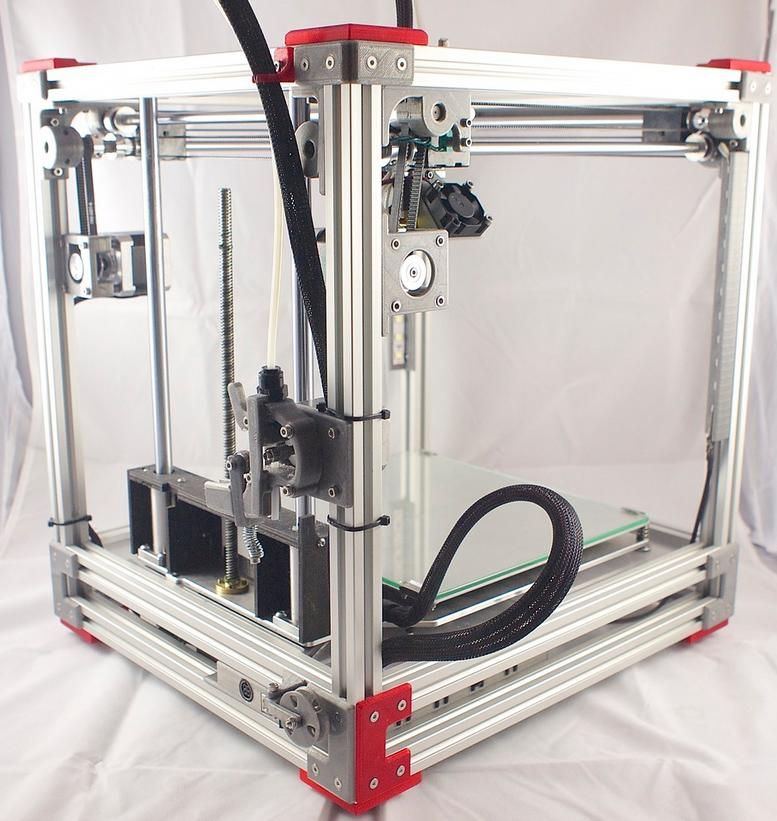 This is what allows it to provide reliable and trouble-free operation for a long time, which is confirmed by the trust of companies such as the Volkswagen Group, Bosch, Oxford University and NASA.
Large Scale Creatbot F1000
Large-scale 3D printers have long been in the spotlight. So Creatbot developed the F1000 3D printer, which offers a print volume of 1 m3. A huge build area allows you to print models in actual scale, which makes it possible to more thoroughly test the future product before launching into production. The ability to produce large prototypes in a short amount of time significantly reduces the time to market.
Large-scale printing opens up entirely new applications, making it possible to print things like furniture, body parts, mannequins, building parts, concrete molds, bumpers and panels on cars, and more.
A distinctive feature of the Creatbot F1000 3D printer is not just a huge printing chamber, but also the ability to use engineering plastics with a print temperature of up to 420 ° C. Creatbot F1000 is equipped with a dual extruder with adjustable nozzles and a triple linear guide that allows printing speeds up to 200 mm per second with an accuracy of 0.1 mm. The enclosed heated chamber and heated print bed provide ideal conditions for both standard and high performance materials.
Creatbot offers more than just quality large scale 3D printing. Remote print management and control app, automatic calibration, failure protection, built-in plastic drying chamber, noise isolation and more to optimize the production process.
The first batch of CreatBot 3D printers has worked for 9 years and more than 30,000 hours, which indicates high reliability and quality of equipment.
Additive technologies allow you to save time at the product development stage. The opportunity to test a full-fledged functional product gives much more understanding about it, allows you to identify the smallest flaws and shortcomings before starting production.