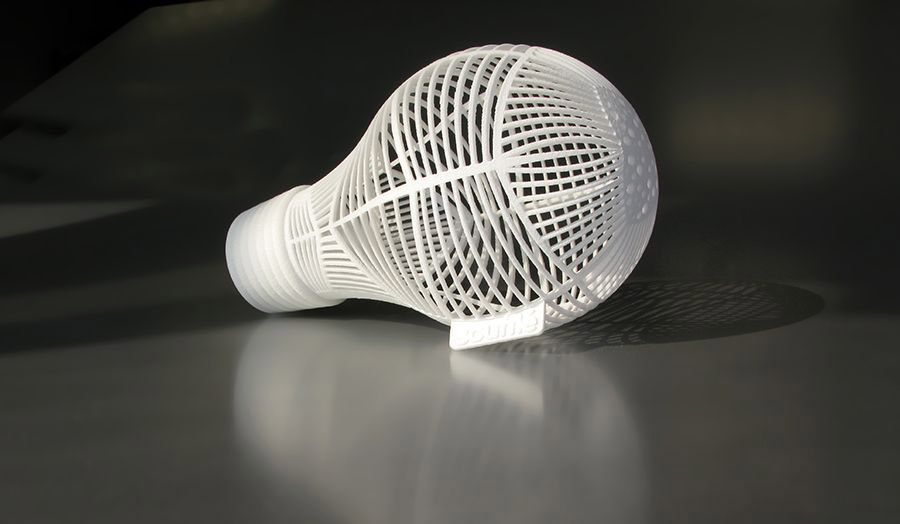
3D printer shell
What are the optimal shell and infill parameters for FDM 3D printing?
How do shell and infill properties impact the performance and cost of FDM 3D printing? It turns out these parameters have more of an effect than you may realize, so learning to optimize these features will improve the performance of your FDM custom parts while reducing manufacturing costs.
The majority of FDM 3D-printed parts are not printed solid. Printing solid parts requires high amounts of material and longer print times, resulting in high costs. To optimize the printing process most parts are printed with solid shells and filled with infill. Shells and infill play an important role on the quality, appearance and function of FDM printed parts.
This article will discuss the difference between shells and infill and how shells and infill can be employed to optimize a design. To level up your design skills for 3D printing, check out this comprehensive one-pager with all of Hubs' top design rules .
What are the major components of an FDM 3D print?
A standard FDM print can be broken down into 4 sections: shells, bottom layers, top layers and infill.
-
Shells: The walls of the print that are exposed to the outside of the model
-
Bottom layers (a type of shell): The part of the print that is exposed to the outside of the model, facing the build plate
-
Top layers (a type of shell): The parts of the print that is exposed to the outside of the model, facing upwards, towards the nozzle. Typically this surface will have the best surface finish
-
Infill: The internal structure of the print
The parameters of these sections can each be altered to optimize a design.
These are the four sections of an FDM print that designers can alter if need be.What are shells in FDM 3D printing?
Shells are the number of layers on the outside of a print. For FDM printing, shells are always the first areas to be printed per layer. Let’s unpack several key design considerations for optimizing shells.
-
Strength can be added by increasing the shell thickness. This allows for a slightly more robust print without having to increase the amount of material used for infill. Most slicer programs allow shell thickness to be adjusted even allowing areas of high stress to be customized with a high shell density offering localized areas of high strength.
-
If you plan on finishing a print by using sanding or chemical smoothing, increasing shell thickness is often necessary. This is because post-processing methods reduce the thickness of the surface of the model.
-
Any increase in the number of shells also increases the amount of time and material required to print the model. This will augment the overall cost of your custom parts.
Shells typically consist of a specified number of nozzle diameters. It’s always good to design shells with multiple nozzle diameters to prevent forming voids in the print. Most shells are printed with a thickness of 2 nozzle diameters (usually this corresponds to 0.8 mm).
Designing walls with multiple nozzle diameters eliminate spacing in wall features, which makes your custom parts stronger.
What is infill for FDM 3D printing?
Objects printed with prototyping FDM technology are rarely completely solid. Typically, the inside of an FDM print is composed of infill, which have varying structures and shapes that can affect the print time, weight, strength and flexibility of 3D-printed components.
By default, most FDM slicer programs will produce parts with 18% to 20% infill, which is perfectly adequate for most 3D printing applications (using FDM). This infill percentage generally allows for faster and more affordable print runs.
Infill percentage
The strength of a design is directly related to a 3D-printed part’s infill percentage. A part with 50% infill compared to 25% is typically 25% stronger while a shift from 50% to 75% increases part strength by around 10%.
Infill percentages for FDM 3D printing can range from 18% and 20% (left) to 50% (middle) and 75% (right).Understanding the application of a final printed part allows a designer to specify the optimal infill percentage. A prototype where the form is important can be printed with very low infill, which results in significant cost and time savings, whereas a bracket that will experience loading will need a higher infill percentage.
As mentioned above, the standard 18% to 20% that most FDM printers use as a default should be acceptable for most applications, though feel free to speak with a Hubs engineer for other potentially more robust infill options.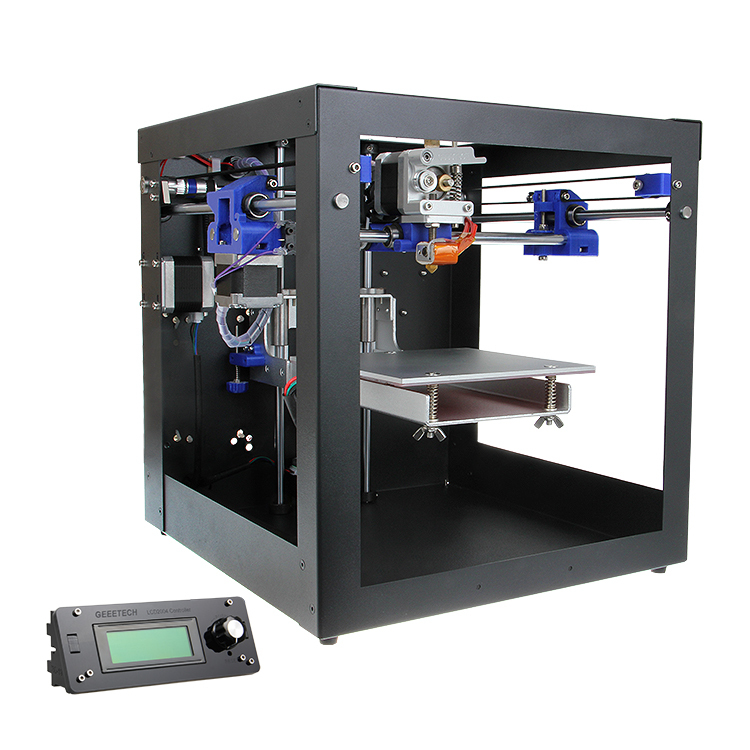
Feature strength
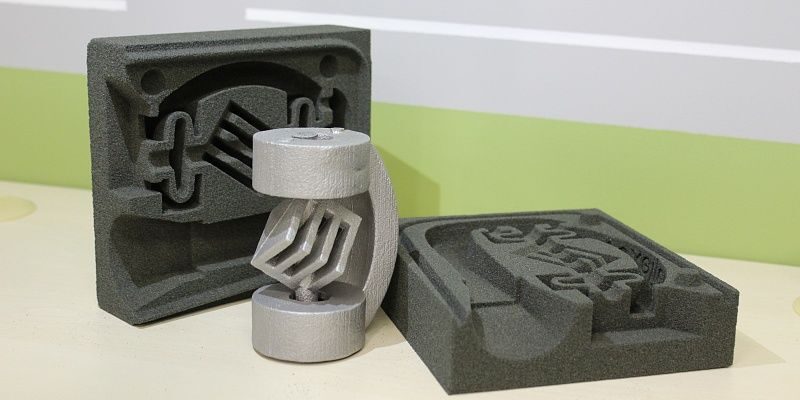
Infill also plays a critical role in how extended/protruding features are connected to a model. Snap-fit connections are a good example of this. The base of a snap-fit connection is often a weak point.
With a low infill density (20%), the cantilever is much more likely to break as the short extruded clip is only connected to the body of the print by a small cross-sectional area. Increasing the infill percentage means that more of the body of the print is connected to the cantilever, thereby increasing the strength of this connection.
Inspect these two broken snap-fit connectors. The white one has 20% infill and the grey one has 100% infill. The higher infill percentage results in a much stronger connection to the body of the print.Screwing, tapping or bolting
An important factor to remember when choosing the infill percentage of your 3D-printed parts is whether you’ll need to drill holes or place screws into the component.
Consider a print with low infill that is going to be drilled and then screwed to another surface. Often the drill holes will go through the top and bottom layers of the print and miss the infill of the model, creating a very weak connection. For these applications, a higher infill is desirable (50% minimum).
Connections that utilize clearance holes and bolts are better suited to parts with a low infill percentage. The shells, walls, and infill offer good compressive strength providing better anchoring of the part.
Compare these three illustrations. A represents poor anchoring for a screw. B shows that increased infill allows for better anchoring. C shows that increasing the outer shell is a cheaper solution and offers improved anchoring.Infill geometry
For a standard FDM print, the machine will add the infill structure as an angled hatch or a honeycomb shape. Let's look at the four most common infill geometries and their optimal uses.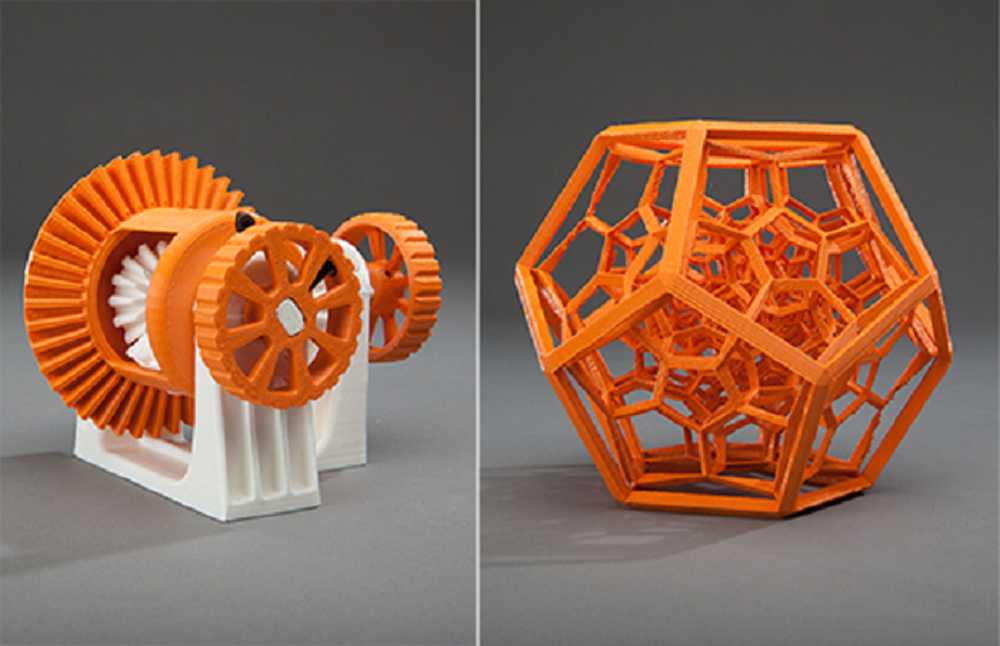
Rectangular - This is the standard infill pattern for FDM 3D prints. It's strong in all directions and is reasonably fast to print, and requires the printer to do the least amount of bridging across the infill pattern.
Triangular or diagonal - This geometry is used when strength is needed in the direction of the walls. Triangles take a little longer to print.
Wiggle - This geometry allows the model to twist or compress, as well as be softer. It can be a good choice, particularly with a soft rubbery material or softer nylon.
Honeycomb - This is one of the more popular infills. It's quick to print and is very strong, providing strength in all directions.
New to 3D printing or need a comprehensive refresher?
Get our guide to 3D printing
What are the best practices for setting shell and infill parameters?
Designing parts for FDM 3D printing involves a lot of steps, and it's easy to forget certain factors and features.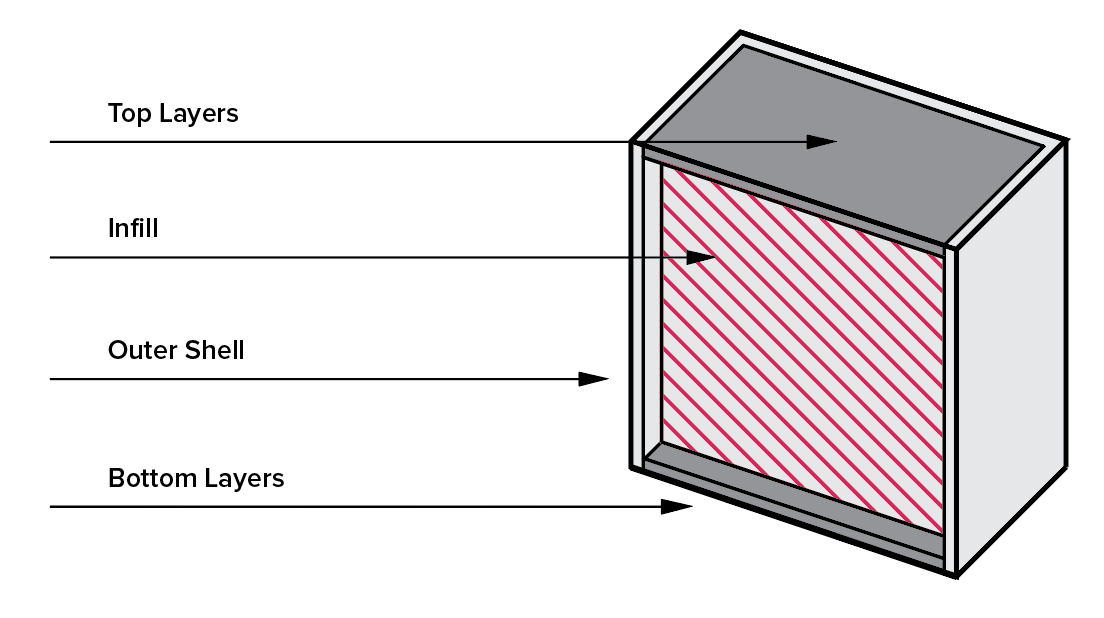 Choosing the right infill percentages and geometries, and optimizing the use of shells, will definitely improve how your custom parts turn out.
-
Remember to take into account the application of the parts you're sourcing. This will affect the shell thickness and infill percentage you need to set. Increases in shell thickness and infill percentages lead to higher strength but also longer print times and augmented costs.
-
Design shells with multiple nozzle diameters.
-
If you need to place screws in a part, increase the shell thickness or infill percentage to improve anchoring. If this isn't feasible (or possible), consider using clearance holes and bolting with washers.
-
For cheaper rapid prints, rectangular infill is optimal thanks to its swifter print speed. Honeycomb or triangular infills boost part strength compared to rectangular geometries, so use either of these two if higher strength is critical to your part's functionality.
Curious about the cost of FDM 3D printing?
Our online FDM 3D printing service Upload a CAD file for a free, instant quote
Ready to transform your CAD file into a custom part? Upload your designs for a free, instant quote.
Get an instant quoteHow to Get the Perfect Wall/Shell Thickness Setting – 3D Printing – 3D Printerly
There are many terms when it comes to 3D printing, but shell thickness is one you may have come across recently. It definitely has its importance in the results of your prints. In this post, I will detail how to get the perfect shell thickness settings for your prints.
How do I get the perfect Shell Thickness settings? The default wall thickness in Cura is 0.8mm which provides a minimal amount of strength for standard 3D prints. For prints that need durability, a good wall/shell thickness would be around 1.6mm and above. Use at least 3 walls for more strength.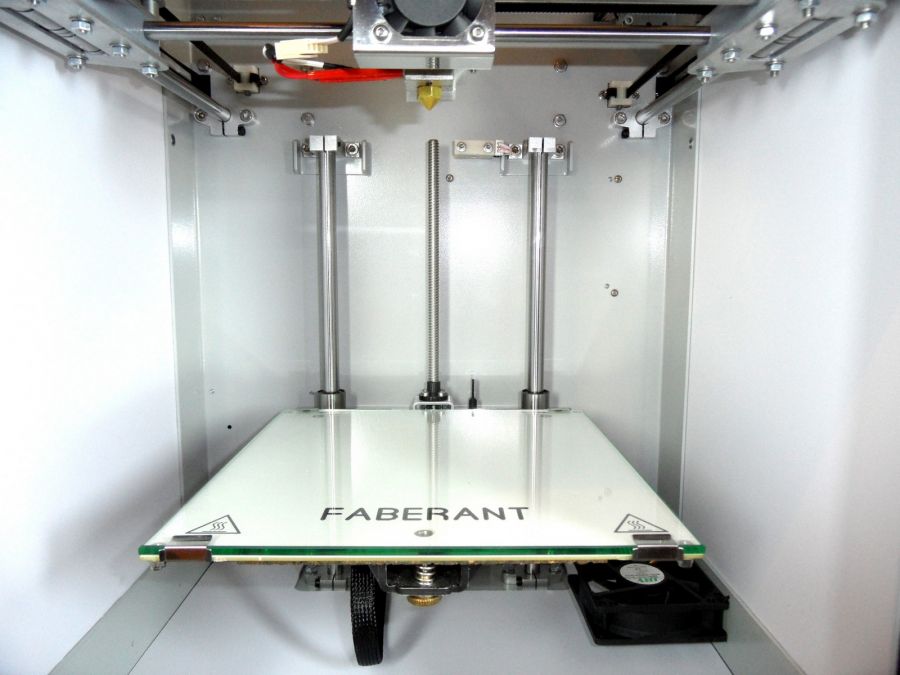
This is the basic answer on how to get the perfect shell thickness, but there are some useful details that you can learn in the rest of this post. Keep reading to brush up on your knowledge of shell thickness settings.
What Is Wall/Shell Thickness?
Wall & shell means the same thing in 3D printing, also known as perimeters so you’ll see these used interchangeably. Cura refers to is as walls so that is the more standard term.
Put simply, shells are the walls of your prints that are exposed to the outside of your model, or just the exterior of your object.
Bottom layers and top layers are also known to be a type of wall because it’s on the exterior or outside of the object.
The main settings you’ll come across is the number of walls and the wall thickness. They both work together to create a certain sized wall around your print. Shell or wall thickness is a combination of your wall width in mm and the number of walls.
If you have a low wall thickness and several walls, it will basically be the same as having a high shell thickness and fewer walls.
How Does Wall Thickness Benefit My Parts?
The main benefit of increasing wall thickness is to add to the strength and durability of a part. These are necessary for prints that serve some kind of functionality, such as a mount, holder or handle.
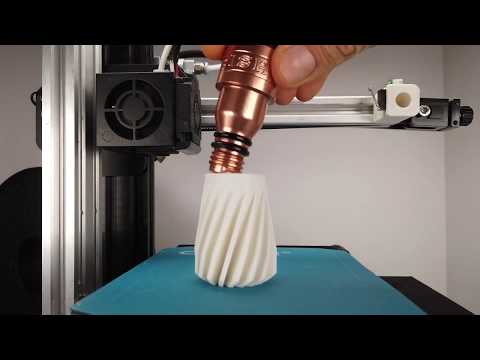
Adding to your wall thickness is a good alternative to adding tons of material for a higher percentage of infill as found in the video below by CNC Kitchen.
One of the key features you can do for wall thickness is to adjust your prints to have more wall thickness or walls in weaker areas where parts are likely to break.
You do need to keep in mind, adding a large wall thickness for parts that require precision can alter its shape enough to make it unfit for purpose.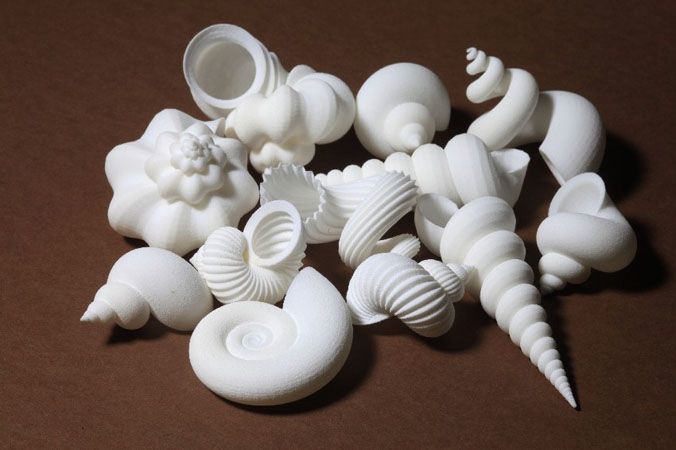
It’s not the end of the world because parts can be sanded down to accurate dimensions but this will take extra work, and depending on the part design and complexity, might not be possible.
Larger wall/shell thicknesses creates a sturdy, durable model and also decreases the chance of any leaks. On the other hand, a lower wall thickness can significantly reduce filament used and print times.
How is Wall/Shell Thickness Calculated?
The usual practice for shell thickness is to have a value which is a multiple of your nozzle diameter.
For example, if you have a nozzle diameter of 0.4mm, you want your shell thickness to be 0.4mm, 0.8mm, 1.2mm and so on. This is done because it avoids print imperfections and gaps occurring.
In terms of figuring out shell thickness, it’s usually calculated to be a value of two nozzle diameters, being 0.8mm for a standard 0.4mm nozzle.
In Cura, the wall thickness is already calculated for you and overridden by line width so when you change your line width input, wall thickness will automatically change to be line width * 2.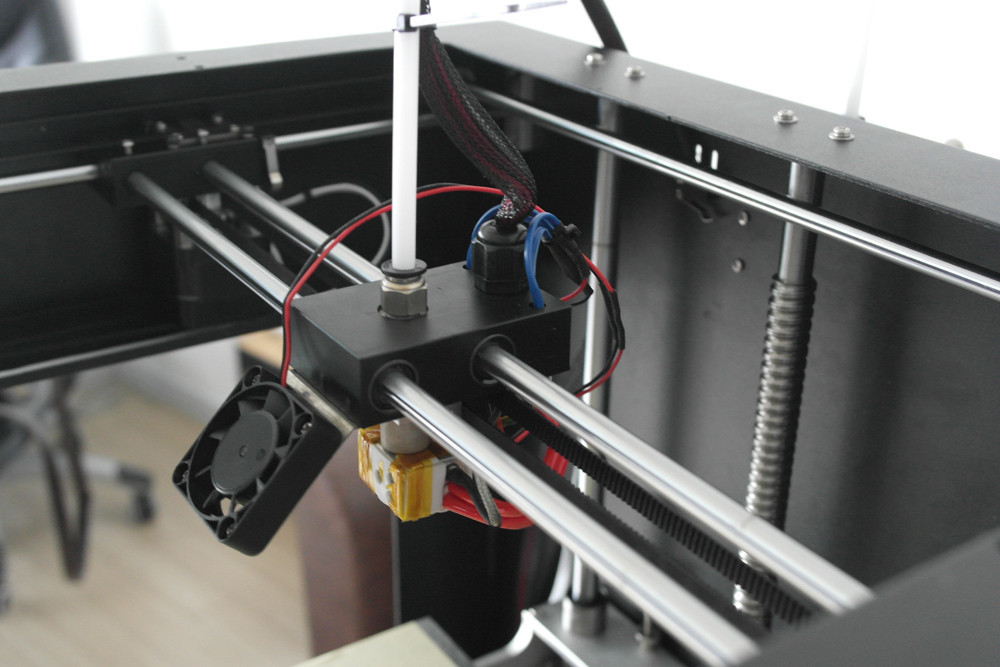
When you’re printing with a weaker, brittle material, overall shell thickness can make or break you (excuse the pun), so make sure you’re clued-up on these settings.
To adjust overall shell thickness, you’ll have to change the wall line count setting. Having a shell thickness of 0.8mm means a wall line count of 4 would give you a 3.2mm wall.
How to Get the Perfect Wall/Shell Thickness
Now on to getting the perfect wall thickness.
Honestly speaking, there is not one particular perfect wall thickness that will work the best for your prints, but you usually want to be in a 0.8mm-2mm range.
The first thing you should know is that every print has its purpose and functionality. Some are printed simply for looks and aesthetics, while some are printed to under a load or physical bearing.
You need to determine the use of your part before you can identify what the perfect shell thickness would be for you.
If you’re printing a vase, you wouldn’t need such a wide thickness because durability isn’t a necessary characteristic for its use, although you don’t want it to break, so you’ll need a minimum.
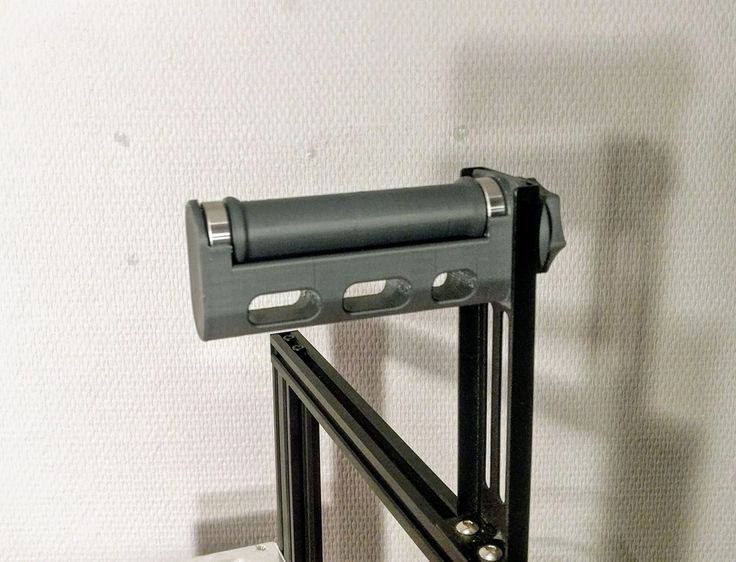
On the other hand, if you are printing a wall mount bracket, you’ll need the right material, infill and plenty of walls to make the part as strong as possible.
An example is if you print a part with 0% infill and just a 0.4mm wall it will be very weak and easy to break, but add a few walls to it, and it will make it a lot stronger.
So, this will be trial and error from gaining experience with different shell thicknesses. Once you get the hang of it and understand how it works and looks, you’ll be able to determine the perfect shell thickness with ease.
What is the Minimum Wall Thickness for 3D Printing?
You rarely want a wall thickness that is below 0.8mm. For models that need durability, I’d recommend 1.2mm and above because according to IMaterialise who deliver custom 3D prints, these are most likely to break during transit. There isn’t really a maximum but you don’t really see above 3-4mm in normal cases.
If your model has fragile parts and thin structures such as the limbs on a figurine, shell thickness would help out a lot.
Having a 3D print wall too thick can also cause issues so watch out for that. This happens with more detailed designs where parts of the print are close to others. At a certain shell thickness, there will be overlap between parts so try to balance it out at a level where you see fit.
If you want your prints to have some flexibility, a thick shell won’t work too well for that as it makes your prints more rigid. Another thing you should know is an overly large wall thickness creates internal stress that can actually result in warping and print failure.
Some slicers have an in-built function to stop people adding too large of a wall to their models.
There is a minimum thickness that a 3D printed part needs to have to be able to hold up at all.
When it comes to how thick 3D printed parts should be, Fictiv found that 0.6mm is the absolute minimum and also the thinner your part’s shell thickness, the higher the chance that something goes wrong during the process.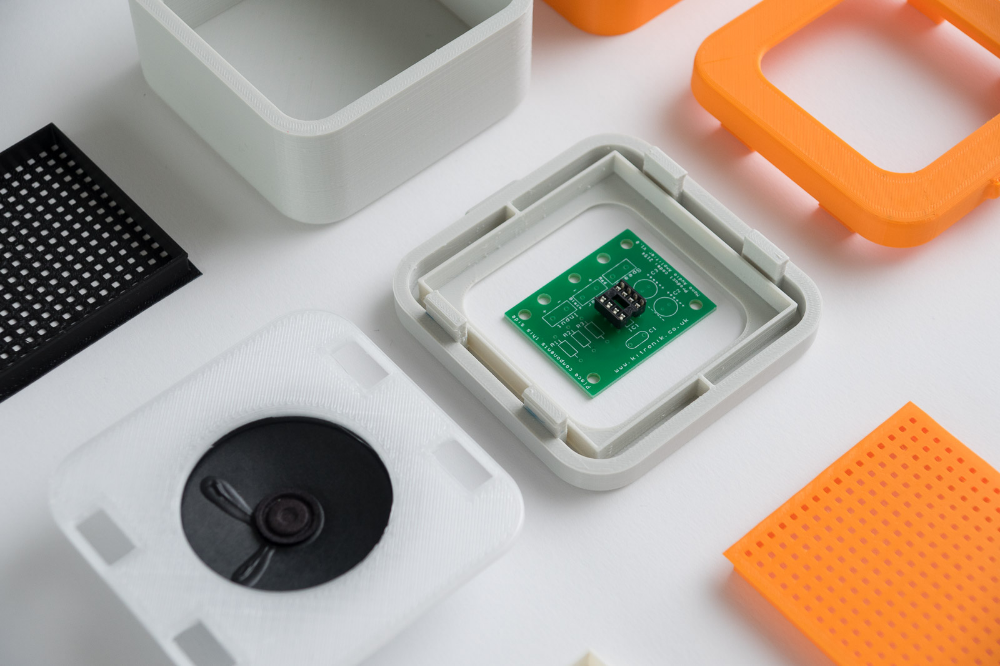
The reason this happens is because of the nature of 3D printing and its layer by layer process. If melted material doesn’t have a good foundation underneath, it can have trouble building up.
Models with thin walls are more prone to warping and gaps in the print.
What is a Good Wall Thickness for PLA?
For PLA 3D prints, the best wall thickness is around 1.2mm. I’d recommend using a wall thickness of 0.8mm for standard prints that are for looks and aesthetics. For 3D prints that require strength and durability, try using a wall thickness of 1.2-2mm. Walls are the best method to improve strength for PLA 3D prints.
For the top/bottom thickness, you can use the same measurements whether you have a 3D printed like the Ender 3 V2 or Anycubic Vyper.
3D Printing Wall Thickness Vs Infill
Wall thickness and infill are two factors in 3D printing to increase the strength of your 3D prints. When it comes to wall thickness vs infill, it’s better to use wall thickness for strength. A model with 0% infill and a 3mm wall will be very strong, while a model with a 0.8mm wall and 100% infill won’t be as strong.
The level of strength by increasing infill percentage decrease as you go up in infill percentage.
Hubs measured that a part that has 50% infill vs 25% is around 25% stronger, while using an infill of 75% vs 50% might increase the part strength by around 10%.
3D prints will be more durable and less prone to breakage when you have a strong wall thickness, but using a combination of wall thickness and a high infill percentage is the best.
You’ll have an increase in material and weight with both of these factors, but wall thickness uses less material in comparison to how much strength it adds.
Check out the video below for a great illustration of this.
Part orientation is also important with strength. Check out my article Best Orientation of Parts for 3D Printing.
preview / 3D Printers, Machine Tools & Accessories / iXBT Live
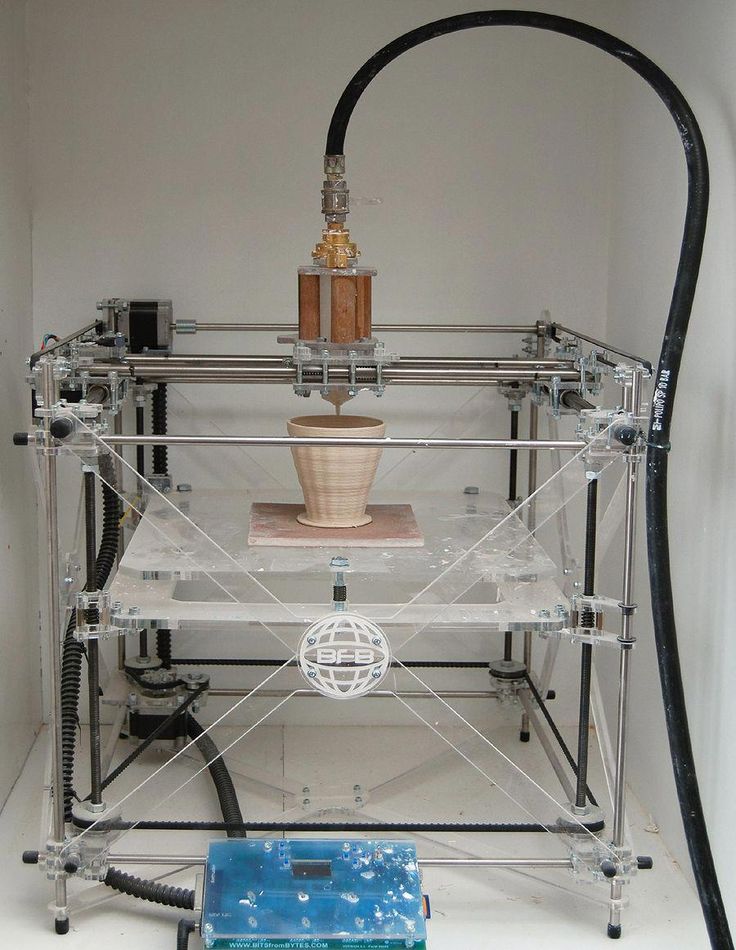
The B&R 3D project is growing and a PRO version of the kits is now available. Sets of body parts for self-assembly are universal and allow you to assemble a 3D printer both on H-bot and Core XY kinematics. The B&R PRO versions of the kits have received a number of changes in a positive way and have received larger “Plus” versions of the kits. Now this is one of the most affordable ways to assemble a steel printer, which outperforms its brethren with a plywood case or an aluminum profile frame in all respects.
Such a 3D printer allows you to assemble a fairly budget-friendly structure from metal, and not from plywood / profile. The side walls are sheathed with acrylic panels (if necessary). The design allows the installation of a direct feed (direct extruder) of plastic, as well as dual extruders for color printing.
The range includes three new B&R Pros and two basic build kits:
- The B&R PRO 3030 kit has a printable area of 300 x 300 x 350 mm.
 Overall size 615 x 471 x 481 mm with a set weight of 19kg.
 - Kit "B&R PRO 3030 plus" has an enlarged print area of 320 x 320 x 350 mm. Overall size 615 x 496 x 501 mm with a set weight of 23 kg.
- Kit "B&R PRO 2525 plus" has a print area of 270 x 270 x 300 mm. Overall size 615 x 450 x 450 mm with a set weight of 19 kg.
- The B&R 3020 basic kit has a print area of 300 x 200 x 300 mm. Overall size 570 x 455 x 370 mm with a set weight of 15 kg.
- B&R 2020 basic kit has a printable area of 200 x 200 x 300 mm. Overall size 570 x 405 x 370 mm with a set weight of 14 kg.
A heavy printer is good. The massive body well dampens excess vibration when working at high print speeds. The body itself is rigid, made of thick stamped steel with a powder coating. There are holes for installing a touch display (diagonal options are possible), holes for installing encoders, switches, USB panels. The electronics compartment is located under the "floor" of the device. I covered the nuances of assembling the basic kit for assembling a B&R 3D printer in a separate article.
The peculiarity of the project is not only the openness and availability of information, but also the possibility of implementing a moving scheme both in the form of CoreXY and in the form of H-Bot. The top panel provides for the installation of one of two versions of kinematics.
Assembly of B&R kits is quite simple - fastening panels in turn, setting up a table, assembling guides (shafts, rails), motors, connecting electronics. It should be noted that only steel painted panels are included in the B&R kit. Additional components are purchased by the user according to the list based on his own preferences. There is both an opportunity to save money and a path to assembling the most advanced 3D printer.
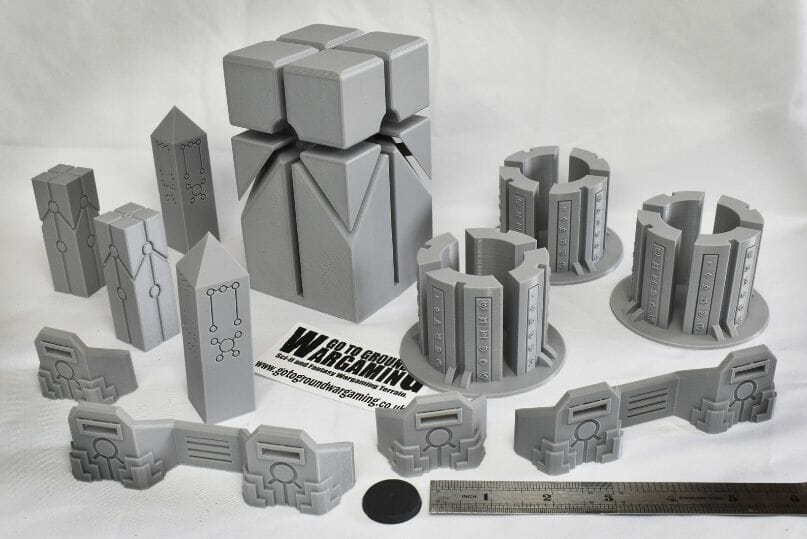
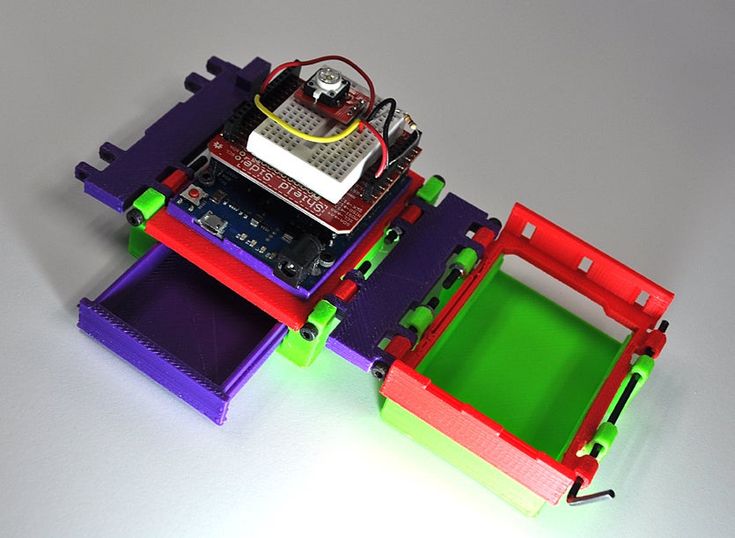
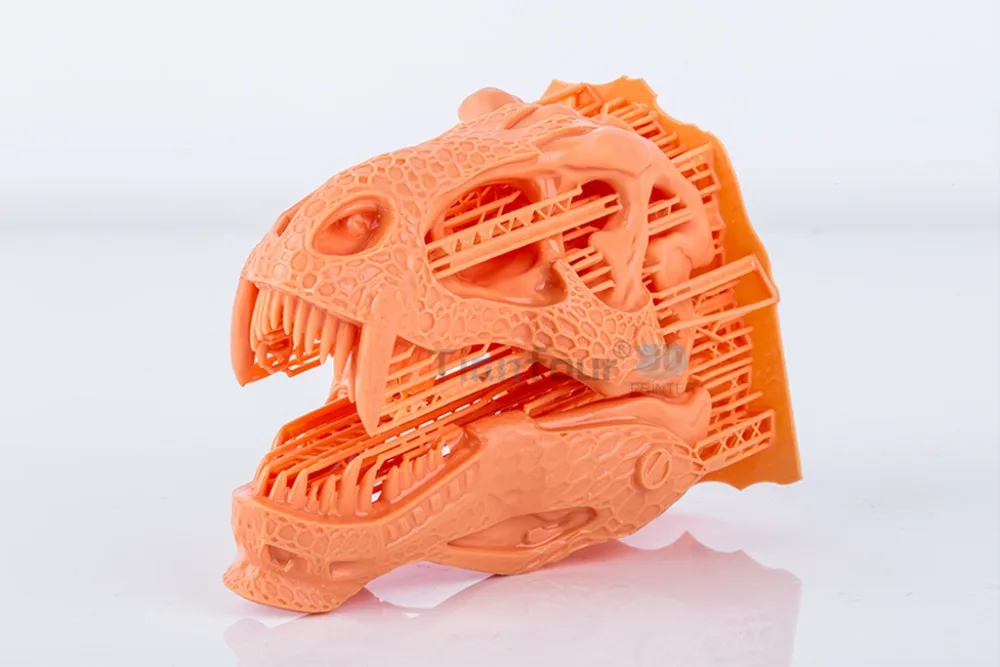
The advantage of 3D printers with a large printable area is that you can create large models without cutting into pieces and without subsequent gluing. An example of a complex layout mechanism is shown in the images below.
The B&R kit is one of the most affordable and smart options for DIY 3D printer assembly. Detailed information on assembling and setting up the printer can be found both in the official B&R group and in the project's telegram chat.
Source : B&R 3D printer project official chat
News
Publications
Many people think that there are no corners of the Earth that modern planes would not fly over. However, such places still exist, one of them is Antarctica. About the complexities...
According to experts in trouble-free driving, braking is the most significant component in terms of safety. Incorrect or illiterate use of it can provoke a loss ...
My friends know this story, so I decided to tell you. The story of how I met bitcoin at the end of 2010. And how he did not become rich, because he did not consider this phenomenon important. Now...
Maibenben M547 is a simple, work laptop with a Ryzen 7 4700U processor, as well as 16 GB of RAM, will allow you to perform basic tasks: office software, browsing, watching movies. But thanks though...
One of the most outstanding mobile DACs in recent times I can safely call the Ikko ITB03. Yes, and there is a reason, according to the filling, it is charged like a solid portable: XMOS chip to USB, two converters...
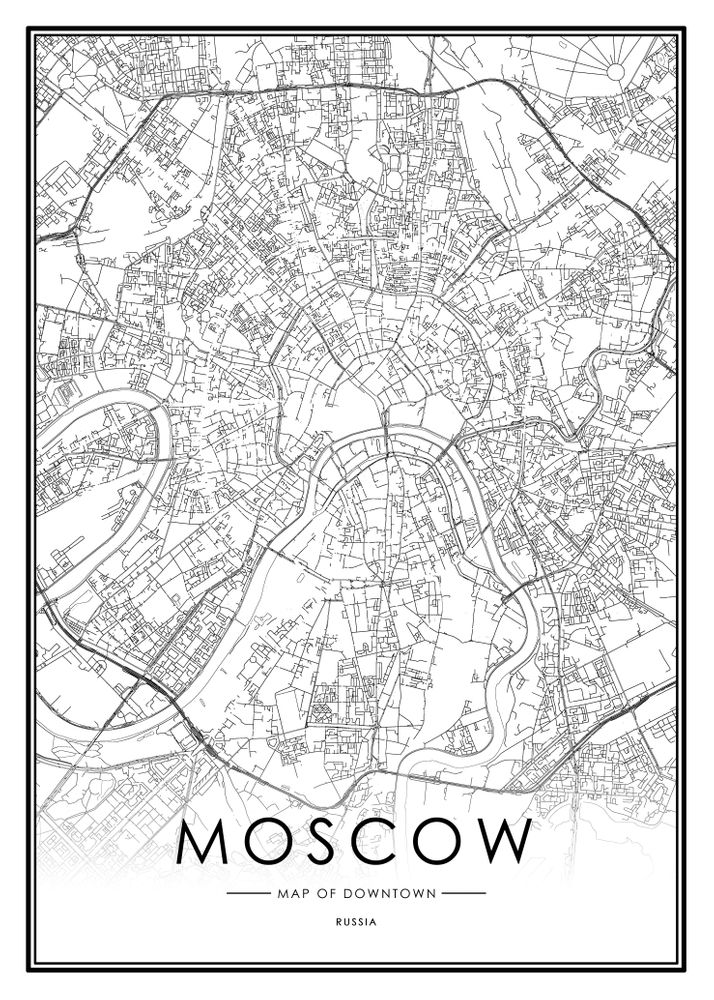
We continue our walk around St. Petersburg. In the last post, we walked from the Moscow railway station along Ligovsky Prospekt to the Obvodny Canal. Then along the embankment we reached Bagrationovsky...
Welcome to NIOZ.RU
Sort by
Product Name +/-
Product Price
Featured Products
Product Availability
Displaying 1 - 60 of 623
153060150
400 ml
RUB 1940.00
Product description
RUB 390.00
Product description
350 ml
RUB 850.00
Product description
Ready to print
RUB 23700.00
Item description
Ready to print out of the box
RUB 14500.00
Notify me when available
Product description
Ready to print
RUB 19900.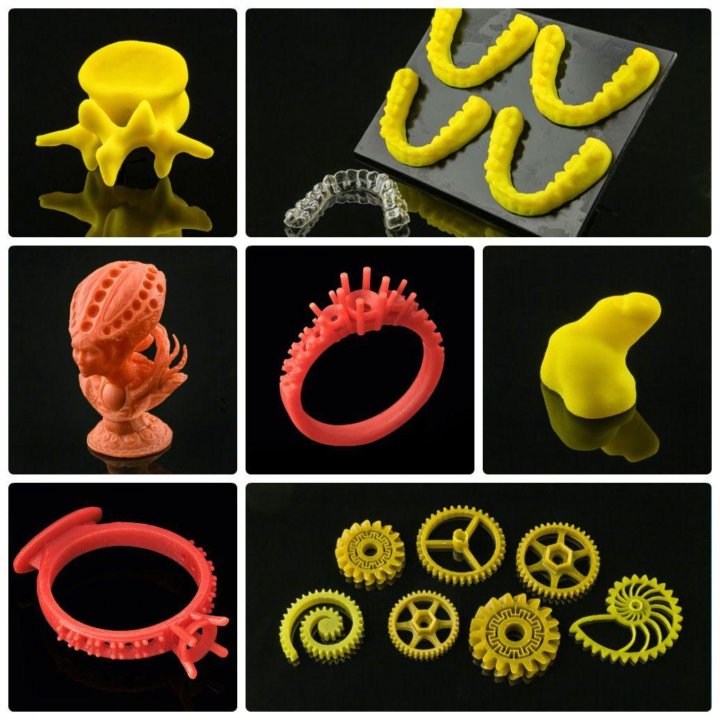 00
00
Item description
Print ready
RUB 20900.00
Notify me when available
Product description
Ready to print
RUB 23900.00
Item description
Ready to print out of the box
RUB 43500.00
Item description
Print Ready
RUB 39000.00
Product description
LCD 0.7/1.75 mm
RUB 1550.00
Notify me when available
Product description
RUB 650.00
Product description
Wiznet W5100 Arduino Shield
RUB 650.00
Notify me when available
Product description
RUB 550.00
Product description
Assembly kit
RUB 2500.00
Notify me when available
Product description
Volume: 1 l.
RUB 3100.00
Product description
Boscam 200mW, 5.8GHz
Chimera, e3d
RUB 1700.00
Product description
Printhead 1.75mm 0.4mm
RUB 1100. 00
00
Product description
Double printhead 1.75mm 0.4mm
2500.00 RUB
Notify me when available
Product description
Long
RUB 750.00
Item description
Short
RUB 700.00
Item description
RUB 1900.00
Report Admission
Product description
APM2.6 mavlink
RUB 1350.00
Product description
RUB 250.00
Product description
11.1V, 20C
RUB 1900.00
Item description
11.1V, 25C
RUB 1250.00
Notify me when available
Product description
11.1V, 25C
RUB 2100.00
Product description
Heat block v6
RUB 150.00
Item description
cartridge type thermistor
Heat block Volcano
48V 12A
RUB 2700.00
Report Admission
Product description
12V 20A
RUB 1550.00
Product description
12V 30A
RUB 1950. 00
00
Notify me when available
Product description
12V 5A
RUB 450.00
Notify me when available
Product description
24V 15A
RUB 2100.00
Notify me when available
Product description
RUB 250.00
Product description
Hobbed bolt
RUB 150.00
Item description
Price per 10mm (free cutting)
RUB 13.00
Product Description
Price per 10mm (free cutting)
RUB 17.00
Product Description
Section 400mm
RUB 650.00
Product description
Price per 10mm (free cutting)
RUB 25.00
Product description
10mm (cut to size)
RUB 70.00
Item description
10mm (cut to size)
RUB 90.00
Item description
Price per 10mm (free cutting)
RUB 7.00
Product description
Price per 10mm (free cutting)
RUB 10.