3D print studio
Studio3Dprint
New products
Quick view
- New
Quick view
- New
Quick view
- New
Quick view
- New
Quick view
- New
Quick view
- New
Quick view
- New
Quick view
- New
We are the online store where you can download models of video games and comics in STL file format. High-quality, incredibly detailed and absolutely error-free 3D model files, optimized for all types of 3D printers.
THE PRODUCTS ON OUR WEBSITE ARE ALL STL FILES, THEY ARE DIGITAL ITEMS AND NOT PHYSICAL PRODUCTS.
How do I download the files?
Once the purchase is made, on your customer page, go to "Your account" - "Order history" - "Data", click on the name of the item to download the file.
Important: You will download a text file (compressed) with the product download link to Gdrive. (Use the latest version of WinRAR)
Important: If you use a mobile device (smartphone, tablet, etc.) use the "computer view" option in your browser to be able to download the file correctly.
Instantly and without waiting.
If you have any questions, you can watch this video:
https://www.youtube.com/watch?v=zM72K0PELwU
Best Sellers
Quick view
- On sale!
Quick view
Quick view
Quick view
Quick view
Quick view
Quick view
Quick view
Popular Products
Quick view
Quick view
Quick view
- New
Quick view
Quick view
Quick view
- New
Quick view
Quick view
Mega-Pack STL 200+Gb 3500+Files - STL Files for 3D Print
All the designs that others sell separately all together in a single pack, save money and buy it all at one time.
**STL digital file to be printed on a 3d printer. INSTANT DOWNLOAD** DIRECT DOWNLOAD WITHOUT ADS **
MEGA-PACK STL 200+Gb 3500+Files
A torrent file to download more than 200 gb of stl
It includes:
Gambody
CG_TRADER
SANIX
Files included:
Anime: Akira, Bersek, Dragon Ball Z, Evangelion, Ghost in The Shell, Guyver, Hunter x Hunter, My Hero Academia, One Piece, Pokemon, Pincesa Mononoke, Sailor Moon, Saint Seiya, One punch Man, Sword Art Online, Voltron Warship.
Caricature: Futurama, GI Joe, Asterix and Obelix, Master of Universe, Mazinger Z, Pinky and Cerebro, Popeye, Rick and Morty, The Simpsons, Snake Eyes, The Grinch, Thundercats, TMNT, Torre Korin, Transformers, among others. .
DC: Aquaman, Arrow, Batman (various versions), Black Hood, Wonder Woman, Contngency Plan Keyed, Cyborg, Deadshot, Deadstroke, Red Hood, Doomsday, Dr. Doom, Flash, Green Lantern, Harley Quinn, Justice League, Man of Steel, Ninja Batman, Injustice 2, Spawn, Supergirl, Superman (various models), Swamp Thing, Teen Titan Robin, The Flash, among others . ..
..
Marvel: Groot (in all its versions, baby, adolescent and adult) Antman, Avenger Scene full sanix!, Black Panther, Black Widow, Captain America, Captain Marvel, Antman and the Wasp, Wolverine (Various CHIBIS), Daredevil, Thanos, Deadpool, Ghost Rider, Loki, Captain Amércia in Civil War, Falcon, Ironman (in various versions), Dr. Strange, Guardians of the Galaxy, Hulk (various versions), Omega Red vs Wolverine, Infinity Marvel, Magneto, Nightcrawler, Nova ¡Prime, Rouge, Scarlet (black widow), Silevr Surfer, Spiderman (various versions), Stan Lee (tribute), The punisher, Vision, Thor, Ultron, X-men, X-force and many more (heroes and villains) ! ...
Disney: Beauty and the Beast, Infinity Disney, Iron Giant, Maleficent, Pinocchio, Robin Hood, McDuck, Jessica Rabbit, among others.
Video Games: Assassins Creed, Barbarian King, Bioshock, Blood, BloodStone, Dead Space, Far Cry 5, League of Legend, Planats vs Zombies, Circle of Blood, Command and Conquer, Company of Heroes, CupHead, Cyberpunk 2077, Devil May Cry , Darksiders, Dead or Alive, Diablo, Mass Effect, Gear of War 4, Dota 2, Eve Rifter, Fallout, Fallout 4, Fortnite, Gof of War, GTAV (Grand Thef Auto 5), Halo, League of Legend (LOL) , Metal Gear Solid, Guardians Destiny, Mortal Kombat (Sub Zero, GORO, Kintana, Raiden, Scorpion), Nintendo (Mario Bros, Kupa, Diddy Kong, Samus de Metroid, Donkey Kong Country, Mario and Luigi, Star Fox, Zelda Collection (Link various models), Overwatch (Ange, Genji, Lord Saladin, Tracer) Reinhardt, Sentry, Poseidon, Ratchet & Clank, Shadow Fiend, Shadow of Mordor, Skyrim, Smite, Soul Reaver, Starcraft, Street FIghter, The Witcher, Tomb Raider (Lara Croft), Titan Fall, William Birckin, Wolfestein, World of Warcraft.
Movies: 300, Alien, Predator, Avatar, Arnold, Back to the Future, Barbarella, BeetleJuice, Bruce Lee, Chappie, Chucky, Dune, ET, Frankestein, Friday the 13th, Ghostbuster, GodZilla, Harry Potter, Hellboy, Hellraiser, Indiana Jones, Jurassic Park, Labryrinth Knockers, Leonardo dicaprio, Lord of the Rings, Nightmare, Pacific Rim, Planet of the Apes, Pulp Fiction, Robocop, Rocketeer, Small Soldier, Stephen King, Terminator, Robotech, Tron among others ...
Music: Iron Maiden, Smooth Criminal among others ...
Personalities: Chapulin Colorado, Chaves among others ...
Star Wars: Bobba, Chewbacca, Darth Maul, Darth Vader, Armas, Droids, Han Solo, Infinity Star Wars, Jedi Armor, Leia, Luke, Nien, Porg, Snoke, Strom Trooper, Yoda, Veiculos among others ...
Series and TV shows: Battle Star Galactica, Dalek, Power Rangers, Star Trek, Stargate, Stranger Things!, The Muppeds, The Walking Dead (Daryl, Rick, Negan, Walkers ...), Zorro among others ...
Game of Thrones: CG_trader - GOT Daenerys Targaryen, CG_trader - GOT Eddard Stark, CG_trader - GOT Jaime Lannister, CG_trader - GOT Jon Snow NightWatch, CG_trader - GOT Jon Snow, CG_trader - GOT Khal Drogo, CG_trader - GOT Night King, CG_trader - GOT Oberyn Martell, CG_trader - GOT Robb Stark, CG_trader - GOT The Hound, CG_trader - GOT Tyrion Lannister, Miniature Jon Snow (GoT) - CG_Trader, Miniature Night King (GoT) - CG_Trader, Miniature Tyrion Lannister (GoT) - CG_Trader, Sansa en the Throne - CG_Trader, Tyrion Lannister - CG_Trader, Drogon & Daeneris, GOT Map Markers.
ALL THIS AND MANY MORE READY FILES TO PRINT, TESTED AND WITH DOWNLOAD GUARANTEE!.
BUY NOW AND WE WILL SEND YOU THE TORRENT FILE DOWNLOAD LINK. DON'T BE FOOLED, BUY ALL THE PACKS IN ONE!
THE ONLY THING YOU NEED, SON 204 GB OF SPACE ON YOUR PC AND READY!
Requirements for 3D Models for 3D Printing and CNC Machining
01/16/2017 in 3D Modeling Instructions
Contents:
- Introduction
- Product creation process.
- Requirements for models for 3D printing and CNC processing.
- Fixing non-critical bugs with NetFabb.
- Fixing non-critical bugs with MeshMixer.
- Fixed non-critical bugs with Materialize Magic.
- Examples of the most common errors.
Introduction.
In this article, we will talk about the basic and general parameters that a model must meet in order to obtain high-quality 3D printed products. Let's discuss common errors that occur in the process of creating three-dimensional models in terms of a high-quality polygonal mesh and how to quickly fix them. Requirements for 3D models and quality issues in terms of the accuracy of manufactured parts are described in another article: The actual size of the product after 3D printing.
The process of creating a product.
Structure of the additive manufacturing process for the production of products:
| Designer / 3Dartist | 3D printing service | Discussed errors |
| 1. Creating a 3D model | ||
| 2. Export/convert 3D model to required format | 3. Model validation | 4. Compliance / non-compliance with the minimum allowable thicknesses. |
| 6. Preparation of control program for 3D printer (GCode) | 5. Compliance / non-compliance with the requirements for the polygonal mesh of the 3D model. | |
| 7. 3D printing process. | ||
| 9. Quality control. | 8. Post-processing process. Post-processing process. |
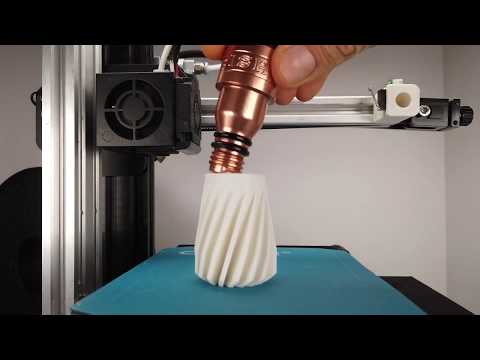
In accordance with the presented algorithm, at the first stage of product creation, a 3D model is developed using modeling programs in accordance with the terms of reference and the requirements of standards. After that, it is necessary to export the data of the simulation result program file to a format accepted by the program of the additive manufacturing control machine (for example, “STL”). The modeling process can now be done not only in solid format, but also immediately in STL. Before the next stage, possible defects in the model are identified. A model intended for 3D printing must be hermetic, monolithic and not contain cavities and gaps in the walls, which is ensured using special programs. Next, the information from the STL file is converted into commands, following which the 3D printer produces a product, this is the so-called GCode.
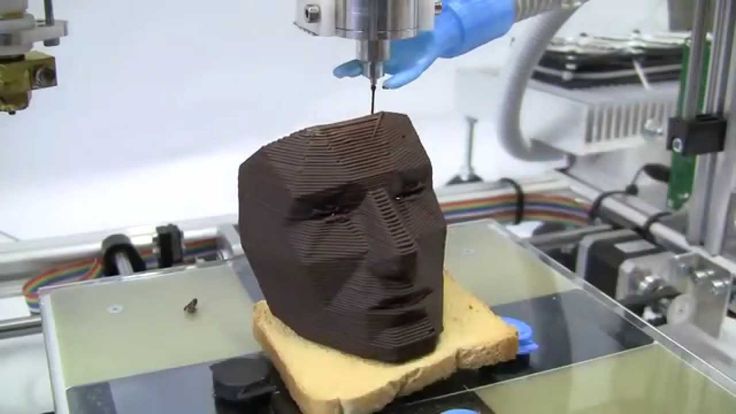
During this procedure, you should select the desired scale of the part, the correct position in space, and accurately position the model on the work surface. The result of the whole process, strength, surface roughness of the part and material consumption depend on this . After the settings are made, the model is divided into layers of material, which are “fitted” into the body of the part in one working cycle of the additive machine. This process is called slicing. Slicing is done using the software supplied with the machine, or using special tools (Simplify, Skein-forge, Slic3r, KISSlicer, MakerWare, etc.). The G-code obtained in the previous step is transferred to the 3D printer via flash memory or via a USB cable. In the process of preparing and setting up the additive machine, calibration, preheating of the working bodies, selection of the model material and setting the parameters of the equipment operation modes that depend on it are performed. On professional level devices, this step can be combined with the slicing process procedures. After all the preparatory operations are completed, the printing process starts, that is, the layer-by-layer combination of materials.
 Its duration depends on the type of technology and the selected parameters for the accuracy and quality of the part.
Requirements for models for 3D printing and CNC processing.
- List of file formats by 3D technologies.
- FDM (ABS, PLA, FLEX, HIPS, etc.): .STL .OBJ
- SLS (polyamide): .STL .OBJ
- SLA, DLP (photopolymer): .STL .OBJ
- SLM (metal): .STL+STP(STEP) .OBJ+STP(STEP)
- Multicolour plaster: .OBJ+texture .WRL+texture
- Polygon mesh.
- The mesh must be uniform and closed. A model consisting of several polygonal meshes is not allowed! Intersection of polygonal meshes is not allowed! Holes in the grid are not allowed!
- Multiple models in one file are not allowed. Each object needs to be saved as a separate file.
- The number of polygons must not exceed 500,000.

- Wall thickness must be at least the specified values for each technology.
- Inverted normals are not allowed! The outer normal should face outward. This problem is especially common when mirroring the model in some 3D modeling programs.
- The dimensions of the model must correspond to the dimensions of the real object.
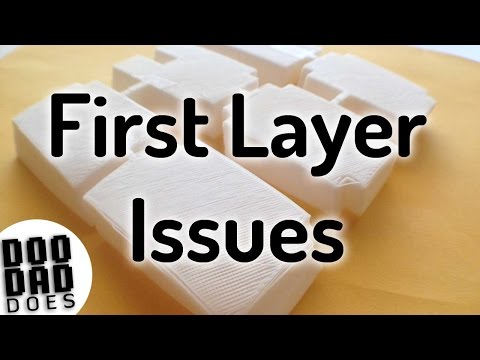
In 95% of cases, errors in files are not critical and can be easily fixed using specialized programs that can be easily found on the Internet. Even if you are sure that everything is in order with the model, it does not hurt to check it once again for correctness.
NETFABB - as a solution to most file errors.
MESHMIXER is a powerful and convenient alternative.
- Wall thickness analysis of the model.
It should be understood that there are several 3D printing technologies. They differ not only in the materials used, but also in the accuracy of the equipment. Different equipment has its own resolution. Therefore, before sending the file for printing, it is necessary to make sure the quality of the model in terms of the specified thicknesses in the walls, rods, mesh ceilings. Detailed article about checking models for thickness.
Fixing non-critical bugs with NetFabb.
NETFABB (download for PC or download for Mac) is a program that allows you to solve almost any issue related to 3D printing. Let's go through the main functions of this software, which AutoDesk itself bought at one time.
The program shows the outer part of the polygon in green, its inner normal in red. Ideally, the model should be all green. If you observe red spots, then these are polygons that are turned outward. If the entire model is highlighted in red, then the entire mesh is turned inside out.
Even if the model is green, but there are errors in your file, the program will display a big exclamation mark in the lower right corner of the screen, and will also not be able to calculate the volume of your model.
To treat the model, click on the red cross on the toolbar at the top of the screen. The program will put you into the treatment mode, and will indicate in yellow the breaks in the polygonal mesh, if any.
This program has functions for removing or adding polygons, changing sizes or proportions. (I will leave these functions for independent study). I recommend that you study the entire toolbar in order to easily understand how, where and which polygons we can select and what we can change.
To invert normals, select the polygons that look “in the wrong direction” and click on the “invert normals” button. Then click on the “Apply Repair” button.
If your model was initially all green or inverting the normals didn't remove the exclamation mark, and the volume has not yet been calculated, you need to apply automatic treatment. To do this, go back to the treatment mode by clicking on the red plus. In the treatment mode, select "Automatic treatment", then select "Default Repair" and click "Extrude".
The program has now done its best to repair the model automatically. Click "Apply Repair".
Typically, these steps should have fixed your model. If after the performed operations an exclamation mark is on and there is still no volume, then you are among those 5% when the model has critical errors and errors are laid down at the modeling stage.
Fixing non-critical bugs with MeshMixer.
Autodesk MeshMixer is a free program for working with 3D mesh models. You can download the program from the link. The program does not have tools for creating 3D models, but a wide range of tools for modifying them and preparing them for 3D printing. The main difference between this software and NETFABB is that MESHMIXER officially supports the latest versions of macOS. For me, this is a decisive factor, because I always carry a MacBook with me, and a Windows computer is only in the office. In turn, NetFabb stopped supporting software for macOS.
As in the case of Netfabb, you need to drop the model in STL format into the MeshMixer program window.
At first glance, the model looks good, but let's try to test it for suitability for 3D printing (mesh requirements). To do this, you need to analyze the model for errors. To do this, go to the “Analisis” section, then click on the “Inspector” button.
On the screen, we see how the program has highlighted areas on the model with bright colors that do not meet the requirements, which means they have errors.
In order to fix (cure) these errors, click on the “Auto Repair All” button. The program will try to remove errors automatically. Checking before 3D printing is a must. Even if outwardly the model seems suitable to you, it is still worth checking. In the picture below, you can see the errors that are inside the mesh, although everything looks good with the model.
However, this treatment does not always help. For example, if the model has a huge number of errors that the program is not able to remove automatically, then you will have to correct the model yourself in the program where the model was originally created. In case of a large number of errors, the program will indicate their presence even after you have tried to do automatic treatment. The picture below is an example of a very large number of shortcomings and errors that the program is not able to remove by itself.
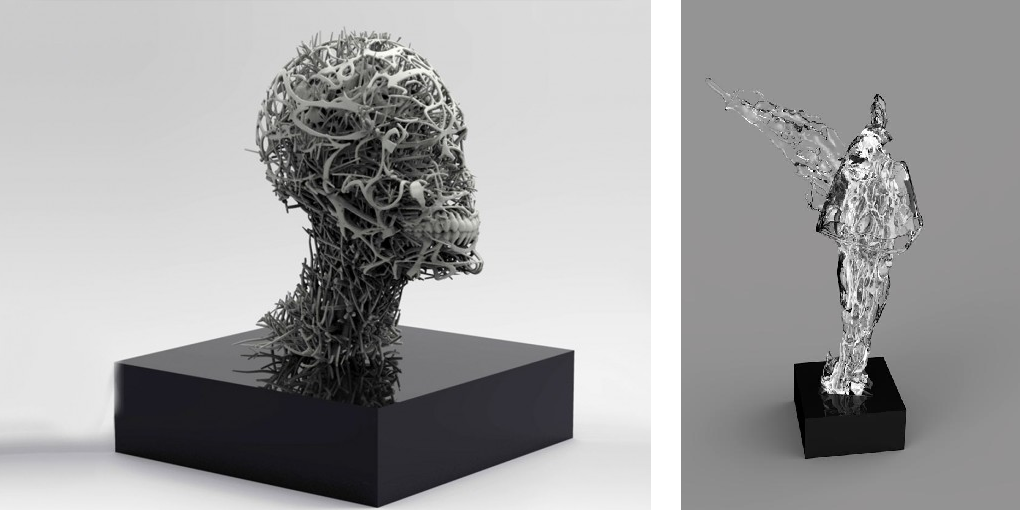
This usually happens when the model is being prepared for rendering rather than 3D printing. That is, there is a huge number of surfaces, but they are not connected into a single grid.
Fixing non-critical errors with Materialize Magic
The 3D model healing feature in Materialize Magic is located in the Fix tab.
After that, select the “Correction Wizard” command. Next, you need to alternate the “Update” and “Autocorrect” buttons.
Do this several times.