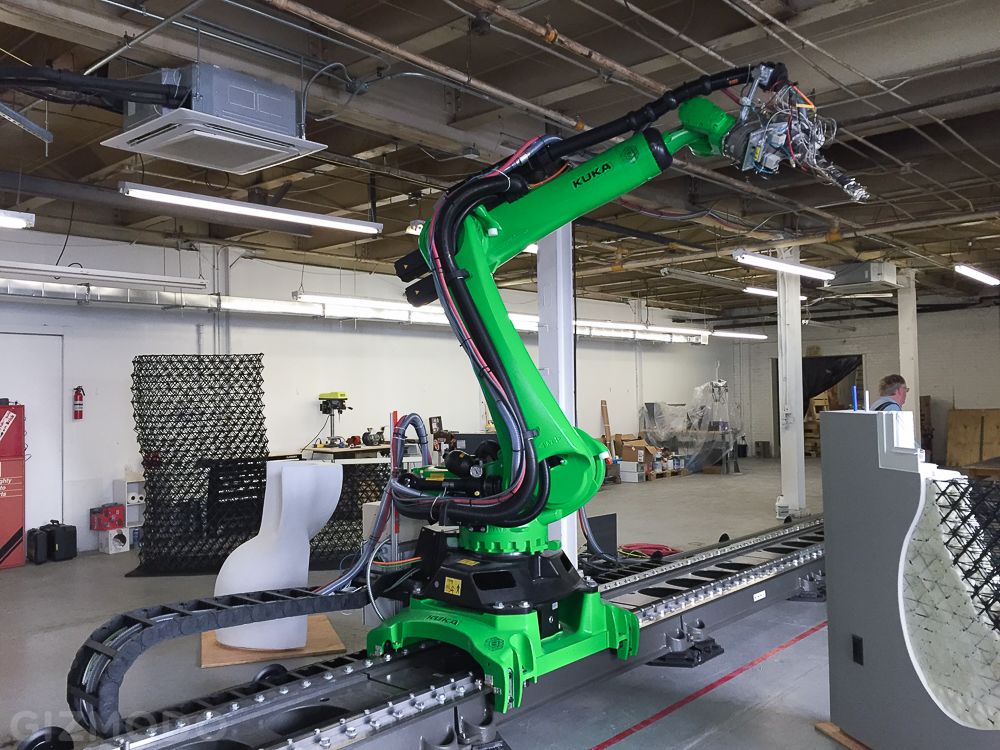
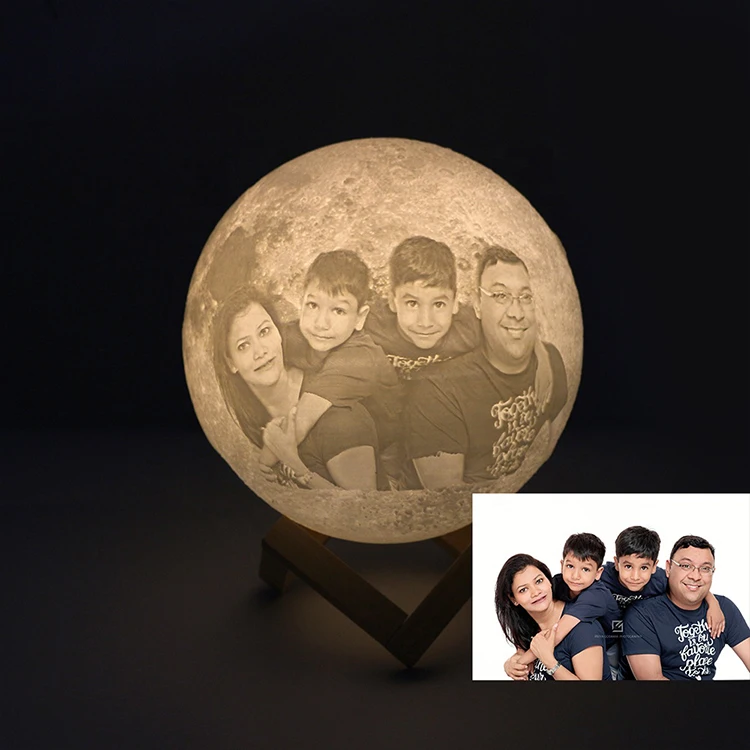
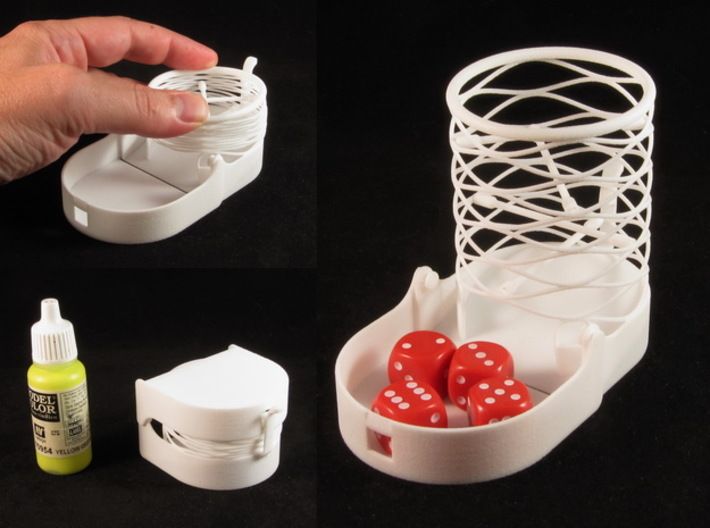
3D printer miniature figurines
A Guide to Bringing Digital Models to Life
Over the last few years, 3D printers have become more affordable, easier to use, and more reliable. As a result, professionals in the entertainment industry, game designers, and hobbyists have embraced these technologies to create 3D printed miniatures.
This comprehensive guide to 3D printing miniatures and custom 3D figurines will show you how to bring your hyperrealistic digital models to life, which processes to use, how to post-process and paint your 3D prints, and where you can source 3D models for miniatures. Plus, the post will highlight other companies already using 3D printing to bring their digital models to life.
In several industries, 3D printing is emerging as a go-to technology for creating custom models. In the model-making and entertainment fields, 3D printing allows designers to create realistic, detailed, unique, and replicable figurines, miniatures, action figures, character models, sculptures, film props, stop-motion models, art, and decoration, all at a sustainable cost and with a fast turnaround.
The artists from Modern Life Workshop create hyper-realistic sculptures of actor Daniel Craig with ZBrush and 3D printing.
3D printing is also playing a transformative role in the movies and series industry. Props masters, such as Russell Bobbitt for Marvel movies and Jaco Snyman for the first season and the second season of the Raised by Wolves series, as well as visual effects (VFX) and design studio Aaron Sims Creative for Stranger Things, have adopted the technology, as it significantly saves time in prop making and fuels creativity in the design process. The creation becomes more flexible and fluid, and props and models can be created in an efficient manner.
A behind-the-scenes look at visual effects (VFX) and design studio Aaron Sims Creative’s process to design of Stranger Things’ Demogorgon.
“The Demogorgon was one of the first prints that we did. The first results were just amazing. The level of detail was something that I couldn't even imagine that you could get in a printer”
—Aaron Sims, Founder of Aaron Sims Creative
In gaming, online communities have sprung up around tabletop games like Dungeons & Dragons, for which gamers use 3D printers to create one-of-a-kind D&D 3D printed miniatures, figurines, terrains, landscapes, and other board game accessories.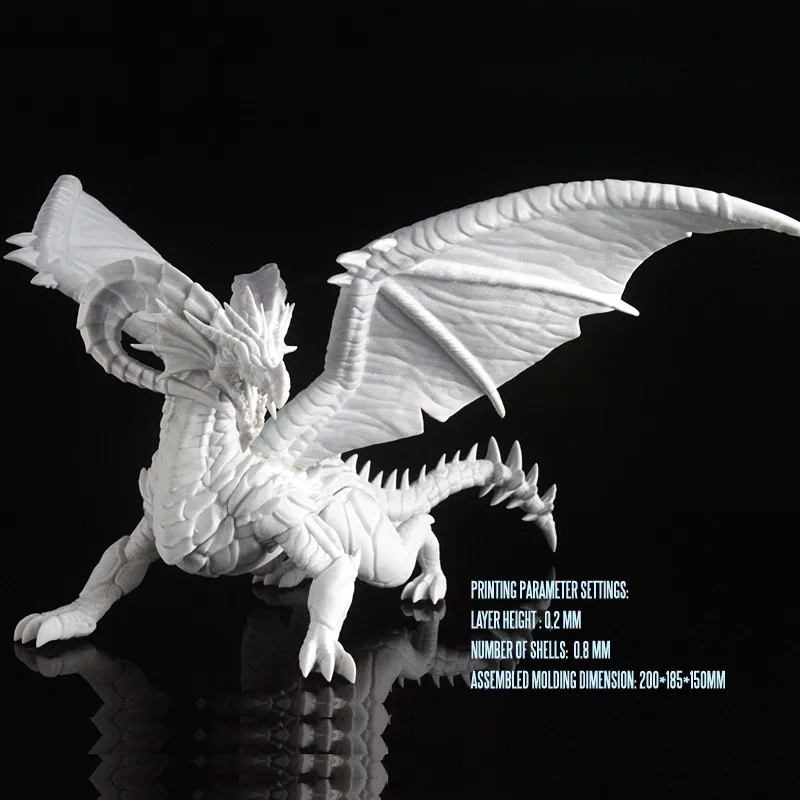
A half-scale hand gripping a PlayStation controller designed and printed for an internal awards event at Sony Fabrication Arts.
Global play and entertainment company Hasbro also uses the technology to create Hasbro Selfie Series figures—a groundbreaking endeavor to use 3D printing to manufacture personalized action figures at scale. For the first time, fans are now able to scan their face with a smart device and have a custom-made look-a-like action figure delivered to their door.
Additive manufacturing offers great design and engineering opportunities for professionals and miniature-making enthusiasts, who will be thrilled to see the designs of their imaginations come to life in a 3D printer.
All 3D printing technologies use a process called additive manufacturing. 3D printers create three-dimensional parts from computer-aided design (CAD) models by successively adding material layer by layer until a physical part is created. Prop makers, game designers, and hobbyists can use the following 3D printer technologies to create various props, miniatures, and figurines.
Creature and concept designer Jared Krichevsky uses a stereolithography (SLA) 3D printer to facilitate bringing digital models to life at Aaron Sims Creative.
Fused deposition modeling (FDM), also known as fused filament fabrication (FFF), is the most widely used form of 3D printing at the consumer level, fueled by the emergence of hobbyist 3D printers. FDM 3D printers build parts by melting and extruding thermoplastic filament, which a printer nozzle deposits layer by layer in the build area.
Compared to other 3D printing processes, FDM creates larger and more visible layer lines, leading to less-detailed end products. An FDM 3D printer is good for cheaply and quickly 3D printing miniatures for applications where fine surface details are less important.
Depending on your model, post-processing for FDM printing might only require support removal. However, complex figurines printed with an FDM printer require extra support structures, which can be difficult to remove and require sanding to get support marks off finished miniatures.
FDM printers are the least expensive option. A low-end hobbyist desktop FDM printer can cost less than $500, while a more professional FDM printer for 3D printing figurines can cost on average from $2,000-4,000.
A side-by-side comparison on FDM vs SLA 3D printed parts.
Stereolithography (SLA) printers are the most versatile and precise desktop 3D printers on the market. SLA printer technology uses vat photopolymerization, or resin printing, to cure liquid resin into hardened plastic using a laser. Resin 3D printing produces finely detailed miniatures and figurines with high surface quality using a range of advanced materials.
SLA 3D printers can create finely detailed miniatures and figurines with a smooth surface finish. Part printed on a Form 3 SLA 3D printer.
Resin 3D printers bring high-resolution for miniatures, figurines, and models. Even the smallest prints have a high level of detail.
A 3D printed figurine from an SLA printer will require a medium-length post-curing process, but automated post-curing options are available. Support structures from SLA printers, especially from low force stereolithography (LFS) printers like the Formlabs Form 3 and Form 3L, are easy to remove.
SLA 3D printers also offer a wide range of materials, empowering applications outside of traditional 3D printing like silicone molding, pewter casting, or lost-wax casting.
A high-resolution quality desktop SLA 3D printer from Formlabs for miniatures and figurines price starts at $3,499, while large-format SLA 3D printers start at $10,999.
Jaco Snyman, founder of Dreamsmith Studio, shows how he used 3D printing behind the scenes for the HBO Max’s Raised by Wolves series.
“For bigger, less detailed things or as part of mold-making workflows, I use FDM 3D printers. I mostly use Formlabs [SLA] 3D printers to print final parts, because you get such a nice finish.”
—Jaco Snyman, founder of Dreamsmith and lead Prosthetics Designer of the Raised by Wolves series
Sample part
White Resin is one of the most popular resins for model making.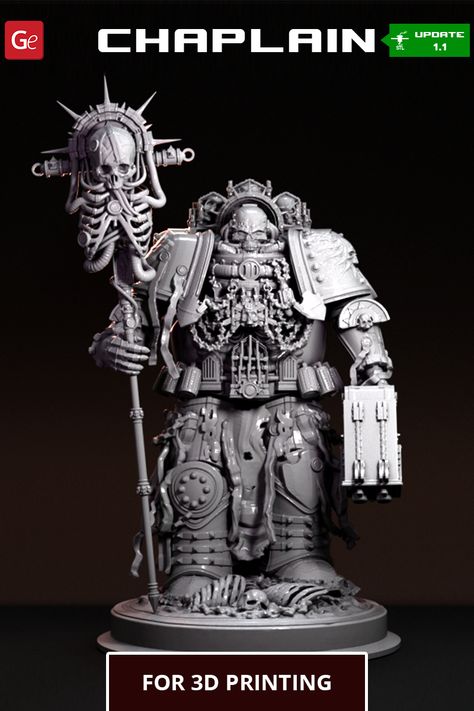 See and feel White Resin for yourself by requesting a free sample part.
Request a Free Sample Part
Selective laser sintering (SLS) uses a high-powered laser to fuse small particles of polymer powder. As the unfused powder supports the part during printing, there’s no need for dedicated support structures. This makes powder 3D printing ideal for intricate models and complex geometries, including interior features, undercuts, thin walls, and negative features.
SLS 3D printing is ideal for intricate models and complex geometries. Part printed on a Fuse 1 SLS 3D printer.
SLS parts have a slightly grainy surface finish, but almost no visible layer lines. The most common material for selective laser sintering is nylon, a highly capable engineering thermoplastic for both functional prototyping and end-use production.
Because SLS printers are industrial machines, the entry price used to be higher, starting at around $100,000 and making it inaccessible for many businesses. However, Formlabs has recently introduced the Formlabs Fuse 1 to bridge this gap with the first benchtop industrial SLS 3D printer that offers high quality at a fraction of the cost of traditional industrial SLS systems, starting at $18,499.
Binder jetting is similar to SLS printing, but uses a binding agent to bond the powder material instead of heat. In model making, binder jetting is most commonly used for creating full-color 3D printed figurines and miniatures out of sandstone material.
Just like SLS, binder jetting requires no support structures, as the surrounding powder provides the necessary model support. However, parts that come off a binder jetting printer are very brittle and have high porosity. This means that the process is not ideal for complex designs, as the parts may fracture in the post-processing due to the brittleness of the material.
Binder jetting 3D printers are expensive industrial machines, with prices ranging from $30,000 to $100,000+.
Figurines 3D printed with binder jetting.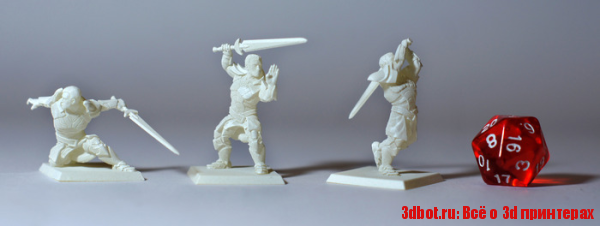 (source: Shapeways)
| Fused Deposition Modeling (FDM) | Stereolithography (SLA) | Selective Laser Sintering (SLS) | Binder Jetting | |
|---|---|---|---|---|
| Resolution | ★★☆☆☆ | ★★★★★ | ★★★★☆ | ★★★☆☆ |
| Surface Finish | ★★☆☆☆ | ★★★★★ | ★★★★☆ | ★★★★☆ |
| Complex Designs | ★★★☆☆ | ★★★★☆ | ★★★★★ | ★★★☆☆ |
| Ease of Use | ★★★★★ | ★★★★★ | ★★★★☆ | ★★★☆☆ |
| Ideal for | Low-cost, simple models with less details | Finely detailed miniatures and figurines with high surface quality at an affordable price | Complex geometries and durable end-use parts | Full-color 3D printed figurines out of sandstone |
| Cost | $500-$2,000 starting equipment cost | $3,750 starting equipment cost | $18,500 starting equipment cost | $60,000 starting equipment cost |
Video Guide
Having trouble finding the best 3D printing technology for your needs? In this video guide, we compare FDM, SLA, and SLS technologies across popular buying considerations.
Watch the Videos
The level of detail and precision needed for printing miniatures can be challenging. Beyond the printing process, post-processing will have a high impact on the final miniature. Here are some tips on how to better 3D print and prepare miniatures.
Highly detailed Hulk figurine done with 3D printing by Aarom Sims Creative.
Two major factors impact the quality of your 3D prints: layer lines and support structures.
The thicker the layers you use for your 3D printed figure, the more visible your layer lines will be. Thick layer lines create a “staircase” effect on a flat or slanted surface or cause round surfaces to appear “pixelated.” Smaller layer thickness will lead to higher surface quality and more polished prints.
FDM printing tends to use thicker layers and the layer lines are more visible even at the same layer height due to the way the parts are formed. SLA printers can print at a variety of layer thicknesses, including incredibly thin 25-micron layers, depending on the desired print quality, which makes it the ideal choice for showcasing the best details.![]() SLS and binder jetting printers print at around 100-110 micron layers, but the layer lines are mostly invisible on final parts.
SLS and binder jetting printers print at around 100-110 micron layers, but the layer lines are mostly invisible on final parts.
In FDM and SLA printers, 3D prints include support structures to scaffold the part during the print process. You will need to remove these support structures, which can be difficult for FDM prints and fairly easy for SLA prints (depending on part orientation). A more complicated support removal will leave marks on the finished product, which you must sand and polish for high-quality finishes.
Support removal with a part printed on the Form 3 SLA 3D printer.
Your models will not be complete without the perfect finish. After printing, post-processing the miniatures with priming and painting will give a final flawless touch and the customization to make them truly unique.
Priming a 3D printed miniature before painting.
You can finish a 3D printed figurine in whatever way supports the end goal of your 3D print. Many models look great straight out of the printer, but you can enhance your miniatures by painting them.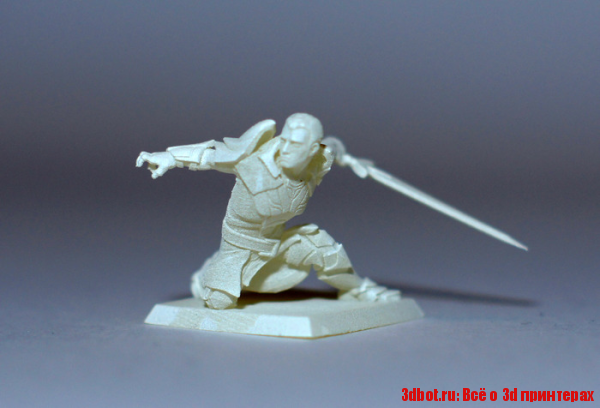
Before you paint, remove all support structures from your 3D printed figurines, and then sand the figurines to eliminate support-structure marks. The amount of sanding and polishing will depend on the object’s finish. For FDM prints, you may have to do some extra sanding to reduce the “staircase” effect of layer lines, while SLA prints should have a smooth surface right away.
After you sand your 3D miniature, we recommend applying a primer. Choosing the right primer will help your 3D printed miniature achieve a professional-grade finish.
See why priming makes painting 3D printed parts effortless and helps create a flawless final surface.
Side by side comparison on the before and after painting a 3D printed dinosaur miniature.
For detailed hand painting of your 3D printed miniature, acrylic paint is a versatile option. Acrylic paint usually binds well to plastic, but always check that the paint you have selected lists “plastic” or “multisurface” functionality, and always prime before you paint.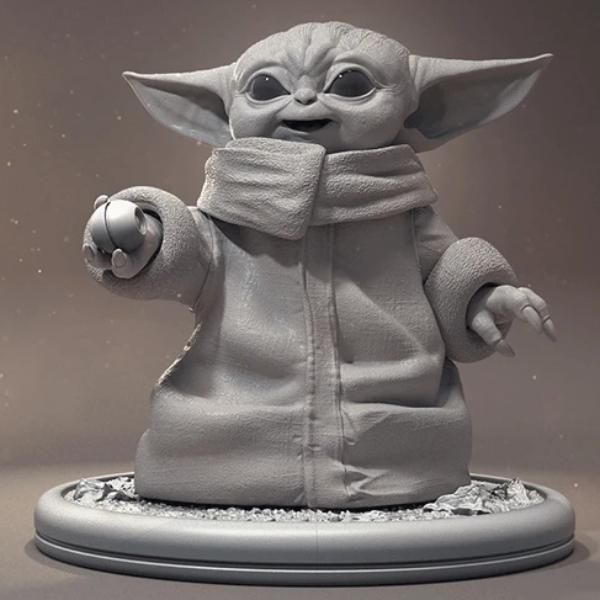
Spray paint, when applied correctly, can also give your custom miniature a smooth, glossy, and consistent finish. Your spray paint finish can approach professional quality if you apply a good primer and a thick undercoat for color consistency. Always finish with a blemish-resistant topcoat.
See how to transform your miniature from a simple 3D print to a colorful model ready to display with spray painting.
3D printing always starts with a digital model. You can download a free or paid miniature model, design the model yourself, or even scan an existing object and turn it into a 3D file.
If you are at the beginning of your 3D printing journey, downloading premade designs can make printing easy. Huge online communities exist around gaming miniatures, such as Dungeons & Dragons figurines. Checking communities like Pinshape, MyMiniFactory, Cults, or Thingiverse is a great way to find free 3D miniature model designs for your own prints.
Forest Dragon 3D model, available for free download in Pinshape (Design by Dutchmogul).
Aaron Sims Creative creating the Stranger Things’ Monster digital 3D assets for 3D printing.
The right 3D modeling software will help you design your own custom miniatures that are ready for 3D printing. If you are creating miniatures, you need detailed design capabilities. CAD software that specializes in video game design or animation often provides the granular tools necessary for creating realistic miniatures.
For example, ZBrush is a digital sculpting tool that combines multiple artistic techniques to create high-resolution models. Users mainly design for movies, games, and animations on ZBrush, making it ideal for realistic figurines. You can learn more about how ZBrush is used for digital sculpting, modeling, and rapid visualization in this webinar.
Webinar
ZBrush gives artists the freedom to push the limits of digital modeling. Until recently, the power to bring complex concepts beyond the computer screen has been inaccessible and cost-prohibitive.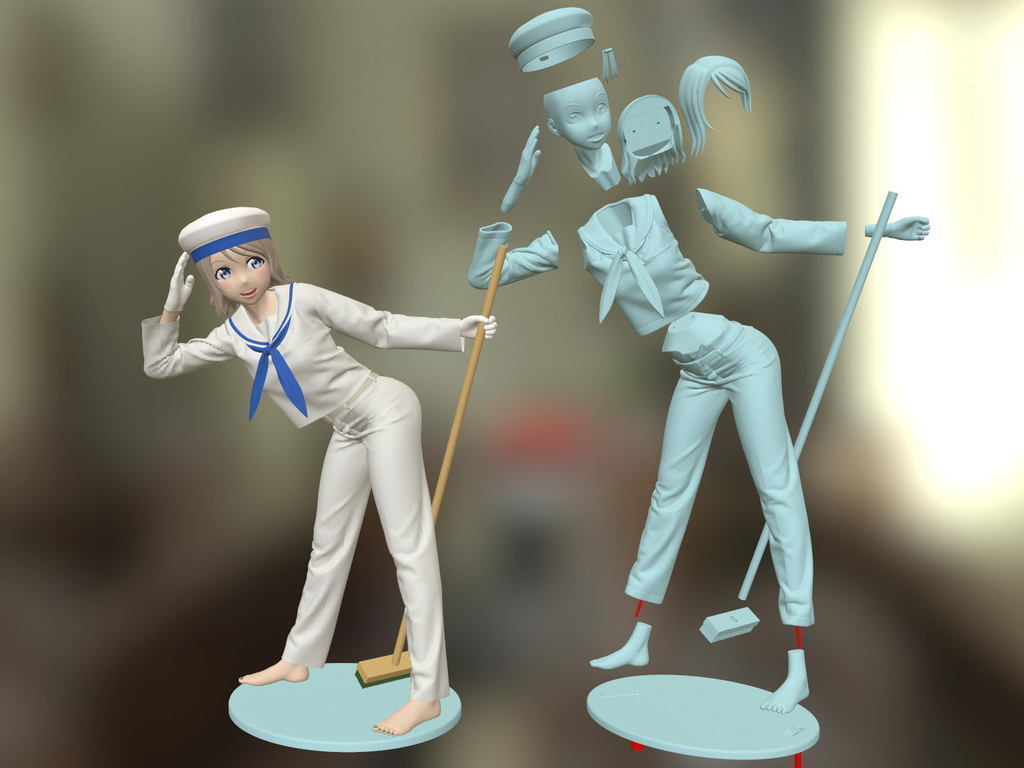
Watch the Webinar
A custom 3D print does not need to be based on a completely original digital design. Instead, you can also 3D scan an existing object. There are many scanning options available, from low-cost depth-sensing cameras and photogrammetry to high-definition professional scanners.
Before 3D printing a part, you’ll often need to adapt, optimize, and finalize 3D scans. With Meshmixer, it’s not only possible to optimize a triangle mesh but also to resculpt entire sections, stylize the model, or add useful features to it.
Whether you are a professional sculptor, a model maker, an enthusiastic hobbyist, or a gamer, SLA 3D printing is an ideal tool to bring hyper-realistic digital models to life in a matter of hours, right on your desktop.
Start 3D printing your own custom miniatures and figurines with the Form 3 with incredible detail at an affordable price point, and bring your biggest ideas to life with the Form 3L.
See the Form 3See the Form 3L
The best 3D printer for miniatures in 2021
Looking for the best 3D printer to spice up your tabletop games? You've come to the right place. We've narrowed down a list of the best 3d printers for miniatures.
If you want the TLDR. Here's our findings:
| Top miniature 3D printers | Our verdict |
| Anycubic Photon Mono S | Budget-friendly 3D printer for miniatures |
| Creality Ender 3 | Best for terrains |
| Phrozen Sonic Mini 4k | Best in details, quality accuracy and speed |
How did we come up with this list?
We've collected a bunch of pain points and things that people like about their miniature 3D printer from these following sources.
/r/PrintedMinis subreddit
3D printing miniature facebook group
Online reviews
And our own experience as a 3D printing company
Without further ado, let's get started.
Top 3D printers for miniatures
1. Anycubic Photo Mono
Best Budget 3D Printer
Anycubic Photon Mono
The Photon Mono is the best LCD 3D printer that we've gotten our hands on.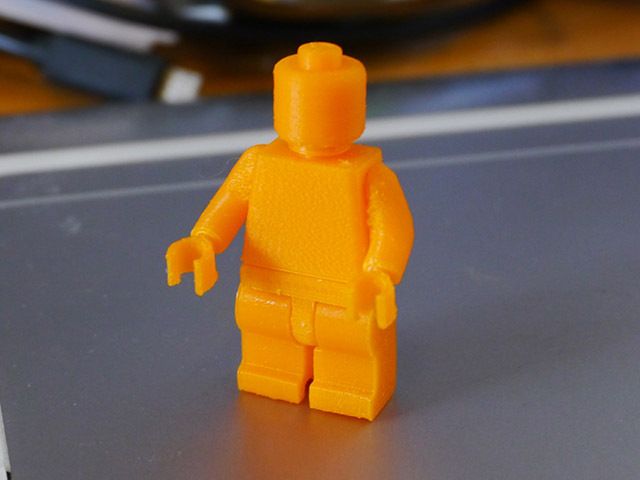 We own 8 of these machines and use it as part of our manufacturing process. It's cheap but the print quality is almost the same as the ones that we get from our Formlabs 3. If you're looking to buy your first 3D printer, we recommend going for a resin 3D printer like this one instead of buying an FDM printer.
$229.00 from Anycubic
Commisions earned
The Anycubic Photon Mono is the best budget-friendly 3D printer for D&D miniatures because it offers the best print quality at a budget price.
So what's so special about this 3D printer better that it blew away the competition?
Pros
- Ease of use
- Beginner-friendly
- High quality
- High resolution 3D prints
- Almost invisible print lines
- Very fast printing time
- One of the cheapest resin 3D printers in the market
Background info
The Anycubic Photon Mono is an LCD 3D printer. LCD 3D printers are a subset of SLA 3D printing and uses resin as it's main material.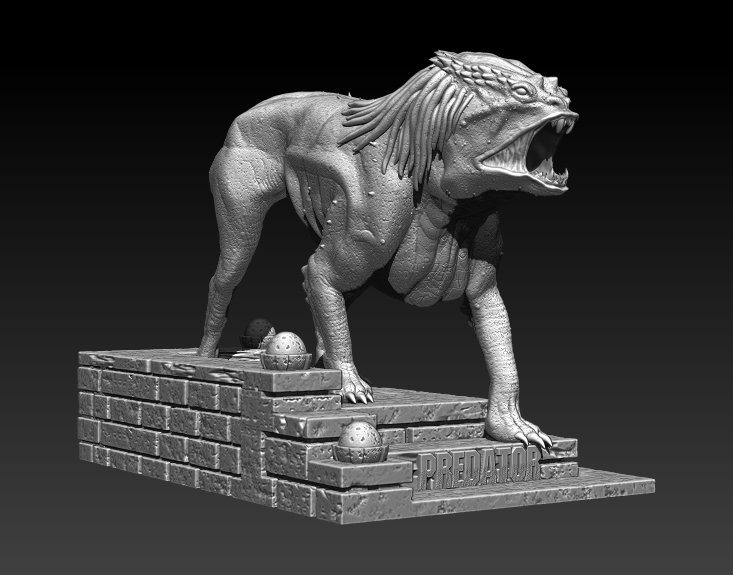 For those who don't know what SLA 3D printing is, SLA 3D printers use UV laser to selectively harden parts of resin. [1] This makes SLA 3D printers highly accurate with almost no visible layer lines.
What makes LCD 3D printer a little different is that it uses an LCD screen to mask the UV light onto to the resin to the form the shape, layer by layer. This makes LCD 3D printers a lot faster than SLA but a bit less accurate and a bit limited in size. LCD 3D printers also way cheaper compared to SLA 3D printers.
Technical Specs
| Build volume | 130mm(L)*80mm(W)*165mm(H) |
| XY resolution | 51 microns |
| 3D printing technology | LCD-based SLA |
| Connectivity | USB |
Sample 3D prints
We 3d printed these miniatures using our own Anycubic Photon Mono.
- 3d printed wallstreet bets
- On the left, printed on the Anycubic Photon Mono
How much does it cost to 3D print a miniature with the Anycubic Photon Mono?
It depends on the volume of your 3D model.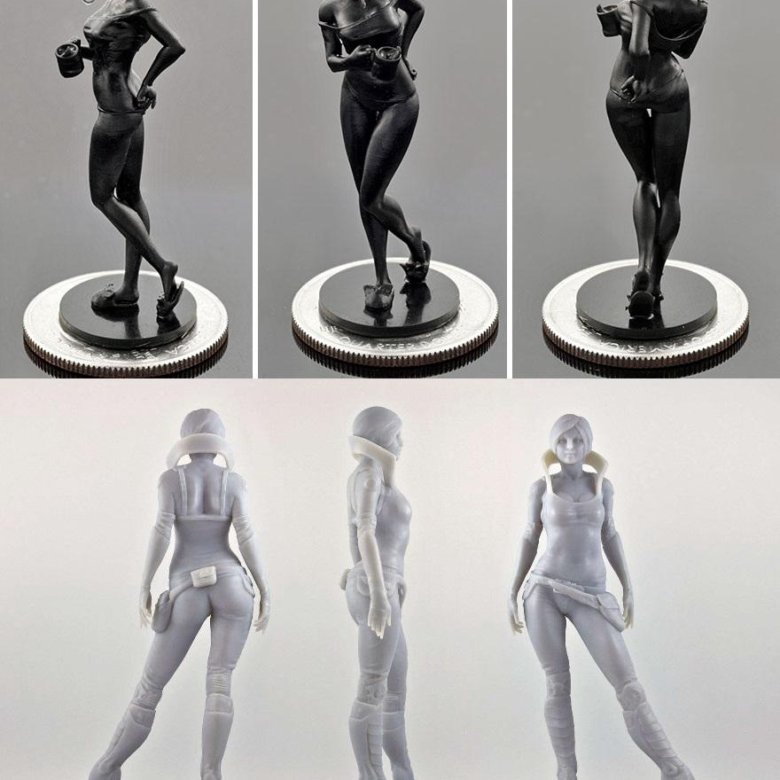 Their resin costs about $40/kg. Assuming, a model volume of 1000 mm³ = 1 gram of resin. We're looking. at $0.04 per 1000 mm³ or simply $0.04/gram.
Our formula looks something like this:
Model volume (in grams) X $0.040 = Total material cost
Note however that this doesn't include any overhead cost. So if you're planning to start your own 3D printing business selling miniatures, you need to account for those as well.
Here's what each model's material cost would look like.
| Hero Forge Miniature | Ogre miniature - Thingiverse | |
| Height | 28mm | 130mm |
| Volume | 50grams | 142.5grams |
| Material cost | $2 | $5.7 |
Is it worth it?
Hell yeah! If you want great looking miniatures for your tabletop games then you should get a 3D printer that can produce high resolution prints.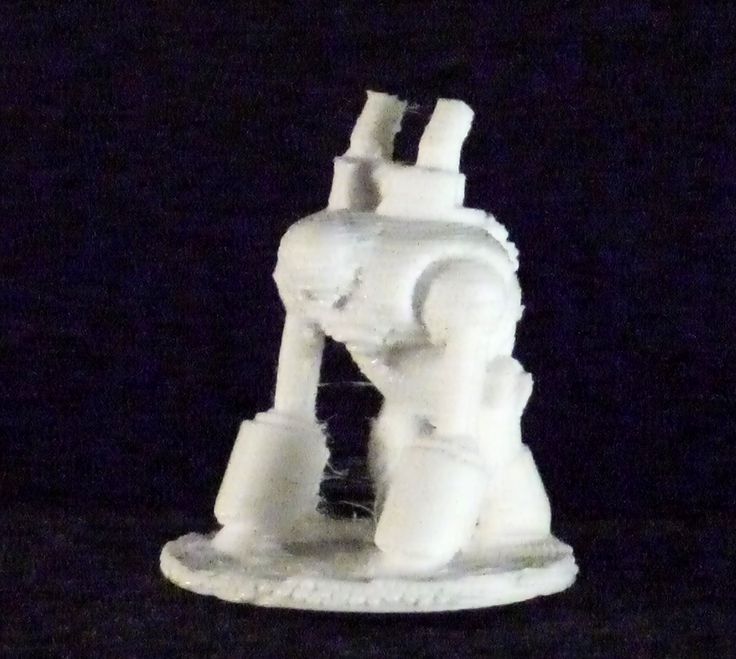 The level of detail that you get from this price point is insane.
Our verdict
We own industrial SLA printers, Formlabs 3 and many more, but when it comes to 3D printing miniatures, the Anycubic Photon Mono has been our go to machine. Not only is it the right tool for the job, but it blows away all the other LCD and DLP printers on the market.
We've tested a bunch of LCD and DLP printers but we were never satisfied with them because of the amount of failed 3D prints that we get from them. As seasoned 3D printing professionals, we and we think this is the best 3d printer for miniatures especially if you're a beginner.
2. Creality Ender 3 v2
The Creality Ender 3 is one of the many FDM printers on the market.
What caught our attention is its immense popularity among the tabletop and gaming miniatures community. Every Facebook or Reddit post that we see, everyone seems to mention the Creality Ender 3.
So what makes this 3D printer so popular among the miniatures printing community?
First off, it's cheap.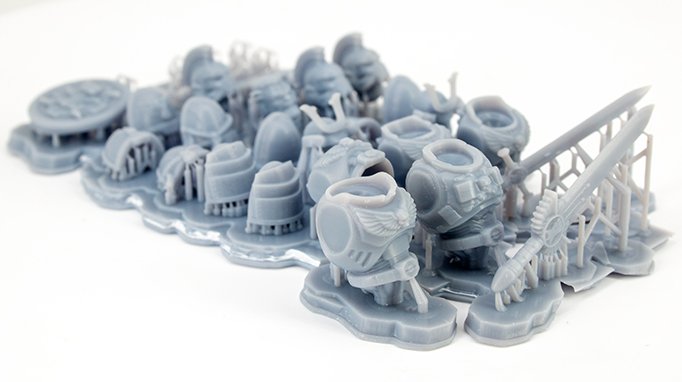 The Ender 3 v2 costs around $200. The material cost is also cheap compared to its resin counterpart.
The Creality Ender 3 has become the entry level 3D printer for many beginners.
We personally don't own one because we've sworn off FDM 3D printers for life. We hate cleaning FDM supports an the print quality doesn't reach our standards. It would take hours of polishing to get a smooth surface with an FDM 3D printer. And when printing larger models, FDM 3D printing has a tendency to warp. We'd rather use our industrial SLA 3D printer for that. (Slight flex).
Technical Specs
| Build volume | 192mm(L)*120mm(W)*245mm(H) |
| XY Resolution | 100 microns |
Pros
- Easy to use
- Cheap
- Large build volume
- Great for 3D printing miniature terrains
Unlike the other 3d printers listed here, the Creality Ender 3 does not use a touch screen interface.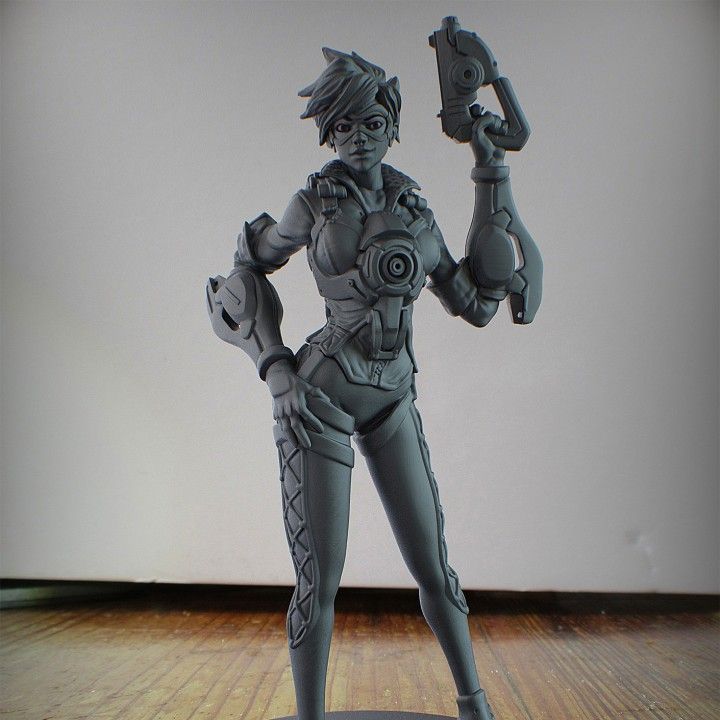 It uses a knob to navigate your 3D printer settings. Some people actually prefer this method over touch screen because its more responsive and less susceptible to glitches.
Best 3d printer for terrains
Where the Creality Ender 3 shines is on 3d printing terrains. Most of the miniature community actually owns both a resin 3D printer and FDM 3D printer. They use their FDM 3D printers to print their terrain models because it's cheaper and it has a larger build volume compared to their resin counterpart. Terrains are less complex in design and don't necessarily need a smooth surface finish so you can get away with 3D printing them in FDM.
Here's an image of a 3D printed terrain using the Creality Ender 3 courtesy of /u/Singuy888
Our verdict
If you're on a tight budget, the Creality Ender 3 might be a good option for you. The Creality Ender 3 v2 is actually more expensive than the Photon Mono S but the materials used on these machines are cheaper compared to resin printing.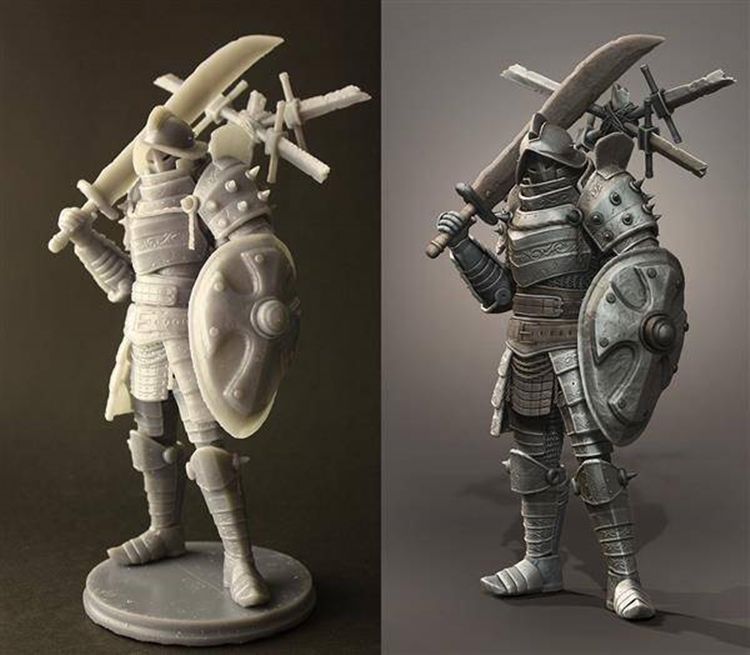
For miniature printing, you might be able to get away with it but the quality is relatively bad compared to resin 3D printers that we mentioned here. If you're making a large miniature, then this would be a lot cheaper compared to its resin counter part.
3. Phrozen Sonic Mini 4k
Best overall 3D printer for miniatures
Phrozen Sonic Mini 4k 3D Printer
The Phrozen Sonic Mini 4k produces high resolution miniatures and costs only a $100 more than the Anycubic Mono.
If you're beginner, jumping into a 4k resin printer shouldn't be an issue. And for seasoned veterans, a 4k 3D printer should be in one of your bucket lists.
$349.99 from Phrozen3D
Commisions earned
The Phrozen Sonic Mini 4k is what you should buy if you want fast printing, highly detailed prints all at a friendly price. The Sonic Mini has an XY resolution of a whopping 35 microns.
It's getting a lot of love from the tabletop miniature community because of it's price and the high resolution that you can get from it.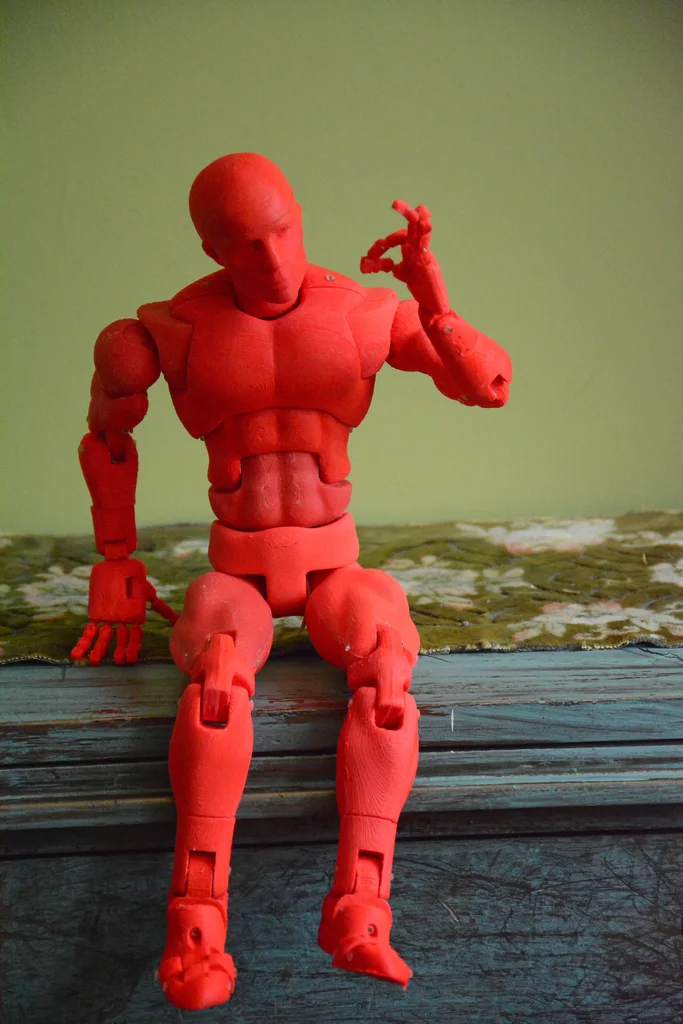
Here's a video of how it compares to super expensive industrial 3D printers out there.
Sample 3D prints
- courtesy of Phrozen
- courtesy of Phrozen3D
Our thoughts on professional SLA and DLP 3D printers for miniatures
Formlabs Form 3
Before we fell in love with the Anycubic Photon, Formlabs 3 was our bread and butter when it comes to 3D printing miniatures. Unlike the Anycubic, Formlabs is a full on SLA 3D printer. This makes it more accurate, but at the same time, slower to 3D print compared to LCD 3D printers.
Technical Specs
| Build volume | 14.5 × 14.5 × 18.5 cm (5.7 × 5.7 × 7.3 in) |
| XY resolution | 25 microns |
| 3D printing technology | SLA |
| Connectivity | USB/WiFi |
Sample 3D prints
Pros
- High accuracy
- Versatile, not limited to miniatures
Is the Form 3 worth it for printing miniatures?
Unless you have the money to spend, we don't think it's worth it.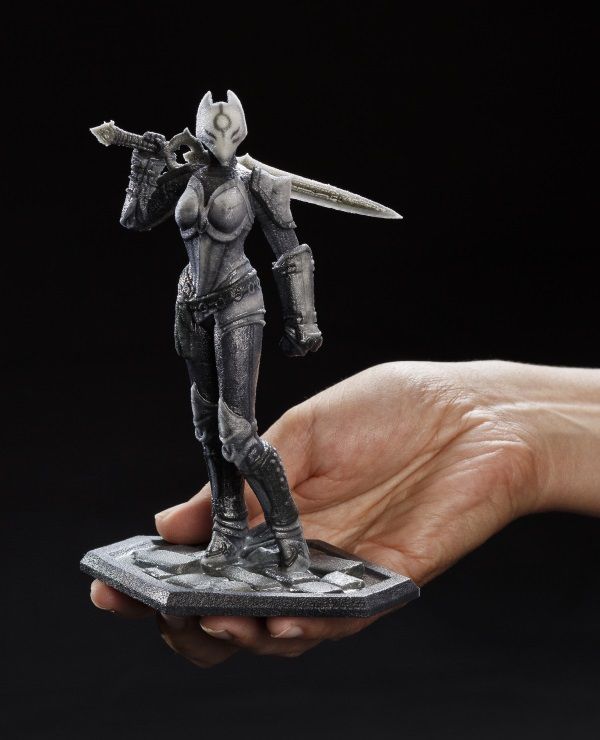 Both the Form 3 and Anycbuic 3D printers have almost the same build volume and the quality doesn't seem to be that far off, at least, when it comes to miniatures. And you can probably purchase 10 Anycubic Photon Mono with the price of one Formlabs 3.
If you're planning to do more than miniature 3D printing, then maybe it is. We use our Formlabs 3 for our 3D printing service and it has been reliable for quite some time now. (We started with the Formlabs 2). But over time, we've seen less value in it. It can't 3D print large objects and it's too slow to 3D print miniatures or other regular sized 3D prints. We've come to a point where we use the Photon Mono to do most of the jobs that the Form 3 used to do.
Asiga Pro 4k
The Asiga Pro 4k cost at least $25,000. It wasn't intended for miniatures but we still gave it a try.
Here's a really complex tabletop miniature that we 3D printed on the Asiga Pro 4k.
We don't think the images do justice on how insane the quality is. It also only took 4 hours to print this masterpiece.
Should you buy an Asiga Pro 4k for miniatures?
To be honest, it's an overkill. You're probably better off with the Phrozen Sonic Mini 4k.
We bought the Asiga Pro 4k because we need it for our industrial 3D printing services. It's fast and reliable, as we don't have the time for failed prints so for us this is worth it.
If you run a 3d printing business or if you have the money to spend, it might be a good choice for you. But you should probably get the Asiga Max X as that offers an even higher resolution at 27 microns, cheaper at $10k, but with a smaller bed size.
Our final thoughts
So what is the best 3d printer for miniatures?
The Anycubic Photon Mono is hands down the best affordable 3D printer for tabletop miniatures. It's cheap, reliable, easy to use, and it produces high quality 3D prints. For 3D printing terrain, our top choice is the Creality Ender 3. And if you want high resolution 3D prints that blows even the Anycubic out of the water, then you should go with the Phrozen Sonic Mini 4k.
If you're a beginner and thinking of buying a 3D printer that fits your budget, you can't go wrong with this 3D printer. Heck, it's even cheaper than an FDM printer but with 10x the print quality.
90,000 manufacturing miniatures 28mm, dioram, game locations using 3D printer09.03.2022
Content
- How to choose a 3D printer for miniatures
- Advantage of 3D printing for miniatures 9000 9000 FDM 9000 LCD/ DLP
- FDM
- LCD
Miniature figurines with amazing detail attract the eye. A little grotesqueness and slightly wrong proportions (otherwise it would be inconvenient to play or transport such a “little one”) are more than compensated by detailed elaboration and an abundance of small, at first glance, insignificant details.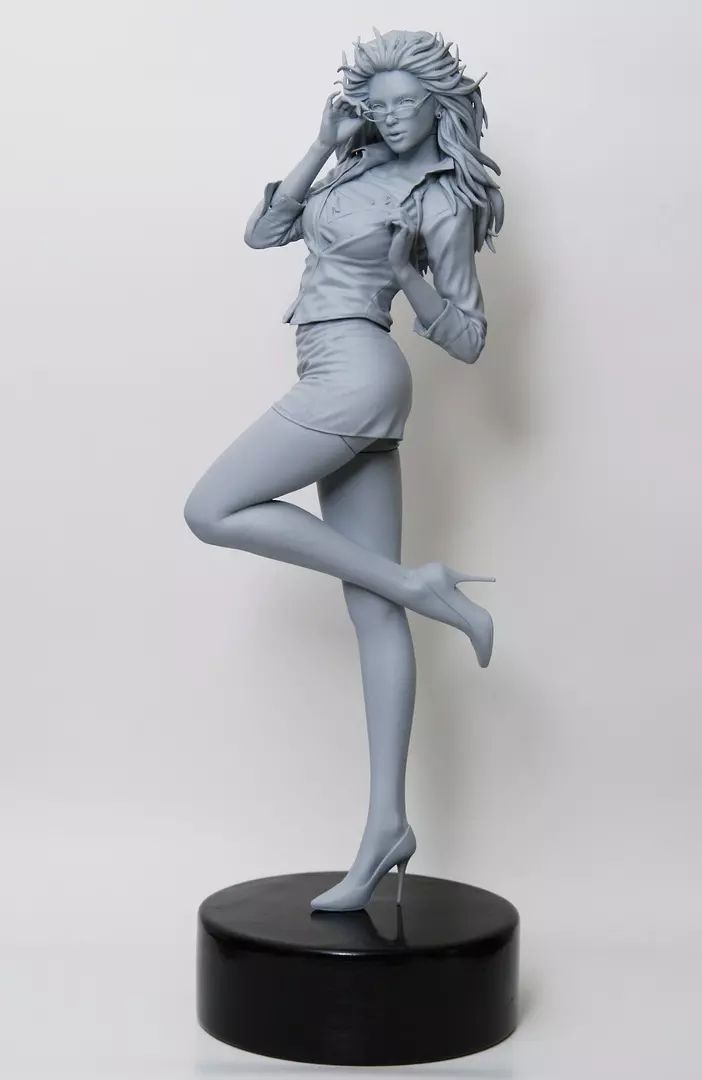 These are no longer just small table soldiers, but heroes with their own unique history.
Warhammer 40k 9 miniature soldier0044
Miniatures come in different sizes: from 6mm and more. The most popular today is the 28mm format. The creation of such figurines is really almost jewelry work.
A 3D printer will help not only in the production of miniatures, but also in related areas, such as the creation of figurines, details of game locations, or, for example, elements of dioramas. To understand the advantages of 3D printing over classical manufacturing methods, it is worth remembering how such models are usually made at home.
Advantage of 3D printing for miniatures
Not everyone was ready to shell out a substantial amount for the purchase of a set of table soldiers, and sometimes the necessary heroes simply were not on sale. Then baked and self-hardening plastics for modeling were used.
First you need to make a wire frame, so the finished figure will turn out to be more durable, and it will be much easier to keep all the proportions.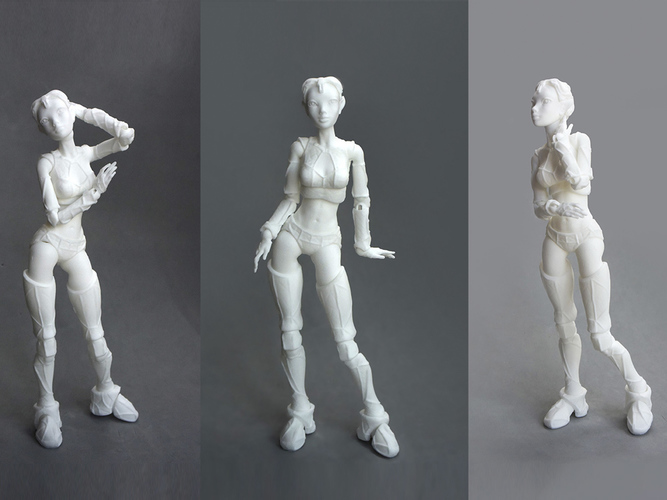 The wire frame can be attached to the stand, which will make the miniature statue more stable, and it can be easily fixed in any position without fear of smearing small parts with your fingers.
Wire frame for miniature
Gradually, layer by layer, the volume of plastic increases on the frame. Each layer must be baked or dried well, depending on which plastic is used - self-hardening or baked.
Gradually, we begin to add small details and work out the details. In fact, this is a very painstaking process that requires perseverance and some sculpting abilities. For a convenient study of small details, you may need special stacks for modeling, but they can be successfully replaced with improvised tools.
Sculpting tool set
The result is such a miniature statue.
Miniature 28mm baked plastic
By the same principle, large table figures, or some elements of dioramas, can be made.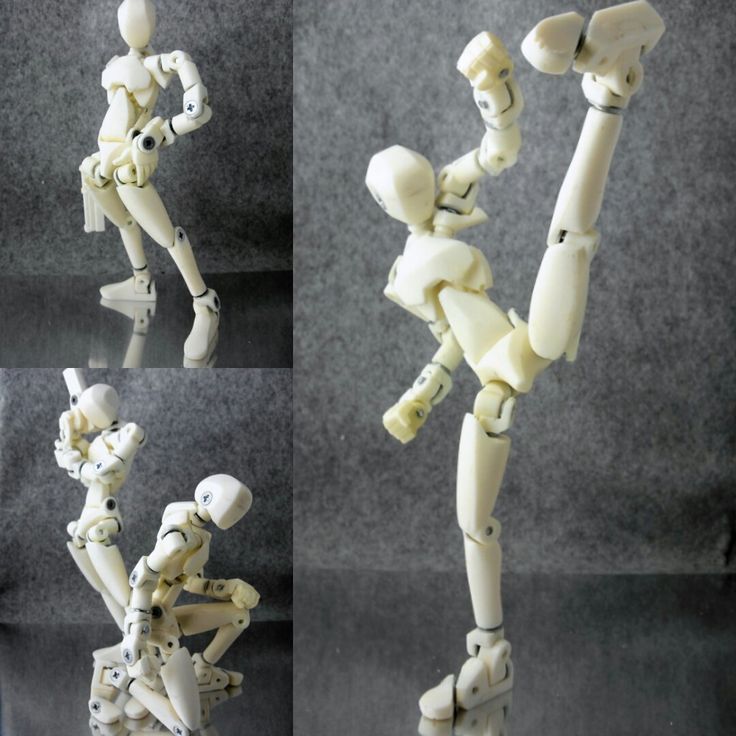
Sometimes a sculptor is more accustomed to working with plasticine. Then, after sculpting, the stage of preparation and casting of the figurine into a silicone mold is added. This method is suitable for small-scale production of a small desktop army.
But it is necessary to properly prepare the figurine for casting. The finished "warrior", most likely, will have to be divided into several parts, so that it would be more convenient for the caster to remove the molds and make castings. During the cutting process, it is worth adding a few locks so that the finished castings can be easily assembled, like pieces of a puzzle.
Molded figurine against silicone mold
Some craftsmen have learned to cast metal copies. Such soldiers are usually made of low-melting metals (for example, lead) and cast in plaster molds. Sometimes a special silicone is used, but it is a little more difficult to achieve good shedding of a small product in a silicone mold.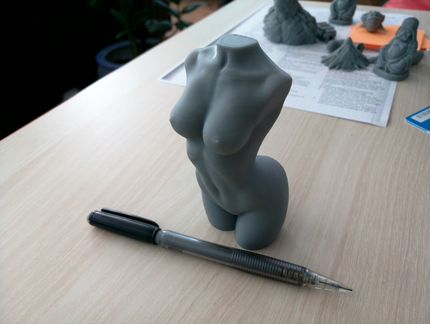
Cast metal soldier
In addition to making figurines from scratch, some craftsmen remake ready-made miniatures. This is called conversion.
Conversion in miniatures is a refinement, stylization or alteration of a finished figure. Unfortunately, not every hobbyist has good sculpting skills, and this alteration helps to achieve good results regardless of artistic skills. The main thing is to act very carefully.
Conversion helps enthusiasts achieve amazing figurine detail, add some detail, change the pose, or create a new character that is not yet on sale.
Lord of the Astral Claws turned to Chaos
In addition to making the figures themselves, modelers create colorful locations to immerse themselves in the world of their favorite game. This is true not only for 28mm miniatures, but for example for DND games. Such voluminous locations allow you to immerse yourself in the world of your favorite game much better and make the game more exciting.
Game location for board game Warhammer40k
The creation of such locations is painstaking work, and both improvised and special equipment are used as material.
Role play location
A 3D printer allows you to produce miniature figures and game locations much faster. On the Internet you can find many paid and free models of 28mm figures from different universes or various elements of locations - houses, fences, mechanisms, etc. Adapting or slightly changing the finished 3D model for yourself is much easier than cutting and gluing a finished figure. And creative people with modeling skills are unlikely to have difficulties with the transition to “digital clay”.
Warhammer40k universe 3D miniature model
And of course, dioramas are worth noting. This is a separate art form with a scene or location frozen in time. Dioramas come in different sizes, but each of them impresses with its detail and careful study.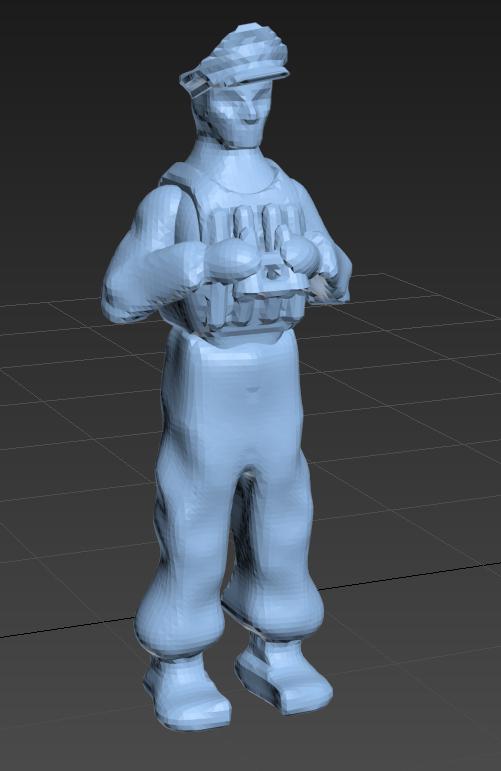
Diorama based on the game STALKER
Each diorama is unique, so the craftsmen use improvised materials to make it. Everything is limited only by the imagination and ingenuity of the artist.
Diorama “Desert Hero”
The main advantage of 3D printing is high detail and repeatability. If you need to make a small batch of miniatures, it will be much easier to print them than to cast, for example. Casting small items is a painstaking process that requires some skill and equipment. It is very difficult to achieve good pourability of small products the first time.
From model to finished figure
And for the manufacture of piece products, such as a diorama element, a 3D printer can replace many materials and tools for modeling. In addition, by using and combining different materials, it is possible to create models that are difficult or almost impossible to create manually.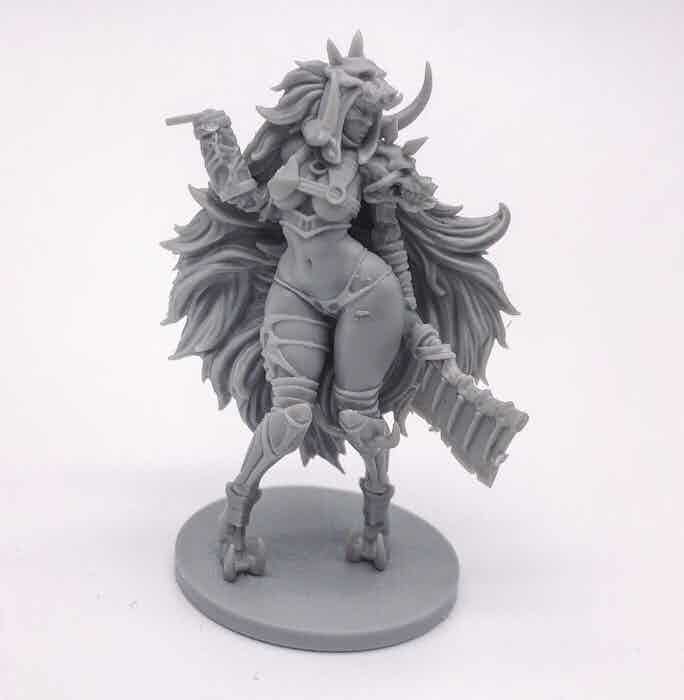 For example, using a special polymer, you can print optically transparent products that can imitate glass.
Which technology to choose
To begin with, it is important to determine the requirements for the printer - will it be used only for the manufacture of 28mm personal army or should it be a universal printing machine? It is important to understand what size the finished model will be, how detailed it should be, and how much time can be spent on post-processing.
Depending on this, it is worth deciding on the technology by which the 3D printer will work. You can choose one of two technologies - FDM or photopolymer printing (there are several technologies, but DLP and LCD printers are currently popular).
FDM
FDM 3D printers use a plastic filament as a material. In a heated extruder, the filament is melted and extruded through a thin nozzle, so layer by layer, a three-dimensional model is grown.
Working principle of FDM 3D printer
Layer thickness and nozzle diameter can be changed in some printer models.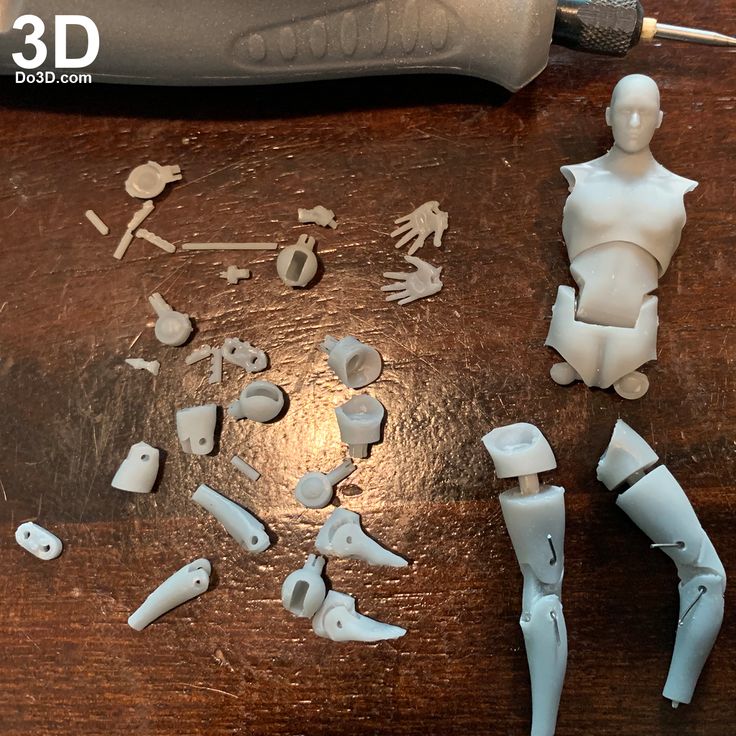 The minimum layer is usually 0.1 mm. In some models of 3D printers, a layer of 0.05 is available, but for printing with such a layer, it is important to choose the right many settings and the print speed will be quite slow.
Pros:
-
Large print area
-
Many different materials are available for every “taste and budget”
-
Inexpensive Consumables
Cons:
Of course, FDM printers are hardly suitable for making miniature figures, but they can be successfully used to print large souvenir figures, create game locations and some parts of dioramas.
LCD/DLP
The principles of operation of LCD and DLP printers are very similar. The material used is polymers that harden under the action of UV light. The only difference is that an LCD printer uses an LED matrix in conjunction with an LCD screen as a source of UV radiation, while a DLP uses a projector.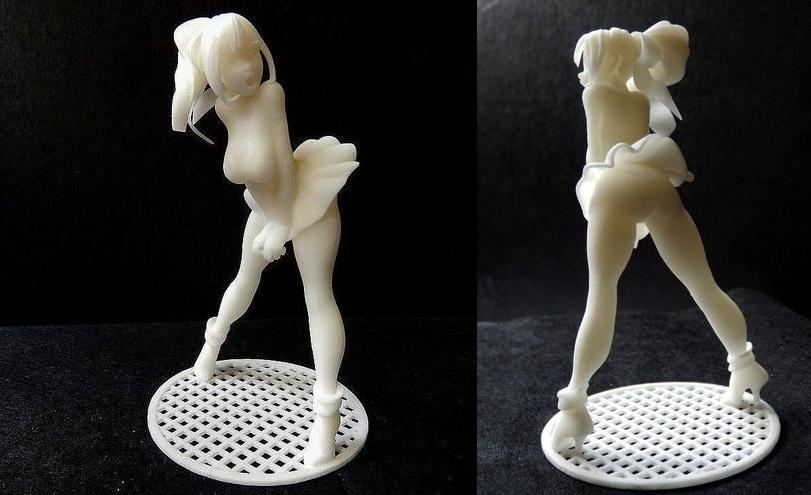
Working principle of photopolymer 3D printer
Pros:
-
The ideal surface of the finished figure
-
Many different materials available
-
High print accuracy even for the smallest items
Cons:
Photopolymer 3D printers are able to create miniature products that cannot be made using FDM technology. This technology will be an ideal choice for creating miniatures, small poster models, etc.
Print examples
Robot printed on Asiga Pro 4k
Figurine made with Phrozen Sonic Mini 4k
28mm 3D printed miniatures
3D Printed Halloween Miniature
3D printed play models
FDM Cube Thrower
Figure making process from 3D model to painting
Best Printer Ranking
FDM
Creality3D Ender 3 (Build Kit)
Features:
Print technology: FDM/FFF
Working area size: 220x220x250 mm
Number of extruders: 1
Max. extruder temperature: max. 255℃
Closed Camera: No
Heated table: Yes
Plastic type: ABS, PLA, PETG, Flex, Decorative plastics, others
A popular and unpretentious 3D printer that many makers liked. Creality3D Ender 3 is sold as a kit (assembly kit), but thanks to the detailed instructions, there should be no problems with assembly.
Wanhao Duplicator 6 Plus
Features:
Print technology: FDM/FFF
Working area size: 200*200*180mm
Number of extruders: 1
Max. extruder temperature: max. 260°C
Closed Camera: Optional
Heated table: Yes
Plastic type: ABS, PLA, PETG, Flex, Decorative plastics, others
Wanhao Duplicator 6 Plus is an updated version of the Duplicator 6. The new modification adds automatic calibration, printing resume after a power outage, and others. You can immediately purchase a printer with a closed case, this will allow you to easily print with composites. Wanhao Duplicator 6 Plus will become a trouble-free workhorse, and thanks to the “omnivorous” extruder, even a beginner will be able to print exotic materials without any problems, such as soft flexes or rubbers.
FlashForge Creator Pro 2
Features:
Print technology: FDM/FFF
Working area size: 200x148x150 mm
Number of extruders: 2
Max. extruder temperature: max. 240°C
Closed Camera: Yes
Heated table: Yes
Plastic type: ABS, PLA, PETG, Flex, Decorative plastics, others
FlashForge Creator Pro 2 is an almost professional dual extruder 3D printer. Thanks to the closed body, Creator Pro 2 has no problem even with composite materials, and two extruders allow the use of soluble support for complex models. Moreover, FlashForge extruders are independent, this allows you to print 2 mirror or identical models at the same time. This allows you to speed up the production of the same type of models.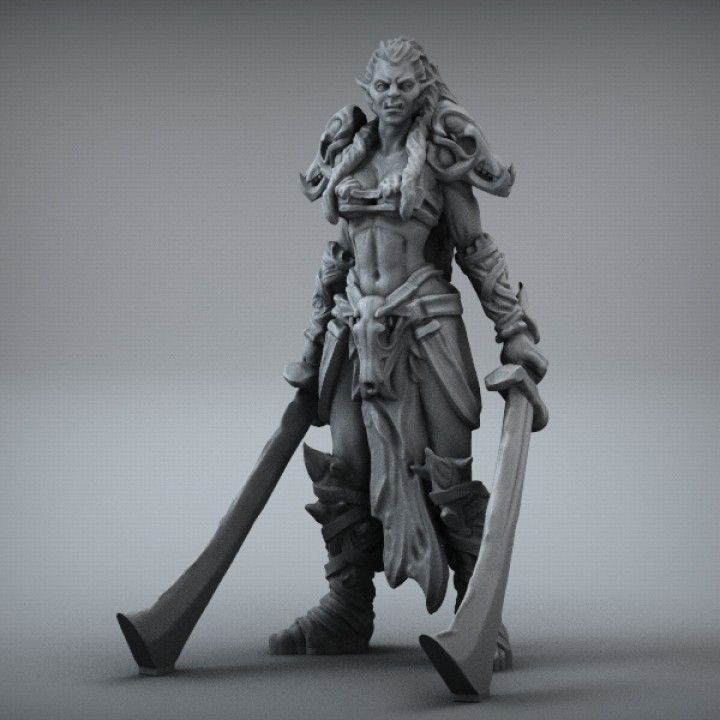 FlashForge Creator Pro 2 will not only be a good home printer, but also a great helper for a workshop or small production.
LCD
Anycubic Photon Mono 4K
Features:
LCD display resolution: 3840x2400 (4K)
UV wavelength: 405 nm
Working area size: 132x80x165 mm
Layer thickness: 0.01-0.15mm
Inexpensive, but fairly modern 3D printer with a 4K monochrome display. Anycubic Photon Mono 4K will be a good tool for printing miniature models.
Phrozen Sonic Mini 4K
Features:
LCD resolution: 6.1" 4K Mono LCD
XY positioning accuracy: 35 microns
UV wavelength: 405 nm
Working area size: 134x75x130 mm
Layer thickness: 0.01-0.30mm
The Phrozen Sonic Mini 4K is a compact high resolution 3D printer. It allows you to get accurate models even with an abundance of small details. Sonic Mini 4K is a good choice for those who need to print quickly and accurately.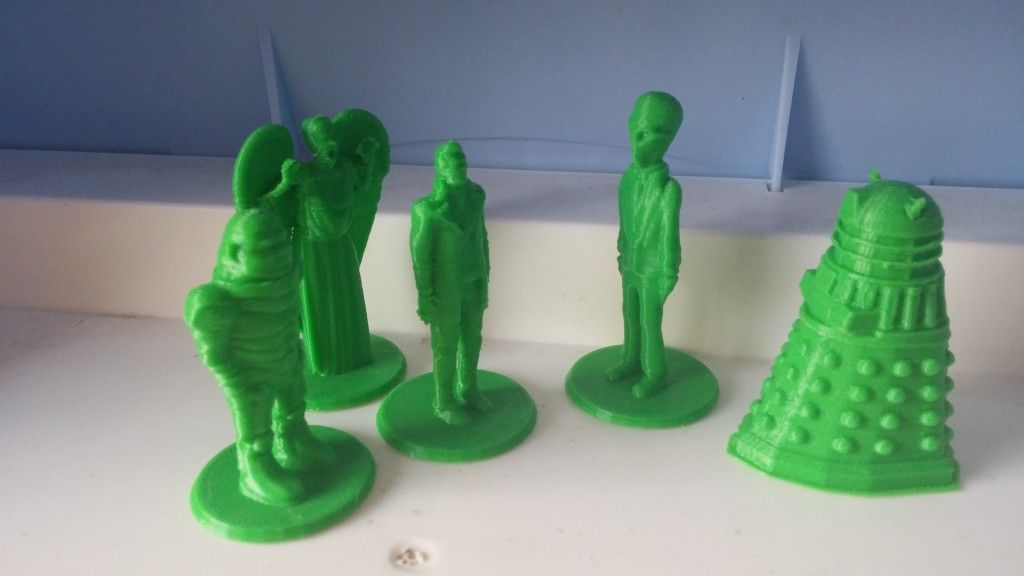
Phrozen Sonic Mighty 4K
Features:
LCD resolution: 9.3" 4K Mono LCD
XY positioning accuracy: 52 microns
UV wavelength: 405 nm
Working area size: 200x125x220 mm
Layer thickness: 0.01-0.3mm
With a larger work area, the Phrozen Sonic Mighty 4K allows you to quickly produce large models or small batches of small items. Such a 3D printer will be a good help for a small workshop or a hobby circle.
Phrozen Sonic Mini 8K
Features:
LCD resolution: 7.1" 8K Mono LCD
XY Positioning Accuracy: 22 µm
UV wavelength: 405 nm
Working area size: 165x72x180 mm
Layer thickness: 0.01-0.3mm
Phrozen Sonic Mini 8K is one of the representatives of 8K photopolymer printers, which can still be counted on the fingers of one hand. The high resolution LCD-matrix allows you to print figures with amazing surface quality and amazing detail.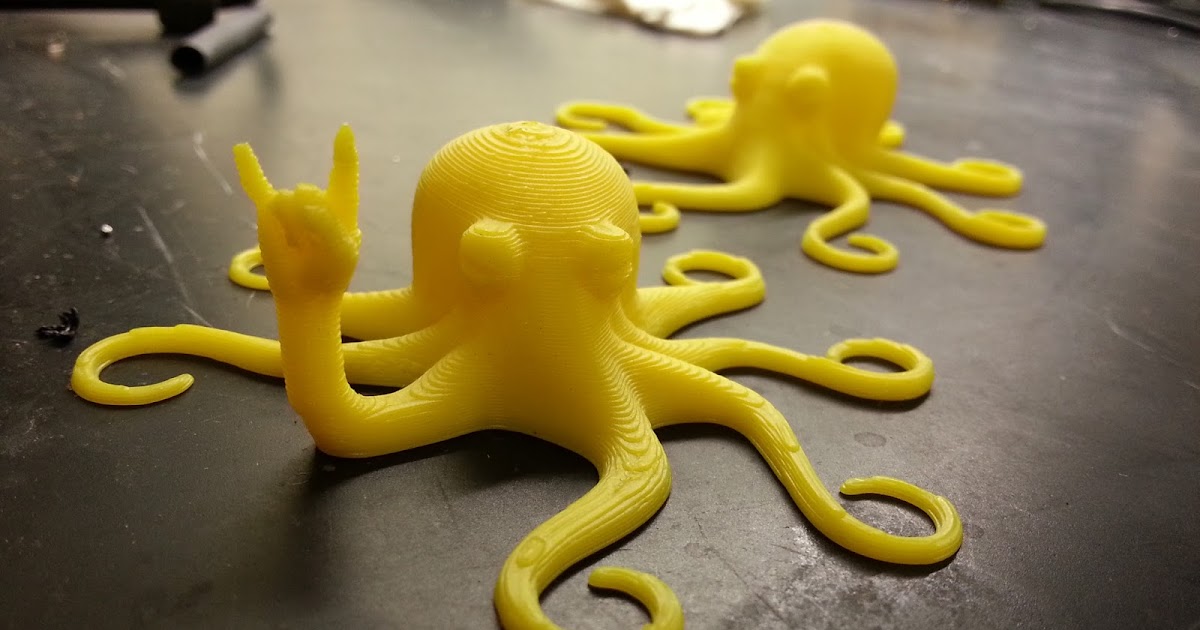 Such a printer is suitable for demanding printers who care about accuracy and the perfect surface of the finished model.
Totals
3D printers are gradually showing themselves to be great helpers in many areas, not only in medicine and industry, but also in home hobbies. Thanks to 3D printing, it is possible to produce small figurines or elements of dioramas much faster, paying more attention to the elaboration of details, rather than painstaking modeling or the search for exotic materials.
And digitalization makes it much easier to share your work and finished models in the community or adjust them to your needs, for example, change the scale or adjust the pose.
Free Shipping
Add to compare
Item added to compare Go
| Manufacturer | Phrozen
Free Shipping
Add to compare
Product added to compare Go
| Manufacturer | Anycubic |
Free Shipping
Add to compare
Product added to compare Go
| Manufacturer | Phrozen
Free Shipping
Add to compare
Product added to compare Go
| Manufacturer | Phrozen
Free Shipping
Add to compare
Product added to compare Go
| Manufacturer | FlashForge |
Add to compare
Product added to compare Go
| Manufacturer | Creality |
Free Shipping
Add to compare
Product added to compare Go
| Manufacturer | Wanhao |
#Application
Share
all materials
Choosing the best 3D printer for printing miniatures
3DPrintStory Reviews Choosing the best 3D printer for printing miniatures
The use of 3D printers for printing game miniatures is gaining more and more popularity today.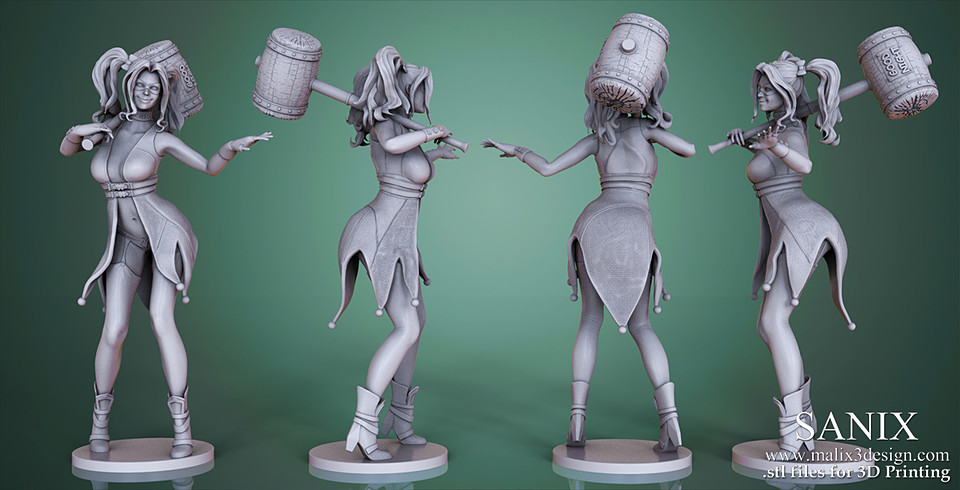 As the price of 3D printers continues to fall, it is likely that the demand for 3D printed game miniatures will only continue to rise.
If you pick the right 3D printer, you can get amazing 3D models for your board games or to put an inspirational figurine from your favorite game on your desktop.
Today's desktop 3D printers have become reliable, easy to use and deliver decent quality finished products.
How to choose a 3D miniature printer?
There is a wide range of desktop 3D printers that can be used to print miniatures in 3D at home. And if you study the market a bit, or at least the options below, you can get great detailed 3D models.
With the right 3D printer, you can print your own figurines and even create your own board games.
If you don't want to design 3D models of figurines from scratch (and this will really require some skills and time from you), then you can find interesting 3D models on sites with free 3D printable models.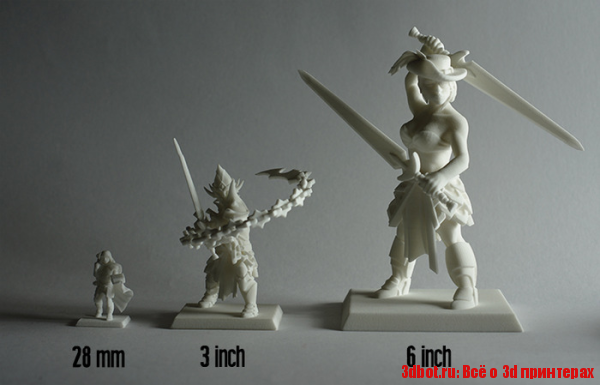 After downloading the model, you can immediately print it or edit it before 3D printing for your own needs. We also recommend that you familiarize yourself with interesting 3D models from Dutchmogul. Perhaps in his wonderful collection you will find something interesting for yourself.
To get the same level of detail as the thumbnails above, your 3D printer must meet certain criteria. The most important feature of a 3D printer to consider is the level of detail it can reproduce. This criterion is formed based on the following parameters:
Nozzle diameter
To create a 3D miniature, heated plastic is extruded through a hole. Orifice is the diameter of the nozzle. Make sure the 3D printer nozzle size is less than 0.4mm.
XY Movement Accuracy
The X and Y axis movement accuracy of the 3D printer head should be taken into account. To get a more detailed model, you need to reduce the layer thickness. However, the low thickness means that 3D printing will take longer. In order to print a detailed miniature, you will most likely need a 3D printer that can print with layer thicknesses of 100 microns (0.1 mm) or less.
Material type
The most common materials used in 3D printers are ABS or PLA. To get a good surface, after 3D printing, it should be post-processed. If you are using ABS plastic, you can sand the miniature and steam it in acetone to get a smooth surface. It is also worth paying attention to PETG plastics, which are gaining more and more attention and positive user reviews.
Thumbnail size (scale)
If you want to start 3D printing game miniatures, think about the size you would like to get.
A 28mm (~1:58 scale) or 54mm (~1:32 scale) miniature can be made with a standard desktop 3D printer that melts plastic filament. To make a smaller miniature, you will need an SLA Resin printer, which uses liquid resin and strengthens it.
In addition to the figurine, you can also print larger models.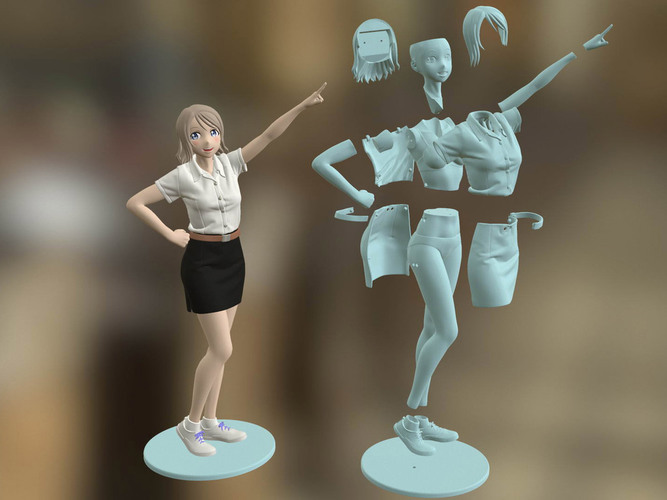 3D printing large models such as houses, huts, castles, trees, and tanks will require more expensive 3D printers that provide faster speeds with good 3D print quality. But there is an important point in the choice. It is better to choose high-quality 3D printing than a large one. You can always separate larger models for printing and then join them together using the same adhesive. The result will be much better than lower quality 3D printing on a 3D printer with a large workspace.
HICTOP CR-10S 3D printer
Value for money, the Hictop CR-10S is one of the best and most affordable budget 3D printers on the market. The Prusa i3 3D printer was taken as the basis for the design.
The Hictop printer uses quality materials for the power supply, motherboard and motion control systems. The metal framework is a rigid and strong design.
The Hictop printer will arrive unassembled, but assembly is easy. You will have to essentially screw in four bolts and connect the necessary wires. That is, you can proceed directly to 3D printing almost immediately after purchase.
The "S" at the end of the CR-10S stands for two Z-axis lead screws and stepper motors.
Dual axis system improves extruder movement accuracy. As a result, you naturally get more accurate 3D printing overall. This is an excellent inexpensive 3D printer that is suitable for 3D printing miniatures and figurines for board games.
The Hictop 3D printer has a mechanism to control the remaining amount of plastic. If the plastic runs out, the printer will go into pause mode and after feeding new material, you can continue printing from the area where you left off. This is a particularly relevant feature for printing large-scale 3D models.
These 3D printers are quite popular, so you will find a lot of information and tips on how to use them online. In addition, thanks to an active community, the Hictop CR-10S has a large number of modifications and upgrades that you can implement yourself and improve its already decent 3D printing quality.
Hictop CR-10S is a quality and affordable 3D printer, which is definitely suitable for 3D printing miniatures and figures of characters from your favorite games or movies.
FLASHFORGE CREATOR PRO 3D printer
FlashForge 3D Printer Creator Pro took inspiration from Makerbot Replica.
A nice feature of the FlashForge 3D printer is that it includes all custom enhancements from Makerbot. These upgrades include:
- Metal worktable supports. Thus, the working table became more stable during heating and assembling.
- Plastic-coated knobs for easy workbench calibration.
- The Central Processing Unit (CPU) supports Sailfish firmware which allows automatic calibration. In addition, the CPU helps regulate heat and delivers higher quality 3D prints.
The above features make the Creator Pro an excellent miniature 3D printer.
In addition, this 3D printer is made in a closed case, which allows you to print ABS plastic with much less difficulty.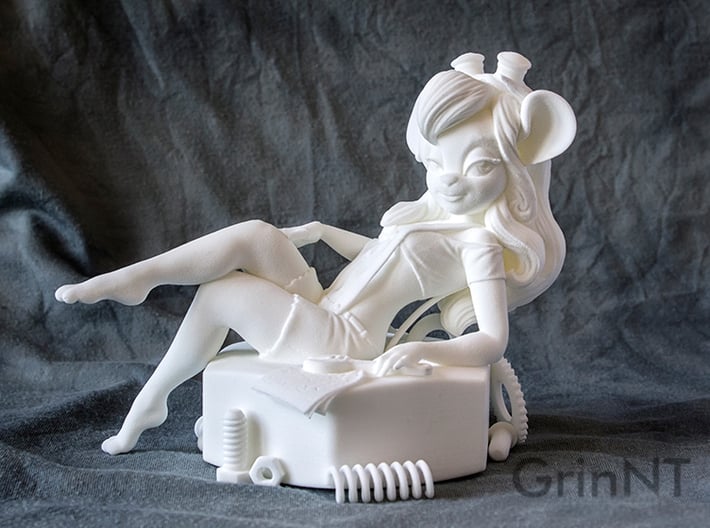
Creator Pro allows you to print two colors at the same time. If you plan to paint the finished model in the future, then you don’t really need this feature, but in general it gives you much more options than the standard analogues with one extruder.
Since the Creator Pro is based on the Makerbot Replica, there is a lot of information available on the internet about this 3D printer.
3D printer SINDOH DP200 3DWOX
If you are looking for a reliable 3D printer for printing miniatures, then you should pay attention to Sindoh DP200 3DWOX. This is the best choice if you want to make 3D mini figures.
This 3D printer is easy to use, suitable even for beginners in the world of 3D printing. Below are some of its features:
- 3D printing table covered with aluminum PTFE.
- 3D printing resolution is 50 microns (0.05 mm).
- Equipped with a high efficiency particulate air filter and a closed chamber for 3D printing, which is especially good when using ABS plastics.
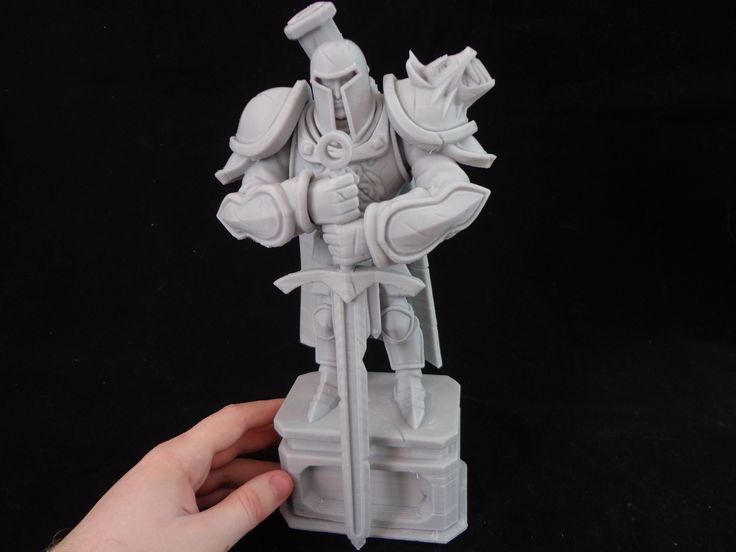
- Easy to use material cartridge chamber.
- Sindoh does an excellent job of printing minifigures in high detail.
One of the disadvantages of the Sindoh DP200 printer is that it can only use manufacturer's filament. Consequently, you will pay more money for cartridges because you will not be able to use materials from other manufacturers. The price of these cartridges, of course, is higher than analogues.
Otherwise, the Sindoh DP200 3DWOX 3D printer is a great option for high quality 3D printing of detailed models.
DREMEL DIGILAB 3D Printer
The use of SLA technology for 3D printing helps to obtain miniature products of very high quality. SLA also helps print miniature parts as small as 28mm. The price of this wonderful 3D printer is comparable to the cost of a laptop.
SLA printing differs from FFF printing in the very essence of the processes. During SLA 3D printing, liquid resin is baked using a UV laser. The formation of the part looks like a gradual lifting of the finished model and a bath with liquid material.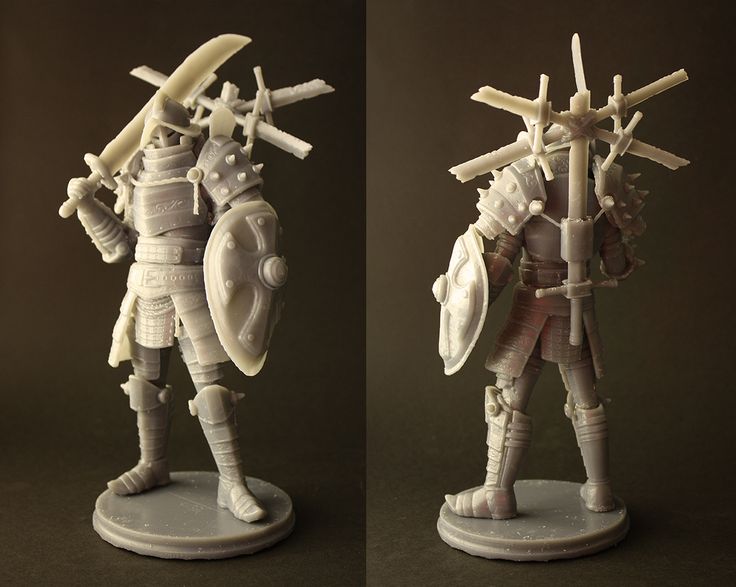
Industry-intensive stereolithographic 3D printers are now available at home! The Dremel Digilab 3D printer has proven itself as a hobby printer, which differs from expensive industrial analogues in its exceptionally smaller workspace.
Key Features of the Dremel Digilab 3D Printer:
- The minimum wall thickness of the 3D model is 25 microns (0.025mm).
- Faster 3D printing compared to FFF 3D printers.
- Excellent surface quality of the finished 3D model.
Digilab is an excellent SLA 3D printer. It is easy to use and, according to user reviews, reliable.
With this 3D printer, you can use resins to make investment casting molds. It can also be used to make jewelry by casting metals.
Some disadvantages of using SLA for 3D printing:
- It's expensive. The resin needs to be updated, as over time it ages and loses the necessary properties.
- Resins require maintenance. Make sure you start 3D printing only after the balloons created by adding resin to the tank are gone.
Learn more


