3D printer mechanical engineering
3D printing for mechanical engineering
Posted By Lucie Gaget on Mar 1, 2019 |
You know it, applications of additive manufacturing are numerous. Today we are going to focus on the mechanical engineering applications of this cutting edge technology. Do you know that 3D printing could help you on many levels for your mechanical projects? From developing your prototype to the improvement of your designs and the optimization of your inventory, additive manufacturing could really offer you great benefits with your mechanical parts.
Let’s see how you 3D printing for mechanical engineering could help you!
Benefits of 3D software for mechanical engineering
First, before even thinking about 3D printing your project, you will have to use a 3D modeling program to create your 3D file. And if you want to do it all by yourself you will have to choose the right software for you. Among all the tools these programs are offering, visualization will be one of the most useful for your mechanical project.
Using visualization software or 3D modeling software with great visualization options can help you to get a better overview of your project, especially if you are working on mechanical or technical parts. This 3D process will allow you to adjust and improve your parts quite efficiently. It is also a good method to correct the last errors that you have maybe missed while creating your 3D design.
You need to find the best way to design a concept and show it to your customers? 3D visualization is certainly the best method you could find! You can easily modify your model with your ideas, and the customer’s inputs.
If you are working on mechanical projects, you certainly know that design and analysis are essential. That is why we recommend you to use software with great analysis features, or another software tool, entirely dedicated to simulation and analysis, such as ANSYS. Check out our selection of the best 3D modeling software for mechanical engineering projects.
Now, let’s see how going further with 3D, and using 3D printing could totally help you improve your work!
Why you should use 3D printing for your mechanical engineering projects
Optimize your design!
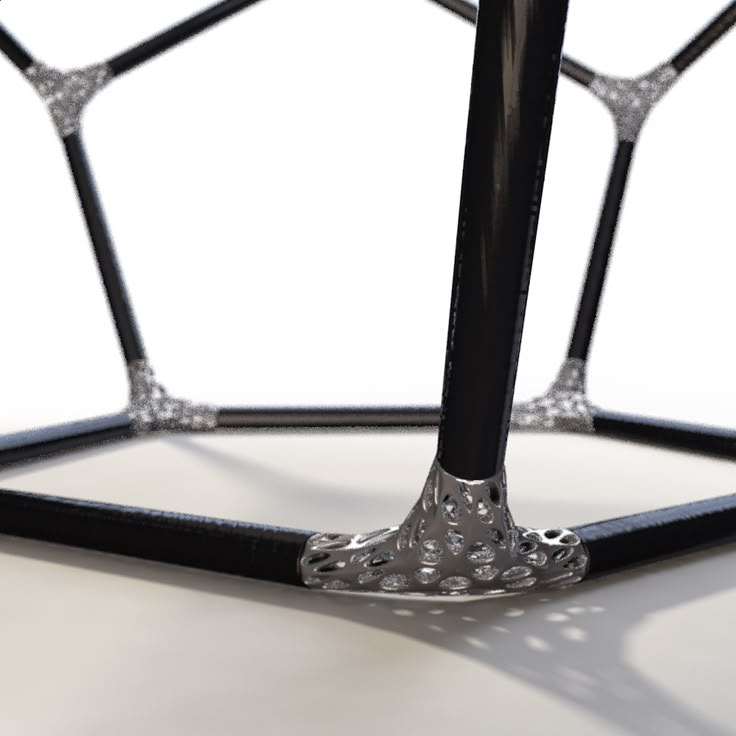
Do you know that you could maximize the performance of your mechanical system by optimizing its structure? Topology optimization could clearly help you improve your project.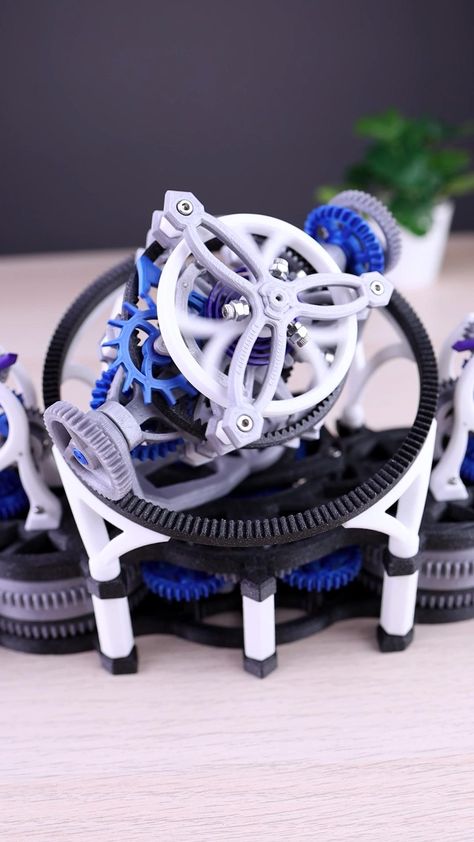 Additive manufacturing opens a lot of possibilities when it comes to design and topology optimization, allowing you to find the best compromise between strength, weight and production cost for your mechanical parts. From a 3D file, we can print your parts regardless of their complexity! In any project, the design is the key, and especially for technical projects, with complex geometries.
What if you don’t have the design skills to optimize your project? Don’t worry, at Sculpteo, we can help you with that. Our 3D printing experts from Sculpteo Studio are here to help you create your project from scratch or optimize an existing 3D file.
Use the best 3D printing materials
By using an online 3D printing service such as Sculpteo for your project, you will have the chance to choose the material of your project among all the 3D printing materials available in our catalog.
Do you need plastic or metal? Make your choice, upload your 3D file and get your online quote instantly. For further questions about materials properties, check our 3D printing materials pages, or contact our sales team, they will answer all your questions. Do you need flexible parts? Or parts resistant to heat? Let’s find out together what’s the best 3D printing material for you!
3D printing will save your time
Additive manufacturing will speed up your manufacturing process. Indeed, proof of concepts or prototypes can be improved using 3D printing technology. 3D printing is the perfect manufacturing method to use if you need to do some rapid prototyping. Using 3D modeling software, the creation and test of your designs will be significantly accelerated.
By using 3D printing you save time on your assembly process. Mechanical 3D printing enables the production of a batch of parts that are traditionally made of many components. But thanks to this cutting edge technology, you will be able to reduce assemblies and welding steps! This manufacturing process will help you save time, you will get the chance to produce faster.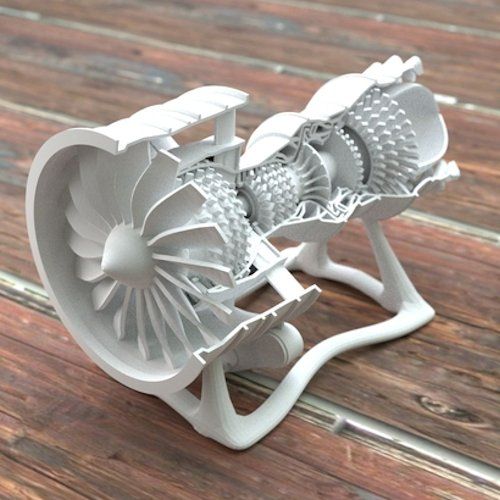
The opportunity to improve your supply chain
The improvement of the supply chain is quite a big subject to go through. But what if you could considerably reduce your inventory by producing on demand? We can tell you that additive manufacturing is certainly the best solution for you to make your mechanical parts.
Do you need prototypes, spare parts or small quantities? Stop wasting your time and money! Start using 3D printing right now.
Mechanical projects, making the most of 3D printing
Aeronautics using 3D printing
This may look like an ordinary nozzle, but if you look closely you will notice this is all one part thanks to 3D printing. This is GE’s Aviation fuel nozzle and in the not so distant past it was made up of 20 different parts, not only is the 3D printed version of this nozzle 5X stronger, it also lasts longer.
Generally, the quality assurance process fixes issues like strength and durability by isolating and analyzing the issue, then by correcting and implementing the correction on the newer version.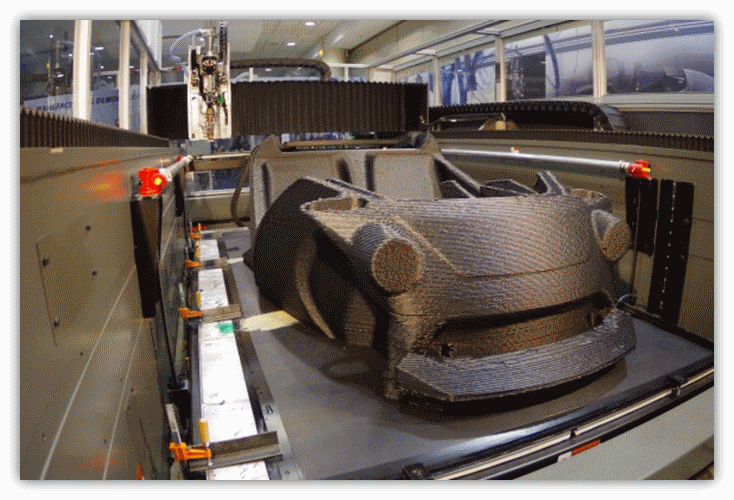 3D printing speeds up the QA process sometimes by months, 3D printing does this by shortening the time between correcting and implementing. Obviously, it also saves a lot of time on assembly.
Automotive industry
It is becoming more and more common in the automotive industry to use additive manufacturing. Indeed, 3D printed car parts are now a reality. To develop new designs or create car parts, 3D printing can now be useful on many levels for car manufacturers. The accuracy and the access to robust materials such as metal materials enable the development of 3D printed mechanical parts!
Are you ready to make the most of additive manufacturing for your mechanical project? Upload your 3D file right now, or contact our sales team. They answer all your questions about this 3D manufacturing process!
Feel free to subscribe to our newsletter and get all tips about 3D printing applications.
7 Best 3D Printers for Engineers & Mechanical Engineers Students – 3D Printerly
3D printing is slowly becoming an essential part of our everyday lives.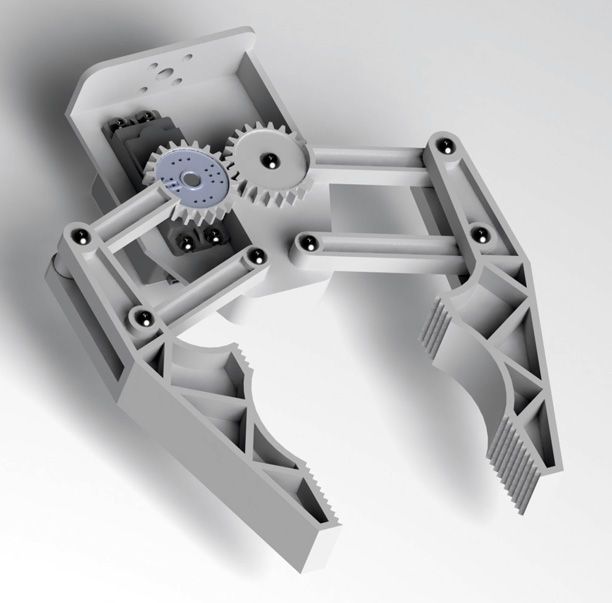 Various professions are incorporating the use of 3D printers in their workplaces.
No profession benefits from the application of 3D printing as much as engineering, whether it is electrical, mechanical, civil, structural, or mechanical.
3D printing plays a crucial role in the designing and production phases of any engineering project. With a 3D printer, engineers are able to create visual prototypes to bring out their design ideas.
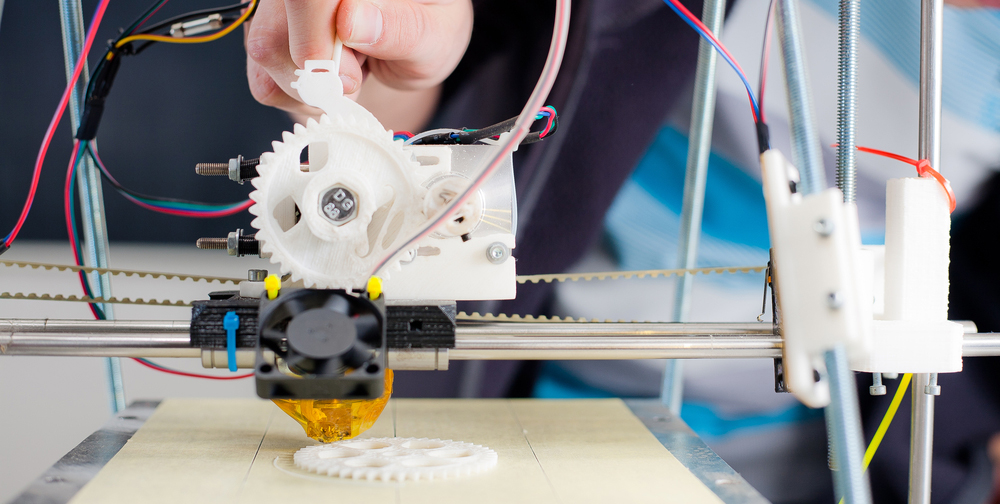
Mechanical engineering students can easily create various mechanical components of their products e.g. gears through 3D printing. Structural engineers can easily create scale models of buildings to get a clearer view of how the various parts of the structure would interlink and look.
The applications of 3D printing by engineers are limitless. However, to create accurate models for your designs, you will need a solid printer. Let’s have a look at some of the best printers for engineers and mechanical engineering students.
We’ll start our list with the Qidi Tech X-Max.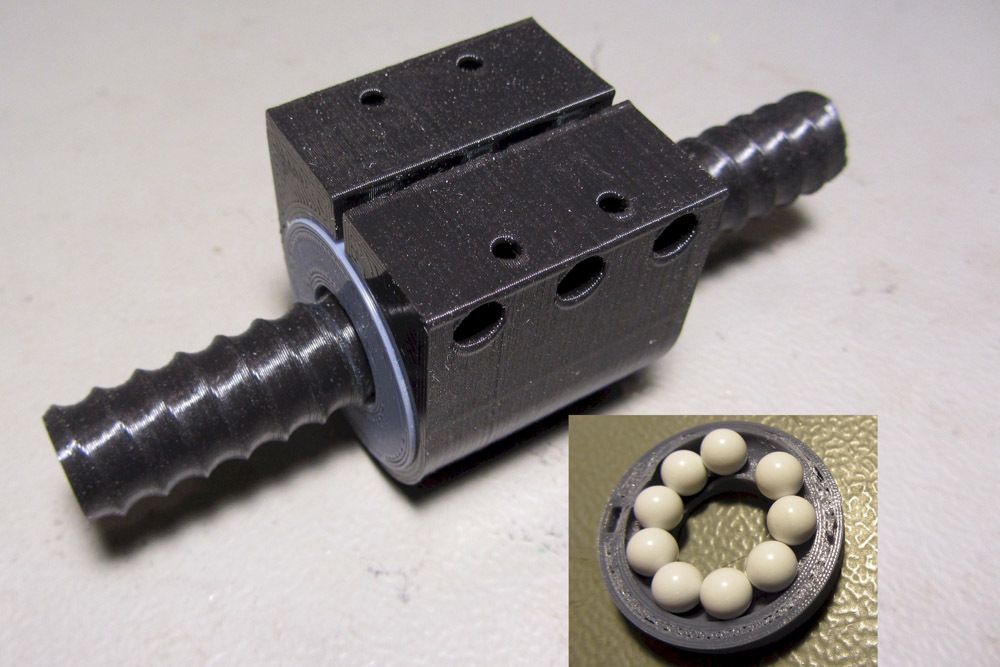 This machine is solely designed to handle more advanced materials like nylon, carbon fiber and PC, without compromising on the speed and quality of production.
This makes it one of the favorites among mechanical engineering students. Let’s take a closer look at some of its features.
Features of the Qidi Tech X-Max
- Solid Structure and Wide Touchscreen
- Different Types of Printing for You
- Double Z-axis
- Newly Developed Extruder
- Two Different Ways for Placing the Filament
- QIDI Print Slicer
- QIDI TECH One-to-One Service & Free Warranty
- Wi-Fi Connectivity
- Ventilated & Enclosed 3D Printer System
- Large Build Size
- Removable Metal Plate
Specifications of the Qidi Tech X-Max
- Build Volume: 300 x 250 x 300mm
- Filament Compatibility: PLA, ABS, TPU, PETG, Nylon, PC, Carbon Fiber, etc
- Platform Support: Double Z-axis
- Build Plate: Heated, removable plate
- Support: 1-Year with infinite customer support
- Filament Diameter: 1.
 75mm
75mm - Printing Extruder: Single extruder
- Layer Resolution: 0.05mm – 0.4mm
- Extruder Configuration: 1 set of a specialized extruder for PLA, ABS, TPU & 1 set of a high performance extruder for printing PC, Nylon, Carbon Fiber
Giving this printer an edge over its competitors is a set of Qidi Tech third-generation extruder assembly. The first extruder prints general material like PLA, TPU, and ABS, while the second one prints materials that are more advanced e.g. Carbon fiber, Nylon, and PC.
This makes it possible for mechanical engineering students to print out mechanical components for the machine they are trying to develop, be it shafts, gears, or any other parts.
The Qidi Tech X-Max (Amazon) has a double Z-axis, which stabilizes the printer when it prints large models.
What impressed me the most is the flexible metal plate which makes it easier to extract a printed model. Both sides of the plates are usable. On the front side, you can print general material and on the backside, you can print advanced material.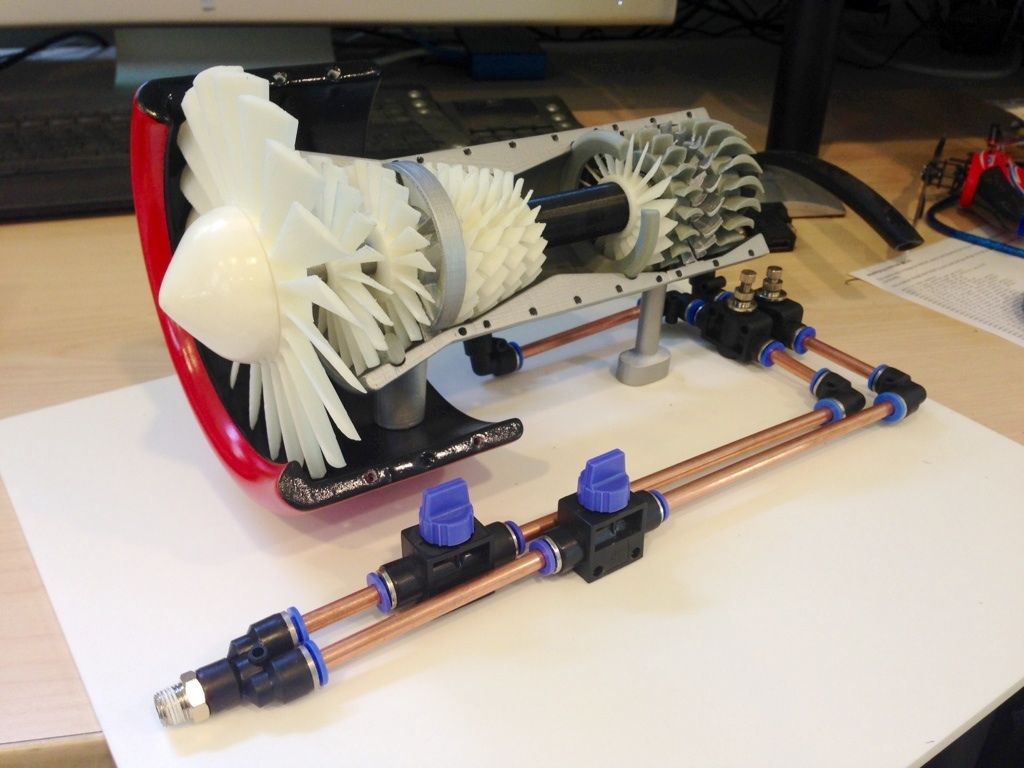
It also has a 5-inch touchscreen with a more practical user interface, making it simpler to operate than its competitors.
User Experience of the Qidi Tech X-Max
One user liked how well-packaged the printer came. He said that he was able to unpack it and assemble it for use in less than half an hour.
Another user said that the Qidi Tech X-Max was one of the most reliable printers for producing prototypes because of its large print area. She said that she had already printed over 70 hours of prints without any complications.
When it comes to safety, the Qidi Tech X-Max doesn’t compromise at all. A customer could not hold his excitement when he saw an air filter on the back of the print chamber’s wall. This feature is noticeably absent from most 3D printers.
One user liked that they didn’t have to use any adhesives since the coating on the build plate was able to hold his prints firmly in place.
Pros of the Qidi Tech X-Max
- Amazing and consistent 3D print quality that will impress many
- Durable parts can be created with ease
- Pause and resume function so you can change over the filament anytime
- This printer is set up with high-quality thermostats with more stability and potentiality
- Excellent UI interface that makes your printing operation easier
- Quiet printing
- Great customer service and helpful community
Cons of the Qidi Tech X-Max
- Doesn’t have filament run-out detection
- The instructional manual isn’t too clear, but you can get good video tutorials to follow
- The internal light can’t be turned off
- Touchscreen interface can take a little getting used to
Final Thoughts
The Qidi Tech X-Max does not come cheap, but if you got a few bucks to spare, then this massive machine will definitely give you a return on your investment.
Check out the Qidi Tech X-Max for a 3D printer able to help handle your mechanical engineering projects.
The Dremel brand is known for producing products that help people to get acquainted with 3D printing technology. The Dremel 3D45 is one of their ultra-modern 3rd generation 3D printers designed for heavy usage.
Let’s see some of the features that make the Dremel 3D45 a good fit for engineers.
Features of the Dremel Digilab 3D45
- Automated 9-Point Levelling System
- Includes Heated Print Bed
- Built-In HD 720p Camera
- Cloud-Based Slicer
- Connectivity Through USB and Wi-Fi Remotely
- Fully Enclosed With Plastic Door
- 5″ Full-Color Touch Screen
- Award-Winning 3D Printer
- World-Class Lifetime Dremel Customer Support
- Heated Build Plate
- Direct Drive All-Metal Extruder
- Filament Run-Out Detection
Specifications of the Dremel Digilab 3D45
- Print Technology: FDM
- Extruder Type: Single
- Build Volume: 255 x 155 x 170mm
- Layer Resolution: 0.
 05 – 0.3mm
 - Compatible Materials: PLA, Nylon, ABS, TPU
- Filament Diameter: 1.75mm
- Nozzle Diameter: 0.4mm
- Bed Levelling: Semi-Automatic
- Max. Extruder Temperature: 280°C
- Max. Print Bed Temperature: 100°C
- Connectivity: USB, Ethernet, Wi-Fi
- Weight: 21.5 kg (47.5 lbs)
- Internal Storage: 8GB
Unlike many other 3D printers, The Dremel 3D45 doesn’t need any assembling. It is ready for usage straight out of the package. The manufacturer even provides 30 lesson plans, which could be useful for mechanical engineering students who are using it for the first time.
It has an all-metal direct drive extruder that can heat up to 280 degrees Celsius. This extruder is also resistant to clogging ensuring that you can print a designed product freely e.g. a car engine model.
Another standout feature is the filament run-out detection system. It ensures that you can continue printing from the last position anytime the filament finishes, and you feed in a new one.
With the Dremel 3D45 (Amazon), you don’t have to worry about adjusting knobs to do your leveling as it comes with a built-in automatic leveling sensor. The sensor will detect any variation in the bed level and adjust it accordingly.
To interact with the printer, you have a 4.5” colored touch screen that you can operate effortlessly.
User Experience for the Dremel 3D45
What the majority of the users seem to concur with is that setting up the Dremel 3D45, after purchasing it, is a straightforward task. You can start with its pre-loaded print in less than 30 minutes.
One user who owns two Dremel 3D45 printers said that they never cease to amaze him. He has printed in virtually all colors of Dremel’s filaments, and they were still simple to use.
He added that the nozzle works perfectly. However, you will need to upgrade to a hardened nozzle if you want to print carbon fiber, which is preferred by mechanical and automotive engineers due to its good weight to strength ratio.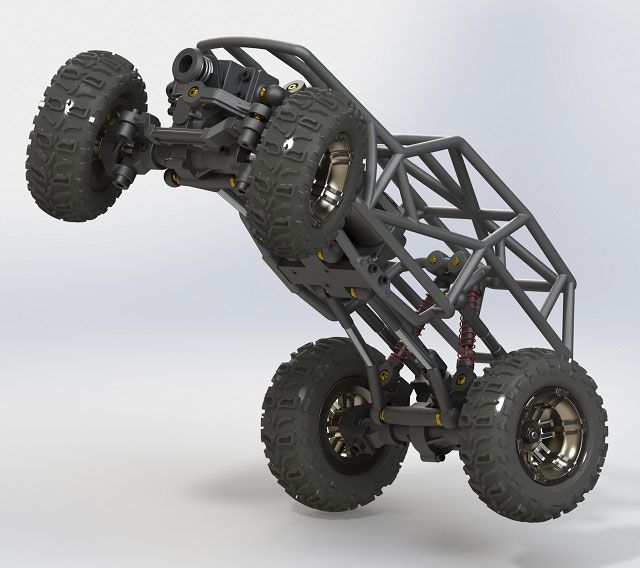
Using the 4.5” touch screen was a pleasant experience for one user who could read and operate everything easily.
A satisfied customer said that this printer was very silent even with its door open. The enclosed design definitely plays a big role in that
Pros of the Dremel Digilab 3D45
- Print quality is very good and it’s easy to use as well
- Has powerful software along with being user-friendly
- Prints through a USB thumb drive via Ethernet, Wi-Fi, and USB
- Has a safely secured design and body
- Compared to other printers, it is relatively quiet and less noisy
- Easier to set up and use as well
- Provides a 3D comprehensive ecosystem for education
- The removable glass plate allows you to remove prints easily
Cons of the Dremel Digilab 3D45
- Limited filament colors compared with competitors
- The touch screen is not particularly responsive
- There is no nozzle cleaning mechanism
Final Thoughts
Knowing that they had an almost 80-year reputation to maintain, Dremel did not compromise when it came to the 3D45. This robust printer is the epitome of reliability and quality printing.
You can always count on the Dremel 3D45 to create perfectly molded prototypes.
Find the Dremel Digilab 3D45 on Amazon today.
The Bibo 2 Touch laser which is popularly known as the Bibo 2 was first released in 2016. Since then, it has slowly gained popularity among 3D printing fanatics in the engineering fraternity.
Additionally, it has a lot of good reviews on Amazon and has been appearing in many bestseller lists.
Let’s find out why this machine is an engineer’s favorite.
Features of the Bibo 2 Touch
- Full-Color Touch Display
- Wi-Fi control
- Removable Heated Bed
- Copy Printing
- Two-Color Printing
- Sturdy Frame
- Removable Enclosed Cover
- Filament Detection
- Power Resume Function
- Double Extruder
- Bibo 2 Touch Laser
- Removable Glass
- Enclosed Print Chamber
- Laser Engraving System
- Powerful Cooling Fans
- Power Detection
- Open Build Space
Specifications of the Bibo 2 Touch
- Build Volume: 214 x 186 x 160mm
- Nozzle Size: 0.
 4 mm
4 mm - Hot End Temperature: 270℃
- Temperature of Heated Bed: 100℃
- of Extruders: 2 (Dual Extruder)
- Frame: Aluminum
- Bed Leveling: Manual
- Connectivity: Wi-Fi, USB
- Filament Materials: PLA, ABS, PETG, flexible etc.
- File Types: STL, OBJ, AMF
At first glance, you might mistake the Bibo 2 Touch for a 3D printer from a different era due to its outdated look. But, don’t judge a book by its cover. The Bibo 2 is a beast in its own right.
This printer has a 6mm thick composite panel made of aluminum. So, its frame is stronger than more the conventional plastic ones.
The Bibo 2 Touch (Amazon) has dual extruders that will enable you to print a model with two different colors without having to change the filament.
Impressive, right? Well, it can do more than that. With dual extruders, you can print two different models at the same time. This will be very important for engineering projects with time constraints.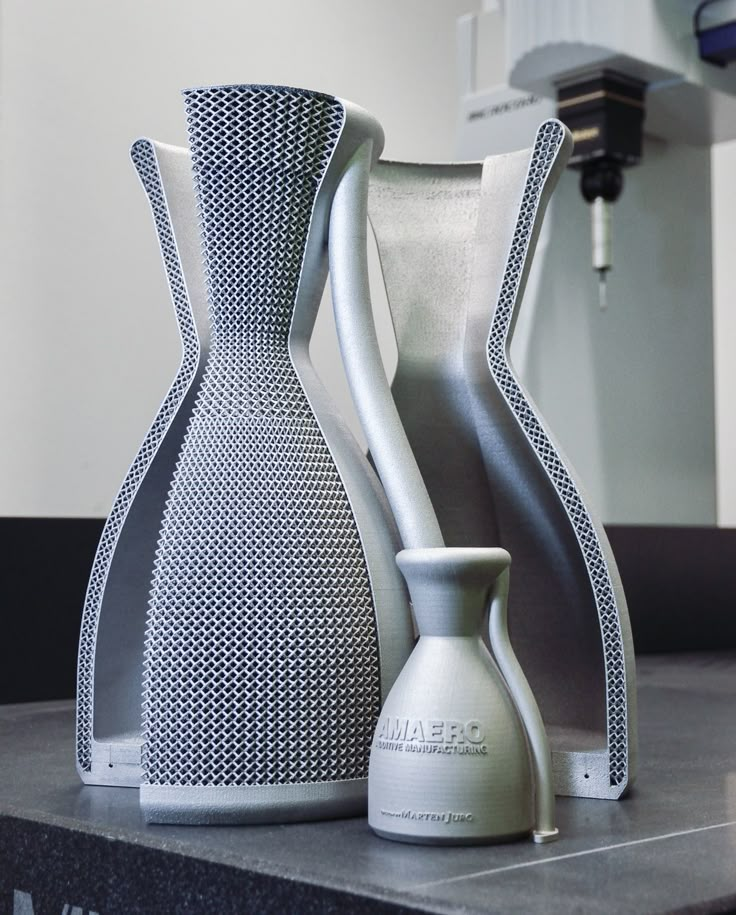
You can control all aspects of the printing from your phone or computer thanks to its Wi-Fi control feature. This is suitable for mechanical engineering students who love using their PC for more than just design.
As the name suggests, the Bibo 2 Touch has a color touch screen with a friendlier user interface.
User Experience of the Bibo 2 Touch
According to one user, setting up the Bibo 2 Touch is an amusing experience. The user said that she only had to do minimal work as the printer was already 95% assembled.
She also said that the printer came with, and SD card with a tonne of information that helps her carry out her first test print with ease. It also helped her learn the basics of operating the machine.
In one review, a user stated how they have been able to print with PLA, TPU, ABS, PVA, and nylon without any issues. She added that the laser engraver worked perfectly.
One user loved how the Filament Sensor enabled printing to continue from where it left off immediately after a blackout. Therefore, he didn’t have to worry about wasted filament, time or crooked prints.
This can be important for engineers when printing out more intricate designs such as car models.
Bibo’s tech support has been lauded by many consumers for its fast and direct way of addressing problems.
The only downside is that they are in a different time zone, so you will have to find out the best times for sending inquiries, or else you’ll wait for a long time for a response. The screen is also a bit buggy, and the user interface can be improved.
Pros of the Bibo 2 Touch
- Dual extruder improves 3D printing capabilities and creativity
- Very stable frame which translates to better print quality
- Easy to operate with the full-color touchscreen
- Known for having great customer support based in the US & China
- Great 3D printer for high volume printing
- Has Wi-Fi controls for more convenience
- Great packaging to ensure a safe and sound delivery
- Easy to use for beginners, giving out high performance and much enjoyment
Cons of the Bibo 2 Touch
- Relatively small build volume compared to some 3D printers
- The hood is quite flimsy
- The location to put the filament is at the back
- Leveling the bed can be a little difficult
- Has quite a learning curve because there are so many features
Final Thoughts
The Bibo 2 Touch doesn’t have many positive reviews for no good reason. If you ignore the small issues here and there, you’ll get a highly efficient printer that will serve you for quite some time.
If you want a good printer for handling your undergraduate engineering degree projects, check out the Bibo 2 Touch on Amazon.
The Ender 3 V2 is the third iteration of the Ender 3 line by Creality.
By tweaking certain of its predecessors (the Ender 3 and Ender 3 Pro), Creality was able to come up with a machine that is not only a good size, but also has excellent print quality at a good price.
In this section, we’ll dive into the specifics of this printer.
Features of the Ender 3 V2
- Open Build Space
- Carborundum Glass Platform
- High-Quality Meanwell Power Supply
- 3-Inch LCD Color Screen
- XY-Axis Tensioners
- Built-In Storage Compartment
- New Silent Motherboard
- Fully Upgraded Hotend & Fan Duct
- Smart Filament Run Out Detection
- Effortless Filament Feeding
- Print Resume Capabilities
- Quick-Heating Hot Bed
Specifications of the Ender 3 V2
- Build Volume: 220 x 220 x 250mm
- Maximum Printing Speed: 180mm/s
- Layer Height/Print Resolution: 0.
 1mm
1mm - Maximum Extruder Temperature: 255°C
- Maximum Bed Temperature: 100°C
- Filament Diameter: 1.75mm
- Nozzle Diameter: 0.4mm
- Extruder: Single
- Connectivity: MicroSD Card, USB.
- Bed Levelling: Manual
- Build Area: Open
- Compatible Printing Materials: PLA, TPU, PETG
The most noticeable upgrade is the silent 32-bit motherboard which is the spine of the Creality Ender 3 V2 and reduces the noise produced when printing to below 50 dBs.
If you set up the Ender 3 V2, you will not fail to notice the V-guide rail pulley system which stabilizes movement while increasing the wear resistance. This will enable you to use your printer to produce 3D prints for prototypes for longer.
When it comes to printing 3D models, you need a good filament feed-in system. Creality 3D has added a rotary knob to make it simpler for you to load the filament.
On the XY-axis you have a new injection tensioner that you can use to conveniently adjust the tension in the belt.
On the software side, you have a new user interface that has been designed to improve the user’s experience. All this is projected on a 4.3” color screen which you can detach easily for repair.
For engineers, who are more hands-on, there is a toolbox on the machine where you can store your tools and retrieve them easily at any time.
User Experience of the Ender 3 V2
One user liked how clear the instructions for helping to set up the printer were. By following them and watching a few videos on YouTube, she was able to set up the printer in a relatively shorter time.
Another user states that he has been able to print PLA models with no complications using the test filament the company provides. He was able to do the test print successfully, and after that has been printing without problems.
This means that mechanical engineering students can print out things like brushless motors without any challenges.
In one five-star review, the customer states that the Ender 3 V2 was his second printer and he was impressed with how easy it was to use the print bed.
The bed adhesion was a bit off at first but he was able to fix this issue by increasing the rate of extrusion and slightly sanding the Carborundum glass bed.
He also appreciated that the Ender 2 came with a little drawer under the print bed which allowed him to keep his micro USB cards, nozzles, Bowden tubes, and card readers.
Pros of the Ender 3 V2
- Easy to use for beginners, giving out high performance and much enjoyment
- Relatively cheap and great value for money
- Great support community.
- Design and structure look very aesthetically pleasing
- High precision printing
- 5 minutes to heat up
- All-metal body gives stability and durability
- Easy to assemble and maintain
- Power supply is integrated underneath the build-plate unlike the Ender 3
- It is modular and easy to customize
Cons of the Ender 3 V2
- A bit difficult to assemble
- Open build space is not ideal for minors
- Only 1 motor on the Z-axis
- Glass beds do tend to be heavier so it may lead to ringing in prints
- No touchscreen interface like some other modern printers
Final Thoughts
If you’re looking for a low-budget printer with pretty standard capabilities, the Ender 3 V2 will do the trick. However, if you want to print more advanced materials, you should consider looking for a different printer.
The Ender 3 V2 can be found on Amazon.
The Dremel Digilab 3D20 is every hobbyist or engineering student’s first choice printer. Its relatively low cost and high performance make it a better choice to purchase as compared to other 3D printers in the market.
It’s similar to the Dremel Digilab 3D45, but with a few less features and at a much cheaper price.
Let’s take a look under the hood.
Features of the Dremel Digilab 3D20
- Enclosed Build Volume
- Good Print Resolution
- Simple & Easy to Maintain Extruder
- 4-Inch Full-Color LCD Touch Screen
- Great Online Support
- Premium Durable Build
- Established Brand With 85 Years of Reliable Quality
- Simple to Use Interface
Specifications of the Dremel Digilab 3D20
- Build Volume: 230 x 150 x 140mm
- Printing Speed: 120mm/s
- Layer Height/Print Resolution: 0.
 01mm
01mm - Maximum Extruder Temperature: 230°C
- Maximum Bed Temperature: N/A
- Filament Diameter: 1.75mm
- Nozzle Diameter: 0.4mm
- Extruder: Single
- Connectivity: USB A, MicroSD card
- Bed Levelling: Manual
- Build Area: Closed
- Compatible Printing Materials: PLA
The Dremel Digilab 3D20 (Amazon) has a fully enclosed design that is essential for extra safety. This design also maintains the stability of temperature inside the machine to ensure that every print is successful.
Children cannot poke their fingers into the print area, which can come in handy for engineers working on projects on a part-time basis at home.
This printer comes with a non-toxic plant-based PLA filament, which has been designed to produce strong and precisely finished prints and is less harmful.
The only downside is that the Dremel Digilab doesn’t come with a heated bed, which means that you can mostly print with just PLA.
On the software, you have a full-colored LCD touch screen with a more modern interface. You can perform functions such as modifying the printer setting, obtaining files from the micro SD card, and printing easily.
User Experience of the Dremel Digilab 3D20
This printer comes fully pre-assembled. You can just unbox it and immediately start using it. This, from reviews, has been helpful to many people who were beginners.
One user who wanted to undertake a project he called “Dabbing Thanos” with his son said that using the Dremel Digilab 3D20 was his best decision yet.
The Dremel software which he put on an SD card was simple to use. It sliced the file and added supports where necessary. This will help when printing prototypes with complex designs.
The final result was a nicely printed “Dabbing Thanos” which his son took to school to show his friends. He only had to clean up the final print with sandpaper.
Another user mentioned how precise the printer was thanks to its precise nozzle. Although it needed regular cleaning, he was more than happy to do it.
Pros of the Dremel Digilab 3D20
- Enclosed build space means better filament compatibility
- Premium and durable build
- Easy to use – bed leveling, operation
- Has its own Dremel Slicer software
- Durable and long-lasting 3D printer
- Great community support
Cons of the Dremel Digilab 3D20
- Relatively expensive
- Can be hard to remove prints from build plate
- Limited software support
- Only supports SD card connection
- Restricted filament options – listed as just PLA
Final Thoughts
The Dremel Digilab 3D20 is an easy-to-use printer with the ability to print out high-quality models. Since it comes fully assembled, you can use the time you would have used to set it up to come up with more innovative designs to print out.
You can check out the Dremel Digilab 3D20 on Amazon if you need a 3D printer to serve your engineering prototyping needs.
The Anycubic Photon Mono X is a resin 3D printer larger than most that you will get on the market today.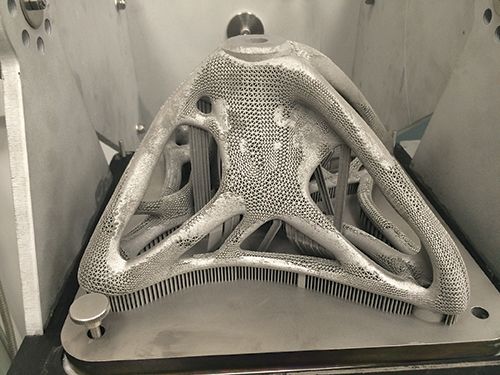 While it may not have been the first resin 3D printer to be manufactured, it is slowly overtaking its competitors.
Let look at some of its features to see how it fares.
Features of the Anycubic Photon Mono X
- 8.9″ 4K Monochrome LCD
- New Upgraded LED Array
- UV Cooling System
- Dual Linear Z-Axis
- Wi-Fi Functionality – App Remote Control
- Large Build Size
- High Quality Power Supply
- Sanded Aluminum Build Plate
- Fast Printing Speed
- 8x Anti-Aliasing
- 3.5″ HD Full Color Touch Screen
- Sturdy Resin Vat
Specifications of the Anycubic Photon Mono X
- Build Volume: 192 x 120 x 245mm
- Layer Resolution: 0.01-0.15mm
- Operation: 3.5″ Touch Screen
- Software: Anycubic Photon Workshop
- Connectivity: USB, Wi-Fi
- Technology: LCD-Based SLA
- Light Source: 405nm Wavelength
- XY Resolution: 0.05mm, 3840 x 2400 (4K)
- Z Axis Resolution: 0.
01mm
- Maximum Printing Speed: 60mm/h
- Rated Power: 120W
- Printer Size: 270 x 290 x 475mm
- Net Weight: 10.75kg
This is pretty large even by 3D printer’s standards. The Anycubic Photon Mono X (Amazon) has a respectable size, measuring 192mm x 120mm x 245mm, easily double the size of many resin 3D printers out there.
Its upgraded LED array is unique to only a few printers. The UV matrix of LEDs distributes light evenly across the entire print.
The Anycubic Photon Mono X is 3 times faster than the average 3D printer. It has a short exposure time of between 1.5 to 2 seconds and a top print speed of 60mm/h. This is important when you’re trying to shorten the design-test-revise cycle time in challenging mechanical engineering projects.
With a Dual Z-Axis, you won’t have to worry about the Z-Axis track becoming loose. This makes the Photon Mono X very stable and improves the quality of printing.
On the operating side, you have an 8. 9” 4K monochrome LCD with a resolution of 3840 by 2400 pixels. Its clarity is really good as a result.
Your machine can often overheat especially when you use it continually to complete a fairly long engineering project. For that, the Anycubic Photon Mono X has a UV cooling system for efficient cooling and longer run times.
This printer’s bed is purely made out of anodized Aluminum to improve its adhesive properties so your 3D prints stick down to the build plate well.
User Experience for the Anycubic Photon Mono X
A satisfied customer from Amazon states how well the Anycubic resin works with the machine especially when you follow the recommended exposure settings that it usually comes with.
Another user says that his prints stuck to the print bed quite well because of the material used to make it (anodized aluminum).
He added that the Z-axis had never wobbled in the short duration that he had been printing. Overall, the mechanics were pretty solid.
One user who was printing at 0.05mm was thrilled that the Photon Mono X was able to capture the most intricate patterns for her prints.
A frequent user of the Anycubic Mono X said that its slicer software could use some improvements. However, he liked its auto-support function which enables every print to come out great despite its complexity.
A great thing about the software complaint though is how other slicers have stepped up to the plate to deliver amazing features that Anycubic missed out on. One such software is the LycheeSlicer, a personal favorite of mine.
You can export the specific .pwmx files needed for this 3D printer, as well as do plenty of functions that automate most of the slicing process.
Pros of the Anycubic Photon Mono X
- You can get printing really quickly, all within 5 minutes since it’s mostly pre-assembled
- It’s really easy to operate, with simple touchscreen settings to get through
- The Wi-Fi monitoring app is great for checking on the progress and even changing settings if desired
- Has a very large build volume for a resin 3D printer
- Cures full layers at once, resulting in quicker printing
- Professional looking and has a sleak design
- Simple leveling system which stays sturdy
- Amazing stability and precise movements that lead to almost invisible layer lines in 3D prints
- Ergonomic vat design has a dented edge for easier pouring
- Build plate adhesion works well
- Produces amazing resin 3D prints consistently
- Growing Facebook Community with plenty of helpful tips, advice, and troubleshooting
Cons of the Anycubic Photon Mono X
- Only recognizes .
 pwmx files so you may be limited in your slicer choice
 - The acrylic cover doesn’t sit in place too well and can move easily
- Touchscreen is a little flimsy
- Fairly pricey compared to other resin 3D printers
- Anycubic doesn’t have the best customer service track record
Final Thoughts
For a budget-friendly printer, the Anycubic Photon Mono X offers high accuracy during printing. Its big build volume and high resolution make it possible to print large models. I definitely recommend it to any engineer or mechanical engineering student.
You can get yourself the Anycubic Photon Mono X directly from Amazon today.
The Prusa i3MK3S is the crème de la crème when it comes to mid-range 3D printers. After successfully upgrading the Original Prusa i3 MK2, Prusa was able to come up with a newly designed 3D printing machine that is popular among engineering students.
Let’s have a look at some of its features.
Features of the Prusa i3 MK3S+
- Fully Automated Bed Leveling – SuperPINDA Probe
- MISUMI Bearings
- Bondtech Drive Gears
- IR Filament Sensor
- Removable Textured Print Sheets
- E3D V6 Hotend
- Power Loss Recovery
- Trinamic 2130 Drivers & Silent Fans
- Open Source Hardware & Firmware
- Extruder Adjustments to Print More Reliably
Specifications of the Prusa i3 MK3S+
- Build Volume: 250 x 210 x 210mm
- Layer Height: 0.
 05 – 0.35mm
 - Nozzle: 0.4mm
- Max. Nozzle Temperature: 300 °C / 572 °F
- Max. Heatbed Temperature: 120 °C / 248 °F
- Filament Diameter: 1.75 mm
- Supported Materials: PLA, PETG, ASA, ABS, PC (Polycarbonate), PVA, HIPS, PP (Polypropylene), TPU, Nylon, Carbon filled, Woodfill etc.
- Max Travel Speed: 200+ mm/s
- Extruder: Direct Drive, BondTech gears, E3D V6 hotend
- Print Surface: Removable magnetic steel sheets with different surface finishes
- LCD Screen: Monochromatic LCD
The Prusa i3 has an MK25 heatbed. This heatbed is magnetic and can be switched any time you like, you can decide to go with a smooth PEI sheet, or a textured powder coated PEI.
To enhance stability, Prusa remodeled the Y-axis with aluminum. This not only provides the i3 MK3S+ with a sturdy frame but also makes it look sleeker. It also increases the total Z height by about 10mm. You can print a prosthetic arm without struggling.
This model has an improved filament sensor that doesn’t wear off mechanically. A simple mechanical lever is used to trigger it. It can function well with almost all filaments.
Prusa i3 MK3S+ has Trinamic 2130 Drivers and a Noctua fan. This combination makes this machine one of the quietest 3D printers available.
You can choose from either two modes, the normal mode, or the stealth mode. In the normal mode, you can achieve incredible speeds of approximately 200mm/s! This speed slightly reduces in slight mode, thus decreasing the noise levels.
For the extruder, there is an up-to-date BondTech drive extruder. It holds the filament firmly in place, increasing the reliability of the printer. It also has an E3D V6 hot end capable of handling very high temperatures.
User Experience for the Prusa i3 MK3S
One user said that he had fun assembling the Prusa i3 MK3S+, and it helped her learn the basic principles that applied when constructing 3D printers. He added that he could now repair his broken machine by himself.
Another user said that they had never seen a 3D printer operate for more than one year with 4-5 different transitions without being calibrated again.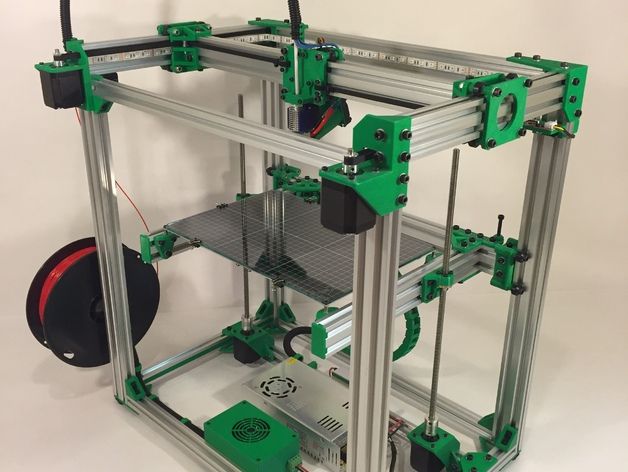
According to a review from a satisfied user on their site, the user was able to get the print quality he desired with the i3 MK3S+ after being disappointed by many other printers before. The user added that he could switch between different materials effortlessly.
One customer said that he had printed out about 15 objects using different filaments like PLA, ASA, and PETG.
All of them worked alright although he needed to change the temperature and flow rates for quality results.
You can purchase this 3D printer as a kit, or the fully assembled version to save you the building, but you’ll have to pay a fairly hefty amount extra for the benefit (over $200).
Pros of the Prusa i3 MK3S+
- Easy to assemble with basic instructions to follow
- Top level customer support
- One of the largest 3D printing communities (forum & Facebook groups)
- Great compatibility and upgradability
- Quality guarantee with every purchase
- 60-day hassle-free returns
- Produces reliable 3D prints consistently
- Ideal for either beginners and experts
- Has won many awards for best 3D printer in several categories.
Cons of the Prusa i3 MK3S+
- No touchscreen
- Doesn’t have Wi-Fi inbuilt but it’s upgradable
- Fairly pricey – great value as stated by its many users
Final Thoughts
The Prusa MK3S is more than capable of competing with other top 3D printers when it comes to print quality. For its price tag, it performs above expectation.
It is great for civil engineers, electrical engineers, mechatronics engineers, and mechanical engineers alike.
You can get the Prusa i3 MK3S+ directly from the official Prusa website.
Examples of introducing additive technologies into production
Mechanical engineering
Implementation stories
Author: Semen Popadyuk
Author: Semyon Popadyuk
3D printing in mechanical engineering: advantages, tasks, technologies | 3D scanning in mechanical engineering: advantages and tasks to be solved | Success stories of engineering companies | Conclusion
3D technologies are increasingly in the spotlight of major Russian industrial exhibitions, which reflects the readiness of enterprises to introduce innovative 3D solutions into their production chains.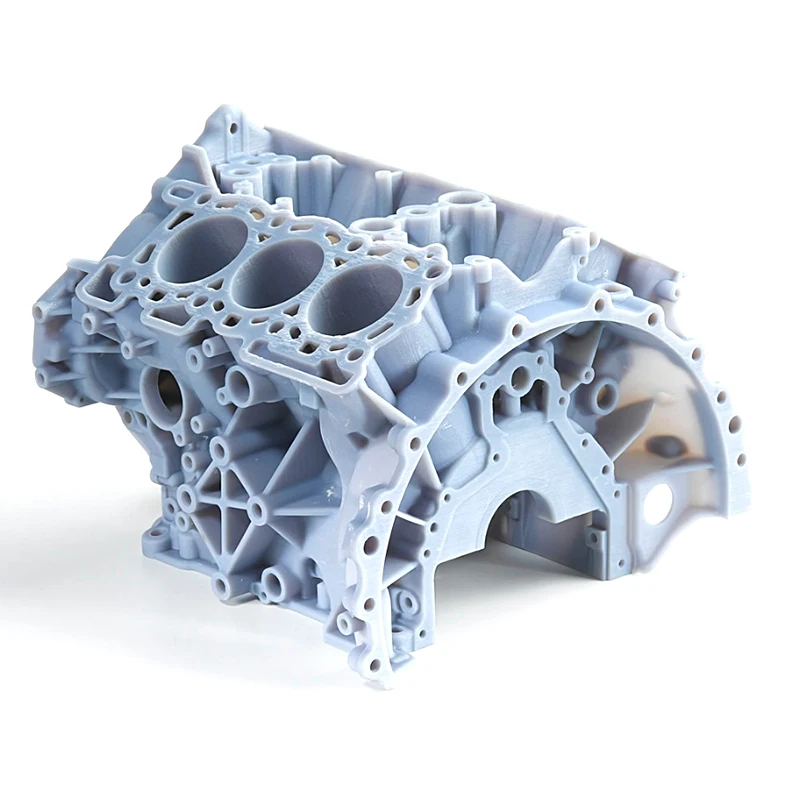
For mechanical engineering, as one of the key sectors of the Russian economy, the development of new equipment and the use of advanced solutions are extremely important. 3D technologies fully meet these needs. As they improve, they provide ever greater efficiency, allowing enterprises to reduce and simplify the technological process and optimize production costs.
For example, creating a prototype on a 3D printer will not take months, as in traditional production, but only a few hours. Significantly saves time spent on finalizing the design and launching the product into mass production, and, accordingly, the cost of the entire project is reduced. Thanks to the use of 3D scanners and software for reverse engineering and geometry control, the time and cost are reduced by an average of 1.5 times.
Benefits of 3D printing
- Production of parts with a geometry of any complexity, which leaves far beyond the capabilities of traditional methods.
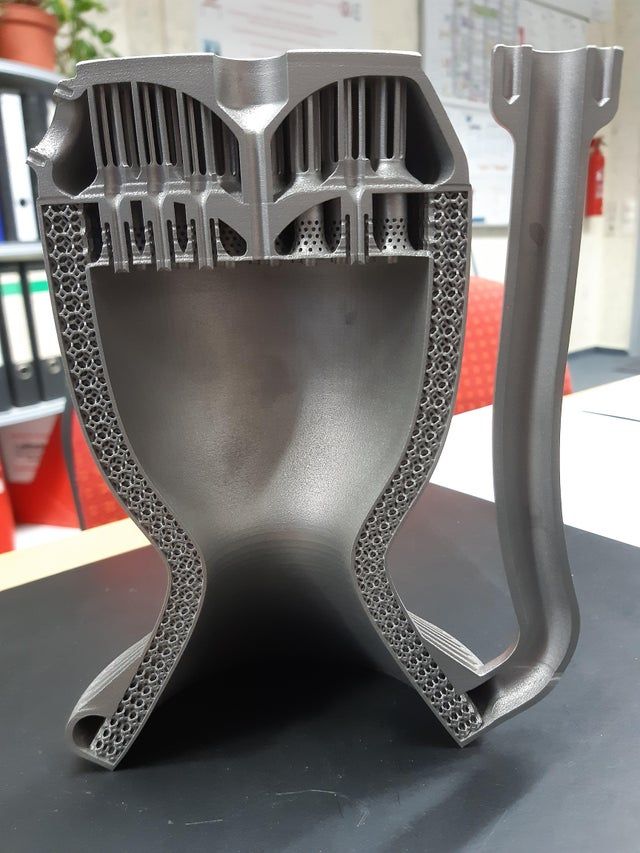
- Optimization of product parameters such as precision and strength, as well as weight reduction through the creation of super-thin walls, internal channels and bionic structures.
- Speed up and reduce the cost of the production process: there is no need to use expensive tooling, and in some cases - machining.
- Increasing the profitability of manufacturing small-scale and customized products.
- Reduction of risks and design errors, including the possibility of design changes at later stages of design.
- Managing the physical and mechanical properties of the product through the use of high-tech materials.
3D printing tasks in mechanical engineering
- Functional testing and prototyping.
- Production of technical prototypes for testing the design of products.
- Conducting technological experiments.
- Product testing for ergonomics.
- Creation of master models for casting, including investment and burnt models.
- Quick tool making.
- Manufacture of shaping elements of molds for casting thermoplastics and light materials.
- Manufacture of functional parts for various units and assemblies.
- Creation of complex structures, including solid ones, which were previously assembled from many elements.
3D printing technologies for machine building companies
- Selective Laser Melting (SLM)
- Laser Stereolithography (SLA)
- Selective Laser Sintering (SLS)
- Fused Deposition Modeling (FDM)
- Multi-jet (MJP)
- Binder Jetting
- Full Color Inkjet (CJP)
Benefits of 3D scanning
- High speed scanning devices.
- Accurate measurements in real-life conditions.
- Ability to integrate into automated production systems.
- Measure any object, regardless of size, complexity, material or color.
- Simplicity and convenience in work.
Tasks solved with 3D scanners and specialized software
- Reverse engineering (reverse engineering), obtaining ready-made drawings.
- Metrological control of products in the manufacturing process, wear analysis.
- Control of geometry, deformation and damage of products.
- Quality control.
- Digital archiving.
7 success stories
Hydraulic valve block
Final 3D printed valve block CAD file
The design of the new hydraulic valve block developed by VTT and Nurmi Cylinders has been optimized using selective laser melting (SLM) technology, resulting in significant weight, volume and material savings. As a result, a product was created, the weight of which is 66% less than the original model. Thanks to the innovative design, it was possible to optimize the flow of fluid through the internal channels and solve the problem of leakage.
Project in detail
Liquid gas mixer
Scheme of an all-metal mixer created using SLM technology. Bottom right: the original model, consisting of 12 elements
The Jurec rapid prototyping center, using SLM Solutions equipment, completed a project to improve the liquid-gas mixer. Initially, the device was assembled from 12 parts, including 3 large elements - the first and second flanged body connections and the mixer insert. Selective laser melting made it possible to create a single body, reducing the number of parts from 12 to one. There is no need to use multiple metals and flange connections: threads are simply cut inside the all-metal body, reducing the weight of the mixer from 1.3 kg to 50 g. Production time was halved. And finally, the financial costs of production decreased by 73%.
More practical examples of metal 3D printing applications
Hydroacoustic Antenna Splitter
Left: 2-piece 3D printed master mold. Right: removing the finished part from the silicone mold
Okeanpribor Concern OJSC (St. Petersburg) manufactures communication systems for the Russian Navy, including equipment with a large number of small elements, for example, a splitter, one of the main components of a new hydroacoustic antenna. For rapid prototyping in the manufacture of injection molded parts, the concern uses a professional 3D printer based on CJP technology. A mold is grown on a 3D printer, which is then filled with silicone. Any other material can be poured into the silicone mold, in this case it is polyurethane. As a result, the enterprise receives a kind of form for forms - not just a prototype, but a prototype ready for use. The implementation of the project using standard methods would have taken several months, but thanks to a 3D printer, the time for creating the antenna was reduced to three weeks.
Project in detail
Gas turbine engine components
3D printed wax model and finished product
American company Turbine Technologies, Ltd.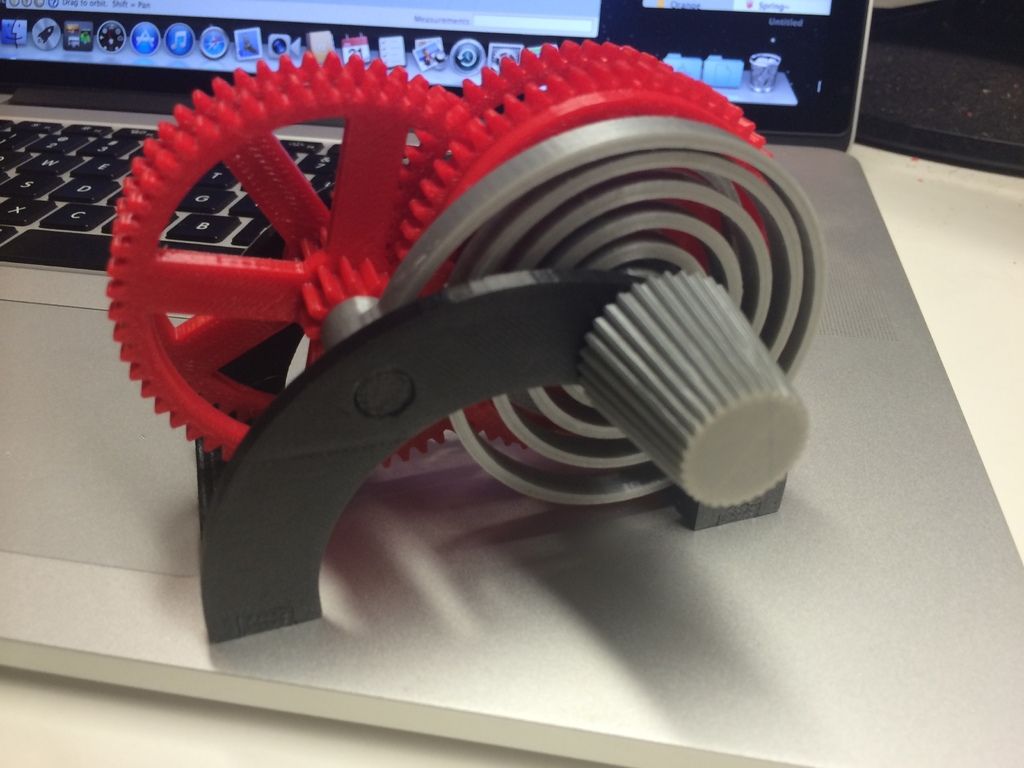 developed a modification of internal combustion engines, on which high-pressure turbines are installed. The company has purchased a printer for 3D printing of wax models and receives a finished casting within 3-4 days. Wax models are now made directly from 3D CAD models, and Turbine Technologies' foundry produces gas turbine engine prototype components with greater accuracy and lower costs.
More case studies using 3D printing in investment casting
Aircraft components and assemblies
3D printing with photopolymers using QuickCast technology saves time and money, because it eliminates expensive tooling
Vaupell develops manufacturing solutions for foundries in the aerospace and defense industries. Thanks to the stereolithographic 3D printer, the company was able to radically improve production efficiency. The printer has a special photopolymer printing mode - QuickCast, in which the thin-walled outer shell of the part is reproduced, and the voids inside the part are filled with a cellular structure. QuickCast models replace traditional casting models and do not require expensive tooling. Thus, the company reduced the cost of casting models by 95%.
Watch video
Pump casing geometry control
Lining Geometry Deviation Map
iQB Technologies completed the project, which included a 3D scan of the machined pump casing and a separate 3D scan of the casing with lining to control the thickness of the coating. At the first stage, the product was digitized with a Creaform HandySCAN 700 3D scanner, and then a high-poly 3D model of the pump housing was obtained. Then the specialists checked the geometry deviations in the Geomagic Control X software. The revealed deviations in the surface of the coating create additional pressure on the body, therefore, reduce its service life. The project was completed in just 4 hours.
More practical examples of quality control with a 3D scanner
Reverse engineering of the turbine impeller
3D scanning of a hydro turbine wheel for subsequent reverse engineering
Dependable Industries, a Vancouver-based mold and tool maker, approached entrepreneur Matthew Percival of 3D Rev Eng to help reverse engineer a radial-axial hydroturbine impeller casting. The software for reverse engineering Geomagic Design X allows you to create in a few hours such models with complex shapes, which would take several weeks to manufacture using traditional technologies. Thanks to Geomagic Design X, reverse engineering time has been reduced by 50% and manufacturing costs have been reduced by 48%.
Project in detail
Conclusion
3D technology also has its own setbacks. These are the high cost of equipment and materials, and the lack of knowledge, and the lack of specialists, and the difficulty of integrating into traditional technological chains. Additive methods cannot supplant or replace classical technologies today, but they prove cost-effective in prototyping and small-scale production and become the only possible solution in the manufacture of complex small parts. Ultimately, the use of 3D printing, scanning and modeling technologies allows you to bring new products to the market faster, which means it increases the competitiveness of engineering enterprises.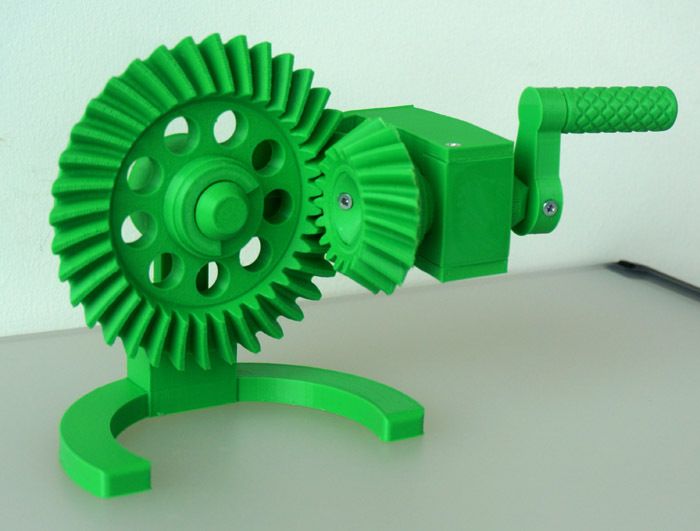
Article published on 07/03/2018, updated on 09/26/2022
3D technology in mechanical engineering
3D technologies in mechanical engineering3D technologies allow machine-building enterprises to reduce and simplify the technological process and optimize production costs.
Among the tasks solved with the help of 3D printing in mechanical engineering:
- prototyping
- creating master models for casting
- tool making
- production of functional parts for units and assemblies
- creation of complex structures, including solid ones, which were previously assembled from many elements
- conducting technological experiments
Thanks to the use of 3D scanners and software for reverse engineering and geometry control of products in mechanical engineering, time and cost costs are reduced by an average of 1.5 times.
Watch a recording of webinar about the possibilities of 3D printers and scanners in the engineering industry.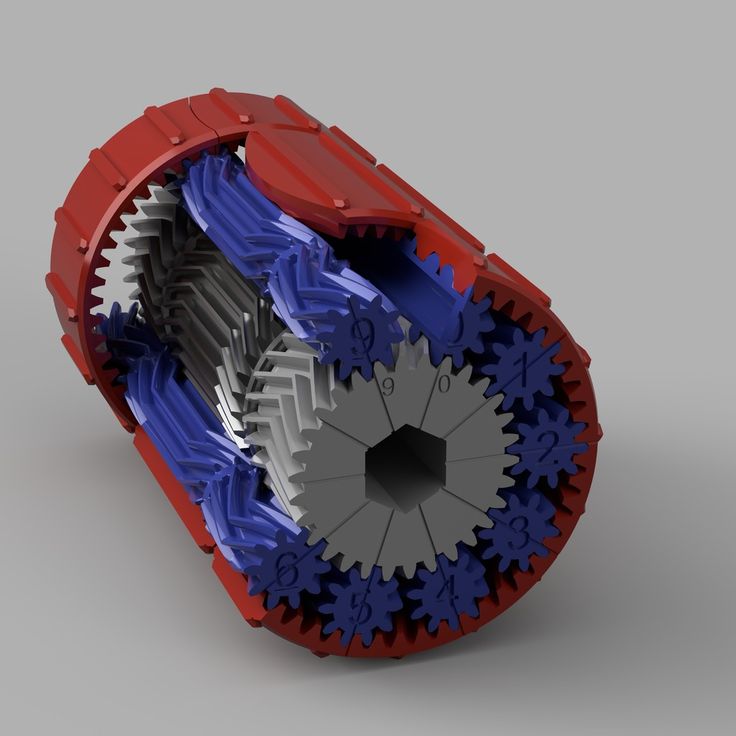
Production tasks
Foundry processes
Direct production of end product and tooling
3D Prototyping
Reverse engineering (reverse engineering)
Geometry control
Creation of digital archives
Design to optimize part geometry
3D model making
Turnkey Solutions
Training
Additive manufacturing and 3D scanning
Fundamentals of 3D printing and 3D scanning, practical skills in working with equipment and software
Find out moreProduct Design Features for Additive Manufacturing
Application of 3D printing in industry and casting, part selection tips for ...
Find out moreHardware and software
-
ProtoFab SLA450 DLC 3D Printer
-
ProtoFab SLA600 DLC 3D Printer
-
ProtoFab SLA2000 DLC 3D printer
-
Super Discovery 3D Printer Hybrid
-
Sharebot Cassini 3D printer
-
Sharebot Qwarm 3D printer
-
SLM 280 Production Series 3D Printer
-
SLM 500 3D printer
-
SLM 800 3D printer
-
Sharebot Q DUAL 3D Printer
-
Sharebot Q 3D Printer
-
Sharebot Q XXL 3D Printer
-
Sharebot 43 3D printer
-
Sharebot BIG 9 3D Printer0237
-
Sharebot XXL Plus 3D Printer
-
Sharebot SnowWhite 2 3D Printer
-
Super Discovery 3D Printer Compact
-
ProtoFab SLA100 DLC 3D Printer
-
ProtoFab SLA200 DLC 3D Printer
-
ProtoFab SLA300 DLC 3D Printer
-
ProtoFab SLA800 DLC 9 3D Printer0237
-
ProtoFab SLA1100 DLC 3D Printer
-
ProtoFab SLA1600 DLC 3D Printer
-
ProtoFab SLA2400 DLC 3D Printer
-
3D printer SLM 125
-
3D printer SLM 280 2.
Learn more


