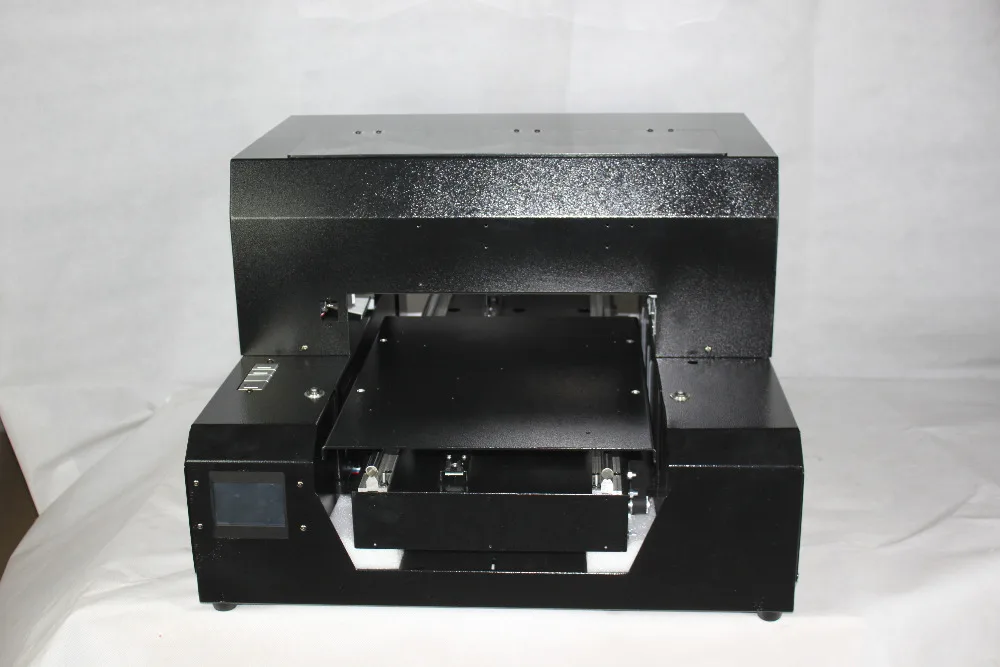
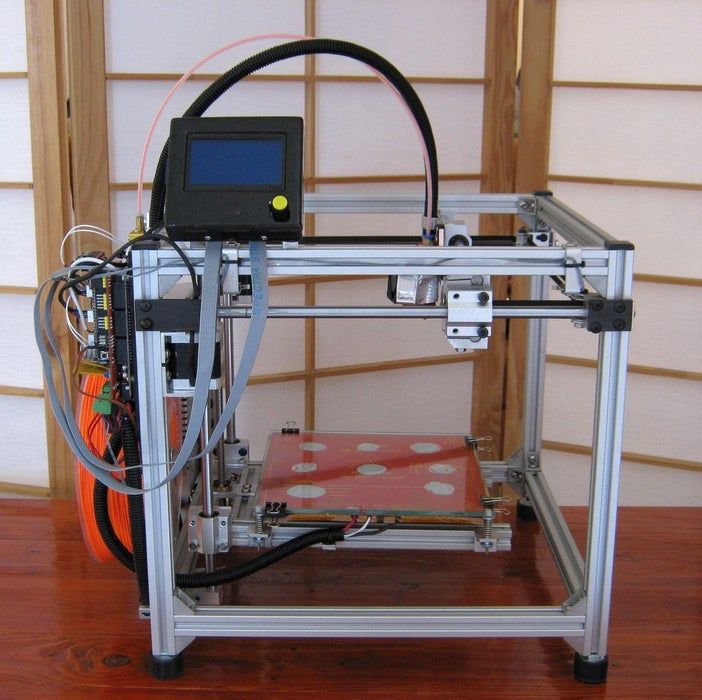
3D inkjet printers
The 3D Inkjet Printing Process Explained
Simon Fried
Like many technical industries, the list of acronyms used to describe additive manufacturing processes and tools is extensive and will only grow over time. Among the long list of commercialized processes and those still in the research phase, inkjet printing is particularly unique for its adaptability and efficiency in printing fully functional products. The range of materials that can be used in inkjet printing and related processes is broad, allowing these systems to be used for additively manufacturing a variety of mechanical or electrical products.
The 3D inkjet printing process is similar to other 3D printing processes in that it proceeds through layer-by-layer deposition. Printing instructions in each layer are generated from a 3D mechanical model for your product, just as is done with popular fused deposition modeling (FDM) systems. However, this established additive manufacturing process is unique in that it is adaptable to a wide range of liquid materials or solid suspensions, providing conductive or insulating structures with high printing resolution. Compared to processes that involve the fusion of metal or plastic materials, inkjet printing requires no post-processing—the finished printing product will be fully functional as soon as it leaves the printing system.
A 3D inkjet printing process can be used to print electronics with any geometry.
How the 3D Inkjet Printing Process Works3D inkjet printing is a low-temperature, low-pressure process that involves the deposition of liquid materials or solid suspensions. Polymers, dielectric nanoparticles, and conductive nanoparticles can be deposited with this process, making it adaptable to a broad range of materials. In this process, the printing material is extruded through a small nozzle within a print head. As the print head raster scans over a surface, multiple layers are built up in a layer-by-layer process.
Each deposited layer must be cured in between successive depositions, and the curing process will vary depending on the materials used to print your product. Inkjet 3D printing systems include equipment for curing each layer within the system. While the need to cure each deposited layer in between depositions may sound time consuming, the deposited layers are very thin and can be cured quickly, ideal at low temperature or with an optical process (such as exposure to infrared or ultraviolet light).
Printing resolution is an important parameter in any 3D printing system because this determines the smallest feature sizes and tolerances that can be reliably deposited with your system. The limiting factors that determine in the 3D inkjet printing process are the droplet size, which is determined by the size of the nozzle in the print head. In general, a smaller nozzle will provide a higher resolution (i.e., smaller printed features). The 3D inkjet printing process provides high-resolution conductive and insulating structures with a broad range of materials, making it ideal for additively manufacturing advanced PCBs with high interconnect density and high layer count.
Similar to other 3D printing processes, inkjet printing is complexity agnostic, meaning the printing time is nearly independent of product complexity. The time required to print a fully functional product depends solely on the time required to deposit the necessary amount of material and the curing time.
As a result, the cost structure only depends on the weight of the material being deposited and the energy consumed during deposition—costs in both of these areas are fixed. When printing complex multilayer and non-planar PCBs, all interconnects, mounting holes, and vias can be printed directly without additional machining steps. This reduces the total manufacturing time from weeks to hours with a highly predictable cost structure.
Once the printing process concludes, the finished product does not require any further post-processing. Contrast this with other processes, such as FDM, selective laser sintering, and powder bed fusion. These processes involve extrusion of molten materials through a print head, and the printed products tend to have some defects and ridges on the outer surface.
Producing electronics and PCBs with a 3D inkjet printing process requires working with a conductive nanoparticle suspension for printing traces, as well as an insulating polymer for printing substrates. The use of conductive nanoparticles in an inkjet process carries several advantages for use in electronics, but these materials are ideal for 3D printing PCBs with an inkjet process. When combined with the appropriate insulating polymer, you’ll have the materials required to print fully functional PCBs with a 3D inkjet printing process.
Multiple materials can be printed with the right 3D inkjet printing system.
Selecting Materials in the 3D Inkjet Printing ProcessThe 3D inkjet printing process is highly adaptable to several materials that can be deposited and cured at relatively low temperature and ambient pressure. As liquid inks are extruded through a nozzle in this process, the system parameters (such as deposition pressure and temperature, as well as curing parameters) can be easily tuned to accommodate materials with different viscosities and curing requirements.
When 3D printing PCBs, there are several points to consider when selecting materials and the appropriate deposition system. Inkjet printing is unique compared to solid-state deposition processes in that it can be used for co-deposition of an insulating substrate and conductive elements simultaneously. As the range of available materials for these systems expands, the market should anticipate 3D inkjet printing of semiconductor devices and a variety of substrate materials that are ideal for operation in different frequency bands.
If you want to use the 3D inkjet printing process for the fabrication of complex PCBs, then you need an inkjet system that provides co-deposition of insulating and conductive materials with high throughput. The DragonFly LDM additive manufacturing system from Nano Dimension is ideal for in-house PCB prototyping or full-scale fabrication of complex electronics with a planar or non-planar architecture. Read a case study or contact us today to learn more about the DragonFly LDM system.
Additive Manufacturing | 3d printing | inkjet
Simon Fried
A co-founder of Nano Dimension, Simon Fried leads Nano Dimension’s USA activities and marketing for this revolutionary additive technology. With experience working in the US, Israel, and throughout Europe, he has held senior and advisory roles in start-ups in the solar power, medical device, and marketing sectors. Previously, Simon worked as a consultant on projects covering sales, marketing, and strategy across the automotive, financial, retail, FMCG, pharmaceutical, and telecom industries. He also worked at Oxford University researching investor and consumer risk and decision making.
3D Inkjet Printer Advantages and Disadvantages for Developing Electronics
Simon Fried
From fused deposition to inkjet printing and aerosol deposition, the list of processes for additive manufacturing is already long and can be expected to grow in the future. The various 3D printing processes have their advantages in different applications, and choosing the right process and system is important if you are considering complementing or replacing your current capabilities with additive manufacturing.
If you are familiar with desktop-scale printers, then you may already have an idea of how this technology is adapted to 3D printing. Typical home user systems typically fall into two camps. They either extrude a molten polymer by way of FDM (fused deposition modeling) or selectively polymerize a resin in a vat in an SLA (stereolithography apparatus). Many more enterprise-scale options exist however. Such processes are often more complex, and may require a sheath gas to prevent unwanted chemical reactions during deposition, for example. Particularly when 3D printing metals or ceramics the deposited materials must then be sintered, baked, or cured in some way prior to final assembly of a finished product.
Here’s a closer look at another of the deposition options, inkjet deposition. 3D inkjet printer advantages and disadvantages are important to understand as you consider this additive manufacturing technology. Here, the focus is on this digital manufacturing technology primarily as applied to 3D printing circuitry.
3D printing a unique substrate.
Weighing 3D Inkjet Printer Advantages and Disadvantages
When it comes to choosing a 3D printing process for PCBs, there are some important aspects to consider when selecting an additive manufacturing process and system:
- Resolution: This defines the accuracy of printed insulators and conductors, and becomes very important for designers who want to create PCBs with a unique interconnect architecture or high-density conductor.
- Surface finish: With DC circuits, surface finish is a negligible performance factor. However, with analog circuits operating at RF frequencies, very high-speed circuits, and antennas, rough conductors can lead to issues like frequency mixing at high intensity, signal reflections at rough spots along the surface, and difficulty with impedance control routing throughout a PCB.
- Throughput: This defines the productivity of the process and is really related to the speed with which materials can be deposited. Using a multimaterial inkjet approach reduces the number of manufacturing steps to one printing step. In contrast, traditional PCB manufacturing approaches require many intermediate assembly steps during fabrication.
- Range of useful materials: Not all processes are useful for every material, which also affects the throughput. Some processes require breaking printing into multiple steps, and some processes are simply not useful with all materials.
Choosing the right additive manufacturing process requires finding the right balance among these areas. Like any manufacturing process, inkjet printing is not universally adaptable to any product, and fabricated parts may not have the required strength for use in some very demanding mechanical applications.
However, inkjet printing is an attractive process for electronics for a number of reasons. Regarding 3D printing of PCBs, the multimaterial end-product (conductive and insulating materials) is readily printed by means of multiple printheads, the range of required materials is relatively limited, while the resolution and surface finish requirements are stringent. Inkjet printing can satisfy these requirements for a broad range of electronics applications.
Some Advantages of Inkjet 3D Printing for Electronics
Simultaneous Printing with Multiple Materials
Inkjet printing is very different to fused deposition modeling and aerosol deposition. Inkjet printing deposits ink over an area and not at one given nozzle location.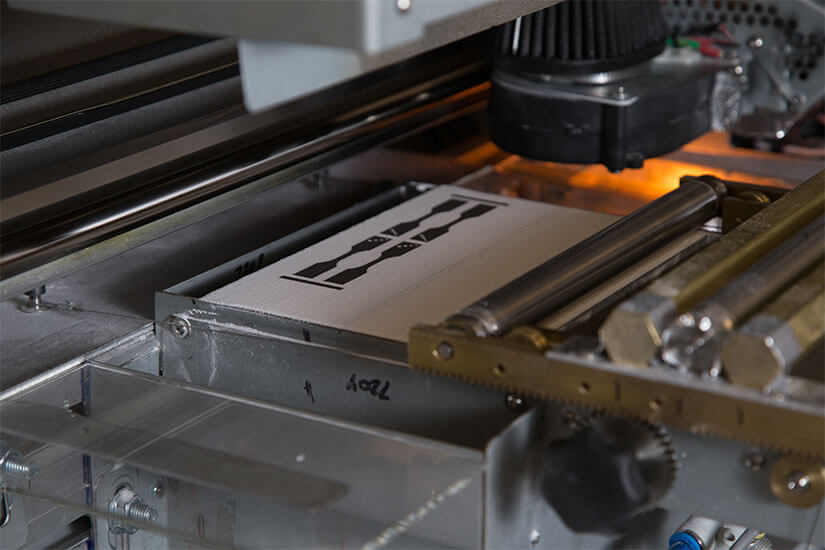 Inkjet printheads can have hundreds and even thousands of minute nozzles per printhead, each one is precisely and individually controlled.. The ability to use multiple printheads in the same inkjet system allows multiple materials to be deposited contemporaneously. The ability to print an insulating substrate alongside conductors makes inkjet printing ideal for additive manufacturing of PCBs.
High Resolution and Smooth Surface Finish
The resolution of 3D inkjet printing is sufficiently high, thus the surface finish of printed conductors and substrates is smooth enough that subsequent finishing steps are not required. The roughness of 3D-printed conductors in PCBs is fine enough that it competes with traditional PCB manufacturing processes. The resolution with 3D inkjet printing is also high enough to allow printing of microstrip and stripline traces that match those in traditionally manufactured PCBs.
Printing Over a Large Area
Deposition during inkjet printing does not need to be confined to a specific area.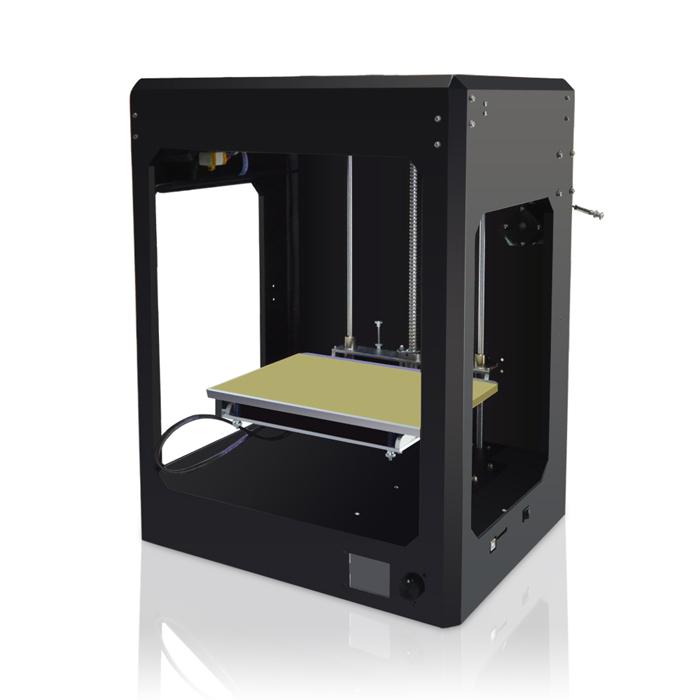 The layer-by-layer deposition process allows materials to be printed over a large area. When combined with deposition of conductive and insulating materials, inkjet printing becomes an ideal process for 3D printing of PCBs.
Some Disadvantages of 3D Inkjet Printing for Electronics
Limited Material Selection
Although conductive and insulating materials can be 3D printed with an inkjet process, inkjet systems are generally adapted to specific materials that can be deposited at low viscosities. The deposition and subsequent curing and sintering processes limit the range of materials with 3D inkjet printing. The conductive and insulating materials absolutely must have the right viscosity upon extrusion through the printhead.
One option to overcome this drawback is to use conductive materials that can be sintered with an infrared lamp. Conductive nanoparticle inks are a natural choice as they can be quickly sintered using an infrared lamp directly in a 3D inkjet printer. This eliminates the need to use a high-temperature oven for sintering after deposition. A polymer substrate that can be cured with a UV lamp allows for simultaneous sintering and curing of a 3D-printed PCB during deposition.
Low Part Strength Compared to Bulk Materials
Parts that are 3D printed with an inkjet tend to have lower mechanical strength and fracture easier than a traditional board with the same geometry.
SEM image of silver nanoparticles used in conductive inks.Given the growth in 3D printing across nearly all manufacturing sectors, it is only a matter of time before the range of useful conductive and insulating materials expands to overcome this disadvantage. As the range of available materials expands in the future, one can expect that sinterable composite conductors with higher mechanical strength will become usable with 3D inkjet printing systems.
Substrate Requirements
Inkjet printing proceeds in a layer-by-layer manner, where the material leaves the printhead as a liquid.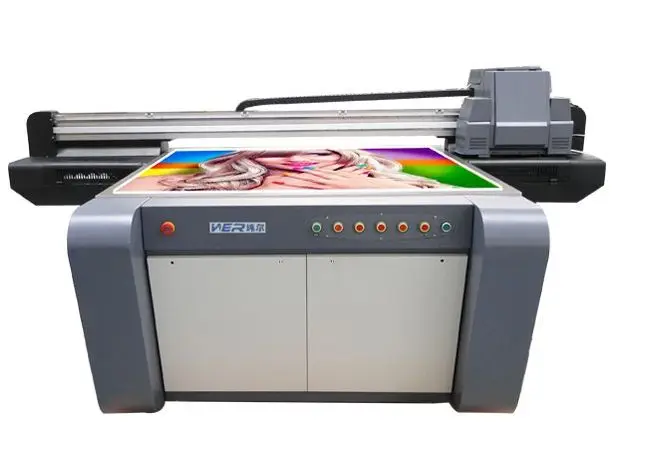 When printed onto a curved substrate, the material can run and flow away from the printing region, thus the 3D printed product will not match the design intent. This means that each layer must be printed on a flat substrate.
Despite the flat substrate requirements, the final product can still be printed with a non-planar geometry thanks to the layer-by-layer deposition procedure. Each layer can be slightly offset from the previous layer, allowing printing of unique non-planar substrates and conductors on a PCB.
When it comes to 3D printing for PCBs, the advantages of inkjet printing significantly outweigh the disadvantages. There are many proven strategies for overcoming the disadvantages of inkjet printing for PCBs. Using the right additive manufacturing system can help you easily surmount the challenges of inkjet printing for PCBs.
Although there are advantages and disadvantages for many products, inkjet printing is particularly useful for additive manufacturing of 3D-printed electronics with unique interconnect architecture and non-planar geometry.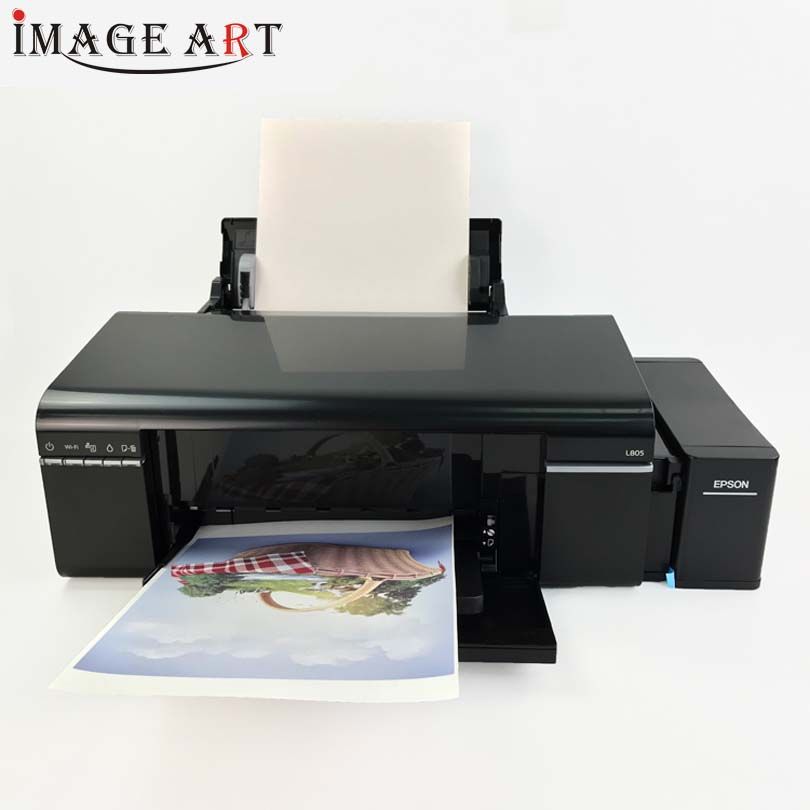 The award-winning DragonFly Pro additive manufacturing system is built specifically for rapid prototyping of new electronics for a variety of applications. Read a case study or contact us today to learn more about DragonFly Pro.
3d printing | inkjet
Simon Fried
A co-founder of Nano Dimension, Simon Fried leads Nano Dimension’s USA activities and marketing for this revolutionary additive technology. With experience working in the US, Israel, and throughout Europe, he has held senior and advisory roles in start-ups in the solar power, medical device, and marketing sectors. Previously, Simon worked as a consultant on projects covering sales, marketing, and strategy across the automotive, financial, retail, FMCG, pharmaceutical, and telecom industries. He also worked at Oxford University researching investor and consumer risk and decision making.
DIY 3D printer from an inkjet printer
3D printer is a high-tech and expensive device.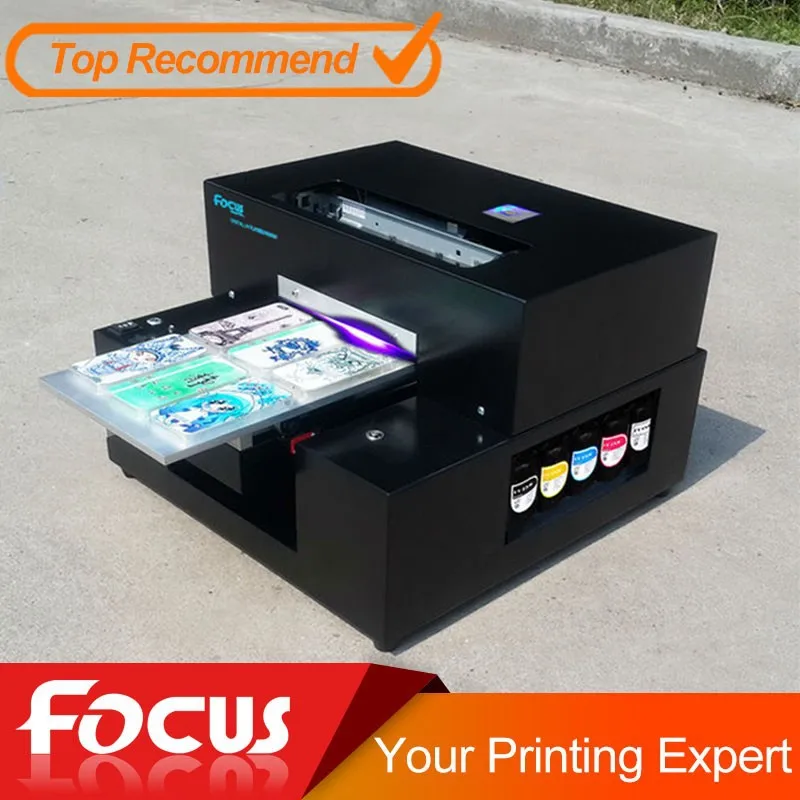 If you buy a cheap device, you may encounter poor-quality assembly, fragile components and a short uptime. Having in stock unnecessary, decommissioned, failed inkjet printers and scanners, you can assemble a printing device from their parts to create three-dimensional models.
Do-it-yourself 3D printer from an inkjet printer
If the cost of the device is the leading factor in choosing a device for printing 3D objects, it is worth assembling a 3D printer yourself. According to user reviews, cheap models of 3D printed devices made in China have the main drawback - the low quality of components. In particular, guides are the weak point of Chinese devices. These elements are subjected to significant stress, and if they are of poor quality, they can be deformed under the action of tension belts.
Important! In older document printers, the rails are made of hardened steel. They do not bend even with considerable effort. Such details will be an ideal alternative to regular Chinese ones.

By disassembling unnecessary office devices, you can get a set of spare parts necessary for assembling a 3D printer and save a lot on the purchase of components. These are:
- printer head slide assembly;
- toothed drive belts;
- mechanical or optical limit switches;
- power supply;
- stepper motors and drivers with controllers and other parts.
Attention! Inexpensive inkjet printers were mostly equipped not with stepper motors, but with DC motors with an encoder. Theoretically, they can be used in the assembly of a 3D apparatus by redesigning the latter. Stepper motors are usually extracted from scanners.
But we should note the advantage of DC-motors: they consume electricity only during movement, while stepper motors are constantly supplied with power.
Accessories such as hot end, extruder and control board will have to be purchased.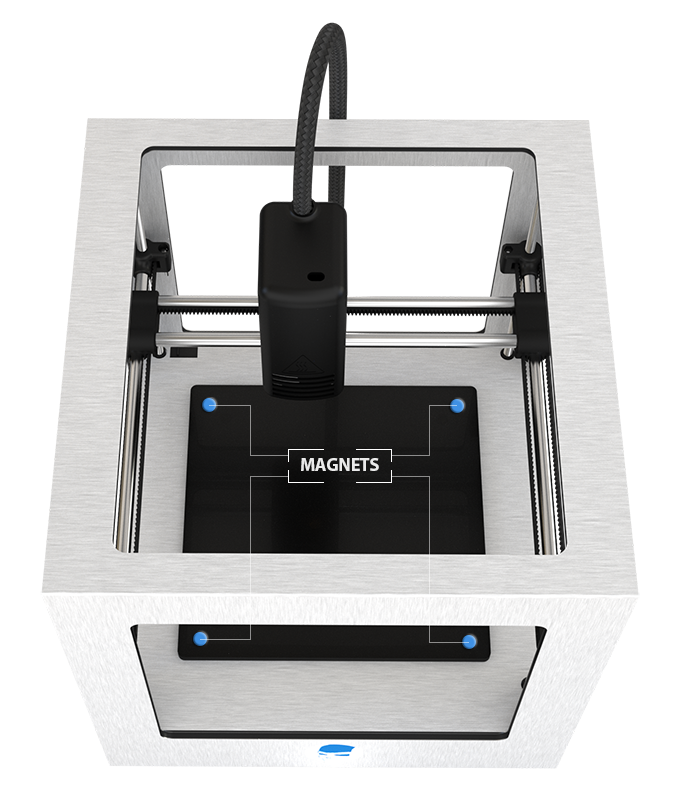 The frame is assembled from improvised materials - plywood, steel corners or parts of the cases of disassembled copiers.
A self-assembled printer will be much cheaper than factory counterparts, but at the same time, it will be of higher quality than budget models presented on the market by Chinese manufacturers.
How to make a 3D printer from an inkjet printer: step-by-step instructions
To work on assembling a printer from donor components, you will need a set of tools and materials:
- hacksaw, drill - to make the case;
- soldering iron and solder - for mounting electrical cables;
- screwdrivers and hex set - for assembling components;
- pliers;
- multimeter tester - for checking the electrical circuit;
- screws and nuts;
- cable ties;
- electrical tape.
Attention! Knowledge of electronics and engineering is a plus.
Accessories:
- steel rails;
- timing belts;
- micro stepper motors;
- stepper motor drivers;
- extruder and hotend;
- optical sensors - limit switches-microswitches;
- power supply;
- connection cables;
- electronic control board and microcontroller based on Arduino;
- LCD display;
- desktop glass;
- frame parts.
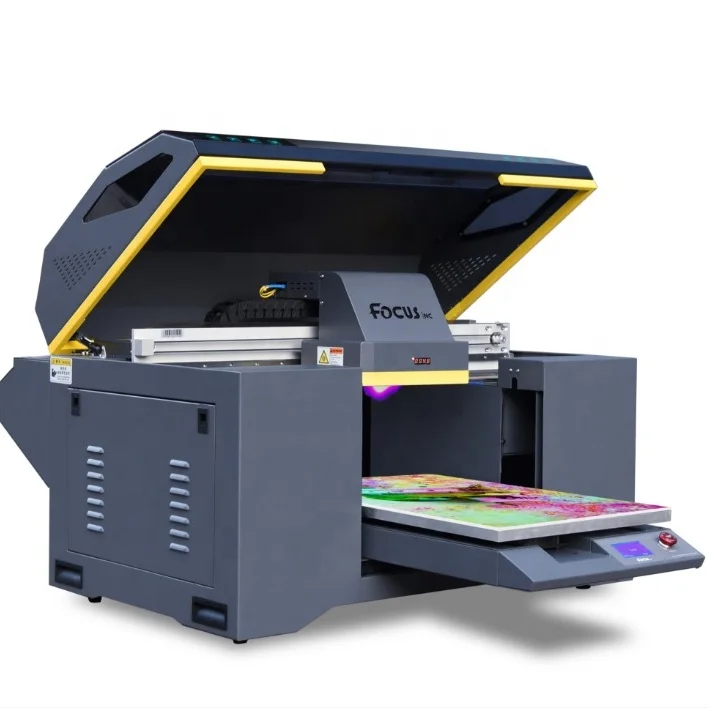
Next, you will need to stock up on a fair amount of patience and pedantry - assembly requires careful observance of all instructions.
Assembly process
- Frame fabrication and painting.
- Mounting the X and Y frame axes and fixing stepper motors to them. The extruder will move along the X axis, the Y axis is needed to move the platform.
- Installing the Z axis support rod.
- Attaching the extruder.
- Connection of heating elements, cables, power supply.
- Assembly of electronic elements: boards, microcontroller, LCD display.
After assembling and testing the electrical circuits, install the software. At the last stage, the working table, the X, Y, Z axes, the temperature of the heating elements and the filament pulling speed are calibrated.
Important! After starting the printer, print a test model. It will show all the flaws in the assembly and settings.

Mistakes and how to avoid them
Printer performance depends on the quality of the installation. But it is not always possible to eliminate errors when assembling the device.
- One of the serious flaws that is often made when assembling a printer with your own hands is incorrect installation of frame elements. Even a slight misalignment of the corners will cause jamming when the carriages move. The geometry of the mating parts must be maintained as accurately as possible.
If the body is made of plywood, it is recommended to cut its elements on a CNC laser machine. When assembling a frame from metal corners, it is necessary to control the mating angles of the parts at each stage. - The second common problem is the backlash of the frame elements. In this situation, print quality cannot be achieved. There should be no gaps between the parts. They occur either when the fasteners are loosely tightened, or if the frame elements are poorly prepared, that is, the dimensions are incorrectly maintained.
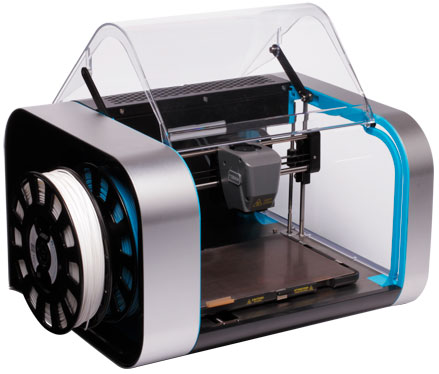
- If the electrical wiring connectors are not of good quality, there will be constant power outages. And the installation of short wires will cause them to break. The length of the wiring must match the dimensions of the frame, taking into account moving parts. It is necessary to check the tightness of the connection of the connectors, thereby minimizing the risk of disconnecting individual components and mechanisms from the power supply.
Quality control of the assembly at each stage, checking all connections and geometry of structural elements will help to avoid problems.
That's interesting! The article discussed how to assemble an FDM printer from improvised materials and parts left after dismantling office equipment. And an engineer from the Netherlands assembled a powder-type 3D printer based on an inkjet printer. As a filament, he used gypsum, sand, metal powder, and filled the cartridge with a binder. Otherwise, the technology is similar to laser layer-by-layer sintering.
Assembling a 3D printer with your own hands is not at all as simple an action as it seems at first glance. But lower financial costs and higher quality components compared to budget models from China make it expedient to manufacture a printing apparatus on your own. And given that a significant part of the parts will be recovered from the old inkjet printer and copier, this will further reduce the cost of producing a homemade 3D printer.
- May 17, 2021
- 2638
Get expert advice
3D Inkjet Printing (3DP) – 3dprofy
Turch October 21st, 2014
3DP stands for Three-Dimensional Printing , and translates as three-dimensional printing. This technology is one of the varieties of systems for the additive construction of a product according to its CAD model and differs from numerous similar schemes in that the process is carried out according to the principle of a conventional printer - through print head nozzles. Thus, 3D inkjet printing is a natural continuation of the development of conventional 2D printing technologies. To date, it has achieved fairly good results, such as color printing.
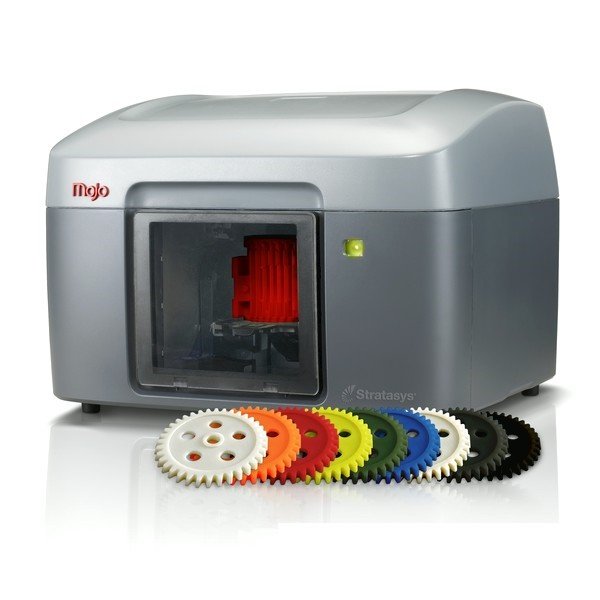
Products printed on the Z Corp's Spectrum Z510 color 3D printer
The history of the emergence and development of 3DP
The idea of implementing equipment using this printing scheme was first proposed by two students at the Massachusetts Institute of Technology Tim Anderson and Jim Bredt in 1993. It is thanks to them that the term 3D printing has spread around the world. And this is quite fair, because the first model of the device was a modification of a conventional 2D printer. Instead of ink, he used a special adhesive composition, which applied layer by layer to the surface of the bonded substance, the boundaries of the future three-dimensional product.
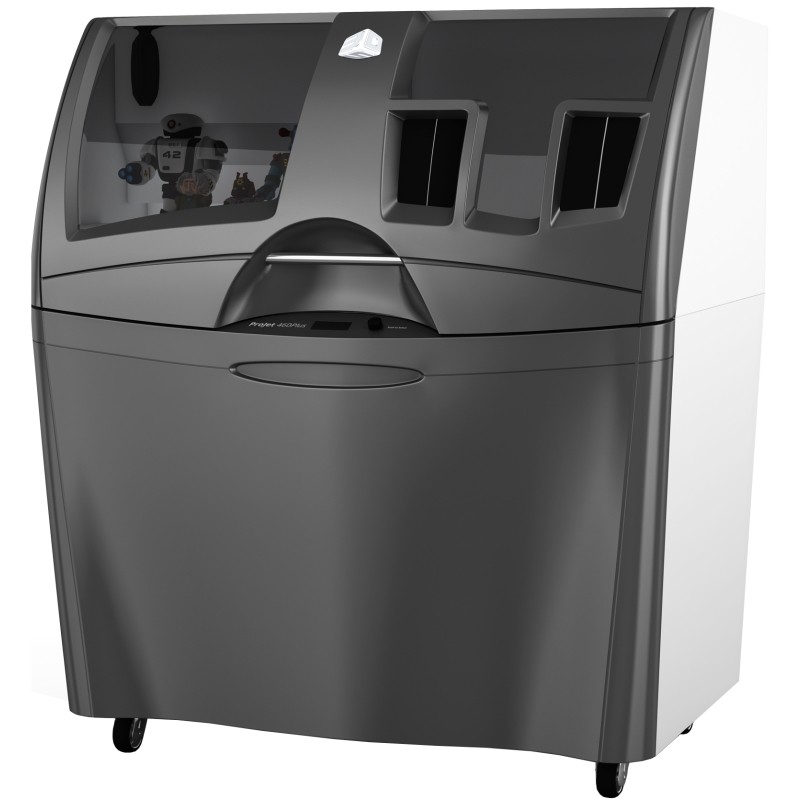
In 1995, Tim and Jim formed the Z Corporation, which brought this technology to market, improving it to such an extent that in 2012 3D systems Corporation wished to acquire it along with the company.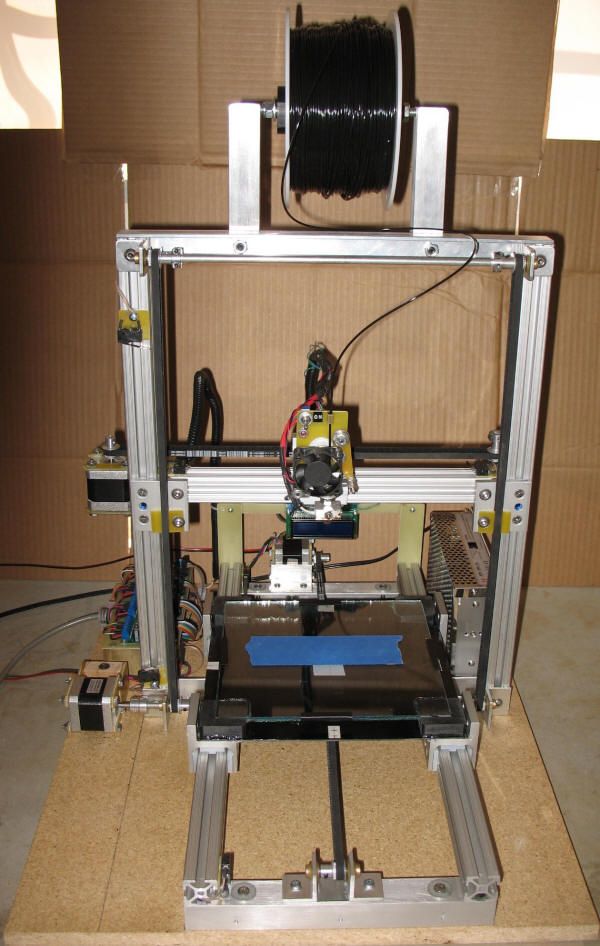 Under her brand, former Z Corporation models are now sold worldwide.
One of the directions of the ExOne company (USA) is the production of 3D printers that use the same technology. This firm was founded in 2005 as a subsidiary of the Extrude Hone Corporation. Using the patents obtained by Anderson and Bedt, they launched a line of printers that even print metal products today.
3D inkjet printing technology
Today, there are more than thirty 3D printing technologies, which in one way or another duplicate each other, although each has its own characteristics. The American Society for Testing and Materials (ASTM International) has divided 3D inkjet printing technologies into two categories:
- Material jetting - material splattering.
- Binder jetting Binder jetting.
In the first case, the building material itself is fed directly through the nozzles, which hardens after application. In the second, an adhesive is sprayed onto a thin layer of gypsum, polymer or metal powder. 3DP technology in its original form represented exactly the second method.
If we consider it in more detail, then printing occurs in the following way:0003
- To begin with, a CAD model is loaded into a computer connected via an Ethernet cable to the printer, which is “cut” into layers, about 0.1 mm thick.
- Next, a thin layer of powdered material (gypsum, polymers, sand, metal) is applied with a roller on a special platform.
- Using the print head, a binder (glue, water, special mixture) is sprayed along the coordinates of the boundaries of the first layer received from the computer.
- After that, the platform with the model is lowered by the thickness of the layer down, and the chamber with the building material is lowered by the same distance.
- Next, the roller unrolls the next layer and the process repeats.
- After the 3D printing is completed, the product is removed from the powder layer and thoroughly cleaned of its residues.
When making models from metal powder, a firing process in a special furnace is added. Let's take a closer look at this process.
The figure above shows 4 stages of his stage:
- First, according to the above scheme, the so-called "green model" is formed from the matrix powder and binder (1,2).
- Next, the product is placed in an oven filled with a protective gas, usually nitrogen.
- When the temperature rises to 1000-1100 degrees, the binder is removed, and the free space around the powder particles is impregnated with bronze (or other metal) previously placed next to the "green" model. This process is called infiltration.
Materials used for 3DP printing and their cost
Gypsum has traditionally been used in 3D printing, and water played the role of a binder in this case. However, technology has stepped forward and, as is clear from the previous section, metals (bronze, copper), sand and polymer mixtures are now also used. Dyes are mixed into the binder, which makes it possible to carry out color printing on such a 3D printer.
The cost of the simplest powders is on average 600-700 euros for a 10 kg bucket (8200 cm3), the price of the binder is about 660 euros for 3.8 liters.
Characteristics of finished products and their application
Models made of gypsum and polymers are not too strong to be used in the production cycle as a mold, however, they are quite suitable for rapid visualization of prototypes of various parts and products . It can also be used in various architectural and design works or in the manufacture of souvenirs.
Products using metals have better properties, however, their strength is still at an average level: tensile strength 610 MPa, hardness HRC = 10-20.
Such characteristics are quite suitable for the manufacture of molds for plastic injection, which can withstand from 200 to 500 thousand production cycles. They are also used to make parts that work under friction conditions - shafts, bushings, gears, etc.