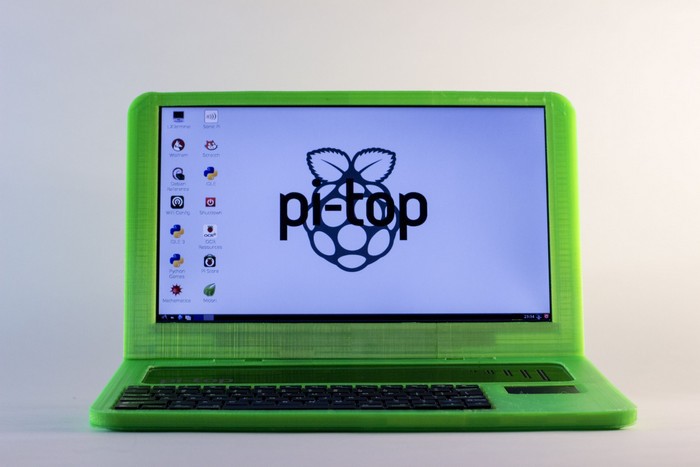
3D printer laptop case
How To Make 3d Printed Laptop
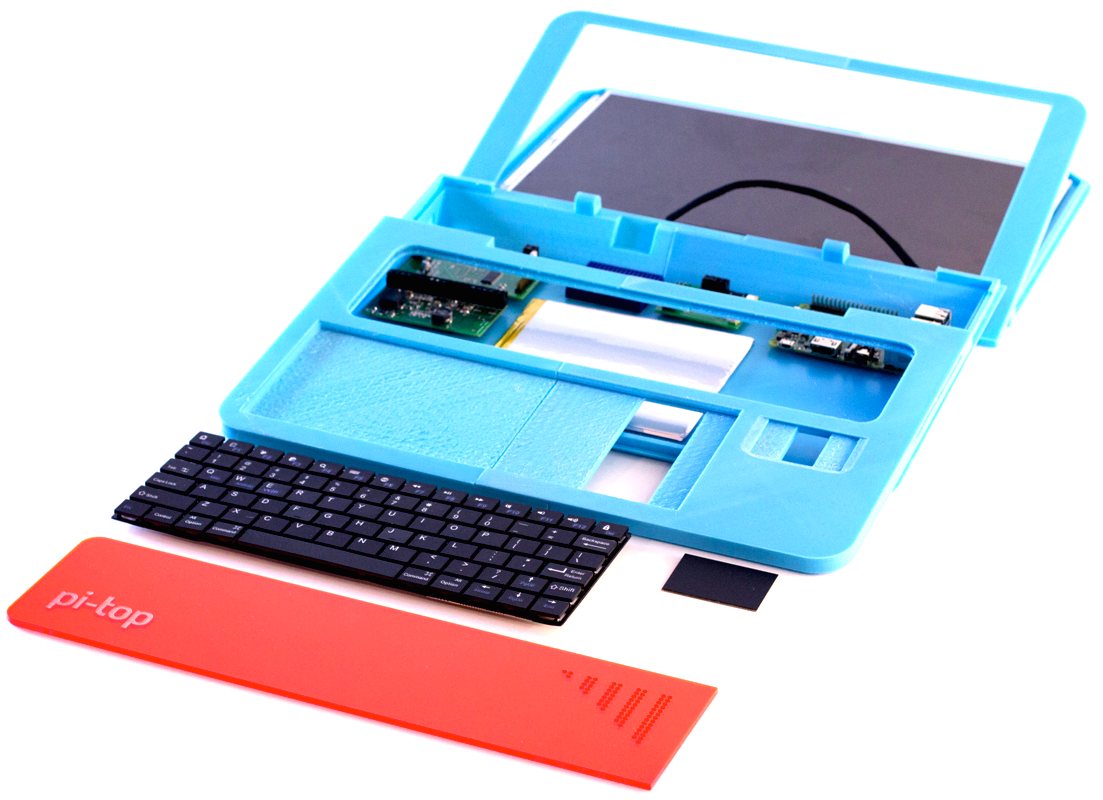
Hardware components
| Arduino UNO | x 1 | ||
| Audio / Video Cable Assembly, Mini HDMI Type C Plug | x 1 | ||
| Raspberry Pi Keyboard | x 1 | ||
| Raspberry Pi Touch Display | x 1 | ||
| Raspberry Pi 3 Model B | x 1 |
Hand tools and fabrication machines
| 3D Printer (generic) | x 1 |
Hello Guys Whats up, In this blog, I am making an Awesome 3D printed Laptop using Raspberry PiIt's very interesting project for any electronics hobbyist & Engineers. You can use this Laptop to watch movies, video, pictures, Browser etc..Thank You NextPCB:This project is successfully completed because of the help and support from NextPCB. Guys if you have a PCB project, please visit their website and get exciting discounts and coupons.Only 0$ for 5-10pcs PCB Prototypes:https://www.nextpcb.comRegister and get $100 from NextPCB: https://www.nextpcb.com/registerSee more info about PCB Assembly Capabilities: https://www.nextpcb.com/registerHere are mid-summer sales at NextPCB :1. Up to 30% off for the PCB orders2. Up to 20% off for the PCBA orders.Let me start out by saying that this is not an easy project you will need a basic understanding of electronics and soldering.You will also need to remove some parts from the raspberry pi and lcd driver board so they can fit in the case. This will void the warranty of the parts.I accept no responsibility for any damages you may cause during this process.
Here's the Full Video Tutorial Video
Parts and Tools
1 / 5
These are the parts I used for this project.
You will also need some basic tools like a soldering iron, screw drivers and wire cutters.
Raspberry Pi 3
- Raspberry Pi Display
- HDMI Cable
- Keyboard
- Lithium Ion Battery
- Voltage regulator
- 3D Printer
- Filament
- screws
- Soldering Iron
- Solder
- Heat shrink and wires
- Wire Strippers
- Needle Nosed Pliers.
I included some links from amazon, so you guys can go purchase the correct parts. If you do not have access to a 3D printer, you can send the STL files to a service or a local hackerspace/library.
Raspberry Pi4
let’s talk about the pi, Raspberry is one of the best and powerful single-board Computer at cheap price segment.
Specifications
- Processor- Broadcom BCM2711, Quad core Cortex-A72 (ARM v8) 64-bit SoC @ 1.5GHz
- RAM – 2GB, 4GB or 8GB LPDDR4-3200 SDRAM (depending on model)
- WiFi – 2.
 4 GHz and 5.0 GHz IEEE 802.11ac wireless
 - Bluetooth- Bluetooth 5.0, BLE
- Ethernet – Gigabit Ethernet
- USB Ports- 2 USB 3.0 ports; 2 USB 2.0 ports.
- GPIO Pins- Raspberry Pi standard 40 pin GPIO header (fully backwards compatible with previous boards)
- Display Ports- 2 × micro-HDMI ports (up to 4kp60 supported)
- Display connector- 2-lane MIPI DSI display port
- Camera Ports- 2-lane MIPI CSI camera port
- Audio Ports- 4-pole stereo audio and composite video port
- Graphics – H.265 (4kp60 decode), h364 (1080p60 decode, 1080p30 encode)
- OpenGL ES 3.0 graphics
- Storage – Micro-SD card slot for loading operating system and data storage
- Power Support- 5V DC via USB-C connector (minimum 3A) GPIO Power-5V DC via GPIO header (minimum 3A)
- PoE – Power over Ethernet (PoE) enabled (requires separate PoE HAT)
- Temperature- Operating temperature: 0 – 50 degrees C ambient
- A good quality 2.
 2
2 - Operating voltage- 12V (current requirement 1A-2A)
- Rated power- 6-7W
- Signal input- AV + VGA + HDMI (HDMI 1.2)
- Resolution- 1280* 800, Plug and Play- Support
- Contrast ratio- 800:1 (Min.)
I have made a custom design for the 10.1 inch
3D Printing
1 / 4
3D printing can either be frustrating or extremely exciting. Well at least thats how it was for us. We had many failed prints, and had to constantly mess with the settings and details to be successful. Thanks to our teacher Mrs.Berbawy, we were able to emerge victorious. So a quick word of advice, always consult with someone who is experienced with 3D printing before printing, it saves so much time and will prevent you from making mistakes.So for this project you need to 3D print four things:
- Case
- Keyboard Case
- Back Cover
You can download all the STL Files here.
The recommended settings for all the parts are:
230 Celsius Extruder Temperature
3 shells
3 top/bottom
50mms print speed
10% infill
Feel Free to tweak the settings depending on your situation and results. Be patient!
We used PLA filament for our prints. That does not mean you cannot use materials like ABS or bamboo etc..
Soldering and Circuit
1 / 4
- The PAM8302 amplifier connects to the + and - sides of the mini speaker. Route power by connecting VIN to 5V on the Power Boost 1000C and then Gnd to G.
- Power Boost 1000C hooks up to pins #2(5V) and #6(ground) on the Pi.
- Unfortunately the diagram failed to show the average person where the #2 and #6 wires must be soldered and it is really vague. After some looking into raspberry pi circuits we discovered that the powerBoost 1000C hooks up to pins #2(5V) and #6(ground) on the Pi. We provided you guys with another diagram that gives you the specifications for each pin.
1 / 3
- Finally the Battery connects
Extra Tips:
Add heat shrink to any exposed wire to prevent short circuits.
MAKE SURE YOUR SOLDERING CONNECTIONS ARE SOLID AND STRONG.
I cannot stress this enough, our connections broke a few times since we did not check them properly at first.
It is very annoying to fix a disconnected wire after you have everything assembled.
1 / 10
Assemble all the parts by Following this images
I will not go over every step of this build but I will try and give you a basic idea of how it goes together.
You will need to remove the usb port on the lcd driver and the two dual usb ports on the raspberry pi (the usb ports on the side of the case are wired straght into the board).
The first thing you want to do before you start putting all the components into the enclosure is to bend the header pins on the raspberry pi touchscreen. The small space created by this action lets you store the lithium ion battery, allowing you to fit all the components into the enclosure.
To assemble the laptop you will need 9 m3 x10mm bolts and 2 M3 x 25mm bolts with 4 nuts. The lid screws onto the lcd with 4 M3 x 10mm bolts and the base is screwed onto the keyboard holder with 5 M3 x 10mm bolts. To hold the hinges together I used 2 m3 x 25mm bolts with 2 nuts on the end to lock it in place.As always if you have any questions or ideas on how to improve this project please comment or send me a message.
Operating System
One of the most confusing parts of DIY raspberry pi projects is configuring software properly. It can be intimidating to newbies (us a few months ago) but don't worry we have some very helpful links and tips to make the process easier.
In our project we use a special touchscreen made specifically for the raspberry pi. Despite its unique specifications, its just like any other peripheral, it needs kernel support and drivers to function properly
I have tried so many operating Systems for the pi, all Os are Great but My personally Favorite is Twister OSWhich has Cool Interface and Windows10 and Mac theme Interface, You can Use any of this theme just one Click
Installation Process
Step1 – Download the Twister OS (You have to Download the Latest version of Twister OS from the Official Website)
Step2 – Download the balenaEtcher
You can Download balenaEtcher for flash the OS, which has cool interface and simplistic
Step3 – Inject your SD Card to the Computer and Open balenaEtcher
Now Select your img. xz file, select SD Card and Select Flash.
Final
1 / 4
At this point the laptop is fully functional, i've been using mine almost everyday for taking notes.At this point the laptop is fully functional, i've been using mine almost everyday for taking notes.
It also connects to WiFi and Bluetooth networks really easily making watching YouTube and other webpages really easy and to make it even better there are lots and lots of games that will run on the raspberry pi with anything from minecraft to classic old NES games making great fun with a long battery life.
Overall this is a really fun project and I really recommend trying it.
If you have any questions please comment or send me a message and ill try my best to get back to you.
f7oo0x6inklpv7k_sZszcpSOoR.jpg
Projects
Privacy and Cookies
Cookies are tiny data files stored in your web browser when you visit a website.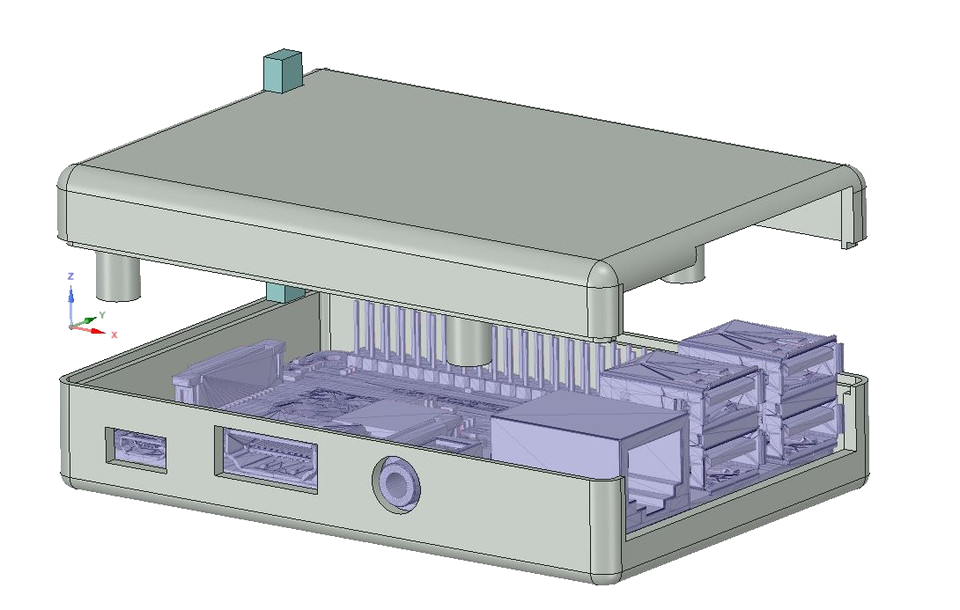 At www.electromaker.io we use cookies to personalise your experience and help us identify and resolve errors.
The use of cookies and similar technologies have for some time been commonplace and cookies in particular are important in the provision of many online services. Using such technologies is not, therefore, prohibited by the Regulations but they do require that people are told about cookies and given the choice as to which of their online activities are monitored in this way. (Information Commissioners Office)
Our Cookies Policy
To make full use of www.electromaker.io, enjoy the personalised features and ensure the websites works to its full potential, your computer, tablet or mobile phone will need to accept cookies.
Our cookies don’t store sensitive information such as your name, address or payment details: they simply hold information about how you use our site so we can improve your experience and resolve any errors.
If you’d prefer to restrict, block or delete cookies from www. electromaker.io, or any other website, you can use your browser to do this. Each browser is different, so check the ‘Help’ menu of your particular browser (or your mobile phone’s handset manual) to learn how to change your cookie preferences.
Here’s a list of the main cookies we use, and what we use them for:
- Electromaker – Login session
- Google Analytics – Analytics
- Twitter – Twitter Feed
Managing Cookies
Each web browser handles cookie management differently, please follow instructions for your chosen browser:
- Chrome
- Firefox
- IE
- Opera
- Safari
Apply a Filter
Category
Difficulty
Platform
Category
Difficulty
Platform
Upload your projects
Building A Self-driving Car In Atari 2600 Grand Prix
Step into the world of retro gaming and AI technology with this video.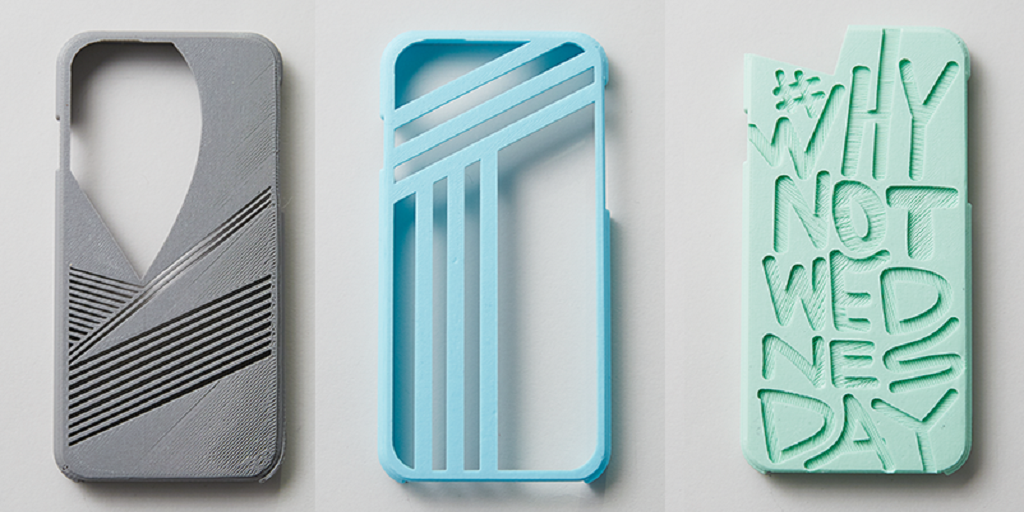 Watch as we bring the classic Atari 2600 game, Grand Prix, to life with a twist.
The project is based on Python and AI
Watch as we bring the classic Atari 2600 game, Grand Prix, to life with a twist.
The project is based on Python and AI
Wireless Charging Shelf
A small shelf which can store your wallet keys, etc. and wirelessly charge your devices!
Ramduino Deluxe
With many projects adding SPI flash or SRAM for additional storage, why not implement a cost effective solution by giving your Arduino access to your computer’s RAM and Hard Drive space that already exists?
Valentines Day Romance Bot
What's more romantic than having a robot pour wine for you? Lots of things? Fair enough, it's still kind of fun all the same.
Arduino Shirt Folding Robot
This is a robot made of 12 servos and they all move flaps on top of a cardboard surface. The flaps are made of cardboard and they rotate. You use the robot by putting a shirt on the surface, and the flaps move one by one to fold the shirt.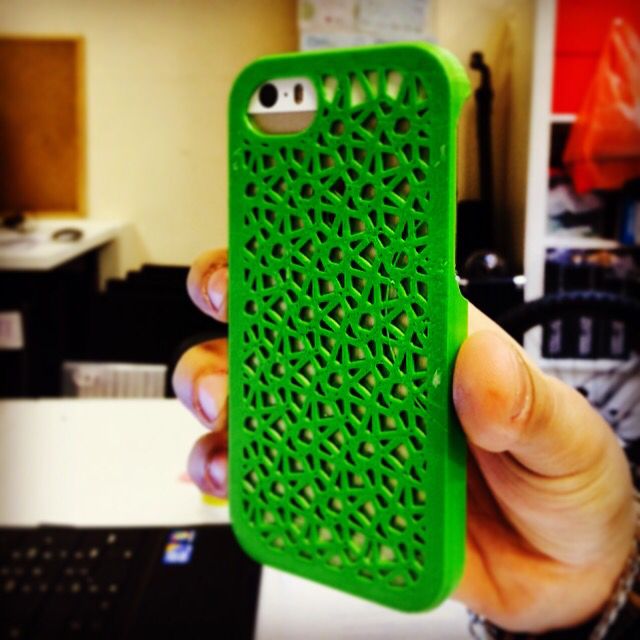 The last flap takes the folded shirt and flips it away from the robot.
Voicegpt
VoiceGPT is a voice assistant that leverages the powerful ChatGPT chatbot to answer your questions.
Gesture Controlled Robotic Arm Using Arduino And Opencv
This gesture controlled robotic ar;m,it tracks the movement of the hand and moves the robotic arm.It uses opencv to track the movement of the hand and uses serial communication to send the coordinates to the arduino which in fact moves the servo motors
An Instrument That You Play With Your Pee
This is an instrument that you play with your pee. Using scotch tape, tinfoil, and electrical tinkering pieces I put together an instrument that you play with your pee. Its cool to people who don't know how it works, and basic to veterans. Sorry if the image isn't 100% accurate.
Interactive Christmas Tree
A Christmas Tree that users can control the lights over the internet. It also has ornaments that can have pixel art drawn on in an r/place style.
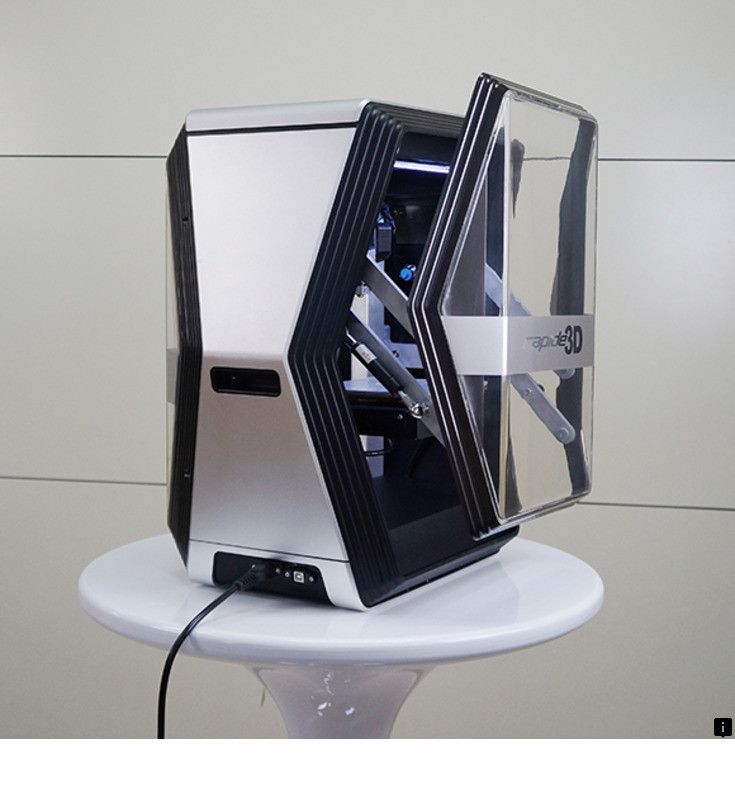
Free 3D file universal laptop charging case・3D printer model to download・Cults
Magnetic organizer case, base and lid
Free
The best files for 3D printers in the Tools category
Filamentmeter
2.59 €
Raspberry Pi Wide Angle Camera 160 deg
Free
Gap tool
Free
Wedo 2.0 sorting tray full set 45300
5 €
Mammut - Giant printer.
Free
Case Smart Wireless Doorbell
Free
Dremel/Multitool Sander (Premium)
0. 62 €
62 €
Jam Jar Greenhouse Project
Free
Bestsellers in the Tools category
Case for Chill Buddy lighter
0,93 €
PRECISION CALIPER 3D PRINT DIY
3,07 €
Creality Sonic Pad Mount for Ender 3 S1
0.99 €
HOT END DUCT 4020 OR 5015 FAN, ENDER 3 S1, S1 PRO, SPRITE, PROBE NO Y OFFSET, ABL ADAPTER BETA
€2.28 -18% 1.87 €
Printer boxes for Ikea Lack Table
1,99 €
noctua 4010 upgrade Bambu X1 motherboard fan
1. 21 €
21 €
UNIVERSAL BED LEVELING INDICATOR FOR PRACTICALLY ALL PRINTERS
2,37 €
Fan duct Sovol SV06 4020 - CFD optimized
3.75 €
Ender 3 S1 BEST cable guide - vertical
2,50 €
3D SCAN STAND
2 €
PET-Machine, make your own plastic bottle filament at home!
50€ -66% 17 €
Ender 3 Briss fang Gen2, red lizard, spider, nf crazy, dragonfly, etc.
1.74 €
Fire hydrant container
1.89 €
SUPERBOX
1,50 €
Creality Ender 3 S1 Pro Advanced Cable Management
1. 50 €
50 €
ARTEMIS -> Shop for Alligator 2 || 6.5" Arrows || Repeating Crossbow
6.25 €
💖 Do you want to support Cults?
Do you like Cults and want to help us continue our journey on our own ? Please note that we are a small team of 3 people, so it is very easy to support us in maintaining activities and creating future developments of . Here are 4 solutions available to everyone:
-
AD: Disable AdBlock banner blocker and click on our banner ads.
-
AFFILIATION: Shop online with our affiliate links here Amazon.
-
DONATIONS: If you want, you can donate via Ko-Fi here 💜.
-
INVITE YOUR FRIENDS: Invite your friends, discover the platform and the great 3D files shared by the community!
Laptop Cooling Pads 2 Pcs.
 3D Printer Willent Fan Fan Radial For Prusa I3 3 Parts PC Case CPU Cooler Bug Accessories1
1. Worldwide shipping. (Except some countries and APO/FPO)
2. Orders processed timely after payment verification.
3. We only ship to confirmed order addresses. Your order address must match your shipping address.
4. The images shown are not the actual item and are for your reference only.
5. Service transit time is provided by the carrier and excludes weekends and holidays. Transit times may vary, especially during the holiday season.
6. If you have not received your shipment within 30 days of payment, please contact us. We track the shipment and get back to you as soon as possible with a reply. Our goal is customer satisfaction!
7. Due to source sourcing and timing conditions, we will choose to ship your item from our first available warehouse for fast delivery.
1. 12 months Manufacturer's limited Warranty for defective items (excluding items damaged and/or misused after receipt).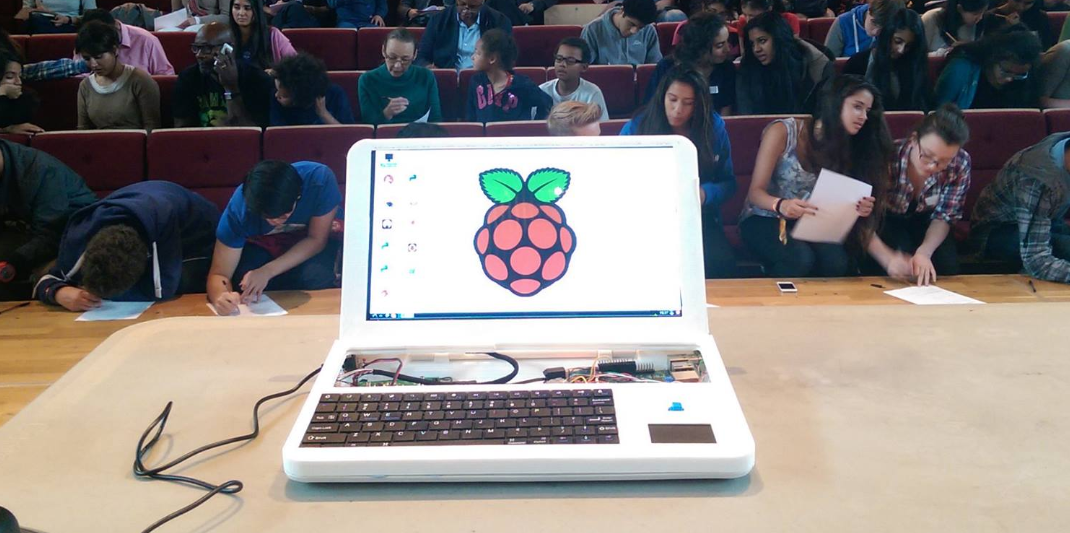 Accessories come with a 3 month warranty.
2. Defective items must be reported and returned within the warranty period (and in the original packaging, if possible). You must tell us what the defect is and give us your order number. We do not repair or replace items with an expired warranty.
To ship:
All of our items will be shipped to buyers' address, which offered to buyers, please confirm your address before payment. We will send the items within 3 business days after your payment is completed. (Holidays may be extended) for color:
Pictures are samples for reference only. Due to limitations in photography and the inevitable differences in monitor settings, the colors shown in the photograph may not correspond 100% to the items themselves. For the weak:
Your satisfaction and positive EESTBACKIS are very improvised for us. Please leave follow-up reviews and 5Stars if you are into management and services.
If you have any problems with our items or services, please feel free to contact us before you leave negative feedback. We will do our best to ove any problems that TheBestCustomer services provide you. Company Profile
We are a cross-border e-commerce company, integrating several overseas online and offline sales channels.
About provider
* In general, all orders will be processed within 3-5 business days after payment is confirmed by DHGATE.
* Item will be shipped via Epacket, Sfexpress, Yanwen, China Post Air Mail, EMS, DHL, FEDEX, USPS which you choose when you place an order. Delivery depends on the carrier after the packages are sent, plus it is international TR
Ansport, delivery may delay, hope you can understand and wait patiently. Thank you in advance. * You can track your package on 17Track. If you can't find the tracking information, please contact us.
Customer Service:
1. Please feel free to contact us if you need help with online chat (instant messaging) or email, we will respond as soon as we read it.
2. All the pictures we provided may exist normal tiny color difference due to different monitor and brightness.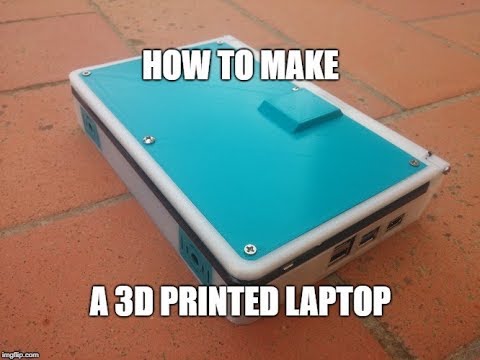
3. If you have any problems before or after submitting the order or receiving the package, please contact us first instead of opening a dispute, we will do our best to solve for you.
Feedback
* Your early confirmation will be highly appreciated after receiving the item(s)
* Your feedback is of vital importance to us, we sincerely hope you can leave a positive overall 5 stars if you are satisfied with our products and service.
* Please contact us firstly before leaving any negative feedback, we will solve the problems for you.
QA.
Q: When does my order arrive?
A: Delivery depends on the destination and the carrier you choose, plus it is an international transport that takes time, please understand and wait patiently.
Q: What can I do if I want to change the address?
A: The address may change after the package has been shipped, so please check your address is correct and complete before submitting the order.
Q: What can I do if I receive wrong/broken products or empty package(s)?
A: We check and check carefully, but if this situation happens, please contact us first instead of making a dispute, we will do our best to solve for you.