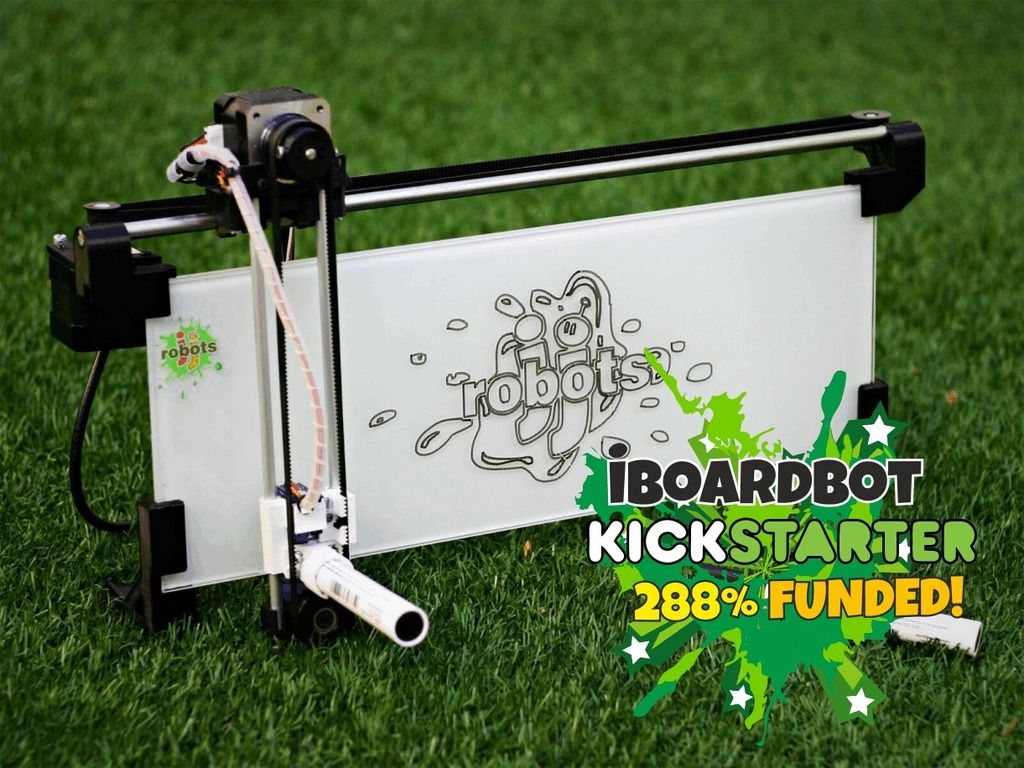
3D printer handwriting
A guide to using your 3D printer as a handwriting robot! : 3Dprinting
It seems people are very interested in the post I made earlier, so here's a tutorial if you want to try things for yourself! I tried to make this as simple and easy to understand as I could because I personally had a very hard time figuring everything out.
So, here it is!
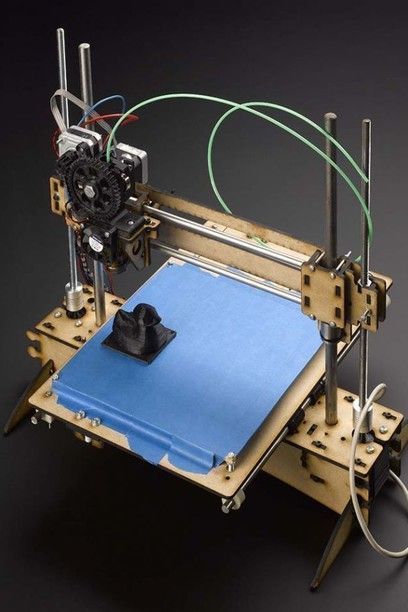
3D print a pen holder for your machine:
Try to find a pen holding model for your specific printer, here's the one I used for my Ender 3. Print it out with your settings optimized for lots of infill and a slower print speed to make it durable. attaching this on the printer should be straight forward from here
Download the GitHub Repository:
Download the Handwriting Synthesis GitHub repository, and save it anywhere
Install Python:
Download Python version 3.5.2 and restart your computer. Other versions will probably work, I'm just including exactly what I'm using. EDIT: Be sure to check the 'Add to PATH' checkbox when installing, this will be necessary to use the Pip command in CMD later on.
Install the dependencies for the project:
Run the Command Prompt as Administrator and CD to the place where you downloaded the Handwriting Synthesis Repository, as shown below
Now type pip install -r requirements.txt into the CMD and hit enter, this will take a while. This part is finicky because only certain versions of Python seem to support all the dependencies required for this project, I know 3.5.2 works though.
Generating the Handwriting:
To quickly test things out, you can simply edit the four lines shown above in the 'demo.py' file to whatever you want, using the Python IDLE.
Running the code will take a very long time because the 'demo.py' file contains 4 separate Demos which contain lots of text. You can comment out the others if you're impatient, but they do show how all the features work so I suggest leaving them.
Here are a few dumb limitations to keep in mind:
-Letters such as Q and X don't seem to work for some styles, the script will stop and give you an error. probably because there wasn't enough data to implement these rarely used letters.
-There's also a 75 character limit to each line.
Turning the generated handwriting into Gcode:
Download the latest version of Inkscape and open it. In Inkscape, navigate to 'file', 'document properties', and change the height and width to match your build plate, also change the measurement to 'mm'.
Navigate to the 'img' folder in the Handwriting-Synthesis repository, and locate the 'Usage_Demo.svg' file. Drag it into Inkscape. Then right click it and click 'ungroup'
Before you continue!!
Take a look at how far your printer needs to go before the pen is above the writing area, take note of this number and make sure the pen never goes below it when creating the Gcode! For example, in the picture shown below the offset is 36mm, as shown on the LCD screen.![]() You'll need to do this for all 4 corners of smaller pieces of paper such as letters, so you know where the boundaries are.
You'll need to do this for all 4 corners of smaller pieces of paper such as letters, so you know where the boundaries are.
Now, keeping in mind the offset, use the measuring scale on the top and left side of Inkscape to arrange the lines of handwriting however you like. Then do ctrl+A to select everything, and navigate to the 'Path to Gcode' as shown in the picture below.
Go to the preferences tab and change the directory to something else!! The default one will not work. Also change the 'Z safe height' to something much lower, around 1-2mm. Once you're done changing settings, be sure to click back to the 'Path to Gcode' tab before clicking apply. You will get an error about "unexpected information" but it should still work after you dismiss the popup.
And that's it!!
You can just close Inkscape once it finishes loading, the Gcode will automatically save to wherever you set the directory to. Simply get your bed perfectly level, so that a nice defined line can be seen across the whole bed when you move the pen along Z=0, and you're all set.
One last thing, VERY IMPORTANT!
You need to Auto Home immediately before starting a print! If you don't, the pen can and will crash into the bed and break something because the printer assumes it's already in the Auto Home position when it starts (yes, I learned the hard way).
You're all set!
Apart from that, you should be lazily producing 'handwritten' thank you notes in no time :D. Have fun!!! I can answer any questions anyone might have in the comments
EDIT: Fixed text linked to websites, whoops
Good Penmanship With A 3D Printer
- by: Steven Dufresne
[Chris Mitchell] was going to make his own plotter for doing cursive writing for cards but realized he might be able to use his 3D printer to do the writing instead. But then he couldn’t find any suitable software so he did what you’re supposed to do in this situation, he wrote his own called 3DWriter.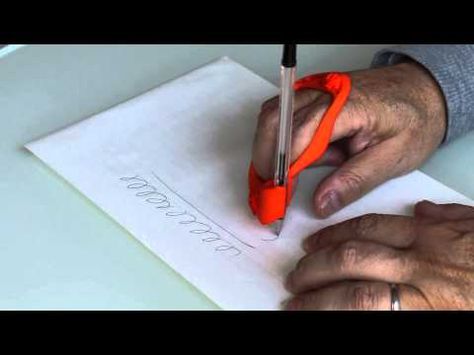 He even 3D printed a holder so he could attach a pen to the side of the extruder. When not in use as a plotter he simply retracts the pen tip.
The software is written in C# for Windows and is available on GitHub along with a detailed write-up. He clearly put a lot of thought into what features the software offers. After selecting the font, you type in whatever you want printed and then preview it to make sure it looks good. There’s also a bunch of G-Code settings you can fill in such as bed size, the horizontal and vertical offsets of the pen tip from the extruder tip, drawing speed and so on. There’s even an option to do a dry run with the pen raised so you can make sure it’ll draw on the bed where you expect it to.
The code itself is quite clean and easy to understand. If you’re curious like we were at what information is in the font files and how it’s translated into G-Code then download the source from the GitHub page and have a look. [Chris] settled on a font set called Hershey fonts since they’re primarily stroke based fonts as opposed to outline fonts which are what other programs he’d looked at used.
This makes us think of all those 3D printers with busted extruders we’ve seen collecting dust on hackerspace shelves or simply ones considered obsolete. Using them as a plotter gives them new life — even if just as a fun way to learn about writing code for CNC machines. It makes us wonder what other 2D uses they can be put to… cutting vinyl? laser printing? Ideas anyone?
In any case, have a look at the video below to see it in action as a 2D plotter. As a bonus, you’ll also see line art it drew using an Inkscape plugin.
[Chris]’s hack reminds us of other custom G-Code writing software we’ve seen for 2D. There’s one that gives you a simple drawing program for making your 2D image, and then produces G-Code so that your 3D printer can extrude the drawing as a single plastic layer. Then there’s one that takes an image of a kid’s drawing using a webcam and converts it to G-Code for etching with a laser printer.
First way to trace 3D printed weapons found
Security Technique
|
Share
Experts found that each 3D printer leaves its own characteristic imprint on everything that is made with it.
Track untraceable
3D printed weapons can be traced to a device that on which it was made, State University researchers say New York to Buffalo. Previously, activists who promoted the idea of 3D printing weapons claimed that it cannot be traced.
According to the leader of the research team, Professor Wen-Yao Xu (Wenyao Xu), two people they can write the same thing, but everyone has their own handwriting. "From the same assumption we start when identifying 3D printers,” he says.
According to Wen-Yao Xu, every 3D printer in the world works in his own way. Even different devices from the same model range will leave unique discrete "patterns" - print patterns - on any products made with their help.
Good news for police, bad ones - for activists
If the arguments of the University of Buffalo researchers are correct, then this is very good news for law enforcement agencies who are extremely concerned uncontrolled distribution of weapons printed on 3D printers.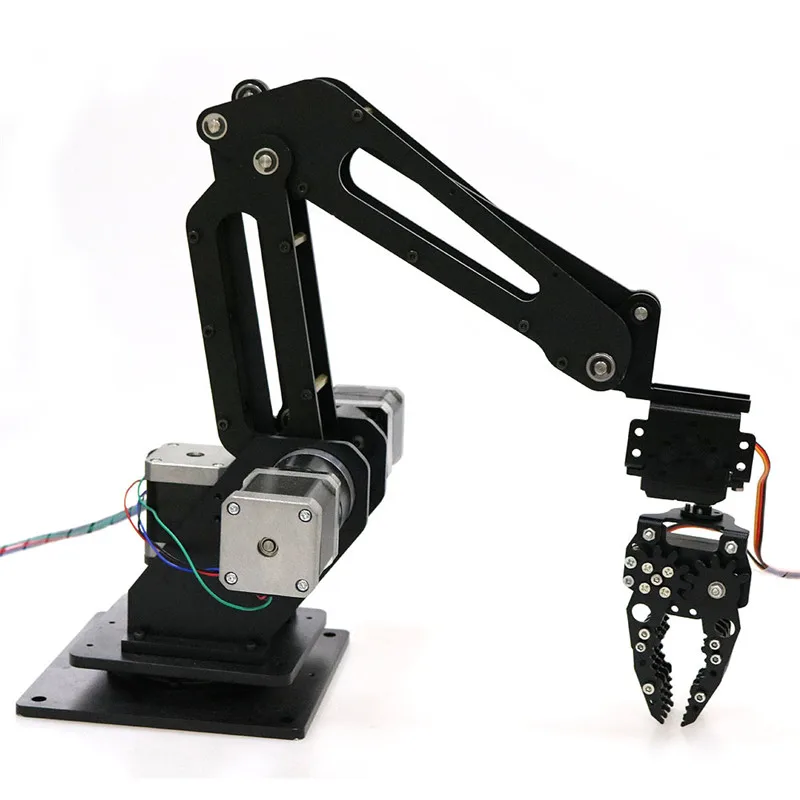
Experts have found a way to track printed weapons
The principles of such printing can already be found on the Internet - for the first turn, with the filing of Cody Wilson (CodyWilson), American crypto-anarchist and fighter for the free distribution of personal weapons. In 2012 Wired magazine named Wilson one of the 15 most dangerous people in the world.
In September 2018, he was arrested in Taiwan on charges of violation of immigration laws and extradited to the United States. At home, he is accused of illegal sexual contact with a 16-year-old girl whom he met on the matchmaking site SugarDaddyMeet. After a formal arrest, Wilson went to freedom by paying bail in the amount of 150,000
“It is possible to treat the question of the right to arms in different ways, — says Dmitry Gvozdev , general director of the company "Information technologies of the future". - However, for law enforcement it is very important to be able to trace the weapon used by criminals to its source. This is the key necessary in the investigation of violent crimes. Basically, "everything leaves traces." So even if 3D printer manufacturers want to unify printing patterns for different models, unique features of printed products will still appear one way or another. With the development of technology, anonymity in all spheres is a thing of the past.”
- New digital projects for the agro-industrial complex will be presented at the Kazan Digital Week International Forum
Roman Georgiev
Share
Short link
Based on the structure of the material of a printed object, you can determine the model of a 3D printer and a specific device / Sudo Null IT News at the crime scene
3D printing has long been a part of our everyday life. Someone has a 3D printer at home, someone has it at work, and someone orders the necessary parts over the Internet. The convenience of such a system is beyond doubt - there are, of course, difficulties, but there are also many advantages.
Even plastic firearms are printed on 3D printers - the first such firearm was the Liberator pistol. Now 3D printing enthusiasts are even creating rifles that are not at all disposable, which was the Liberator. Officials from different countries are fighting with lovers of "printed" weapons, since there is a completely non-zero probability that a firearm that cannot be traced will be used for good purposes. So far, free guns are winning the fight, but the situation may well change, and soon.
The fact is that by the features of printing a part, the characteristics of the structure, you can determine which particular 3D printer the part was made on. This is about the same as determining the typewriter on which the ransomware message was produced, or identifying a conventional inkjet printer by various characteristics of the printed text, including marks specially added by the manufacturer.
As for firearms, the first person to create a real system capable of sending a bullet flying was Cody Wilson (now, by the way, a case is underway against him, and it is not based at all on the accusation of creating a weapon, but on materials about his relationship with a minor).
Cody Wilson became the leader of the free gun movement, now this movement has many followers who will work and work without Cody.
So, with regard to tracking weapons printed on a 3D printer, the technique that allows you to do this was developed by engineers led by Wenyao Xu from New York University at Buffalo. The technology, according to the authors of the project, allows you to determine the place of printing weapons even if the printer is at home.
Distinctive features of the structure of the same part printed on different printers
The principle is quite simple - the fact is that almost no 3D printer prints perfectly smooth parts (with the exception of some very expensive models). And the irregularities, roughness remaining on the surface of the printed object are individual for each device. The reason for the appearance of irregularities in imperfectly fitted gears, the features of the operation of the entire mechanism as a whole, marks on the extruder, etc.
The authors of the project examined a large number of parts printed on a variety of printers and determined that the structure of the plastic layers really differs from part to part and from printer to printer. In almost all cases, you can find some identifier for a particular printer.
Based on the obtained data, scientists have developed an algorithm for studying the surface structure of the part. The first stage is to obtain photographs of the surface of the printed element. You can do this even with a not very high-quality camera (within reason, of course). Then the images are fed to a special program that analyzes the location of the plastic layers. The program reveals about 20 different characteristics of the distribution of layers and "blots".