Tin 3d printer
17-Year-Old Creates Affordable 3D Metal Printer - Hopes to Launch Kickstarter Campaign - 3DPrint.com
Materials, materials, materials. When it comes to 3D printing, the biggest improvement that most in the industry wish to see, is the ability to print in more materials. Currently, most consumer level 3D printers are restricted to printing primarily in plastics, however, one 17-year-old from Virginia, named Sagar Govani, is well on his way to changing this. He is in the process of creating a 3D printer, more specifically a 3D printer extruder, that is capable of printing using metal filament.
We’ve seen attempts at this before. For example, others have creating 3D printers that are basically robotic welding machines, but these are far from being able to be operated safely in the comfort of your own garage, let alone inside a home. Most industrial level 3D metal printers utilize a selective laser sintering technology, where a metal power is melted layer-by-layer, using a specialized laser. These are both dangerous and extremely expensive.
Sagar Govani, however, takes a totally different approach. He based his idea on that of traditional FDM 3D printers – the ones that print in plastics, by melting and extruding molten PLA or ABS. He simply replaced the plastic with a metal alloy (solder), which consists mainly of tin (95.8% tin, 4% copper, and 0.2% silver). It uses an electronically heated coil to melt the metal, and another nozzle that deposits flux after each layer.
“It’s currently a solder which is a blend of antimony tin and selenium,” Govani tells 3DPrint.com. “The melting point is 274°. Im still researching how I would make it stronger, as it has to melt at low temperatures.”
Of course there will be many limitations for the type of metals and metal alloys that could be used with this printer, due to their melting points. Govani, however, plans to continue his research and development of more material options. In the two test prints that he has created, he printed 5 layers. The objects hold up about as good as their plastic counterparts do, with the exception of increased dentability, which can be expected.
Once he has completed the design and perfected it, Govani hopes to launch a Kickstarter project. It won’t be for an entire 3D metal printer, as his printer is basically a modified RepRap. Instead it will be a campaign to raise funds for the production of a 3D metal printing extruder. This extruder will be able to be added to already built 3D printers, thus allowing current 3D printer owners to print using metal. This extruder will also be based on a RepRap version, but it will require metal parts that can hold up to extruding metal filament. “I will soon begin the process of CAD designing each part and getting them CNC’ed out of stainless steel,” explained Govani. “I am trying to make a metal extruder that would work as a drop-in part for any plastic printer.”
This seems to be the main task remaining for Govani, as figuring out a formula for creating an extruder that is capable of handing the wear and tear of metal filament will be key.
“The most difficult part is making sure the molten metal doesn’t erode the nozzle, as my first nozzle went from .5mm to over 2mm due to some sort of chemical reaction between the 2 materials,” Govani tells 3DPrint.com. “Also the next problem is getting the solder filament to actually flow, it cools around the nozzle and forms a cap so I need to find a way to heat the whole nozzle better.”
You would think that the costs to create a 3D printer or extruder which is capable of printing in metal would be exceptionally high. However, Govani tells us that he is able to do so for under $100.
So how much can we expect Govani to sell these for, if and when he launches a Kickstarter campaign?
“I believe that after I can get a production version made I can sell it for around $150 and produce it for around $75,” he explains.
What do you think? Will this extraordinary idea work out? Would you be interested in printing objects using the 95.![]() 8% tin, 4% copper, and 0.2% silver blend? Discuss this idea in the Affordable Metal 3D Printer thread on 3DPB.com
8% tin, 4% copper, and 0.2% silver blend? Discuss this idea in the Affordable Metal 3D Printer thread on 3DPB.com
Tin Solder
Stay up-to-date on all the latest news from the 3D printing industry and receive information and offers from third party vendors.
Tagged with: 3d metal printer • crowdfunding • kickstarter • metal 3d printer • sagar govani
Please enable JavaScript to view the comments powered by Disqus.
New filament means you can print metal on any 3D printer
0Shares
You might want to sit down, because this one is exciting. The Virtual Foundry has just launched Filamet™, a new metal infused filament that makes any FDM 3D Printer, a 3D Metal Printer!
Yes, really…
We just got used to the fact that only high-end printers could manage metal and most mortal makers would have to make do with simple plastics. That just changed, you can now print Copper and Bronze on any 3d Printer.
This new filament from the Wisconsin-based company could literally be a game changer, disrupting the current course of 3D Printed Metal. They’ve launched with copper and bronze, but you can expect to see more metals in the near future.
More than just metal.
The Virtual Foundry’s patented process works not only with metal,but they will follow up with 3d printable Glass and Ceramic products over the next 6 months. So maybe you don’t have to upgrade your 3D printer after all and even the most basic desktop unit could become a complete manufacturing facility thanks to this quantum leap in material science.
How does it work? It’s basically a highly infused plastic, just enough plastic to get it through your current printer. Currently this is a mere 11.5%, an amount considered below the theoretical limit only a year ago. The 88.5% of mass that remains is high purity metal powder. The prints can then be simply polished, or more interestingly be post-processed to remove the small amount of plastic. The resulting product is 99+% pure metal, which is as close to pure as many of us will ever need. The Virtual Foundry says they continue to improve the process and expect future versions to be closer to only 8% plastic.
This project surfaced on Kickstarter last year, where it raised 135% of the target funding. The Virtual Foundry, though, has been on a mission to bring metal production to our desktops since before 3D printing was even an option. It worked with cold-casting and electro forming in the old days, but now technology has caught up and 3D printing looks to have given them the answer.
We haven’t got our hands on the finished product just yet. But the big launch at the Hubble Auditorium at Lockheed-Martin suggests that the team has really cracked the code.
“Printer manufacturers have struggled for years to bring metal printing down into the price range of the average individual or small business,” said Bradley Woods, the man behind this technical breakthrough. “Filamet™ takes the opposite strategy. Rather than bring the high-end down, it simply expands the capabilities of current 3D printers.”
“We expect materials to account for a large portion of near-term product innovation in the 3D printing market. Our company offers an immediate solution to producing real and useful metal prints on the desktop 3D printer that you already own.”
Professionalise your home printerThis filament could turn your desktop printer into a rival for the serious commercial machines and could even prove to be better. That’s because metal printers are notoriously slow and a large printer can actually take 48 hours to produce a single print.
So while the end result might be spectacular, it simply might not suit your workflow even if you could afford to have one in your home workshop.
Consumer printers are designed with the average user in mind, so they offer a realistic compromise of price, resolution and speed. With the addition of this metallic filament, then your home 3D printer could become a real manufacturing weapon. We can suddenly make copper and bronze statues and parts without access to a kiln and that could be a maker’s revolution on its own.
Prints can take less than five hours with a consumer printer and this new material is even big news for big business.
Companies are into this too
The technology has attracted big names like Calvin Klein and a company that wants to license the technology to fabricate consumable parts for its facility that 3D prints Uranium fuel cells for nuclear reactors. The technology works with any 3D printer,which means that even commercial companies with several printer scan now opt to use their simpler units for faster, cheaper production.
This opens up so many new avenues and the science itself could be a launchpad for other companies to create their own innovations. We’ve often said that the biggest step forward will come from the materials, but even we didn’t see a company turning today’s printers into complete metal, glass and ceramic production facilities.
We can’t wait to see the products in action and to test this filament for ourselves. If it turns out to be half as good as the claims then it has the capacity to change everything.
http://www.theVirtualFoundry.com & [email protected]
More images at http://www.thevirtualfoundry.com/showcase/
Tags fdmfff Filamet metallic
Nick Hall
Nick is a freelance journalist who has covered the cut and thrust of Formula One and the technical side of the supercar industry for the likes of The Sunday Times, Automobile and Penthouse on these shores, Tatler and The National in Dubai. After finally driving an F1 car there was nowhere left to go, so now he is here!
3D and 3G: We print antennas
We print
Subscribe to the author
Subscribe
Don't want
6
One of the most important advantages of 3D printers is the ability to accurately reproduce the dimensions of the model. A radio amateur can use it to facilitate the creation of antennas. Of course, a typical 3D printer will not be able to print the conductive elements of antennas, as well as very large parts of HF antennas, but for the gigahertz bands it is quite possible to create templates and support structures, which is what I want to demonstrate in this article. For example, the 2100 MHz band is selected, which is used for cellular communications in the 3G standard (specialists, please do not kick me for such a wording, this is scientific pop).
The models are made in openSCAD and parameterized so that they can be easily converted to other frequencies (eg 4G 1800MHz or 2600MHz, Wi-Fi 2400MHz).
I myself live in a village, so communication problems are familiar to me firsthand. Also, I'm a radio amateur. Well, the presence of a 3D printer gave an impetus to creativity. A cheap "whistle" modem with an antenna output completed the picture.
Cantenna
One of the simplest designs that can, in principle, be made from a beer can, and it does not need to be soldered: just stick a "whistle" to the desired depth.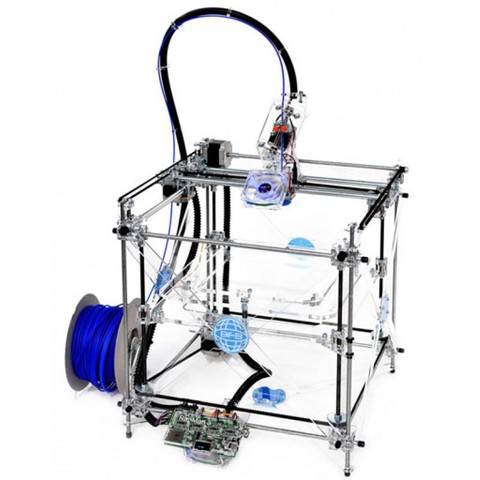 But for our range, it is not so easy to find a can of the right size: you need to find beer in a liter can, which is difficult in rural conditions. So I sketched the model and printed it. I had to divide the cylinder into three parts: firstly, it did not fit entirely into the limitations of my printer in height, and secondly, I reasoned that when printing tall, thin-walled parts, problems could begin, leading to deformation. It turned out the following.
Cut-out segment - 2 pcs.
Segment without cutout - 1 pc.
Racks - 2 pcs.
I printed (slightly simplified for speed):
I glued the cylinder with foil and assembled:
Everything, the antenna is ready.
Of course, its gain is not so hot (3-6dBi), but with such ease of manufacture and use, as they say, what did you want from under it? Nevertheless, she found her place in one of the neighboring houses: there the modem did not catch almost at all, except in good weather, and with it it stably finds the network and squeezes 1-2 Mbps out of it.
Biquad, also known as zigzag, also known as Kharchenko's antenna
This antenna is a bit more complicated: you'll have to solder it. But it also gives a little more gain (7-10dBi).
In this design, the dimensions of the vibrator (hussars, be silent!) and the distance to the reflector are important. This template will allow you to comply with them:
We paste it in the center on a metal plate or something even and glued with foil. We bend the vibrator from the wire and adjust it to the template. We drill a hole, thread the wire from the modem and solder it to the vibrator.
The feet will keep the product upright.
Theoretically, you can add a rod for the director system to increase the gain, but this is, let's say, an amateur. I didn't do it. The antenna worked for me for more than a year, until I bought a cool 4G dish on the roof. The modem squeezed out of a frail signal up to 3 Mbps.
Yagi, aka Uda-Yagi, aka wave channel
This antenna is "scalable", that is, it can be lengthened for better gain. Its manufacture is relatively difficult, it is important to observe the dimensions, in addition, you will have to calculate and manufacture a matching transformer ("balun"). A 3D printer will help us with the dimensions.
I drew a 6-directory board, it just fits on the table. The gain should be around 10-12dBi.
It remains to cut and bend the appropriate elements of the wire and "fit" them into the template.
I made a simpler version: I can cut and bend the wire to size with my hands, I printed only a longitudinal bar ("boom").
Directors and vibrator made of copper wire are inserted into the holes and, if necessary, fixed with glue.
Let's make a stand:
I did not have a chance to test the antenna - with the installation of a good commercial solution, the need for a "collective farm" disappeared. So if anyone gets confused by this option - unsubscribe how good it is in design and operation..
That's it. The moral of this fable is this: a 3D printer is a suitable tool for a radio amateur, not only for making equipment cases and vernier handles.
radio antenna 3G radio amateur
Subscribe to the author
Subscribe
Don't want
6
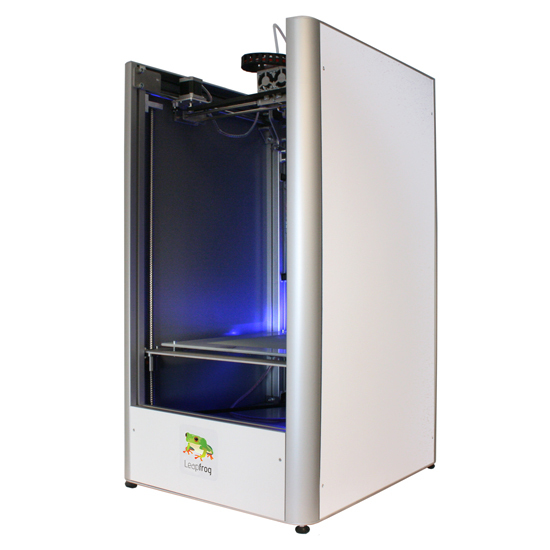
A complete review of the QIDI Tech X-Maker 3D printer, what it can do in experienced hands working chamber, which will be of interest to beginners, advanced makers, small businesses, as well as students and teachers. With this device, the Chinese company QIDI Technology continues its tradition of creating easy-to-use and affordable 3D printers.
QIDI X-Maker right out of the box can offer a whole range of useful features that make working and learning easier. Wi-Fi, resume printing after a power outage, and automatic table leveling are just a few of them. In 2020, this model received an update: it lost the camera, but received a new motherboard and silent TMC drivers.
QIDI is generally known for offering highly functional devices at an affordable price. Below we will take a closer look at all the considerable features of this model, but you just keep in mind that this is an entry-level 3D printer, and almost any user can afford it.
Contents:
- How good is QIDI Tech X-Maker?
- Unpacking and assembly
- Deepening into study
- Software and firmware
- Upgrade options
- Print results
- Total
How good is QIDI Tech X-Maker?
The X-Maker has been designed with a wide audience in mind, so the design has been given special attention here: the compact plastic body with an aluminum inner frame looks great on a desktop, while the rounded corners make it safe for children.
The printer comes pre-assembled and only a few components need to be installed before the first print: build platform, acrylic side panels, filament spool holder and top cover.
The volume of the closed working chamber is 170x150x150 mm, and the printing itself is carried out on a heated working platform with a substrate on neodymium magnets. This makes life very easy, because after printing, you just need to remove this substrate and bend it slightly to detach the finished print. The platform is made of aluminum and heats up to 120°C, making it ideal for printing with ABS and other demanding materials.
If you are reading an article between 11/27/20 and 12/14/20, then you are in time for Black Friday 2020 in our LIDER-3D online store. By clicking on this link you will be taken to the promotions section!
QIDI X-Maker's print options are impressive. Depending on the specified resolution, the layer height will be from 50 to 400 microns, and the maximum speed will reach 150 mm/s. The direct extruder makes it possible to use the most popular types of thermoplastics, including FLEX.
Approximately the same pleasant emotions are caused by the ergonomics of the printer and its capabilities - more recently, such a set of functions was more likely to correspond to semi-professional equipment. The printer is set up very quickly and works surprisingly silently - thanks to the well-assembled case and quiet TMC2209 drivers.
USB, Ethernet and Wi-Fi can be connected. If you prefer close contact, then the color touch screen is at your service, allowing you to directly control all print settings. The function of automatic resumption of printing in case of a sudden power outage or some other failure is very out of place.
In general, the presence of a Wi-Fi module is a sign of more expensive devices, and it is doubly pleasant that the X-Maker has such functionality, considering that the initial printer will not be enough, this model is equipped with an internal LED desktop backlight out of the box.
Unpacking and assembly
As we said, when you open the box, you get an almost fully assembled 3D printer.
Delivery includes:
- Side panels and top cover;
- Power cord;
- PLA spool;
- Shaft with retainers;
- Tool kit;
- Spare table;
- Spare nozzle;
- Glue stick;
- USB flash drive 16 Gb with software, model files and manuals in a stylish tin box with a window;
- Instructions.
Final assembly is unlikely to take more than 20 minutes. We install the coil holder from above, the side walls and the top cover are attached with magnets to the frame, and the substrate is attached to the hot table. As a result, we get a device with dimensions of 457x381x381 mm and a weight of 21.9kg.
After the first switching on, we start the automatic calibration of the working platform. Now it remains only to feed the thread into the extruder and you can start printing.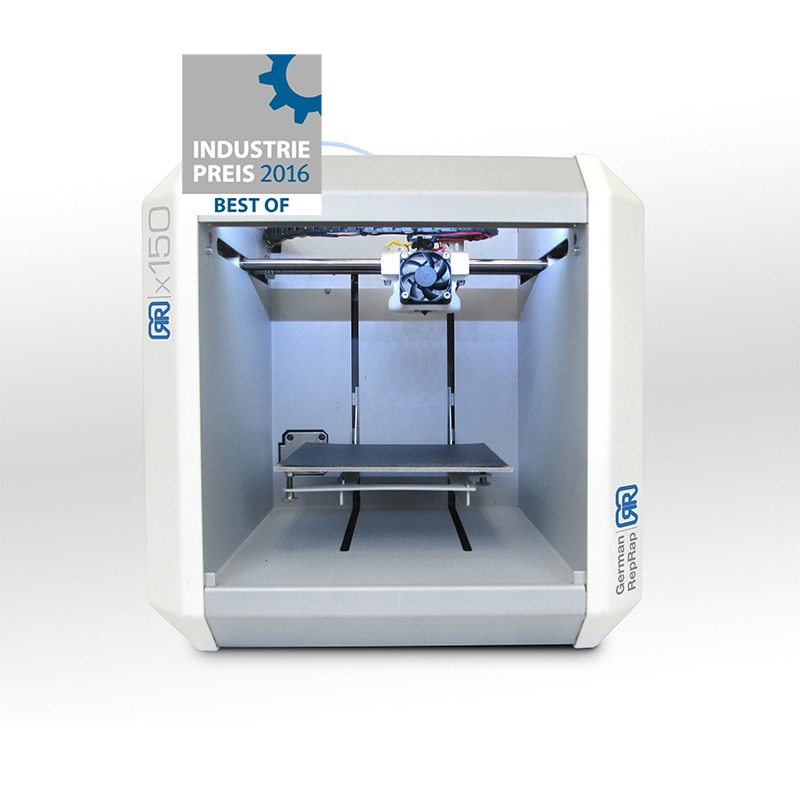
Deepening into the study
QIDI Tech X-Maker is equipped with precise CORE XY kinematics, and although the outer body of the printer is made of plastic, the frame is metal, which naturally reduces deformation during operation.
The direct extruder unit has a closed housing and an efficient blowing system of the 4-fan model. For printing, you can use PLA, PETG, ABS, TPU and other common materials. A maximum nozzle temperature of 250°C, a hot bed of 120°C and a closed chamber with high-quality airflow allow you to achieve high printing accuracy even when using difficult materials such as ABS. The eustruder wiring is placed very well and compactly - the wires do not cling to anything when the carriage moves, and in general everything looks neat.
The X-Maker Worktable is a real treat for those who struggled for years trying to get a printed model out of a closed chamber. This 10mm aluminum heated bed is equipped with magnets for easy attachment and removal of the convenient flexible print table. Interestingly, this table has a double-sided coating. The lighter BuildTak-coated side is designed for printing with standard media like PLA. The coating of the second, darker side is used for printing with specialized and "capricious" materials.
At the bottom of the case is a 3.5-inch color multilingual touchscreen. The interface turned out to be convenient and does not cause any complaints, displaying all the information about the print settings in a convenient way. Moreover, compared to the interfaces of previous QIDI models, there are clear improvements here: for example, if you use the menu during the printing process and then go back, the model preview will remain in place, and will not disappear as before.
USB and Ethernet ports are located on the right side of the case, thanks to which the 3D printer can be connected to a computer or used standalone.
Software and firmware
QIDI Tech X-Maker comes with a 16Gb flash drive with very useful content. In addition to detailed instructions and video tutorials, it contains two versions of the proprietary QIDI slicer: standard and lite. The second option will be very good for beginners in 3D printing: a minimum of settings and an elementary interface allow you to send a model for printing in two clicks. The standard slicer allows you to use advanced settings for printing more complex objects and is suitable for experienced makers.
In addition to detailed manuals and a slicer, the flash drive contains a file for test printing and its own QIDI profile for Simplify 3D.
QIDI Tech X-Maker comes with Sailfish firmware, which can be easily updated or restored if desired.
Upgrade options
As you can see, QIDI Tech X-Maker is capable of a lot right out of the box, but if you eventually want more, it has the ability to install additional components.
For example, the extruder can be supplemented with a PTFE bowden tube to improve adhesion to particularly slippery filaments such as Nylon. The placement of the plastic spool holder may not be to everyone's taste, so you can print your own and place the spool in a different position.
Another useful modification would be a thread end sensor. Its absence in the standard configuration of the printer is, perhaps, the only thing that gives out a budget device in X-Maker.
Print results
Total
The end result is an easy-to-use yet feature-rich 3D printer that fully meets the needs of makers in 2020. With its many features and excellent print quality, it can handle the toughest jobs while being easy to use for any beginner.
Pros
- Great value for money;
- Ready to go out of the box;
- CORE XY kinematics;
- Quiet printing;
- Metal frame;
- Closed thermal chamber;
- Direct extruder;
- Wi-Fi module;
- Removable magnetic table;
- Nice design.
Cons:
- Small print area;
- Not the best view of the print area;
- Missing thread end sensor.

You can buy a QIDI TECH X-MAKER 3D printer in our office in Moscow, with a guarantee and delivery in Russia from an authorized dealer.
We remind you that LIDER-3D is the official distributor and representative of QIDI Tech in the Russian Federation. You can buy any of the 3D printers presented in the review in our online store by clicking on this link.
What QIDI Tech X-Maker Can Do in Expert Hands
3D printing changes many things and, above all, the lives of those who have discovered this world. There are people for whom development with a 3D printer is not a job or just an interesting hobby, but an opportunity to apply their knowledge and skills to a new level. They are not limited to printing test cubes or phone cases, but create absolutely amazing things at home. The hero of our article is just one of them.
Mikhail Borisovich from Moscow was a designer at a design institute for many years, specializing in the development of metal structures and mechanical elements. The time has come to retire, but his passion for designing mechanisms has not gone away. Unfortunately, without access to professional equipment like CNC machines, it is difficult to achieve outstanding results, and attempts to create parts from improvised means have not led to anything. Advanced constructors like LEGO with electronic components also did not solve the problem - they turned out to be too expensive.
As a result, the 3D printer turned out to be the most affordable and justified solution, and specifically, the QIDI TECH X-MAKER, which is very popular with modern makers. For our hero, this machine has become not just a curious device for entertainment: after all, Mikhail Borisovich has a serious technical education and years of design work behind him. He immediately took up the creation of complex mechanisms.
In general, QIDI TECH X-MAKER turned out to be surprisingly good even for such a difficult task as the development of a walking and balancing mechanism.