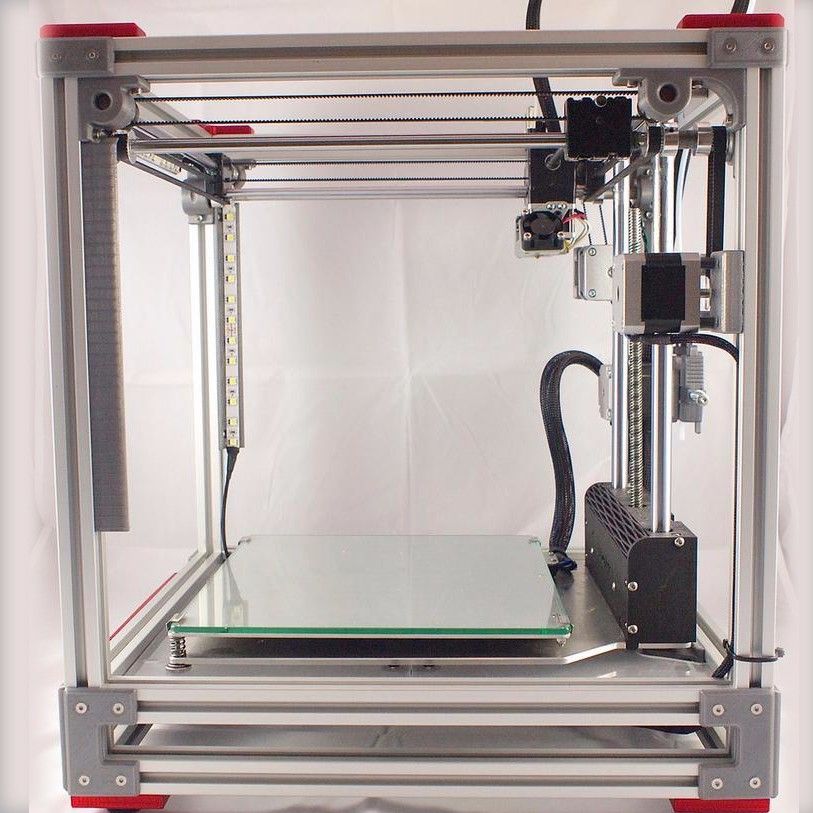
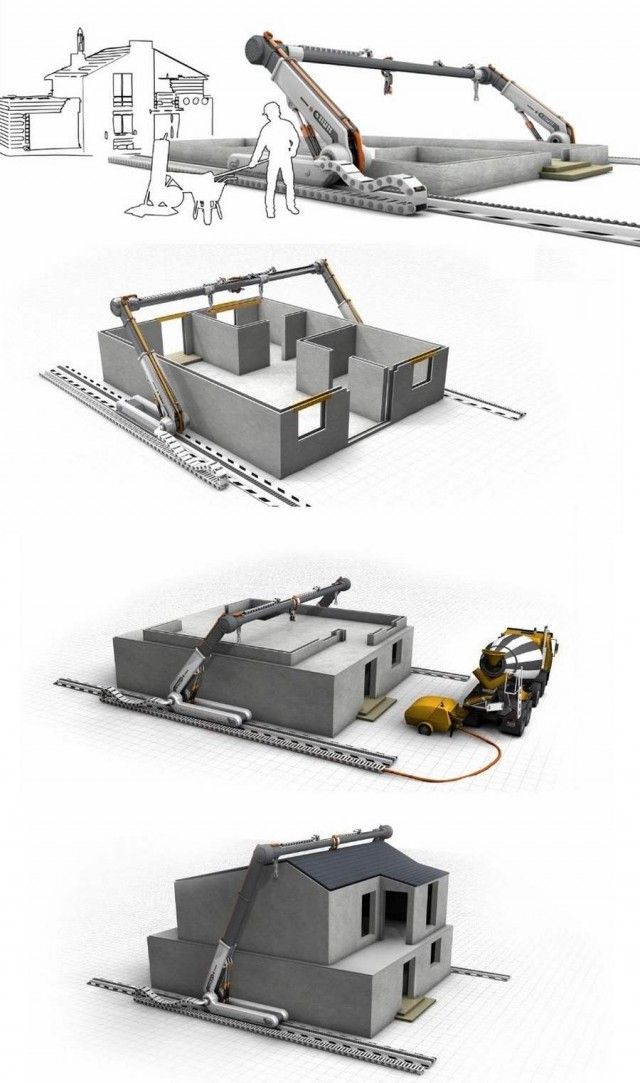
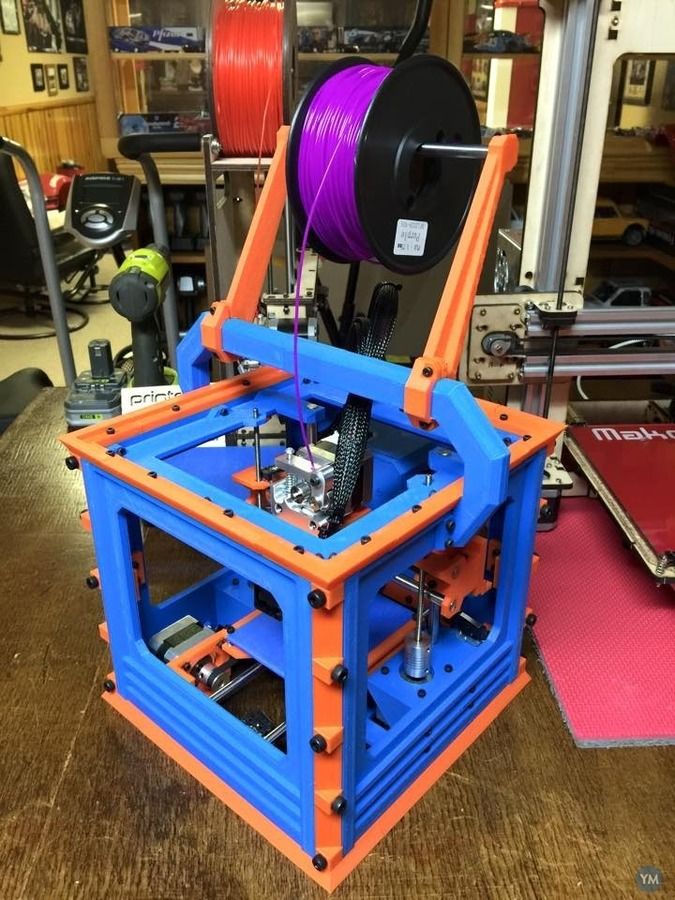
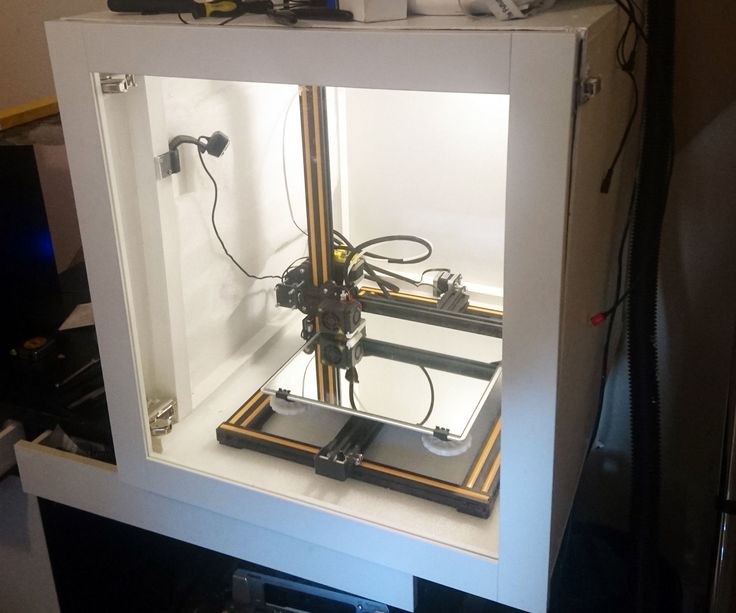
3D printer frame
🖼️ Collection • 3D files for 3D printing of beautiful wall frames to decorate your home・Cults
🖼️ Collection • 3D files for 3D printing of beautiful wall frames to decorate your home
Download 3D files of beautiful wall frames to decorate your home
Discover our selection of super useful and well thought out 3D files to add a decorative touch to your home. These frames have been designed to be easily 3D printable and thus allow you to display photos and images to personalize your home or office decoration.
Isabelle Frame
Free
Francesca Frame
Free
Ornate picture frame
Free
Veronique Frame
Free
Delphine Frame
Free
Photo frame
Free
Valentine photo fame "Six tails love"
Free
Art Deco Marquee Frame
Free
Floating photo frame
Free
Fun with Photo Frames
Free
Modular photo frame (5 x 7.
Free
Art Deco Diamond Frame
Free
3D dinosaur
Free
Art Deco Star Frame
Free
Mirror of Erised picture frame, Harry Potter (no supports)
Free
Photo frame
Free
Mini Keychain Photo Frame
Free
lightbox venice
€1.30
Tinkerbell Heart Frame
Free
Polaroid Flipbook Frame
Free
PHOTO FRAMES
Free
Modular jigsaw puzzle photo frame
Free
Cat photo frame
Free
Giraffe photo frame
Free
Photo Frame
Free
Isle of Man - Tourist Trophy Island in relief
Free
Instax Photo Frame
Free
Digital Photo Frame
Free
Photo Box with Lid
Free
Frame Depot Picture Frame Hook
Free
Photo Frame
Free
Decorative Easy-Click Frames
Free
Customizable Photo Frame
Free
Tetris Heart Puzzle
Free
PHOTO FRAME
Free
Tee-Frame Revive your old shirts!
€0. 55
55
simple picture frame
Free
Snuffle's Portrait - Rick and Morty
Free
Love text photo frame
€1.50
frame stand holder
Free
DOUBLE PHOTO FRAME - ROMANTIC HEART
€1.88
picture frame - art deco
€0.99
The Creepy Morty Painting - Rick and Morty
Free
Square Floating Photo Frame
€2.62
Heart photo frame
€1
Puzzle piece photo frame
€2
Star Wars - Death Star Diorama
€10
PENCIL POT, PHOTO HOLDER
€1.01
frame stand holder
frame stand holder
frame stand holder
Valentine photo fame "Six tails love"
Here is our selection of the best files for 3D printers to print decorative frames for your interior, all these creations are from the Cults STL file platform and are very easily 3D printable.
This collection includes both free and paid 3D files of frame elements. There is obviously a wide variety of shapes and styles, from the very rococo frame to the very clean design frame, you will inevitably find the STL file that suits you. Then simply select the color of your filament spool to define the graphic style of your frame. Add a photo of a beautiful landscape, your friends or family members and you're done!
A 3D printed wall frame is also a great original gift idea. The level of personalization and the 3D printing work that it represents will add value to this gift and is sure to please. It can be for Christmas, Mother's Day or Valentine's Day, it is impossible to miss with this kind of gift! If you print models from this collection of superb 3D printable frames, don't forget to share your pictures of the result.
Workhorse Printer - 3D Distributed
Home
3D Printers
Workhorse Printer
Workhorse 3D PrinterWorkhorse- Large DIY Industrial 3D Printer Platform
Build Volume – 650 x 350 x 350 mm
DIY 3D Printer Build – Large 3D Printer Kit
Motion System – XYZ Lead Screw / Ball Screw
Machine Kinematics – Fixed Bed / Moving Gantry
Enclosure – Polycarbonate Enclosed
Extruder – Bowden / Direct Drive Extruder
Materials – Filament – FDM / FFF
Controller – Duet3D
Operating System – RepRap Firmware
Design – Open Source
Software– Simplify3D / SuperSlicer
Skill Level – Advanced
Lead Screw vs Belts
The WorkHorse is a large customizable 3d printer platform for designers, builders, and makers.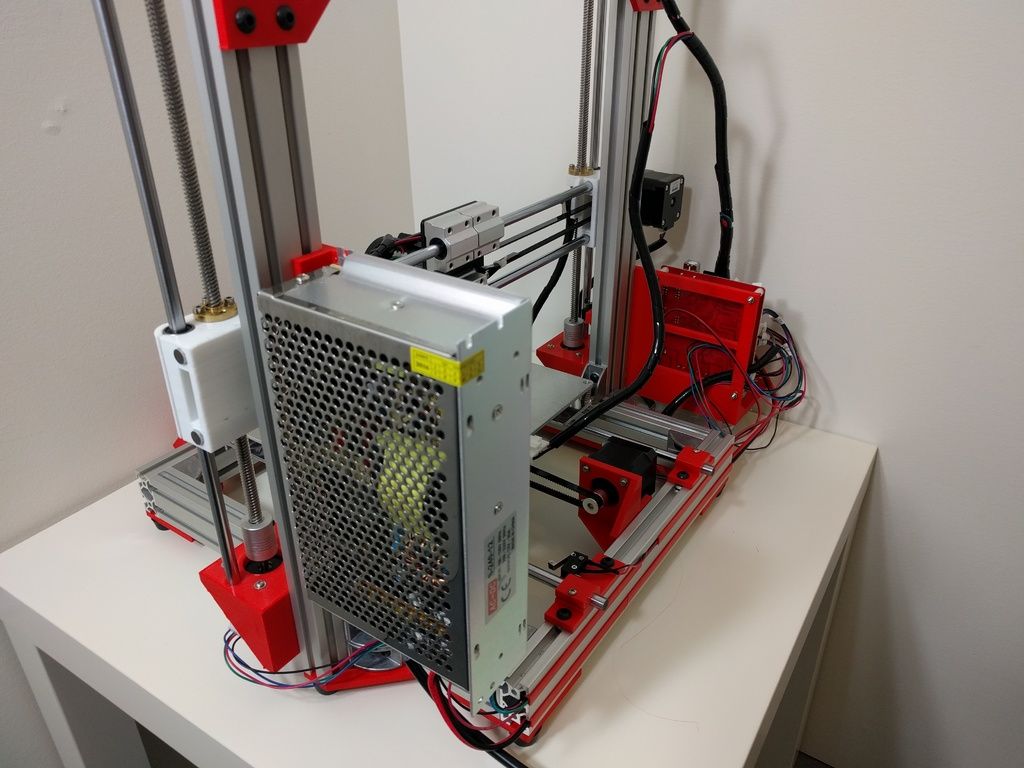 The XYZ Lead Screw motion system is an open-source design that can be adapted to specific materials and applications. In most cases, belt driven 3d printers are better suited compared to lead screw. But this isn’t most cases and the lead screw we selected to drive the WorkHorse isn’t your standard lead screw. We’ve tried a range of different styles of lead screw and had mixed results. We settled with a Igus high helix thread pitch with a 50mm lead.
If you’re looking for an advanced project like building a large 3d printer, the WorkHorse is an open-source design that you can customize for a specific application or project.
Large DIY 3D Printer BuildLead Screw / Ball Screw Motion System
WorkHorse PrinterWorkHorse Build Resources
- WorkHorse BOM
- WorkHorse Documentation
The fixed bed / moving gantry is intended to make the 3d printer more scalable as the bed and z-axis mechanism becomes heavier.
- Fixed Bed / Moving Gantry
- X and Y-Axis Lead Screw
While most 3d printers use belt driven motion in the x and y axis to increase print speed but loses quality when more weight is applied to the gantry or carriage. The lead screw used on the Workhorse has a high helix pitch with multiple threads to allow increased print speeds while maintaining the quality provided from lead screw and ball screw motion. The system is particularly useful in applications that add more weight to the gantry or carriage. Materials such as clay, chocolate, plastic pellet extrusion or other foods can increase weight that is moved around which results decreased quality or print speeds. Workhorse Printer’s are available to purchase in Machined Component Kit, Hardware Kit or Complete Kit.
Workhorse 3D Printer MRRF 2019- OPEN SOURCE
- LARGE BUILD VOLUME
- ADVANCED LEAD SCREW MOTION
- MODULAR MACHINE DESIGN
- CUSTOM MODS
- CUSTOM BUILDS
- ENCLOSURE
- HEATED BED
Carriage
Workhorse DIY 3D Printer Carriage DesignLarge 3D Printer KitFrameWorkhorse Printer Frame and Gantry OnlyWe’re experimenting with changing the frame size and switching to a 3030 extrusion profile. We also made the side panels two inches wider to have more room in the electronics / Filament compartment.
Z-Axis Updates
WorkHorse 3D Printer V2 Gantry Plate Z axis lead screwWe finally made a better z-axis lead screw mount.
Z-Axis Lead Screw To Gantry Plate MountDownload 3D Model
workhorse large 3d printer build 3d printed lead screw nut mountsThe old version of the lead screw nut mounts were 3d printed. They would crack over time so the version is now made from aluminum.
The Workhorse X-Carriage design is a heavy duty solution for lead screw driven motion that uses MGN12H linear rails and 20×40 or 20×20 aluminum extrusions.
Y-Axis Motor Mount
Y-Axis Motor Mount to X-Carriage WorkHorse CarriageThe Workhorse 3d printer is available with custom mods and upgrades. We’ve several custom designed machines for many of our customers. If there is a specific size or requirement you just give us a shout.
New Heated BedWorkHorse Printer UpdatesDownload Files
WorkHorse Printer CADBOM| Lead Screw | Description | Part Number |
| X-Axis 2pcs. x 762mm Long | Igus High Helix 10mm w/50mm Lead | DST-LS-10×50-R |
| Y-Axis 1pc. x 485mm Long | Igus High Helix 10mm w/50mm Lead | DST-LS-10×50-R |
| XY-Axis 3pcs x Lead Screw Nuts | Igus Lead Screw Nuts | DST-JFRM009 |
| Z-Axis 2pcs x T12x2 Trapezoidal ACME Lead Screw w/ Brass Nut | 500mm Long | WK-Z-T12500 |
| Linear Rails | Discription | Discription |
1pc.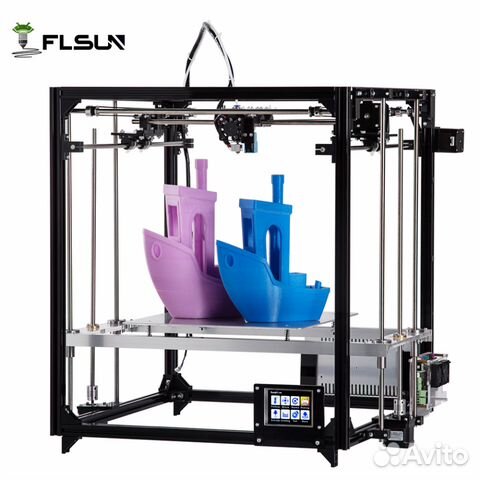 x 450mm Long x 450mm Long | MGN12H 20mm x 20mm Hole Pattern | WK-Y-LRMGN12h500 |
| 2pcs. x 700mm Long | MGN12H 20mm x 20mm Hole Pattern | WK-Y-LRMGN12h500 |
| 4pcs. x 500mm Long w/ Two Carriage Blocks | MGN12H 20mm x 20mm Hole Pattern | WK-Y-LRMGN12h500 |
Buy WorkHorse 3D Printer Parts
WorkHorse 3D Printer PartsWorkHorse 3D Printer Gantry Plates| Machined Hardware | Price $ | Source |
| Gantry Plates | 3DDistributed | |
| X- Axis C- Carriages 2pcs | 3DDistributed | |
| Y-Axis C- Carriage 1pc | 3DDistributed | |
| Y-Axis Motor Mount 1pc | 3DDistributed | |
| Y-Axis Idler Mount 1pc | 3DDistributed | |
| Hotend Mount | 3DDistributed | |
| Z-Axis Motor Mounts 2pcs | 3DDistributed | |
| Aluminum Build Plate | $135. 00 00 | 3DDistributed |
Electronics
Buy Stepper Motors
See Stepper Motors
Z-Axis Motor Mounts
Z-Axis Motor MountsWorkHorse Printer V2
Workhorse Z-Axis Motor AssemblyDuet3D Firmware Files
Download
We now recommend the Duet 3 Mainboard 6HC electronics by Duet3D.
Build Instructions
Here
Sourcing Parts For Your Workhorse 3D Printer
Sourcing Lead Screw
Sourcing Frame Components
Buying Frame PartsFrame Assembly
Workhorse Frame ExtrusionsThe frame is made out of 2020 (20mm x 20mm) aluminum extrusions.
- 20mm x 20mm
- 4pcs 930mm Long
- 6pcs 510mm Long
- 10pcs 570mm Long
- 3pcs 808mm Long
.
20mm x 40mm HFS5 Aluminum Extrusions (Misumi Brand)
4pcs 510mm Long
Frame:
BOMFrame BOM Part List
| Frame Extrusions | Length | Units | Discription | Misumi Part # |
| 2020 (20mm x 20mm) | 930mm Long | 4pcs | Horizontals | HFS5-2020-930 |
| 2020 (20mm x 20mm) | 510mm Long | 6pcs | Verticals | HFS5-2020-510 |
| 2020 (20mm x 20mm) | 570mm Long | 10pcs | Frame Width | HFS5-2020-570 |
| 2020 (20mm x 20mm) | 808mm Long | 3pcs | Bed Support | HFS5-2020-808 |
| Gantry Extrusions | Length | Units | Description | Part# |
| 2040 (20mm x 40mm) | 770. 5mm Long 5mm Long | 2pcs | Gantry Horizontals | HFS5-2040-770 |
| 2040 (20mm x 40mm) | 456mm Long | |||
| 2040 (20mm x 40mm) | 510mm Long | 4pcs. | Z axis Linear Rail Verticals | HFS5-2040-510 |
| Frame Components | Type | Units | Description | Part# |
| Frame Brackets | 20mm Wide | 90pcs | Reversal Tabbed Brackets | HBLFSNF5 |
| T-Nuts (Misumi) | M4 | 75pcs | M4 | HNKK5-4 |
| T-Nuts (Misumi) | M5 | 180pcs | M5 | HNKK5-5 |
| T-Nuts (Misumi) | M3 | 75pcs | M3 | HNKK5-3 |
| Frame Price | Price $ | |||
| Profile Extrusions | $ 122. 29 29 | extrusions and brackets w/tax and shipping | ||
| M5 x 10 Cap Screws (200pcs) | $ 9.99 | 225$ | ||
| brackets | $ 40.32 | |||
| T-nuts | $ 19.32 | |||
| Total | $ 191.92 |
Frame Assembly
Workhorse Frame Step 1Workhorse Frame Assembly DiagramFrame Diagram Front ViewFrame Diagram Front ViewGantry
Gantry Motor PlatesAssembling The Gantry PlatesPart List:
- 1pc. x Gantry Motor Plate
- 1pc. x Gantry Idler Plate
- 16pcs. x M5 x 14mm Long Screws
Gantry Plates Before Gantry Frame And Motor
Gantry Plates Assembled To FrameView this post on Instagram
A post shared by 3D Distributed (@3d_distributed)
X-Carriage
X-CarriageX and Y-Carriages use 4 M3x6mm Screws
- X-Carriage (X-Axis) 2pcs
- Y-Carriage (Y-Axis) 1pc
- M3x6mm Screws 12pcs (4 for each Carriage)
The x-axis carriage screws down to the 2040 Y-axis extrusion and rail. *Note* The y-axis 2040 extrusion must have hand tapped M5 threaded holes.
Y-Axis AssemblyLinear Rails
The Workhorse Printer uses MGN12H linear rails with a 20mm x 20mm Hole Pattern.
BOM:
- 500mm Long Z Axis (4pc)
- 700mm Long X Axis (2pc)
- 450mm Long w Y axis (1pc)
Linear Rail Screw:
- M3x9mm Long Screws 26 per X-Axis
- M3x9mm Long Screws 14 for Y-Axis
- M3x9mm Long Screws 18 per Z–Axis
Total M3x9mm screws 138pcs.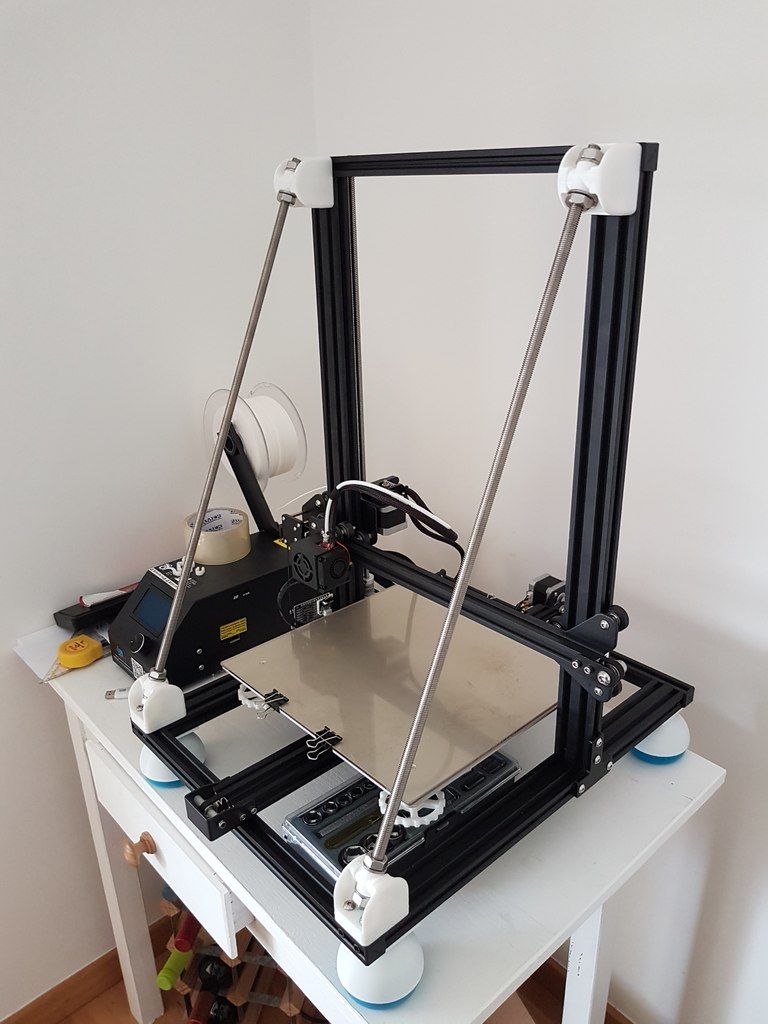
Motor Mount to Carriage
- M3x8mm Long Screws 4pcs
Igus dryspin lead screw nuts do not require lubrication. This is normal for Igus materials. If you have any sounds, vibrations or wear, then the problem is most likely in the alignment and assembly of the mechanical components.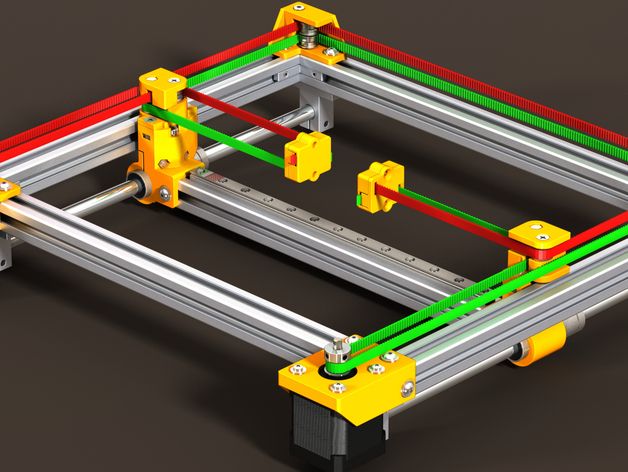
X-Carriage Lead Screw Nut Insert 2pcs
- Each Insert uses:
- M3x35mm screws 4pcs
- M5x55mm Long
Electronics
Stepper Motors
Heated Bed
View this post on Instagram
A post shared by 3D Distributed (@3d_distributed)
Like this:
Like Loading...
Tronxy X5S Precision 3D Printer Kit metal frame
Share to:
- Description
- Reviews (60)
- Delivery and payment
- Bulk request
Descriptions of Tronxy X5S
Disclaimer:
● Before assembling or operating the 3D printer, carefully read and follow the operating instructions.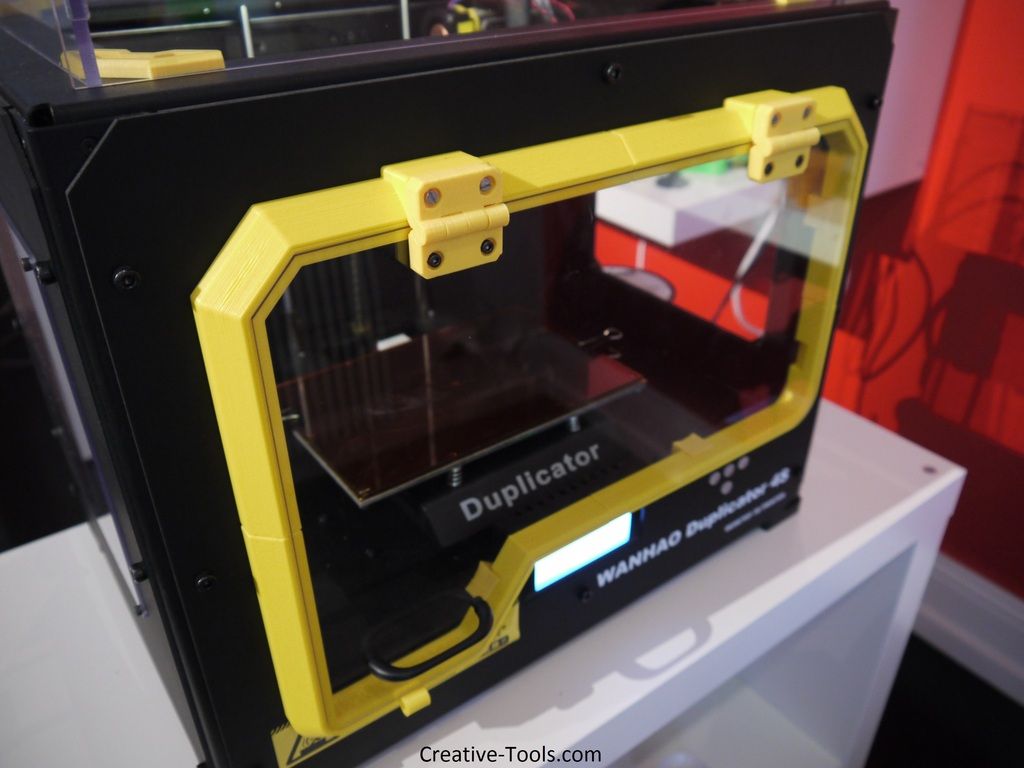
● Modification and customization of the 3D printer is strictly prohibited. We are not responsible for any problems resulting from the changes.
● Always use the correct AC voltage for your region.
● Do not place the 3D printer near flammable/combustible materials or any heat source.
● Only use the 3D printer in a place with good ventilation. Keep a safe distance from the printer.
Main features
● Max. print size 330 x 330 x 400mm
● Industrial grade and high precision
● Slim workmanship design with tow rope
● Powerful 360W current source
● Z axis has double wires 9
● Easy and fast assembly 9002 This product will receive after-sales service in America
Specification
- All (60)
- Photo (20)
- Video (3)
- Sort by: All
All Popularity Most Helpful Most Recent
-
English translation
-
SeLo
Yes (0)
Tronxy x5s ohne Z Achsenträger
- Der Drucker wurde sehr schnell geliefert.
Beim Zusammenbau habe ich bemerkt, dass die 2 Aufnahmeplatten der Z-Achse (welche das Druckbett aufnehmen) nicht vorhanden waren. Dieses habe ich beanstandet und gefragt, ob man mir einen neuen Drucker zusendet. Nach einigen Emails wurde dann beim Hersteller die beiden schwarzen Platten für mich bestellt. In der Zwischenzeit habe ich mir aus Bastelholz eigene gebaut und konnte so den Drucker ausprobieren. Präzision war natürlich nicht perfekt.Ich habe festgestellt das Druckbett sollte mit einem Spiegel versehen werden, damit es gerade ist.

Auch sind die Gewindestangen der Z Achse nicht 100% gerade bei mir. Ich habe die Aufnahme oben nun unbefestigt gelassen. Die Befestigungsschrauben führen nun die Z Achse oben in der Nut.
Die Bestellung für die Trägerplatten hat ca. 1.5 Monate gedauert. Am 02/19/19 habe ich die Information zum Versand bekommen. Am 02/28/2019 wurden sie geliefert. Dafür noch einmal vielen Dank.
Es ist äußerst schwierig diese Ersatzteile im Nachhinein zu bekommen. Ich empfehle allen die Teile genau zu kontrollieren und den Drucker lieber beim Fehlbestand zurückzusenden.
Das ist im Enddefekt schneller.Ich bin mit dem Drucker zufrieden und erhoffe mir nun mehr Erfahrung zu sammeln. Yes (0)
Tronxy S5X ...4 Sterne von 5
- Ich habe ca. 6 std. fur den kompletten zusammenbau gebraucht.
Ohne vor wissen wäre dieses auf keinen Fall möglich da die Baueinleitung stark verbesserungswürdig ist.Schrauben waren vermischt in beuteln so das man erst mal wieder alles sortieren musste weil man
Die Kabelb vom Heizbett und Extruder sind etwas unter dimensioniert und werden ziemlich heiss.
 .also nicht wundern.
 Alle Kabelkontakte sollten mindestens verzinnt werden (eigenarbeit)
Das Druckbett an sich ist etwas dünn (Aluminium Druckbett sollte man auf 5 mm erweitern (stärke)Nichts desto trotz ist der Drucker mit seinem Bauraum von 330x330x400 und dem angebotenem Preis momentan unschlagbar
Allererster Druckversuch ist im foto zu sehen.Yes (2)Gute Qualität und Funktion
- Alles war gut verpackt und ziemlich qualitativ verarbeitet! Es kostete mich 2 Nachmittage den Drucker zusammenzubauen, aber er funktionierte auf Anhieb! Bei so einem großen Bett bietet sich an, einen Auto bed leveling Sensor einzubauen.
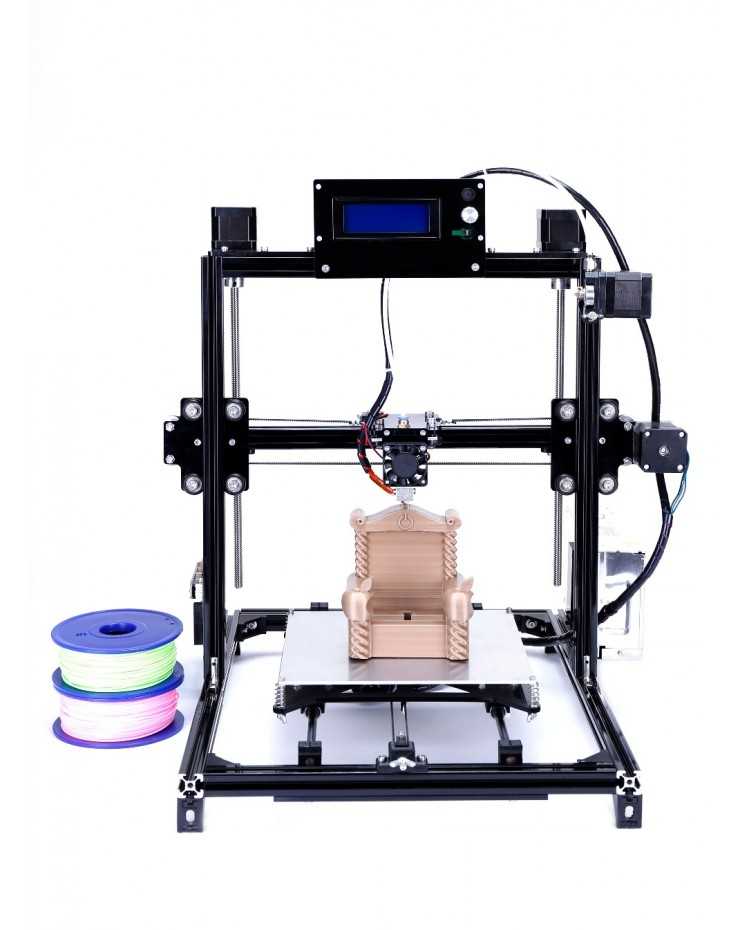 Ich empfehle Piezo20, weil man nicht viel ändern muß und sogar die original Steuerplatine verwenden kann. Was man machen muß, ist die Marlin Firmware zu updaten, aber das war nicht das Thema, es ist mein zweiter 3D Drucker :-)
 Bei Thingiverse findet man auch einige Verbesserungen, wo man sich die entsprechenden Teile selbst drucken kann.
Ich bin mit dem Drucker sehr zufrieden!
- Dry
- KEINE
- 9000
- Alles war gut verpackt und ziemlich qualitativ verarbeitet! Es kostete mich 2 Nachmittage den Drucker zusammenzubauen, aber er funktionierte auf Anhieb! Bei so einem großen Bett bietet sich an, einen Auto bed leveling Sensor einzubauen.
- Ich habe ca. 6 std. fur den kompletten zusammenbau gebraucht.
- Der Drucker wurde sehr schnell geliefert.
- 9000 9000 (3)
nice printer for tinkering
- If you are a tinkerer and want a base for your own modifications, go ahead and get this printer.
 If you want a hassle-free printer to just print, there may be better choices.
 The kit was complete, and the instructions are useable, assembly took two evenings.
Printing quality out of the box was very nice.
I received an updated version of the X5S in February 2018, where some of the well-known shortcomings have been fixed, particularly the heated bed is now a 12V version, the belt routing is much better, and some of the acrylic parts have been exchanged for metal.
- Offer
- The printer came with a sheet of acrylic to attach the build mat. This is rather flimsy and warped terribly when heated. You may want to replace it with a sheet of glass.
Due to the now working heated bed, the cabling is too thin and gets VERY hot.
Quality control is still an issue:
My heated bed was missing a solder joint so only 2/3 warmed up.
The threads in the heater block were damaged, so the hotend leaked terribly.
 9Yes (0)
 Top-all-rounder
- Very easy to build with full tools supplied. Nicely cut aluminum, no nasty sharp swarf or bad threads. All my roller assemblies and power supply was pre assembled also all the protective paper was removed from the acrylic parts. All problems from previous models are gone!! Double Z bed makes for a very stable and precise surface, no leveling the bed then after homing having to re-level. This printer is ROCK solid. This is my first 3d printer and after enjoying the build, the results are amazing. I can't stop watching it!!! I would like to film it in case I miss something!! It prints straight out of the box!!
- Offer
- I honestly cannot think of any cons.. well only silly ones like, it can't change it's own filament and why can't it read my mind...
Feb 19,2018
- If you are a tinkerer and want a base for your own modifications, go ahead and get this printer.
Do you want to buy Tronxy X5S in bulk? Please submit your Tronxy X5S wholesale inquiry below. Please note that we usually don't provide free shipping on Tronxy X5S bulk orders, but the wholesale price will be a big deal.
Your target price:
Quantity ordered:
Country
Your name:
Your phone number:
Your email address:
Company name:
Inquiry details:
Your recently viewed items:
Pre-Sales Support
3D Printer Threads and Thread Inserts for Plastics
At Formlabs, we design various functional parts for printing on our stereolithography (SLA) 3D printers such as the Form 3. These parts include prototypes used for our own R&D , clamps and fasteners to be used on our production lines, models for design verification before casting the final product in the appropriate material, such as nylon.
Regardless of the application, we often need to connect 3D printed components with screws and threaded fasteners. As the catalog of versatile and reliable engineering polymers grows, the differences between "imitation" prototypes and functional prototypes diminish.
This article is a guide to threading and threading 3D parts with a 3D printer. There are many ways to connect multiple 3D printed parts together, but if you need the ability to repeatedly connect and disconnect components and secure mechanical fastening, there is no real substitute for metal screws.
Do you like to see everything with your own eyes? Watch a video about 3D printing threaded connections and threaded inserts for 3D plastic parts.
White Paper
Download our white paper on stereolithography to find out how SLA printing works, why thousands of professionals use it today, and how this 3D printing technology can be useful in your work.
Download white paper
Let's take a look at some of the threading options for 3D parts we've put together based on years of Formlabs experience and your suggestions. We've ranked these options, starting with the one we think is the best, with the pros and cons of each option for different use cases.
Experience Formlabs print quality first hand. We will send a free 3D printing sample directly to your office.
Request a free sample
Benefits: Strongly connects 3D printed parts without the use of glue. The metal threads are durable and reusable.
Disadvantages: Inserts may loosen with increasing temperature.
3D print a sleeve blank with a depth and diameter that matches the insert specifications. Rinse with isopropyl alcohol (IPA) and allow to dry without final polymerization. Insert the insert into the sleeve with a screwdriver and use the screw to secure it completely into the plastic. Then finish curing the part to reduce the creep effect and fix the insert in the plastic even better. Performing this step last reduces the chance that the insert will break the sleeve when screwed in.
Benefits: Connects 3D printed parts very securely. The metal threads are durable and reusable.
Cons: Requires glue (don't try to use a soldering iron!).
Threaded inserts with heat setting are designed for installation in thermoplastics using a soldering iron with a soldering tip. They can be used in acrylic models and Fused Deposition Models (FDM), but cannot be used with in SLA photopolymer parts, which bend but do not melt when heated.
Check out our detailed guide comparing FDM vs. SLA 3D printers to see how they differ in terms of print quality, materials, application, workflow, speed, cost, and more.
However, the notches and ridges on the heat set inserts make them a very effective thread fastener if you bond them with a two part epoxy or cyanoacrylate adhesive.
Determine the bushing size by the largest diameter of the insert and apply some adhesive before installation. For best results, the part must be completely dry and cured.
Benefits: Nuts are easy to match to any required screw size.
Drawbacks: Side nut slots can eliminate the need for glue, but can make it harder to support the model during printing.
Adding a hexagon socket to the nut press-fit end creates a reusable strong metal-to-metal connection. To increase the twisting force, you can choose a square nut. This nut can also be plastic or have blocking elements. If necessary, a drop of cyanoacrylate glue will help hold the nut in place, but if the design includes a side socket, there is no need for glue. Use a 0.1 mm offset around the press-in nut and clearance around the screw itself.
Benefits: Prototyping uses the same metal products as mass-produced injection molded parts.
Sleeve blanks made from Tough (and Durable) polymer are unlikely to crack if you follow the screw manufacturer's sleeve design guidelines.
Disadvantages: The screws will hold tight, but the threads will not be as resistant to repeated use as metal threads. Standard resins can be used, but the bushing is more likely to crack.
Follow manufacturer's recommendations for core sizes and print with high impact engineering resins (such as our Tough Resin and Durable Resin). Before using the screws, complete the final curing. If you are prototyping an injection molded part that will use tapping or tapping screws in its final assembly, this is a good option for testing.
Benefits: No need to buy special plastic screws.
Disadvantages: The screws will hold tight, but the threads will not be as resistant to repeated use as metal threads.
We have tested screws in our Tough Resin product and found that their use is identical to that of threading screws designed for plastics. The size of the hole diameter of the threaded bushing must be in the range between the main (threaded) diameter of the screw and the inner diameter. The screw shown is a #8 screw in a 0.16" diameter hole.
Benefits: Can be used for prototyping large and custom threaded designs.
Disadvantages: Not a durable or reusable fastening solution, especially for smaller thread sizes.
3D printed threads from standard resins are better than Tough Resins because they are much harder. 3D printed threads remain relatively brittle, depending on the size of the thread, and are not recommended if the fastening system is to be used continuously and repeatedly.
Thread sizes ¼-20 or larger are generally functional without the need for post-processing. For smaller screws, the threads must be modified to provide better fastening. For example, printing a round thread profile (on a screw and a nut) and using a 0.


