3D printer firmwares
Download | Marlin Firmware
Previous releases can be downloaded directly from the Marlin Github page.
| Description | Version | Download | Configurations |
|---|---|---|---|
| Current Marlin Release Supports AVR and ARM Arduino and PlatformIO | 2.1.2 | 2.1.2.zip | View / Download |
| Marlin 2.0 LTS Supports AVR and ARM Arduino and PlatformIO | 2.0.9.5 | 2.0.9.5.zip | View / Download |
| Marlin 1.1 LTS Supports AVR Arduino and PlatformIO | 1.1.9.1 | 1.1.9.1.zip | View / Download |
| Marlin 1.0 LTS Supports Arduino 1.6.8 and up | 1.0.2-3 | 1.0.2-3.zip | (included) |
Marlin "Nightly" Source
| Description | Version | Download | Configurations |
|---|---|---|---|
| ⚠️ Work in progress - Updates for 2. 2.1.x "bugfix" snapshot Supports AVR and ARM Arduino and PlatformIO | bugfix-2.1.x | bugfix-2.1.x.zip | View / Download |
| ⚠️ Work in progress - Updates for 2.0.x 2.0.x "bugfix" snapshot Supports AVR and ARM Arduino and PlatformIO | bugfix-2.0.x | bugfix-2.0.x.zip | View / Download |
| ⚠️ Work in progress - Updates for 1.1.x 1.1.x "bugfix" snapshot Supports Arduino 1.6.8 and up | bugfix-1.1.x | bugfix-1.1.x.zip | View / Download |
Marlin Patched Source
| Description | Version | Download | Configurations |
|---|---|---|---|
| Latest 2.1.x with Hotfixes Marlin 2. 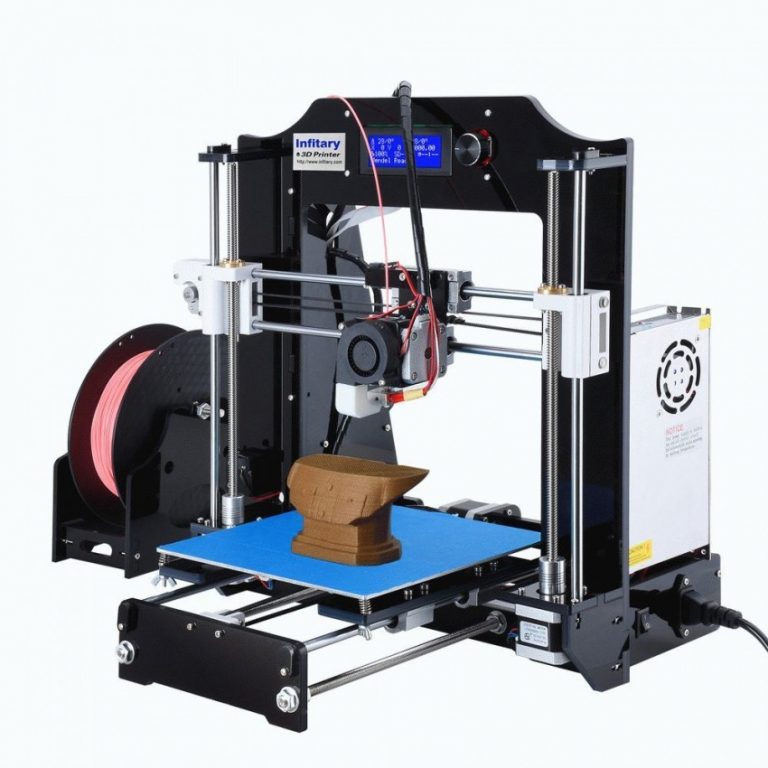 1.2 with bug fixes 1.2 with bug fixesSupports AVR and ARM Arduino and PlatformIO | 2.1.x | 2.1.x.zip | View / Download |
| Latest 2.0.x with Hotfixes Marlin 2.0 with bug fixes Supports AVR and ARM Arduino and PlatformIO | 2.0.x | 2.0.x.zip | View / Download |
| Latest 1.1.x with Hotfixes Marlin 1.1 with bug fixes Supports Arduino 1.6.8 and up | 1.1.x | 1.1.x.zip | View / Download |
Also find on the project page…
- Detailed release notes,
- Resources for reporting issues, and
- The tools needed to join the project.
Firmware Retract | Marlin Firmware
Molten filament extrusion is an inexact science at best. While 3D printers can perform XYZ movements with incredible accuracy and repeatability, extrusion continues to be one of the most challenging aspects of 3D printing due to its inherent slop. Many factors can influence extrusion latency and ooze, including the volume of the melt chamber, the hotend temperature, the viscosity of the material, the diameter of the nozzle, ambient temperature, and so on. As a result, tuning extrusion can be one of the most time-consuming aspects of printer calibration.
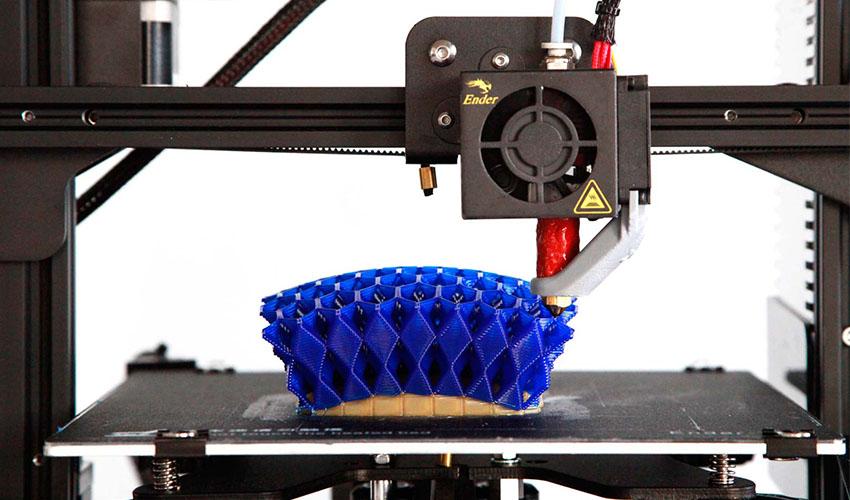
To help deal with latency and reduce ooze, almost every extruder needs to apply some amount of retraction in between continuous extrusions, then an equal amount of recovery when starting the next extrusion. In a retract move, the extruder pulls the filament up out of the hot end to create negative pressure and (hopefully) prevent the filament from oozing during the next travel move. The recover move reverses the retraction to restore pressure before starting the next extruded line. Proper length and speed of retraction can vary widely, so it helps to experiment.
Normally you configure the retraction length and feedrate in your slicer software, then all retract and recover moves are baked into the resulting G-code.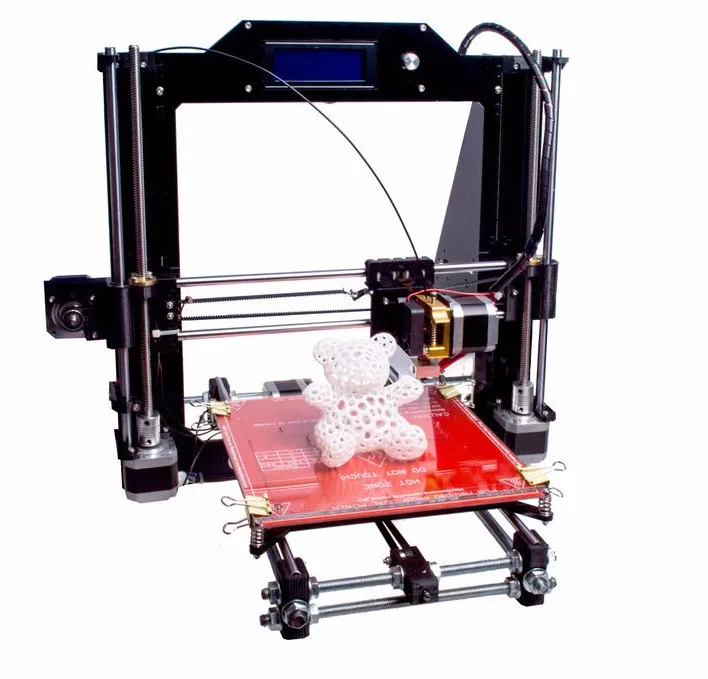 This works well if you know the best length and feedrate to use and don’t expect a lot of variability, but it makes experimentation and configuration changes much slower going since any changes in retraction require re-slicing all of your models. All of them!
With Firmware-based Retraction, Marlin manages all the details of retraction and recovery. Instead of generating extra E moves, the slicer just outputs G10 for retract moves and G11 for recover moves. Before doing a tool-change, the slicer outputs G10 S1 for a swap-retract, and then the next G11 for that extruder will automatically be a swap-recover.
In addition to producing a smaller G-code file, firmware-based retraction allows you to tune your retract/recover settings during a print and save them to EEPROM for all future prints with the same material. This means you never have to re-slice your models for a different material or new filament spool. Just run a test print to recheck and fine-tune retraction settings, save them to EEPROM, and get on with more printing.
Enable Firmware-based Retraction with the FWRETRACT option in Configuration_adv.h. Default lengths and feedrates may also be set there.
See M207 Set Retract and M208 Set Recover for available runtime settings.
Marlin includes Automatic Firmware Retraction (aka “Auto Retract”) to convert slicer-based retraction to Firmware-based Retraction on the fly. When Automatic Firmware Retraction is enabled (e.g., with M209 Auto Retract) Marlin converts all retract/recover moves (G0 E moves over a configured length) into firmware-based retract/recover moves, using the length and feedrate values set in the firmware instead of those specified by the G-code.
Currently, the M209 state is persistent and the state is saved to EEPROM. The expectation has been that once you’ve settled on a preference for firmware retraction you’ll set the machine and keep it on or off. This behavior may change so that auto-retract is disabled most often, as it is safer to always leave it off. For legacy G-code, just add
 M209 S1 to the starting code and M209 S0 to the end.
Auto-retract uses the settings MIN_AUTORETRACT and MAX_AUTORETRACT to determine the range of E moves that should be converted to firmware retract/recover moves. When Auto Retract is enabled, long G0 moves (e.g., for a manual filament change) will be done as retract/recover moves. Turn off automatic firmware retraction with M209 S0 before doing any manual E moves.
** Avoid using Automatic Firmware Retraction unless absolutely needed! **
Installing Marlin firmware on a 3D printer using the Cura slicer or what to do with a hex file?
Hello everyone. This article is the second part of a trilogy about 3D printer firmware. In the first part, we looked at how to flash a 3D printer using the Arduino IDE. This method is possible when there is a source code for the firmware or, as programmers say, when there are sources.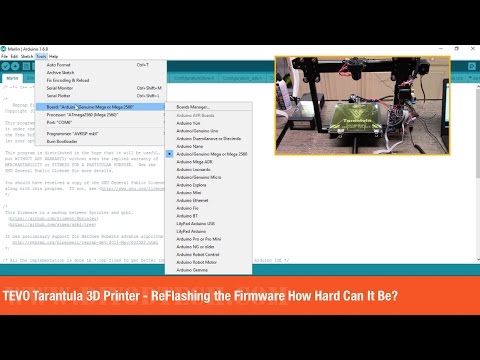 However, this option is not always possible, because. often the firmware comes in an already compiled form, i.e. as a single file with *.hex extension. This is a ready-made compiled firmware file with pre-configured parameters. At the same time, it becomes impossible to edit anything.
Naturally, this file cannot be opened using the Arduino IDE. What to do? This is what we will deal with in this article. And so, let's figure it out.
On the one hand, firmware in the form of source code is good. We can easily independently make the necessary changes to it, or, so to speak, customize it for ourselves.
From the manufacturer's point of view, firmware source code is evil. The user will pick it up, make changes that are not provided by the manufacturer, and then apply for a guarantee if something goes wrong. There are ways in which you can flash the firmware into the printer once and for all, while eliminating the possibility of flashing. Thank God manufacturers don't do that.
You can protect the firmware from modifications in another way - by supplying it as a ready-made firmware file. Let it not always go with the observance of the license. But this option works just fine.
We, as ordinary customers, are not interested in all these vicissitudes. We have another question: How to flash a 3D printer with a ready-made firmware file?
Do not believe it, but this option is much easier than flashing the printer from the firmware sources (the process of flashing the printer from the sources is described in the article “Installing Marlin firmware on a 3D printer using the Arduino IDE“). There are several ways to flash a 3D printer using a hex file. In my opinion, the easiest way is flashing with the Cura slicer. We will consider this method next.
The technique is described using the Cura 4.2.1 slicer as an example.
We need a Cura slicer
And the actual firmware file.
Now turn on your 3D printer and connect it to your computer with a cable.
Make sure the slicer can see your printer.
Now start the slicer and go to your printer's Menu. To do this, go to the menu item “ Parameters ” -> “ Printer ” -> “ Printer management ”
If you have several printers, select the one you want to flash from the list.
After selection, a menu with several buttons will be available on the right, among which there will be a button labeled “Update Firmware”. Click on this button.
This will open a window named “ Upgrade Firmware ”. In this window, press the button “ Upload your own firmware ”.
Now the Cura slicer will ask you to select the firmware file you will be slicing. The explorer menu will open. We go to the directory in which the firmware file lies and select this file.
In my case, it was the firmware for the Anycubic 4max 3D printer. In your case, this should be the firmware you want to flash. After selecting the firmware file, you must press the button “ Open ”
After clicking the “Open” button, the process of flashing your 3D printer will automatically start. And it will last for some time.
After the firmware is finished, the window will look like this:
Button “ Close ” becomes active. To complete the flashing process, press the button “ Close “.
Click the “ Close ” button in the “ Upgrade Firmware ” window.
Click the “ Close ” button in the “ Settings ” window Section “ Printers”.
Now close the slicer.
Restart your 3D printer. To do this, unplug it from the outlet for 1-2 minutes and turn it on again.
Through the printer menu or command.
To reset the printer settings to default settings, execute the following commands:
M502
M500
The process of sending commands to the 3D printer was described in the article “3D Printer's Diary. Calibration of the plastic feed on the extruder MK8 of the Anycubic 4max 3D printer
At this point, the 3D printer firmware process can be considered complete.
I hope the article was useful to you. For those who are interested, an article will soon be published on how to compile the firmware hex file yourself.
If you have not got a 3D printer yet and are thinking which model to choose, I can recommend the following models:
Anycubic i3 Mega 3D printer
Anycubic Mega-S (Anycubic S) 3D printer If you like the article and want to support the site and receive notifications about new materials, join our Vkontakte group: https://vk.com/ionline_by
http://ionlineby.pushassist.com/
About firmware "SHUI" - SHUI
SHUI - firmware for 3D printers based on control boards
MKS Robin Nano revisions 1.1, 1.2, 1.3, 2.0, 3.x. As well as their analogues from FlyingBear Ghost such as Reborn 2.0 and 3.0
Installation and configuration guide.

Actuality: firmware
TEST-ONLY from 11/16/2022Special thanks for the invaluable contribution:
- Vladimir
- Alexey
- Rodion
Before you start
The firmware develops very quickly and all changes always arrive first in the test version (test-only folder on GitHub). Accordingly, all pictures and descriptions here relate only to the TEST version of the firmware. Why? Yes, because a) the test firmware is quite stable, because the author is a great professional, b) because the test firmware has the most goodies, and c) because the author of the manual does not have time to maintain two branches in parallel. Summary : if you are very afraid of fresh software - go back to Marlin. I recommend to put only test - it is always on top. To the madness of the brave we sing a song. Now let's start.
Introduction
SHUI firmware is a modified and improved firmware for Marlin 3D printers, with a unique graphical interface. The firmware compares favorably with other Marlin graphic add-ons in that it has not only a convenient and ergonomic interface, but also a lot of opportunities in terms of configuring various basic and system parameters of Marlin directly from the user interface, without requiring recompilation of source codes.
About the author
The author of the firmware is Vyacheslav Shubin . Discussion of the firmware, latest news and links to fresh releases and test builds are located on the shui-public channel in Telegram: https://t.me/joinchat/8eQiBVI29zw1YTU6
The author's github with the firmware is located here: https://github.com/vyacheslav -shubin/shui
The author takes note of any constructive suggestions and implements them in new versions with amazing speed. So if you have constructive suggestions - please.
Attention! Certain conditions of communication are accepted in the telegram channel, namely - courtesy to others and no rudeness, POLITICS and swearing, even disguised. This is the will of the author, and you, as a guest, are obliged to adhere to the rules. If you want to dissolve the language - do it in another place, please. Otherwise, Vibegallo's cadaver is waiting for you and you will not get away, but will go to shave your ears alone.
From the author of this manual
Photos of the printer screen were taken with a camera and/or mobile phone and do not fully convey the entire color gamut of the image on the display. Sometimes they are created in an artificial way, which is more juicy in colors, but I did not find a suitable font. The original appearance of the interface is much better. Russian language, style, syntax and spelling errors are ignored. Technical terms are used as necessary.
There may be discrepancies between the pictures of the display and the real image on the screen - this is due to the fact that the firmware is constantly being finalized and supplemented with new functionality. The camera simply does not keep up with the author of the firmware.
All coincidences with real animals, and God forbid with people - are accidental. The author does not know anyone, does not know anyone and has no relationship. All settings in the pictures are random and are provided as a guide only. I walked by, took out my phone and took a picture. I don't remember the place and time... Set up your printer yourself, according to your data.
The following words are considered synonyms:
⦁ Print head = Carriage =
⦁ Limit switch = Limit switch⦁ Auto level sensor = BLTouch, 3DTouch or BFTouch
⦁ We assume that BLTouch and 3DTouch are the same
About the firmware version described here
I repeat once again: this manual describes only the current test firmware version. There is also a stable one. The stable version lags behind the test version in terms of functionality and constantly confuses all weaklings, so the author of the manual (that is, me) decided to describe only the latest test versions.