3D print resin figures
3d Resin Figures - Etsy.de
Etsy is no longer supporting older versions of your web browser in order to ensure that user data remains secure. Please update to the latest version.
Take full advantage of our site features by enabling JavaScript.
Find something memorable, join a community doing good.
( 1,000+ relevant results, with Ads Sellers looking to grow their business and reach more interested buyers can use Etsy’s advertising platform to promote their items. You’ll see ad results based on factors like relevancy, and the amount sellers pay per click. Learn more. )
Resin 3d Figurine - Etsy.
Etsy is no longer supporting older versions of your web browser in order to ensure that user data remains secure. Please update to the latest version.
Take full advantage of our site features by enabling JavaScript.
Find something memorable, join a community doing good.
( 1,000+ relevant results, with Ads Sellers looking to grow their business and reach more interested buyers can use Etsy’s advertising platform to promote their items. You’ll see ad results based on factors like relevancy, and the amount sellers pay per click. Learn more. )
"Glass" figurines made of photopolymer
I want to show and tell the technique of obtaining glossy figurines printed on a photopolymer printer, using the example of toy deer that can be hung on a Christmas tree or placed on a mantelpiece :) I do not discover America, such methods have long been known, but not to everyone and not always in detail.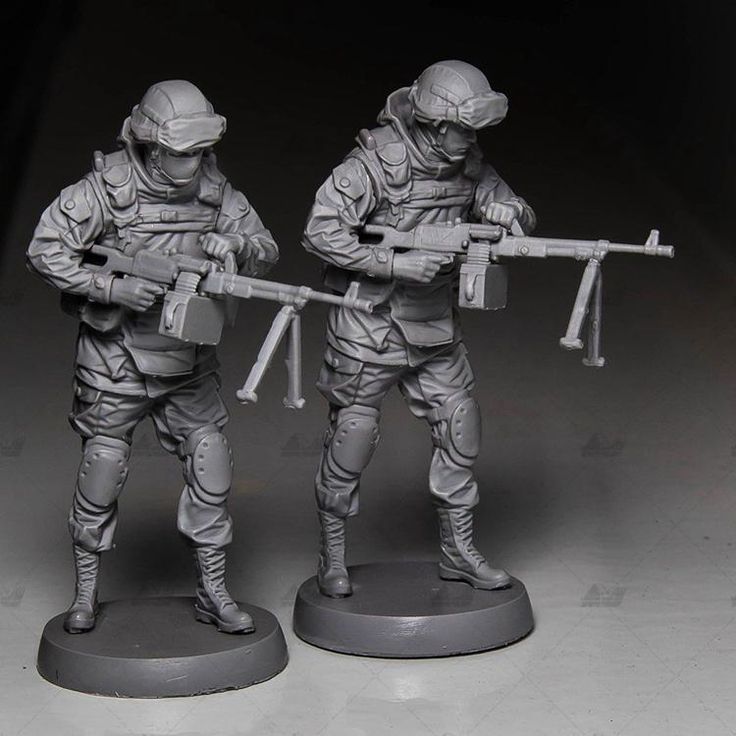
The deer model is this one - https://www.thingiverse.com/thing:571949 . I reduced it to 7 cm in height (to the tips of the horns), thickened the loop a little, made it hollow and made a couple of holes to eliminate the suction cup effect and the possibility of washing inside. Printed with Elegoo Red resin with x4 anti-aliasing.
Why is this?
Well, firstly for beauty. Sometimes a transparent figurine made of colored resin looks very interesting and beautiful. Secondly, for some transparent model parts - glazing, for example. It can also be useful when printing light guides to LEDs.
Modern photopolymers have a very good resolution - less than 50 microns in all axes. And although this figure seems very small, the models do not come out of print with a smooth appearance, alas. Both layers in Z and pixels in X / Y create miniature bumps on the surface, which are almost invisible to the eyes already from half a meter, but nevertheless they give a matte surface effect and various interference patterns. Someone may say: "Yes, I saw in the videos how shiny figures are obtained directly from the printer!". Yeah, they do it in commercials. Because either the exposure time is too long (at normal time, bloggers can’t print because they don’t know how to prepare the model for printing) or the printer is very soapy (but bloggers don’t understand this or pretend that everything is fine, this is how it should be on good printers ). In both cases, this means that the print detail will be below the baseboard :)
The essence of the problem
Here is a transparent resin of a beautiful color, from which I wanted to print a beautiful colored transparent figure. Just like in the advertising pictures of resin manufacturers :)) Print it, remove the platform and see the indescribable beauty - the figurines just came off the resin advertisement :)
Everything worked out, wow!
Yes, right now... The beauty instantly disappears from the figurines during washing, along with the remnants of liquid resin :) And the figurines become much less beautiful and look like advertising pictures.
If the printer has really good print sharpness, then a simple coat of varnish will not help, even thick with a brush. One-component varnishes dry out quite a lot and fit the tubercles of the pixels, repeating their shape. In 5-10 layers it may work, but after a couple of layers of acrylic varnish, the surface still looks like this:
You can, of course, set the exposure time to 2 times longer than normal and this will most likely give gloss, but print, for example, 12 hours instead of 6? Not the most convenient option :)
You can take epoxy or a two-component varnish, but diluting them in 2-3 ml is still a pleasure. Or it will be necessary to dilute 5-10 ml and waste 90%. Plus the polymerization time is not very short :)
Suggested solution
The option I propose (known in narrow circles, I think) has the advantage that it does not require any materials that you need to go to the store or order separately :) As a rule, those who print on a photopolymer printer already have all the materials . Well, maybe except for lacquer, which is not at all difficult to buy at a local store. And without which you can even do without, getting only a slightly less beautiful result.
So. After washing the model, we have this picture (all photos will be in two identical versions - with side illumination and with back illumination):
It can be seen that there is some kind of transparency, but there is no smell of glossiness here.
1. It is necessary to cover the inside of the figurine with a thick layer of varnish if it is hollow.
If this is not done, then the internal haze will not allow transparency to appear, although the external gloss will be present.
I just pour the varnish inside, plug the hole in the model and run the varnish over all the internal surfaces a couple of times. Then, with a syringe and a needle, I draw out the excess varnish. An important point: you need to avoid getting varnish on the outer surfaces of the model, and if it does get there, you need to wipe it thoroughly. This is critical to the quality of the next step. That is why I draw out the excess varnish with a syringe, and do not just pour it out of the hole in the model.
After that, I leave the figurine for 10 minutes so that the varnish inside dries a little and proceed to the next step.
This is what the figurine looks like, varnished from the inside:
2. Cover the outside of the model with photopolymer.
The best result gives a thick so-called "jewelry" photopolymer. It is sold on Ali as a material for crafts in jewelry instead of epoxy, for example - https://aliexpress.ru/item/32921020052.html. By the way, it is also convenient for them to glue parts of models. The difference from printer photopolymers is that it is thick and translucent / polymerized to a great depth, up to several mm. Due to the density, it better fills the gaps between the pixel bumps and gives a more even layer. However, it is quite possible to use the same resin with which the model was printed, the result is also very good :)
The resin is applied with a brush.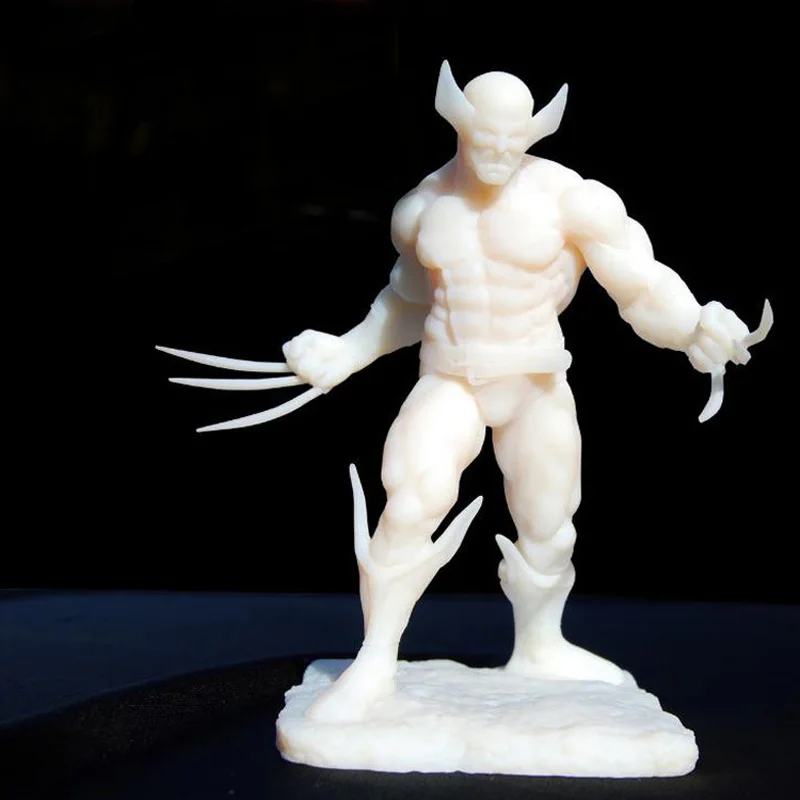 It is not necessary to apply very thickly, but you do not need to hold a semi-dry brush either. Before application, it is highly desirable to degrease the surface of the model if you grabbed it with your fingers, otherwise the resin may become stained.
After applying the resin to the figurine, you need to give it a couple of minutes for the resin to finally level off on the surface and, perhaps, its excess to drain onto a napkin, on which the model was placed for this time.
Warning: if you are working with jewelry resin, then you do not need to turn on a bright work light above the table - it can easily begin to polymerize under it right on the brush :) If there are traces of acrylic varnish from the previous step on the model, then the resin in this place will most likely peel off.
The brush is easy to clean with alcohol or thinner/acetone.
3. Flare.
Now you can put the model under UV light so that our coating polymerizes.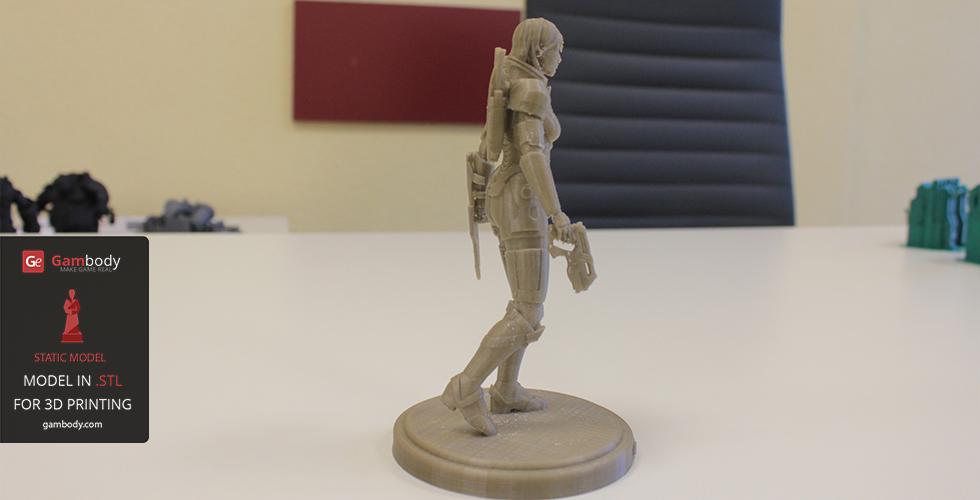 Literally for 30-60 seconds, that's enough. After that, we take the model and ... drown it in a transparent container with clean water :)
The issue of exposure without oxygen has been raised more than once in discussions for articles and in the articles themselves. Its essence is that oxygen in the air is an inhibitor of the polymerization process, that is, it interferes with this process. Therefore, a thin layer of unpolymerized resin remains on the outer surface. It feels like a slightly oily finish on the model that rubs off easily with your fingers, leaving a matte finish underneath and staining your fingers. In order for the outer layer of resin to fully polymerize, you need to re-light in the absence of oxygen, and the easiest way to achieve this is to lower the model into water. They also light up in glycerin, in propylene glycol. I also read about the method of burning oxygen with a candle in a closed container with a model. You can probably pump the air out of the tank :) But the easiest thing is to just lower the model into the water :)
Here, a strip of acrylic on top presses on the antlers of a deer, melting it, because. he is hollow and does not want to sink himself :)
And so we put the container with the model under UV for the final illumination for 10-30 minutes.
After the end of exposure and drying of the model (the surface no longer has a greasy feel and does not lose its gloss from touching), we get an almost finished result.
This is how it turns out when coated with the same resin that the model was printed with:
And like this with transparent jewelry:
This is already quite satisfactory, but you can make it even better if you cover it with a glossy varnish on top.
4. Varnishing.
This time I decided to try the varnish recommended to me by a familiar modeller, known among modellers as "futura". In fact, this is a state-of-the-art product for glossing floors, but in our country it is known only among modellers as a very fluid varnish that gives excellent gloss :) In the original, this product looks like this:
We sell it in small bottles with self-made labels :)
And yes, this varnish does give a very thin layer after drying.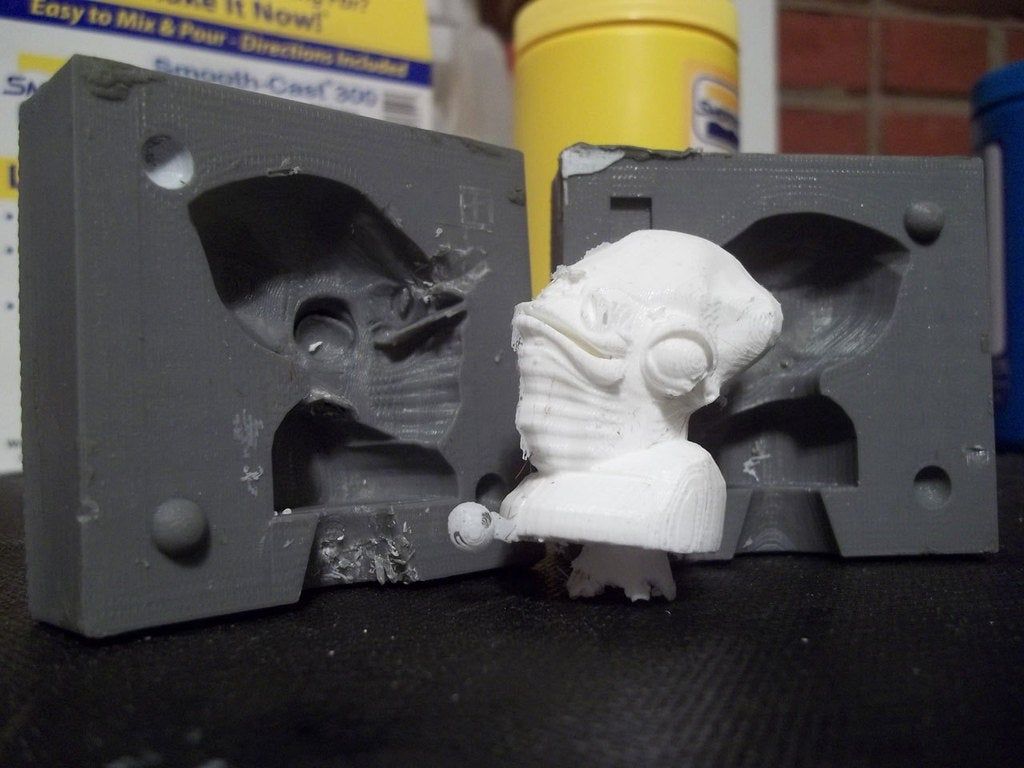 As they say, it is almost impossible for them to "fill in" the model. And when applied with a brush, because of its fluidity (almost like water), it does not leave smears. In principle, you can generally dip a model into it, let the excess drain off and everything will look great :) And it has a pleasant smell, something between perfume and flavored household chemicals.
You can use any other, favorite or available. The main thing is transparent, glossy and not leave streaks :)
As before applying the resin, it is desirable to degrease the model before varnishing.
There is nothing special to paint here - the varnish is applied in any convenient way. Brush, airbrush, spray can.
After the varnish has dried, we get the final model, which looks like it was cast from glass :)
This is resin printing varnish:
And this is jewelry lacquer:
I bow out for this, I hope it will be useful to someone :)
Making miniatures 28mm, dioram, game locations using 3D printer
09. 03.2022
Content
-
- How to choose a 3D printer for miniatures
- FDM
- LCD/DLP
- Print examples
- Best Printer Ranking
- FDM
- LCD
- Total
3D printing finds its application in various fields, not only as a production machine, but also as a reliable hobby assistant.
Miniature figurines with amazing detail attract the eye. A little grotesqueness and slightly wrong proportions (otherwise it would be inconvenient to play or transport such a “little one”) are more than compensated by detailed elaboration and an abundance of small, at first glance, insignificant details. These are no longer just small table soldiers, but heroes with their own unique history.
Warhammer 40k miniature soldier
Miniatures come in different sizes: from 6mm and more. The most popular today is the 28mm format. The creation of such figurines is really almost jewelry work.
A 3D printer will help not only in the production of miniatures, but also in related areas, such as the creation of figurines, details of game locations, or, for example, elements of dioramas. To understand the advantages of 3D printing over classical manufacturing methods, it is worth remembering how such models are usually made at home.
Advantage of 3D printing for miniatures
Not everyone was ready to shell out a substantial amount for the purchase of a set of table soldiers, and sometimes the necessary heroes simply were not on sale. Then baked and self-hardening plastics for modeling were used.
First you need to make a wire frame, so the finished figure will turn out to be more durable, and it will be much easier to keep all the proportions. The wire frame can be attached to the stand, which will make the miniature statue more stable, and it can be easily fixed in any position without fear of smearing small parts with your fingers.
Wire frame for miniature
Gradually, layer by layer, the volume of plastic increases on the frame. Each layer must be baked or dried well, depending on which plastic is used - self-hardening or baked.
Gradually, we begin to add small details and work out the details. In fact, this is a very painstaking process that requires perseverance and some sculpting abilities. For a convenient study of small details, you may need special stacks for modeling, but they can be successfully replaced with improvised tools.
Sculpting tool kit
The result is such a miniature statue.
Miniature 28mm baked plastic
By the same principle, large table figures, or some elements of dioramas, can be made.
Sometimes a sculptor is more accustomed to working with plasticine. Then, after sculpting, the stage of preparation and casting of the figurine into a silicone mold is added. This method is suitable for small-scale production of a small desktop army.
But it is necessary to properly prepare the figurine for casting. The finished "warrior", most likely, will have to be divided into several parts, so that it would be more convenient for the caster to remove the molds and make castings. During the cutting process, it is worth adding a few locks so that the finished castings can be easily assembled, like pieces of a puzzle.
Molded figurine against silicone mold
Some craftsmen have learned to cast metal copies. Such soldiers are usually made of low-melting metals (for example, lead) and cast in plaster molds. Sometimes a special silicone is used, but it is a little more difficult to achieve good shedding of a small product in a silicone mold.
Cast metal soldier
In addition to making figurines from scratch, some craftsmen remake ready-made miniatures. This is called conversion.
Conversion in miniatures is a refinement, stylization or alteration of a finished figure. Unfortunately, not every hobbyist has good sculpting skills, and this alteration helps to achieve good results regardless of artistic skills. The main thing is to act very carefully.
Conversion helps enthusiasts achieve amazing figurine detail, add some detail, change the pose, or create a new character that is not yet on sale.
Lord of the Astral Claws turned to Chaos
In addition to making the figures themselves, modelers create colorful locations to immerse themselves in the world of their favorite game. This is true not only for 28mm miniatures, but for example for DND games. Such voluminous locations allow you to immerse yourself in the world of your favorite game much better and make the game more exciting.
Game location for board game Warhammer40k
The creation of such locations is painstaking work, and both improvised and special equipment are used as material.
Role play location
A 3D printer allows you to produce miniature figures and game locations much faster. On the Internet you can find many paid and free models of 28mm figures from different universes or various elements of locations - houses, fences, mechanisms, etc. Adapting or slightly changing the finished 3D model for yourself is much easier than cutting and gluing a finished figure. And creative people with modeling skills are unlikely to have difficulties with the transition to “digital clay”.
Warhammer40k universe 3D model
And of course, dioramas are worth noting. This is a separate art form with a scene or location frozen in time. Dioramas come in different sizes, but each of them impresses with its detail and careful study.
Diorama based on the game STALKER
Each diorama is unique, so the craftsmen use improvised materials to make it. Everything is limited only by the imagination and ingenuity of the artist.
Diorama “Desert Hero”
The main advantage of 3D printing is high detail and repeatability. If you need to make a small batch of miniatures, it will be much easier to print them than to cast, for example. Casting small items is a painstaking process that requires some skill and equipment. It is very difficult to achieve good pourability of small products the first time.
From model to finished figure
And for the manufacture of piece products, such as a diorama element, a 3D printer can replace many materials and tools for modeling. In addition, by using and combining different materials, it is possible to create models that are difficult or almost impossible to create manually. For example, using a special polymer, you can print optically transparent products that can imitate glass.
Which technology to choose
To begin with, it is important to determine the requirements for the printer - will it be used only for the manufacture of 28mm personal army or should it be a universal printing machine? It is important to understand what size the finished model will be, how detailed it should be, and how much time can be spent on post-processing.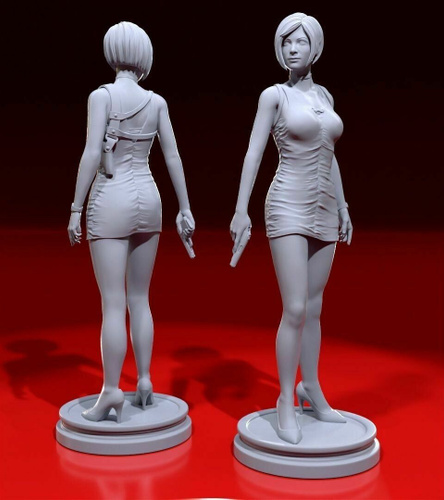
Depending on this, it is worth deciding on the technology by which the 3D printer will work. You can choose one of two technologies - FDM or photopolymer printing (there are several technologies, but DLP and LCD printers are currently popular).
FDM
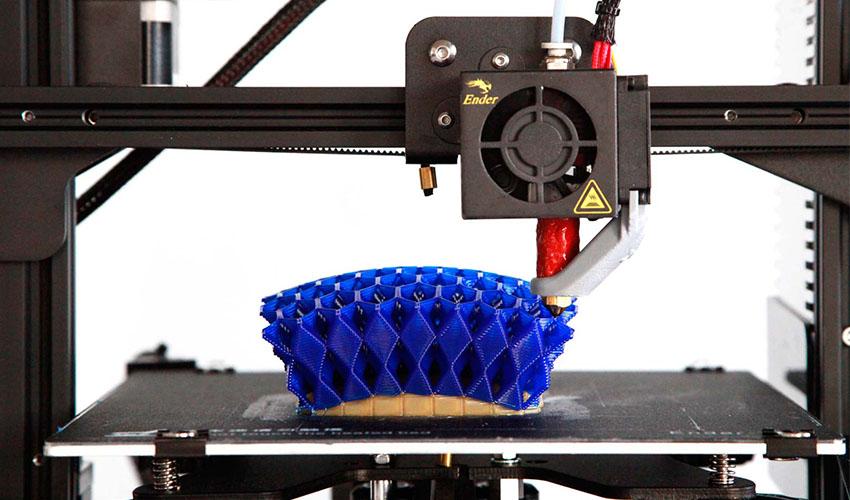
FDM 3D printers use a plastic filament as a material. In a heated extruder, the filament is melted and extruded through a thin nozzle, so layer by layer, a three-dimensional model is grown.
Working principle of FDM 3D printer
Layer thickness and nozzle diameter can be changed in some printer models. The minimum layer is usually 0.1 mm. In some models of 3D printers, a layer of 0.05 is available, but for printing with such a layer, it is important to choose the right many settings and the print speed will be quite slow.
Pros:
-
Large print area
-
Many different materials are available for every “taste and budget”
-
Inexpensive Consumables
Cons:
Of course, FDM printers are hardly suitable for making miniature figures, but they can be successfully used to print large souvenir figures, create game locations and some parts of dioramas.
LCD/DLP
The principles of operation of LCD and DLP printers are very similar. The material used is polymers that harden under the action of UV light. The only difference is that an LCD printer uses an LED matrix in conjunction with an LCD screen as a source of UV radiation, while a DLP uses a projector.
How a 3D photopolymer printer works
Pros:
-
The ideal surface of the finished figure
-
Many different materials available
-
High print accuracy even for the smallest items
Cons:
Photopolymer 3D printers are able to create miniature products that cannot be made using FDM technology. This technology will be an ideal choice for creating miniatures, small poster models, etc.
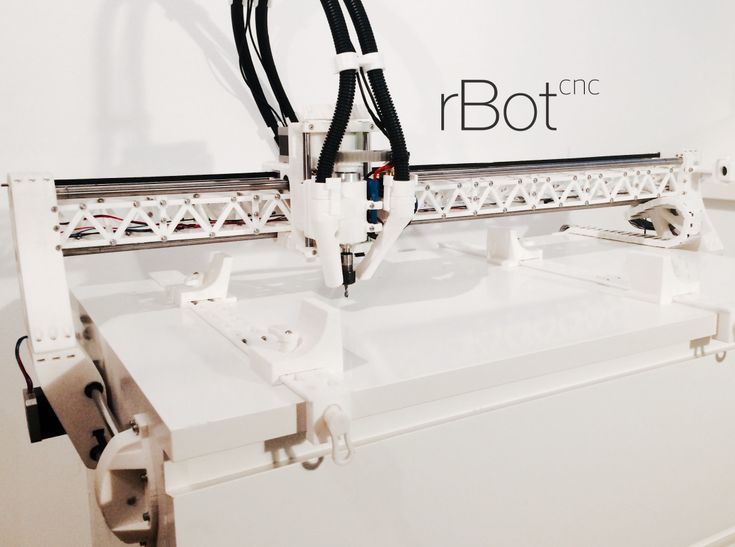
Printing examples
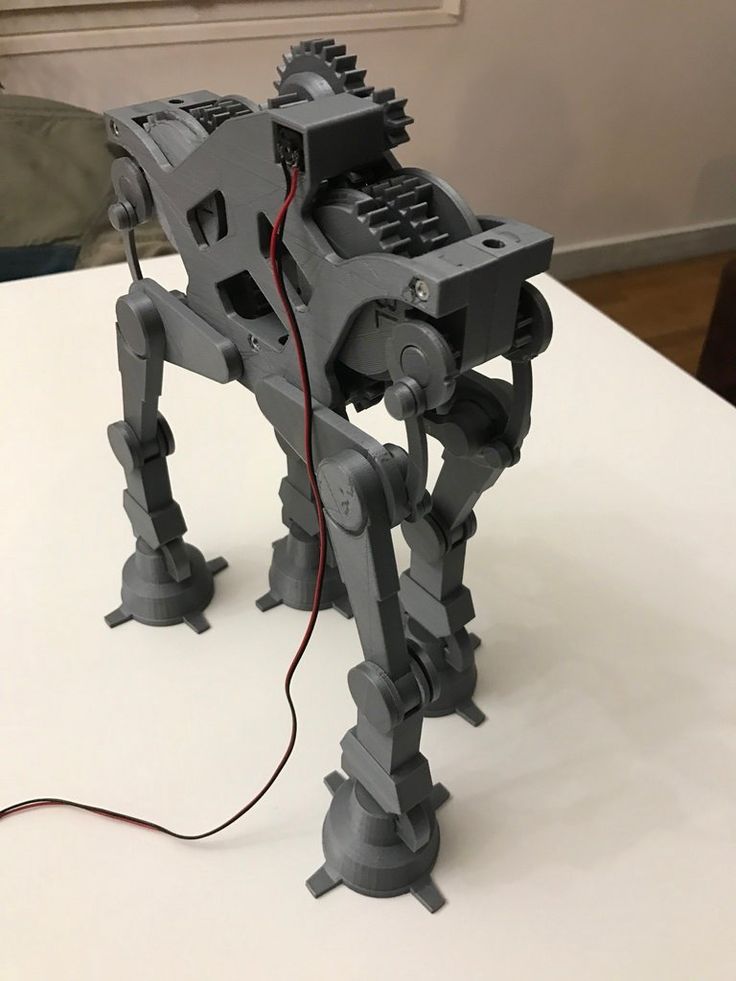
Robot printed on Asiga Pro 4k
Figurine made with Phrozen Sonic Mini 4k
28mm 3D printed miniatures
3D Printed Halloween Miniature
3D printed play models
FDM Cube Thrower
Figure making process from 3D model to painting
Best Printer Ranking
FDM
Creality3D Ender 3 (Build Kit)
Features:
Print technology: FDM/FFF
Working area size: 220x220x250 mm
Number of extruders: 1
Max.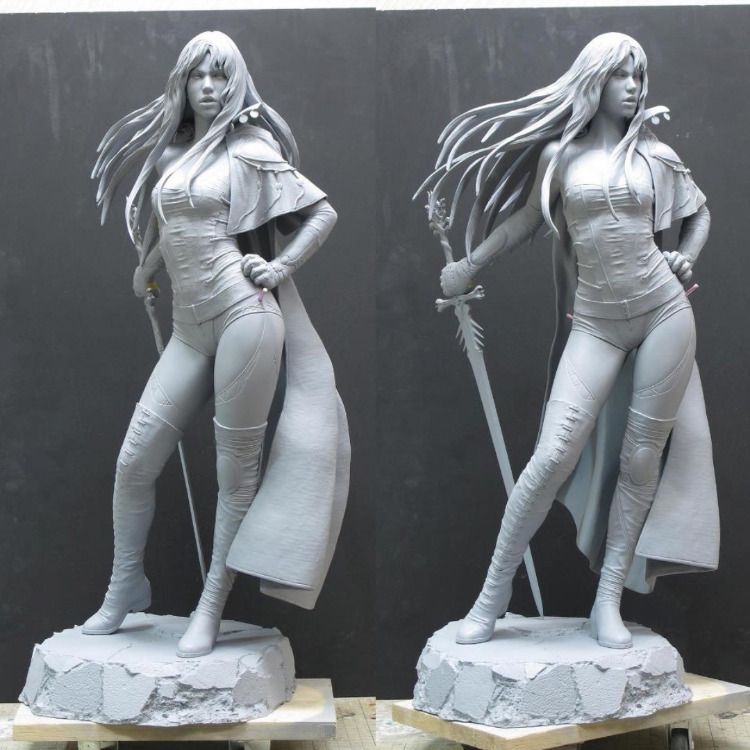 extruder temperature: max. 255℃
Closed Camera: No
Heated table: Yes
Plastic type: ABS, PLA, PETG, Flex, Decorative plastics, others
A popular and unpretentious 3D printer that many makers liked. Creality3D Ender 3 is sold as a kit (assembly kit), but thanks to the detailed instructions, there should be no problems with assembly.
Wanhao Duplicator 6 Plus
Features:
Print technology: FDM/FFF
Working area size: 200*200*180mm
Number of extruders: 1
Max. extruder temperature: max. 260°C
Closed Camera: Optional
Heated table: Yes
Plastic type: ABS, PLA, PETG, Flex, Decorative plastics, others
Wanhao Duplicator 6 Plus is an updated version of the Duplicator 6. The new modification adds automatic calibration, printing resume after a power outage, and others. You can immediately purchase a printer with a closed case, this will allow you to easily print with composites. Wanhao Duplicator 6 Plus will become a trouble-free workhorse, and thanks to the “omnivorous” extruder, even a beginner will be able to print exotic materials without any problems, such as soft flexes or rubbers.
FlashForge Creator Pro 2
Features:
Print technology: FDM/FFF
Working area size: 200x148x150 mm
Number of extruders: 2
Max. extruder temperature: max. 240°C
Closed Camera: Yes
Heated table: Yes
Plastic type: ABS, PLA, PETG, Flex, Decorative plastics, others
FlashForge Creator Pro 2 is an almost professional dual extruder 3D printer. Thanks to the closed body, Creator Pro 2 has no problems even with composite materials, and two extruders allow the use of soluble support for complex models. Moreover, FlashForge's extruders are independent, which allows you to print 2 mirror or identical models at the same time. This allows you to speed up the production of the same type of models.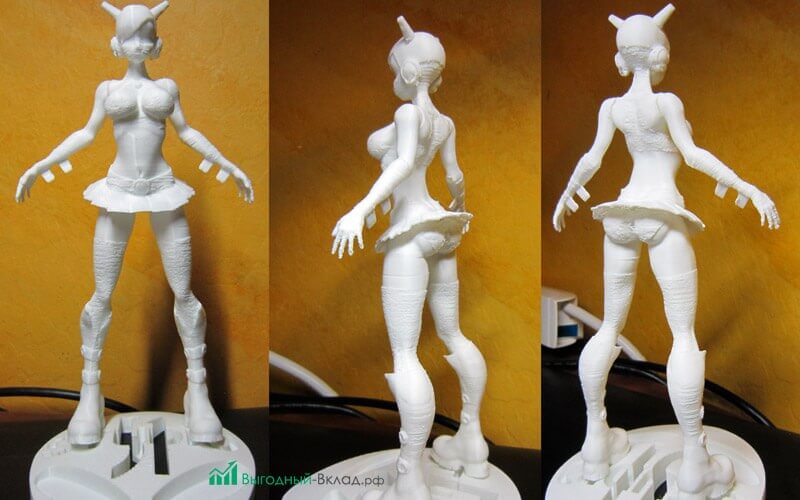 FlashForge Creator Pro 2 will not only be a good home printer, but also a great helper for a workshop or small production.
LCD
Anycubic Photon Mono 4K
Features:
LCD display resolution: 3840x2400 (4K)
UV wavelength: 405 nm
Working area size: 132x80x165 mm
Layer thickness: 0.01-0.15mm
Inexpensive, but fairly modern 3D printer with a 4K monochrome display. Anycubic Photon Mono 4K will be a good tool for printing miniature models.
Phrozen Sonic Mini 4K
Features:
LCD resolution: 6.1" 4K Mono LCD
XY positioning accuracy: 35 microns
UV wavelength: 405 nm
Working area size: 134x75x130 mm
Layer thickness: 0.01-0.30mm
The Phrozen Sonic Mini 4K is a compact high resolution 3D printer. It allows you to get accurate models even with an abundance of small details. Sonic Mini 4K is a good choice for those who need to print quickly and accurately.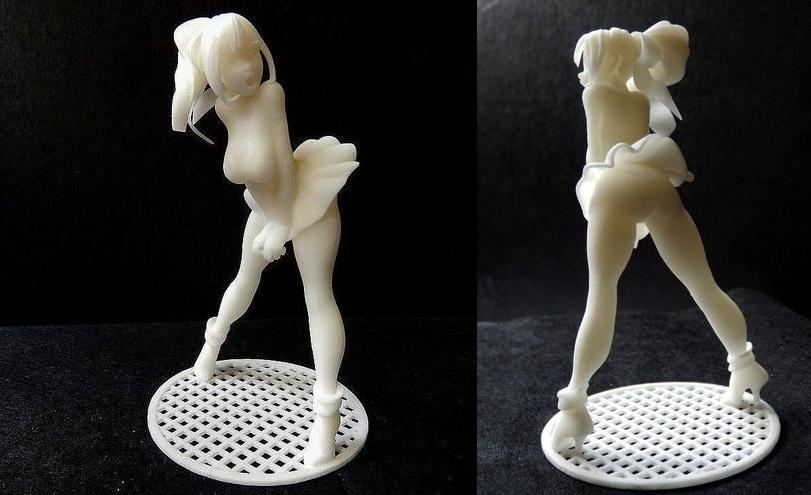
Phrozen Sonic Mighty 4K
Features:
LCD resolution: 9.3" 4K Mono LCD
XY positioning accuracy: 52 microns
UV wavelength: 405 nm
Working area size: 200x125x220 mm
Layer thickness: 0.01-0.3mm
With a larger work area, the Phrozen Sonic Mighty 4K allows you to quickly produce large models or small batches of small items. Such a 3D printer will be a good help for a small workshop or a hobby circle.
Phrozen Sonic Mini 8K
Features:
LCD resolution: 7.1" 8K Mono LCD
XY Positioning Accuracy: 22 µm
UV wavelength: 405 nm
Working area size: 165x72x180 mm
Layer thickness: 0.01-0.3mm
Phrozen Sonic Mini 8K is one of the representatives of 8K photopolymer printers, which can still be counted on the fingers of one hand. The high resolution LCD-matrix allows you to print figures with amazing surface quality and amazing detail.