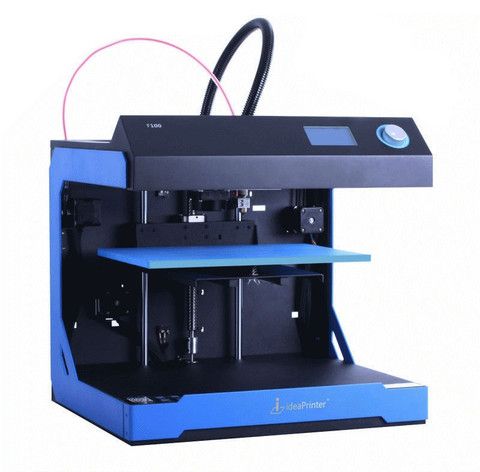
111P 3d printer
#1 Best-Selling 3D Printer Brand in the World
3D PRINTERS BASIC "HOW TO" QUESTIONS
What is a Bowden tube connector?
The Bowden tube connector is typically a small piece that looks similar to a valve. It allows filament to feed directly into the extruder motor, which pushes filament through the heated nozzle. It is also common to refer to this part as a Bowden Coupler or Pneumatic Push Connector, as well as other names.
-
Most connectors have a circular tab on the top of the piece, which is what keeps the PTFE tube inserted into place.
Press down on this circular tab to either remove or insert the PTFE tube. Once the PTFE tube is in place, release the circular tab to secure it in place.
- Always press down on the circular tab before attempting to remove the PTFE tube to prevent damage to the Bowden connector.
What types of filament should I use?
While you can use any type of filament you want, we suggest that beginners should start with PLA or PLA+ filament. This allows you to become acquainted with your new printer and get a better understanding of how it works. The table below lists the most common types of filament with use-case suggestions and suggested temperatures.
| NOZZLE TEMP | BED TEMP | USAGE | |
| PLA/PLA+ | 180 ~ 200°C | 40 ~ 50°C | Models, low-wear toys, prototyping |
| ABS | 210 ~ 230°C | 50 ~ 60°C | Phone cases, average-wear toys, tool handles |
| TPU/TPE/TPC | 210 ~ 230°C | 30 ~ 50°C | Flexible objects, wearables, PPE components |
| PETG | 220 ~ 240°C | 50 ~ 60°C | Mechanical parts, PPE components, high-wear pieces |
How do I maintain my printer?
As with most mechanical objects, your 3D printer needs periodic maintenance to keep it operating at peak performance.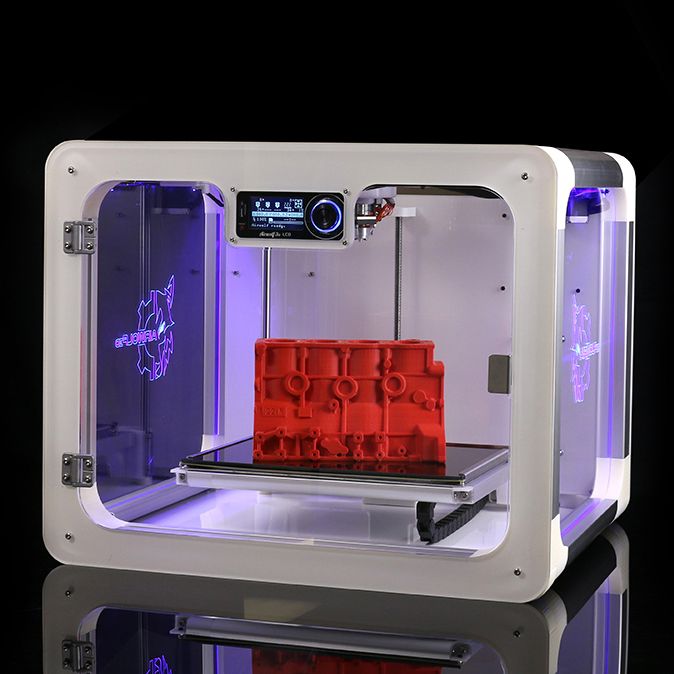 Following are a few tips and tricks to keep in mind.
- Always remove filament completely when you have finished printing for the day. Allowing the filament to cool in the nozzle can cause clogging and further complications.
- To clear a clog, preheat the nozzle to 220°C, then manually push the inserted filament with more force than the printer's extruder motor is capable of exerting.
- Always double-check the level of your print bed. Printers with Auto-Leveling may need the offset adjusted. This will be a unique value for every printer. The space between the nozzle and the print bed should be 0.1mm, which is the thickness of a sheet of standard printer paper.
Food safety and 3D printing
Many people want to create objects for use with food or drink with their 3D printers, such as decorative plates, molds, cups, or cookie cutters. While this is indeed possible, there are several things to keep in mind.
- Always ensure that the filament you intend to use is food safe. This should be indicated on the product page or on the packaging. Some brands have specific types of filament that are FDA approved.
- FFF printing is the process of melting and extruding thermoplastics into thin layers to build a model. Printing at the lowest layer height may help prevent ridges. Truly food safe objects should have a perfectly smooth surface.
- Most standard thermoplastics will react to the high temperatures used with standard dish washing. It is best to use lukewarm water and an antibacterial soap. This reduces the risk of damaging the print and removes any surface bacteria.
- Brass nozzles are a standard part for many 3D printers. However, these may contain trace amounts of lead. Using a stainless steel to print objects for use with food or drink will eliminate any risk of lead contamination.
3D PRINTER FILAMENT 101
A more in-depth explanation of 3D printer filaments.
https://youtu.be/tFM3Qv3I2g0
HOW TO LEVEL A PRINT BED INSTRUCTIONAL VIDEO
https://youtu.be/WD_0FlTf3_I
GLOSSARY OF 3D PRINTING TERMS
https://monopricesupport.kayako.com/article/325-commonly-used-terms
MONOPRICE 3D PRINTING FAQ
https://monopricesupport.kayako.com/category/2-3d-printing-videos
CONTACT US SUPPORT
https://www.monoprice.com/help?pn=contact
Buying Guide
3D printing has changed what it means to “create”. Ideas and designs that once only ever existed in our imagination can now be turned into real-life objects you can touch and feel or even hold in your hand. Are you the kind of person who comes up with better ways to solve problems? Perhaps there’s a small tool or time-saving device you wish you had but it hasn’t been invented yet? Well, now you can be inventor.
Beyond giving us more ways to create, 3D printing is also an integral part of the STEM (Science, Technology, Engineering and Math) movement. It takes your child’s curiosity and creativity to new heights helping them think outside the box. Monoprice makes 3D printing accessible to all with a low cost-of-entry for everything you need to get started including printers, filament, and more. Now it’s your turn to make your perfect vision into a reality.
3D Printing Basics
3D printing at the core is just transforming a virtual design into a fully three-dimensional product. The printer achieves that through what is called fused deposit modeling (FDM). Filament is fed into the printer (like ink in a traditional printer), heated, and extruded onto the printer bed in layers. Each layer is a cross section of the final, three-dimensional object.
What You Can Make with a 3D Printer
What’s in it for the average consumer? A lot, actually. Here are a few of the many possibilities:
• Turn ideas into reality
- Wow your child by turning their 2D drawings into 3D creations that can stand out in a place of honor on the kitchen counter, coffee table or home office desk.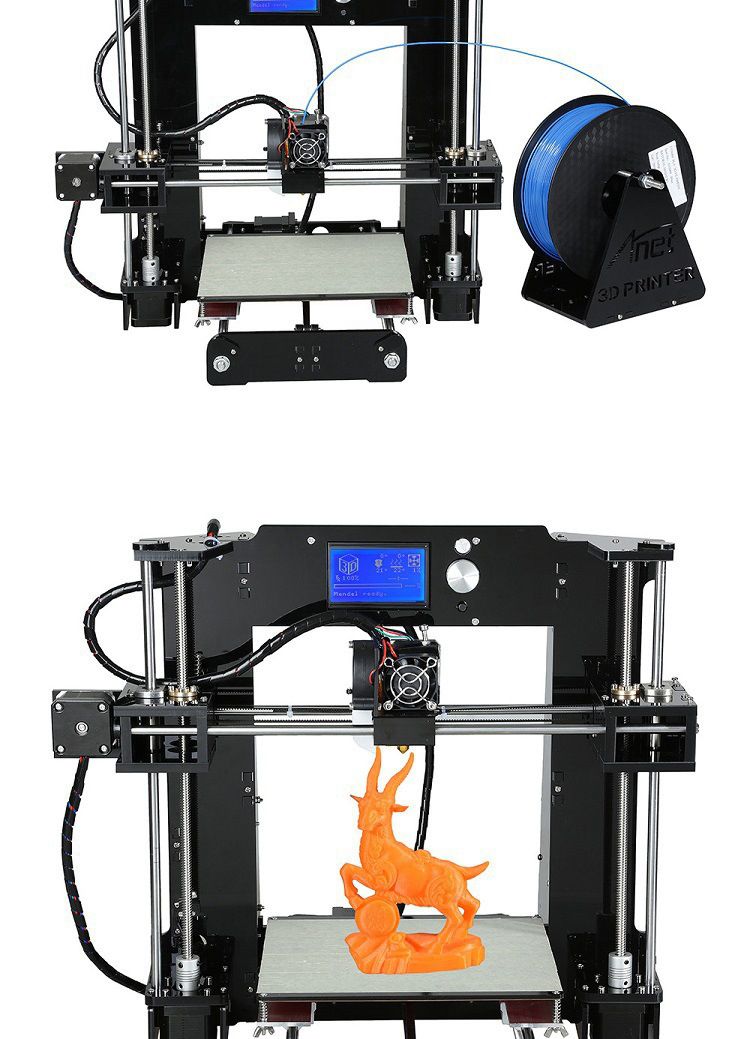 Show and tell will never be the same.
• Useful Household Items and Custom Cooking Utensils
- Print everyday items that help you organize or stretch your cooking skills with custom tools and utensils.
• Fix Instead of Buy
- Gone are the days when you could buy one blender to last you a lifetime. These days, everything seems to be planned for a 2-year life span at most before you’re forced to upgrade to the latest model. With a 3D printer, you can get around that by searching designs for specialty parts or create your own.
• Toys and Trinkets
- Of course, if you want to just print designs of models - whether they’re reproductions or original creations - a 3D printer is perfect for that as well. See what you can create with limitless imagination and the right tools.
Which Monoprice 3D Printer is Right for You?
Now that you’ve got some ideas of how you can use a 3D printer, you can start looking into the models that we offer.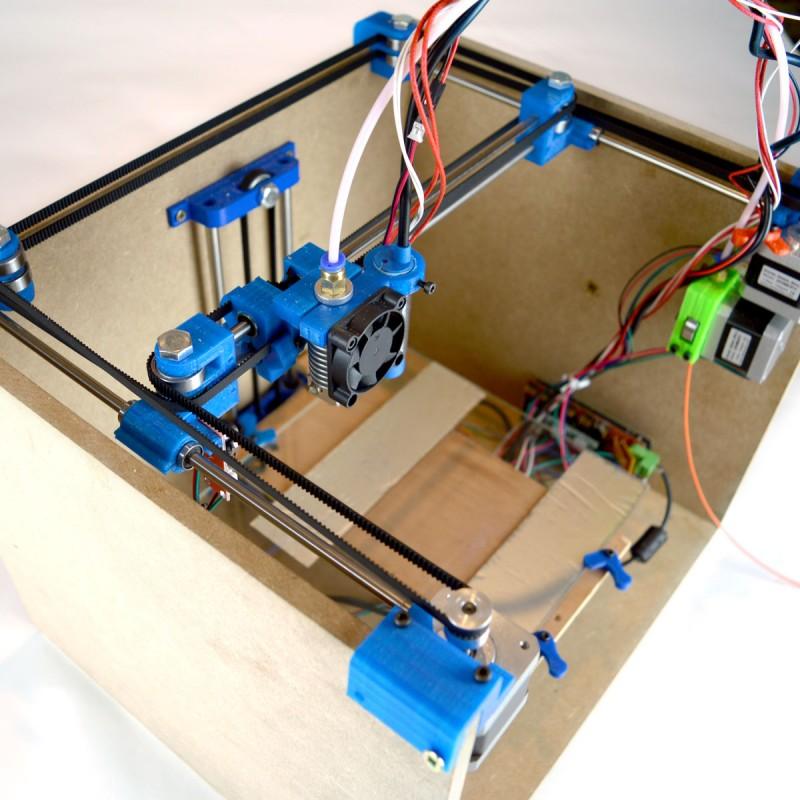 Whether you’re looking to add to your figurine collection or focus on replacing specialty parts for your household items, we have a 3D printer that suits your specific needs. Compatibility with Windows, Mac, & Linux keeps your options open. We ship them with easy to use software like Cura and Repetier, but they’re also compatible with other open source software available.
MP Select Mini
• Remove the element of risk entirely with this affordable starter. The MP Select Mini is a great option for beginners because of its no-hassle approach. Coming fully assembled, pre-calibrated and tested at the factory, all you need to do is run a check so that the bed is level, load in some filament and plug in an SD card. That’s it. Want to know the great thing about it though? It costs less than the price of a current generation gaming console.
Maker Select Plus
• If you’re feeling a bit more confident in your 3D printing skills and want to print larger items, then try the Maker Select.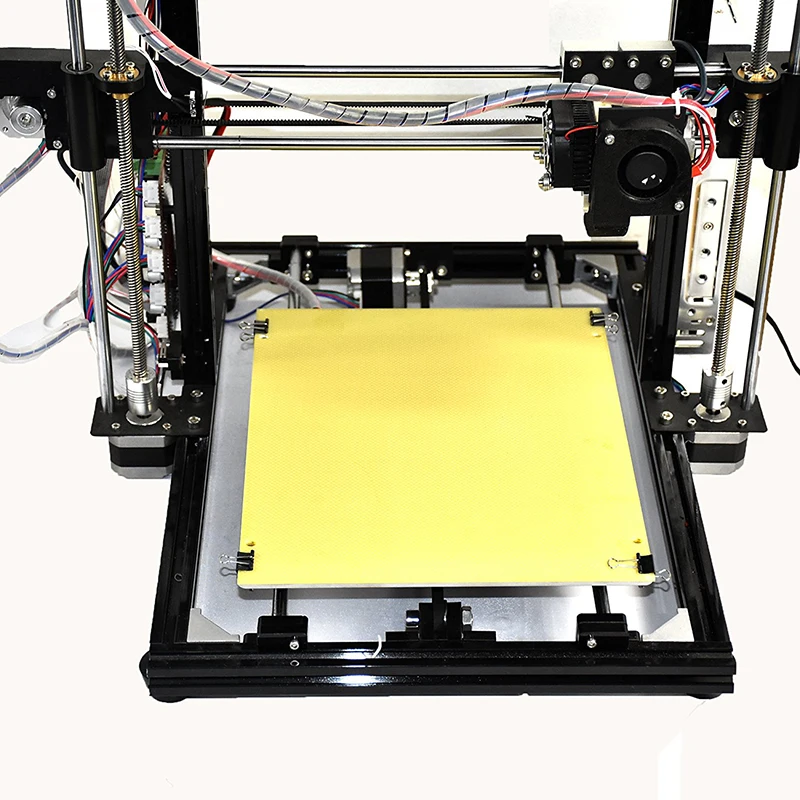 With only 4 screws needed to get up and running, its large 8 x 6 inch build plate plus 7 inches of vertical headroom means you can print more ambitious designs.
Maker Ultimate
• For something on the higher end but still affordable, the Maker Ultimate is a great choice. Capable of professional quality prints with a resolution as low as 20 microns (0.02mm), it prints in extreme detail and precision.
• Print times can be massively reduced with the Maker Ultimate; its stable build platform allows for prints speed of up to 400 mm/sec. The all-metal extruder and heat bed means it can handle nearly any material, even wood and metal additive filament. This is a printer that’s built to last.
MP Mini Delta
• Another great model for beginners and those seeking fine detail.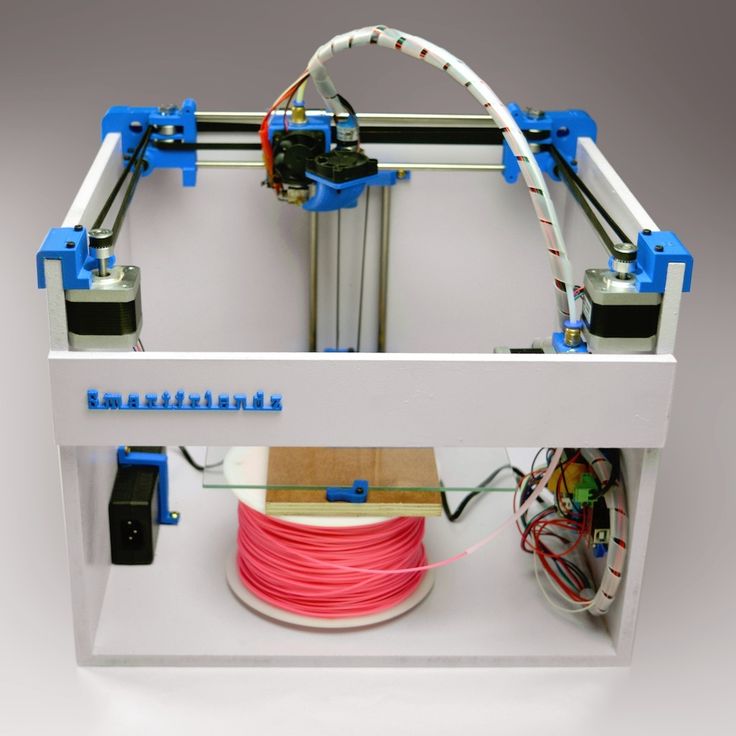 The delta design style continuously self-calibrates, so you will never have to struggle with bed leveling. The print bed and extrusion nozzle heat to a wide range of temperatures, allowing you to print with different materials.
Filament Types
The material type is one of the more important aspects of 3D printing. Consider what you’ll be making and how often before you choose a 3D printer.
PLA
• PLA is a common material that doesn’t need heat and is very easy to use. It’s also safe to use when printing something that will be in contact with food, such as cookie cutters or other cooking implements. However, it is also brittle, so it’s not meant for high durability uses. It has a low smell and is nontoxic.
PLA Plus
• PLA Plus has the same features as PLA but with the strength of the ABS filament currently on the market.
ABS and ABS Plus
• ABS is very good for when you need to print something like a replacement part that will undergo a lot of stress. It requires a heated bed and a closed print area for best results, as it is prone to warping. It also produces a stronger smell than the others, so a well-ventilated area is recommended when printing.
ABS Plus
• ABS Plus is 40% stronger than ABS for when you need even more durability.
Support When You Need It
Despite being armed with knowledge, there’s always a bit of uneasiness when making a brand new purchase. Thankfully, when you buy with Monoprice you get the confidence of knowing that the individual model you purchased works. Unlike many shady online storefronts, we’re not going quiet the minute you make a payment. We’ve made sure of that by test printing designs on every model so that your first official print will be a successful one.
You also get the benefit of our stellar support team, who are there to help you if there are any technical issues with your new 3D printer that are beyond you (or a thorough google search). Call support any time and they’ll walk you through it. Even if all you need is help with the assembly, we’ll be more than happy to help you out. Need replacement parts? We got you covered.
Ready to add a 3D printer to your workshop, garage, or home office? Stick with Monoprice for the latest 3D printers, dedicated support, and competitive prices to make 3D printing a worthwhile investment for you.
FAQ's
Q: How does 3D printing work?
A: A 3D printer transforms virtual designs into three-dimensional products using filament that is usually made from plastic. The filament is fed through an extruder and laid down in layers on the heat bed of the 3D printer with each layer being a cross section of the final, 3D object.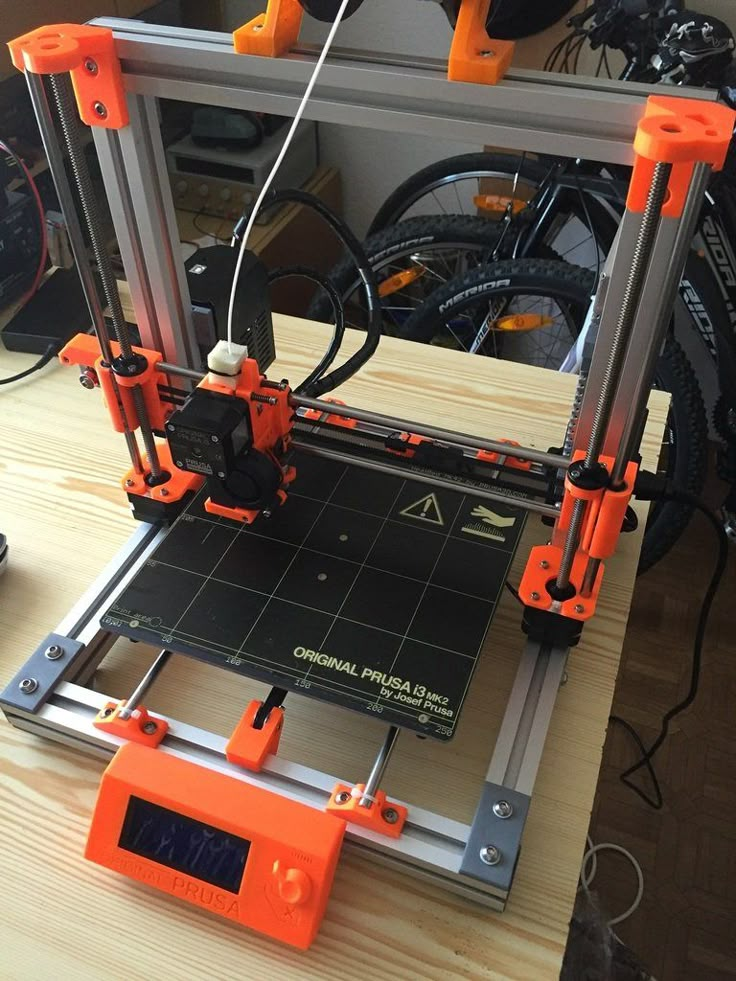 The higher the resolution of the printer, the thinner the layers, resulting in a smoother finished product. The time it takes to complete this process varies depending on the complexity of the design and the speed of the printer.
Q: What can I make with a 3D printer?
A 3D printer is a useful tool for hobbyists, engineers, and entrepreneurs a like. Aside from toys and models, a 3D printer can make a wide variety of objects from virtual designs. Anything from a soap dish to a chocolate mold. A 3D printer can also print larger designs in pieces that you can assemble together with adhesive. With these benefits and a lower cost of entry, 3D printing is not just a novelty for the average consumer.
Q: What kind of materials can I use in my 3D printer?
A: A 3D printer uses special filament that is fed through its extruder and then melted down. The most common is plastic filament, and among those are AVS and PLA. PLA is best used for simple projects where durability is not a concern. AVS is harder to use but more durable, better when needing to print spare parts or higher quality models. Check the printer first to see which filament types work best with it.
Q: Where can I get help with my printer?
A: Monoprice offers a knowledge base with common questions around 3D printers and access to Tech Support when you need it. Click here.
Affordable
Monoprice has the solution to fit every budget. Create a 3D printed sample in a matter of minutes.
Choices
Ready to dive into the world of 3D printing but unsure where to start? Monoprice gives you options to unleash your creativity.
Supplies
Your one source for 3D printing filament and replacement parts to keep your printer in shape and running all day.
* Source: CONTEXT Q4'17 AM3DP Report
Monoprice Select Mini Review 2022
4
See Price
Let’s say you’re in the market for a budget 3D printer. It’s tough: there are models that are vastly overpriced, models that have to be manually assembled from parts, and some that simply aren’t good enough to justify even a very low price. What if you saw a printer far less expensive than the rest? Would you trust it?
Maybe you should. We’re talking, of course, about the Monoprice Select Mini. It’s an absolutely tiny printer designed for people looking to explore the world of 3D printing, without breaking the bank. So how does it hold up? Let’s find out!
| Filament Diameter | 1.75mm |
| Extruders | 1 |
| Supported Materials | PLA, ABS, HIPS, PVA, TPU |
| Connectivity | USB, SD Card |
| Printing Speed | 55mm/s |
| Build Volume | 4. 7 x 4.7 x 4.7” 7 x 4.7 x 4.7” |
Table of ContentsShow
Design
This printer’s design is about as simple as they come. It has a single extruder, and prints onto a heated bed. The build area is, as you’d expect, fairly small – roughly the size of a can of Coke. Still, this is about average for a printer in this price range, so there are no complaints on this front.
Since this printer is designed for beginners, we were pleased to see that it ships fully assembled and pre-calibrated. In fact, thanks to the four-post leveling system, you shouldn’t have to calibrate it too often. Instead, you can focus on the fun part: actually printing things.
You can control this printer either with a PC or directly, using the built-in screen to select models for printing. There’s also a USB port and SD card slot, and the printer actually includes a USB stick with models so you can get printing right away.
Printing
The first thing you should know is that the Select Mini is slow.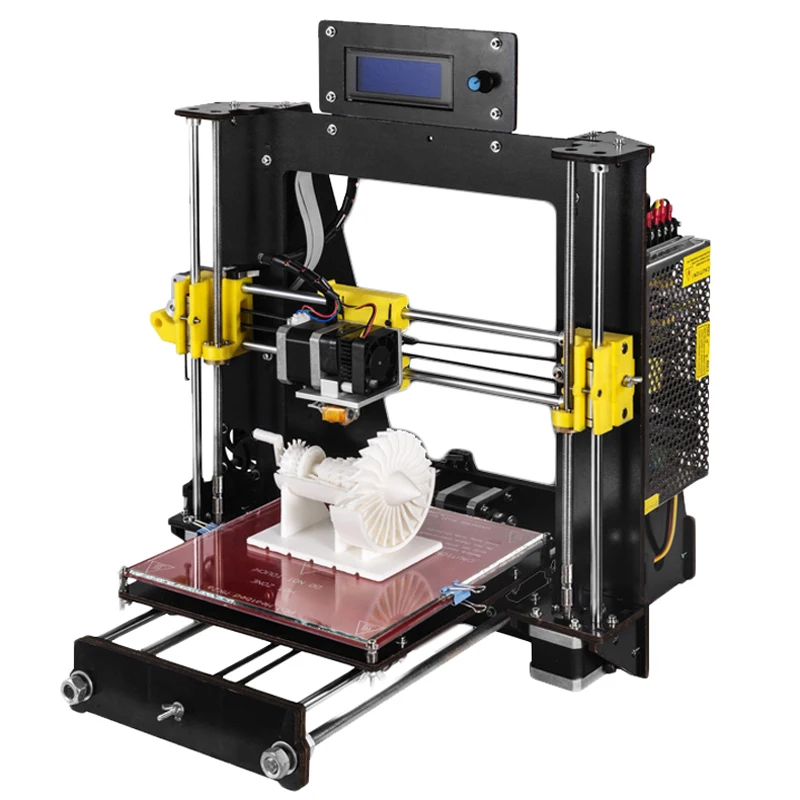 Its top speed is about half as fast as its rivals, and worse, it tends to fail when running even at that. You’ll be far better served with a slow and steady approach. This seems to create the most consistent, high-quality models.
Now, bear in mind that this is a budget 3D printer. Despite this, we found its prints come out looking pretty good! Sure, you can still see the layers, and intricate details aren’t replicated all that well, but with a little patience (and post-processing), you’ll find you can actually do quite a lot with the Select Mini.
Budget 3D printers tend to have one characteristic in common: lack of versatility. You can expect to print with PLA, maybe ABS too, at best. Incredibly, the Monoprice Select Mini supports both of these materials, as well as HIPS, PVA, and TPU. It’s not even limited to using a proprietary filament, so you can really go wild.
Features
Part of this printer’s appeal is its simplicity. As such, it doesn’t have many advanced features to speak of. Rather, it tries to make things as easy for new users as possible. Take software, for instance: it works with Cura, Repetier, Simplify3D, and most other popular modeling or slicing programs.
As you grow more comfortable using a 3D printer, you might want to add some upgrades. The Select Mini is perfect for this, since its inner workings are easily accessible, and its firmware easily flashed. In fact, we’ve found guides for everything from changing the hot end to adding wireless functionality.
If you’ve used a 3D printer before, it’s unlikely that this model will blow you away. It’s aimed at beginners and has a price point to match, after all. However, if you’re completely new to printing and just want something to tinker with as you learn, there are a few models better than this one.
Cost
So how much do you think this printer costs? Brace yourself – it actually retails for around $190, making it among the cheapest 3D printers we’ve seen. Now, it’s not available directly from Monoprice anymore since they’ve released the Mini v2 for the same price.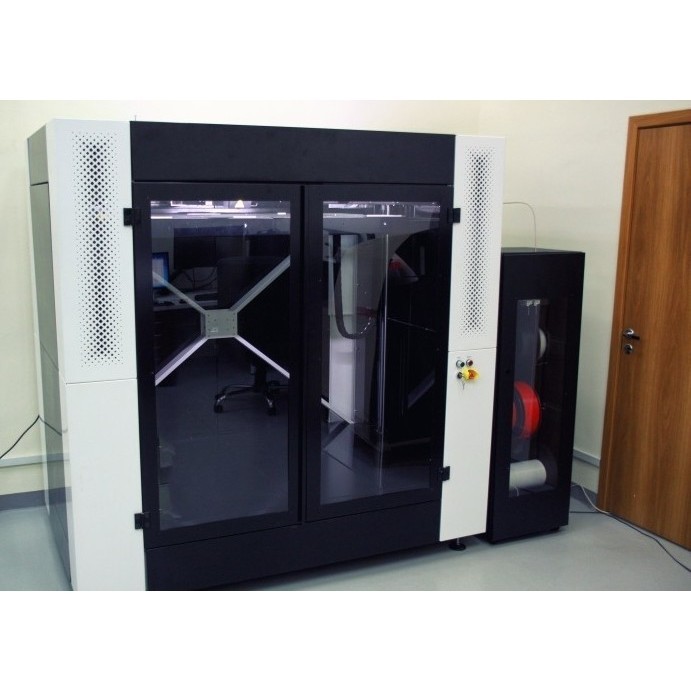 However, it can still be picked up by third-party retailers.
The freedom to use third-party filament means you can keep your material costs down. Evidently, if you want to print often, this will increase to some degree, but since there’s no support for exotic filaments, things shouldn’t get too out of hand.
This printer is perfectly priced and has enough versatility to corner the low-end market. Frankly, we’re amazed that this isn’t the go-to recommendation for people looking to get into 3D printing for the first time.
Support
Despite its low prices, Monoprice offers a 30-day money back guarantee on all its printers. Once you’ve committed to keeping the unit, a year-long limited warranty takes effect. This is pretty good coverage, especially since there’s no risk of breaking anything during assembly.
On the other hand, Monoprice only offers basic troubleshooting tips and 3D printing tutorials in its support section. You can use the ticket system, email, phone, or live chat to get more detailed help. Our only issue is that the returns link only works on some pages, throwing an error on others.
Honestly, this level of support was unexpected. Too often, low-end 3D printers try to sell their product and then wash their hands of it. That’s clearly not the case with Monoprice, and for that, we applaud them.
Sitemap
- Font
-
A
-
A
-
A
- Color
-
A
-
A
-
A
- University
- Information about the educational organization
- University today
- Structure
- Academic Council
- Library Information Center
- Faculties and departments
- Press Center
- Corporate identity (brand book)
- Personalities
- Personal data
- Anti-corruption activities
- Countering terrorism and extremism
- Center for design activities "POLYGON"
- Education
- Higher education
- Educational standards
- Second higher education
- Retraining and advanced training
- Educational and Methodological Administration
- Educational centers
- School of Teaching Excellence
- II-2021
- Science
- Department of Science and Innovation
- Dissertation councils
- Department of postgraduate and doctoral studies
- Innovation activity
- Engineering Center "PKMiT"
- Center for Collective Use (CCU) "Physico-Chemical Methods of Analysis"
- Scientific conferences
- Scientific periodicals
- Scientific divisions
- Scientific personnel competition
- Development
- Prospects and results of the university development
- Strategic Academic Leadership Program "Priority 2030"
- Flagship University Development Program
- VolgGTU transformation program
- Digital Pulpit
- Cooperation
- University Partners
- Projects and programs
- Internships
- International language exams
- Training of foreign specialists
- Global Education Program
- Rossotrudnichestvo
- VII International Festival of Russian Speech of Foreign Students "Berega"
- Handbook
- Contacts
- Telephone Directory
- Payment details
- Forms, documents, regulations
- Public procurement
- Sitemap
- Applicant
- Applicant's personal account
- University admission online
- Admission Committee
- Study at Polytechnic University
- Choice of specialty
- Preparation for admission
- Admission to polytechnic
- Contacts
- Student
- Trade union organization
- Student life
- Timetables
- Student rating
- Scholarship, hostels, material assistance
- Forms
- Paid education
- Employment
- Healthy lifestyle
- File storage
- PhD student
- Postgraduate admission
- Doctorate
- List of scientific specialties
- GEF
- Attachment for thesis preparation
- Candidate Exam Attachment
- Regulatory framework
- Useful resources
- Results of interim assessment
- Class schedule
- Postgraduate Portfolio
- Employee
- Trade union organization
- University teaching staff performance indicators
- Documents
- Document flow
- Public procurement
- Personal data
- Graduate
- VolgGTU Alumni Association
Home / progs / Sitemap
|
A detailed review of the Raise3D PRO3 3D printer from 3Dtool.
 Reliable FDM printer in 2022.
 Contents:
- 1 General information
- 2 Features and contents
- 3 Appearance
- 4 Interface and control
- 5 Working area and print unit
- 6 Mechanics and kinematics
- 7 Electronics and electrical
- 8 Output
Hello everyone, Friends! With you 3DTool!
Raise3D is well known to Russian 3D printing specialists, makers and individual enthusiasts. Having released 4 full-fledged lines of desktop devices in its short, by the standards of the “dinosaurs of the market”, but very rich history, as well as developing the high-temperature Raise3D E2 and metal Metal Fuse, the company did not stop there and continued to refine its devices. One such response to current trends and market demands was the modification of the basic Pro line under the number 3. At the beginning of this year, the company introduced the Raise3D Pro3 to the general public, a new line of devices with seriously redesigned key nodes.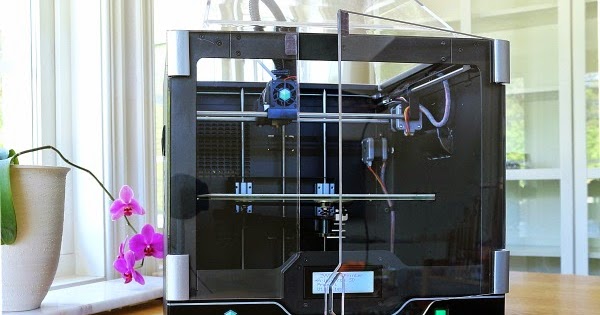 Raise3D Pro3 has already arrived in our demo room, and we are ready to share our first impressions with you in this promo review.
Raise3D 3D printer catalog
Let us make a reservation in advance that this article does not set itself the task of a thorough analysis of the novelty with a complete deconstruction of electronics, components of P.O. and other certainly interesting, but rather time-consuming questions in the analysis. We will share with readers our personal experience and observations, analyze the characteristics and improved features of the device, and draw a generalized conclusion to form an overall impression of the device.
It should be noted that over the past few years, since the release of the first line of its Raise3D N1 \ N2 desktop printers, Raise3D has won high marks from foreign specialized magazines and 3D printing portals, and is also in the top lines of the 3D Hubs rating. This speaks to the high quality of the products, the alignment of customer expectations with the reality of owning these devices, and generally positive market acceptance of the brand. Our team of service specialists and sales managers, along with customers, also highly appreciate this brand of devices, primarily because of the convenience of work, the predictability of the print result, as well as high fault tolerance and maintainability.
The Pro3 line is represented by two models - the basic one, with a print area of 300x300x300, and the extended one, with an area size of 300x300x605. The rest of the models are identical.
In our review, we will rely on the base Raise3D Pro3 model. Let's take a look at its specifications and features.
2. Features and contents
Let's start with the kit. The printer comes in a well-known corrugated box with soft foam inside.
The package includes the following items:
-
Power cable 2 pcs.
-
hex keys
-
Plastic coils 2 pcs.
-
Filament guide tube 2 pcs.
-
USB stick
-
Heat resistant gloves
-
Filament holder
-
shoulder blade
-
Nozzle cleaning kit
-
Tweezers
-
Knurled screws and other accessories (spare)
-
Calibration plate 0.3 mm
Having cut the lavsan slings and lifting the box up, we find the first part of the package - a set of various adapters for a power outlet and a plastic coil.
In the printer itself lies the second part pressed by the table. It is necessary to turn on the device in the network and raise the table, and then remove the complete set. Inside, we will again find a picture familiar from previous models - a small user manual, heat-protective gloves and other small things.
Consider the technical characteristics of Raise3D PRO3 :
- Print technology: FDM/FFF
- Thread diameter: 1.
 75 mm
75 mm - Material type: ABS, PLA, PETG, Flex, Carbon, TPU, others
- Build area size: 300×300×300 mm (printing with 1 extruder) 255×300×300 mm (printing with 2 extruders)
- Housing material: Aluminum
- Air filter HEPA filter
- Site Surface Build Tak
- Type plate: flexible, steel
- Number of printheads: 2
- XY positioning accuracy: 0.78125 micron
- Z-axis positioning accuracy: 0.078125 micron
- Recommended pad heating temperature: up to 120℃
- Layer thickness: 0.01 - 0.25 mm
- Nozzle diameter (mm): 0.4mm (0.2/ 0.6/ 0.8/ 1.0mm optional)
- Extruder working temperature: up to 300℃
- Extruder travel speed: 30-150 mm/s
- Display: 7" touch screen (1024×600)
- WiFi
- Connection interface: LAN, USB port, Wi-Fi
- Integrated video camera
- Software: IdeaMaker
- Operating systems: Linux, Mac OS, Windows
- Supported formats: STL/ OBJ/ 3MF/ OLTP 9 files0004
- Calibration: Autocalibration
- Storage temperature: -25°C to +55°C, rel.
 humidity non-condensing
 - Ports: USB 2.0*2, Ethernet*1
- Positioner: Atmel ARM Cortex-M4 120MHz FPU
- Controller: NXP ARM Cortex-A9 Quad 1 GHz
- Ambient temperature: 15 - 30 °C, 10 - 90% humidity
- Power supply: 100-240 V AC, 50/60Hz 230 V @ 3.3 A
- Display resolution: 1024*600
- Power consumption: 24 V DC, 600 W
- Memory: 1 GB, built-in flash memory 8 GB
- Operating noise: < 55 dB
- Weight (unpackaged): 52.5 kg
- Dimensions (without packaging): 620×626×760 mm
- Country of origin: China
- Warranty: 12 months
The Raise3D Pro3 is definitely a large area printer. The table dimensions of 30x30x30 centimeters allow printing almost any product as a whole, without the need to divide it into smaller parts, and the dual-extruder printing unit allows the use of soluble supports in cases of complex model geometry.
Speaking about the characteristics, we can note the increased printing temperatures of the nozzle and table, the refinement of the body and an extended list of materials used. However, the parameters of the new and old models are largely identical.
Globally, if you put two models in front of you on the same table, it is quite difficult to distinguish the new Pro3 from the previous Pro2 model outwardly. The same touchscreen display with a bright interface, spool holders recessed inside the case and closed by a door, axis guides and a printing unit, at first glance everything is the same, but there are still differences, let's look at them in more detail.
3. Appearance of the new PRO3
Outwardly, there are no striking differences, but if you look closely, you can see thicker side rails, a different design of the printer's supporting frame and a ventilation system on the back wall. By the way, as in previous models, the use of a HEPA filter is declared.
From the frontal view, the differences in the printing unit are also visible, outwardly they end there. Except that the acrylic cap is no longer glued, but thermoformed, which should have a positive effect on strength.
The touch screen has not changed either in size or in technical parameters, but the interface has changed significantly, let's move on to it.
4. Touch screen interface and control
As expected, the interface of the Raise Pro3 has been brought in line with the E2 model, which you can review HERE. Now the communication between the printer and the user is simplified and fully interactive, and at the time of calibration and configuration of the device, the printer will clearly suggest what needs to be done and how. These advanced features are combined into a full-fledged intelligent assistant system, called EVE.
Eve will help keep track of the required time to complete scheduled maintenance, as well as help solve possible printing problems using the built-in FAQ without leaving the printer. In fact, this is a full-fledged chat bot, although communication is conducted directly with the printer itself.
With the declared automatic table calibration in Pro3, the process itself has not changed much, but it has been noticeably simplified thanks to the additional BL Touch sensor. Before using the device for the first time, you just need to set the gap on the probe map, and then follow the recommendations of the device, then calibration will not be required, only if you replace nozzles or quick-release blocks (more on them later).
5. Work platform and print unit of 3D printer
A small amount of manual calibration is still present, but the printer helps you fine-tune it yourself. During the adjustment process, the device prints a series of lines, which allows you to choose the most even application and thereby finely adjust the pressure of the nozzle.
The main innovation in the work area, in addition to the modified printing unit, which we will touch on a little later, was the modernization of the bed of the heating table.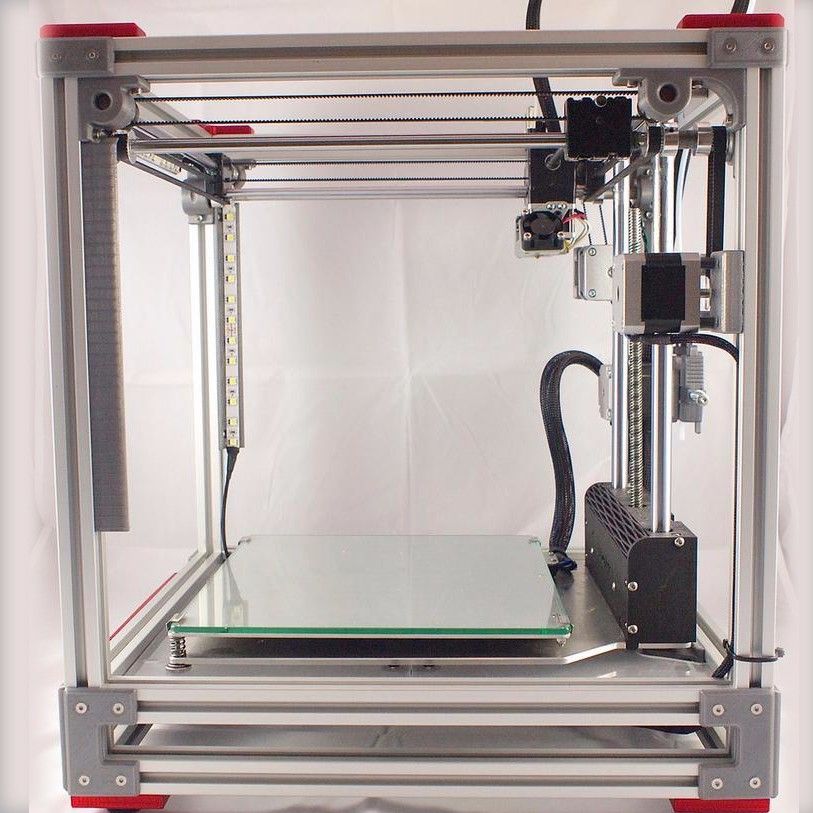 If earlier the adhesive sticker was attached to the glass, then pressed in special grooves, now a flexible substrate with a metal base is used as an adhesive. In turn, the bed of the table has also changed, now it is equipped with 10 magnets that ensure reliable fixation of the working surface. Also, with the change of the table, the calibration springs under its surface are no longer available to the user, so now it’s impossible to accidentally break the calibration in principle, and the Pro3 builds the height map on its own based on the BL Touch sensor readings.
Otherwise, the heating table has not changed, except that the heating temperature has risen to 120 degrees. Let's move on to the printing block.
But the manufacturer clearly tried on this node! The entire design has been redesigned, the unit has become lighter in weight, which allows you to win in speed of movement while maintaining print quality, the blowing system has changed, active nozzles have changed, the appearance and design of the pulling mechanism has been changed, a more noticeable highlight of the extruder status has been added, and, most importantly, now hot ends are quick-detachable blocks, which significantly increases the convenience of using the device when using different materials for printing.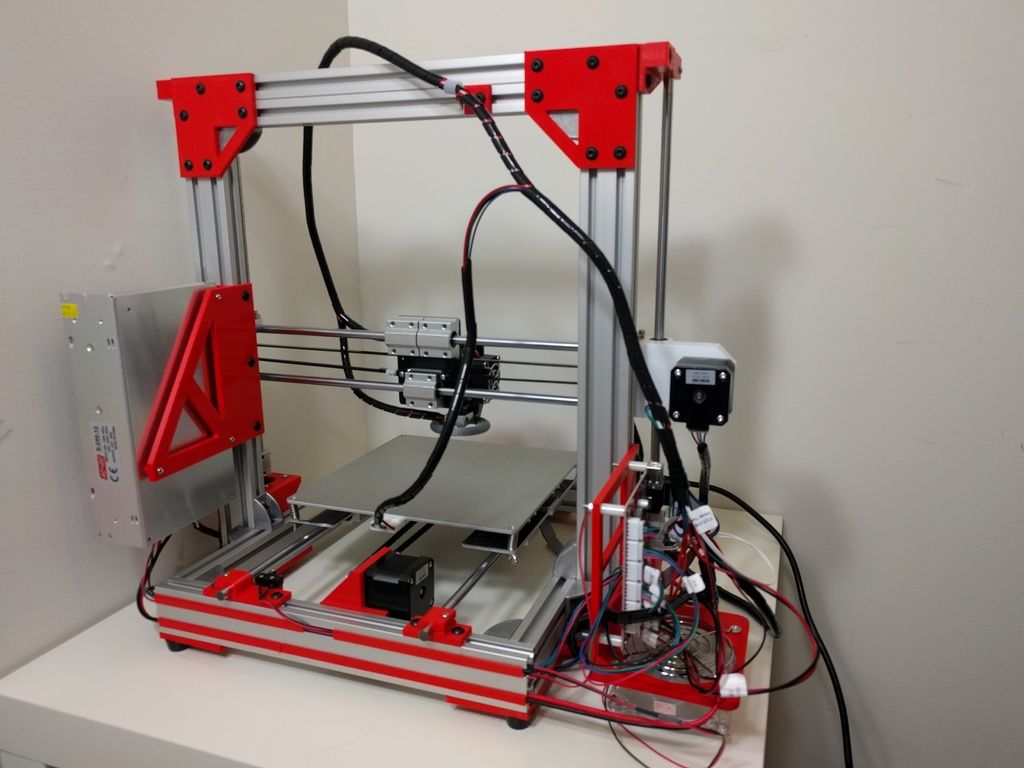
To replace the block, just release the red flag and remove the node. By the way, the operating temperature of the nozzle heating is also increased to 300 degrees, which allows you to work with a wide range of carbon-filled and composite plastics. However, in addition to the all-metal extruder, there was also a low-temperature extruder for printing PLA and other lightweight plastics, such as WAX.
The printer did not receive new print control sensors, but retained all the old ones. Threading sensor, plastic breakage and emergency stop printing are present in full.
Also, the filament sensors have now moved to the spool compartment in order to further reduce the weight of the printing unit. And now there is a closing / opening sensor on the front door and if the door is opened during printing, the printer will pause.
Also, you can not miss the new system for supplying and removing air from the chamber. Now it is a beautiful and efficient assembly with a HEPA filter and powerful intake and exhaust fans. This control of the air supply allows you to print tricky materials like wax and some types of elastomers.
6. Mechanics and kinematics
The manufacturer did not forget to pay attention to mechanics and kinematics. The scheme remained the same - 4 cylindrical guides of the table and two ball screws along the Z axis, scissor kinematics along the XY axes, but the mechanics have obviously been finalized. Thicker table guides have been installed, as well as improved slide bushings on the XY axis.
Although in general the design has not changed, however, this is not required of her. The current configuration perfectly solves its tasks.
Let's move on to electronics.
7. Electronics and electrical
Let's start with the printing block.
Since the functions of this node were greatly expanded, a change in the electronics was also required. The PB received a full-fledged control board with the wiring of the main elements right on it, and all this splendor is connected to the motherboard using a flexible cable, it was decided to abandon the chain cable channel.
The motherboard has changed to look more like the E2 version, but still runs an Atmel ARM Cortex-M4 120MHz FPU as the motion processor and an NXP ARM Cortex-A9 Quad 1GHz as the CPU.
The device also received an improved surveillance camera with a higher resolution. Now it will be even more convenient to watch the process through Raise3D Cloud.
This is where the innovations in electronics end, except for the interesting boards for connecting replaceable extruders for the printing unit. We have seen this technology many times, and it has proven itself well. Well, time to sum up a little.
8. Output
Raise3D Pro3 is definitely a novelty that many fans of both the brand itself and just 3D printing have been waiting for. Before the release, she did not set herself the task of significantly advancing or changing the form factor and capabilities of this device, however, she successfully solved the task of modernizing the platform and brought herself into line with today's trends.
Of course, these innovations properly affected the print quality, which Riase3D already had at its best. The key innovations of the release are the system of interchangeable extruders and the new interface on the touch screen, these units really needed to be improved for a long time.
Answering the question - is it worth changing the well-proven Pro2 for a new model, we probably say it's not worth it. A significant difference in price will not give the same significant gain in print quality, but if you choose the first and main printer, or additional to devices from other manufacturers, the Pro3 is worth considering!
The already convenient and high-quality printing printer has become even better and, apparently, Raise3D is not going to stop there.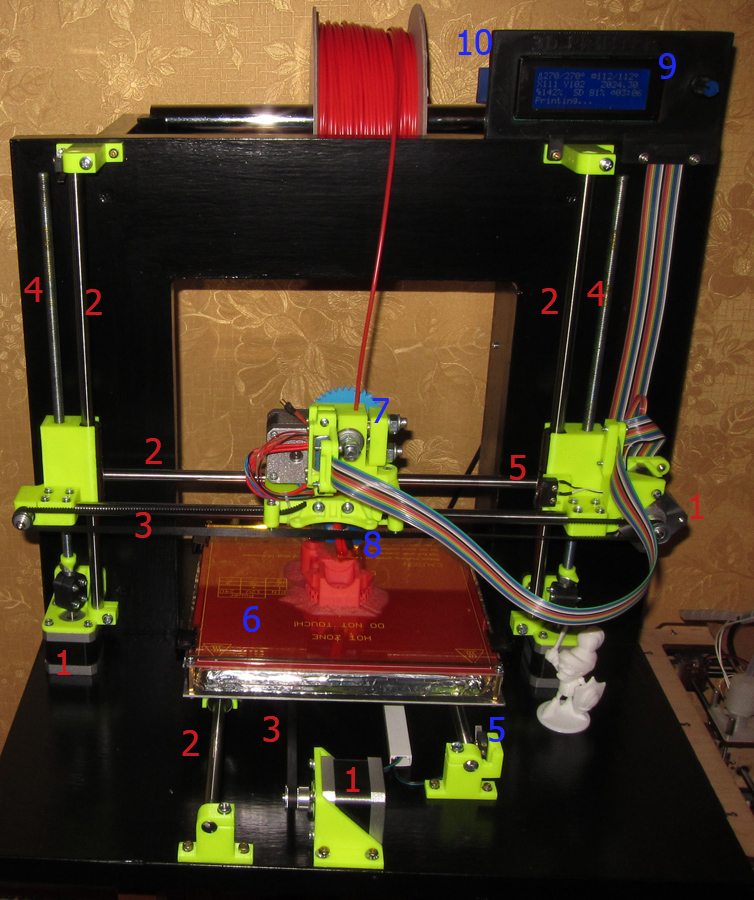


 2.282.01
  Review procedure