3D printer cr10s
Official Creality CR 10S 3D Printer
Home Collections Official CR-10S: 300*300*400mm/Filament Sensor/Dual Z-axis$ USD
$ USD
7 Reviews Pricing Not Include Tax
Ship From
United States
Model-2
CR-10S
Ship to
It is expected to arrive within and will cost $ USD to ship
This item can't be shipped to this Country/Region
Bundles
Quantity
28 Available
Add To Cart Buy It Now
Continue To Shopping View Cart
People who bought this item also bought
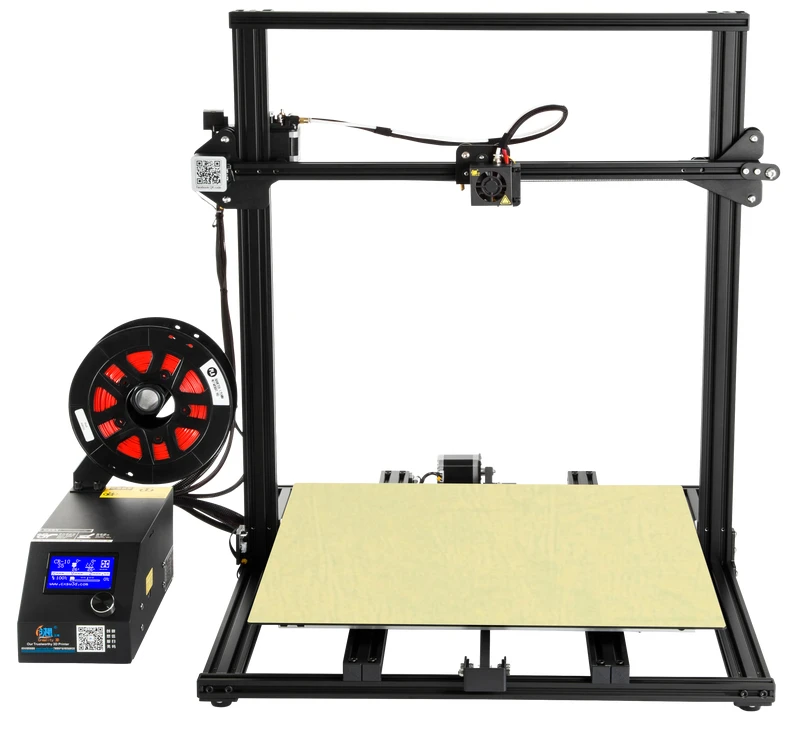
Creality CR-10 vs Creality CR-10S Specs:
Both Printer:-Open Source: In the spirit of innovation and progress, we have decided to make our firmware and design plans available to all for extensive modding and improvements. We hope to create a large community of users who contribute to the project, ultimately resulting in a better product for all.
- Supports PLA, TPU, Abs Filaments.
- High Precision Prints.
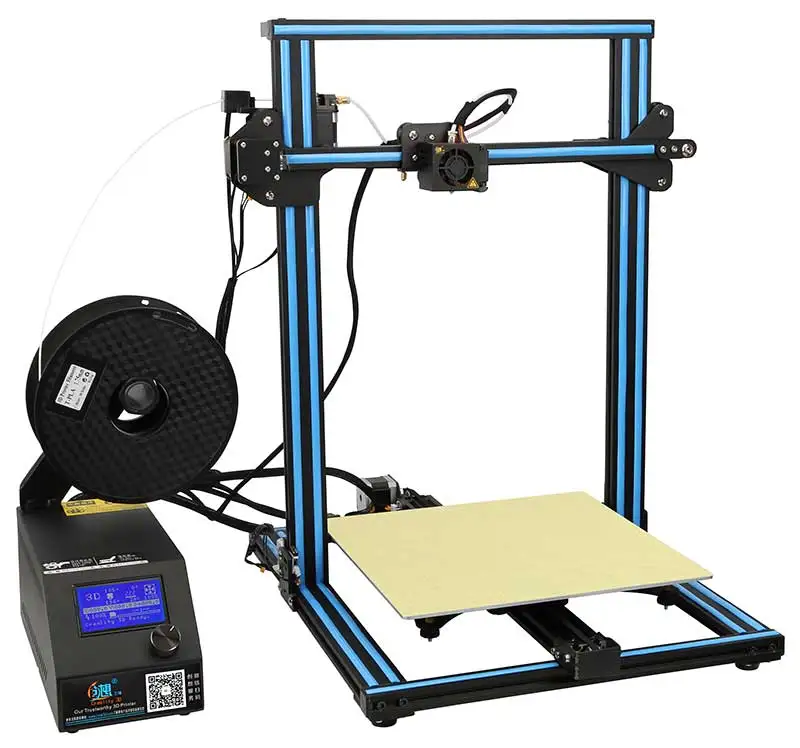
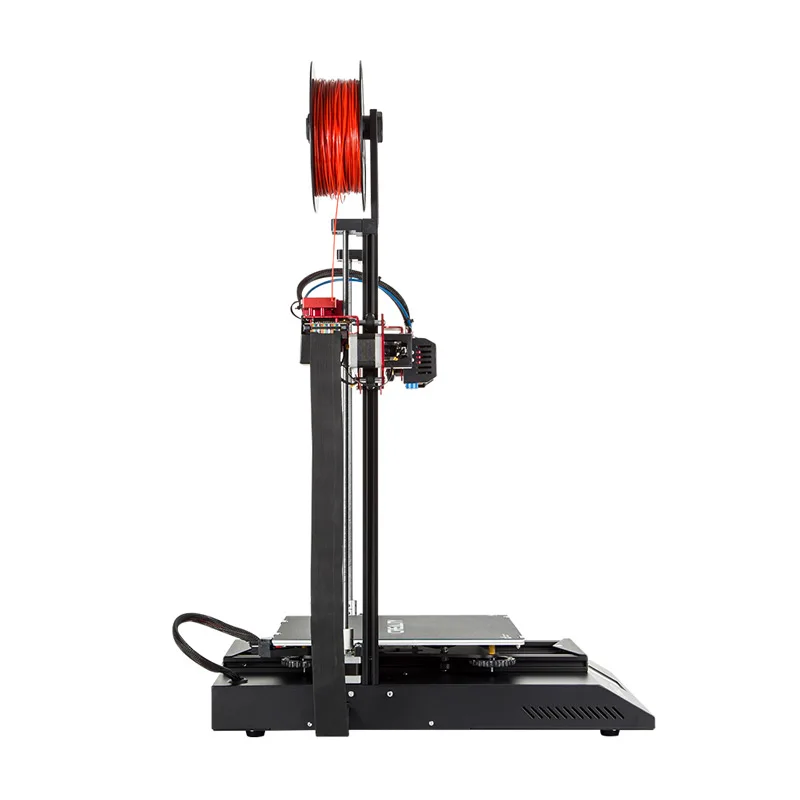
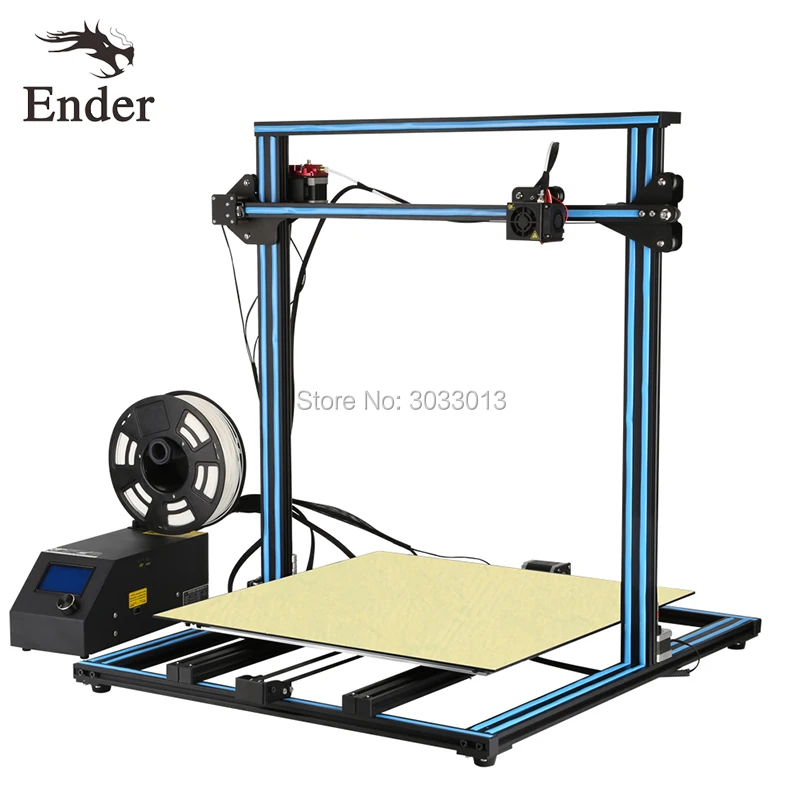
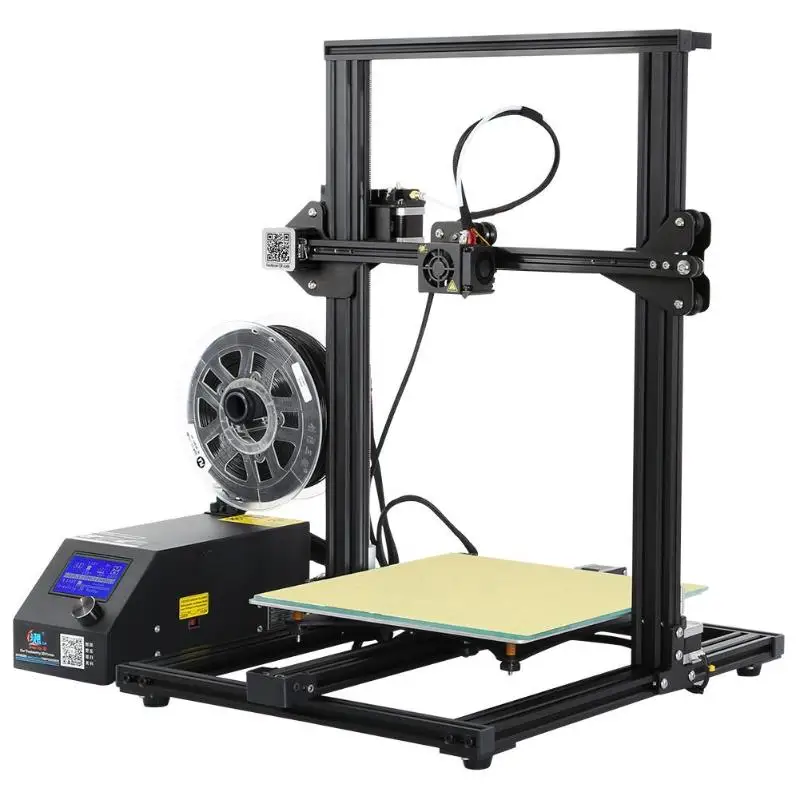
Creality CR Series features a linear bearing system, along with the extruded aluminum struts, the V-Slot" wheels offer excellent dimensional stability even during extended use, works well to provide a smooth and steady motion system that reflects in the high quality of prints.. you can print with this ‘DIY Kit'
- Large build area of 300x300x400mm and features a quality glass print bed coming with well-rounded edges and is a perfect fit for the aluminum plate below. A biggest highlights of CR 10Series is its bigness and price range of $300-$400.
- It comes with a separated LCD control box, SD Card support for offline printing as well as a USB adapter cable for linking it to computers. They are easy, quick and convenient to assemble right out of the box.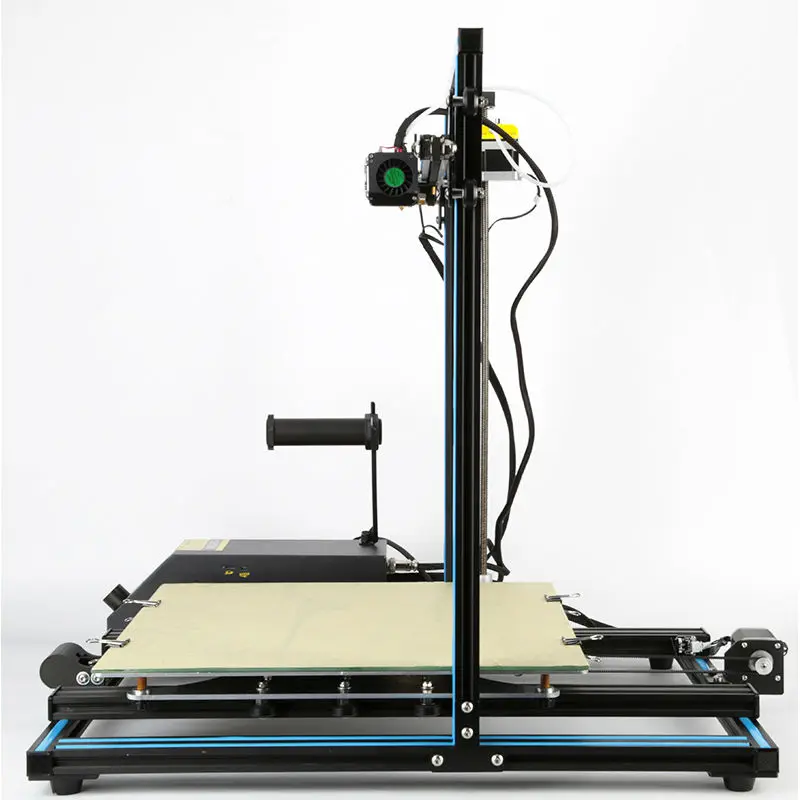
- Thermal Runaway Protection Function Added
1. Filament-out detection. As a large 3D printer as this with long-running print jobs is likely to run out of filament more often than not. it sends out alerts and brings the printing to a halt if the filament runs out.
2. Printing Resume. It allows the printer to resume printing right from where it stopped, in case of power outages.
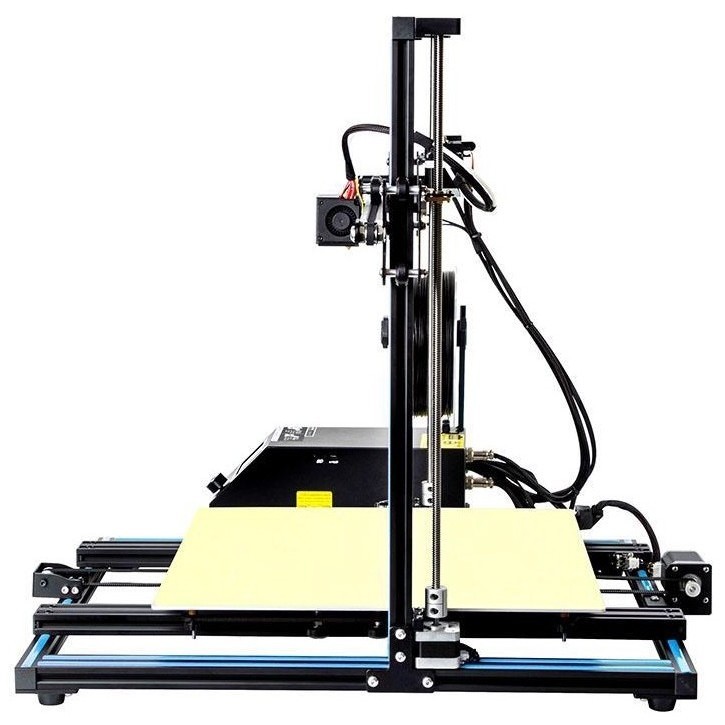
3. Dual Z-axis and Dual Motor. Dual Lead Screw Z-axis design, give much stablitity and accuracy than signle lead screw models.
4. Main Board Version: Creality V2.2 Mainboard For CR-10S, the firmware could be modified with USB Cable.
CR 10S parameter
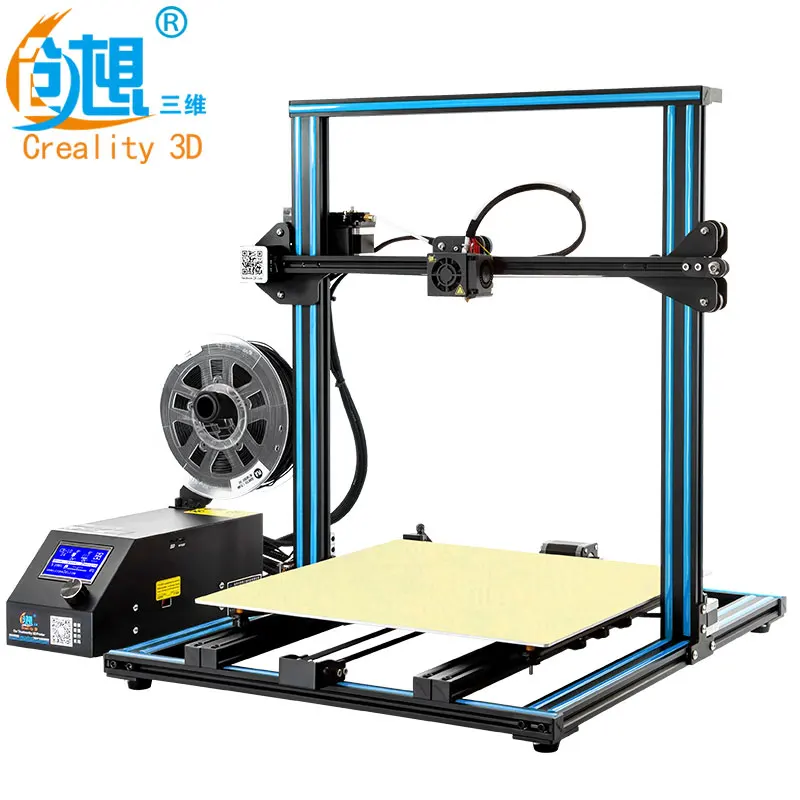
| Machine color | Orange、 blue、 black(optional) |
| Forming technology | FDM |
| Print size | 300×300×400mm |
| Machine net weight | 9kg |
| Packing weight | 13. 8Kg 8Kg |
| Nozzle Diameter | Standard 0.4mm |
| Control system | Win、 xp、 mac、 vista、 Linux |
| Software | Cura、 Simplify3D、 Repetier-host |
| File format | STL、 OBJ、G-Code |
| Print speed | Normal 60mm/s. Max 100mm/s |
| Filament diameter | 1.75mm |
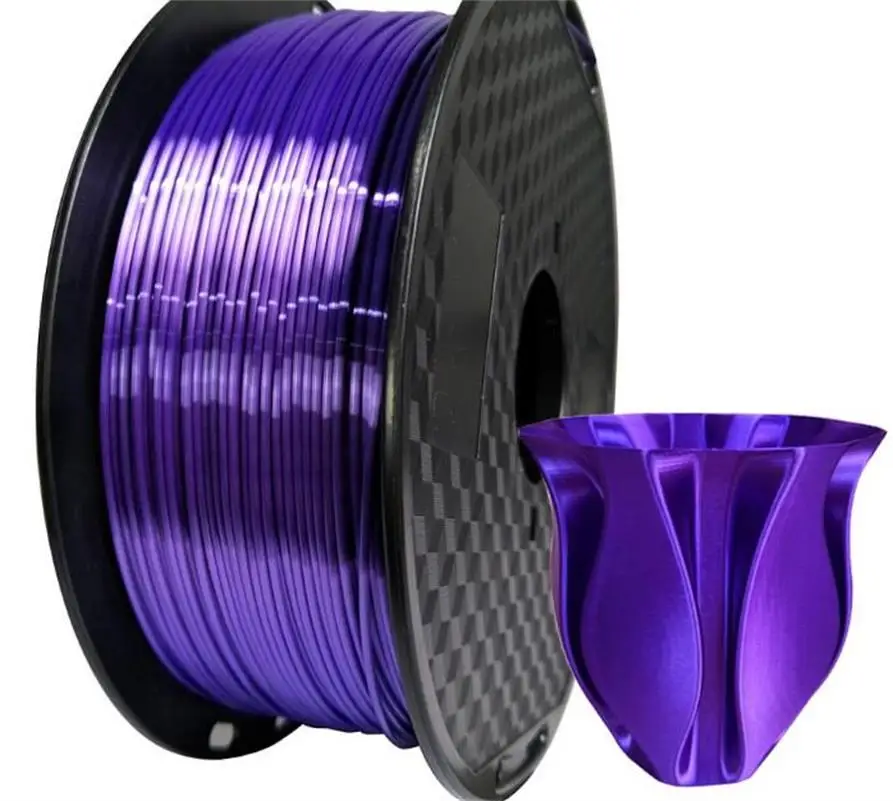
| Support filament | PL/ABS/TPU/wood/carbon fiber/Copper |
| Power requirement | Input:110V-220V, Output 12V, Power 270W |
Download
Download
Customer Reviews
Based on 7 reviews
100%
(7)
Write A Review
Ask A Question
Reviews (7) Questions (0)$ USD
$ USD
ADD TO CART BUY IT NOW
Write a review
Ask a Question
Creality CR-10 Review 2022 - Is This 3D Printer Worth The Money?
So is the Creality CR-10 3D Printer even worth it? We tested this printer recently and here are all things that we discovered!
By Justin Evans
3. 8
8
See Price
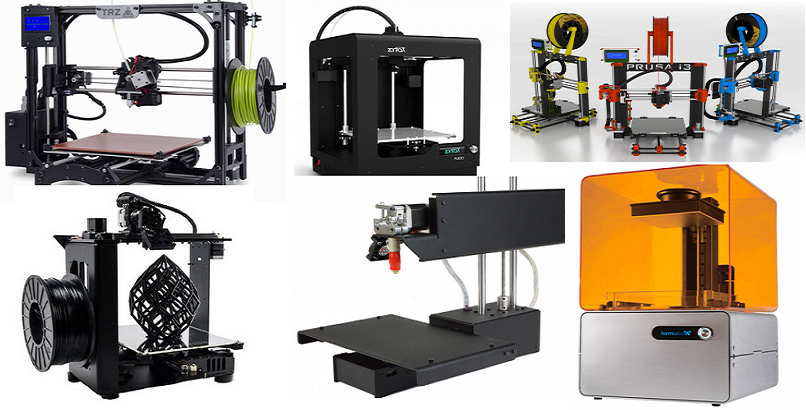
When it comes to low-cost 3D printers, there are a lot of choices. The problem is that some of them just aren’t worth your time. Maybe they’re just too small, or perhaps the print quality just isn’t up to scratch. However, there are some real diamonds in the rough if you know where to look.
Take the Creality CR-10, for instance. This comes to us from a relatively little-known company, and as a result, it hasn’t seen as much success as some of its entry-level rivals. Today, we’ll be taking a closer look at this model to see if it’s right for you and your high standards.
| Filament Diameter | 1.75mm |
| Extruders | 1 |
| Supported Materials | PLA, ABS |
| Connectivity | USB, SD Card |
| Printing Speed | 100mm/s |
| Build Volume | 11.8 x 11.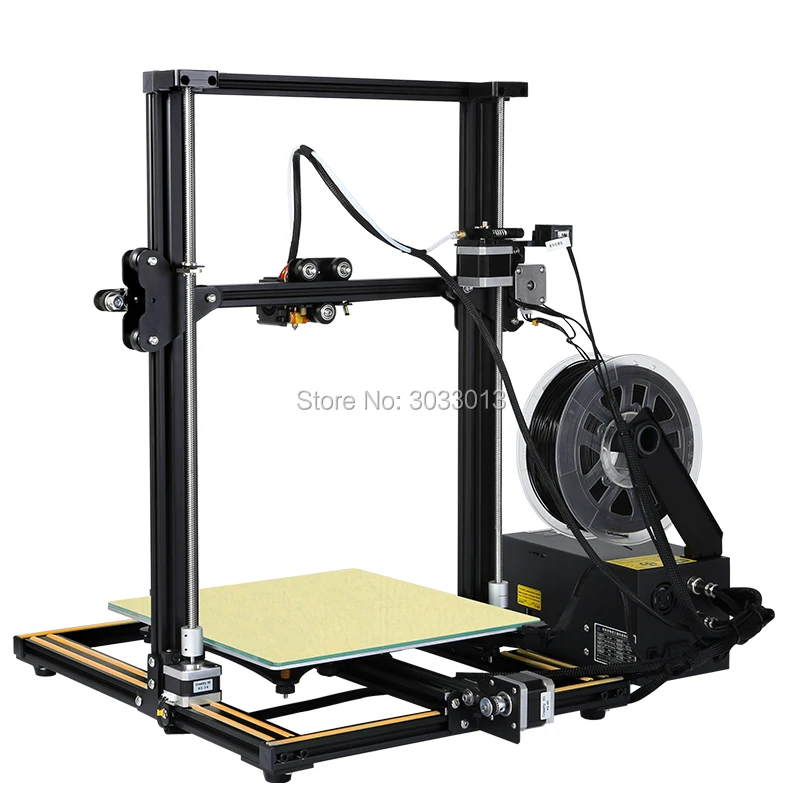 8 x 15.7” 8 x 15.7” |
Table of ContentsShow
Design
First things first: this printer has an open design. Better still, though, it has one of the largest build areas we’ve ever seen on such a low-cost product. After all, just because it’s for beginners, doesn’t mean you have to put up with only being able to make tiny prints.
You can control this unit either directly from the PC, or by using the microcontroller. We’d advise using the computer whenever possible, though, since the controller can be a little tricky to get to grips with. There’s also the option to import models from an SD card if you choose.
Now, as you might expect, there’s just one extruder. The print speed isn’t exceptional either, but at this price, it’s difficult to complain too much. Suffice it to say, you’ll spend a little extra time on each model, but the crucial thing is that they come out looking especially great. So do they?
Printing
Actually, yeah. Now don’t get us wrong – you’re not going to be creating extremely complex models, but for day-to-day use, it works surprisingly well.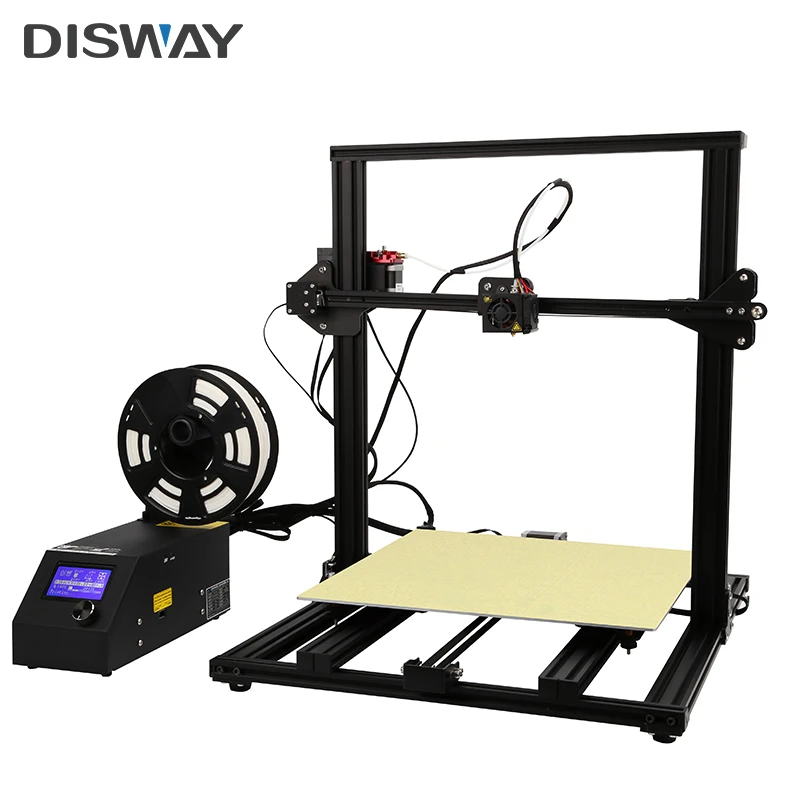 Edges are generally sharp and clean, and there’s a good level of detail reproduction. Essentially, the CR-10 prints like something that costs twice its price.
One of the first things you’ll want to make is an enclosure. This printer supports PLA but can struggle to maintain a consistent temperature for ABS filaments. Enclosures are very simple to make, although they’ll have to be assembled in parts. It’s worth it, though, as it greatly expands the number of things you can do.
You’ll find that there can be some layer skipping, and occasionally, you’ll notice visible stepping between the layers, but overall, this isn’t a huge problem. Just bear in mind that this is very much a hobbyist’s printer – not one for commercial use.
Features
The CR-10 comes with a heated glass print bed, but you’ll have to manually level it. There’s also no software included, so you’ll have to find that for yourself. We recommend using Cura – it’s free and ranks among the most popular 3D printing applications.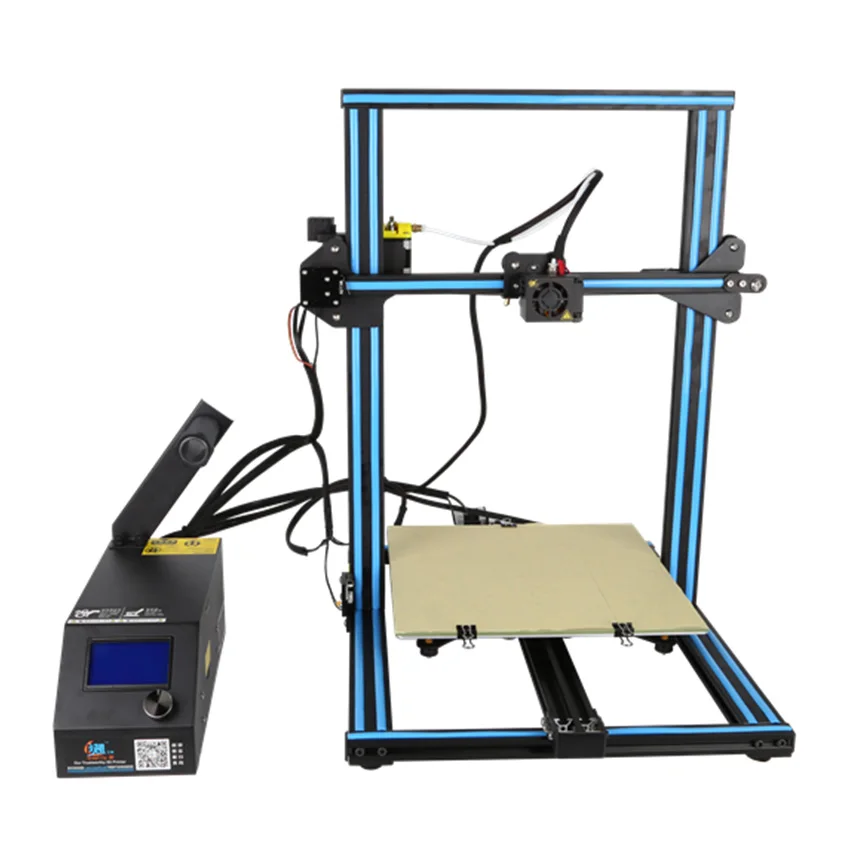 If you look, you can even find a settings profile for the CR-10.
Unfortunately, there’s no WiFi compatibility. Admittedly, this is usually only found on higher-end printers, but it still would have been nice to have. With a little extra investment, you can add this functionality, but you should know that it’s not included as standard.
The CR-10 is pretty barebones. You won’t find many advanced features or functionality out of the box. However, it’s important to remember that it is a low-cost model and intended to help familiarise you with the basic elements of 3D printing. Besides, you can always upgrade when you outgrow it.
Cost
The Creality CR-10 retails for around $400, so it’s one of the cheapest around. There is a weird quirk, though – Creality doesn’t actually sell it themselves. Instead, you’ll have to find a third-party retailer, each of which has their own warranty terms and support options. This seems designed to free Creality from any kind of obligation after the printer has been purchased.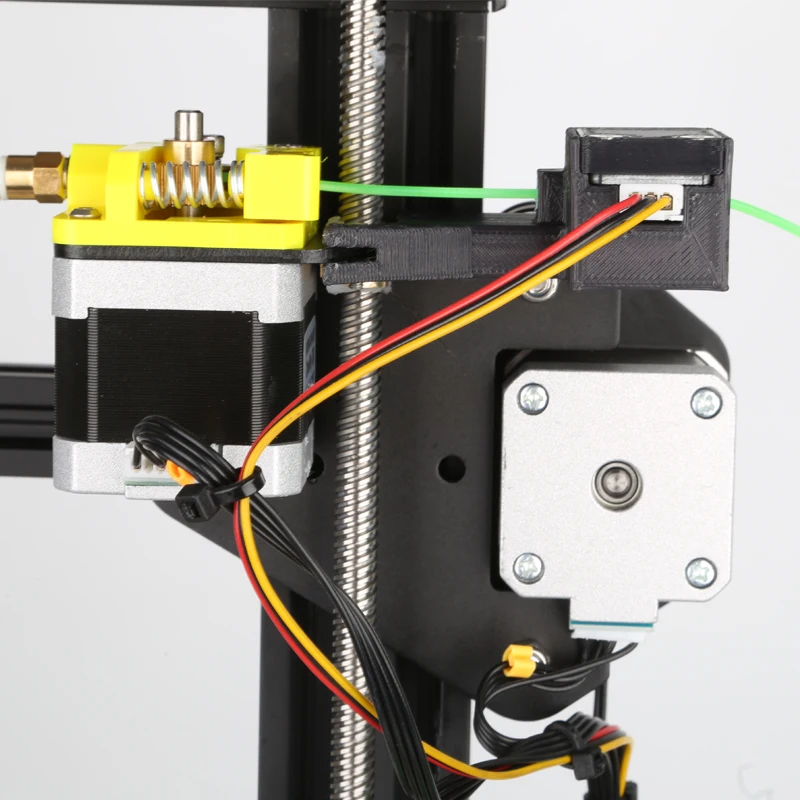
We liked that you can use 1.75mm filament from any brand, though. Sometimes you’ll find that low-cost printers are more expensive to run due to their proprietary-only materials, but luckily, that’s not the case here.
The CR-10 provides exactly what it says it does: an inexpensive, powerful printer with minimal running and maintenance costs. Really, the only thing you’ll have to pay for is extra filament and possibly adhesive sheets for the print bed.
Now, there really isn’t much in the way of support. Creality have a brief FAQ section on their website, but there’s no mention of any warranty or support of any kind. Really, you’re relying on the retailer to provide a good enough warranty, which is a real shame since they’re unlikely to do any repairs for you.
The “Download” tab is very interesting. Its headings include “Firmware”, “Product File”, and “Model” but each of these pages is completely empty. As such, it falls to the user to find and install the correct version of any updates or software they choose to use.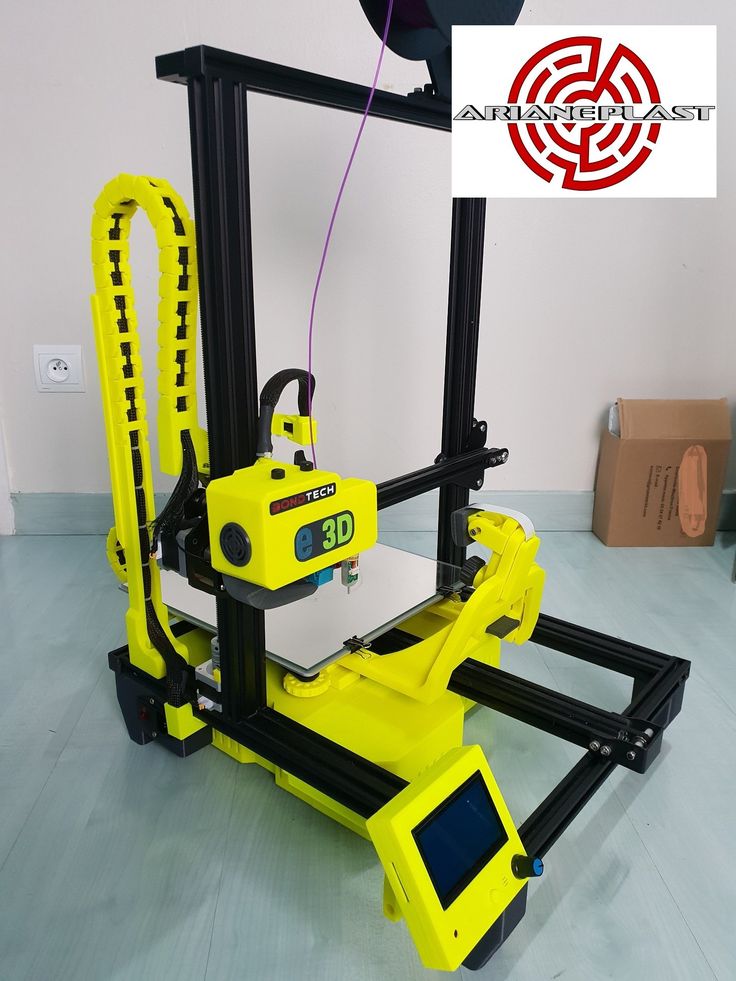
This is a real shame. The CR-10 is an excellent printer for beginners, but there’s very little in the way of direction here. At the very least, we’d have liked a support ticket system, but sadly, this is non-existent.
Lulzbot TAZ 5 Review
Mini 3D Printer Review Creality3D CR-10S
I've had the idea of purchasing a 3D printer for a very long time. Either the price of consumables stopped (about $ 25 per kilogram), then the quality of printed parts frightened. But recently I came across a review of the Creality3D printer. The simple-looking printer produced decent results right out of the box.
In general, my choice fell on the Creality3D CR-10S. Although at first I looked at the Creality3D CR-10 model, which was 40 percent cheaper. These two printers have similar features, but the CR-10S model has a number of advantages, which I will discuss later.
Differences between Creality3D CR-10S and Creality3D CR-10 3D printer
http://ali.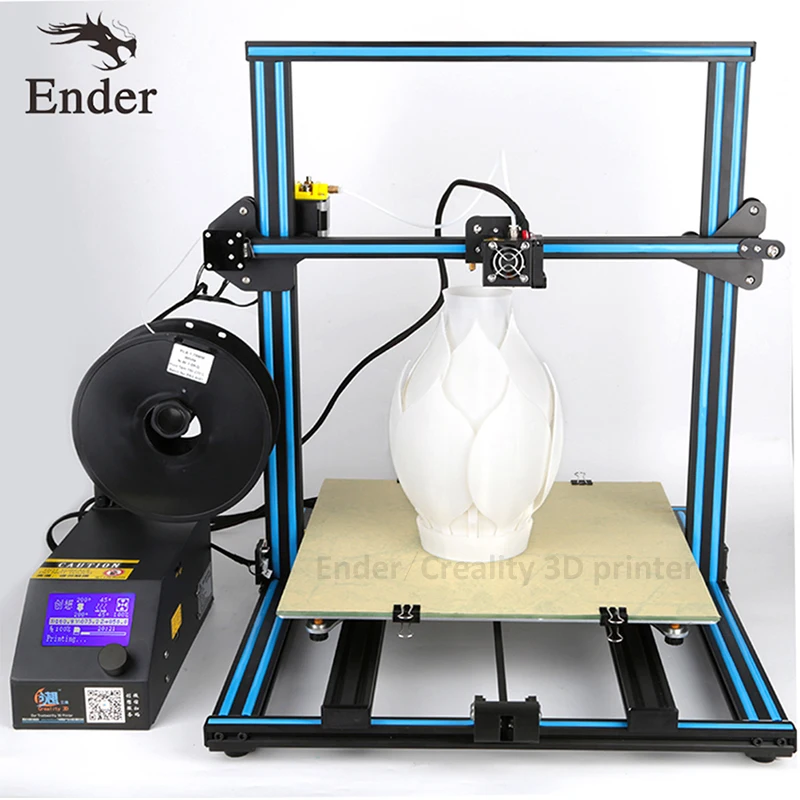 pub/2a1f6g
http://ali.pub/2a1d7v
http://ali.pub/2a1cl4
Packaging, weight and other goodies in the box Creality3D CR10S
The printer arrived in a cheap cardboard box. The inscription on it read: Creality3D CR-10S. The letter "S" is written with a felt-tip pen, which, of course, alerted.
Fortunately, everything inside was quite civilized. Everything is laid with a thick layer of foam rubber (foamed polyethylene), parts are in separate compartments, nothing hangs out, everything is laid very neatly. But the smell from this foam rubber (which is polyethylene foam) was quite strong. I had to take the box out to the balcony.
The complete set is rich. The Chinese have put a number of things useful for printing: wire cutters, a spare limit switch, a spatula, PLA plastic, a flash drive + a card reader, a spare hose for feeding a bar, zip ties, spare fittings, masking tape, a cleaning tool for an extruder, spare screws and cage nuts.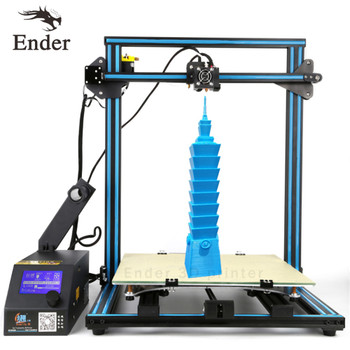
Creality3D CR10S Printer Assembly
A memory card is included with the printer. It contains files and programs necessary for the assembly and operation of the printer. Naturally, everything is in English.
Frankly speaking, the instructions are hastily made, but they are enough to assemble the printer.
Printer assembly takes 30 minutes. This is if you don't rush at all.
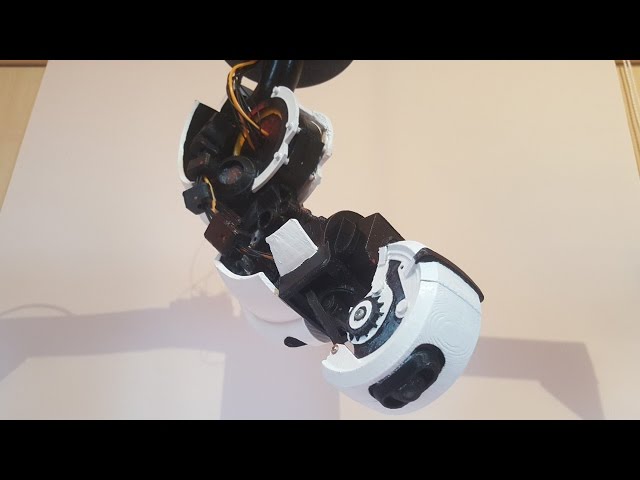
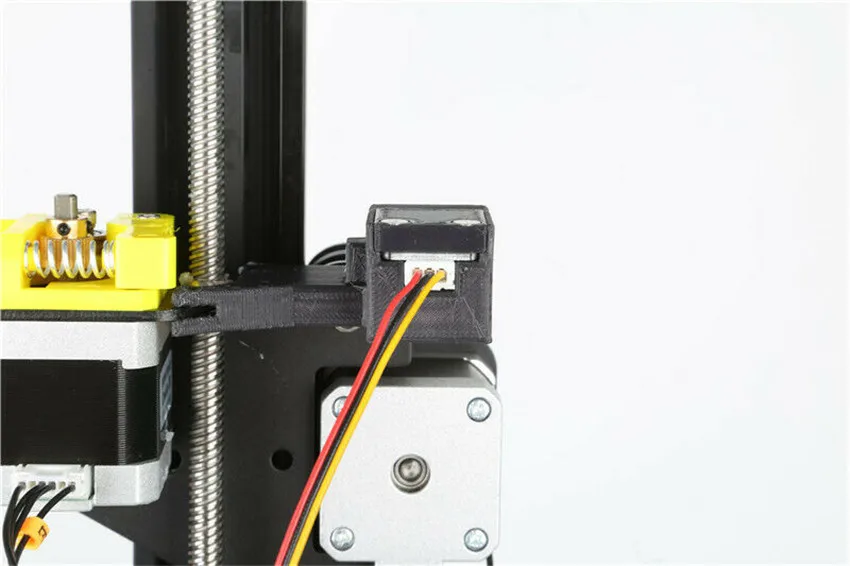
There was only one problem during assembly. One drive screw on the Z axis was not included in the clutch mounted on the stepper motor. The spring clutch compensates for misalignment, but in my case, it was about 5-8 millimeters. This is clearly visible in the figure.
I had to put washers under the stepper motor mounting bracket.
Washers are a temporary solution. Then I will deal with this problem more thoroughly.
Setting up the printer
Unfortunately, the manual did not contain information on setting up the printer. I had to think of everything myself.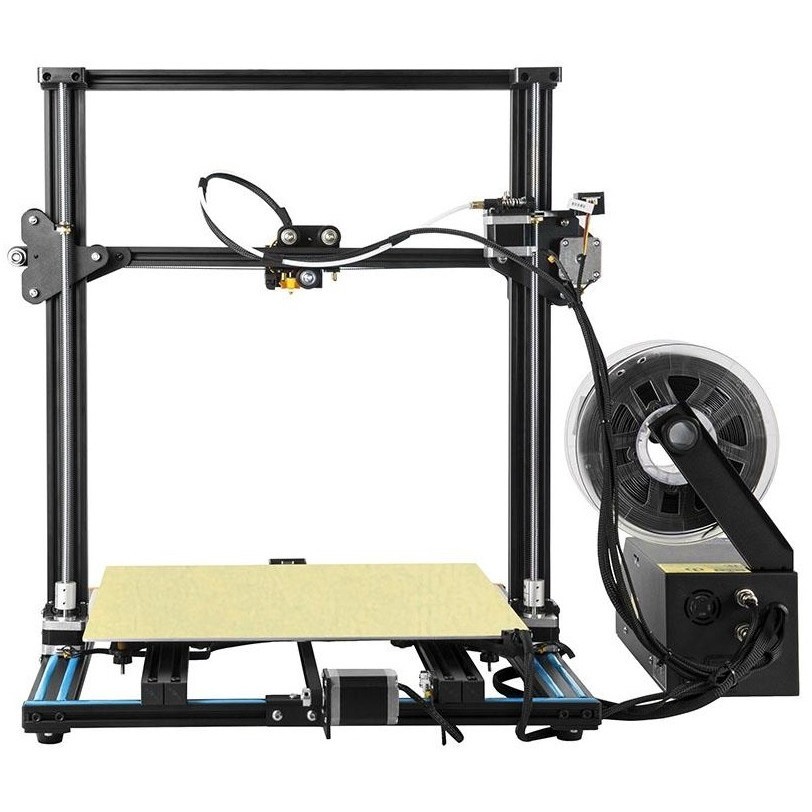 Although, if I hadn’t thought, perhaps everything would have worked right away. And so I had to suffer a little.
The first thing I did was align the x-axis profile with the bottom frame. The figure shows the dimensions that I controlled. Measurements were taken with a standard caliper. After adjustment, you need to fix the Z-axis screws with locking screws on the couplings.
everything is then compensated by the calibration of the table.
Printer build quality can be checked by raising the extruder to its maximum height. I did not succeed the first time. Traffic stopped halfway. I had to adjust the alignment of the SD shaft and the Z-axis screw.
The final part of the printer settings is the table calibration.
Before calibrating, I intentionally lowered the table so that the nozzle would not hit the table. This is done with the help of adjusting screws that are under the table.
Next, in the printer menu, I launched the table calibration procedure:
The procedure takes place in five steps.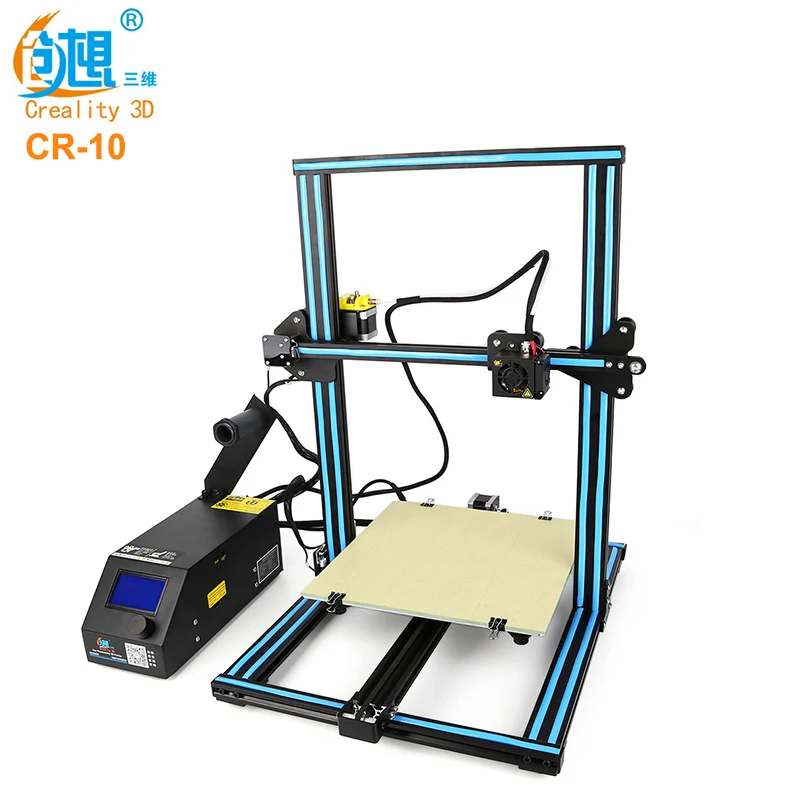 The extruder nozzle alternately (after pressing the Next Step button) approaches five points of the table. At each position, with the help of adjusting screws and a probe (I used a regular sheet of paper), you need to set the gap between the nozzle and the glass.
This completes the printer setup.
My first print with the Creality3D CR10S 3D printer
Before printing, you need to load the plastic rod. To do this, I warmed up the nozzle, put the bar into the feeder and turned on the feed. I had to wait a bit for plastic to come out of the nozzle.
Then I removed the "snot", pasted molar tape on the table and moved the system to its original position.
For the first print, I used a ready-made control program from a USB flash drive. This, of course, was a rash step, because. I didn't know what print options were included in this file. But then I didn't know about it yet.
Here's what happened:
I think the result is excellent for the first time.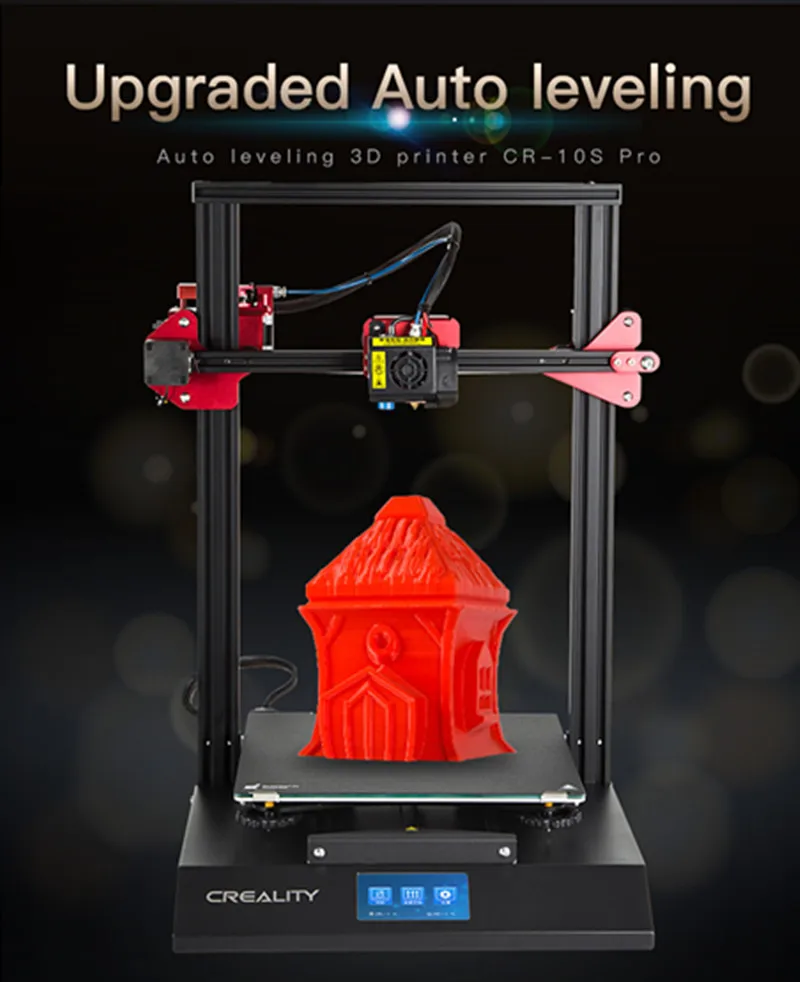
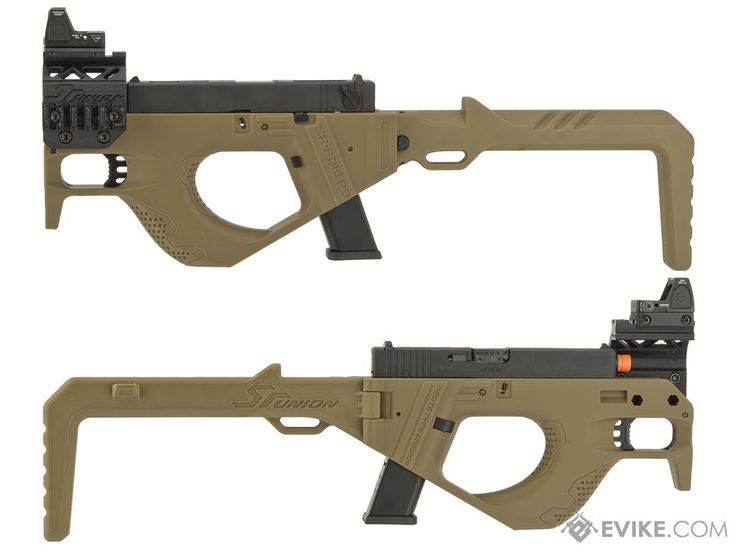
And here is the quadcopter I printed, made on this printer:
In conclusion, I want to say that I did not regret the purchase. The Creality3D CR10S is a great home printer.
assembly and printing instructions / Amperka
How to assemble the Creality CR-10 3D printer and start printing? Our instructions will answer these questions and help you set up the printer correctly.
Contents
- 1. Parts to assemble
- 2. Assembling the printer
- 2.1. Installing Portal
- 2.2. Installation of additional fasteners
- 2.3. Electronic connection
- 2.4. Fitting the spool holder
- 3. Filling plastic
- 4. Table calibration
- 5. Model slicing
- 5.1. Download Slicer
- 5.2. Printer setup in slicer
- 5.3. Changing the program language
- 5.4. Adding a Model to Slicer
- 6. Setting print options
- 6.
 1. Printer selection
 - 6.2. Plastic and nozzle selection on the printer
- 6.3. Slicing settings selection
- 6.
- 7. Preview
- 8. G-code export
- 9. Printing from a memory card
- Finally
1. Assembly Parts
- 1× Printer Disassembled
- 1× Manual
- 1× PLA (test coil)
- 1× Spare parts kit
- 1× Key set
- 1× Nylon tie set
- 1× Nozzle cleaning needle
- 1× Spatula
- 1× Cutters
- 1× microSD card (8 GB)
- 1× USB microSD card reader
- 1× Mains cable
2. Assembling the printer
For threaded connections, use the hex wrench set supplied with the printer or use your favorite screwdriver. The manufacturer may have put in a few spare screws. If after assembly you still have extra parts, this does not mean that the printer was assembled incorrectly.
The set includes decorative inserts in the aluminum profile.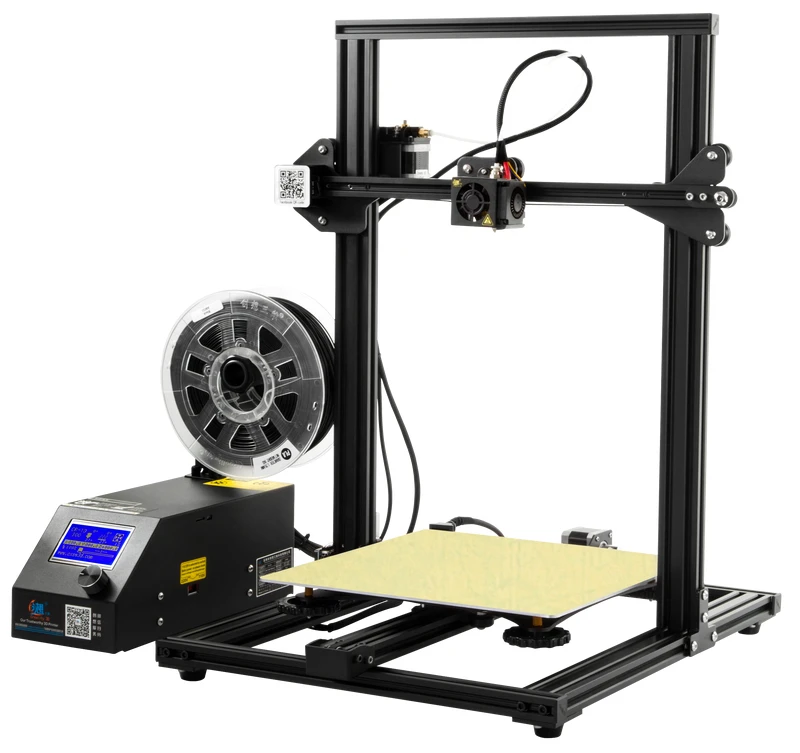 They do not affect the functionality of the printer. We will not mount them, as we want to start printing as soon as possible.
2.1. Portal installation
What you need:
- 1× Bottom platform assembly
- 1× Top portal complete
- 4× Screws M5×25
Attach the portal to the table frame with four screws.
2.2. Mounting accessories
What you need:
- 1× Side holder with screws
- 1× Side holder with screws and limit switch
Screw the corners to the bottom of the printer to further secure the portal. The end stop on the corner must be on the motor side of the Z axis. Connecting the Electronics What you need: Connect the X-axis limit switch with a two-wire cable with the appropriate “X” label. You can distinguish a motor cable from a limit switch cable by the number of wires. Connect the X-axis motor with a four-wire cable labeled "X". Connect the Y axis limit switch and motor. Connect the Z axis limit switch. Connect the Z axis motor. Connect the extruder cable. Insert the Teflon tube into the extruder. Secure the fitting with a latch. Fix the printhead cable in the dedicated holder. Connect the table and print head cable to the control box. Tighten the fixing nut on each connector. Insert the power cord into the socket. To the left of it is a switch. What you need: Screw the metal part of the holder to the control box housing. Use the large nut to secure the plastic part of the holder to the bracket. Cut the end of the plastic at an angle so that it is sharp. Select "Prepare" from the printer menu. Preheat the nozzle before applying plastic. To do this, select the "Preheat PLA" item. The printer will begin to warm up the nozzle and table. Once the required nozzle temperature has been reached, press the lever on the extruder. The pressure wheel will move away, and you can safely insert a thread of plastic. Push the plastic through the Teflon tube until it comes out of the nozzle. Tighten the screws on the table. It should go as low as possible. Remove the film from both sides of the glass on the table. Apply two sheets of masking tape to the glass. Scotch tape is needed so that the part sticks well to the table. Go to "Prepare". Then select "Auto home". The printer will zero the nozzle in all axes. Turn off the motors by selecting "Disable steppers". Place a sheet of paper between the glass and nozzle. Raise the table with the screw until the nozzle begins to scratch the sheet. The sheet should scratch, but not tear. Move the print head by hand to another corner of the table. Repeat calibration in all corners. Before printing on a 3D printer, the model must be prepared and divided into layers. Usually 3D models are distributed in STL format - this is a kind of JPEG in the world of modeling. A three-dimensional object in the STL format consists of a set of polygons - triangles, the coordinates of which are described in the file. However, printers cannot process STL files themselves. We will show how this operation looks like on the example of the Creality CR-10 3D printer. We will process the popular 3DBenchy boat model in the Cura slicer. This model is specially made to detect printing imperfections on 3D printers and calibrate settings. You can download any 3D model in STL format from specialized sites. Any slicer program is suitable for converting models to G-code. In this example, we will use the Cura slicer - the most functional of the free programs. Download the slicer from the official site and run the installation. Skip the welcome screens and accept the terms of use. Add a printer to the program using the "Add a non-networked printer" button. Select "Creality CR-10" from the list. Leave the printer name unchanged. It is needed to distinguish between several printers or several settings profiles of one printer. This screen allows you to change printer settings. The developers have already introduced them, so there is no need to change anything. For convenience, let's immediately change the program language. Go to the settings using the “Preferences” → “Configure Cura…” button Select Russian in the “Language” drop-down menu. The interface language will change only after the program is restarted. Close Cura and reopen - you will be greeted by Russian-language menus. Click on the button with the folder icon and select the downloaded 3D model file. All program control is placed in the top panel with three buttons. The name of your printer is displayed in the upper left corner. We only added one model, so this item should be CR-10. Printer Your Creality CR-10 printer allows you to print a variety of plastics and use different diameter nozzles. Make sure that the standard 0.4 mm nozzle is selected in the program, which is installed in the printer from the factory. Open the plastic and nozzle selection shutter. In the "Material" section, select your plastic. If you are using the test coil that came with your printer, please select "PLA" under "Universal". By clicking on the long button on the right, a list with basic slicing settings is opened. The developers of Cura tried to make the program more understandable, so they built hints into it. Custom button opens detailed settings with many options. Leave all professional options at their defaults. We have enough basic settings. The top slider "Profiles" is responsible for the height of one layer. The thicker each layer, the faster the model is printed. At the same time, by reducing the layer thickness, a more accurate print quality is achieved. Set the layer height to 0.16 mm. This is the golden mean between speed and quality. The second "Infill" slider is responsible for the interior of the model. The printer can print only the walls of the model, and leave the internal volume empty. This will greatly reduce plastic consumption, but will negatively affect the strength of the model. So that the finished plastic part does not fall apart in the hands, its insides do not remain empty, but are filled with a mesh. To strike a balance between model strength and plastic consumption, set the infill to 20%. Also in the slicing settings menu are two additional options: supports and sticking. If the part has protrusions that hang over the table, then the printer will not be able to print them - they will simply fall. To prevent this from happening, activate the "Supports" option with a checkmark. Under the overhanging parts, columns will be printed that will support the part. In our test model of the boat, there are no such parts, so the "Support" parameter does not need to be activated. But if you print your own model - do not forget about the supports. The "Stick" setting improves adhesion. This is the adhesive force between the workpiece and the table. If the adhesion is insufficient, the part may come off during the printing process. The printer will print a skirt around the model, which will increase the contact area with the table. Activate this option, because the bottom of the boat is quite shallow, and an additional surface for stronger adhesion will be very useful. Click the "Slice into Layers" button. After that, the slicer will calculate the trajectory of the head and generate a G-code. Switch to the "Preview" tab, where you will see the built layers of the model. The preview helps you check your print settings and understand how your model will print. To record the finished file, it is easiest to connect a microSD memory card to the computer through the adapter supplied with the printer. The slicer will immediately detect the removable device and offer to save the file to it. Save the G-code to a memory card, or use the drop-down list to save to a file, and then manually copy to the card.
 The motor is connected with four wires, and the limit switch with two.
 2.4. Mounting the spool holder
3. Filling plastic
4. Table calibration
 Instead of tape, you can spray the glass with hairspray or smear the surface with a glue stick.
 5. Slicing the model
 First, the selected model must be converted into a G-code - special commands for the printer, which generalize where to move the head and at what speed to extrude plastic during the printing process. To convert an arbitrary 3D model into a G-code, there are special programs - slicers.
 5.1. Slicer download
5.2.
 Setting up a printer in the slicer
 5.3. Changing the program language
5.4. Adding a model to the slicer
6. Setting up print options
6.1. Printer selection
6.2. Selecting Plastics and Nozzles on the
6.3. Selecting slicing settings
 When you hover over an unknown parameter, a tooltip will appear that will help you understand what setting it is responsible for and what it affects.
 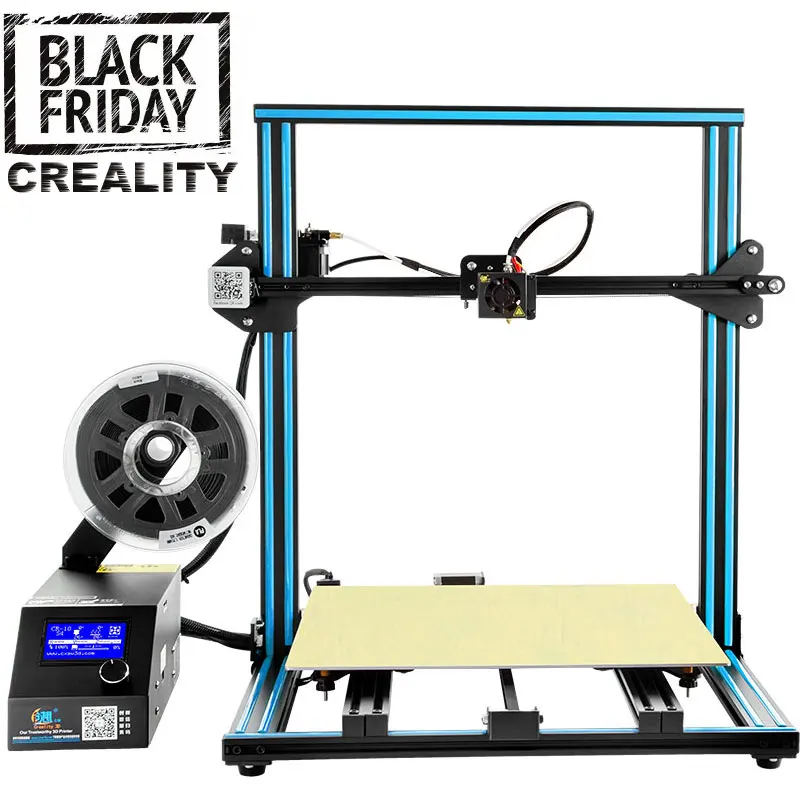 The resulting edges increase the rigidity of the model.
 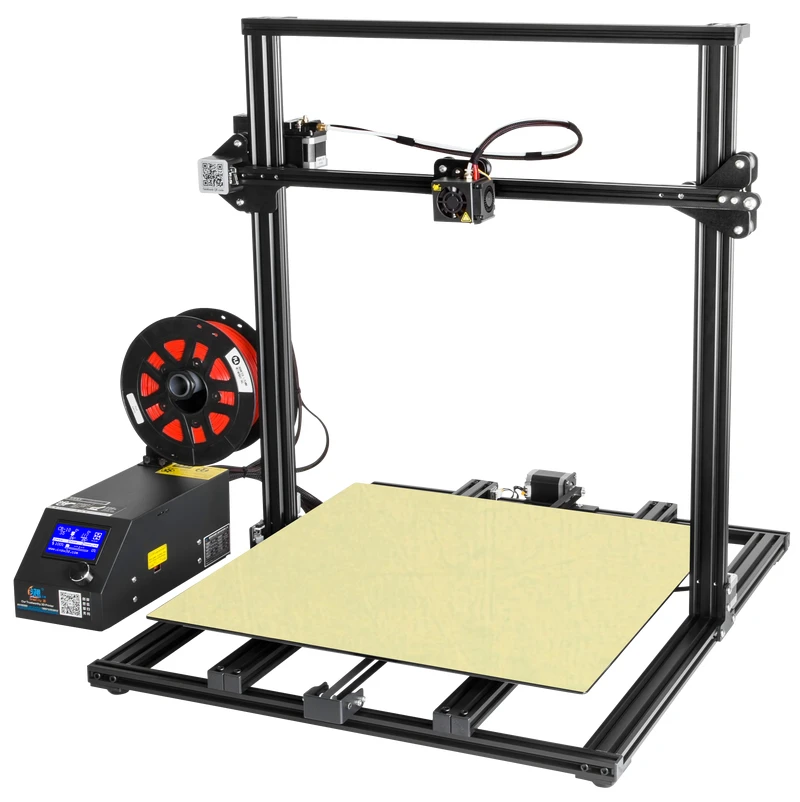 After printing, it can be cut off, but it will not allow the model to come off the table in the middle of the process.
 7. Preview
8. G-code export
Learn more