3D printer clogged nozzle symptoms
How to Clean 3D Printer Nozzles and Prevent Clogs
Choosing the right method for cleaning 3D printer nozzles is important. A clogged 3D printer nozzle can lead to all sorts of problems, from under-extrusion and missing layers to no filament coming through at all. Keep reading to learn how to identify if your nozzle is clogged, figure out what is causing the problem, and how to clean the 3D printer nozzle and prevent clogs in the future.
How to identify a clogged nozzle
There are a few telltale signs that your 3D printer nozzle could be clogged. Material stringing, missing layers, clicking sounds in your extruder gears, and inconsistent extrusion patterns—specifically thin layers—are all symptoms of a partially clogged nozzle. And if no filament is coming through your extruder onto the build platform, you could be dealing with a fully clogged nozzle.
If you suspect your 3D printer nozzle is clogged, but want to be sure that is what is causing defects in your 3D prints, disable the extruder gear and try to manually feed filament through the hot nozzle. If the nozzle is not clogged, this should be a fairly easy task and the filament should move through the nozzle consistently. If you experience resistance, you are likely dealing with a clog. Similarly, if the filament does extrude through the nozzle hole but appears thinner than it should be or starts to curl up onto the exterior of the nozzle, there is likely some obstruction inside the nozzle that is stopping the full material flow.
Recommended reading: 3D printer stringing: How to fix it
What causes a clogged nozzle?
There are a few culprits when it comes to a clogged 3D printer nozzle. Often, the cause is related to something fairly simple and easily preventable, such as dust contamination. Sometimes, the problem can be more complex and related to the printing temperature and temperature of the nozzle. Let’s take a closer look at the leading causes of a clogged 3D printer nozzle.
Dirty filament: Particles of dust or dirt in the printing environment can get stuck to filament if it isn’t properly stored.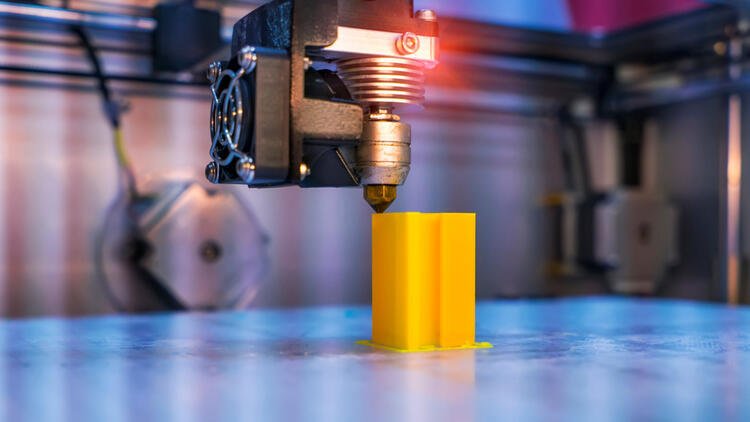 These contaminating particles are then carried into the nozzle as filament is fed through. Inside the nozzle, the dust particles burn eventually causing a buildup of carbonized material and a blockage. This is also a risk if the 3D printer itself collects dust.
Switching materials: Another cause of nozzle jams is not cleaning your nozzle in between material transitions. For example, if you 3D printed PLA and want to switch to ABS, you should always clean the nozzle in between. There are a few techniques for cleaning the nozzle in between filament changes to remove residue, including cold pulling or using a wire brush to remove residue from the outside of the hot end.
Printing temperature: Setting your 3D printer extruder to the wrong temperature can also lead to clogs. On the one hand, if the nozzle temperature is too low, the filament will not melt properly, which can lead to material buildup and pressure inside the nozzle. On the other hand, if the printing temperature is too hot, it can lead to a phenomenon called heat creep. This is when the heat from the nozzle extends farther up the extruder mechanism, which starts to melt the filament before it reaches the hot end. If this happens, the 3D printer’s extrusion gears will not be able to feed the filament through properly leading to clogs.
Nozzle height: If your 3D printer nozzle is set too close to the print bed, it can result in clogging. This is because the nozzle will not be able to properly deposit the first layer of melted filament onto the print bed. Instead, the melted thermoplastic will coat the outside of the nozzle and adhere to it. This can cause an external blockage as well as lead to filament to retract inside the filament, which can cause an internal clog.
Printing temperatures and contaminated filament are common causes for 3D printer nozzle clogs.
How to clean the 3D printer nozzle
If your 3D printer is showing the signs of a clogged nozzle, there’s no need to fret.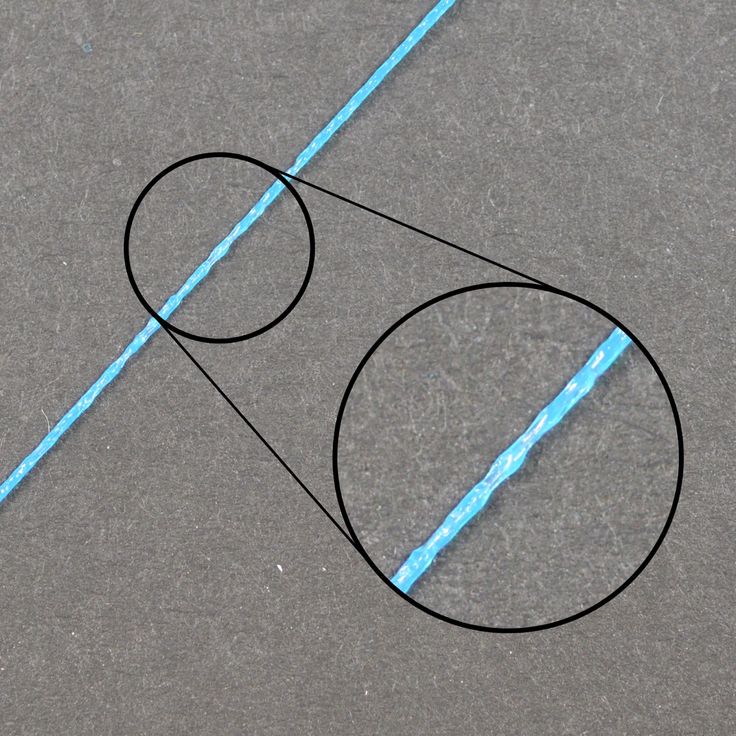 You can often fix a clogged hot end using a combination of easy techniques, which we’ll explore below. It is also worth mentioning that the cleaning method will vary depending on whether your 3D printer is experiencing a partial clog (i.e. material is still being extruded but at inconsistent rates) or a full clog (i.e. no melted filament is being extruded). Here’s how to clean a 3D printer nozzle:
Partial Clog
Cleaning filament: If you are dealing with a partial clog, using a dedicated cleaning filament is an effective way to clear away nozzle debris. Cleaning filaments are often nylon-based but they are specifically designed for cleaning, not for 3D printing. To use cleaning filament, simply heat your 3D printer to a slightly higher temperature than you used for your most recent print job. Be wary of setting the temperature too high as this can cause the filament clog inside the nozzle to burn.
When the nozzle is at the right temperature, feed the cleaning filament through the nozzle. You should notice traces of the original filament coming out with the cleaning filament, which means the cleaning is working. Keep extruding the cleaning filament until it comes out clean. Your 3D printer should be good to go from there.
Wire brush: If the surface of your 3D printer nozzle is dirty and coated with melted filament, removing this residue should be the first step. To do this, use a brass wire brush (steel brushes are too abrasive) to scrub away any filament residue or dirt from the nozzle. Be sure to heat the nozzle up before using the brush so the filament is easier to remove. You can also try to wipe away any leftover filament using an alcohol wipe.
Full Clog
Needle: This method is one of the easiest ways to remove debris from inside the 3D printer nozzle. Start by heating the hot end to the temperature that corresponds to the last material you 3D printed. Then, use a fine needle or wire, such as an acupuncture needle or a fine steel guitar string, to gently poke upwards through the nozzle hole.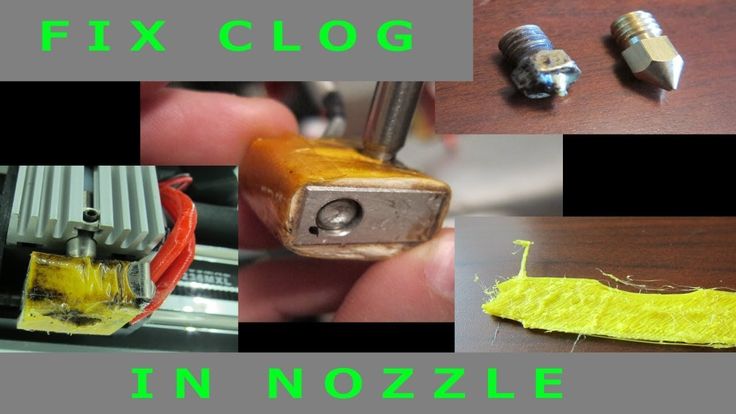 This should break up the filament debris that is blocking the nozzle so that it can be easily extruded.
If you are using the needle method, be sure that you are using a needle that is finer in diameter than the nozzle itself, otherwise you can damage the nozzle. It is also recommended to use an acupuncture needle instead of a drill bit because they are less prone to breaking inside the nozzle.
Cold Pull: To use the cold pull method, begin by heating up the 3D printer extruder to about 250°C. (If you are using this method with PLA, use a lower temperature, like 200°C.) When the nozzle is hot, push the filament through the print head. Next, let the nozzle cool and the filament solidify. Then, reheat the extruder to a lower temperature (like 115°C) and when the temperature reaches 90°C quickly pull the filament up and out of the extruder nozzle. Soft filaments like nylon filament tend to work best for cold pulls.
You can tell the cold pull worked if the end of the 3D printer filament is shaped like the inside of the nozzle. This method is effective because the particle buildup inside the nozzle adheres to the filament as it solidifies. However, sometimes it takes a few cold pull tries to get a fully cleaned nozzle.
Atomic Pull: The atomic pull, also known as the atomic method, is similar in principle to the cold pull method for cleaning the nozzle. However, instead of letting the nozzle cool to room temperature, it remains heated the entire time. To use this method, start by removing the original filament from the 3D printer. Next, set the nozzle temperature to 250-260°C (or 220°C if you are using PLA). When the nozzle has reached the right temperature, manually feed filament through the hot end until it starts to extrude. From there lower the nozzle temperature to 160°C for ABS or PETG or 90°C for PLA. When this temperature has been reached, tug the filament up out of the nozzle.
Similar to the cold pull method, you know the atomic pull will have worked if the tip of the filament is shaped like the inside of the hot end.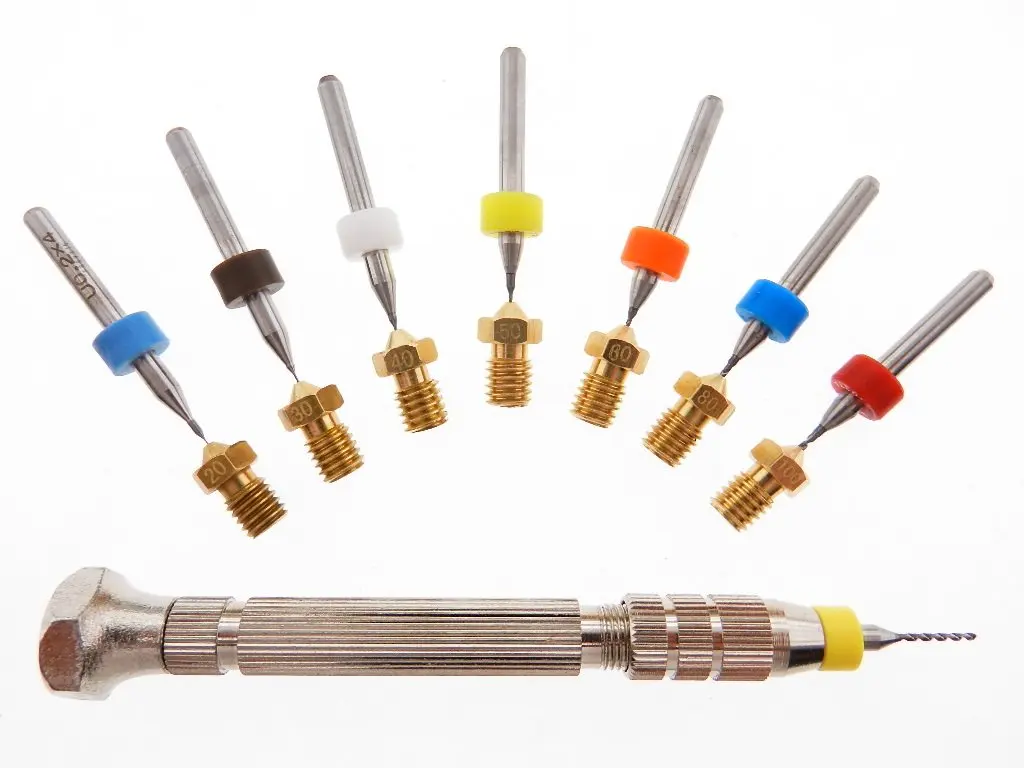 Again, you may need to repeat this process a few times to remove the debris that is causing the clog. The atomic pull method is recommended by Ultimaker for its desktop 3D printers. If you are working with an Ultimaker system or another 3D printer with a bowden tube that feeds into the nozzle, you may have to remove bowden tube before manually inserting the filament.[1]
Acetone: If the pulling methods are not unclogging the nozzle sufficiently, the next step would be to remove the hot end from the 3D printer and clean it. A common method for cleaning the nozzle is to use a solvent like acetone. Using acetone is most effective with ABS filament. PLA, for its part, can be dissolved using ethyl acetate.[2] With this method, simply submerge the nozzle in the acetone or solvent for a few hours. From there it should be easy to remove what is left of the filament particles that caused the clog.
In general, you should replace your brass 3D printer nozzle every few months.
Replacing the nozzle: If none of the aforementioned 3D printer nozzle cleaning methods work, it might be time to replace your nozzle. In general, it is a good idea to replace your 3D printer nozzle every three to six months, especially if you are using cheaper brass nozzles. When swapping out a 3D printer nozzle, start by heating up the hot end and removing any filament in the 3D printer. The heat will make it easier to unscrew the nozzle using a wrench or pliers. From there it’s as simple as screwing on the new nozzle onto the printer head.
Recommended reading: Nozzle diameter and layer height explained
How to prevent a clogged nozzle
Cleaning the 3D printer nozzle is only one part of the solution, it is also critical to prevent clogs from happening in the first place. Fortunately, achieving clog-free 3D printing is pretty straight forward.
First, keep your 3D printing environment clean and dust-free. This consists of dusting and wiping down surfaces near your 3D printer, as well as the 3D printer itself. It also consists of keeping your 3D printer filaments safe from contaminants. Proper filament storage, in airtight containers with desiccant packets, will prevent dust or dirt from adhering to the materials and finding their way into your nozzle. You can also wipe your filament with a soft cloth or paper towel before 3D printing to remove any dust particles.
Another key step in preventing clogs is to use good quality filament. Low-quality filaments can have inconsistent diameters, which can lead to inconsistent extrusion. Some filaments have also been found to contain foreign particles that can clog your 3D printer’s hot end. Reputable filament brands with high-quality, high-purity printing materials should print reliably and smoothly.
There are also good habits that can ultimately help to prevent filament buildup and nozzle clogs, such as cleaning the nozzle whenever you switch the type of filament you are using, and ensuring the correct printing temperature and settings for a given material.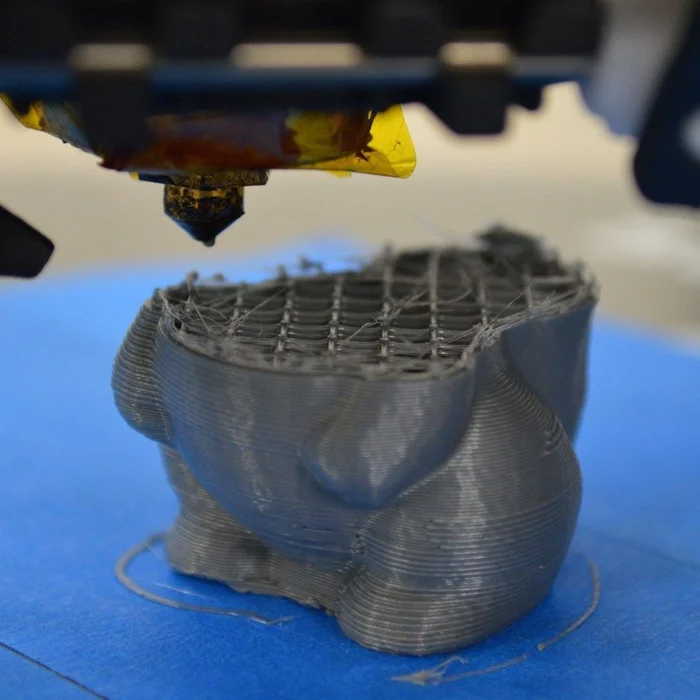
Recommended reading: How to Dry Filament
Conclusion/Key Takeaways
In the end, a clogged 3D printer nozzle is a fairly common problem for FDM 3D printer users, but it is avoidable. By taking the right preventative steps—like keeping your 3D printing area free of dust and using good quality filaments—you can reduce the risk of nozzle clogs from the get-go. That being said, if you ever find yourself dealing with a blocked 3D printer nozzle, there are solutions. We saw how to clean a 3D printer nozzle in the event of a partial or full clog, using techniques like cleaning filament, cold pulling, and acetone solvents. For more 3D printing troubleshooting, see our article on solving first layer adhesion problems.
References
[1] 3DVerkstan, 2016. “The Atomic Method” [Internet] https://support.3dverkstan.se/article/10-the [Accessed April 28, 2022]
[2] Thomas Sanladerer, December 29, 2016. “Basics: Cleaning out a clogged nozzle” [Internet] https://www.youtube.com/watch?v=g8uvh6kvr54 [Accessed April 29, 2022]
How To Unclog a 3D Printer Nozzle
Clogged nozzles - they happen. This informative guide will help you get your 3D printer back up and running.
Posted on April 7, 2017
by
Alec Richter
Every so often, you might find your prints are looking stringy, sparse, and with missing layers. If you check through our 3D printer troubleshooting guide, you'd figure out your nozzle is more than likely clogged. No worries - this guide will help you solve the issue and get you printing again in no time.
What Causes 3D Printer Nozzle Clogs
To understand a clog, it's probably best to know a few things that can cause the issue in the first place. Keeping filament sealed up and clean is a good practice to help avoid clogs.
- Filament stripping in the extruder gear and the filament left in the nozzle solidifies into a plug
- Dust on dirty filament forms a plug
- Something as simple as not cleaning out the nozzle after changing between materials
How To Check if Your 3D Printer Nozzle is Clogged
Disengage the extruder gear lever and push filament through by hand. If it curls, is hard to push through, or doesn’t come through at all, the nozzle is clogged. It doesn’t take much force to get it through, so don’t press on it too hard.
Tools Needed to Unclog Your 3D Printer's Nozzle
If you are using all the methods to unclog your nozzle below, you will need the following tools. We recommend trying them all and finding one that works best for you.
- Cleaning filament or nylon filament in the diameter your printer uses.
- A brass wire brush (steel wire can damage the nozzle)
- Acetone
- Acupuncture needle
- Crescent wrench
- Socket wrench
- Heat gun or blowtorch
Checking the force needed to push filament through the nozzle.
Method One: Brass Wire Brushing
Using a brass wire brush, clean off any debris from the nozzle. Make sure that you use a brass wire brush - do NOT use a steel wire brush, as it can cause damage to the nozzle.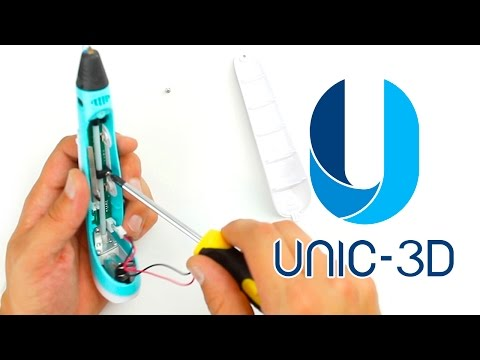
Using a brass brush to clean off a nozzle.
Method Two: Acupuncture Needle
- Preheat your printer to the print temperature of the last material you were printing with.
- Gently and carefully insert the acupuncture needle up through the nozzle.
- You aren’t trying to remove the particles, just break them up so they extrude the next time you extrude filament.
*Do not use on Olsson Ruby Tip Nozzles*
Using an acupuncture needle to break up a blockage.
Method Three: "Cold Pull" With Nylon or Cleaning Filament
- To do a “cold pull” use Cleaning Filament or Nylon Filament in the same diameter filament that you normally print with.
- Heat up the nozzle to 250°C and push the filament through the nozzle until you don’t see any of the previous filament coming out of the hotend.
- Cool down your extruder to room temperature to solidify the filament in the nozzle.

- Set the hotend to 115°C.
- At 90°C, pull on the filament until it yanks out of the nozzle. This should leave the shape of the inside of your nozzle on the end of the filament. You should be able to see the particle in it.
- Again, heat up the nozzle to 250°C and push the filament through until it comes out clean and easy.
Pulling out cold nylon to clear the nozzle.
Method Four: Removing the Nozzle
- Heat up the nozzle to the print temperature of the last material you used.
- Use a crescent wrench to hold onto the heater block, while you use the socket wrench to twist off the nozzle.
- Be careful not to touch any of the hot parts, it’s really easy to slip and burn yourself.
- With the nozzle removed, use chemicals to dissolve the filament and wash out the clog, or use heat to burn it out.
- If your printer clogged after using ABS, simply drop it in a container of acetone and the ABS will dissolve away.
- There are chemicals you can use for other materials, but they tend to be more caustic or hard to find. In those cases, a heat gun or blowtorch (using the proper safety precautions) can melt out the remaining filament.
- With a heat gun or blowtorch, wave the heat over the nozzle like blow drying your hair; direct heat from a blowtorch can actually melt your nozzle.
Place the nozzle into acetone to remove ABS filament clogs
Carefully using the heat gun to remove clogged filament
As you can see, there are quite a few good ways to fix a clogged nozzle. Find the right way that works for you, and keep on printing.
Article Tags
- 3D Printing
- Firmware
- 3D Design
- MatterControl
- Press Releases
- Small Business
- Automotive
- E3D
- Jewelry Making
- Engineering
- Entertainment Industry
- MatterControl Touch
- ESD Materials
- NylonX
- BCN3D
- Open Source
- Crafty Pen
- Digital Fabrication Anatomy
- How To
- Hardware and Upgrades
- Tips and Tricks
- Weekend Builds
- Top Ten
- Education
- Tech Breakdown
- Women in 3D Printing
- Project Ideas
- Advanced Materials
- Reference
- Pulse Dual Extrusion
- Product Spotlight
- Aerospace
- Jobs
- Military & Government
- Multi-Tool Machines
- Getting Started
- Healthcare
- How To Succeed With Any 3D Printing Material
- Creality3D
- Architecture
- 3D Printer Reviews
- Hacker of the Month
Related Products
View all related productsTechno Print 3D Company
This is our first review of the most popular and inexpensive 3D printers for 2020. The list will include the best-selling devices in two price ranges (up to 30 tr and up to 60 tr). Printers working with both plastic filament (FDM) and photopolymers (LCD/DLP) will be presented. This list will always be up to date, as it is periodically updated and supplemented. Read more→
The Chinese company Dazz3D announces the launch of the project on KickStarter and accepts pre-orders for Dazz3D Basic and Dazz3D Pro 3D printers. These revolutionary new devices are aimed at both the professional and amateur markets. Read more→
We all know that precise calibration of the 3D printer desktop is the foundation and the key to successful printing on any FDM printer. In this article we will talk about the main and most popular ways to level the "bed". So, as mentioned above, 3D printing without desktop calibration is impossible. We face this process Read more→
It's hard to go through a day today without hearing about 3D printing technology, which is bursting into our lives at an incredible speed. More and more people around the world are becoming addicted to 3D printing technology as it becomes more accessible and cheaper every day. Now almost anyone can afford to buy a 3D printer, and with the help of Read more→
The FormLabs Form 2 and Ultimaker 3 are perhaps the most popular 3D printers today, capable of high quality printing with incredible surface detail. Moreover, these two devices use completely different technologies, and therefore, there are a lot of differences between them. Many will say that it is wrong to compare them or Read more→
XYZprinting, best known for its daVinci line of desktop 3D printers, is bringing five new devices to the professional and industrial environment. One will use laser sintering technology, the second full color inkjet printing and three DLP machines. First of all, the novelties will be of interest to dentists and jewelers. Read more→
Cleaning the nozzle of a 3D printer is a fairly common process that any user of such a device has to deal with.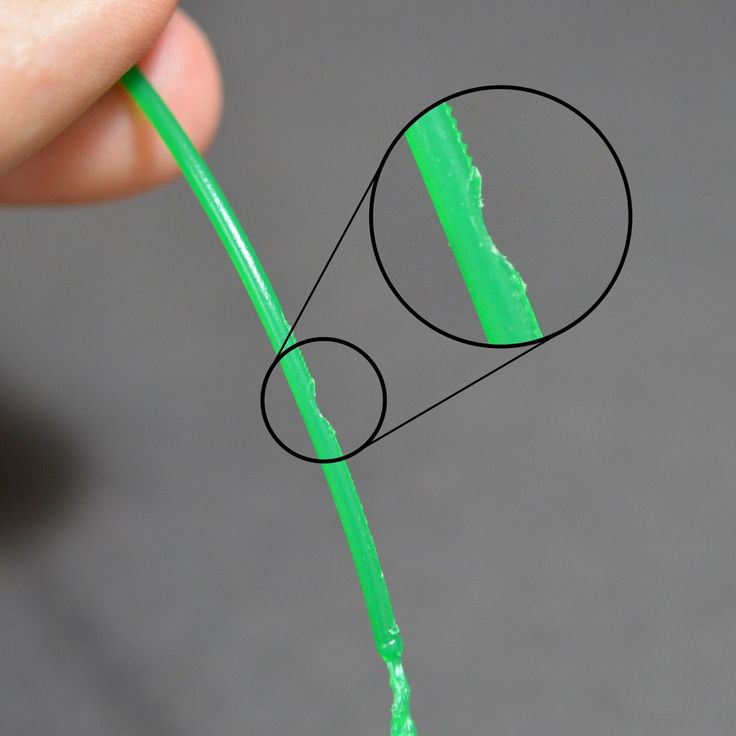 This is not at all a complicated procedure that anyone can handle. You can complete this task in 15 minutes, using only handy tools and accessories. Read more→
Acetone steam polishing of ABS plastic is a process for smoothing the surface of 3D printed models. The result of this treatment makes your printed products look as if they were made by a professional mold casting method. If you want to understand how this is done correctly, then read this article. Aceto Read more→
How to clear a clogged extruder nozzle
A clogged extruder nozzle is a problem that inevitably needs to be addressed immediately, and this article will help you diagnose it correctly, as well as solve it in the simplest and easiest way.
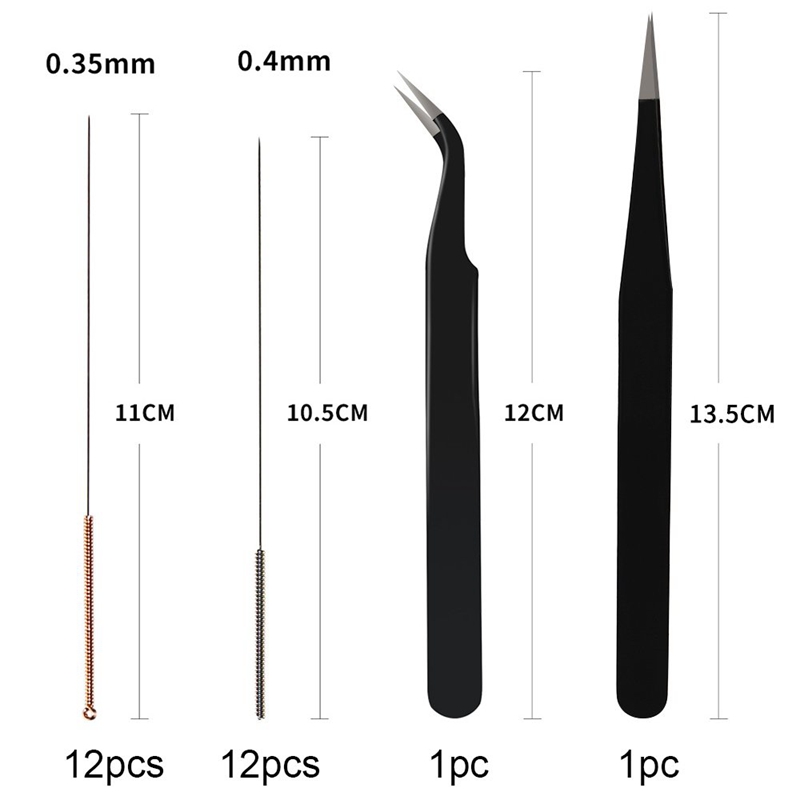
Drill set for cleaning the extruder nozzle in case of blockages.
Unlike many other problems that arise during 3D printing, nozzle clogging negatively affects not only the quality of the print result, but, more often than not, the ability to print at all. Let's take a look at the main causes of a clogged extruder nozzle, and how you can quickly and easily fix this situation.
- 1 Causes of clogging
- 1.1 Extruder temperature too high
- 1.2 Dust and debris caught in the extruder nozzle
- 2 Step-by-step solution to this problem
- 3 Expert comments (Mikhail Shchekochikhin)
Clogging Causes
Extruder Temperature Excessive
When using PLA plastic, the optimum extrusion temperature can be between 160 and 220 degrees Celsius. Trying to print at too low a temperature will most likely result in no extrusion at all, but the reverse can become more problematic. In fact, if you are trying to print at too high a temperature for a given material, your filament may simply vitrify right in the extruder and thus clog it.
Vitrify - turn into a glass or vitreous substance, especially when exposed to high temperatures
Vitrification is a process that causes PLA or other plastics to become extremely hard and clog the nozzle.
The same is true for ABS, nylon, PVA and other plastics.
Dust and debris caught in the extruder nozzle
This often happens after several jobs, as dust and other debris enter the nozzle along with the filament. Accumulating, they begin to clog the extruder nozzle. This debris can stick to the inside walls of your extruder and obstruct the flow of plastic, eventually clogging the nozzle.
Step-by-step solution to this problem
Cleaning the nozzle with a fine drill.
This problem is quite easy to solve, but requires the right tools.
You will need a small <0.35mm drill bit or something else that can serve as a drill but is thin enough to fit into your extruder hole.
It is very convenient to use a 0.33mm thick guitar string for this purpose, which can be easily found in any musical instrument store.
Another alternative is to use resistor or LED legs, as they are thin enough to fit through the hole in the extruder nozzle.