3D printer box model
Box best 3D printer files・Cults
Box for Air Up Pods
€4.99 -50% €2.49
TARDIS Keyring
€2.50
BOX LEGO HEAD TO BUILD
€3
Desiccant LockBox Adjusted
Free
Dental splint box
€0.94
Tank box
€1 -30% €0.70
YORU RADIANITE BOX
€3.57
Fuck You Lamp Sleeve Cutting
€2.50
Makita P-83652 Box Inserts
€1
pomegranate pike
€9. 22
sullivan box monster inc
Free
Bang board game, BANG game box, packaging
€10.65
Prince Box
Free
1/35 Vickers Machine Gun Ammo Boxes
Free
wanhao toolbox d12
€2
Mini Milk Box - Pen Cup
€3.36
Lamp : E-LIQUIDS
€4.99
9v Battery Holder Case for Electronics Projects
Free
Square Box Key Chain
Free
Herb Garden Bricks and Grass
Free
Box for relay module (PSU control)
Free
Pug Box
Free
Pizza delivery with box or construction worker
€10
Mini Drawer Organizer Chest of Drawers
€2.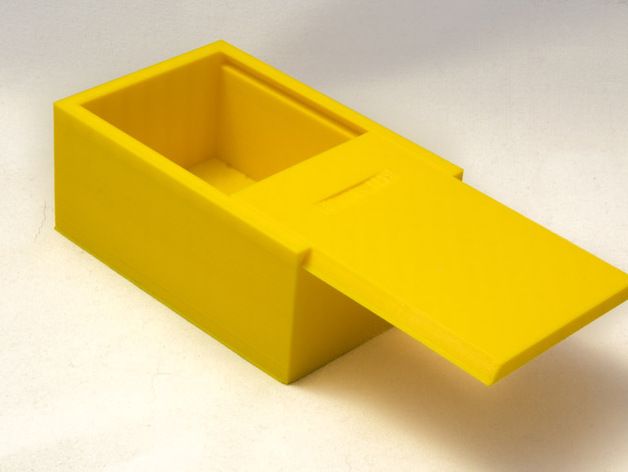 56
56
Ixalan-themed Pirate Chest Deck Box
Free
Roll Up Cigarette box (10 Spaces)
€2.28
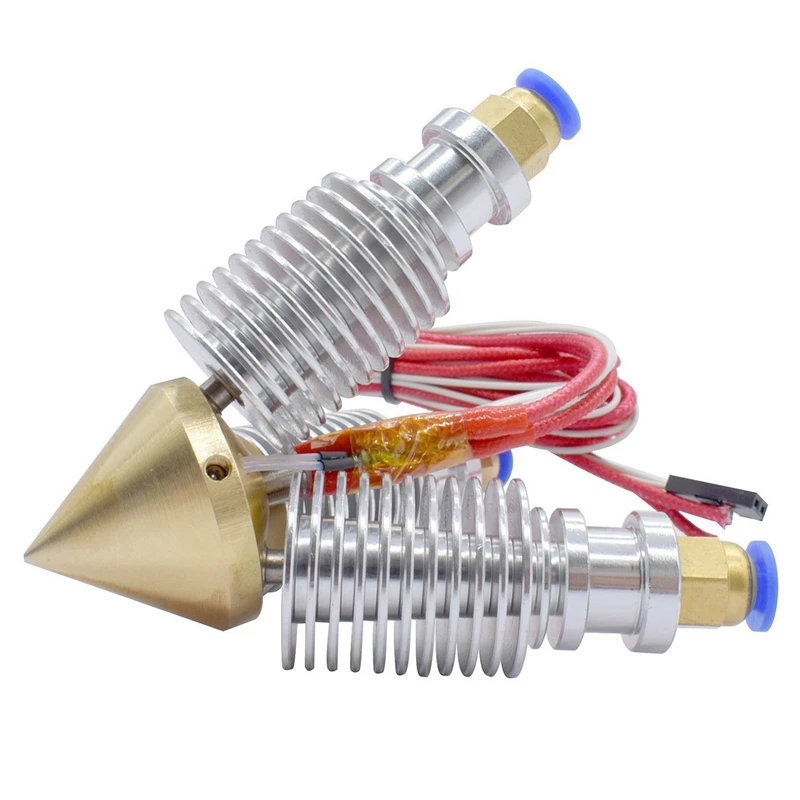
Nozzle Sliding Box
Free
battery box / battery box
€1
monitor esp32
Free
Monitor Temp Esp32
Free
Caterpillar box other version
€2
Caterpillar Box
€2
Wall mount FRITZ!Box Cable 6690, 6590 and 6591
Free
Toothbrush box - Print in place
€1.25
Stackable Storage Box
Free
Container
Free
Tissue box holder
Free
Plaster ring/distance ring for flush-mounted boxes DE
€2.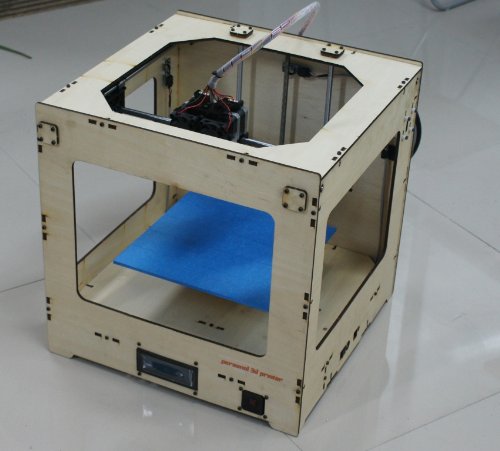 50
50
Emergency Snus Box
€1.38
Control Panel with 16mm push buttons
€5.10 -5% €4.85
Modular 3D Printer Main Board & Pi Box
Free
Modular 3D Printer Power Box Upgrade
Free
LARGE BOX OF CHOCOLATES IN THE SHAPE OF A BONBON
€2.50
Funko Mascot Woman V1 French Poodle
€3.52
Contraceptive tablet protector
Free
battery holder
€1
Sortierbox
Free
Guitar Headstock Pick Holder
€1. 87
87
How to Model and 3D Print a Project Box - News
In this tutorial, we show you how to design a project enclosure with Tinkercad and then make it on a 3D printer.
Favorited Favorite 1
Getting started with 3D modeling and 3D printing can seem like a daunting task, but it doesn't have to be. The easiest place to start is with a simple shape, like a box. Additionally, it can help to create something useful (or at least marginally useful) to act as motivation.
Downloading a part from Thingiverse and printing it is a good place to start, especially if you want to test your printer or want something awesome that someone else has made. But what if you're ready to start designing your own models? Where do you go? There are scores of 3D modeling programs out there, and some of them work better with 3D printing than others. Here are some of the ones I've had experience with:
- Tinkercad - Free, web-based modeling software from Autodesk that's great for beginners.
 Great for making models for 3D printing, but is limited in features.
 - SketchUp - There is a free (now web-based) and a paid (Pro) version. Easy to learn and use, but has trouble producing 3D printer-friendly models.
- Fusion 360 - Full-featured modeling software also from Autodesk that's free for students and hobbyists. Favored by many hobbyists.
- SolidWorks - Full-featured CAD software that has a large professional following. Expensive.
- Blender - Free and open-source modeling program with a steep learning curve.
If you are just getting started with modeling and printing, I highly recommend giving Tinkercad a shot. You can whip up simple designs in a matter of minutes. Do note that it is lacking some advanced features, like being able to add chamfers or fillets (you can technically subtract a round shape out of another shape and then use that to create a fillet on your design's corners, but it's a pain).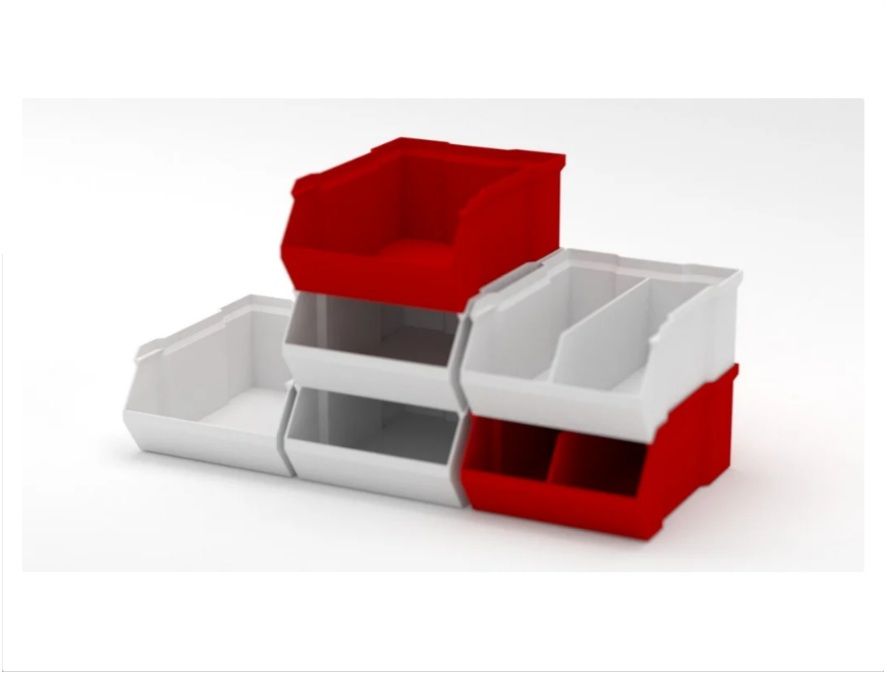
I've created a quick guide on getting started with Tinkercad. In it, I show how to design a box, import it into a slicer, and then print it. It's a great starting place, especially if you're looking to create custom enclosures for your electronics projects. That being said, it's meant as a starting point; putting just a Pro Mini is box is a fairly useless exercise. Feel free to modify the dimensions to fit your own project!
Getting Started with 3D Printing Using Tinkercad
April 30, 2018
Tinkercad is a great, easy-to-use online modeling software that can have you 3D printing quickly. This tutorial will walk you through designing a simple project enclosure.
Favorited Favorite 10
Also, the instructions for printing were written for a LulzBot TAZ 5 printer (now retired in favor of the TAZ 6), mostly because that's what I had access to. Most of the LulzBot printers should work similarly, but if you have a different printer, you'll want to follow that manufacturer's guidelines for which Slicer program to use and how to print.
For those of you out there with more 3D printing experience, what other modeling or troubleshooting tips can you recommend?
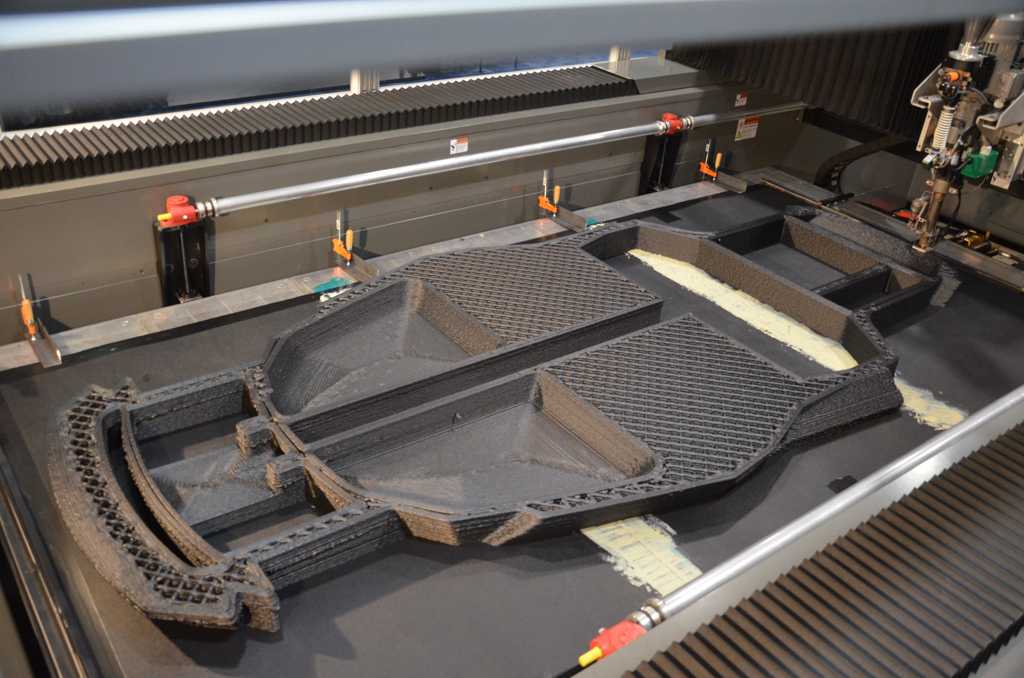
A mechanical engineer 3D printed a working gearbox for a Toyota engine (+ video)
One of the unusual novelties is a 3D printed five-speed gearbox for a Toyota 22RE engine. The author of the work is mechanical engineer Eric Harrell from the city of Santa Cruz in California. His brainchild not only looks convincing, but is also a fully functional model.
In January, Harrell had already reverse-engineered a Toyota engine from scratch using a 3D printer (in other words, analyzed and reproduced its design). Thingiverse users and the American media have positively evaluated Harrel's project, and he decided to take his creation to the next level by supplementing the engine with a gearbox, also printed on a 3D printer. Harrell's two designs can work together to create a unique piece of 3D printed mechanical construction.
“The success of my first project, a four-cylinder Toyota engine, inspired me to get into the gearbox business,” says Harrell.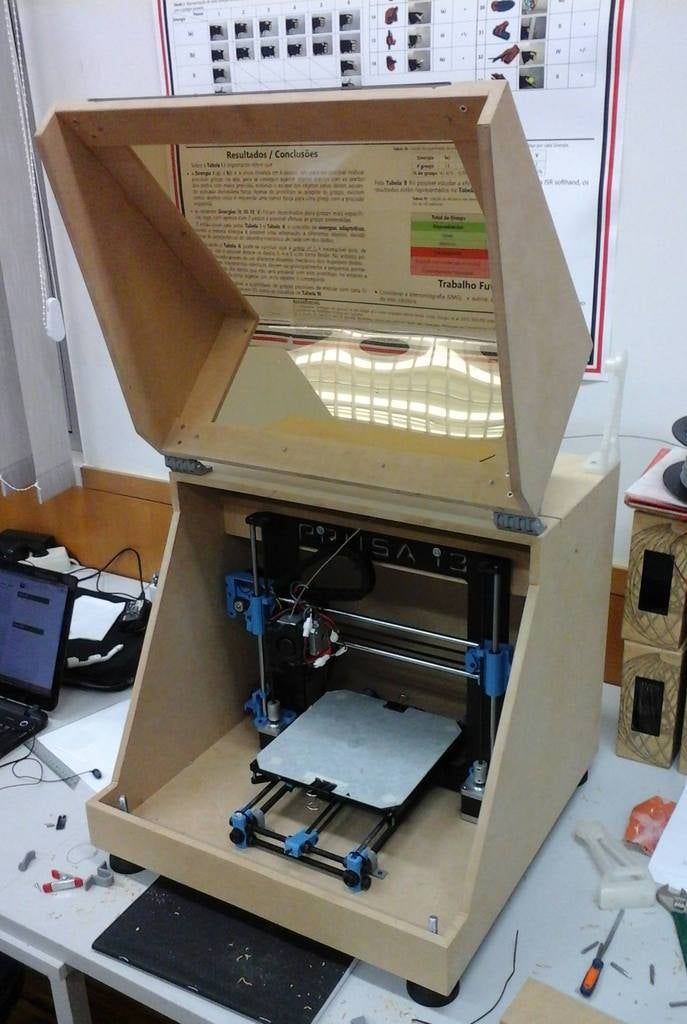 “It's amazing how many people are interested in my work. I never thought that my design could generate such interest and, moreover, that people would actually print and assemble it, simply because it is a complex and time-consuming process. To date, eight people have already assembled the engine, and many are now working on it.”
In general, it will take approximately 48 hours of printing on a 3D printer to make all parts of the gearbox. After printing all the components, you need to assemble the structure according to the drawings provided by Harrell. The engineer recognizes that assembling a gearbox is not an easy task, so he is available to answer questions from those who have encountered any difficulties in the process.
“Anyone who puts together one of my designs—a gearbox or an engine—will get a pretty good idea of how they actually work, because my models are exactly replicas of real mechanisms,” Harrell explains. “And it’s amazing because most people who are interested in 3D printing are unlikely to ever get the opportunity to actually recreate an engine or gearbox. ”
”
Although most parts of the gearbox are 3D printed, some small parts cannot be printed on a personal 3D printer. We are talking about such details as a rod with a diameter of 3 mm, 628ZZ bearings, washers with a diameter of 3 mm and several other small elements that serve mainly for fasteners. At the same time, Harrell does not guarantee that all parts can be 3D printed in the correct scale - some of them may have to be adjusted to fit the rest of the structure. On the other hand, the author of the project notes that instead of resizing the parts in the project, you can simply file them as necessary after printing.
“The transmission works exactly like most manual transmissions in cars or trucks,” Harrell says. “Nevertheless, I can hardly explain how it works. This is very difficult to understand until you assemble the gearbox yourself, or at least watch a cutaway video of the mechanism in operation.
Despite the time it takes to print and assemble the structure, this is perhaps one of the most impressive designs featured on Thingiverse to date.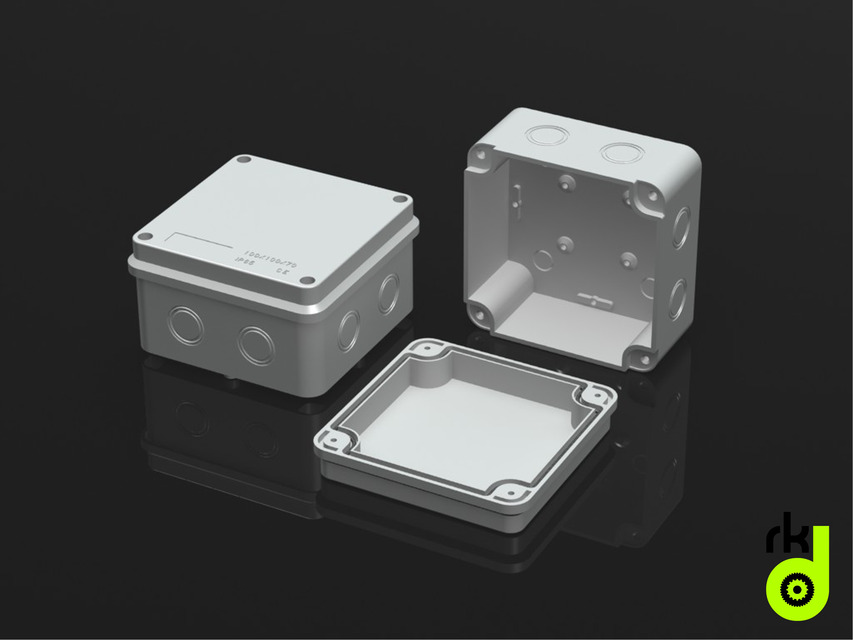 It's also hard to believe, but Harrell says his design could be successfully used in a real car because it's a scaled-down version of a real machine.
Stackable boxes for storing radio components and more
It just so happened that one of the reasons for buying a 3D printer for me was the need to print a large number of boxes for various kinds of radio electronic modules, radio components and other things. Unfortunately, it is very difficult to find high-quality boxes here, and those that are available are also not cheap. And besides the boxes, a lot of tasks have accumulated that could be quickly solved only with the help of a 3D printer. As a result, a 3D printer was purchased to solve all these problems. And the printing began. As it turned out, the models I have chosen are not without flaws. As a result, they had to be improved. Actually about it and all post.
Printed with ABS, PLA, PET-G and SBS (Wattson).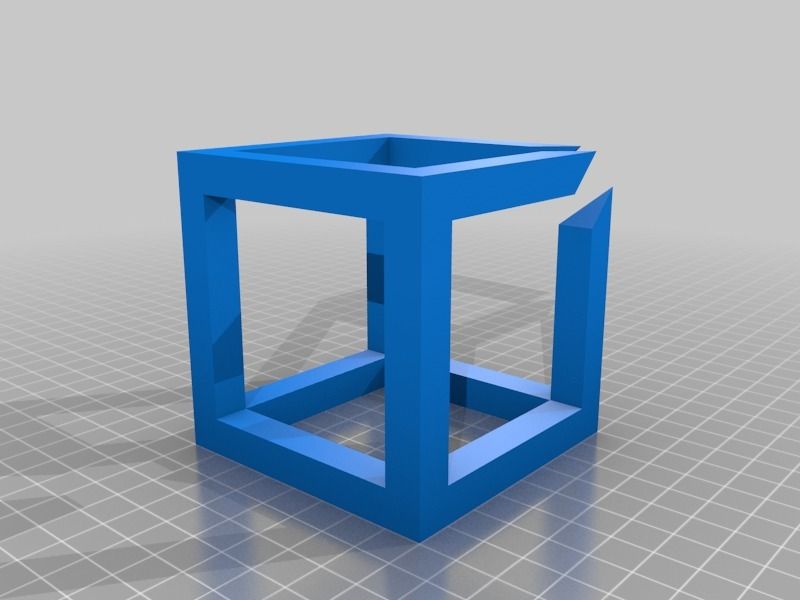 Such work helped to choose the optimal print parameters for these plastics and achieve maximum quality. In order not to waste a lot of plastic for nothing, I developed a couple of test models. I wrote about this in the article “A selection of test models for calibrating and setting up 3D printer printing”, it has a separate section “Test models of stackable boxes”, and since I already wrote about this, it makes no sense to dwell on this issue. Read on the given links.
And so. The plan is as follows: We print the chassis ourselves from hard ABS, PLA, PET-G plastics, we print drawers with SBS, PET-G plastic. Most of all I liked to print drawers with SBS plastic. But here I was in for a pleasant surprise. the models are too thin-walled and the drawers just cracked in the corners. There was no durability. As a result, I spat and began to refine everything for myself. That is why this article is being written. I’ll clarify right away, I just finalized the models for myself.
Model source from Thingiverse 9 website0003
The author of the models Piotr Karkovski
In the post, the models modified by me, their images and their source codes are laid out. So everyone who needs to make a revision for themselves can do it without any extra effort.
In addition to the improvements, I developed several of my own models. These are accessories. Namely: a stand at the bottom to improve the stability of the boxes, side and top plugs to keep the surface straight, a couple of brackets if you want to stack the boxes like in the photo above.
Now about the print options. Since all elements are mostly thin-walled, a couple of the following parameters are required for printing in the CURA slicer:
Fencing - Number of wall lines “ 2″
Fencing - Filling gaps between the walls “ Everywhere”
For printing with SBS plastic, in order to avoid artifacts on the part, I strongly recommend turning off the combing
For printing, a layer height of 0.3 was used
You will have to select the rest of the parameters yourself, according to your printer, plastic, etc.
Now let's go through the models.
They are the same stackable rectangular pieces into which drawers are inserted. The set contains the following sizes:
Chassis 1x1
Chassis 1x2
Chassis 2x1
Chassis 2x2
Minimal modifications were made to the models and roundings were added in the bottom area.
Drawers.
Things are a little more interesting with drawers. All the above models have been modified for printing with SBS plastics, the walls and transitions have been strengthened. also added several models with an internal, which I finalized for myself. Just because drawers are designed for SBS printing doesn't mean you can't print them with other plastics. after finishing, they are perfectly printed on all types of plastics Below are the models that are in the set:
Shuflyada 1x1
Shuflya 1x1 2 slots along
Shuflya 1x1 2 slots across
Shuflya 1x1 3 slots across
Shuflyada 1x1 4 slots across
shuffle 1x -segrade 1x 2x Drawer 1X2 2 slots along
Drawer 1X2 4 slots
Drawer 2X1 4 slots along
Drawer 2X1 8 slots
Drawer 2X2
were not finalized and the rest of the model was not finalized in my collection. I see no reason to duplicate. With regards to the 2X2 drawer, I didn’t see much reason to divide it into slots in principle.
Accessories.
Well, these are my personal developments. After the set of boxes gained a significant height, it turned out that it was not stable enough on the table. Somehow I didn’t really want this thing to flash one day, through my fault or through the fault of the cat, and all the contents scattered throughout the office. As a result, I designed the legs for this structure:
Stand
This thing allows the structure to stand confidently on the table. I recommend printing from the same materials as the chassis.
To reinforce the floating chassis, the following structure was developed:
Spacer 1x2 Left
Spacer 1x2 Right
To help you understand what I mean by “hanging chassis”, here is an example picture:
Great item to reinforce the structure. Left and right have been fixed in the repository. So you can put it on both sides.
And now for some decor. Not everyone will like the fact that the boxes have spike connections on all sides. Sometimes you want a smooth surface. To do this, I developed stubs. Which will allow you to cover the spikes and grooves, and in case you need to print and dock a couple of boxes, you can remove them, dock the boxes and reinstall the decorative caps. It is not necessary to put them in the trailer, but for those who really want to, I added them to the repository:
plug 1x1 top
plug 1x1 bottom
plug 1x1 left
plug 1x1 right
plug 2x2 top
plug 2x2 bottom
pile of 2x2 left
9000 2x2 rightand that's all. With the description of models and accessories is finished. And since you have read up to here, you are wondering where to download these models?
You can download them in my repository on Github
And finally, a couple of photos:
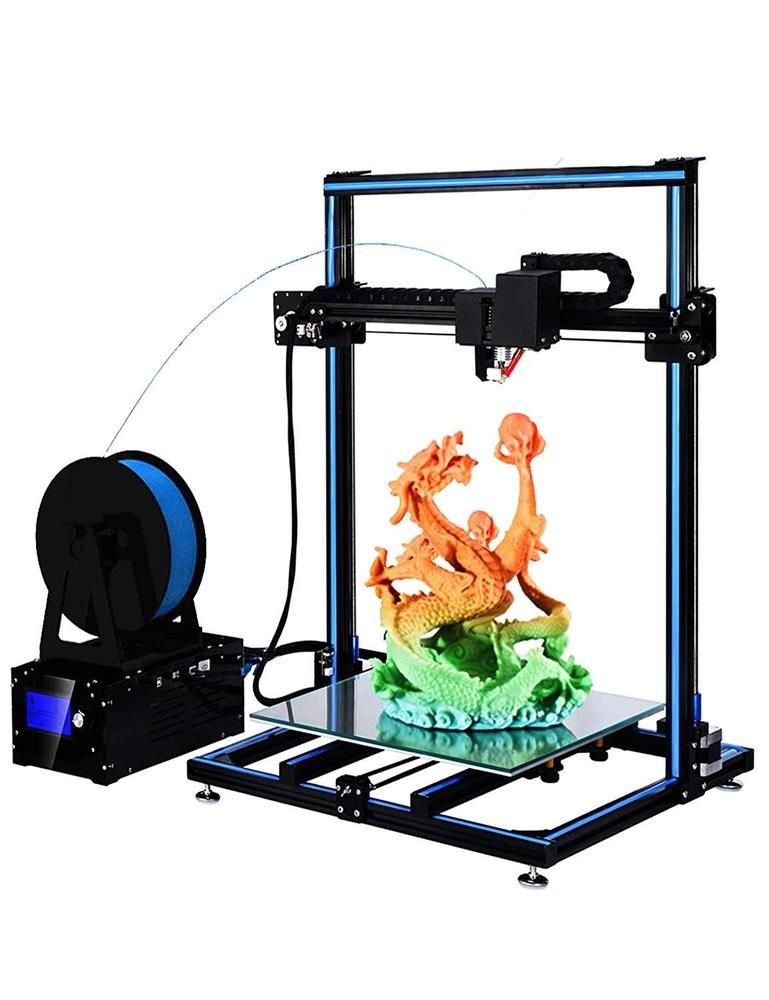
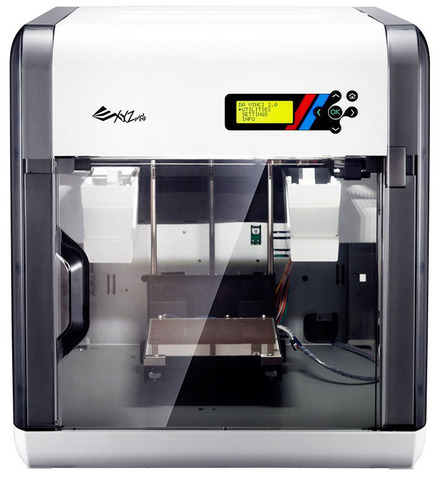
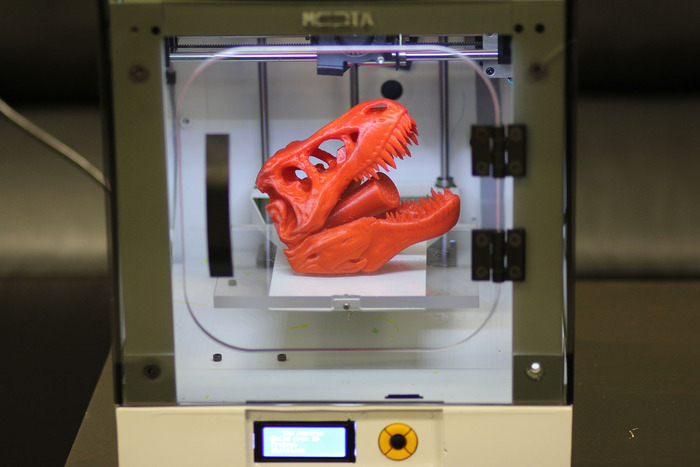
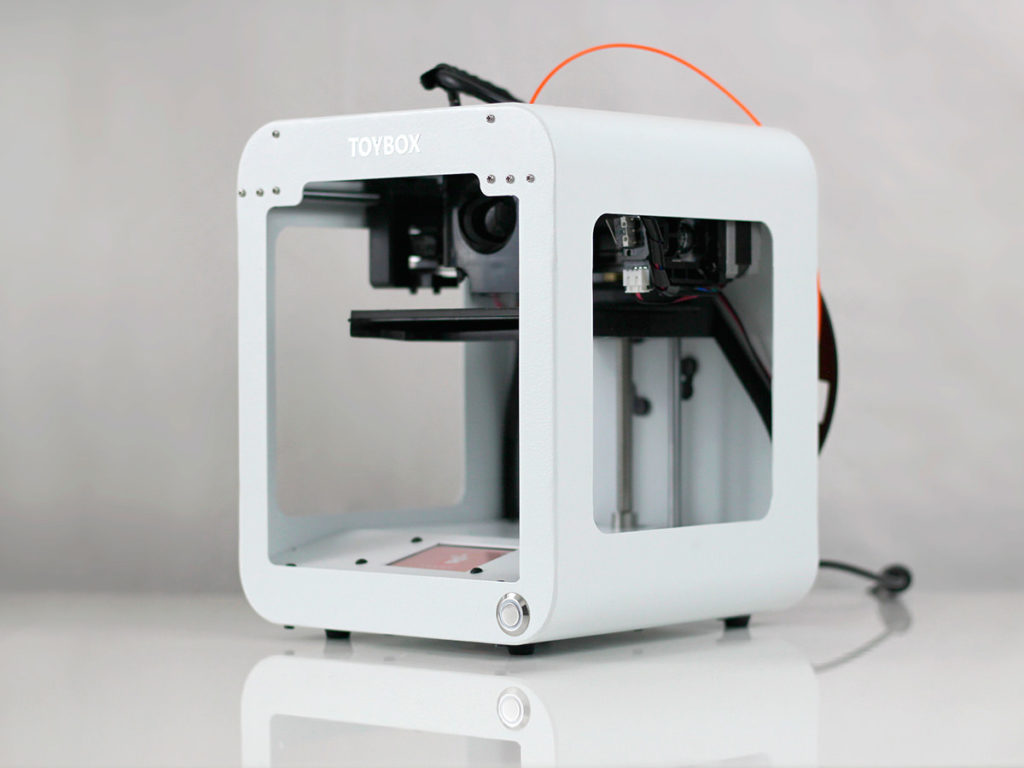
If you have not got a 3D printer yet and are thinking about which model to choose, I can recommend the following models: These links are to trusted sellers who sell original printers.