
Multi nozzle 3d printer
MM3D: Multimaterial Multinozzle 3D Printing
MM3D printing can seamlessly print objects out of inks with varying degrees of stiffness, such as this collapsible origami-inspired sheet. The “joints” are printed from a softer, more flexible material than the “panels,” so the whole structure can be repeatedly folded and unfolded. Credit: Lori K. Sanders3D printers are revolutionizing manufacturing by allowing users to create any physical shape they can imagine on-demand. However, most extrusion-based printers available commercially are only able to build objects from a single nozzle at a time. Those that can deposit multiple inks are even slower due to the additional time required to switch between materials.
Multimaterial multinozzle 3D printing (MM3D), a new technique created by researchers at the Wyss Institute and Harvard’s John A. Paulson School of Engineering and Applied Sciences (SEAS), has finally brought extrusion-based 3D printing-at-scale into the realm of possibility thanks to its unique system of high-speed pressure valves that enable rapid, continuous, and seamless switching between up to eight different printing materials up to 50 times per second, about as fast as a hummingbird beats its wings.
Play
Multimaterial multinozzle 3D (MM3D) printing can switch between up to eight different inks 50 times per second, allowing the creation of complex, high-quality 3D objects in a fraction of the time currently required by other extrusion-based printing methods. Credit: Wyss Institute at Harvard UniversityThe key to MM3D printing’s speedy ink-switching is a series of Y-shaped junctions inside the printhead where multiple ink channels come together at a single output nozzle. The shape of the nozzle, printing pressure, and ink viscosity are all precisely calculated and tuned to prevent backflow and ink mixing during the printing process, thus enabling the precise printing of a 3D multimaterial part.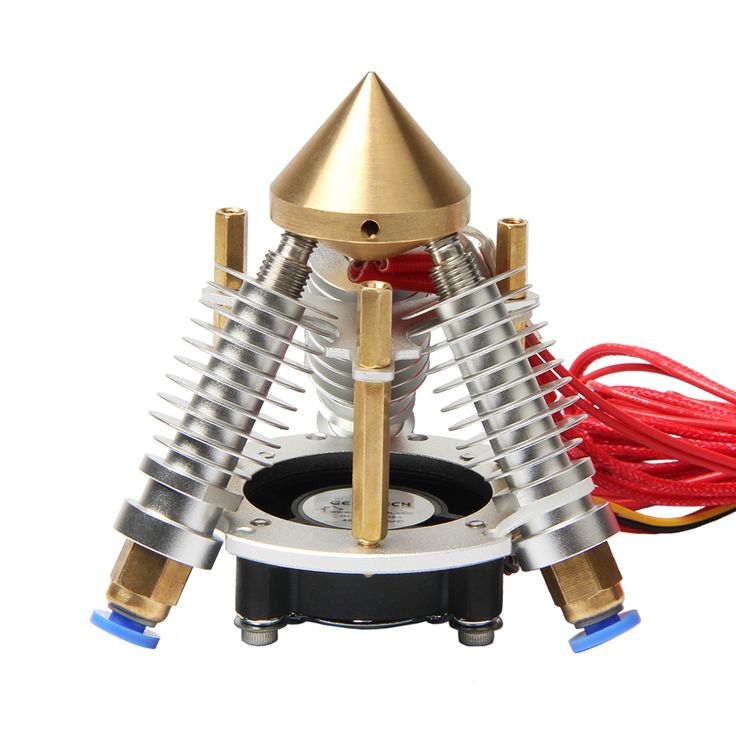 The lengths of the ink channels can also be adjusted to account for materials that have different viscosities and yield stresses, and thus flow more quickly or slowly than other inks.
Jennifer A. LewisMM3D printing has potential applications in many settings, including:Using our broad palette of functional, structural, and biological inks, disparate materials can now be seamlessly integrated into 3D-printed objects on-demand.
- Rapid prototyping and iteration
- Scalable and massively parallelized 3D printing
- Large-scale and rapid biofabrication
- 3D printed soft robotics and lightweight composite materials
- 3D printed electronics and sensors
The Wyss Institute is seeking industrial and research partners to assist with commercialization efforts of this technology.
Multi-nozzle MF3 tech could revolutionize 3D printing
3D Printing
View 2 Images
Although 3D printing technology continues to improve, it's still limited by relatively long print times and low resolution. A new technology could help, by simultaneously utilizing multiple small print nozzles instead of a single big one.
In a conventional FDM (fused deposition modelling) 3D printer, molten plastic or resin is extruded through a single nozzle, building up a three-dimensional object in successive deposited layers which bond with one another as they cool. Throughout the printing process, the nozzle gets moved across the print bed via a structure known as a gantry.
Needless to say, printing large objects in this fashion can take quite a long time. The process can be speeded up by using a larger nozzle – thus allowing more material to be deposited at once – but doing so results in larger individual layers of material, giving the finished object a coarser, lower-resolution appearance.
That's where Multiplexed Fused Filament Fabrication (MF3) comes in.
Developed by a team at New Jersey's Rutgers University, the technology incorporates several small nozzles which are all mounted on a single gantry.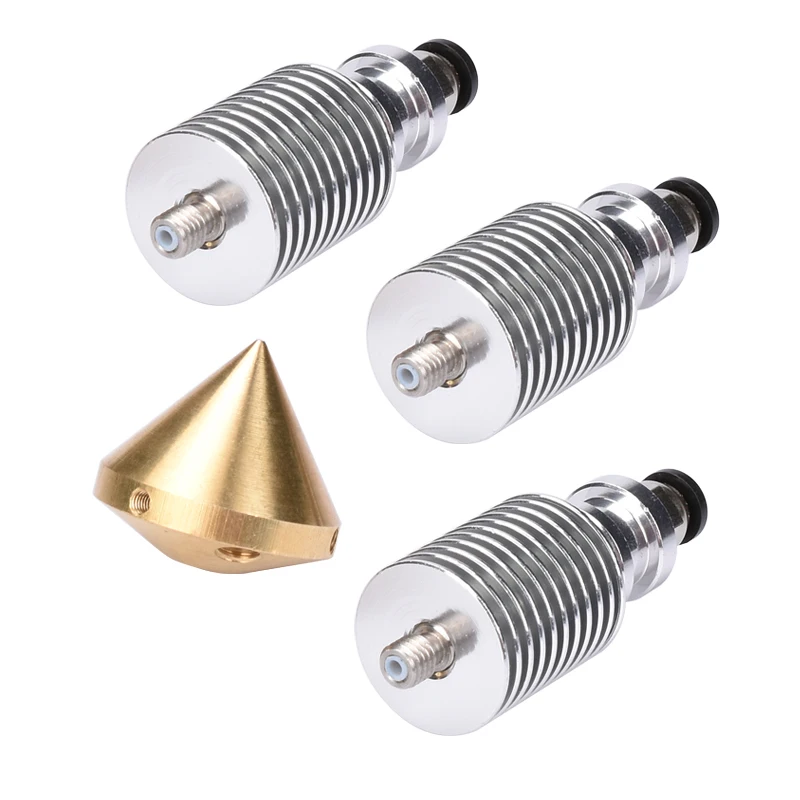 As that gantry moves, each nozzle independently extrudes or withholds material, depending on its location relative to the object being printed.
This means that different sections of the object are being printed at the same time, out of relatively thin layers of material. As a result, the object gets printed faster, yet also at high resolution.
Examples of objects created via the MF3 prototype, using 0.4-mm nozzlesRutgers University
"The core of our technology is a control software that we have developed to control material deposition for each nozzle independently, even though all nozzles follow the same motion trajectory," lead scientist Jeremy Cleeman told us. "We also developed a thermal simulation to help us better understand bonding happening at different section interfaces. By tuning a variety of parameters, we can ensure that the deposited filament will properly bond to previously cooled filament that is adjacent."
Along with being used to print single large objects, MF3 can also print multiple small objects simultaneously.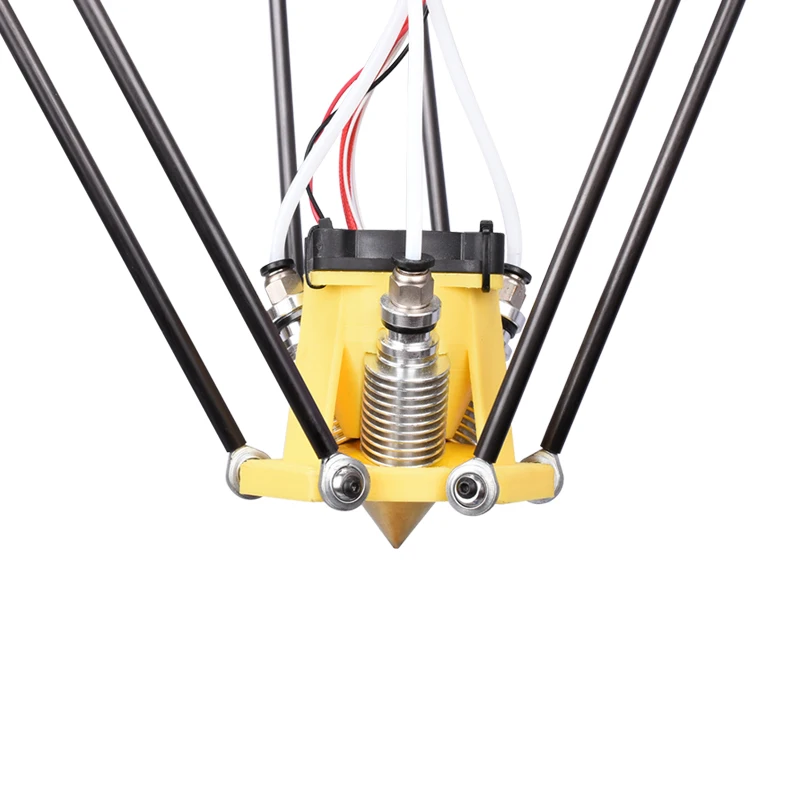 And as an added bonus, if one of the nozzles fails, the software alters the printing process so that one or more of the other nozzles can pick up the slack.
"We have more tests to run to understand the strength and geometric potential of the parts we can make, but as long as those elements are there, we believe this could be a game changer for the industry," said Cleeman.
A paper on the research was recently published in the journal Additive Manufacturing.
Source: Rutgers University
Ben Coxworth
Based out of Edmonton, Canada, Ben Coxworth has been writing for New Atlas since 2009 and is presently Managing Editor for North America. An experienced freelance writer, he previously obtained an English BA from the University of Saskatchewan, then spent over 20 years working in various markets as a television reporter, producer and news videographer. Ben is particularly interested in scientific innovation, human-powered transportation, and the marine environment.
Why 2 extruders in a 3D printer? / Habr
Good afternoon everyone! In this article, we would like to talk about the issue that torments many customers when choosing a 3D printer with 2 extruders. Namely, which is better? What is more stable? Which 3D printer to choose? Why do dual extruder 3D printers alone cost significantly less, and what is the difference between them?
A bit of theory
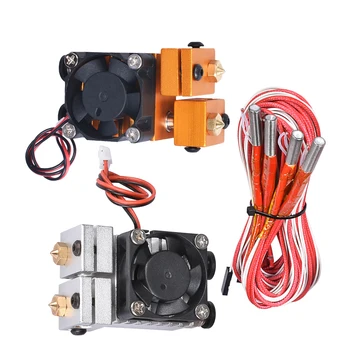
First of all, let's start with the fact that by printing with 2 extruders (or 2-component printing), we mean the ability to print with 2 materials, for example, PLA (base material) and PVA (temporary support material removed chemically, using water in this case ).
It is possible to print in two different colors. But in practice this has not received any great distribution. The printing of complex models with dissolvable supports is in demand.
Therefore, you need to decide for yourself why you need a 3D printer with two extruders? For most tasks, it is enough to use a 3D printer with 1 extruder.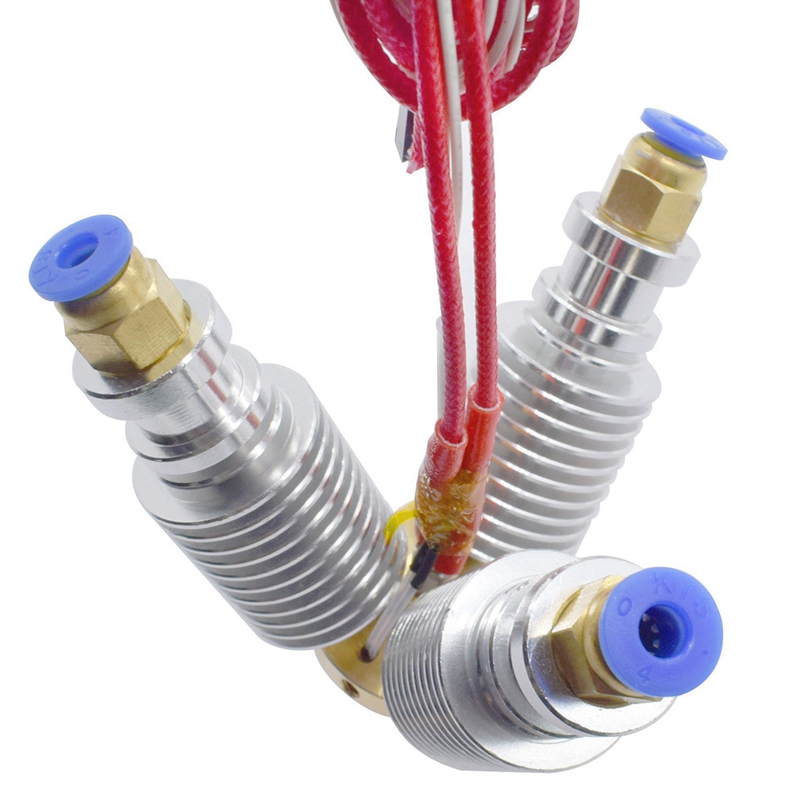
The use of a dual extruder 3D printer is a must when printing complex 3D models with dissolvable supports. Usually such 3D printers are chosen by manufacturing companies for printing geometrically complex prototypes or owners of 3D printers with 1 extruder who understand that they cannot realize with a 3D printer with 1 extruder.
But do all 3D printers with 2 extruders have the same capabilities? Or is it that the differences in design, and, accordingly, in price, are of decisive importance?
Consider different solutions for 3D printing with 2 materials on the 3D equipment market.
To implement this function, manufacturers use the following solutions:
Solution No. 1
Use of 2 static extruders. As a rule, these are 2 hot-ends with two independent material feed motors. There are many options. But all of them, to one degree or another, repeat the solutions on the Makerbot Replicator 2, released in 2012.
There are several technical solutions, but they all have a common list of disadvantages and features.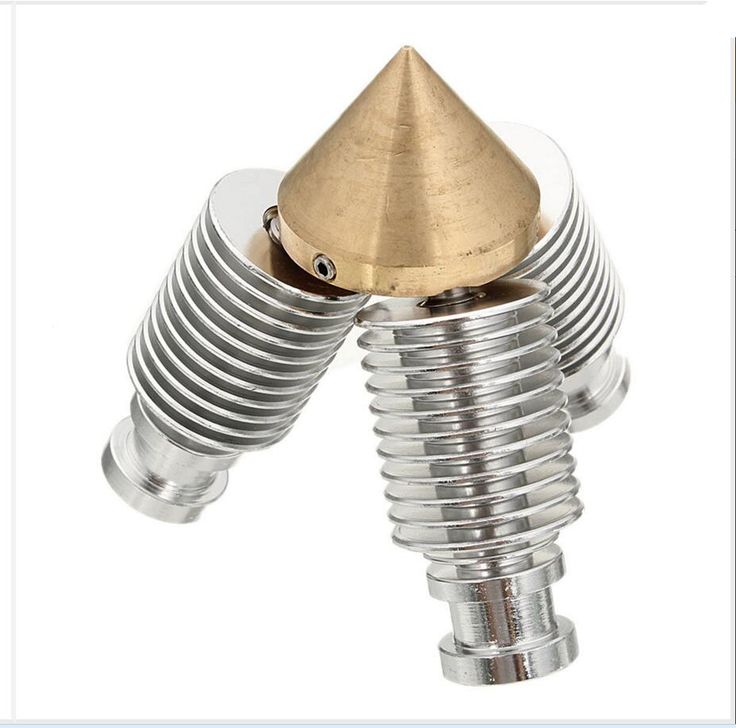
Disadvantages :
1) Be sure to align both nozzles horizontally with respect to the 3D printer desktop. In other words, the nozzles of each hotend should be at the same height, ideally with an error of no more than 0.1 mm.
2) Using a utility tower (or similar) to clean the inactive nozzle from plastic drips (drop formation) before switching to the active mode for printing. Consider an example: if nozzle #1 prints a model with blue plastic, then in order for nozzle #2 to start printing white, the printer first needs to print the 1st layer of the tower with nozzle #2 to remove the remaining plastic, and only then move it to print the base model ( see picture). And so every switch. This greatly (at times) slows down the print speed, relative to the same model but when printing in 1 color. Moreover, there is a possibility of the collapse of the utilitarian tower (the layer did not fit well, or peeled off from the desktop) and, as a result, the marriage of the entire project.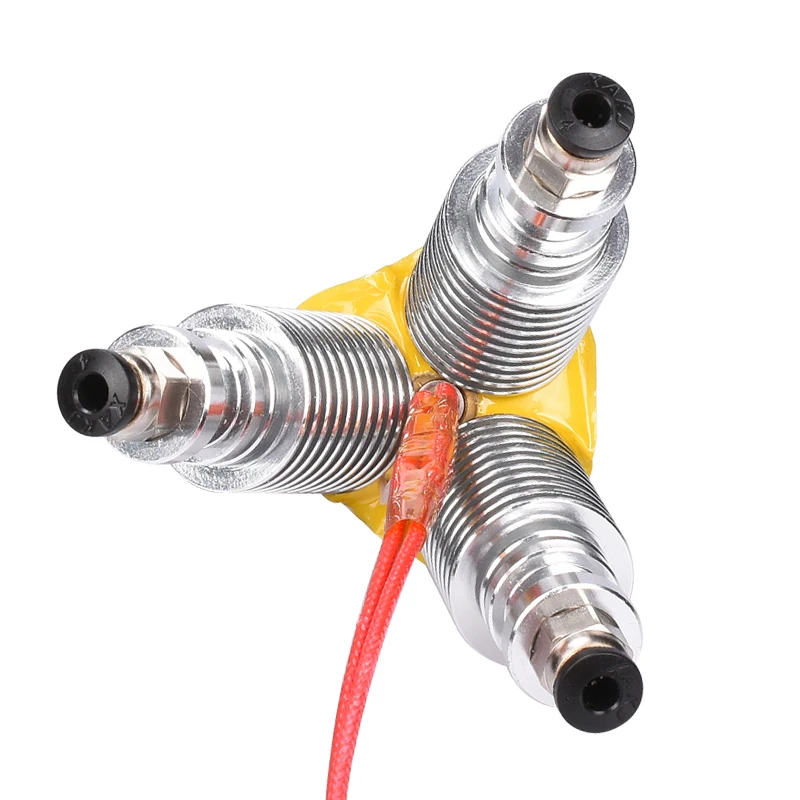
3) No guaranteed result. Due to the complexity and imperfection of the extruder architecture. Large marriage rate. A nozzle that is currently inactive can leak plastic and ruin the part.
Advantages:
1) Low cost solution
2) Simplicity of design, as a result - high maintainability.
This variant has the lowest price and the lowest overall performance. The complexity of the settings, to obtain a high-quality result, makes this implementation option a testing ground for experiments at home. In a more or less intensive implementation of projects, this option is quite problematic.
Decision No. 2
Using a Diamond type extruder. This type of extruder uses a single nozzle, and a radiator(s) (or cooling module) with multiple internal plastic passages.
Basically, this extruder is used for printing different colors. But this, as we already know, has not received much distribution in reality.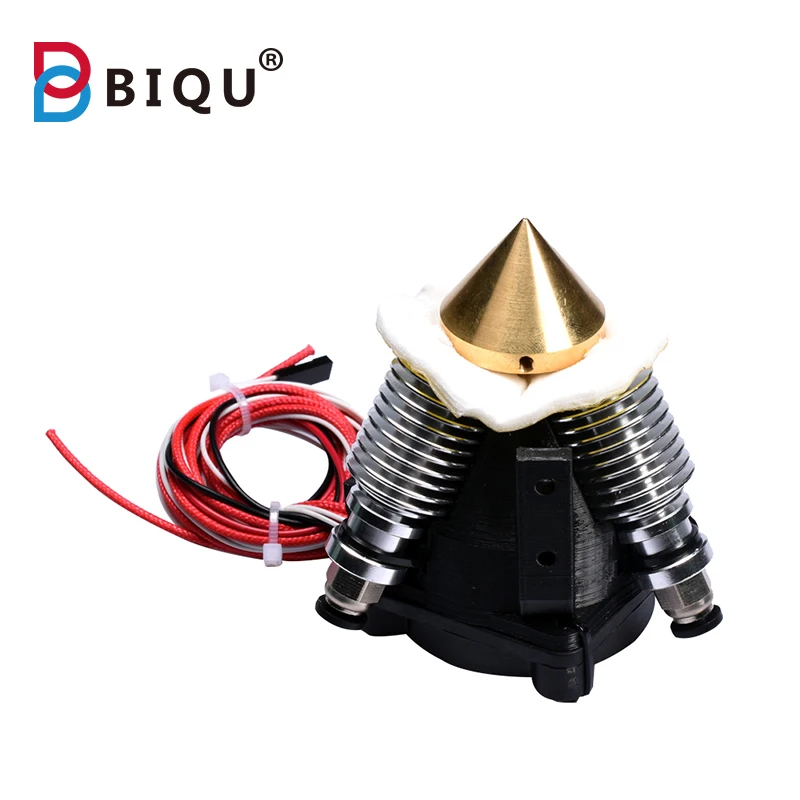 Printing with solvent material will be somewhat difficult. Firstly, the base material and support material have different operating temperatures. This will cause some difficulties for quality printing.
And in any case, this design has almost the entire list of disadvantages, like the first option.
Only there is no point about the alignment of the nozzles - here it is one.
Disadvantages :
1) There remains the need to use a utility tower (or equivalents) to clean the nozzle from plastic drips (drop formation) before switching to another material. This "tower" is visible in the photo. This greatly (at times) slows down the print speed, relative to the same model, but when printing in 1 color. Here it will still probably take time to change the temperature of the nozzle, when changing the base material to supports. Or the possibility of poor-quality printing will greatly increase.
2) There is no guaranteed result. Due to the complexity and imperfection of the extruder architecture. Large marriage rate.
3) This type of extruder is equipped with Bowden-scheme plastic feeding. This entails difficulties (more often even the impossibility of printing with flexible plastics)
The advantages have also disappeared.
Such a solution is quite expensive. And it has a complex structure.
Advantages:
1) Better print quality than #1.
As a result, in the variant of printing with two materials with dissolvable supports, there are no special advantages over the first solution. But this option has a higher price.
Solution #3
Extruder designs where the currently inactive nozzle rises to avoid problems. The most famous today, among serial printers, is the JetSwitch circuit.
Rotating nozzle system from PICASO 3D. There is one plastic feed motor, which facilitates the design.
The main feature is that one of the nozzles that is active at the moment is lowered to the working level by means of a rotary mechanism.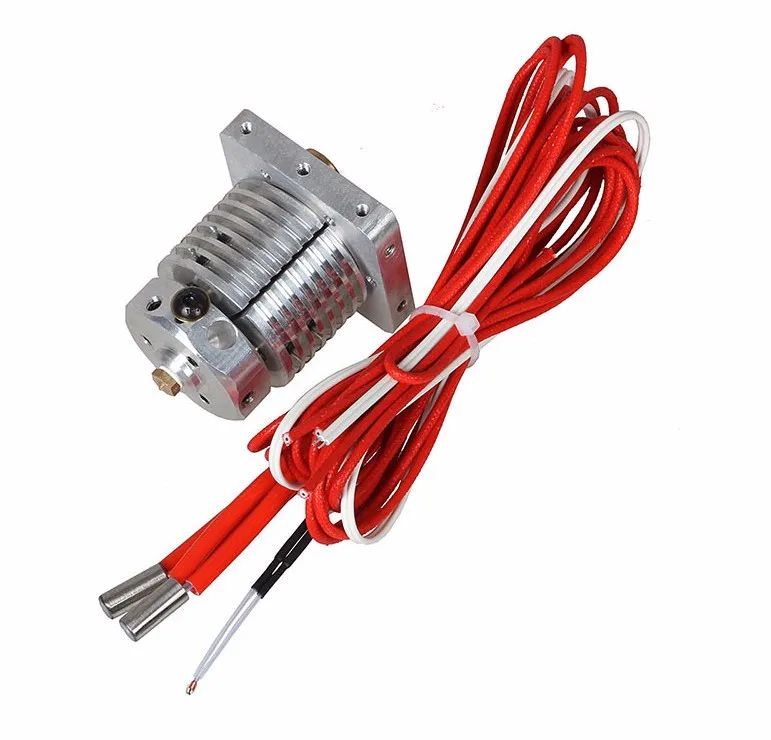 The second is closed at this time, and no molten plastic flows out of it.
Advantages:
1) High print quality
2) There is no need to build a utilitarian "tower". Therefore, the switching time between extruders is short. The speed of printing with two materials is MUCH faster than that of options 1.2. Below is a comparison table from PICASO 3D.
Disadvantages :
1) A rather complicated design, and as a result, a high price.
There are several other types of extruders with lifting nozzles. All of them are united by one thing - a much higher print quality with two materials than the "classic" option No. 1. Yes, they all have a higher price, but the print quality is drastically different.
Terminals
The conclusions are as follows - by purchasing an inexpensive design, you save money, but spend many times more time on setup and printing itself. With the remaining risk of marriage, which reduces all efforts to zero.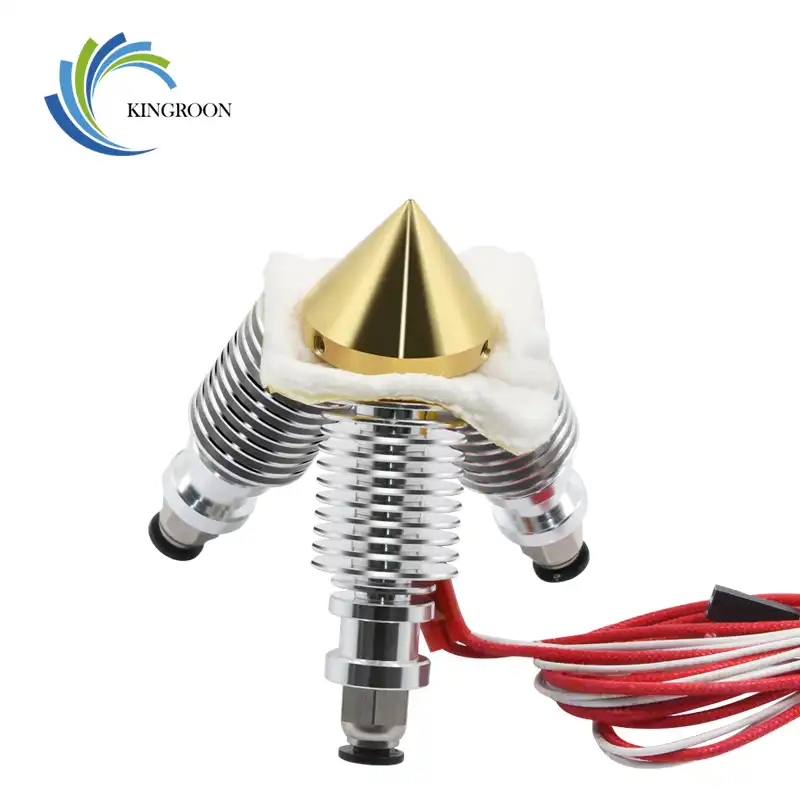 At the same time, the print result will still be worse than that of designs with lifting nozzles.
If you need a high quality result and the printing time of complex models is critical, then it makes sense to choose a model with lifting nozzles:
1) PICASO 3D Designer X PRO
2) Raise3D Pro2
3) Ultimaker 3
Dual extruder 3D printer Magnum Creative 2 SW
Dual extruder 3D printer for convenient and easy soluble support or dual color printing.
Unlike conventional 2 extruder 3D printers, technology Switch! Inactive Nozzle Raise provides quality, uninterrupted printing and easy print preparation.
This model is no longer available.
Watch video
- Review and discussion on 3D Today
- Wax printing with PVA support
Improved extruder design
- Inactive nozzle lifts and locks to prevent plastic from escaping and damaging the model
- Works with all flexible plastics and wax without sticking
- Semi-automatic nozzle height and spacing calibration simplifies and speeds up work with the printer
- Powerful double-sided blowing of the model that improves printing with flowable plastics
When printing, the non-active nozzle rises and locks to prevent plastic from escaping and rubbing against the model, a common problem with dual extruder printers. In this printer, this problem is completely eliminated.
Designed with a patented nozzle change technology that ensures the active nozzle locks securely with high precision, resulting in a positive effect on print quality. The nozzle switching time is also reduced and takes no more than 0.5 seconds.
Reliability and quality of the printer
Magnum 3D printers are rightfully considered one of the most reliable and easy-to-use 3D printers, and the quality of technical support, according to users of the 3D Today portal, is the best on the market.
- Full metal frame and milled parts
- Developed and mass-produced electronic filling of the entire printer
- Online customer support portal
By purchasing a Russian printer of our production, you provide yourself not only with a high-quality product, but also with good Russian-speaking support.
Specifications Magnum Creative 2 SW
- Model construction area size 235 mm x 170 mm x 180 mm
- Number of extruders - 2 direct feed extruders (direct)
- Maximum extruder temperature - 285 °C
- Maximum worktable temperature - 125 °C
- Minimum layer height 0.01 mm (10 microns)
- Maximum print speed on hard plastics - up to 45 cm3 per hour
- Maximum print speed Flex, PVA, Wax - up to 35 cm3 per hour
- Maximum head travel speed 150 mm per second
- Nozzle installed in printer 0.3 mm
- Print Technology FDM
- Media type 1.75mm ABS, PLA, WAX3D, POM, PETG, FLEX, PP, RUBBER, CARBON, ETERNAL, SBS, PC-ABS, NYLON, WOOD and others
- Support plastic type 1.
 75mm PVA, HIPS
 - Software RepetierHost, Slic3r, CURA
- Connection and peripherals USB 2.0, SD card
- Mains supply and power consumption 220V 50Hz, 320W.
- Printer dimensions (W x D x H) 390 mm x 320 mm x 375 mm
- Printer weight 15 kg
A laser head can be purchased and connected to the printer. We offer a low-power laser that is safe to use if the operating rules are observed.
The laser is useful for engraving on wood and plywood, leather, plastic and other materials. Also, the power of the laser attachment is sufficient for cutting paper and thin cardboard for stencils.
An attachment for printing with plastic and liquid materials is available for Magnum 3D printers. You can use materials such as:
- Dough (not too hard)
- Mashed potatoes
- Chocolate spread
- Silicone and other soft materials in paste form
Learn more about the Plastic Printing Attachment