3D printer adhesion problems
Not Sticking to the Bed
Not Sticking to the Bed
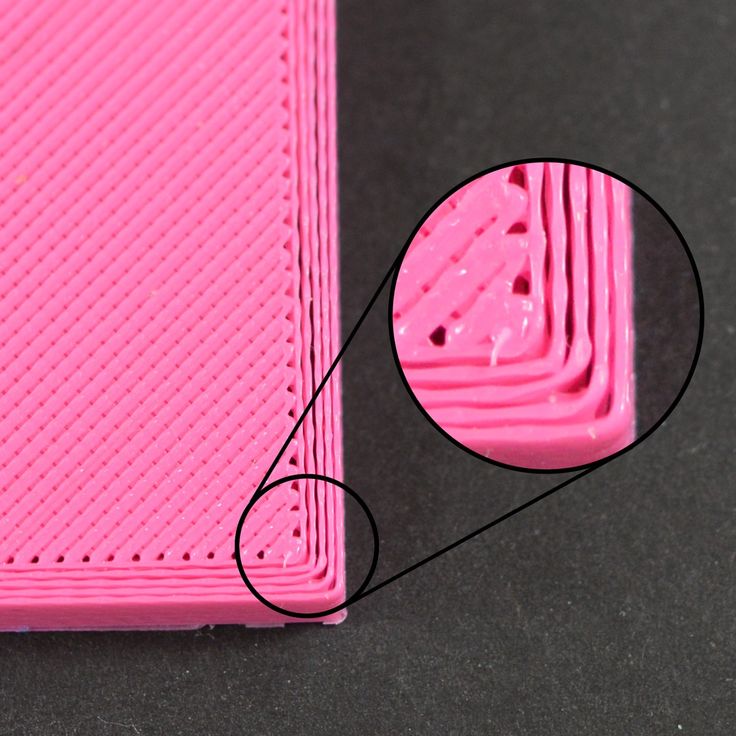
It is very important that the first layer of your print is strongly connected to the printer’s build platform so that the remainder of your part can be built on this foundation. If the first layer is not sticking to the build platform, it will create problems later on. There are many different ways to cope with these first layer adhesion problems, so we will examine several typical causes below and explain how to address each one.
Common Solutions
Build platform is not level
Many printers include an adjustable bed with several screws or knobs that control the position of the bed. If your printer has an adjustable bed and you’re having trouble getting your first layer to stick to the bed, the first thing you will want to verify is that your printer’s bed is flat and level. If the bed is not level, one side of your bed may be too close to the nozzle, while the other side is too far away. Achieving a perfect first layer requires a level print bed. Simplify3D already includes a useful bed leveling wizard that you guide you through the bed leveling process. You can find this wizard by going to Tools > Bed Leveling Wizard, and following the on-screen instructions.
Nozzle starts too far away from bed
Once your bed has been properly leveled, you still need to make sure that the nozzle is starting at the correct height relative to the build platform. Your goal is to locate your extruder the perfect distance away from the build plate — not too far and not too close. For good adhesion to the build plate, you want your filament to be slightly squished against the build plate. While you can adjust these settings by modifying the hardware, it is typically much easier (and much more precise!) to make these changes from Simplify3D. To do this, click “Edit Process Settings” to open your process settings and then go to the G-Code tab. You can use the Z-Axis global G-Code Offset to make very fine adjustments to your nozzle position. For example, if you enter -0.05mm for the Z-axis G-Code offset, the nozzle will begin printing 0.05mm closer to your build platform. Be careful to only make small adjustments to this setting. Each layer of your part is usually only around 0.2mm thick, so a small adjustment goes a long way!
First layer is printing too fast
As you extrude the first layer of plastic on top of the build platform, you want to make sure that plastic can properly bond to the surface before starting the next layer. If you print the first layer too fast, the plastic may not have time to bond to the build platform. For this reason, it is typically very useful to print the first layer at a slower speed so that the plastic has time to bond to the bed. Simplify3D provides a setting for this exact feature. If you click on “Edit Process Settings” and go to the Layer tab, you will see a setting labeled “First Layer Speed”. For example, if you set a first layer speed of 50%, it means that your first layer will print 50% slower than the rest of your part.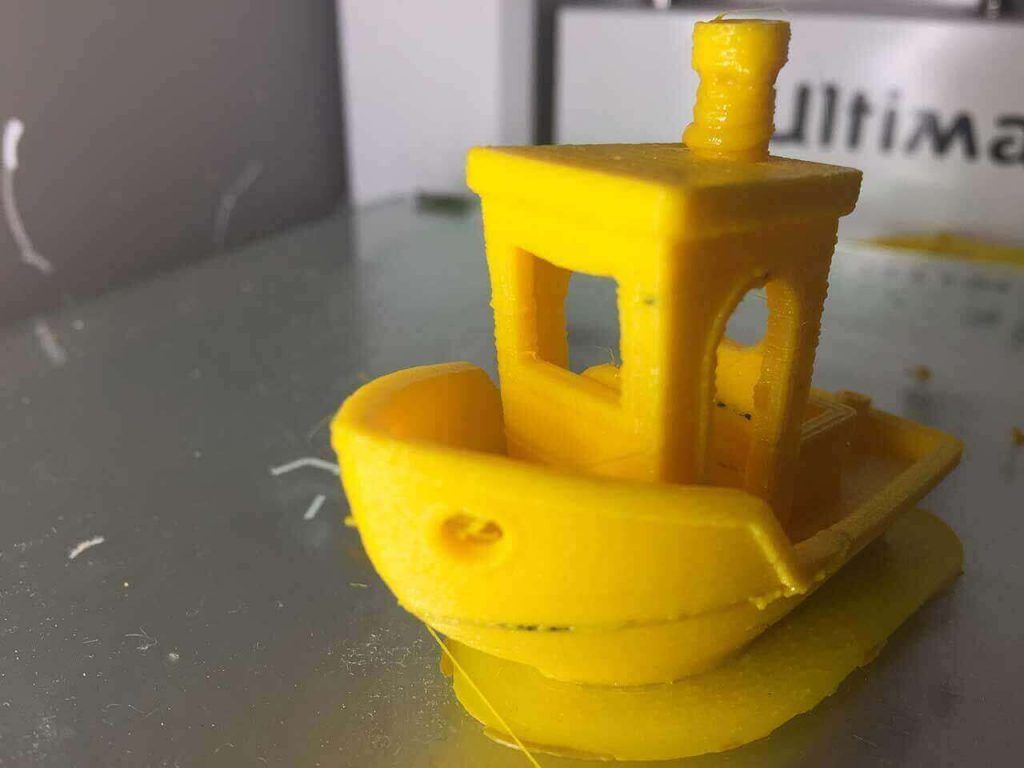 If you feel that your printer is moving too fast on the first layer, try reducing this setting.
Temperature or cooling settings
Plastic tends to shrink as it cools from a warm temperature to a cool temperature. To provide a useful example, imagine a 100mm wide part that is being printed with ABS plastic. If the extruder was printing this plastic at 230 degrees Celsius, but it was being deposited onto a cold build platform, it is likely that the plastic would quickly cool down after leaving the hot nozzle. Some printers also include cooling fans that speed up this cooling process when they are being used. If this ABS part cooled down to a room temperature of 30C, the 100mm wide part would shrink by almost 1.5mm! Unfortunately, the build platform on your printer is not going to shrink this much, since it is typically kept at a fairly constant temperature. Because of this fact, the plastic will tend to separate from the build platform as it cools. This is an important fact to keep in mind as you print your first layer. If you notice that the layer seems to stick initially, but later separates from the print bed as it cools, it is possible that your temperature and cooling settings are to blame.
Many printers that are intended to print high-temperature materials like ABS include a heated bed to help combat these problems. If the bed is heated to maintain a temperature of 110C for the entire print, it will keep the first layer warm so that it does not shrink. So if your printer has a heated bed, you may want to try heating the bed to prevent the first layer from cooling. As a general starting point, PLA tends to adhere well to a bed that is heated to 60-70C, while ABS generally works better if the bed is heated to 100-120C. You can adjust these settings in Simplify3D by clicking on “Edit Process Settings” and then selecting the Temperature tab. Choose your heated build platform from the list on the left-hand side and then edit the temperature setpoint for the first layer. You can just double-click on the value to change it.
If your printer has a cooling fan, you may also want to try disabling that cooling fan for the first few layers of your printer so that the initial layers do not cool down too quickly. You can do this by clicking “Edit Process Settings” and going to the Cooling tab. You can adjust the fan speed setpoints on the left-hand side. For example, you may want the first layer to start with the fan disabled and then turn on the fan to full power once you reach the 5th layer. In that case, you will need to add two setpoints into that list: Layer 1 at 0% fan speed, and Layer 5 at 100% fan speed. If you are using ABS plastic, it is common to disable the cooling fan for the entire print, so entering a single setpoint would suffice (Layer 1 at 0% fan speed). If you are working in a breezy environment, you may also want to try to insulate your printer to keep the wind away from your part.
The build platform surface (tape, glues, and materials)
Different plastics tend to adhere better to different materials. For this reason, many printers include a special build platform material that is optimized for their materials. For example, several printers use a BuildTak sheet on the top of their bed that tends to stick very well to PLA. Other manufacturers opt for a heat treated glass bed such as Borosilicate glass, which tends to work very well for ABS when heated. If you are going to print directly onto these surfaces, it is always a good idea to make sure that your build platform is free of dust, grease, or oils before starting the print. Cleaning your print bed with some water or isopropyl rubbing alcohol can make a big difference.
If your printer does not include a special build platform material to help with adhesion, you still have options! Thankfully, there are several types of tape that stick well to common 3D printing materials. Strips of tape can be applied to the build platform surface and easily removed or replaced if you want to print with a different material. For example, PLA tends to stick well to blue painter’s tape while ABS tends to stick better to Kapton tape (otherwise known as Polyimide film). Many users have also had great success using a temporary glue or spray on the top of their build platforms. Hair spray, glue sticks, and other sticky substances tend to work very well if everything else has failed. Feel free to experiment to see what works best for you!
When all else fails: Brims and Rafts
Sometimes you are printing a very small part that simply does not have enough surface area to stick to the build platform surface. Simplify3D includes several options that can help increase this surface area to provide a larger surface to stick to the print bed. One of these options is called a “brim.” The brim adds extra rings around the exterior of your part, similar to how a brim of a hat increases the circumference of the hat. This option can be enabled by going to the “Additions” tab end enabling the “Use Skirt/Brim” option. Simplify3D also allows users to add a raft under their part, which can also be used to provide a larger surface for bed adhesion. If you are interested in these options, please take a look at our Rafts, Skirts, and Brims tutorial which explains things in greater detail.
Related Topics
3D Print Not Sticking to Print Bed? Here's the Solution
First-layer adhesion is critical to ensuring that your 3D print will be a success. But achieving good bed adhesion can be easier said than done. Corners unstick from the 3D printer’s build surface, warping occurs, and ultimately parts fail. Moreover, adhesion problems can be caused by a number of factors or any combination of issues, including bed leveling, bed temperature, extruder temperature, build plate deficiencies, slicer settings, and more. Fortunately, there are several steps you can take to resolve the problem of a 3D print not sticking to print bed. Follow these methods to improve your 3D printing adhesion.
Method #1: Level the Bed
One of the main reasons a 3D print may not stick to the print bed is poor bed leveling. If one side of your printer bed is even marginally higher or lower than the other side, it will affect the quality of your 3D print and how well the first layers of the print adhere to the build surface.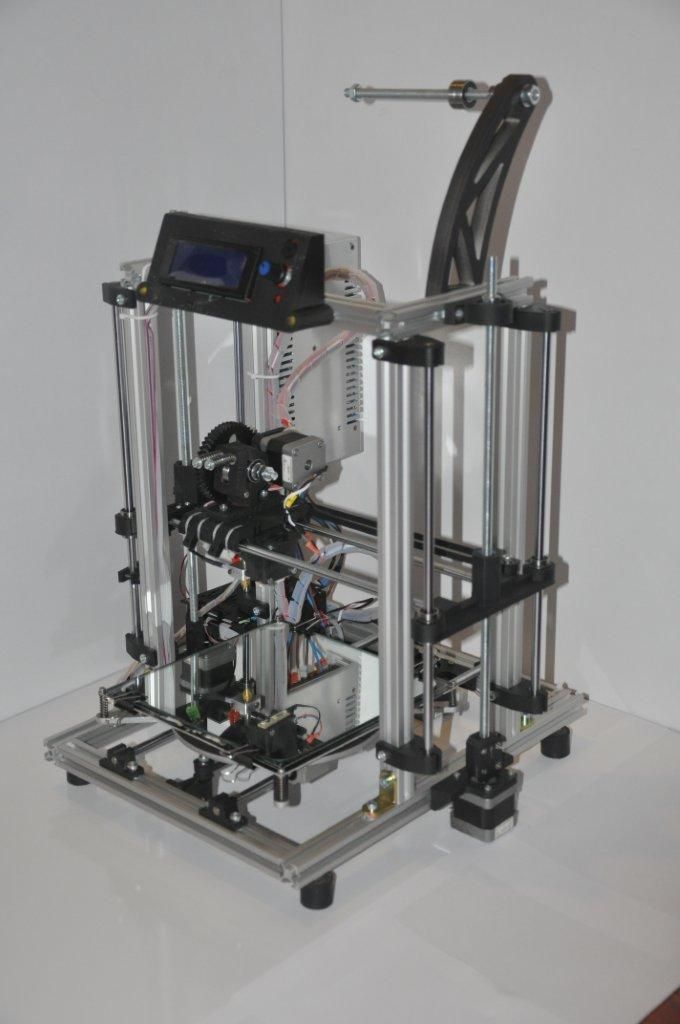 In short, this is because the nozzle will be further away from part of the print bed and filament won’t be deposited evenly.
Ensuring your 3D printed bed is level can solve adhesion problems. Depending on the 3D printer hardware you have, you might be able to level the bed automatically or you may have to do it manually. If you are adjusting the bed level manually, one of the most popular methods for leveling a print bed is to use a piece of paper. Bring your 3D printer nozzle very close to the print surface and place a sheet of paper in between the nozzle and the build plate. Gradually raise the corner of the print bed using your machine’s leveling knobs until there is a bit of resistance when pulling the paper out. Repeat this on all corners of the print bed.
Method #2: Change the Z-Offset
The distance between the 3D printer nozzle and the build platform, known as the Z-offset, may also be causing adhesion problems. In other words, if the nozzle is too close to the build surface, the first layer will be squished and won’t be evenly extruded; if it’s too far away, the filament extrusion also won’t stick to the build platform properly. The good news is that you can encourage good adhesion by positioning the 3D printer nozzle at the right distance.
The z-offset can be adjusted in slicing software by changing the measurement values. Once the value is set, the z-axis will align itself accordingly to the print bed. If you are having adhesion problems, changing the z-offset should be used as a last resort. Where this method is most helpful is in situations where you are working with a thick build plate or if you are printing on a substrate.
Method #3: Clean the Print Bed
It is imperative that your print surface be clean before you start 3D printing. If there are any inconsistencies, like leftover glue or filament stuck to the print surface area, it can cause first layer adhesion problems. The best cleaning technique for a print bed depends entirely on the build plate material.
If you are working with a glass print bed that has filament or adhesive residue on it, start by removing the glass bed from the 3D printer and scraping the residue off using a dry scraper. From there, you can wash the plate with soapy water or window cleaner. It is also a good idea to give your glass build plate a final wipe using Isopropyl alcohol (IPA) or acetone. These cleaning products will help to remove any remnants of grease without damaging the glass surface. You can also follow these cleaning steps with a removable borosilicate glass print bed.
A PEI build plate can also be cleaned with water and soap or IPA to remove residue. To ensure the thermoplastic bed surface remains smooth in the long-term, you can also wipe it down with acetone once a month or so. It is important not to use acetone on a thermoplastic build surface too often as it can erode the material. Ultimately, a clean, smooth print surface can help the critical initial layer of a print to adhere.
A clean build surface will help to promote good 3D printing bed adhesion.
Method #4: Increase Bed & Nozzle Temperature
Temperature settings plays a big part in the final quality of a 3D print.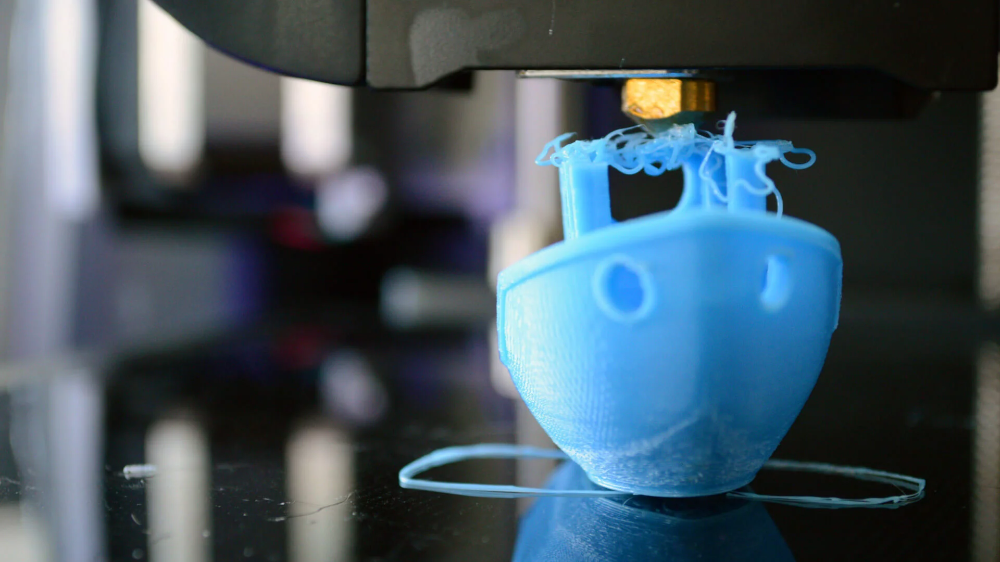 Thermoplastic filaments like PLA, ABS and PETG harden as they cool, but if printed layers cool too quickly, the materials can also shrink, which causes layers to pull away from the print bed and warp. Using a heated bed, especially for higher temperature materials, can therefore help to improve bed adhesion.
More than that, choosing the right bed temperature and nozzle temperature for different types of filament can also improve print outcomes. For example, ABS filament prints best with a build surface heated to between 90°C and 110°C and a nozzle temperature between 230°C and 260°C.[1] PLA, for its part, prints best with a heated bed of between 60°C and 80°C and with a nozzle temperature of 190°C and 210°C.[2]
If you are still experiencing bed adhesion problems with certain 3D printing materials, it can also help to increase the print bed temperature by a few degrees as the first couple of layers are extruded. As the print continues, you can lower the bed temperature back to the recommended degree.
Method #5: Use a Bed Adhesive
Another reliable way to improve your 3D printer bed adhesion is to apply an adhesive directly to the build platform before you start printing. There are a number of adhesive products developed specifically for 3D printing, such as Magigoo and Stick Stick. Some of these dedicated adhesives are even designed with specific materials in mind. For example, Magigoo sells adhesive sticks tailored to polycarbonate (PC) and nylon (PA).[3]
However, there are also several DIY solutions for bed adhesives: many makers have found glue sticks to be a reliable option, while others use hairspray or blue painter’s tape (best for PLA filament) or Kapton tape (best for ABS filament) to create a grippier print surface. If you do decide to use an adhesive coating on your 3D printer’s build plate, it is important to clean your build surface after the print is complete, otherwise you risk glue buildup and an uneven print surface.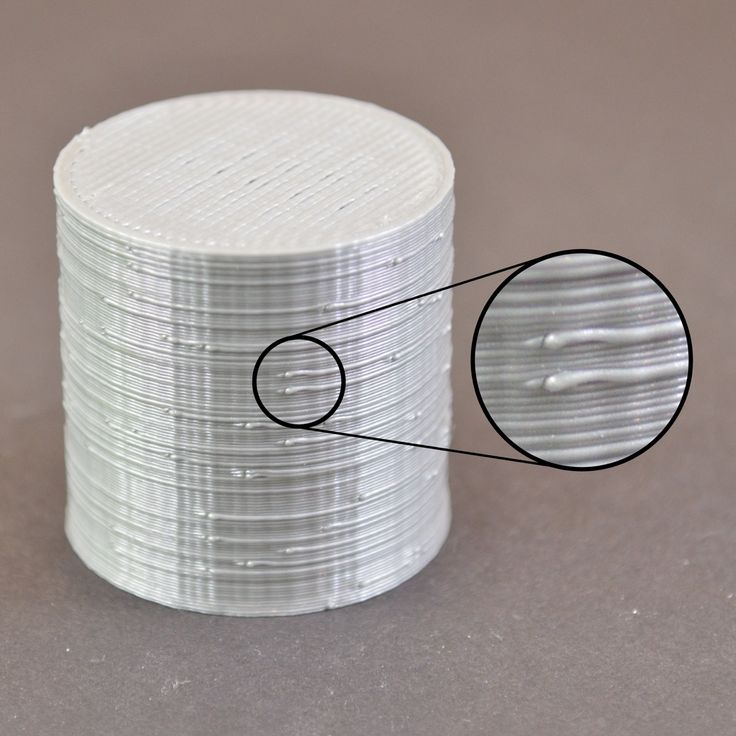
Hairspray, glue sticks, or dedicated 3D printer adhesives can improve first layer adhesion.
Method #6: Adjust Slicer Settings
If your 3D print isn’t sticking to the print bed, tweaking your print settings in slicer software can often help fix the issue. For example, setting the print speed for the first layer of your print to be slower than the rest of the build can promote better adhesion. A slower deposition rate for the first thin layer of a 3D print will help the filament to bond with the build surface.
Other slicer settings that can be implemented to improve bed adhesion are rafts and brims. These are features 3D printed alongside your part to improve stability and reduce the chance of warping. A raft essentially acts as a base to your 3D printed part and ensures that your print adheres to its surface, rather than the build platform directly. A brim consists of a 3D printed border than connects to and extends from the edges of a 3D printed part. Brims are effective at anchoring the edges of a build to the 3D printed bed and are typically easier to remove than a raft. Most slicer programs, like Cura and Simplify3D, offer automated raft and brim features.
Method #7: Change the Build Plate
Another method for improving first layer adhesion is to change your 3D printer build surface. Some desktop FDM 3D printers have a removable plate meaning that you can swap out the build plate for a new one should the original be damaged. But even if your print bed is in fine condition, it could be worthwhile to think about using different build surfaces depending on the material you are printing with.
Glass is a common build plate material due to its stiffness and thermal resistance, however for many filaments it does not provide good adhesion. For this reason, many makers also use additional build surfaces like PEI sheets or Buildtak to improve first layer bonding. These can be applied directly to the existing build plate and are particularly effective for high-temperature filaments like ABS and PETG.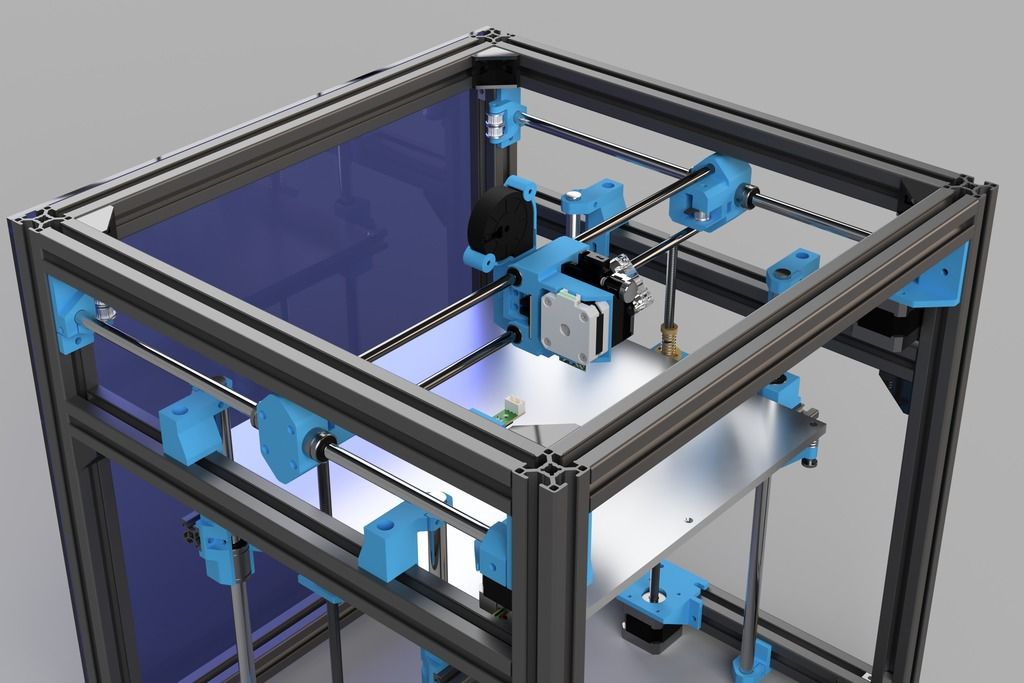
Conclusion
These seven methods can help you with troubleshooting your 3D printer adhesion problems. Sometimes a single method—like adding a layer of glue to your print surface—will do the trick. In most cases, however, making various adjustments will result in the best adhesion and high-quality prints. In sum, ensuring a level 3D printer bed and a clean build surface, as well as using adhesive aids, and having the right print settings and printing temperature will have the best print results.
References
[1] Tractus 3D, 2020. “ABS Filament” [Internet] https://tractus3d.com/materials/abs/ [Accessed April 13, 2022]
[2] Tractus 3D, 2020. “PLA Filament” [Internet] https://tractus3d.com/materials/pla/ [Accessed April 13, 2022]
[3] Magigoo, 2022. “Magigoo Pro PA (Nylon)” [Internet] https://magigoo.com/products/magigoo-pa/ [Accessed April 14, 2022]
everything you need to know
Many 3D printer owners experience parts coming off the table during 3D printing. Let's take a look at the causes and solutions.
What is adhesion?
The very concept of "adhesion" means the adhesion of surfaces of dissimilar bodies. In 3D printing, platform adhesion is the ability of the plastic that a part is made of to adhere to the surface of the stage during printing.
If the adhesion is insufficient, then the manufactured parts may be deformed or even come off the table. During 3D printing, the part must be firmly attached to the platform, and after completion, it should be easy to remove. Filament manufacturers typically recommend adhesives for their filaments, and 3D printer manufacturers offer worktables in aluminium, glass, stainless steel, or even with specialty coatings. All this helps the plastics stick better during printing, but there are no working surfaces that are equally well suited for all types of plastics.
Also, do not forget about thermal expansion, which causes a change in the dimensions of manufactured parts at different temperatures.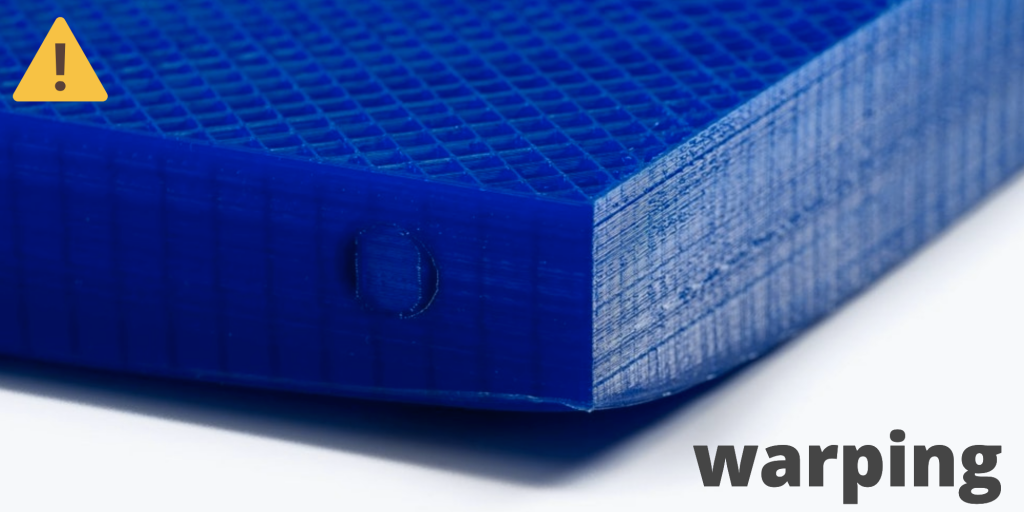 The difference in temperature between the bottom and top of a part can cause the edges of the part to peel off during 3D printing. This mainly applies to materials such as ABS, which require a heated worktable to work with. When printing with these materials, the layers need to cool down a bit to be able to build a 3D object at all, but not so much as to cause peeling at the edges.
In this article we will look at what affects adhesion and how to solve many problems in terms of adhesion of products to work surfaces.
3D Printer Enclosed Chamber
For printing on materials with high heat shrinkage, the best option is to use 3D printers with an enclosed chamber that prevents drafts and retains heat. Many printers are equipped with an active chamber heater that maintains the desired temperature and does not allow the parts to cool. A uniform background temperature during 3D printing reduces warping and ensures better adhesion.
Owners of open printers are left to come up with various devices (for example, boxes) that cover the 3D printer to keep heat, or build heat-retaining walls around the printed model, which increases printing time and filament consumption.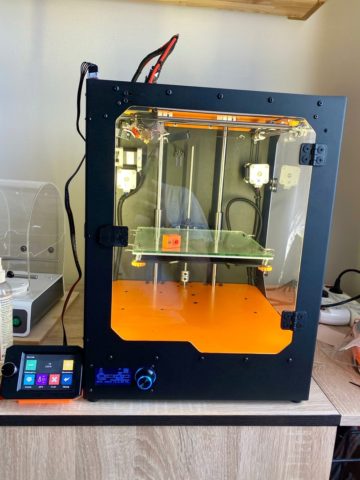
First coat adhesion
The first thing you should pay attention to is the adhesion of the first layer. This is one of the most common problems faced by almost all printers. If the first layer is laid unevenly, then the percentage of rejects for the rest of the part increases very much, so it is very important to solve the issue of adhesion of the first layer before 3D printing. In most cases, the problem is solved by calibrating the work table and adjusting the distance between the nozzle and the work surface.
It is important to correctly set the distance between the nozzle and the stage surface
Brim and Raft methods
For better adhesion of the product to the working surface of the table, in the print settings it is often necessary to create additional elements - the substrate or the frame of the model, which help to keep the manufactured part on the table. Brim or Raft increase the contact surface of the plastic with the work surface around the lower layers and thereby increase traction.
Underlays or Rafts consist of several layers and are horizontal grids of filament located under the model. The raft is used as a base for the first layers of the product and is designed to increase the level of adhesion. In addition, the raft helps to level the surface of the table: if there are irregularities on the surface, they are leveled to a certain extent by the substrate, and the model is printed already on a flat base. Another advantage of rafting is that it reduces the chance of problems due to too much or too little gap between the nozzle and the table when laying the first layer.
Brim is used to stabilize small patterns or "islands" (separated areas of the printed product). Brims increase the contact area and help the model stay on the table if it comes into contact with the surface in small areas.
Worktable temperature and adhesion promoters
After calibrating the platform and adjusting the gap between the nozzle and the surface of the table, let's move on to the next question. The next reasons for poor adhesion may be the wrong stage temperature (if the 3D printer has a heating option) and the wrong selection of adhesion promoters for a particular filament.
Working stage temperature selection
One of the common causes of poor adhesion is the wrong stage temperature selection for a particular material. When the molten filament is applied to the table and then cools, deformation occurs. If the temperature of the stage is incorrectly selected, the outer edges of the printed product are compressed, and we get warpage: the edge of the product comes off, clings to the nozzle, and the product completely comes off the platform.
Usually, 3D printing filament manufacturers list the recommended heating temperature for the stage on their website or boxes. For the most common materials, you can use average values.
Examples of worktable temperatures for some materials:
- PLA: 60°C
- ABS: 100-110°C
- PETG: 85°C
- Nylon: 100°C (depending on material composition) )
- Polycarbonate: 110°C (the higher the temperature, the better)
Worktable temperatures for each manufacturer's plastic may vary. You can choose the optimal temperature only empirically.
Adhesion agents
To increase adhesive properties and reduce the risk of damage to the glass surface of the desktop, additional agents are often used, such as varnish or glue for 3D printing, PVA glue, stationery glue stick, dissolved ABS plastic (so-called "ABS juice" ), blue tape, etc. One tool for printing all types of plastics will not be enough. In our article, we will not consider such folk remedies as beer or sugar syrup, but will focus on more traditional methods.
Basic adhesives:
Varnish or adhesive for 3D printing
The days of hair sprays are long gone, and now almost no one uses them due to low efficiency. More effective adhesives for 3D printing have come to replace.
Typically, 3D printing lacquers and adhesives are formulated to take into account the properties of different filaments and allow the first layer of the printed model to be reliably adhered to the worktable.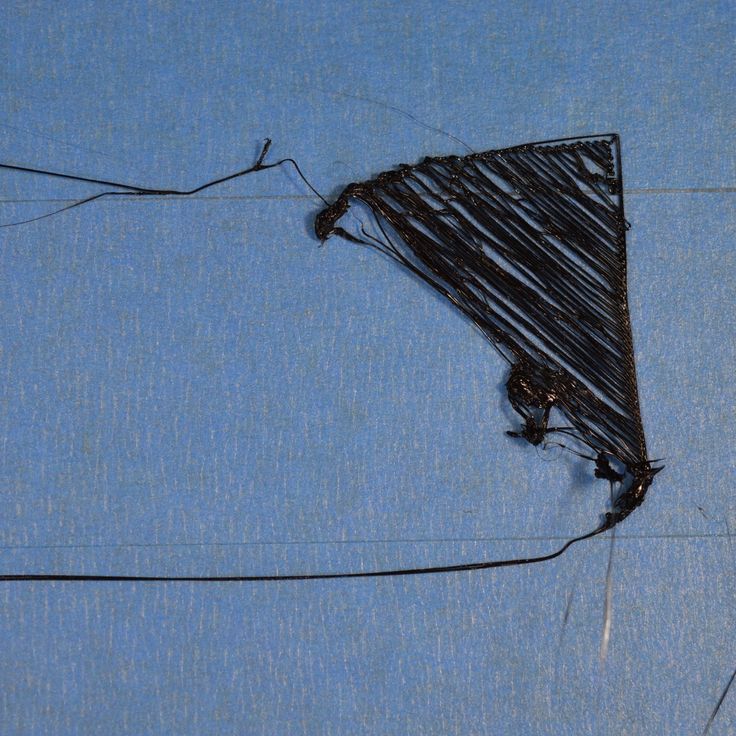 Simply put, these are universal tools suitable for working with multiple types of filaments.
There are already quite a few manufacturers of 3D printing varnishes and adhesives on the market in various volumes and for any budget. It's not worth saving - one bottle will be enough for several months of printing, and you will save your nerves and time spent on reprinting damaged parts.
Easy to use: spray varnish or glue on the platform and spread it evenly over the surface with a clean, soft cloth.
ABS juice
Composition for those who like to save money or who do not have glue or varnish on hand. It is made simply: finely chopped ABS rod or the remnants of a previous printing with ABS plastic are immersed in acetone and after a few hours a thick solution is obtained that can be applied with a brush even on a cold platform.
This method is very reliable as an additional adhesive, but acetone evaporates during 3D printing and creates an unpleasant odor.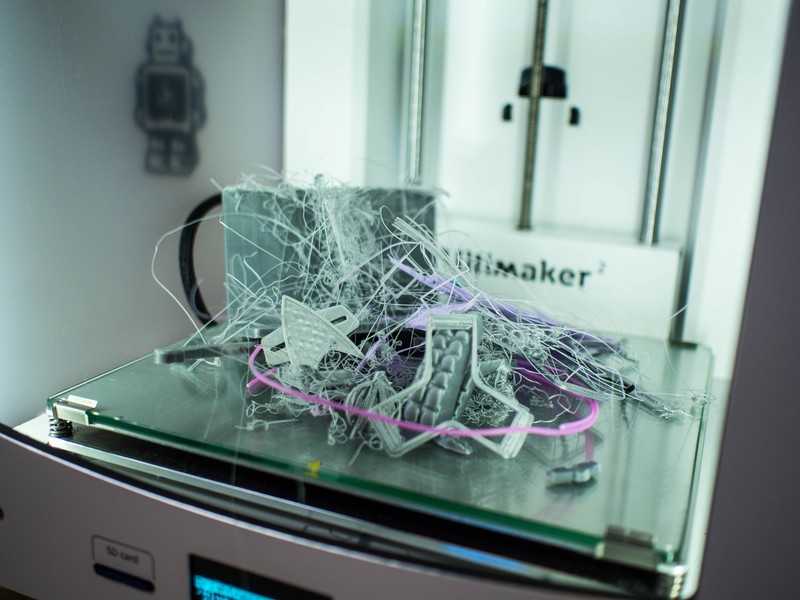
PVA glue, stationery glue stick
PVA glue is applied to the work surface with a brush and rubbed until a uniform thin layer is obtained. As a rule, when hardening, the glue becomes transparent. After drying, you can start 3D printing. The method is not bad, but the reliability of such a method is doubtful due to the fact that not all PVAs work well.
Stationery glue stick is mainly used when there is nothing else at hand. The most popular option is Kalyaka-Malyaka glue. The glue is applied in one layer, after the platform cools down, the part is easily separated, and the glue itself is easily washed off the glass and from the printed part.
Kapton film, blue masking tape and Lomond film
Masking tape is more suitable for 3D printers without platform heating. The adhesive tape is carefully glued to the entire area of the table and allows you to print small details without heating the table. This option is especially suitable when working with PLA plastic, however, with an increase in the area of \u200b\u200bproducts, the edges of the parts can come off along with the adhesive tape, so the relevance of this method is limited. Kapton tape or Lomond film is more commonly used.
On Kapton tape, the lower surface (the sole of the product) is very smooth, the parts are well separated after cooling, but you can’t leave the product on the cooled table, as the plastic pulls the tape together, and air bubbles form under it. When 3D printing on Kapton tape, it is necessary to heat the platform and additionally smear the adhesive tape with glue. Suitable for 3D printing of medium-sized products.
Lomond film was popular until various adhesives appeared. After gluing, the top layer on the film itself must be washed off for better adhesion. Details after printing on such a film are quite difficult to tear off. Over time, bubbles also form under the film, so the film must be changed regularly. Suitable for 3D printing large items.
Additional Points to Remember
PLA is the least demanding polymer. For stable printing with polylactide, it is not necessary to treat the surface of the table with additional adhesives, a clean glass surface is sufficient.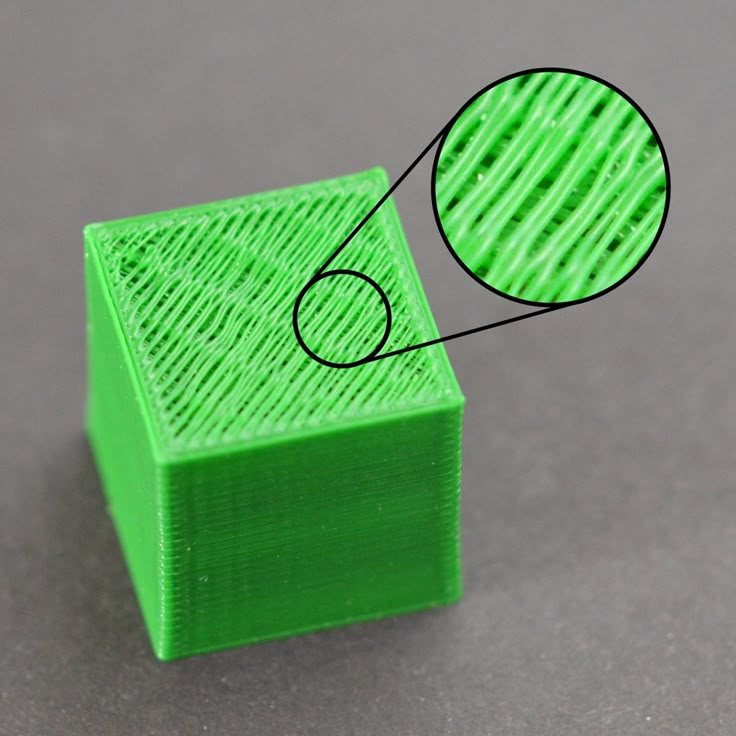 A prerequisite is that the platform is heated to 60°C. If the platform is not heated, then it is better to print using adhesive agents - varnish, 3D printing glue or blue tape for small parts.
PLA also loves airflow, so keep the fans on full.
ABS is highly shrinkable and needs help to better adhere to the surface. The main types of additional tools are varnish or glue for 3D printing, ABS glue, stationery glue stick, PVA glue.
When working with ABS, the platform must be heated to 100-110°C. It is advisable to use 3D printers with closed cameras that support high background temperatures. When 3D printing on open printers, it is necessary to use a heat-retaining cocoon around the model. Many slicers already offer this feature. Blowing of products made of ABS plastic is highly undesirable, as cracking of parts in layers and detachment from the working surface due to shrinkage can occur.
PETG is a very easy to work material that does not require high temperatures or fine print settings. Plastic has excellent adhesive properties and adheres very strongly to clean surfaces. On the other hand, high adhesion can lead to separation of pieces from glass tables when products are separated, so it is advisable to apply separating layers on the work surface - the same glue or varnish for 3D printing. This will help both separate products and prevent damage to the glass.
Flex has high adhesive properties, bonding well not only between coats, but also to work surfaces. Again, it is advisable to use 3D printing varnish or glue to avoid damaging the glass. Film coatings are not recommended.
In the case of composite materials , the choice of adhesive agents is mainly determined by the type of material serving as the basis. Usually recommendations for preparing for 3D printing with composites can be found on the manufacturer's website. If not, please contact technical support for advice.
For example, the FormaX composite from the X-line range is based on ABS plastic, but the properties of the composite material differ from pure ABS due to the presence of carbon fiber filler.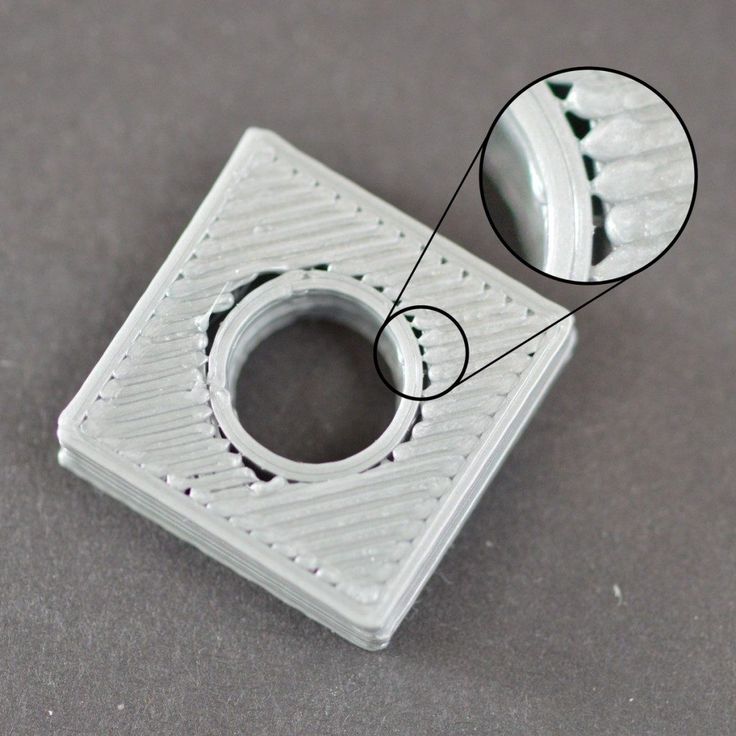 Formax is not characterized by cracking in layers, but the composite requires the use of additional adhesive agents, so the manufacturer recommends using varnish or glue for 3D printing
Material storage and drying
The effect of moisture on filaments can be both cosmetic and functional. The most innocuous result of high humidity is a change in the textures of 3D printed products, although this is rarely limited to roughness alone (and haze when it comes to transparent plastics) and is usually accompanied by a decrease in interlayer adhesion and adhesion to the substrate. A more serious effect can be an uneven supply of plastic: water in a sufficiently wet filament boils when passing through the hot end, and the resulting steam leads to the appearance of bubbles in the material being laid and even to jerky extrusion with all the ensuing consequences in terms of quality and poor adhesion. Detailed instructions for storing plastics are available at this link, and for drying plastics - here.
That's all for now.
The Wiki on our site has separate, detailed articles about each of the filaments. How to print and with what parameters. Come read here.
If you have additions or comments - we are waiting for your answers.
Regards, REC3D team.
Photos from the blogs of Sergey and akdzg are published in the article.
Solving the problem of model sticking to the table during 3d printing. Bad adhesion.
Our 3dprint54 service, like many at one time, faced the problem of poor adhesion of the model to the table during printing on 3d printers using FDM technology (layering).
The first layer is the most important for 3d printing, how it lays down determines whether anything comes out at all. To a greater extent, such a problem is encountered when printing with ABS plastic, and even more so when the printer does not have a heated table.
Through trial and error, people find different ways to solve this problem - set a lower print speed for the first layer, overheat the table and extruder, or stick all kinds of sticky tapes and films. Someone is looking for specialized literature in the archives of libraries and following the advice of the masters of 3d printing of the last century. Many manufacturers of 3D printers, in turn, install a larger first layer, which should help due to the increase in the contact patch. Others, such as 3D Systems, offer a special CubeStick adhesive for their Cube and CubeX, which, I must say, is not cheap. Of course, this is not as touching as the merits of the Cube printers themselves.
We tried all this, but in the end, we came to the conclusion that none of the methods guarantees a 100% result, and also has a number of disadvantages, in the form of traces on the model remaining from the seams of adhesive tape or the constant need to change adhesive films, which also not exciting. In general, we got tired of it!
For now, we have a simple solution that we hope will help you too. It is universal and suitable for any 3D printers.
We present you a "miracle remedy" - Lemonade ordinary!
Yes! It really works.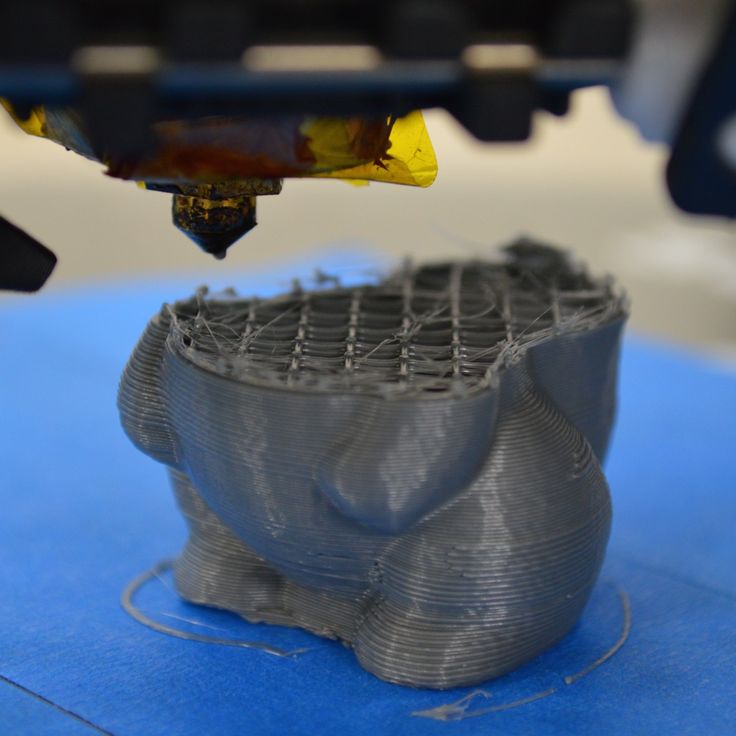 We have checked many times!
The fact is that, like many ideas, this one came to us quite by accident. Once one of our employees just spilled this liquid on one of the printers and it immediately dried up because the table was hot. We stopped printing and began to wipe the Print Box 3D One - it was he who became the involuntary test subject, and of course, as soon as it came to the table, the rag stuck, since a thin and very sticky film had already formed on the table by that time.
That lemonade was yellow, or rather it was not even lemonade, but kvass, but it doesn’t matter. Then we sent our "genius" - not an accurate colleague for transparent lemonade and, upon his return, poured water over the printer's table, but for the purpose of the experiment. We smeared the lemonade in a thin layer over the surface and let it dry, heating the table. And here things went on a completely different level! Any plastic stuck to it like a "spiderman" to the walls of American houses, and it is easy to separate the model with the help of some water that dissolves lemonade.