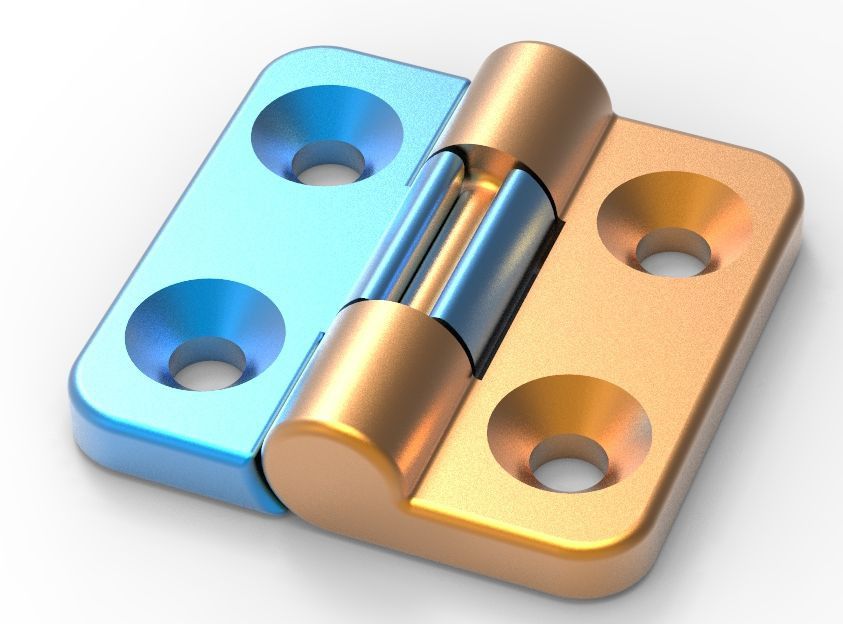
3D printed pin hinge
A Guide on Creating Perfect 3D Printed Hinge for Your Prototypes
Prototyping through additive manufacturing allows you to see the entire assembly in working condition and make tweaks where necessary. However, a 3D printed hinge brings some complexities to the setup even though living hinges are a fairly simple concept.
There are ways to go around it by using tapes or assembling smaller components. However, they are not as effective as printing the entire part together. The prototypes in those cases are also not precisely like your final product.
3D printing the hinge is an excellent, yet complicated alternative that ensures your prototypes are perfect. While it’s difficult, there are still ways for you to ensure that you obtain the best results.
This article will take a look at the best practices to develop excellent 3D printed hinges that work well and ensure that your prototypes are exactly what you need.
3D Printed Hinges: A Brief OverviewLiving hinges are one of the simplest mechanical elements that connect two rigid parts. From the smallest things like your doors to an elaborate industrial setup, you’ll find hinges everywhere.
Printed hinges are exactly what their names suggest. They operate in the same way as well, however, the difference is in their design. Building a hinge that exactly replicates the original part in the prototype is challenging, but you’ll have to use the right materials and techniques.
As a rule of thumb, it’s important to remember that any 3D printed moving component, including living hinges, requires air gaps. You’ll need to add these air gaps or negative spaces in your design for the most realistic prototypes.
However, there will be many instances where you’ll need to modify your design a little bit to make it suitable for injection molding or any other manufacturing process you select.
The Advantages of 3D Printing a Hinge for PrototypingHinges are a great solution if you are looking for a viable and low-cost solution to join two rigid parts together. They offer a secure and functional connection with the flexibility to open and close things.
3D printed hinges come with the same set of advantages as any hinge. Depending on the application, you’ll either opt for printing a hinge in parts or printing the entire thing together. Both are viable ways, but the latter is better. Here are a few reasons why.
1 – Reduced costs
Living hinges are quite simple in their operations. Printing the entire thing together instead of separate parts reduces the overall costs. If you are relying on a 3D printing service, then you’ll know how important it is to reduce the costs of 3D printing as much as possible by targeting all the determining factors.
You don’t have to spend any time on assembly or other post processes. However, you’ll need a little more time during the design phase as hinges have different design requirements.
2 – Enhanced durability
Hinges need to open and close repeatedly. 3D printing the overall structures gives you the extra durability you need to ensure that your prototype remains in the perfect condition you need.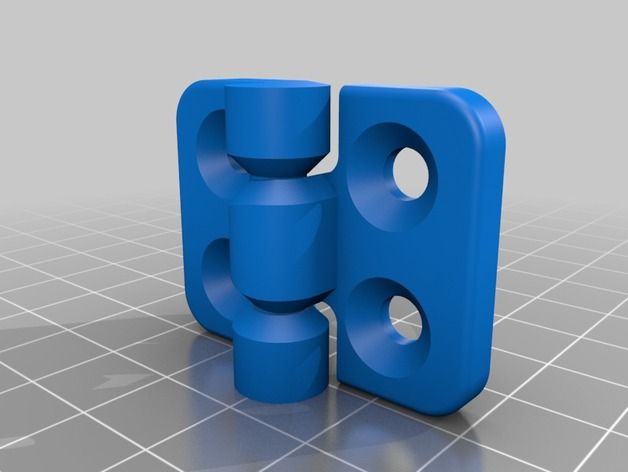
3 – Better appearance
Finally, you might need to present your prototype in front of investors or your boss. So, a proper hinge with great surface finishes gives the real picture of the design and simply looks better than any other regular solution at the same time. Isn’t that excellent?
7 Ways to Develop the Best 3D Printed Hinge for Any PrototypeNow that you are aware of the basics of a printed hinge, the next question is how to make one. It’s important to reiterate once again that 3D printing a hinge is a little complex despite the simplicity of the component itself.
So, there are several factors to consider when you decide to start the printing process for the living hinge. Some of them are the design itself, its dimensions, the material, orientation, the process, and the post-processes you do. Let’s take a look at each of them in detail.
1 – The 3D printed hinge design
Before learning how to 3D print a hinge, you need to know its design elements of it.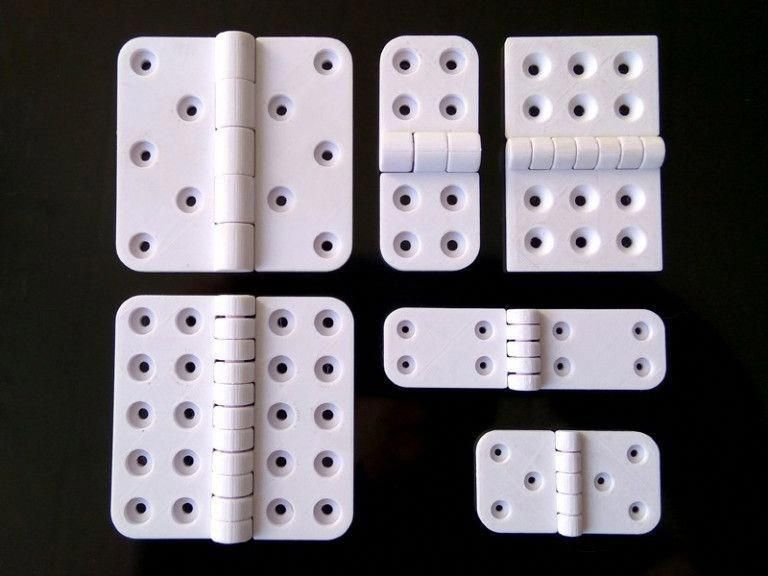 The design requirements for printed hinges are very similar to regular ones. You need to select an appropriate bottom radius and a tighter recess for the best operations.
The design dictates the amount of stress on your living hinge. The more stress on it, the sooner it will fail. So, you need to be careful about it.
2 – Hinge thickness
Thickness is another parameter you need to consider during the production phase. Hinges should have a maximum of 2 contours as it helps with the printing process.
Generally, there is a direct relationship between the wall thickness of the 3D hinge and the number of cycles before failure. However, you need to be careful about the difficulty in manufacturing and the tensile stresses, which also increase with the thickness of the material.
3 – Material properties
Hinges require strength, endurance, and flexibility. Whatever material you choose needs to have high impact strength and the appropriate material properties according to repeated operations without any fear.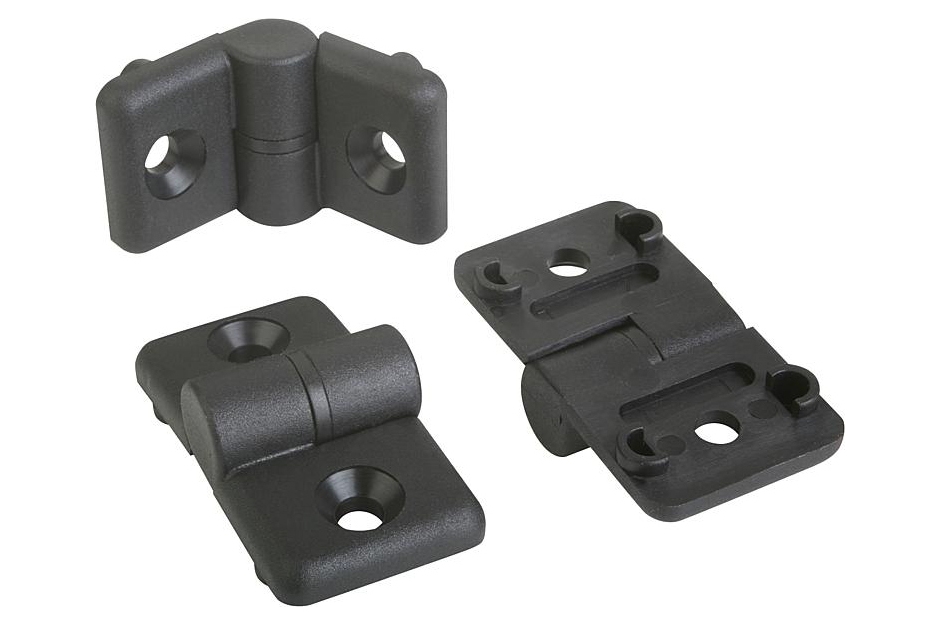
4 – The right printer for the job
Not every 3d printer is the same. Experts know that different kinds of printers work well with different kinds of materials and designs. As a designer, you need to ensure that you are using the best combination for excellent results.
The right printer will give you the best cost and versatility. Printed hinges or any other 3D printing prototypes have an inherent advantage. You can test out numerous iterations and variations of the design without any additional setup. Therefore, the printer you select should also have the required characteristics you need.
5 – Printing orientation
Depending on the type of printer you are using, you’ll need to be careful about the plane you select. For instance, FDM printers with parts in the horizontal plane deliver more strength. During the printing phase, you’ll need to be careful about the settings and calibrations you select. Otherwise, your hinge will not be as effective.
6 – 3D printing process
Along with the processes and material, you also need to be careful about the technology you select.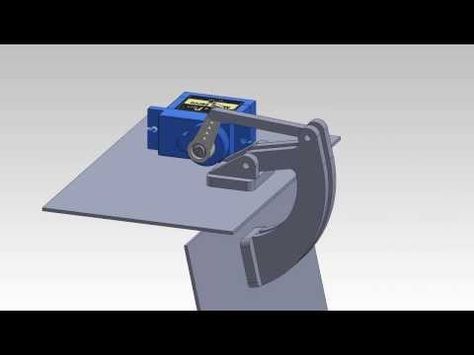 Different design rules apply and the following 3D printing processes work best with living hinges.
- Fused Deposition Modeling (FDM)
- Selective Laser Sintering (SLS)
- Material Jetting
7 – Post-processing
Generally, 3D printed materials don’t need any post-processing. However, you can increase the fatigue properties by annealing after the printing process.
Annealing is a simple process where you heat the material up until it gets flexible. Once you reach that temperature, you’ll need to wait for it to cool down. Do it multiple times and your printed hinge will be able to withstand more load and deliver better results.
If you want an affordable route into the world of 3D printed hinges, RapidDirect is your great shout.
Examples of 3D Printed HingesNow that you are aware of the benefits of 3D printing a hinge, it’s time to look at some popular variations you can get of a #D printed one. Some of them are actual prototypes while some are simple proofs of concept.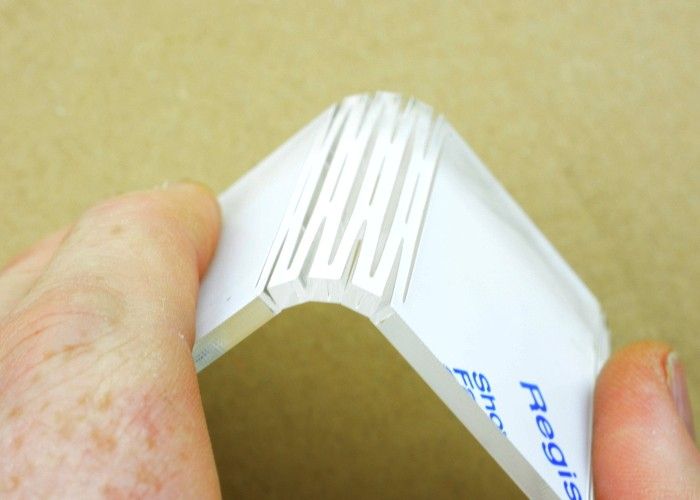
Here are the 5 top variations of printed hinge designs.
The Parametric HingeThe parametric hinge is perhaps the simplest, yet the most versatile variation out there.t You can find it in your doors or any other assembly where you need to connect two rigid elements.
For 3D printed hinges, this variation requires finesse and the right technical characteristics. Do it right and it can help in prototyping and even use it to reinforce or replace the faulty hinges in your everyday applications.
Bag ClipThis is another common item with an extremely simple design and a plethora of domestic applications. It’s a simple folding piece that goes on top of an open bag to seal it again. The single thread on the bag clip can allow you to store essential food items in a way that retains their freshness over a longer time.
Hinged BoxThis proof of concept has numerous applications in the consumer industry because of its packaging potential.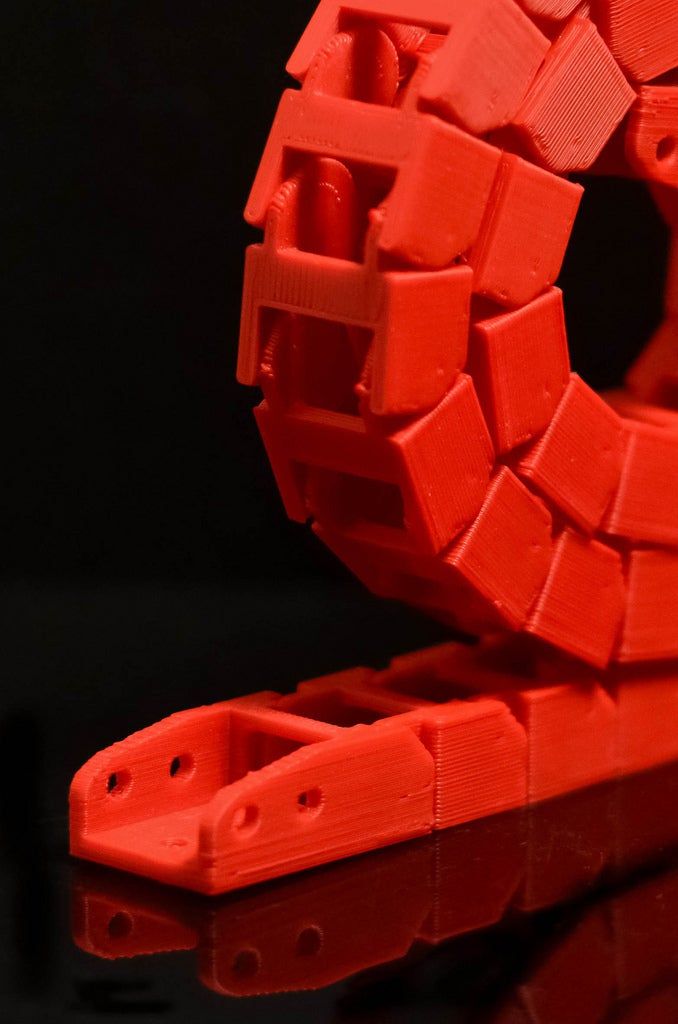 However, the applications of hinges are quite limited in this domain.
This is another hinge application with a lot of versatility. You can combine ball joints and hinges to build multiple items including the design of a robot or figurines.
Cable ChainCable chains comprise numerous joined hinges and have multiple applications in industrial machinery, elevators, etc. Prototyping them with 3D printed hinges can help you perfect the design and ensure its viability.
Consider RapidDirect for Unmatched 3D Printing Services at the Best Price3D printing is so accessible today that you can start doing it from your room. However, industrial prototyping requires greater accuracy, consistency, and versatility. RapidDirect is an ISO-certified organization that boasts the most experienced team with state-of-the-art equipment. And the best part is that its 3D printing services are at the most competitive price.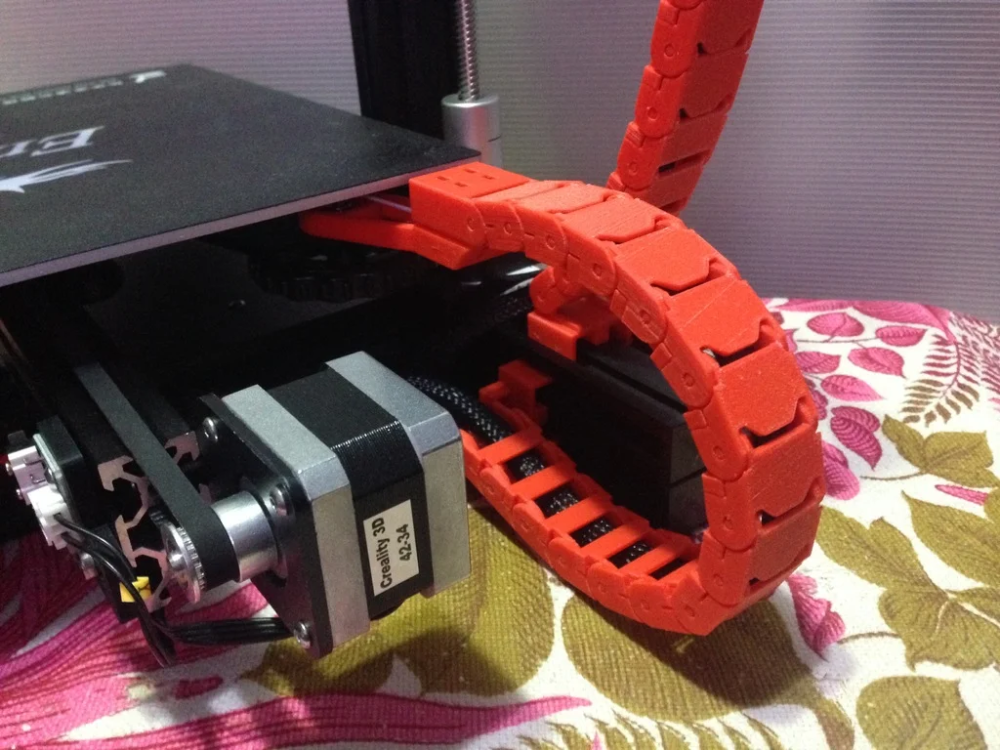
So, if you are looking for a reliable and experienced partner for 3D printed hinges or any other additive manufacturing needs. RapidDirect is the right place for you. The team at RapidDirect has the versatile experience of solving numerous industrial problems and is always ready to prove its mettle in a new field. Contact today and get started with the best 3D printing services for your functional prototypes and production parts.
Get a quote for your 3D parts today!
FAQs About 3D Printing Living HingesCan I 3D print parts that move?
Yes, absolutely. It’s more than possible to 3D print moving parts. You can either print your parts separately and assemble them later or print the whole thing at once. The approach depends on multiple factors like your design complexity, material properties, printer capabilities, and much more.
Why are 3D printed hinges important?
Generally, a hinge or any other design helps you prototype effectively.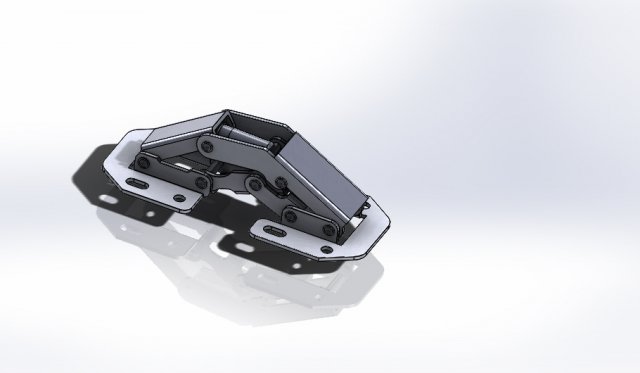 You can create a proof of concept and multiple other variations of the product before investing more money in an injection molding or any other high-volume manufacturing setup.
Are there any special printers for 3D printing living hinges?
No, there are no specific printers that are designed specifically for hinges. Any D printer can theoretically deliver you an excellent printed hinge as long as you fulfill the design requirements and other basic steps. However, having the right combination of material, printer, and design approach are important. You can do it yourself or even take help from a 3D printing service for important projects with little to no room for errors.
Are there any recommended materials for 3D printed hinges?
While hinges designed from 3D printing can be of any material. You’ll often find a PLA living hinge or PETG living hinge more easily. Apart from that, Nylon, different resin combinations, and rubber-like materials are excellent choices
How to 3D Print Moving Components in One Print Job
3D printing fully assembled, multi-component parts in a single job allows you to see dynamic components working in their prototyping stages.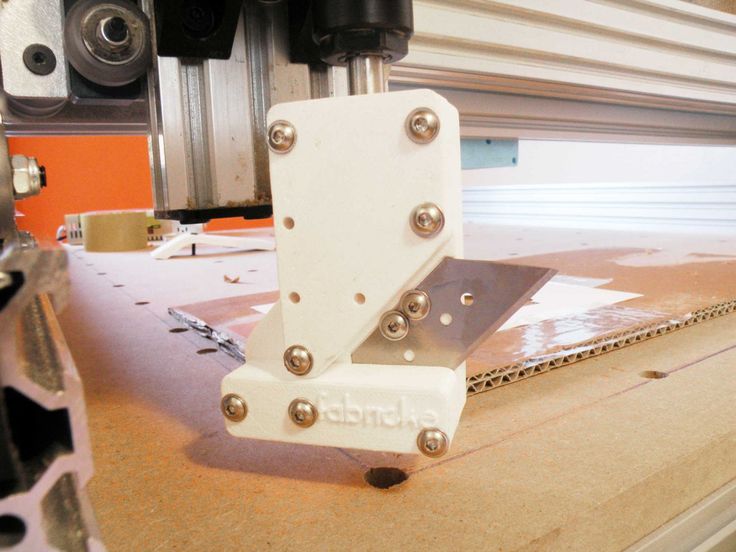 Rather than 3D printing smaller parts and assembling them together, you can reduce the workload by printing the full part in a single print. Once the supports are washed, you have a seamless, perfectly dynamic and mobile part. 3D Print Moving Components eliminates having to print very small, weak parts that could be damaged (or lost) in, say, a wash tank.
The key to 3D print moving components is to have air gaps in between the components (otherwise known as negative space), and it starts with the initial design.
Let’s use the hinge design below as an example:
Screenshot of a custom hinge design comprised of only two moving parts
Hinges are usually comprised of the knuckles (the hollow portion of the hinge in which the pin is set), the leaves (the parts of the hinge that extend laterally from the knuckles and come in contact with the external surface), and the pin (the rod that holds the leaves together by being set inside the knuckles), but we’ll design and print the hinge as only two components.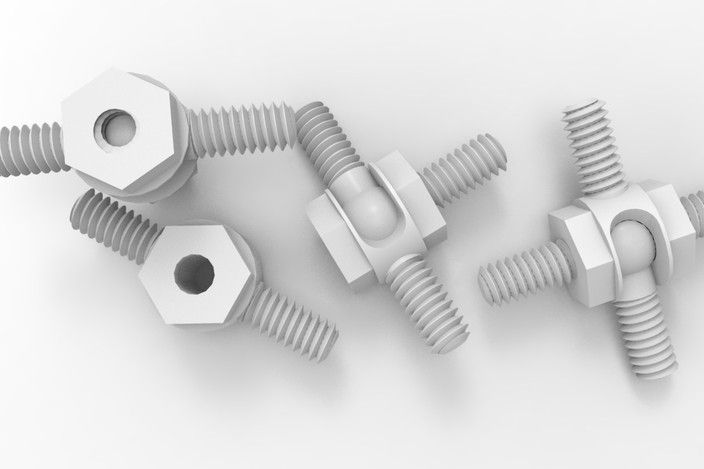
The methods shown for this hinge design can be applied to almost any mobile or dynamic component that you design.
Negative Space Based on Layer Thickness and Part Resolution
I designed this hinge in SOLIDWORKS as one part file, separated into two bodies. Using a series of repeating reference planes, I cut out and extruded the interlocking knuckles, making sure to add an equal amount of negative space between both knuckles. The holes on the ends of the leaves are just placeholders, as the main focus of this project is the pivot mechanism.
Ideally, the air gaps need to be small enough to go unnoticed, yet large enough to fully clear the extrusion paths as the printer lays down layers. This allows the final part to maintain its structural integrity while its components are fully mobile.
Layer thickness doesn’t just represent the height of the layer, it also represents the width of each path.
A design rule that I’ve stuck with is to set the air gaps to at least double the layer thickness of your choice. For instance, if I’m printing the hinge shown above in 0.007″ thickness, I want to make sure my air gaps are at least 0.014″. This way, there’s no chance that the extruded paths will intersect and melt together during the printing process. This same principle applies for all layer heights. Now, we could go into liquid thermoplastic retention properties and argue that the air gaps can change based on what material you use (e.g. Nylon12 instead of ABS-M30), but the safest option that works with almost any material is the one I just described.
Hinge Without the Pin
Now for the design. As stated before, the hinge can be designed with only two moving parts.
NOTE: This model is intended to demonstrate some unique design principles regarding fully assembled, multi-component print jobs.
Pictured below is the design in question. If you look closely, you can see there’s no pin in the centre of the knuckles. Instead, the knuckles are interlinked with an air gap of 0.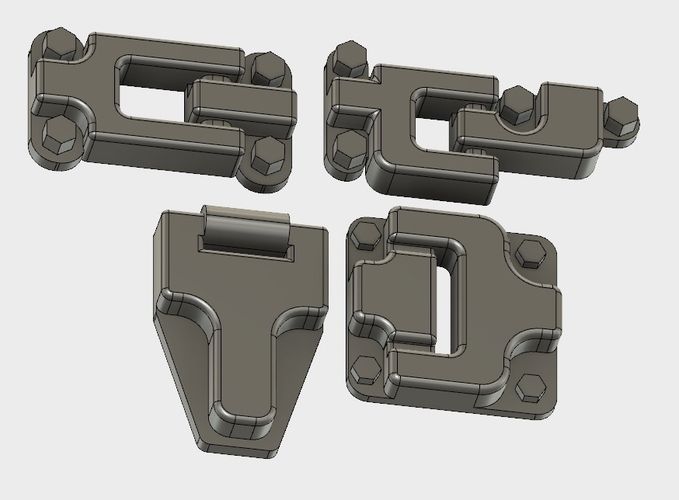 3mm (or 0.012″). For the purpose of this blog, I’m printing the hinge in 0.005″ layers, so my air gaps are slightly larger than what they need to be (which is fine). If I made the gaps smaller than 0.010″, there would be a good chance that the paths would melt in on themselves during the printing process, rendering the hinge immobile after cleaning.
Making one of the leaves transparent allows a clear view at the connecting knuckle, which fills up the gaps.
The final hinge print.
Here you can see the air gaps up close.
Post-Printing Steps
One of the major drawbacks of this method of printing/prototyping is that you will need to use more support material for these parts to print properly. During the printing process, the negative space (air gaps) are filled with support material, which is then dissolved in a wash bath.
The model material you are using must be compatible with soluble support material. The supports need to be dissolved in order for your parts to freely move after they’ve been cured.

On the topic of support structures dissolving, the wash bath times do slightly increase for prints like these. It takes a little longer for the solution to reach the inner support material buried within the part. Once the part is fully washed, gently try to move the parts back and fourth to pry them apart. If you apply too much force the parts might snap.
Some Things to Consider
If you’re designing parts to 3D print moving components that are fully assembled out of the printer, its a good idea to use the smallest layer thickness your 3D printer is capable of extruding. In my case, it’s 0.005″. Thinner layers give the part a smoother finish, which means that there’s less friction between components when they move.
Another thing to note is the support material your 3D printer will use. Make sure the supports are water soluble. These types of prints won’t work on standard consumer printers, as they only extrude model material.
Best 3D Printing Files Hinge・Cults
Box with channel
Free
AI-2 First aid kit
1.32 €
Murphy bed hinge cover
Free
Pokemon Legends card box
2.04 €
Ender Screen Cover 3
Free
Tower of Hanoi travel game
Free
Hinge for 3Dlabs Spitfire MkXVI control surfaces
Free
Large round bag clip
Free
Pelican Case 2.0
Free
Loop case for earphones (remixed parts)
Free
Hinged chest with working lock and wood texture
Free
Hinged chest with working lock, double gouge
Free
Door handle
6. 12 €
12 €
Label/photo holder with pause or magnet
1.25 €
HINGES
0,50 €
hinge
Free
BIBO 2 Touch Magnetic Hinge
Free
Cabinet Repair Plate / Blum Pot Hinge Repair Kit
Free
LucidSound LS35X Headphone swivel joint
Free
Pebble Time Hand Bar Mount V2
Free
Laser Cut Desk Organizer (Wall)
Free
Pedal "Action" Trash Loop General Purpose
Free
door hinge
free
printing loop
0.52 €
Shower door black plastic hinge
Free
aluminum door hinge cover
0,50 €
Hinge for container
0. 50 €
50 €
Meade ETX-70 horizontal engine joint
5 €
Pull-out hinge for greenhouse
1 €
Mimic chest
1.97 €
Hinge slot for wind direction Tornado AC
Free
Hinge for printing in place
0.68 €
Ikea Ringhult dishwasher hinge
Free
Single hinge
Free
Covid Virus Spit Shield - Hinge for Printing in Place
Free
Bottom hinge for triple glass bath head
Free
Hinge for cover BCN3D
3.09 €
igloo 9 boat hinged cooler0003
2 €
Terrarium plastic door
5.99 €
Hinges for outdoor fluorescent lamps
2. 50 €
50 €
Concealed cabinet/door spring closer
1.01 €
cooler hinge
0.76 €
Whirlpool spatula loop
4.76 €
Bath screen hinge
0.68 €
Air modeling loop Air modeling loop Air modeling loop
1,90 €
Freezer door hinge Patrick
10.20 €
Electrolux Vacuum Cleaner Hinge
Free
Casement window hinge
3 €
Top 20 3D printed toy models
Why 3D print toys? What toys can be 3D printed? 1. Mini monster truck 2. Surprise eggs 3. Gliders with elastic band 4. Folding sword 5. Micro catapult 6. Spinning top 7. Moving animals 8. Spirograph 9. Transformers 10. A set of toy tools 11. Castle 12. Lego bricks 13. Ballista 14. Edible toys 15. Anti-stress keychain 16. Chunky Trucks set 17. Sword rattles 18. Vikings Squigglepeeps 19. Math Spinner 20. Jumping turtles Total
Today, 3D printing is developing and spreading very rapidly, gaining more and more popularity. And no wonder, because 3D printing is an invaluable tool for prototyping designs, creating mockups, fabricating parts, and more. At the same time, it is no longer difficult to buy a 3D printer at an affordable price even for home use. However, a 3D printer is not only a tool, it is also a kind of toy. A toy capable of creating other toys! Using a 3D printer to make toys gives you control over the material, color, size and other components, so the models you create with 3D printing will be unique!
But what if you don't have your own 3D printer and you need to print a toy or some part of it? It doesn't matter, in this case our 3D printing studio will help you! You only need to place an order by uploading the file of the desired finished model, after which our specialists will contact you to calculate the cost and resolve other possible issues.
Why 3D print toys?
This is probably the first question that comes to mind, and it is not surprising, because often 3D printing can cost you more than the cost of such a toy in the store. But there are also a number of advantages of 3D printing, as well as cases when it would be more profitable and appropriate to turn to creating models on a 3D printer.
- As already mentioned, a toy printed on a 3D printer can be absolutely unique due to the ability to give it exactly the shapes, sizes and colors that you and your child want.
- Some toys can be difficult to find in the store, and their cost may exceed the cost of their printed copy.
- Sometimes you only need to replace one or a few broken or missing parts of a toy, such as a building toy. In this case, it will be much more profitable and more expedient to use a 3d printer than to buy a whole set for a high price.
- An important factor is, of course, the impressions of the 3d printing process itself, which will captivate both a child and an adult.
 And the positive emotions of your child from the toy you created will be the best reward!
 - And for those who are just getting acquainted with their printer and 3d printing in general, the process of creating toys will be an excellent, exciting simulator to improve their skills and gain experience.
Which toys can be 3D printed?
In the context of constant development and increase in the possibilities of 3D printing technology, you can create almost any toy on a 3D printer, but the result largely depends on the capabilities of your device, your abilities, as well as the time, resources and effort that you are willing to devote to this process. Therefore, more or less simple projects are most often created on a 3D printer. But the relative ease of manufacture does not mean boring finished products! Below we will give you a list of 20 interesting 3D printed toys that are not particularly difficult to create. Among these crafts you will find toys for children of all ages, including the smallest: mechanical products, motion figures, building blocks and even rattles! For each toy from the list, we leave a link to the finished model so that you can try them yourself. So let's get to know them better!
1. Mini monster truck
Two monster trucks. Source: Thingiverse
Not everyone can afford a monster truck, but if you have a 3D printer, you can print yourself a mini copy of it... which is almost as cool. Thanks to the all-printed suspension and removable discs that attach easily and without the aid of glue to the body, this truck is perfect straight from the printed surface.
You can even choose from a variety of body styles and wheels. And for a two-tone tire, stop printing the wheel at 19.8 mm and replace the filament.
Model files for download can be found here.
2. Surprise eggs
Surprise! Source: Twitter
Bigger is not always better. And often the most interesting thing is just a small size, and these 3D printed eggs with a surprise are an example of this.
These tiny cars with moving wheels and other accessories are amazing! Plus, you have plenty to choose from, as you can print surprise eggs with just about anything inside, be it a fire truck or even a fighter plane!
Support not required for these models. We advise you to use at least 40% infill to make sure that small elements are both beautiful and durable. Given the number of such tiny parts these machines have, be prepared that printing them can be a real challenge for you, but with good calibration and fine tuning of your machine, everything will work out in the best way!
3. Rubber Gliders
Get ready to take off! Source: Thingiverse
With 3D printed gliders you will be able to “pull out” even more fun out of ordinary rubber band ! Just 3 simple steps, and your glider will take off: hook it with an elastic band, pull it towards you and release it.
With this model on Thingiverse, you and your friends can take to the skies a whole flotilla of these rubber gliders!
100% infill and a layer height of 0.1 mm is recommended for greater aircraft strength and longer life for thin wings.
4. Folding sword
Telescopic pirate sword. Source: Thingiverse
This toy may not be best given to a child when there are breakable items nearby. But in the right environment, telescopic swords will bring tons of fun and enjoyment to kids! From the designer of this folding pirate sword, you can also find models of telescopic katana, daggers and even lightsabers!
This Telescopic Pirate Sword is designed for printing at low speed using a 0.4mm nozzle. Also, successful printing requires a printer with a good retract and precise settings for Coast (turning off extrusion at the end of the layer print) and Wipe (“wiping” the nozzle at the end of the layer).
5. Micro Catapult
Hit all your enemies (or at least your deskmates). Source: Thingiverse
This little catapult is a great toy for kids and bored office workers alike. She can throw small crumpled pieces of paper and any other small things that will fit in her. Selected ammunition can fly about 2 meters, which is enough to hit unsuspecting victims at another table!
This model is an all-printed prefabricated assembly that does not require any supports or special adjustments. A minimum filling and layer height of 0.25 mm is sufficient.
Despite the fact that many catapults are made from PLA plastic, the author of the design still insists that this model is not for PLA, but for ABS plastic. We can also recommend PETG filament for this printing, which has the best qualities of PLA and ABS.
6. Top
The oldest toy for the whole family. Source: Thingiverse
As far as we know, the spinning top is one of the oldest toys in the world. In ancient times, tops were made from almost any material: from stone and wood to fruits and nuts. And now additive technologies allow you to make your own spinning top using a 3D printer! All you have to do is print this model, glue the pieces together and have fun with this simple yet fun toy!
Offered 0.2 mm layer height and 20% infill.
7. Moveable animals
Cute articulated octopus. Source: Thingiverse
Creating flexible prints on a 3D printer has become completely affordable and common practice thanks to special filaments such as TPU.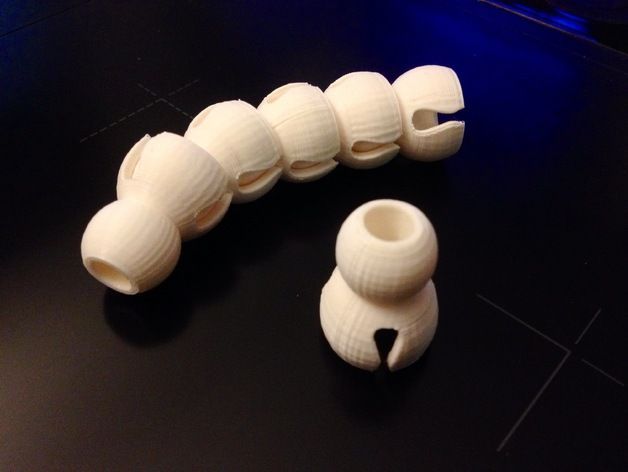 But what if we said that you don't have to use flexible plastics to create flex parts?
Using excellent hinges that are printed in one piece with the whole model, you can create flexible and flexible toys even in plastics such as PLA, ABS and PETG, without any additional settings and adjustments.
The standard specifies a layer height of 0.2 mm and an infill of at least 15%.
The most popular of the models:
- Octopus
- T-Rex
- Lizard
8. Spirograph
Convenient case for creativity at any time. Source: Thingiverse
Everyone knows such a children's toy as a spirograph, which allows you to easily draw masterpieces with repeating geometric patterns. But this model has gone a little further and is a whole case containing a platform for drawing and a compartment for storing gears and paper. It fits easily into your pocket, backpack and bag, so you can take it with you and paint whenever you want!
The case has several levels.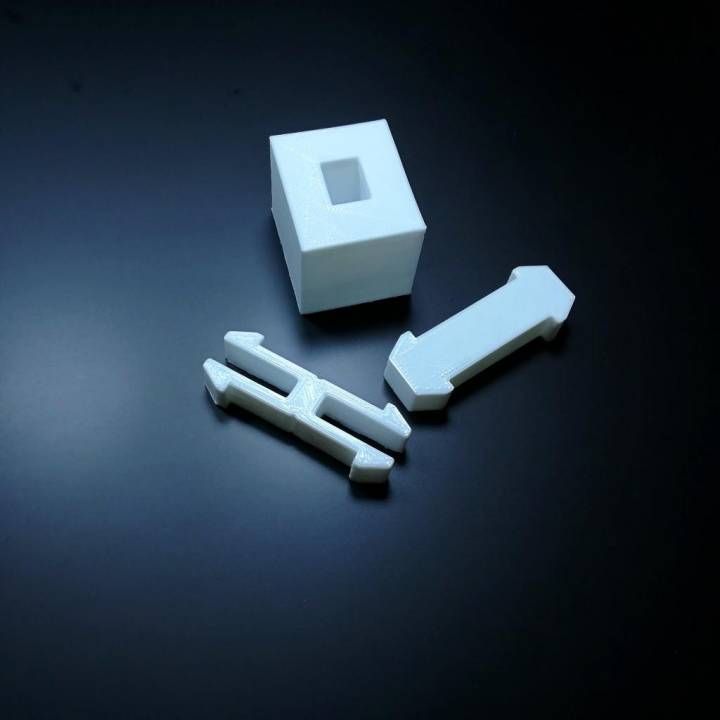 The lower level holds slips of paper for notes, drawing gears and, if desired, a small pencil or pen, if, of course, you can find one. The next level provides a secure, flat drawing surface so you can make art while walking! The top level has fixed gear teeth and holds the piece of paper in place.
A layer height of 0.2 mm and an infill of 20% or more is recommended. As a loop, a regular straightened 1.75 mm filament thread is used.
9. Transformers
Toys from the planet Cybertron. Source: Thingiverse
Transformers are still a hugely popular children's toy, so these Optimus Prime and Megatron will definitely appeal to your children.
This printed Optimus Prime transforms from a classic Optimus truck into a fully functional standing robot. And it's amazing, considering that you immediately get a ready-to-use all-printed model right from the printing platform, which does not even require supports!
But, of course, every Optimus needs an opponent to fight.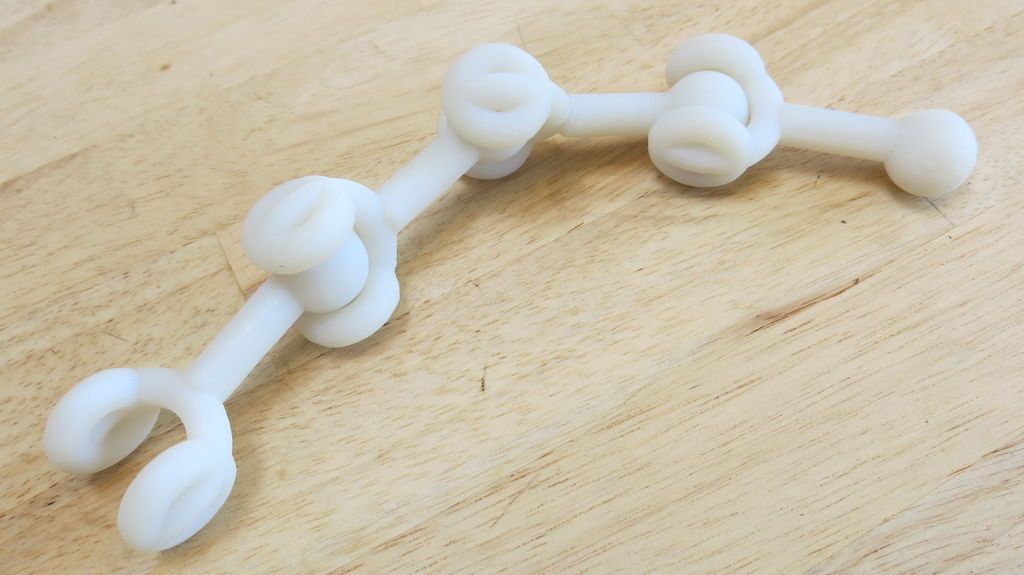 Therefore, you can also print Megatron, but it should be noted that his model is more difficult to print and consists of two parts.
10. Set of toy tools
The first tools for little craftsmen. Source: Thingiverse
The Toy Tool Set is a great way to introduce kids to basic tools, their look, purpose, and how they work. Print your child's first hammer, screwdriver and pliers and he'll feel like a real craftsman!
The hammer is modeled to fit two pieces together with a screw, but some users simply glue them together, which is just as pretty. You can also use a hammer to assemble pliers: just lay the two pieces on a flat surface with the screw down and tap lightly a couple of times.
Model can be found here.
11. Castle
Build your own medieval world! Source: Thingiverse
This medieval castle playset is meticulously designed for 3D printing. Walls and towers are easily attached to each other with a simple connection.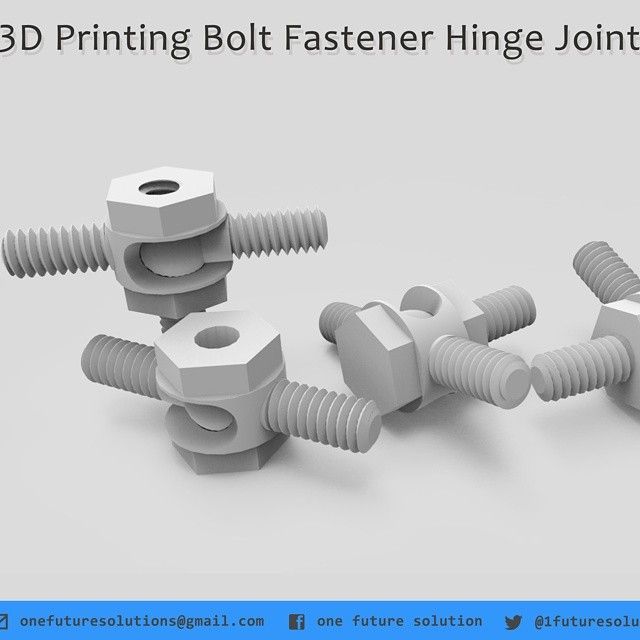 You can make as many details as you want to create a large or small original castle layout of your own! The set contains walls, towers, houses, characters, animals and a variety of props to add to the fun of this medieval set.
All parts are small enough to be printed comfortably even on 3D printers with a small print area: 140x140x140mm. For such purposes, the Flashforge Creator Pro 2 3D printer is perfect, equipped with two independent extruders and has excellent printing accuracy. This printer will cope with the study of small details, and two extruders will help you print several parts at once or one part in two colors!
12. Lego bricks
Favorite construction set is now more accessible! Source: Pinterest
LEGO is one of the most popular toys for children. At the same time, the cubes of this designer are made of ordinary ABS plastic. So, having your own 3D printer, you can print the missing/lost Lego bricks yourself or even some of your author's design of the details of this amazing designer! At the same time, you can use not only ABS, but also other 3D plastics: PLA and PETG are also great.
Thingiverse has a lot of Lego models, and we'll take a look at one of them. It's customizable model of several different LEGO and LEGO DUPLO pieces. These bricks are not completely identical to real Lego, but they are compatible in every way.
13. Ballista
Fire! Source: Thingiverse
Introducing a fully printed ballista model, ready to use right out of the box. One has only to set the string and load the projectile, and this ballista will impress you with its simplicity and good range of the arrow. As a bowstring, you can use several layers of thread or ordinary stationery gum.
Recommended to print in PLA or PETG with 90% coverage and 0.2mm layer height.
14. Edible toys
The Open Toys project turns ordinary vegetables into toys. Source: Thingiverse
The project was originally envisioned as a way to turn commonly discarded residual materials such as wood and cork into toys: helicopters, planes, cars and so on. But soon, wood and cork were replaced by more accessible and easily pierced materials: fruits and vegetables. With this project, you can turn ordinary food items into fun personalized toys.
15. Anti-stress keychain
Entertaining keychain. Source: Thingiverse
Add some flair to your keychain with this cool little toy. She will entertain you wherever you are!
This model is not the easiest, but try it and you will definitely succeed! Important print quality settings are "Outer Walls Before Inner Walls" and being extra careful with temperature. It is printed with supports and requires a certain, sometimes lengthy, post-processing. Remove not only supports, but also make sure that the surface of the part is smooth, otherwise it will cling and stutter. A scalpel or a 1 mm drill will do. Periodically rotate the gears to see where it still sticks, which is especially true when using PLA.
16. Chunky Trucks set
Two models from the fun and cute Chunky Trucks set.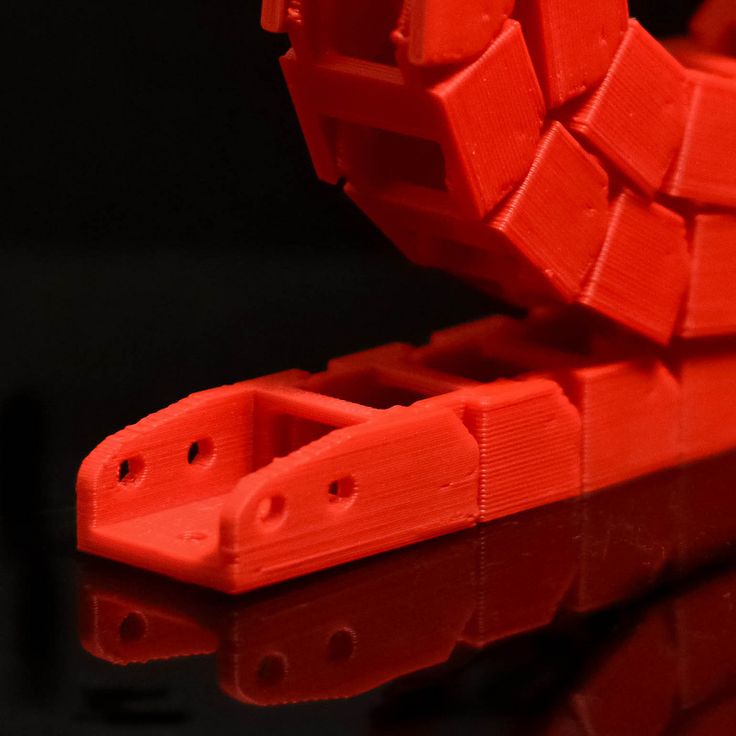 Source: Thingiverse
The adorable Chunky Trucks collection includes various unique models of small trucks, fun builders and even a movable barrier. The cars are specially designed so that even the smallest children can play with them. Unlike builders, who are not recommended to be printed for toddlers so that they do not try to put them in their mouths, but which will greatly amuse older children.
All models can be printed without supports. And for long truck life, at least 25% infill and three-wall use are recommended.
17. Rattleswords
Arm your warrior! Source: Thingiverse
Rattles are an integral part of all babies. But what if we move away from banal and boring designs and build a rattle in the form of a sword for your little warrior? This fun design will not only amuse your baby, but also you, as this rattle will be a lot of fun to print!
All corners of the model are rounded for safety. There are also two versions of the tip. Initially, a gem was attached to the tip, but after some concern that the stone could slip off the tip and be swallowed by a child, a second version was created that did not include a gem.
Print two sets of dots first. Then, while printing the sword, throw them inside the blade. This will ensure that the peas stay inside the rattle forever. After printing all the elements, simply fasten them with superglue.
As with any printed toy, parental guidance is required. Be sure to throw away the toy if it breaks.
18. Viking Squigglepeeps
Three Viking Squigglepeeps set sail. Source: Thingiverse
Squigglepeeps is another baby-safe toy, this time with absolutely no glue required. These fun chubby Vikings and their boat are too big to choke on, making them suitable for kids of all ages. They look funny even in one color, but they will be even more beautiful if you paint them with child-safe paints! The model also absolutely does not require supports.
19. Math Spinner
A great way to have fun learning math! Source: 3Dtoday
This math spinner is the perfect companion for learning math. Moreover, it is suitable for all ages, because it is never too late to brush up on your arithmetic knowledge! You can print this finished model or modify it for yourself by removing or adding rings. This advanced design contains all the signs of addition, subtraction, multiplication, division, equality and inequality, as well as a pointer to the string to be solved! On the central insert there are special grooves for fixing. For this version, you will need to print 2 caps and 8 rings of numbers, the rest of the details are printed in a single copy.
Recommended coverage 25% and layer height 0.2 mm.
20. Jumping turtles
The variety of these turtles is amazing! Source: Thingiverse
Last but not least, jumping turtles! Agree, even the name sounds fun! And a variety of shell designs will give each turtle its own uniqueness.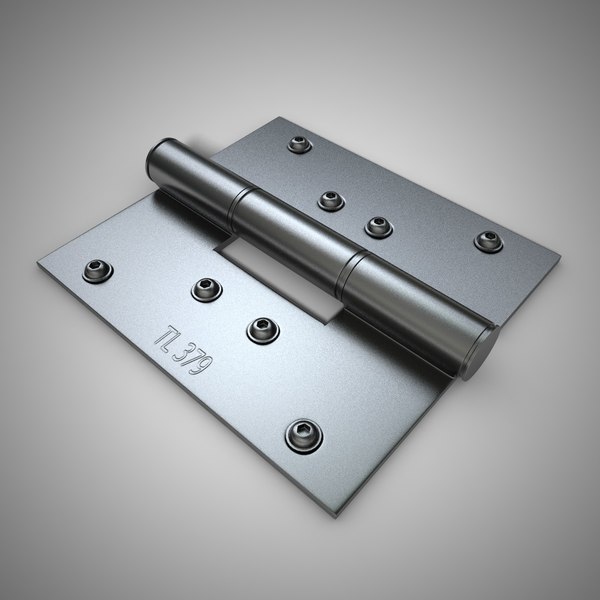 This model uses the same flex concept as the Mini Monster Truck above, making the Turtles bounce when you tap on the body. Also in this turtle, the head can be drawn into the shell.
The model is assembled with printed H-clamps and does not require glue. All parts are printed without supports. Also note that using the raft (rafts) and brim (margins) options can have a negative effect on the results if you don't then take the time to sand and clean the edges at the base.
If you have problems with head slip, you can try to print 1 of the 3 narrower shaft head files that the author has specially uploaded for this case.
Results
We hope you enjoyed this selection of toys for 3D printing, and you will definitely choose some option for yourself, because 3D printing of toys is not only fun and interesting, it is also a new experience and knowledge for both you and and for the child. But we have considered only some entertaining options from the many existing ones.