3D systems handheld scanner
3D Scanners | 3D Systems
Resolution makes a difference
3D scanning opens up a world of possibilities. Imagine being able to capture anything in the physical world and have a digital model of it in minutes.
You don’t have to imagine. Every day, companies use 3D scanners and software to:
- Create and reverse engineer CAD models of real parts to capture lost designs, update existing products, and make new ones.
- Verify product quality by comparing manufactured parts to CAD designs.
- Make mass customized products for healthcare, dentistry, and fashion.
- Scan entire buildings to create accurate 3D models.
- And much more.
3D scanners and accompanying software are now within the reach of many. Scanners are faster, less expensive, and more accurate. 3D scan-processing software is more automated, creates better results, and works faster than ever before.
What Are 3D Scanners?
There are many different devices that are called 3D scanners. Any device that measures the physical world using lasers, lights, or X-rays and generates dense point clouds or polygon meshes can be considered a 3D scanner. They go by many names including 3D digitizers, laser scanners, white light scanners, industrial CT, LIDAR, and others. The common, uniting factor of all these devices is that they capture the geometry of physical objects with hundreds of thousands or millions of measurements.
Why Do You Need 3D Scanning Software?
Because scanners collect immense amounts of data, you need dedicated reverse-engineering software like Geomagic® Design X™, Geomagic for SOLIDWORKS®, and Geomagic Wrap® to process the output into something usable that other software can handle. Depending on what you will use the scan data for, reverse-engineering software can do many different things to the data. The most common applications for 3D scanning are reverse engineering, inspection, and digital archiving or 3D printing. Dedicated software like Geomagic reverse-engineering software and Geomagic Control X™ inspection and metrology software is the fastest, easiest way to unlock the full potential of a 3D scanner.
How Do 3D Scanners Work?
There are many different approaches to 3D scanning, based on different principles of imaging. Some technologies are ideal for short-range scanning, while others are better for mid- or long-range scanning.
Short-Range 3D Scanners
3D scanners with less than one meter of focal distance include laser triangulation and structured light 3D scanners.
Laser Triangulation 3D Scanners
Laser triangulation scanners use either a laser line or single laser point to scan across an object. A sensor picks up the laser light that is reflected off the object and, using trigonometric triangulation, the system calculates the distance from the object to the scanner.
The distance between the laser source and the sensor is known very precisely, as well as the angle between the laser and the sensor. As the laser light reflects off the scanned object, the system can discern what angle it is returning to the sensor at, and therefore the distance from the laser source to the object’s surface.
Structured Light (White or Blue Light) 3D Scanners
Structured light scanners also use trigonometric triangulation, but instead of looking at laser light, these systems project a series of linear patterns onto an object. Then, by examining the edges of each line in the pattern, they calculate the distance from the scanner to the object’s surface. Essentially, instead of the camera seeing a laser line, it sees the edge of the projected pattern, and calculates the distance similarly.
| Short-Range 3D Scanners | Pros | Cons |
| Laser Triangulation |
|
|
| Structured Light |
|
|
Mid- and Long-Range 3D Scanners
3D scanners with with one or more meters of focal distance include laser pulse-based and laser phase-shift 3D scanners.
Laser Pulse-Based 3D Scanners
Laser pulse-based scanners, also known as time-of-flight scanners, are based on a very simple concept: the speed of light is known very precisely, so if we know how long a laser takes to reach an object and reflect back to a sensor, we know how far away that object is. These systems use circuitry that is accurate to picoseconds to measure the time it takes for millions of laser pulses to return to the sensor and calculates a distance. By rotating the laser and sensor (usually via a mirror), the scanner can scan up to a full 360 degrees around itself.
Laser Phase-Shift 3D Scanners
Laser phase-shift scanners are another type of time-of-flight 3D scanner technology and conceptually work similarly to pulse-based systems. In addition to pulsing the laser, these scanners also modulate the power of the laser beam, and the scanner compares the phase of the laser being sent out and then returned to the sensor. Phase shift measurement is more precise.
| Mid- and Long-Range 3D Scanners | Pros | Cons |
| Laser Pulse-Based | Medium- and long-range (2m–1,000m) |
|
| Laser Phase-Shift |
| Medium-range only |
Portable 3D scanner and scanning solutions
peel 3 3D scanner Introductory price of $8,490 USD This 3D scanner handles like a charm in every way. You'll love all the bang for the buck: revamped ergonomic design, intuitive multi-function touchscreen, industry-first haptic user communication through vibration, improved resolution, elevated performance with intricate objects and colors, and included data acquisition software.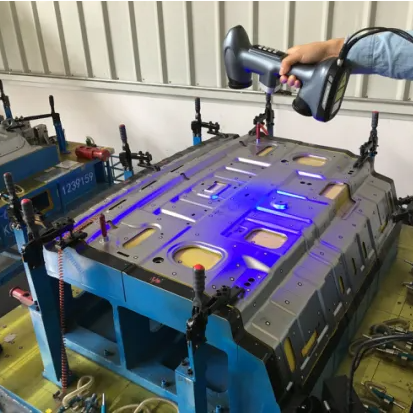
Buy now Learn more
peel 3.CAD 3D scanner Introductory price of $11,990 USD Do you do a lot of reverse engineering? Need to work on your 3D scans before sending them to your CAD software? Booya! You’ll be craving peel 3.CAD and its 3D scanning software to finalize your scans before working your magic in CAD. This is a complete, turnkey solution for all reverse engineering applications.
Buy now Learn more
Aftermarket & tuning
MRO & engineering
AR, VR & digital content
Healthcare
Heritage preservation & art
Product design
Education
Aftermarket & tuning
No project can outmatch peel 3's performance for aftermarket and tuning applications.
Try this!
- EV conversions
- High-performance parts
- Racing modifications
- Component retrofits
- Vehicle conversions
Learn more
MRO & engineering
With peel 3, leverage your ingenuity and facilitate tasks without the grunt work
Try this!
- Reverse engineering processes
- Mold and cast design
- Repairs
- On-demand spare parts
- Safety and personal protection equipment (PPE)
Learn more
AR, VR & digital content
Take creativity and realism to a whole new level thanks to peel 3's unmatched accuracy.
Try this!
- Item-based NFTs
- Custom training and maintenance material
- High fidelity objects
- Custom-made furniture
- SFX & movie production
Learn more
Healthcare
peel 3d scanners help healthcare professionals achieve better patient outcomes.
Try this!
- Orthotics and prosthetics
- Plastic/esthetic surgery
- Mobility assistance
- Cranial scanning
- Compression garments
Learn more
Heritage preservation & art
Better understand and preserve the past with the future of professional 3D scanning: peel 3!
Try this!
- Digital archiving
- Restoration projects
- Scale modifications
- Human anatomy
- Duplication of objects for research
Learn more
Product design
Accelerate the design and improve the quality of your latest innovations with peel 3.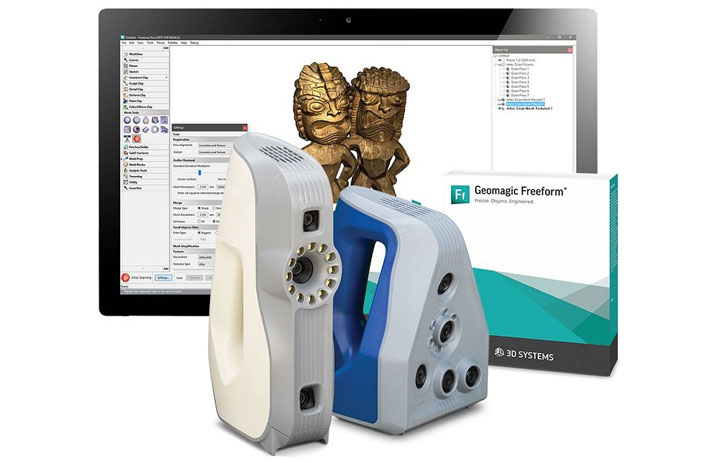
Try this!
- Design from existing objects
- Modelling of existing components
- Convert handmade models to digital versions
- FEA & CFD
Learn more
Education
Upskill the engineers and industrial designers of tomorrow with peel 3's easy onboarding and simplicity.
Try this!
- Fab lab equipment
- Teaching equipment
- Research projects
Learn more
We don't want to brag, but…
they have a peel at home
Installation - Documentation Artec Studio 13
System requirements
To use with Artec 3D scanners, your computer must meet the system requirements.
Note
Third party scanners only available in Artec Studio Ultimate!
Also note the following:
- Real-time Merge Mode
-
(Real-time Fusion Scan): Make sure your graphics card has at least 1 GB VRAM or your Intel HD Graphics 4600 series chipset or higher (see the FAQ article for details).
- Using the Intel RealSense Camera
-
implies that your computer is running Windows 8 (Windows 10 for SR300) with at least 4th generation Intel Core processor and USB3.0 port
- Using Kinect ver. 2
-
requires a computer running Windows 8, a 3.1 GHz or faster processor (two physical cores: two logical cores per physical) and a USB3.0 port (Intel or Renesas chipset)
- Using multiple scanners
-
(Multi-Camera) - Your workstation must have as many independent USB controllers as there are scanning devices.
 You can get the required number of USB controllers by installing PCI/PCI-Express USB cards.
User account
To install Artec Studio and receive timely updates, register a free account on my.artec3d . Registration is also required to activate the Artec 3D scanner. In addition, the site allows you to track your 3D scanners and software.
The my.artec3d account is valid for all Artec sites and services (including viewshape.com ).
Fig. 18 Start screen my.artec3d
To register, follow these steps:
-
Go to the site my.artec3d and press Sign up
-
Fill in all fields in the registration form and click Create account
-
Receive a registration email containing a confirmation link.
-
Click on the link or copy it to your browser to confirm your registration. Go directly to your account at my.artec3d .
Activating the scanner
Before using the Artec scanner, it must be activated and associated with an account on my. artec3d . These operations are performed using the Artec Installation Center, a separate utility available for download from my.artec3d . If you are a new user and you do not have Artec Installation Center installed yet, please read below How to start Artec Installation Center. Otherwise, go to Activating the 3D Scanner using the Artec Installation Center.
Warning
Do not connect your scanner to the USB port until the Artec Installation Center is complete.
Launching Artec Installation Center
Make sure your computer is connected to the Internet before using Artec Installation Center. Any computer with a USB2.0 or USB3.0 port will do. If necessary, you can install and activate Artec Studio on another computer. Also make sure you have an account at my.artec3d ; if not, go to User account.
-
Log in with your account on my.artec3d and download the Artec Installation Center. The link to download the executable file of the Artec Installation Center installer is available on the home page of the site.

-
When the download is complete, open the folder containing the installer executable, run it, and follow the instructions on the screen. Once Artec Installation Center is installed, a window will open asking for your email address and password. For authorization, use your account details on my.artec3d as shown in Fig. 19.
Fig. 19 Artec Installation Center authentication
Activating the 3D scanner using Artec Installation Center
To activate the 3D scanner using Artec Installation Center, make sure that the application is installed on your computer and that it is connected to the Internet.
-
Start the Artec Installation Center (via the Start menu: click Start → All Programs → Artec Group → Artec Installation Center ), the window shown in Fig. 35.
-
Connect your Artec 3D scanner to your computer and wait while Windows detects the device and installs the necessary drivers.
 A message similar to the one shown in Fig. 20.
 -
Go to the Artec Installation Center window, click Update and wait for the new scanner to appear in the Scanners section. Click the Activate button (to the right of the scanner serial number) to start using your 3D scanner. The scanner status will be changed to Activated as shown in Fig. 21.
Fig. Figure 20 Windows message about device installation
21 3D scanner activated
Installing Artec Studio
There are two ways to download and install Artec Studio:
-
Using the Artec Installation Center (either during installation or by clicking the Install button in the application, as shown in Fig. 22 )
-
From the site my.artec3d : log in to the site, go to page My applications and download the executable (see Figure 23)
Fig. 22 Artec Installation Center ready to install Artec Studio
Pic. 23 Part of page My applications on my.artec3d
If you downloaded the executable, run it to start the installation; otherwise, click the Install button in Artec Installation Center. To continue the installation, click Next, the License Agreement will open (see Fig. 24). After reading its text, confirm your consent to the installation by clicking on the Yes button.
Fig. 24 License agreement
fig. 25 Installation site
Fig. 26 Choice of installed components
fig. 27 Dialog for installing drivers for third-party 3D sensors
Pic. 28 Artec Installation Center with activation window Artec Studio
29 Completing the installation
Specify the path to the installation directory (it is recommended to use the default one), as shown in Fig. 25. Then go to the window for selecting installed components (see Fig. 26):
| Desktop shortcut: | |
|---|---|
| creates an icon on the desktop | |
| Start-menu shortcut: | |
| adds a shortcut to the Start menu and Quick Launch | |
| English manual: | installs English user manual |
| Install Artec Scanner Drivers: | |
| installs Artec 3D scanner drivers | |
| Artec Ray drivers: | |
| installs drivers for Artec Ray 3D scanner | |
| PrimeSense Carmine / Asus Xtion drivers: | |
| installs drivers for PrimeSense/Asus 3D sensors | |
| Intel RealSense Runtime: | |
| installs drivers for Intel RealSense cameras | |
By default, the application creates all the shortcuts listed above and installs the user manual and drivers for Artec 3D scanners. Click Next to continue with the installation.
If you are just starting the installation of Artec Installation Center, an authorization window will appear, as in Fig. 19. If you are not connected to the Internet, see Offline Activation for a description of the Artec Studio offline activation process.
If you have not previously associated your account with the computer on which you are installing Artec Studio, an activation confirmation dialog will open (see Figure 28).
Once the installation is complete (see Figure 29), the installer will prompt you to launch Artec Studio.
Offline activation
If the computer on which you are installing Artec Studio is not connected to the Internet due to security or other reasons, you can use the offline activation mechanism to activate the program.
Note
Artec Studio copies activated offline cannot be deactivated later. Therefore, offline activation is recommended to be used only in case of emergency.
Note
Before performing offline activation, you need to make sure that the scanner (see Scanner Activation) and Artec Studio are linked to your account on my.artec3d .
Offline activation requires the following:
-
Another computer connected to the Internet
-
Artec Studio installation file (preferably downloaded from my.artec3d )
-
Flash drive or other storage device for transferring files from a computer with an Internet connection to a computer where Artec Studio
will run
Fig. Fig. 30 Authentication window in Artec Installation Center
31 Offline activation window
Installation and activation process:
-
Start Artec Studio 9 installation process0005
-
During installation, the registration data entry window will open, as shown in Fig. 30. Click Continue Offline...
-
In the offline activation window (Fig.
 31), click Save... and save the file with the activation ID to a flash drive or other media.
 -
On a computer connected to the Internet, log in to your account at my.artec3d and open the section My applications .
-
Find Artec Studio and click on the appropriate link. A new page will appear as shown in Fig. 32.
-
Go to the link Activate application offline , then click the Select file button and specify the path to the file with the activation ID. Next, click Activate.
-
A new window will open where you can download the offline activation file. Save it to a flash drive.
-
Return to the computer on which Artec Studio is being installed, click the Activate and continue button and specify the path to the offline activation file.
Note
As soon as you create an offline activation file, my.artec3d will decrease the number of activations available to you by one.
Upon completion of all the above steps, a copy of Artec Studio will be activated and all Artec 3D scanners will be installed on a computer not connected to the Internet.
Fig. 32 Offline activation on my.artec3d .
Note
If you purchase another Artec 3D scanner in the future, you will need to reinstall the application and go through the offline activation procedure again, as described above, in order to copy all the data files of the new scanner to your computer.
Deactivation
It is important to note that the deactivation procedure is only available for computers on which you have activated Artec Studio online, as described in Installing Artec Studio. Unable to deactivate Artec Studio application activated offline.
Note
The number of possible deactivations may be limited, so deactivate Artec Studio only if you really need to transfer the application from one computer to another.
Fig. 33 Deactivating Artec Studio
To deactivate the license on your computer, do the following:
-
Make sure your computer is connected to the Internet.

-
Go to Control Panel → Uninstall programs and select Artec Studio. The uninstall process will start.
-
A dialog will open as shown in Fig. 33. Check the box I understand. Deactivate Artec Studio.
-
Click Next to complete the removal process.
Managing Artec 3D scanners and products
Artec Installation Center is used to manage applications and scanners assigned to your account.
This is a feature rich application for Artec Studio that connects to my.artec3d and helps you install new applications, download updates, and manage your 3D scanners. To launch Artec Studio for the first time, you need to log in to my.artec3d . After this one-time authentication, you won't have to enter your email address and password every time you launch the app.
When Artec Studio is launched on the server, the Artec Installation Center checks for updates, and if a new version is available for any of the installed products, a message similar to Figure 1 is displayed. 34.
34.
Fig. 34 Artec Studio update available for download
After authorization, Artec Installation Center will display information about your products.
Fig. 35 Artec Installation Center.
Section Applications Artec Installation Center provides information about all your software products:
-
List of available applications
-
Activation status of each application (activated or not)
-
Number of activations available and enabled
-
Activate, Install or Update buttons for the actions currently available to you:
-
Install - displayed if the program is not installed on the computer (usually, installation means activation)
-
Activate - displayed if the program is not currently activated on the computer. Activation reduces the number of available licenses by one per computer.
-
Update - shown if a new version of the installed program is available for download
-
Section Scanners contains a list of 3D scanners that you own or have connected to your computer.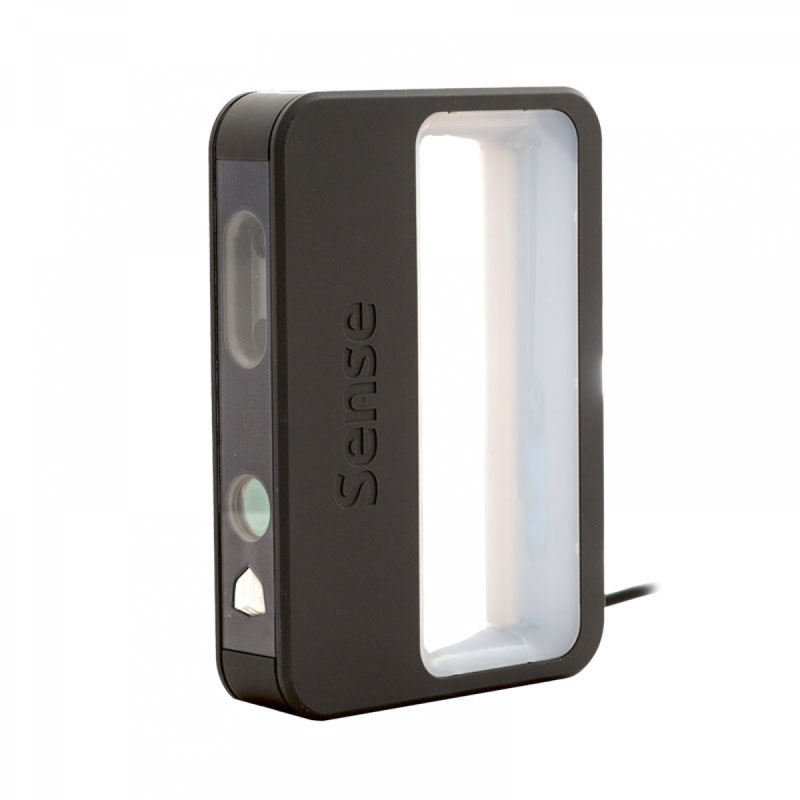 In the first case, status 9 will be displayed0049 Activated or the Activate button, in the second - the status Rented or the Rent button.
At the bottom of the Artec Installation Center window there is a row of buttons:
- Update
-
- Updates the information displayed by Artec Installation Center
- Close
-
- Exit Artec Installation Center
Handheld 3D Scanner EinScan H
Handheld color 3D scanner - hybrid and infrared LED light
With more than a decade of technical accumulation in 3D digitizing field, Shining 3D now releases its newly developed handheld full color 3D scanner, EinScan H. light more comfortable. With a built-in color camera and large field of view, EinScan H delivers high quality 3d data with full color ready to use in minutes.
Watch video here
Features
Hybrid Infrared and Patterned Light
Hybrid light source technology integrates LED patterned light and invisible infrared light into one device, and adding advanced smart presets in various scanning modes, enables 3D scanning in a wide range of applications and promotes popularization portable 3D scanning technology.
The era of hair scanning
Invisible infrared light source provides a reliable solution to black and dark color, making hair scanning possible.
Invisible light 3D scanning experience
Face Scan mode uses invisible infrared light to make scanning people safer and more comfortable.
Fine details
Impressively high resolution as low as 0.25 mm, the EinScan H captures the full geometry of objects such as works of art, furniture with fine details. High accuracy of scanned data up to 0.05 mm and volumetric accuracy of 0.1 mm/m increase the accuracy of 3D modeling in dense point clouds or polygonal meshes.
Fast scanning
Scanning speed up to 1,200,000 dots/s and a large FOV scan of 420*440 mm enable fast 3d scanning of large objects.
Full color reproduction
With built-in color camera, it supports full color texture capture and texture tracking.
Portability and ease of use
The software is intuitive and user friendly.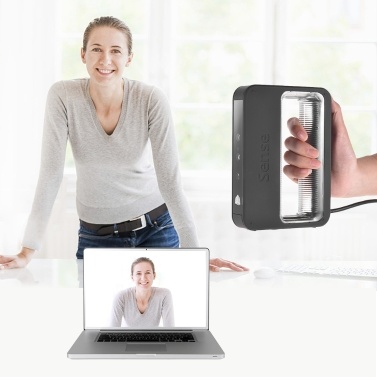 Easy to operate for professional users as well as novices. Easy to own, easy to use.
Weight 703g
Specifications
| Model | EinScan H | ||
| Scan Mode | Standard Scan | Body Scan | Face Scan |
| Light source | White light, visible | Infrared light, invisible | |
| Safety | Eye safe | Class I (eye safe) | |
| Scan Accuracy | up to 0.05mm | up to 0.6mm | |
| Volumetric Accuracy* | 0.05+0.1mm/m | / | |
| Scan Speed | 1,200,000 points/s, 20 frame | 720,000 dots/s, 20 frame | |
| Frame Rate Camera | 55fps | ||
| Alignment Method | Geometry, marker, texture, hybrid | Geometry | Geometry |
| Working Distance | 470mm | ||
| Depth of Field | 200-700mm | 200-1500mm | |
Max.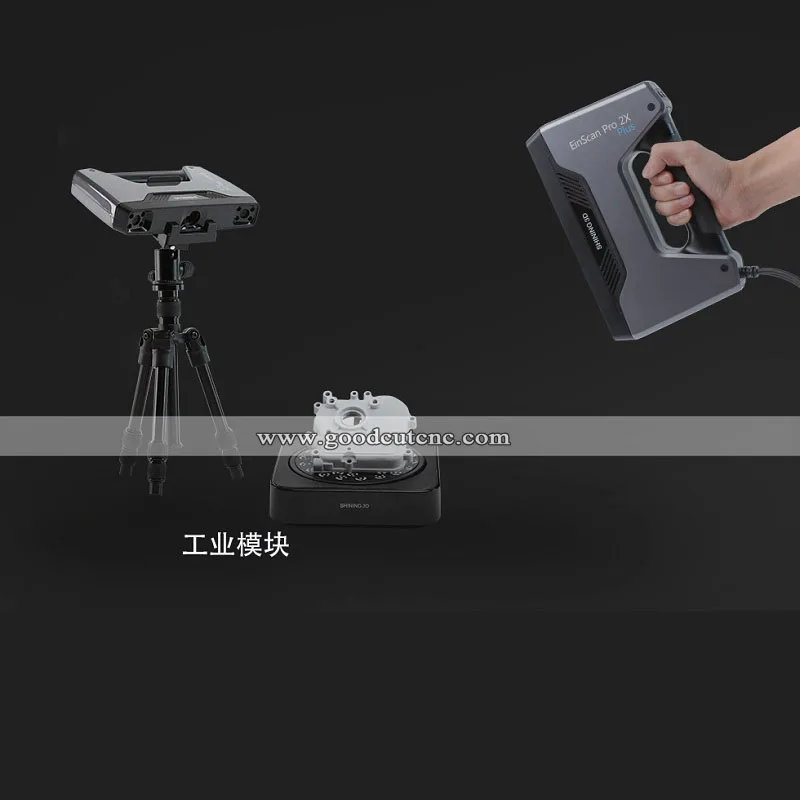 FOV FOV | 420*440mm | 780*900mm | |
| Distance between points | 0.25-3mm | 0.5-3mm | |
| Integrated Color Camera | Yes | ||
| Texture Scan | Yes | ||
| Port to Connection | USB 3.0 | ||
| File Format | OBJ;STL;ASC;PLY;P3;3MF | ||
| Dimensions | 108*110*237mm | ||
| Weight | 703g | ||
| Certificates | CE,FCC,ROHS,WEEE,KC | ||
| System requirements | OS: Win10,64bit;Video card: NVIDIA GTX1080 or above;Video memory: ≥4GB;Processor: I7-8700;Memory: ≥32GB | ||
*Volume accuracy refers to the ratio between the accuracy of 3D data and the size of the object; accuracy is reduced by 0.


