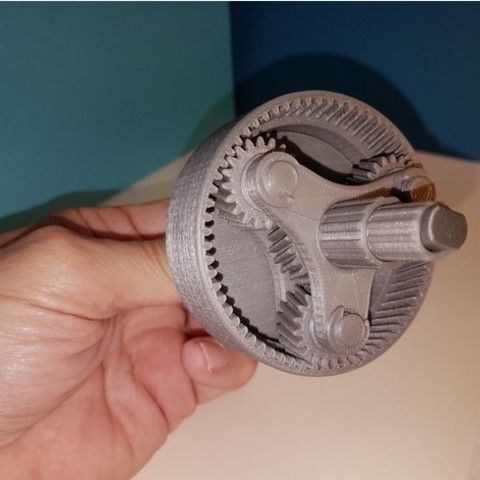
3D printed lens gears
Custom Gears | Follow Focus Gears
If you can't find a gear for your lens, please take a moment to fill out a custom gear form. Custom gears are only available inside the US and are $45.00.
We can sometimes do custom work outside the US. To ensure our work is at the highest standard with fast turn around times, we make adjustments to any custom made gear for no additional cost and ship the replacements to you. Newly made custom gears usually require at least one adjustment. If you are outside the US, custom work does take a little bit longer because of necessary shipping time and even longer if the gear needs adjustments made. Of course, expedited world wide shipping is available at checkout. If that is acceptable, please submit a form below and we will review the gear design and begin work.
Our new line of HD Seamless™ Follow Focus Gears are available for custom work on request. Pricing on HD gears varies according to dimensions. If you're unfamiliar with our HD gears, they're simply made to at a finer resolution. The most noticeable difference is their flawlessly-smooth, highly professional surface finish. Otherwise they do the exact same job as standard focus gears - full functionality, a perfect fit, and high degree of customizability, just like you can always expect from us.
To start building a custom gear, we need 2 measurements - the width and diameter of the focus ring. Outside diameter (OD) is optional. If no outside diameter is specified, it will be made as a standard low profile. Low profile gears usually have between 3 and 6mm (less than 1/4") thickness for a clean, low profile gear that slides easily into your current lens case or bag.
Measuring with Digital Calipers:
If you've got a set of digital calipers, those are absolutely the best method of measuring. They are very precise and ensure that your gear will fit right with as few adjustments as possible. If you don't have calipers, here's a link to the same ones we use.
https://followfocusgears.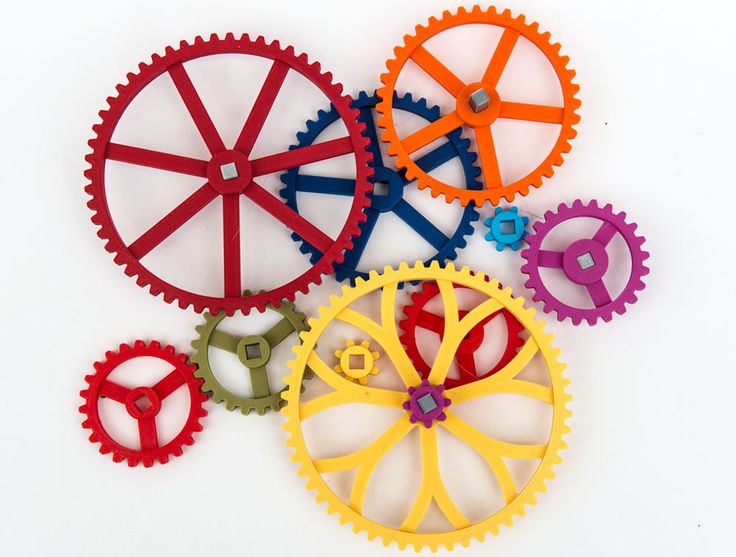 com/collections/step-up-rings/products/digital-vernier-calipers
Measure the diameter of the focus, zoom, or iris ring on the lens.
Measure the width of the focus, zoom, or isis ring on the lens.
Measuring with a paper strip:
We highly recommend you use a digital calipers to measure. However, if you don't have access to calipers, lenses can be measured using only a paper strip. There are a few things you should know before using a paper strip though - the measurement is usually not as accurate and the gear may or may not fit as perfectly. We'll still adjust the gear if needed.
Here's a link to a printable measuring strip (double check it prints to scale):
http://www.vendian.org/mncharity/dir3/paper_rulers/UnstableURL/ruler_foot.pdf
You can wrap this around your lens's focus ring and read it from the zero mark to find the circumference of the focus ring. You can also use this to find the width of the focus ring - the distance from front edge of focus ring to the back edge.
We'll include a set of fit rings you can try on the focus ring in the event your gear doesn't fit properly. There will be 10-15 numbered fit rings with slightly different inside diameters, in the same size range as the measurement you provided. Try them on the focus ring of your lens until you find one that fits tightly enough to turn the focus ring without slipping. We can make very precise adjustments based on which # ring fits best. We will adjust it and mail it free of any additional charges. It's not unusual for some little fine- tune adjustments for a perfect fit. It's well worth the time and effort to request adjustments if needed. After all, your lens is a serious investment in yourself and your work, and our gear should compliment that investment with the same degree of professionalism.
On this lens, fit ring #67 fits perfectly and turns the focus ring without slipping. It fits exactly how the gear should fit, so let us know which # ring works best and we'll mail the corrected gear to you.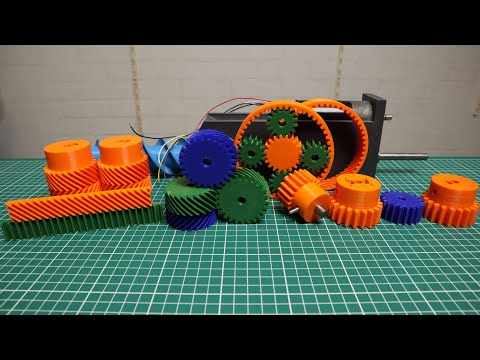
Products | Follow Focus Gears
Currency USDINRGBPCADAUDEURJPY
Log in or Sign up
Sort by Model: All1101616mm2002424mm356457artisans85Anamorphic Lens ShopAngenieuxApparelAsahi Opt. Co.calipersCanonCanon; Broadcast LensesCanon; EF SeriesCanon; FDCanon; FLCanon; L SeriesCanon; RFChinondv xdvxdvx 200Els PW 6932:21795856711763Els PW 6932:21796001644627Els PW 6932:21796014260307Els PW 6932:21796015931475Els PW 6932:21796027859027Els PW 6932:21796032708691Els PW 6932:21796036837459Els PW 6932:21796042571859Els PW 6932:21796042702931Els PW 6932:21796047519827Els PW 6932:21796047749203Els PW 6932:21796048797779Els PW 6932:21796058169427Els PW 6932:21796061315155Els PW 6932:21796061642835Els PW 6932:21796069277779Els PW 6932:21796078059603Els PW 6932:21796078256211Els PW 6932:29404849963091Els PW 6932:32326667501651;21796076781651f/1.4f/2.8f1.4f2. 8fd nexFollow Focus UnitsFollow Focus Units and AccessoriesFujiHandeVisionHeliosIscoramaJupiterKonicaLaowaLeicaLens BabyLensBabyLomoMamiyaMinoltaMinolta CelticMinolta RokkorMirNikonNikon; AFNikon; AF-SNikon; AINikon; AI-SNikon; Non - AlNikon; ZOlympus LensesPanasonicpentaxRectiluxrokinonRokinon/Samyang/BowerSigmaSigma; Sigma ArtsimmicronSiruiSoligorSonyStep Up AdapterTairTamronthrottleTiltaTokinaVivitarvizelexVoigtlanderYashicaZeissZeiss; BatisZeiss; Carl Zeiss JenaZeiss; ContaxZeiss; LoxiaZeiss; MC SeriesZeiss; MilvusZeiss; OtusZeiss; SonyZeiss; ZE SeriesZeiss; Zebra SeriesZeiss; ZF .2 SeriesZeiss; ZF Series
Sold
Out
0.8M to 0.4M Conversion Gear for Tilta Nucleus - M Wireless Follow Focus Motor
$45.00
Sold
Out
0.8M to 0.5M Conversion Gear for Tilta Nucleus - M Wireless Follow Focus Motor
$45.00
Sold
Out
0. 8M to 0.6M Conversion Gear for Tilta Nucleus - M Wireless Follow Focus Motor
$45.00
Sold
Out
77-77mm / 80mm OD Cinema Adapters (20mm wide)
$30.00
77mm Threaded Generic Step Up Adapters
$6.00
80mm OD Cine Adapter Rings
$25.00
80mm Slip-On Caps
$15.00
55-77mm Step Up Adapter
From $6.00
77mm Generic Pinch Style Lens Cap
$6.00
Sold
Out
Complete Tilta Nucleus - M : Wireless Lens Control System
$1,199.00
Custom Focus Gear for SLR Magic 1,33x-65 ANAMORPHOT Lens
$35. 00
00
Custom Gears
$45.00
Sold
Out
Digital Vernier Calipers
$15.00
Sold
Out
Follow Focus Gears Black Hoodie in L/XL
$30.00
Follow Focus Gears Black Tee
$17.00
Follow Focus Gears Flex Fit Hat in L/XL
From $17.00
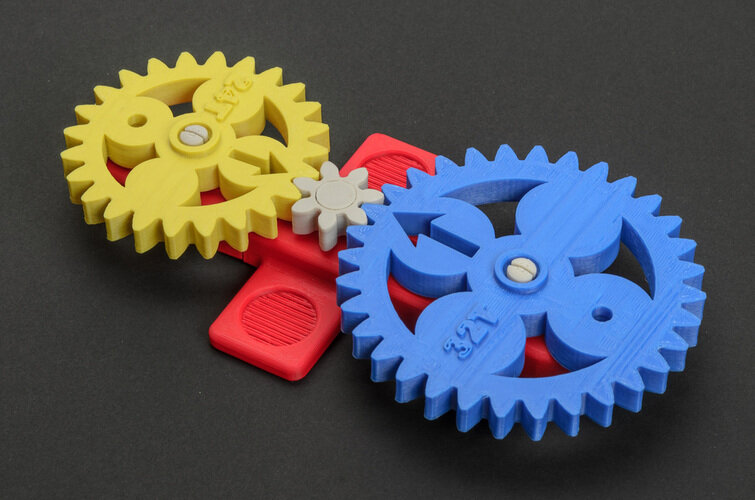
from which to print small gears, material of manufacture
One of the advantages of 3D printers is uniformity. A novice printer can easily replace any part. Moreover, he does not have to go to the store or order an item from China. He can do all the details himself. Of particular value is the printing of gears. This is the “working” unit of the device, which is most prone to breakage and wear.
Which 3d printer is suitable for printing gears?
When we talk about printers, we mean FDM machines. These are 3D printers based on the layer-by-layer plastic deposition technology. Such devices allow you to close two tasks:
- Print broken parts. Plastic is not durable. A gear or other part may simply break or wear out.
- Printing custom or new parts. Development of spare parts from scratch. This also includes the design of gears for a homemade 3D printer.
It is difficult to name a specific printer model for making gears. It all depends on the size of the part and the corresponding working area of the machine. But one thing is for sure: the device must print with high accuracy. For such work, it is worth carrying out additional calibration of the desktop and extruder in order to avoid mass marriage during printing.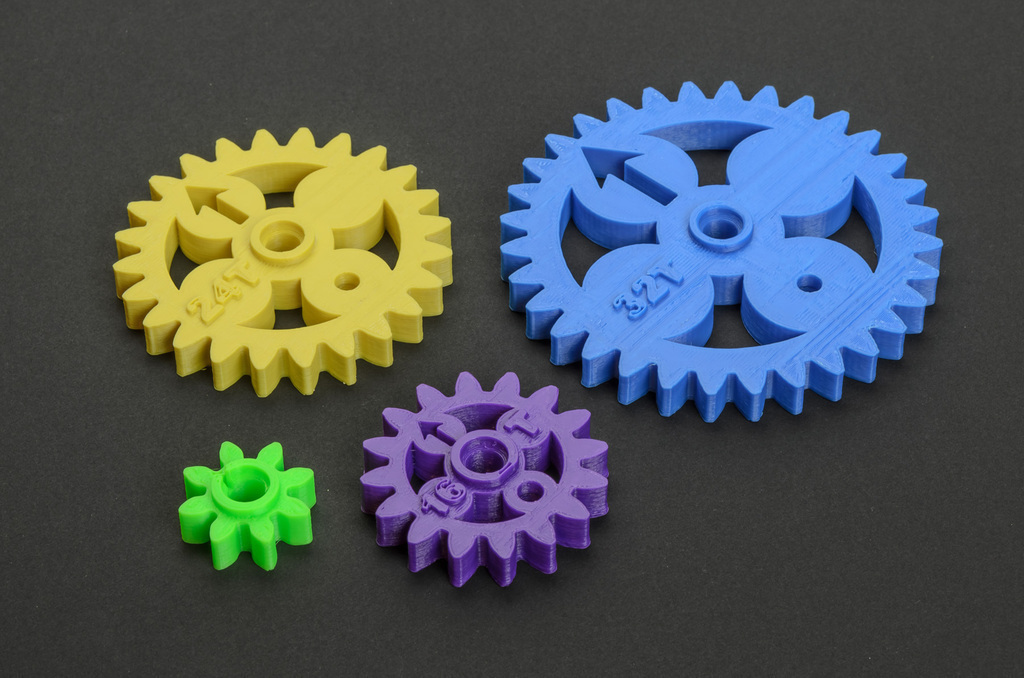
Important! The part design is usually downloaded as an STL file. Parts can be printed for personal use only, not for sale.
What materials are suitable for making a gear on a 3D printer?
Naturally, the main material is plastic. But it may differ, depending on the goals and the final strength of the finished product:
- Nylon (PA). Sufficiently durable material. This filament is considered one of the most reliable for the manufacture of moving parts and elements. A small minus of the material: it absorbs moisture well. You should not make gears out of nylon if the printer is in a room with high humidity.
- PETG. This type of plastic is also classified as high-strength. It is slightly inferior in characteristics to nylon. Printers appreciate it for its good sinterability of the layers, as well as for sticking to the work surface.
- PLA and ABS. These materials compete with each other.
 In terms of performance, they are approximately equal. Basically, the differences relate to the training of the printer himself. Some people are used to PLA and its operating temperatures of 75°C. Others have successfully used ABS by heating the material up to 105°C.
The choice of plastic depends on the skill of the printer, his financial situation, as well as on the final purpose of using the gear. If the part is lightly loaded and rarely used in work, you can choose PLA and ABS. For stronger parts, it is better to use PETG or Nylon (PA).
Interesting! PLA is known to be biodegradable. Because of this property, some printers are wary of using this type of plastic. They believe that the part can crumble over time. It's a delusion. The spare part may decompose if an appropriate environment is created for it. Nothing will happen to her in the air.
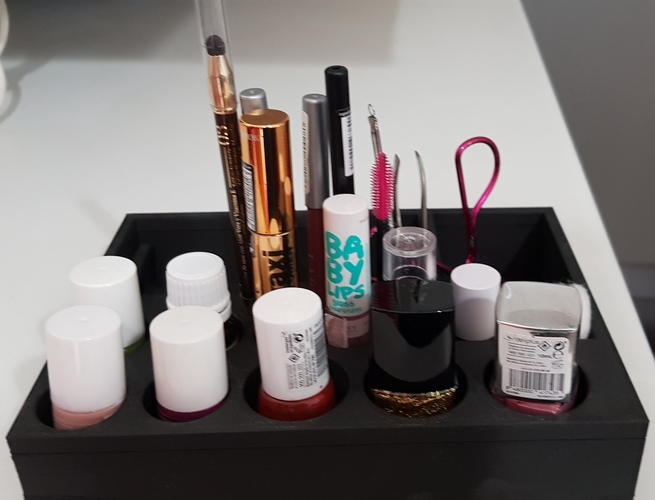
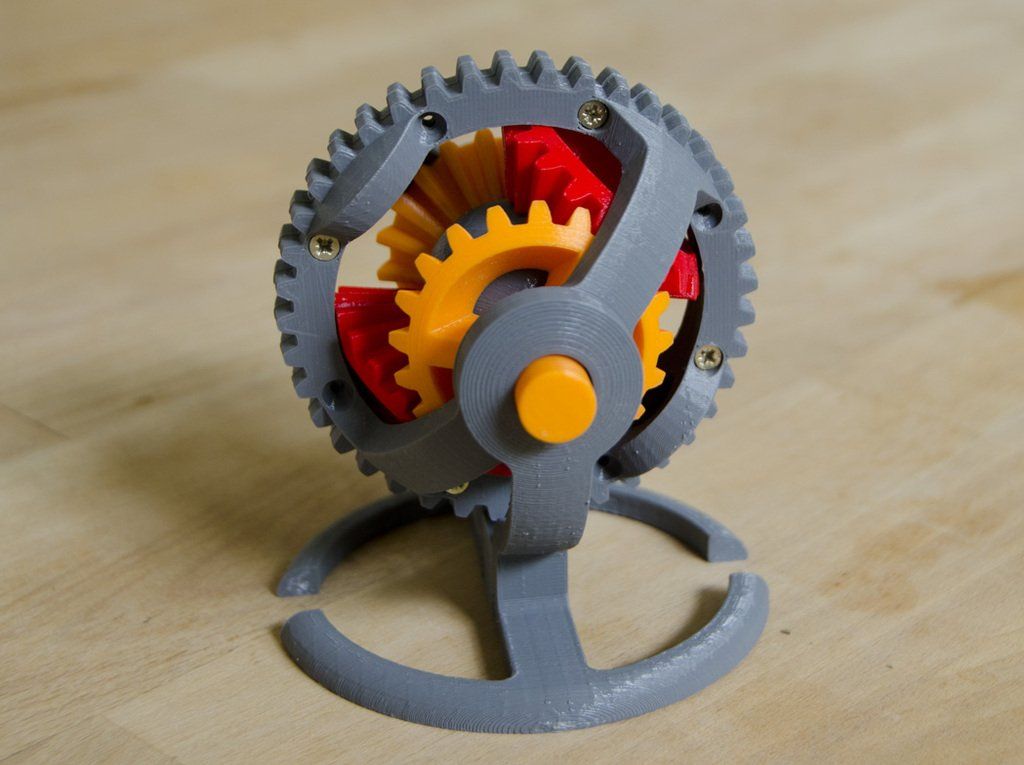
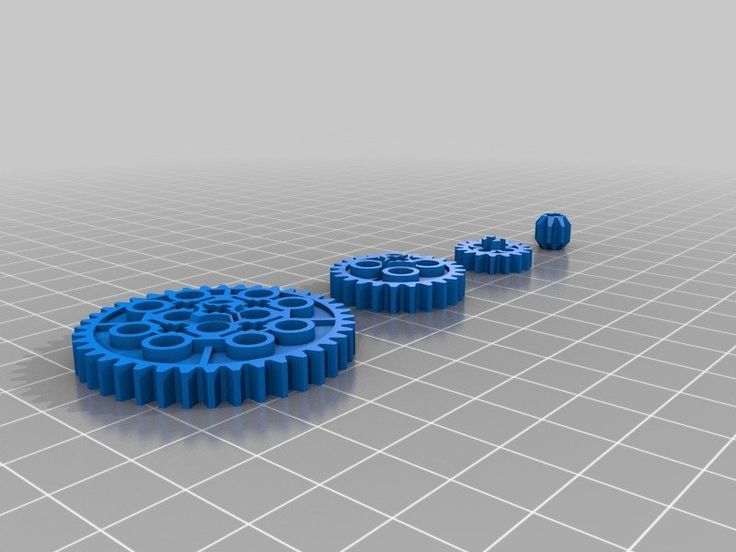
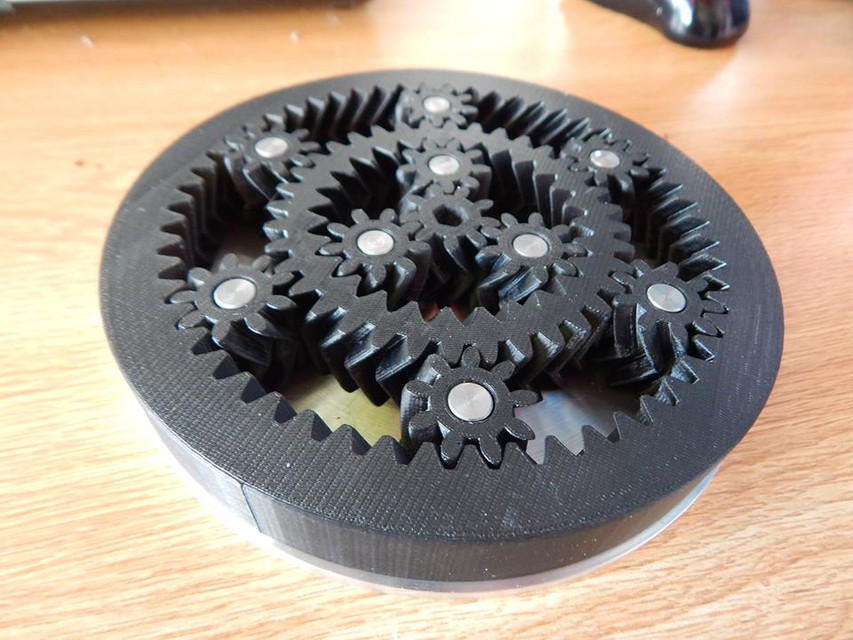
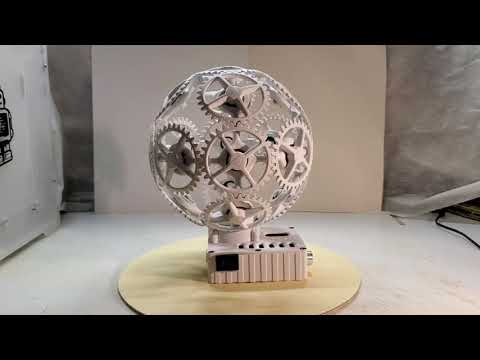
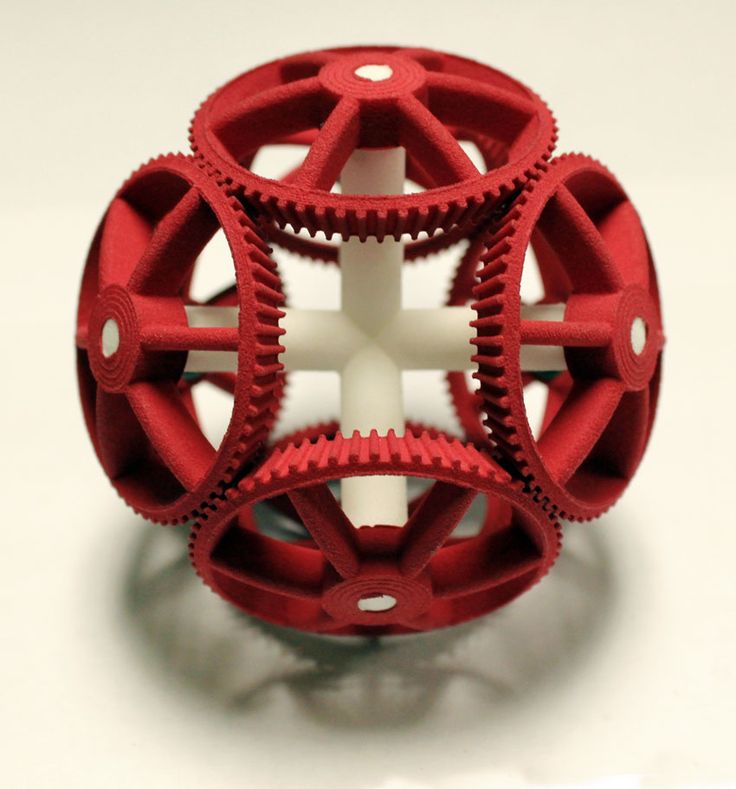
An example of finished products
How to print a gear on a 3d printer: step-by-step instructions
The entire printing process can be divided into three important stages: design (modeling), printing itself, post-processing of the finished product. Consider the manufacture of a gear, starting with work in a slicer and ending with the final processing and lubrication of the part.
Modeling
The process of modeling is the basis. There are a few important things to keep in mind at this stage:
- If you have downloaded the industrial gear model in STL file, it is better to modify it manually. Namely, remove all cavities and holes that may be in the project. Such measures are allowed at the factory to reduce the cost of the part. At home, it is better to make a monolithic part. So stronger.
- For self-made parts, you need to calculate the optimal number of teeth, calculate the pressure angle. If your printer can print with high accuracy, without jambs, you can choose a larger gear ratio (number of links). This will affect the smoothness of the one-piece design where the gear will be installed. There are also rules for the pressure angle: for a part with a pressure angle of 20 degrees, the minimum number of teeth is at least 13 pieces; for a gear with a pressure angle of 25 degrees - the minimum number of teeth is at least 9things.
- Multi-tiered gears are best broken apart in a slicer and then glued together in post-processing. In this way, the best quality of the part can be achieved.
Be prepared for the fact that the part will have to be printed several times, along the way making adjustments to the 3D model of the product.
Slicing
Printing
The advantage of layering is that it is the cheapest way to get a part. Almost any gear can be made by yourself. But here also lie their disadvantages, which must be taken into account in the printing process itself:
- Material shrinkage. Each type of filament shrinks. You need to know it, otherwise the part will turn out to be out of size. Measure the percentage shrinkage on the test cube with a vernier caliper before printing. Add the result to the settings.
- The gear is a very precise part. Even a small deviation of 0.01 mm can affect further work. Therefore, it is important to calibrate the platen and extruder as perfectly as possible.
- Print defects. They must be removed before work begins. Print a test cube, preferably on 4 corners, to rule out any defects on the final product.
But printing is only half the battle. Without fail, the 3D maker is waiting for the post-processing procedure. And here, too, there are nuances.
3D printing defects
Interesting! Before printing, it is better to treat the desktop with ABS dissolved in acetone. Apply it in a thin layer. This will improve the adhesive properties of the surface. The first layer will not come off during the printing process.
Postprocessing
Perhaps one of the most important stages. It is impossible to rush here, as any oversight can lead to a defective product. Post-processing consists of several stages:
- Removal of supports, threads, sagging with a sharp knife or scalpel. Be careful, work without haste.
- Sanding with fine sandpaper.
 Removal and grinding of all irregularities, almost final processing.
 - Immerse the part in dichloroethane solution for 5-10 seconds. The liquid will penetrate into small cracks, glue and strengthen the part. This step is not necessary if you are working with a strong filament.
- End product lubrication. Last step. Lubrication is essential in heavily loaded systems. It prolongs the life of the part, the gears work more efficiently. For these purposes, it is better to take a thick lubricant based on: silicone, lithol or polytetrafluoroethylene. Apply the substance thickly with a dry paper towel so that no dust remains on the parts. Then forcibly turn the gear several times.
Be patient. In the post-processing process, the part may crack or even break. If this happens time after time, it may be necessary to change the filament and make adjustments to the design model.
Common causes of part failure in service: tooth wear to slip, tooth breakage due to excessive loading of the assembly, shaft fracture. In rare cases, a hub or spoke breakage occurs.
Important! Do not use WD-40 on plastic parts. It's quite aggressive. It is designed to remove dirt from metal products, but not to lubricate plastic gears.
Post-processing part
Errors and how to avoid them
Of course, errors can occur during printing. And you need to notice them in time and be able to avoid them. We offer you to get acquainted with the list of the most common shortcomings that occur during the printing of gears:
- Reducing the diameter of the main hole of the gear. Often this is due to the fact that the user did not take into account the shrinkage of the material. Another reason is the export of the STL model with a low number of segments that form a polygonal gear hole. Always export a file with many segments. Otherwise, you will have to drill the hole manually.
- Gap between teeth. This issue can be encountered even with 100% infill enabled.
 The solution must be sought in the slicer by increasing the layer overlap parameter.
 - Low strength parts with thin walls. To make the teeth smoother, you need to set a smaller layer thickness. Straight infill printing with a minimum wall thickness of at least three perimeters.
- As mentioned above, it is better to make a solid part, without additional holes and recesses (not including the main hole in the center). You will not lose much on plastic, but the part will last longer than usual.
If a printer has never made gears on a 3D printer, then he will surely face one or more problems at once. And it is better to know about them "on the shore".
You will need a lot of patience and even more filament in the beginning.
Making gears at home is easy. The main thing is to take into account all the nuances and subtleties of the work in advance, develop an accurate model, and calculate the shrinkage of the material. You also need to be prepared for the appearance of errors or shortcomings. Some of them can be fixed in post-processing. Others - only by the method of complete alteration. But this is a workflow, nothing can be done about it.
- 07 March 2021
- 7788
Get expert advice
STL file Focus gear ring Canon FD 50mm F1.4・3D printing template to download・Cults
VTOL Alpha Wolf V1.0
6.11 €
Sigma 18-35mm F1.8 Focus gear ring
2.42 €
Sigma 50-100mm F1.8 Focus gear ring
2.42 €
Focus gear ring Canon FD 24mm F2.0
2.42 €
C270 webcam with EF mount adapter
3.39 €
Tesla UMC Mount with cable relief
3. 01 €
01 €
Tesla Cybertruck
2.42 €
The best files for 3D printers in the Tools category
Low and High Jar I BM003
Free
Camera speedlight umbrella flash holder
Free
E-Tool (Car Emergency Tool)
Free
TOOTH SUCKER WITH UNIVERSAL ADAPTER
0,58 €
BMW F30 Cup holder
3.90 €
Multi-Color Apex Legends - Heavy Rounds Ammo Box
Free
Modular (Endless) Spool Holder
1,59 €
Decathlon Respirator Mask Adapter - Covid-19 - EASYBREATH
Free
Bestsellers in the Tools category
Ender 3 S1 Air duct for drain fan
1,20 €
ENDER 3 S1/PRO SPRITE, V3 AIR DUCT 5015 OR 4020
€2. -twenty% 2.16€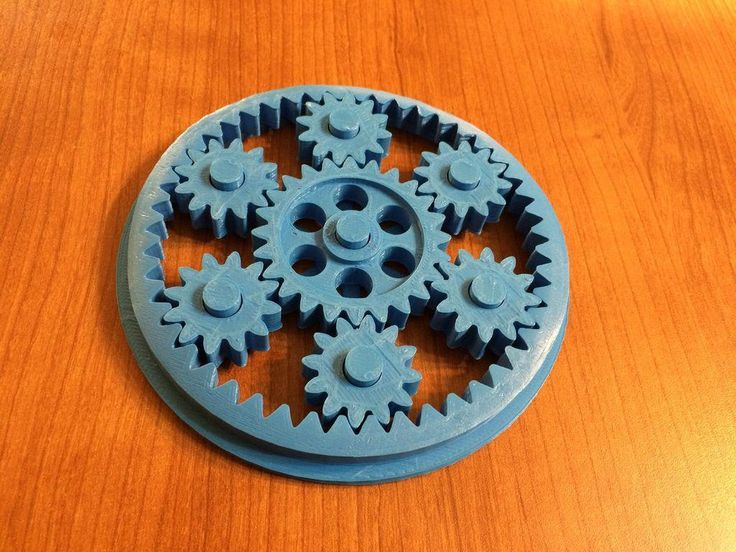 70
70
Ender 3 Briss fang Gen2, red lizard, spider, nf crazy, dragonfly, etc.
€1.80
SUPERBOX
1,50 €
Paint stand with scissors
5,30 €
3D printed wave transmission (harmonic drive)
4.99 €
Spartan pen holder
1,80 €
well designed: Hemera fan duct
2.50 €
Armadillo - flexible wire conduit
€1.72 -thirty% 1.20 €
Bambu AMS Stand for placement raised 2nd block behind
1. 15 €
15 €
PRECISE DIAL INDICATOR 3D PRINT DIY
1,90 €
Bit holder Spartan 4 mm Hex
1,80 €
Case for Chill Buddy lighter
0,95 €
Fast print ink bottle rack (6 sizes)
2.91€ -twenty% 2.33 €
ARTEMIS -> Shop for Alligator 2 || 6.5" arrows || Repeating crossbow
6.25 €
INDICATOR FOR BETTER BED LEVELING FOR ENDER 3 V2
2.87 €
Do you want to support Cults?
Do you like Cults and want to help us continue our journey on our own ? Please note that we are a small team of 3 people, so supporting us in maintaining activities and creating future developments is very easy.