3D print sand
Have you heard about sand 3D printer?
Posted By Kat Plewa on Jul 17, 2019 |
You might be surprised, but sand 3D printers go back to the late ‘90s! Generis and MIT are responsible for this huge development. But how exactly does this technology work? At what stage is it after 20 years of research and improvements? Today, we will focus on the innovations of sand 3D printers! Are you ready?
How does a sand 3D printer work?
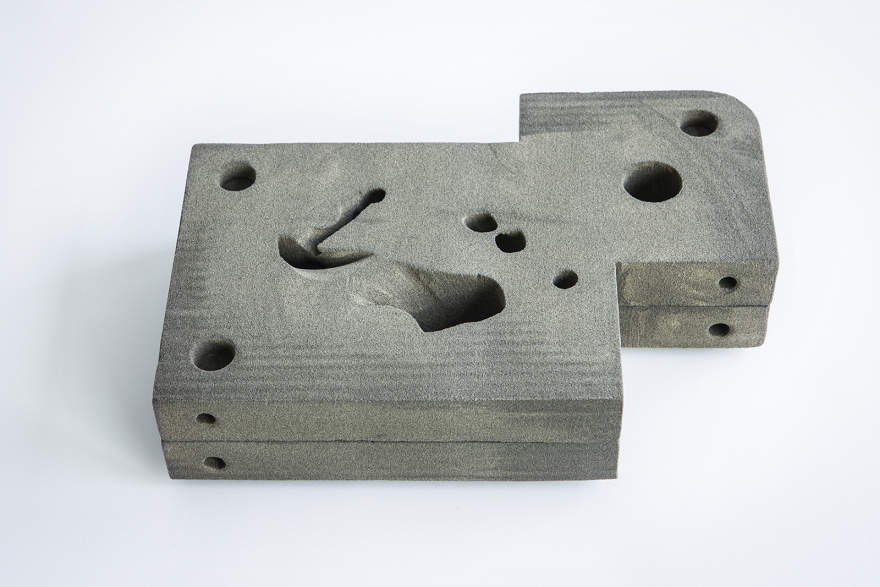
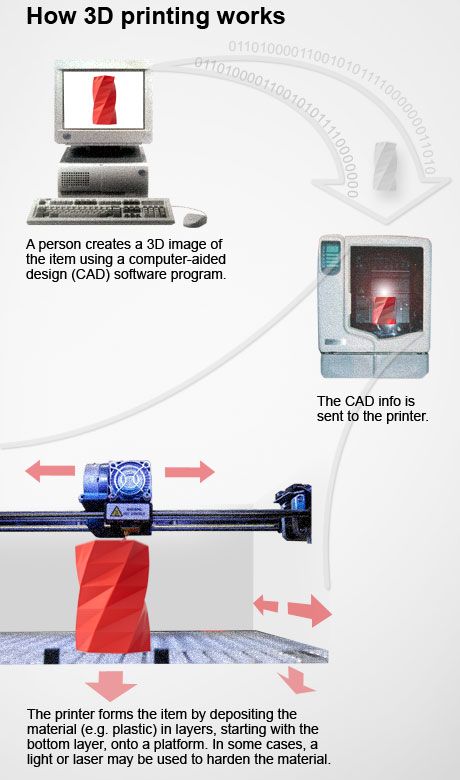
Sand 3D printer, like all other printers, works with layers. It uses sand alike materials such as ceramics, metal particles and also silica sand. The technology used for those machines is called Binder Jetting and is widely used with different materials, for example, Stainless Steel 316.
Binder Jetting printers spread a layer of the material and then bind it with an agent, which solidifies the particles. A layer for sand 3D printer is 140-200 micrometers. When it comes to sand 3D printers, they do not require heat to produce parts. This is very important as it enables high volume 3D models to be manufactured.
There is no additional support needed for your parts to be 3D printed with a sand printer, which is a great advantage. Once your object is created layer by layer, the material surrounding it, not affected by the agent, is removed. Post-processing options are also available, for instance, binder removal, additional cleaning or impregnating for better strength properties.
Sand 3D printers are already commercially available and they can reach some pretty impressive values! In terms of the build volume, the pars can be up to 4 x 2 x 1 m, and at the same time have a really thin layer thickness (0.3 mm) which results in great quality. Another important aspect of any 3D printers is resolution and sand 3D printers keep up with the latest technology innovations, providing you with 600 DPI (dots per inch).
Why is the development of 3D sand printing important?
https://3dprintingindustry.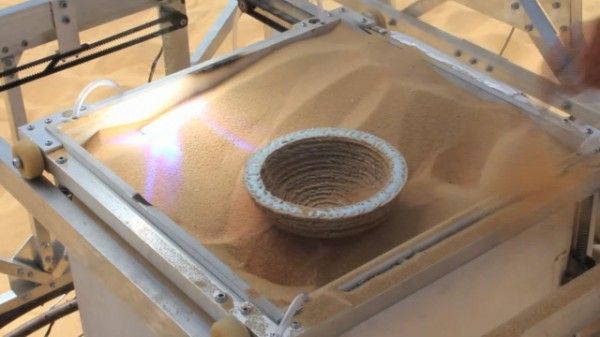 com/news/voxeljet-phenolic-direct-binding-sand-printing-ceramic-37109/
The main benefits of sand 3D printing are a large volume and small material waste. Leftover material which is not bound can easily be reused. The downside is that the parts are not very strong compared to metal 3D printing for example. However, sand 3D printer doesn’t need additional support and those advantages might be crucial for one industry.
The casting processes are an old and commonly used method to produce parts in various industries. From automotive to aerospace, casting has been improving the production process for ages. It is not the easiest manufacturing method though. The master model around which the mold is created has to be absolutely perfect. Also, the material used for the master model is important, wax can be easily pushed out by metal, but wood or clay models have to be removed before casting processes.
Another problem during conventional production is that craftsmen preparing the master model need to consider and predict a lot of conditions that the model will be exposed to, such as shrinkage, solidifying in the model, flow, or reactions with metal.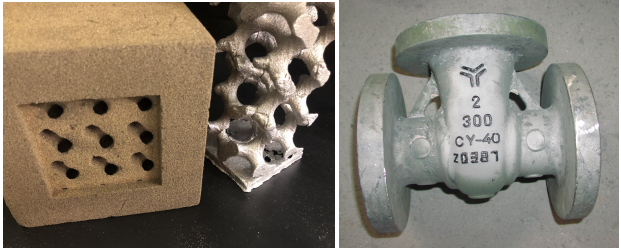 Learn more about Metal Casting vs Metal 3D printing.
Sand 3D printers can be just the perfect solution for that. They can revolutionize the casting industry actually. How? Thanks to sand 3D printers we might not need master models anymore! We could 3D print models straight away instead of creating them around master models.
With the possibility for such large build volume and the capability to produce complex shapes without supports, Additive Manufacturing opens totally new possibilities for the casting processes. Not only that, but it also allows the engineers to quickly redesign the molds, if necessary. All they have to do is edit the 3D model and send it for printing again to produce a new 3D printed sand molds. Sounds impossible?
Not at all! 3D printing can change the face of every manufacturing process. In fact, it is already doing so. Next is your production. It is as easy as uploading your file to our online 3D printing service and getting your fully functional parts delivered straight to your door!
Stay up to date with the latest 3D printing news by subscribing to our Newsletter and following us on Facebook!
3D Print with Sand: No 3D Printer Required!
Summary
20-30 minutes
Up to 1 day
3D printing
Ben Finio, PhD, Science Buddies
Introduction
Don't have your own 3D printer? No problem! In this fun activity you will make your own colorful 3D prints using craft sand and glue.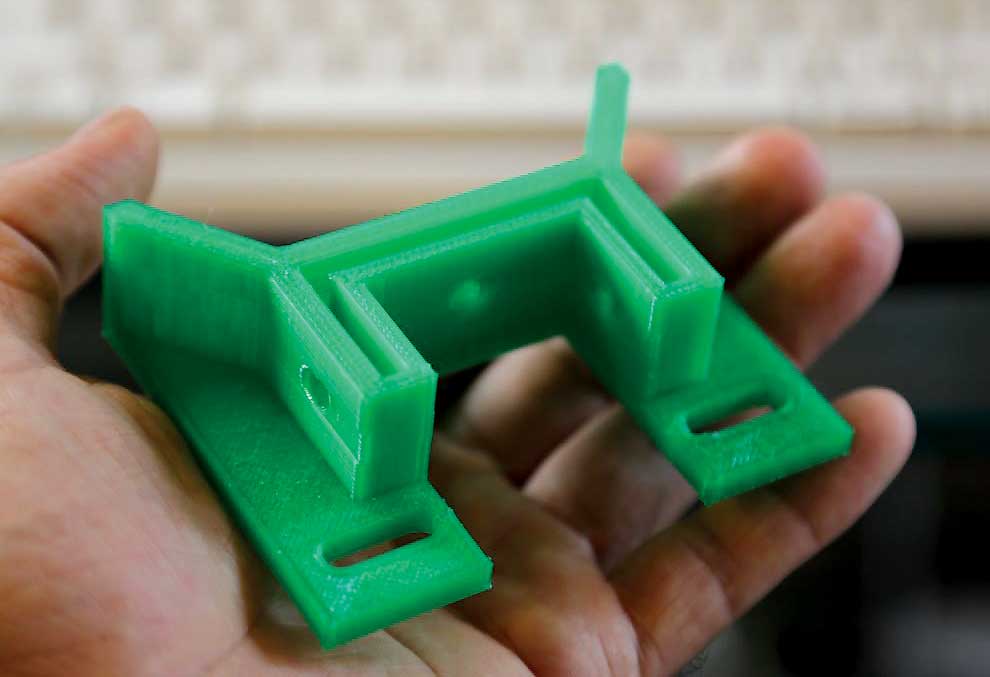 No 3D printer required!
This activity is not recommended for use as a science fair project. Good science fair projects have a stronger focus on controlling variables, taking accurate measurements, and analyzing data. To find a science fair project that is just right for you, browse our library of over 1,200 Science Fair Project Ideas or use the Topic Selection Wizard to get a personalized project recommendation.
Materials
- Colored craft sand
- White school glue
- Clear plastic cup or food storage container
- Measuring spoons
Prep Work
Work in an area where it will be easy to clean up any spilled sand.
Instructions
-
Scoop a thick, even layer (about 5 mm deep) of sand into the bottom of the cup.
-
Use glue to trace a shape in the sand.
-
Cover the glue with a thin, even layer of sand. Make sure you can still see the glue shape—do not cover it completely.
-
Add another layer of glue—in the same shape—on top of the first layer, then cover it with another thin layer of sand.
 Repeat this process until your shape reaches its desired height.
 -
Cover the final layer of glue with a thick layer of sand, so you can no longer see any of the glue shape.
-
Wait 24–48 hours and check if your shape has hardened by poking it gently with your finger. If it still feels squishy, you need to wait longer. It will break if you try to remove it before the glue is completely dry.
-
Pour the cup of sand back into the bag so your shape falls out. Pick your shape up and remove it from the bag.

What other shapes can you make? Can you make taller shapes with many layers? Try adding more layers to only certain parts of your shape.
Cleanup
Wipe up any spilled sand and pour it back into the bag of sand or into the trash. Important: Do not pour any excess sand down the drain, as this can damage or clog pipes.
What Happened?
You should find that your layers of sand and glue bind together to form a three-dimensional shape. The shape should be sturdy enough that you can pick it up without breaking it. If you try to remove the shape from the cup too early, before the glue is completely dry, it will crumble and break. Read the Digging Deeper section to learn more about how this activity is similar to a real-life 3D printing technology.
Digging Deeper
3D printing is a type of "additive manufacturing": A way to build parts by adding new material, one layer at a time. This is different from subtractive manufacturing, where you start out with a solid block of material (like metal or wood) and cut or carve material away.
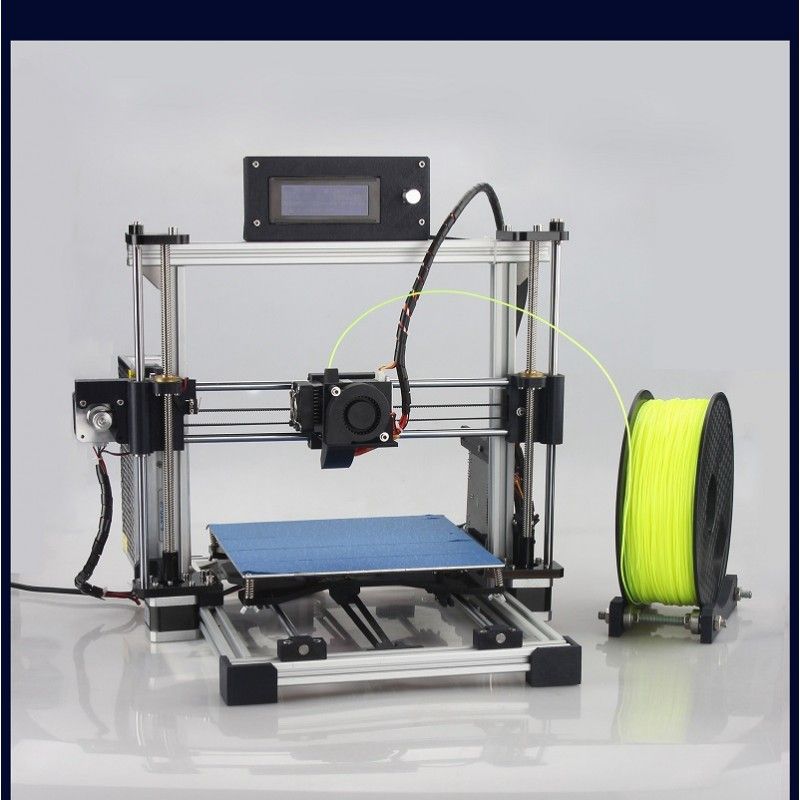
There are many different types of 3D printers. The most common "consumer" 3D printers use fused deposition modeling (FDM). They push a spool of plastic through a hot nozzle that briefly melts the plastic, then the plastic quickly cools and solidifies again. This process is repeated in layers to build a 3D part (think of it like squeezing frosting onto a cake, one layer at a time). Other 3D printers use stereolithography (SLA). They start out with a vat of liquid. The liquid is solidified by a laser, one layer at a time, and at the end of the process, all the excess liquid is drained away.
Some 3D printers start with a bed of loose powder, or granular material (like sand!). The bits of powder can be fused together with heat from a laser. This is called selective laser sintering (SLS). Depending on the type of powder, the bits of powder can also be bound together by applying a liquid, or binder.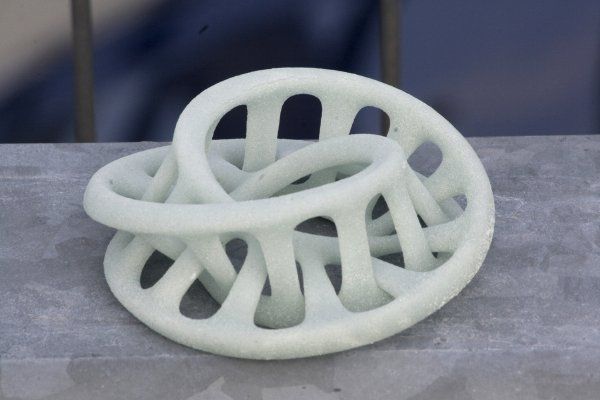 This process is called binder jetting. Either way, at the end of the process, the excess powder is dumped off and you are left with a 3D part.
The process you followed in this activity is most similar to binder jetting. You laid down layers of powder (sand) one at a time, and selectively applied glue to certain areas in order to solidify the sand and bind the grains together (however, the glue did not soak into the sand as much as the liquid binder would for a real 3D printer). You waited for the glue to dry, then shook off the excess sand at the end of the process, leaving you with a solid three-dimensional part made from sand and glue.
Ask an Expert
Curious about the science? Post your question for our scientists.
Post a Question
For Further Exploration
- Can you make a multi-colored print using different colors of sand?
- Try making more-complex shapes with variable cross-sections or hollow areas (for example, an arch, a wireframe cube, or a spiral).

Project Ideas
Activities
90,000 casting sand for 3D printingSupplier of 3D equipment since 2010
+7 495 646-15-33
3D scanners 3d-printer-printer-programmic service » in 3D printing combines a group of sand powder materials. The main purpose is the direct printing of molds for casting metal products. The main manufacturer of 3D machines for making such forms is the German concern ExOne
- Features of sand forms
- Materials
- Technology
- Select 3D printer
- Features of sand forms
- Materials
- Select 3D printer
Features of 3D printed sand molds
- Accuracy to 100 microns
- Layer thickness: 0.
 28-0.5 mm
 - Can be used without post-processing (e.g. baking)
- Finished mold size: up to 2.2 m
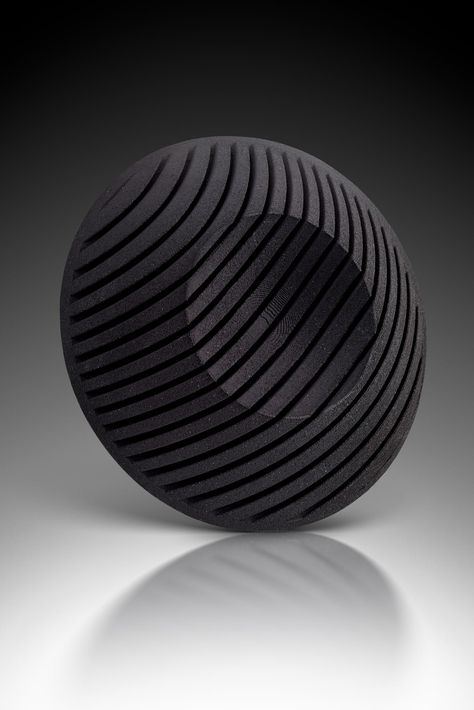
Usually sand-polymer molds are used in foundry production in mechanical engineering and industry. However, cases of their effective application in architecture, design and other fields are known.
Features of 3D printed sand molds
- Accuracy to 100 microns
- Layer thickness: 0.28-0.5 mm
- Can be used without post-processing (e.g. baking)
- Finished mold size: up to 2.2 m
Types of sand materials
- Silica sand (Silica sand) is the most common material for creating sand-polymer casting molds. It is used to solve a wide range of foundry tasks in different areas. When used in conjunction with a furan resin binder, the quartz sand mold does not need to be baked and is ready for pouring immediately after cleaning.
 nine0016
 - Ceramic sand (CeraBeds) is a sand material made from spherical synthetic granules. Provides minimal thermal expansion, high refractoriness, minimal sticking and porosity on castings. Compatible with all binders. Recommended for casting steels and their alloys.
- Chrome sand (Chromite) - consists of chromium and iron oxides. Recommended for casting steels and cast iron. High thermal conductivity and low coefficient of thermal expansion provide excellent shape stability. It can be mixed with quartz sand, allowing you to get products with the highest quality surfaces. nine0016
- Zircon Sand (Zircon) - used in the foundry process when you need to increase productivity. Melting point 2500°C, Mohs density 7.5, high coefficient of thermal expansion. Mixes with quartz sand for better heat dissipation.
- Iron Oxide - additive to prevent the formation of voids and unevenness.
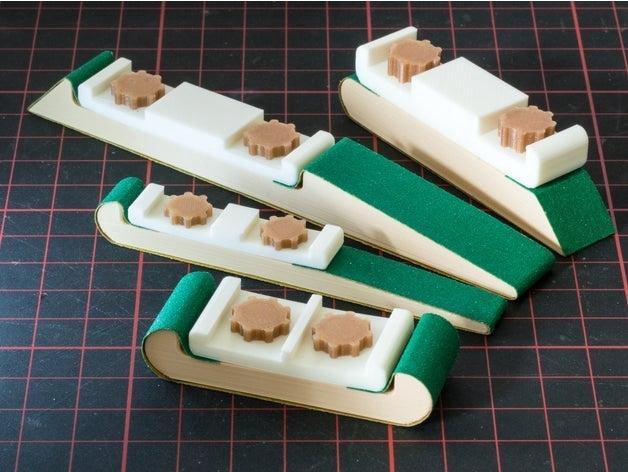 It is used to prevent mold defects.
Types of sand materials
- Silica sand is the most common material for creating sand-polymer casting molds. It is used to solve a wide range of foundry tasks in different areas. When used in conjunction with a furan resin binder, the quartz sand mold does not need to be baked and is ready for pouring immediately after cleaning.
- Ceramic sand (CeraBeds) is a sand material made from spherical synthetic granules. Provides minimal thermal expansion, high refractoriness, minimal sticking and porosity on castings. Compatible with all binders. Recommended for casting steels and their alloys. nine0016
- Chrome sand (Chromite) - consists of chromium and iron oxides. Recommended for casting steels and cast iron. High thermal conductivity and low coefficient of thermal expansion provide excellent shape stability. It can be mixed with quartz sand, allowing you to get products with the highest quality surfaces.
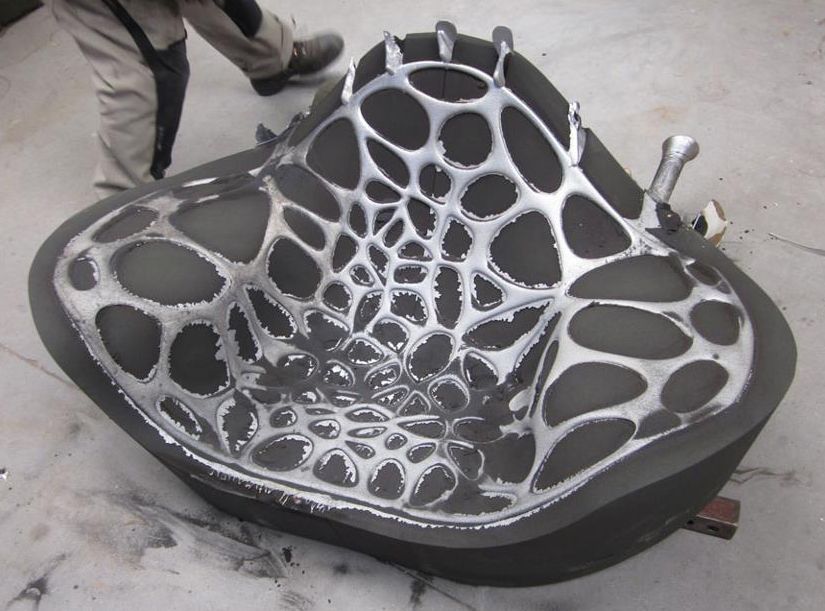
- Zircon Sand (Zircon) - used in the foundry process when you need to increase productivity. Melting point 2500°C, Mohs density 7.5, high coefficient of thermal expansion. Mixes with quartz sand for better heat dissipation. nine0016
- Iron Oxide - additive to prevent the formation of voids and unevenness. It is used to prevent mold defects.
Resin Sand Mold 3D Printing Technology
Sand Mold 3D printers work with ExOne Binder Jetting technology. This is a common additive manufacturing method adapted for industrial applications using foundry sand.
3D resin sand mold printing technology
Sand 3D printing is an innovative technique for creating sand molds. Silica Sand silicate powder is obtained from quartz crystals and is suitable for creating a wide range of objects. Finished products are durable and wear-resistant, immediately ready for further use.
Material and Application Features
Sand 3D printers use Binder Jetting technology adapted for industrial applications.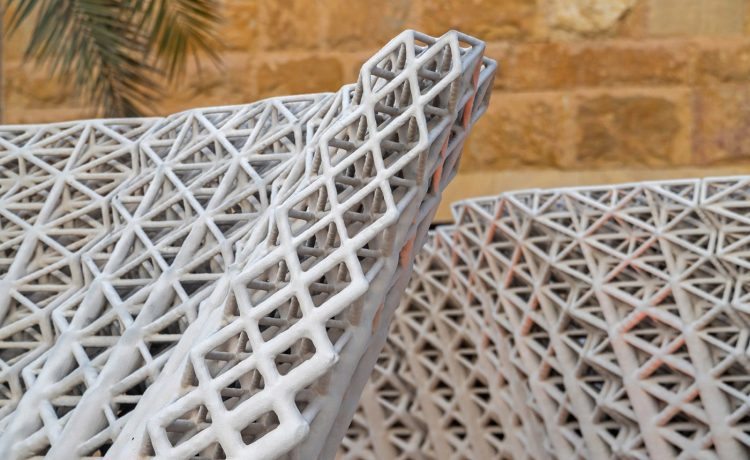 Most often, casting molds are printed from the sand mixture for the subsequent manufacture of parts from various metal alloys. This technology is used to produce sand-polymer matrices, internal rods for use in machine and shipbuilding. nine0003
Also, 3D printers working with sand are used to make large architectural and building compositions, art objects, scenery for performances, models for films and commercials. Large-scale structures and designer items are usually impregnated with epoxy resins, polished and painted in the desired color.
Technology description
For the implementation of 3D printing with sand, a layer-by-layer curing of the Binder Jetting material has been developed. Its essence lies in the following: the powder of the smallest fraction is applied layer by layer, and the print head impregnates the raw material with a binder resin. The sand contains an activator, which, under the influence of a binder, strengthens each layer.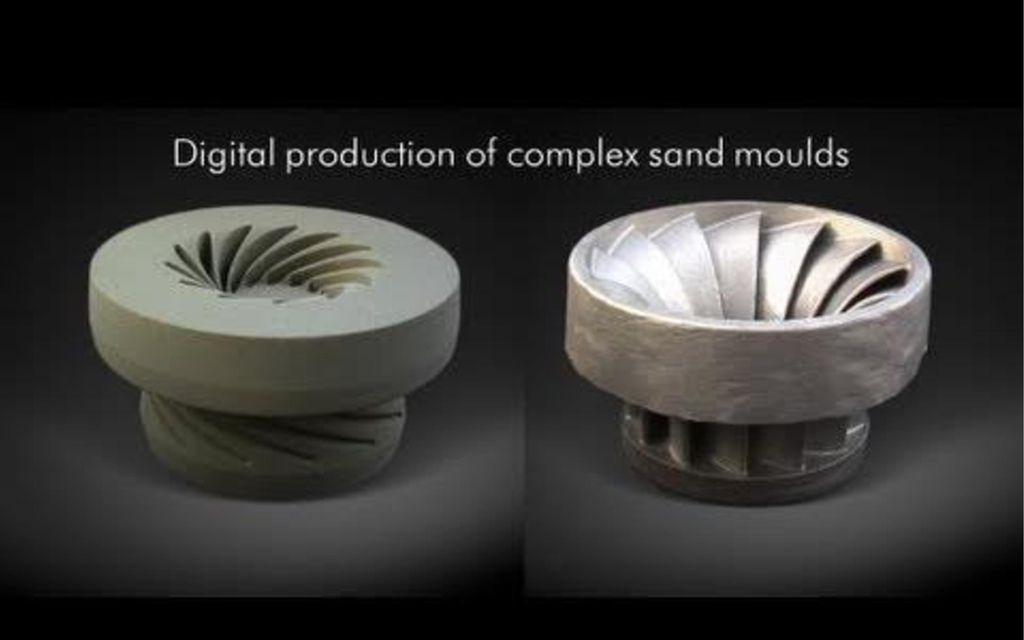 This is repeated layer by layer until the print is complete. nine0003
When the layer-by-layer construction of the product is completed, the printed object is transferred to a special surface, where powder residues are removed by industrial vacuum cleaners. Immediately after production, the objects are greenish, but after exposure to the open air, they turn brown.
Materials used
Raw or quartz sand is used as a consumable raw material for 3D printing. The material has a list of advantages: nine0003
- allows you to create a durable product with a flexible design with a thickness of 0.3 mm;
- provides the ability to implement large-sized layouts up to 2 meters high;
- in combination with furan resin does not require pre-baking;
- provides high accuracy of model building.
3D sand printing of molds for subsequent metal casting can significantly reduce production time, require fewer resources and save space, since there is no need to store molds.