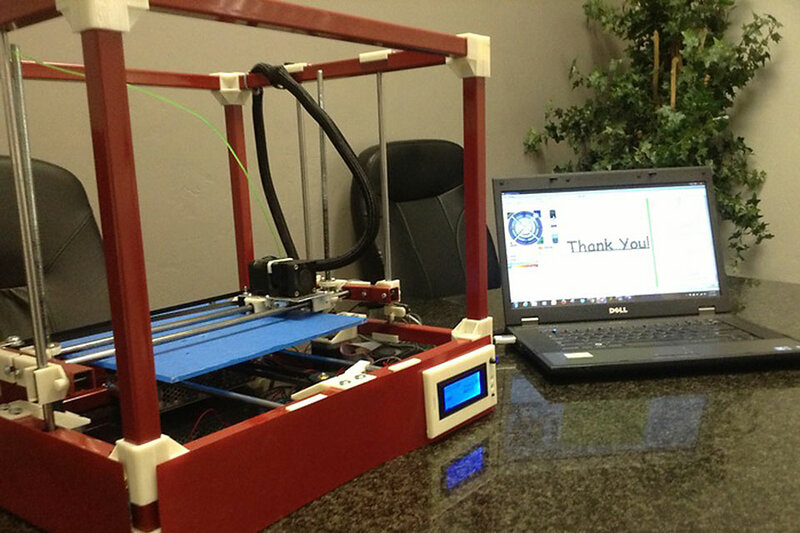
Qidi technology x one 3d printer
QIDI TECHNOLOGY X-one 3D Printer Review
QIDI TECHNOLOGY X-one 3D Printer Review
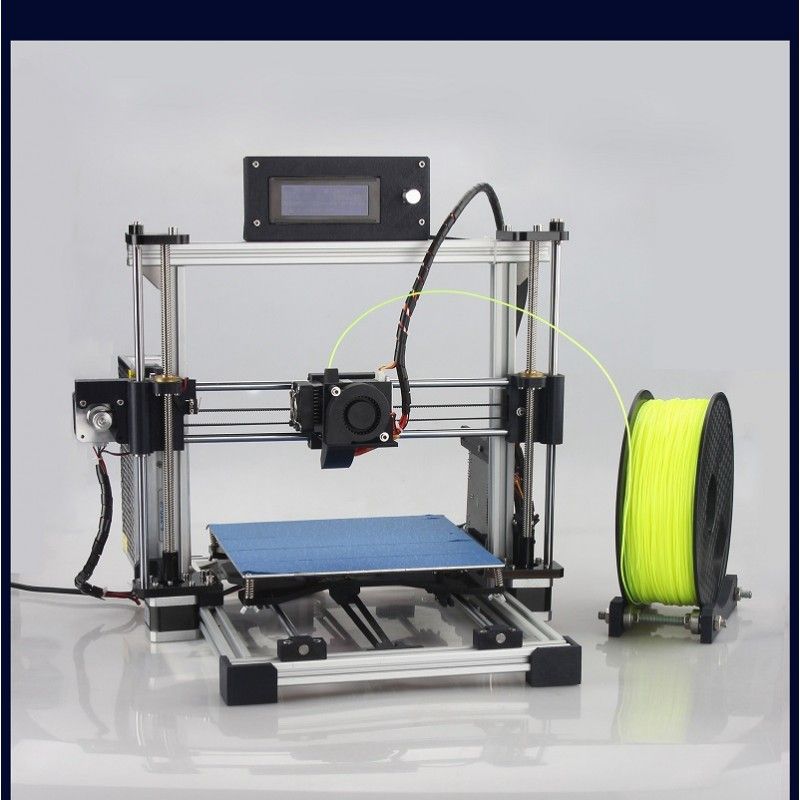
Built on MakerBot’s previous generation open source hardware design, the QIDI Tech X-one 3D printer technology is adapted by Chinese company Ruian QIDI Technology Co., Ltd. The X-one’s simple and colorful design shows QIDI’s aim to produce an easy-to-use mainstream 3D printer. QIDI Tech is previously known for it’s highly rated 3DP-QDA16-01 Dual Extruder Desktop 3D Printer.
QIDI’s website mentions that they have worked with a Chinese university to aid in their take on the MakerBot. They have also paid particular attention to other mainstream printers in order to create a beginner’s 3D printer. While many people were initially introduced to 3D printing as an expensive hobby that required a lot of setup and troubleshooting, QIDI is among a number of companies attempting to make 3D printing more accessible.
X-one 3D Printer Overview
Besides its bright blue CNC cut body, the first thing you will notice about the QIDI X-one is its price. The $499.99 MSRP (currently even cheaper here on Amazon at the time of posting this review) is a far cry from similarly designed printers in years past. It is still a meaningful amount of money to invest into a new hobby, but at just under five hundred dollars, it is just about as affordable as it gets.
At this price, the QIDI X-one 3D printer could certainly find its way into classrooms, workshops, art spaces and more. The X-one may not be the most advanced printer on the market, but it does not need to be. Here, QIDI is offering a sturdy, reasonable entry into the world of 3D printing.
Manufacturer Specs| Print Technology | FDM (Fused Deposition Modeling) | ||
|---|---|---|---|
| Building Size | 140 x 140 x 140 mm | ||
| Layer Thickness | 100 ~ 500 microns | ||
| Weight | 19 kg (42 lbs) | ||
| Printing Material | PLA, ABS, PVA, TPU | ||
| Heated Bed | ✓ (110 Celsius) | ||
| Connectivity | USB Flash Drive or SD | ||
| User Interface | 3. 5” color touch screen 5” color touch screen | ||
| Nozzle Diameter | 0.4mm | ||
| Voltage | 115V~230V | ||
| Power | 100W | ||
| Printer Machine Size | 380 x 320 x 360 mm |
Software Compatible with the QIDI TECHNOLOGY X-one
QIDI Technology advertises the X-one as compatible with Cura, Simplify3D and their own proprietary QIDI Print. But remember that the X-one is built on open source MakerBot designs, so reports are that it will work with some software designed for earlier MakerBot machines. Your mileage may vary, but either way, there are a number of options available for beginners and those already familiar with 3D printing.
Included in the QIDI Technology X-one Box
The QIDI Technology X-one comes packed in the box with just about everything needed to get started. In addition to the 3D printer itself, you’ll receive the following:
- 1 roll PLA filament (1 kg, color randomized)
- Power Cable
- USB Cable
- SD Card & SD Card Reader
- Scraper
- Toolbox
- Filament guide tube
- QIDI Print software
Regardless of where you order from, it will come as no surprise that QIDI has packed the X-one well, as they are known for their solid packaging.
QIDI Technology Support & Service
While some may be skeptical at first of the support available due to the language barrier apparent on QIDI’s official website and product listings, user reviews tell a different story. The company advertises attentive service from their after-sales service team, and reports of quick and detailed support back that up. The QIDI Technology X-one 3D printer is covered with warranted support via Amazon and their site.
One particularly interesting review states that the user received their X-one “Busted like it fell off a forklift before shipping. BUT SUPPORT IS AMAZING.” QIDI actually took the effort to 3-day ship a replacement from China via DHL. This is just one of a number of stories reported, so there does not seem to be anything to worry about with regards to support.
User Reviews for the QIDI TECHNOLOGY X-one
User reviews for the QIDI TECHNOLOGY X-one 3D printer are generally very favorable. At the time of writing this review, the X-one sits at a 4. 6 out of 5.0 stars with over 170 reviews. Of those reviews, an impressive 85% of purchasers rated the printer a full 5.0 out of 5.0 stars, with very few ratings below 4.0 stars.
The overwhelming consensus among positive reviews is that the QIDI X-one is a reliable introduction for newcomers to 3D printing. The low cost of getting into the hobby is a common praise, with one verified purchaser going so far as to call it the “best value in a 3D printer yet.”
Another common reason for picking up the QIDI Technology X-one is as a second printer in addition to an existing 3D printer you may have. While the X-one may not be the a high-end, high-resolution printer, its sturdy build and simple design based on MakerBot technology means it will be an easy addition for those looking to expand their print capabilities.
What Ruian QIDI Tech has done best, and most importantly, with the X-one is make small improvements on well-known technology to help more newcomers start printing. It’s difficult to go wrong with a time-tested design based on open source technology at a price significantly lower than previously expected.
Product Specifications
| Part Number | QDTHXO20160705 |
|---|---|
| Number of Items | 1 |
| UPC | 603097793291 |
| Brand Name | Qidi Technology |
| EAN | 0603097793291 |
| Is Recalled? | false |
|---|---|
| Item Weight | 41.888 pounds |
| Model Number | QDXO2016-07 |
| UNSPSC Code | 23261507 |
This QIDI TECHNOLOGY X-one 3d printer review relies heavily on specs and data from over 170 purchasers or reviewers on Amazon. Be sure to check the latest reviews and current price on Amazon for the latest information to determine if this is the right 3d printer for you.
Have you used the QIDI TECHNOLOGY X-one 3D Printer? Please comment and let the community know your thoughts, rating, or review.
Wondering how you might put your new 3D printer to use? Check out these five unique 3D printing projects that will challenge you to think creatively.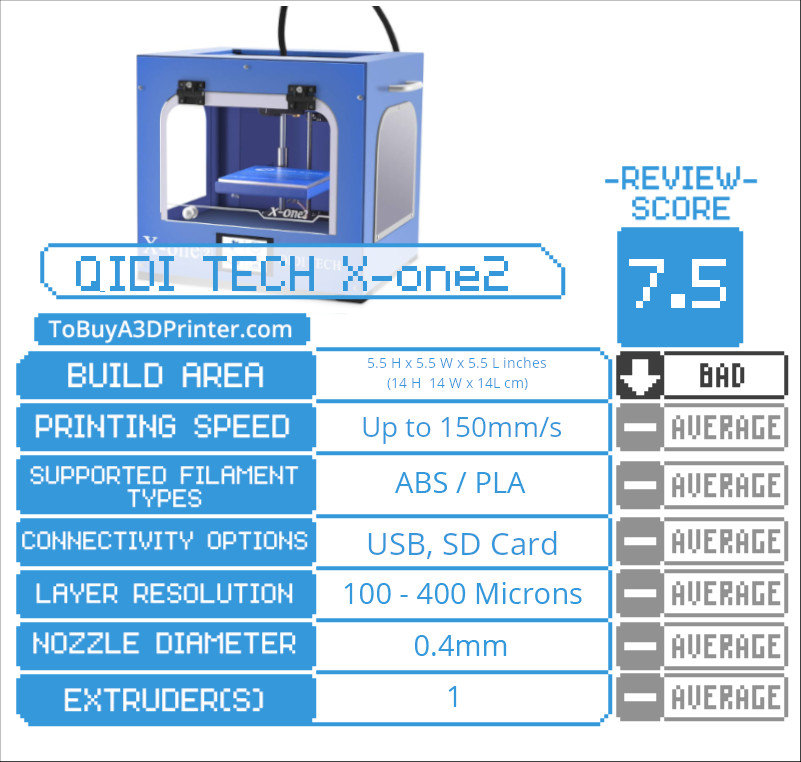
QIDI Tech 1 3D Printer Review 2022
4.2
See Price
| Printing Area | 230mm x 150mm x 150mm |
| Layer Resolution | 100 to 300 microns |
| Supported Filament | PLA, ABS, PVA, HIPS |
| Filament Diameter | 1.75mm |
| Extruders | 2 |
| Extruders Diameter | 0.4 mm |
Today, we delve into the inner workings of the understated QIDI Tech 1. Is it another low-quality bust or do we finally have here an economical printer worthy of our time and attention? All will be revealed below.
Table of ContentsShow
Design and Features
Right off the bat, the QIDI Tech 1 stands out for a design that is tastefully stylish. Putting aside the, at times, overly ambitious, Apple-mimicking approach of competitors, QIDI has opted for a look that is functional, clean, and well thought out. It’s a good looking machine, but without frivolities or unnecessary design flourishes.
The construction is anchored by a black-painted full steel frame held down by its total weight of 55.1 lbs. The black color scheme is contoured by sky blue trim on the side-paneling for an understated professional aesthetic. The quality of the hardware is noticeable, and it’s clear QIDI haven’t cut corners and have sourced all parts from quality manufacturers.
The print chamber is fully enclosed with acrylic paneling on the sides, as well as a sizeable removable plastic top cover, all held in place by magnetic contact points. The hinged acrylic front panel opens upwards to allow access to the build plate and does an amazing job of staying upright. Although non-heated, the chamber ensures uniformly distributed heat free of environmental inconsistencies like drafts and the natural shift in ambient temperature.
The printer also comes with a set of sturdy metal handles for easy transportation that won a boatload of points in our book given this feature is nowhere to be seen on the majority of printers. For increased stability, the four corners are bolstered by gripping rubber feet.
The heated plate is made of high-quality CNC-machined aviation grade aluminum for added stability and smooth movement, reaching temperatures of 110 degrees centigrade. Gone are any issues with acrylic or ceramic plates warping under the strain of high temperatures plaguing prior versions of the model.
The QIDI Tech 1 has a classic Cartesian configuration and uses Fused Filament Fabrication extrusion technology. Stepper motors swivel the X, Y, and X axes along vertical and horizontal metal rods using linear motion bearings. The build area totals a reasonable 230mm x 150mm x 150mm, more than enough for most home print projects.
A CNC-machined high precision aluminum dual extruder setup with a Bowden feeder system manages the actual filament dispensing side of things. The nozzle diameter is a pretty run of the mill 0.4 mm that can handle layer resolutions from 100 to 300 microns, depending on print speed. The print heads max out at around 250 centigrade managed by a set of turbofans.
The Tech 1 can print in ABS, PLA, PVA, and HIPS using open source 1.75 mm diameter filament. QIDI offers an array of colors including orange, silver, red, yellow, black, green, gold, gray, blue, purple, white, and so on in 1kg spools, but filament from a third-party distributor works equally well.
In another enhancement to the previous iteration of the Tech 1, QIDI now ships the model with a new industrial-grade closed-source board designed to reduce signal interference and circuitry static.
The printer is controlled via a fitted LCD screen with a set of five control buttons. The display is functional but adequate for launching prints, bed leveling, and choosing the right filament type for a project. Connectivity is assured through an SD card interface in addition to USB linked up to a computer.
QIDI provides its own proprietary slicing software unsurprisingly called QIDI Print, but the printer itself is compatible with other slicing applications like Ultimaker’s Cura that use the .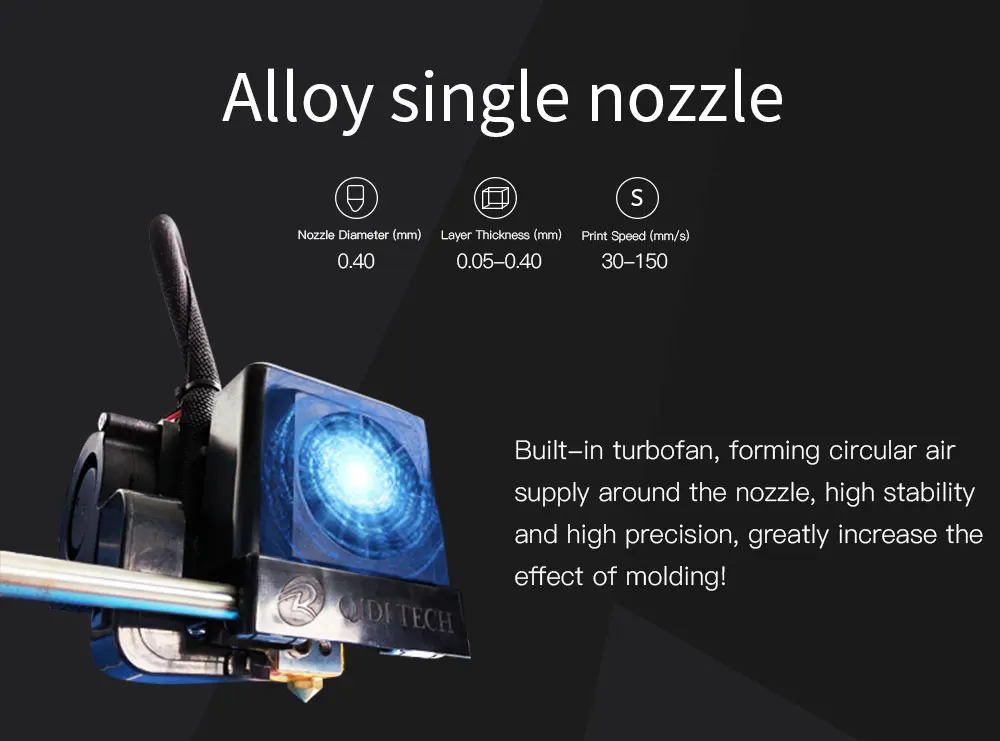 gcode format. QIDI is Windows and Mac compatible.
Assembly
The QIDI Tech 1 arrived well packaged suitably laden in double boxing, styrofoam trays, cable ties, and plastic sheets for the various bits that ship with the printer. The long journey from China unquestionably put the printer through its paces, but overall the foresight taken by QIDI to protect the printer was excellent.
The package includes the QIDI Tech 1, a quick start guide, a bed for PLA printing, a leveling paper, official documentation, user manual, one spool of ABS, one spool of PLA, spool holders, a roll of blue painter’s tape, a power supply, a scraper, filament tubes, tools, cables, 4GB SD card, acrylic covers, handles, parts box (including fuses), USB cable, USB SD adapter, and glue. QIDI has indeed covered every angle when it comes to accessories throwing in a few extras for good measure.
In terms of assembly, the Tech 1 is by most definitions pre-assembled but does need a bit more time for installation than other models that fall into this category.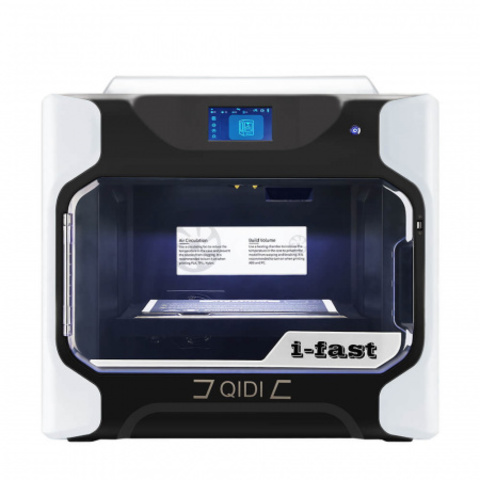
The first step is removing all the protective styrofoam inside the printer, clipping the ties holding the Z-axis from moving around during transit, and removing the top cover from inside the chamber.
Next, we had to install the extruders, a process that turned out to be simpler than expected and only involved sitting the extruder in its bracket then tightening a set of bolts, fitting the cables, and tubing. Moving forward, we secured the baffle to the fans, which once again was easy enough.
The spool holders are installed to the back of the printer by twisting them into the sockets. Their position is a smart design choice as they don’t take up any vertical space and sit comfortably out of the way, yet in proximity to the extruder. We then secured the carry handles and attached the front door via a set of hinges.
Although the instructions weren’t written in the best English, they were clear and concise with helpful color pictures. We had no problems following them.
Once powered up, the Tech 1 walks the user through first time setup, including loading filament assisted by the display, which is as simple as feeding it into the tubing until the extruder gears get hold of it.
Finally, we had to level the bed manually due to the lack of an auto-calibration feature. In most cases, this would be a big negative, but the process is incredibly straightforward. Tighten a set of four bolt knobs using the leveling paper provided.
Printing
For a printer priced around the $600 to $700 mark, the QIDI Tech 1 blew us away with the quality of the prints it produced.
Surfaces are smooth, details rich and visible, and we didn’t face any botched print jobs over a week of use even when using different filament colors through both extruders. Like any entry-level printers, a few imperfections crept up here and there, but nothing that acetone and a bit of post-print editing couldn’t fix.
We did find that the build plate shifted ever so slightly after a few prints and as such had to calibrate it occasionally.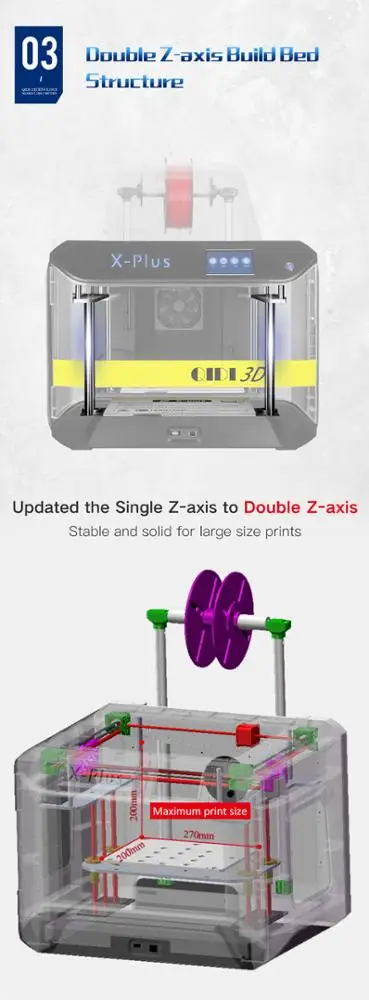 As advised by the instruction manual, we found that PLA prints worked best when the covers were eliminated.
Overall, our experience with the printing process was a genuine joy, and the Tech 1 churned out print after print without any serious problems.
Support
Although the six-month warranty provided by QIDI is on the low side with no scope for buying an extended warranty, the customer service is top tier with an experienced and knowledgeable 24 hours customer support team available through Skype, phone, or email. For added peace of mind, the Tech 1 is CE, FCC, and RoHS-certified.
QIDI are quick to provide support in case of issues and ship out replacement parts incredibly rapidly giving step by step instructions to exchange any hardware components.
Delivery times can vary based on stock levels and the recipient’s location, but overall we received ours within a week of ordering. We have heard stories of Tech 1 being damaged in transit due to the long journey from China, but in every case, QIDI has done its utmost to remedy the situation and provide guided repairs without any hassle.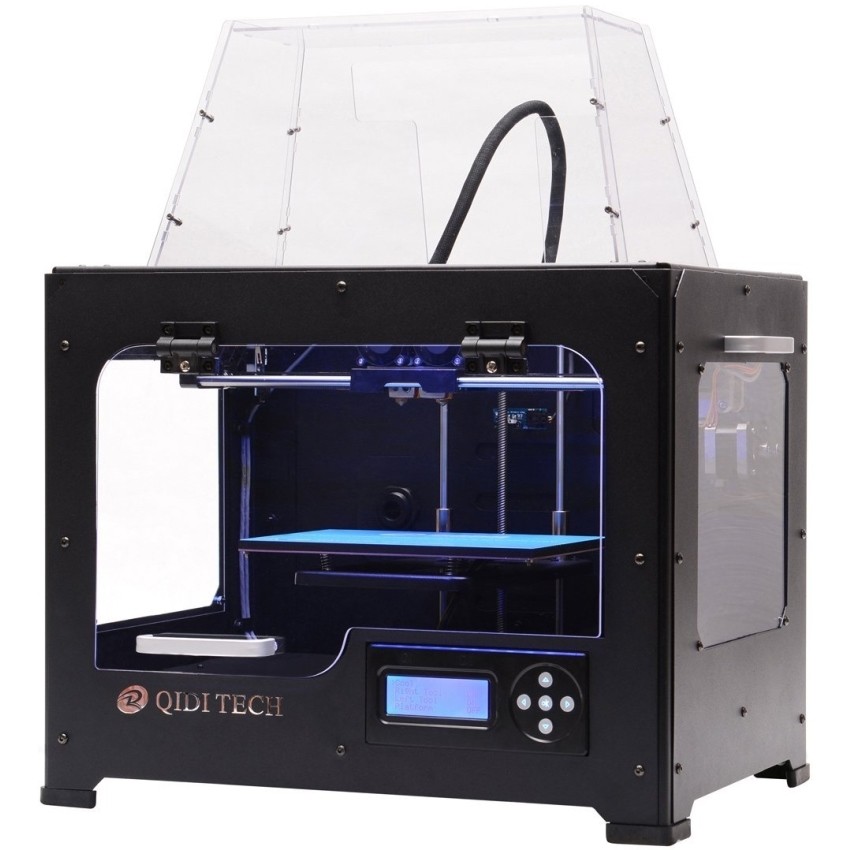
Unlike many 3D printer manufacturers who offer newly branded replacement models instead of perfecting existing models, QIDI systematically works on improving the QIDI Tech 1 and periodically release an updated version, and has been doing this since the printer first launched back in 2012. The price never fluctuates, and QIDI keeps making the printer better.
The most recent iteration came to light in 2017 and is miles away from the wooden frame, absent LCD screen and top cover of the original. By adopting this constant upgrade approach, there’s a sense that QIDI believes in their product and are eager to enhance it based on user feedback.
For a field riddled with opportunist companies eager to get their hands on a slice of the 3D printing pie to the detriment of product quality, it’s comforting to know QIDI values providing builders with the best possible 3D printer they can manufacture.
Unfortunately, we often associate manufactured goods made in China with a complete absence of customer service, but QIDI completely buckles the trend and provides support all companies should strive to provide.
Verdict
We see the QIDI Tech 1 3D printer as an ideal starting point for a budding maker and even a veteran who wants a reliable all-around workhorse. The sheer versatility and robustness of the build cater for all manner of projects. You’d be hard pressed to find such a systematically reliable printer within the same price range.
The assembly is a little more involved than other pre-assembled alternatives, but nothing insurmountable. The only real downside is the position of the SD card slot, which is actually inside the chamber rather than outside. These remain tiny issues rather than balance swinging negatives.
Qidi X-one 2 3D Printer Review.
A little about myself so that fewer questions arise during the review.
I worked for a long time as a tester of software and hardware systems in the field of security systems. So spotting flaws is in my blood. I am neither a professional reviewer nor a blogger. So I ask you to forgive in advance for the clumsy style and some confusion. All of the following is based on personal experience, speculation and assumptions and is purely personal opinion. nine0003
The printer for review was provided by the official representative in the Russian Federation, Lider-3D. This model is the youngest, budget in the line. Please remember this and keep it in mind throughout the review!
Let's get down to the actual review.
The printer is supplied in a cardboard box. Pay no attention to appearance. The box was opened for inspection and repackaged.
There are very comfortable handles.
And believe me, they are needed, the printer is not easy. 15.5 kg. nine0003
With the printer, I was kindly provided with branded plastic for test printing.
The filament is packed in vacuum bags, unfortunately without a zip fastener, with a larger bag of silica gel.
The most popular is PETG.
Well, where without PLA.
Let's proceed to the autopsy.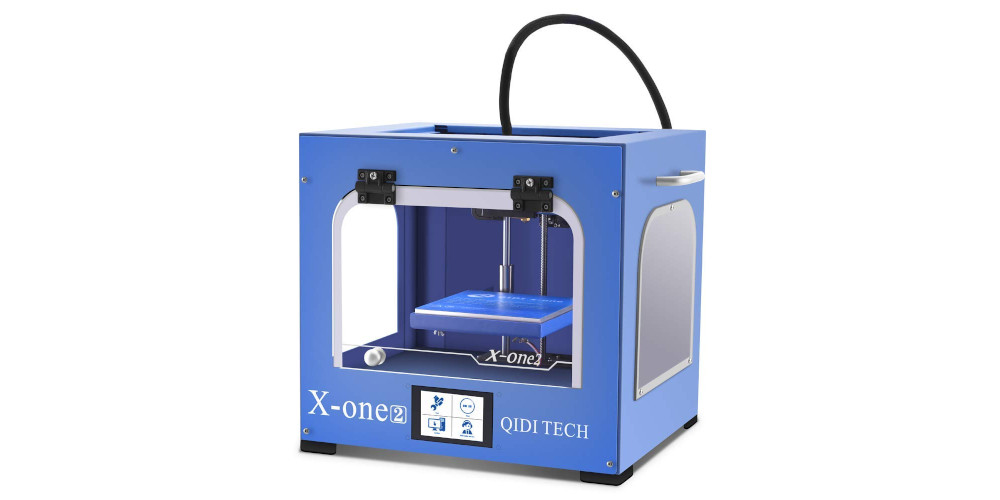
About the configuration a little later.
We remove the foam and here it is, the printer.
Retrievable at the bottom...
In general, thoughtful packaging.
I remind you that I'm not a reviewer or a blogger, so I don't have a studio or even a special desk. Therefore, we put the handsome man simply on the table.
Let's look at the printer from different angles.
Heavy iron body. Comfortable handles above the window. The printer can be carried around the room, but it is not light. By the way, you carry the printer by the same handles when it is in the box. So that during transportation, the bottom of the box will not come off and the printer will not fall! nine0003
We continue the inspection.
Top view. Shipping clips are visible. They hold the belts and prevent the mechanisms from moving during transport. As they say, everything ingenious is simple.
Mechanical limit switches everywhere.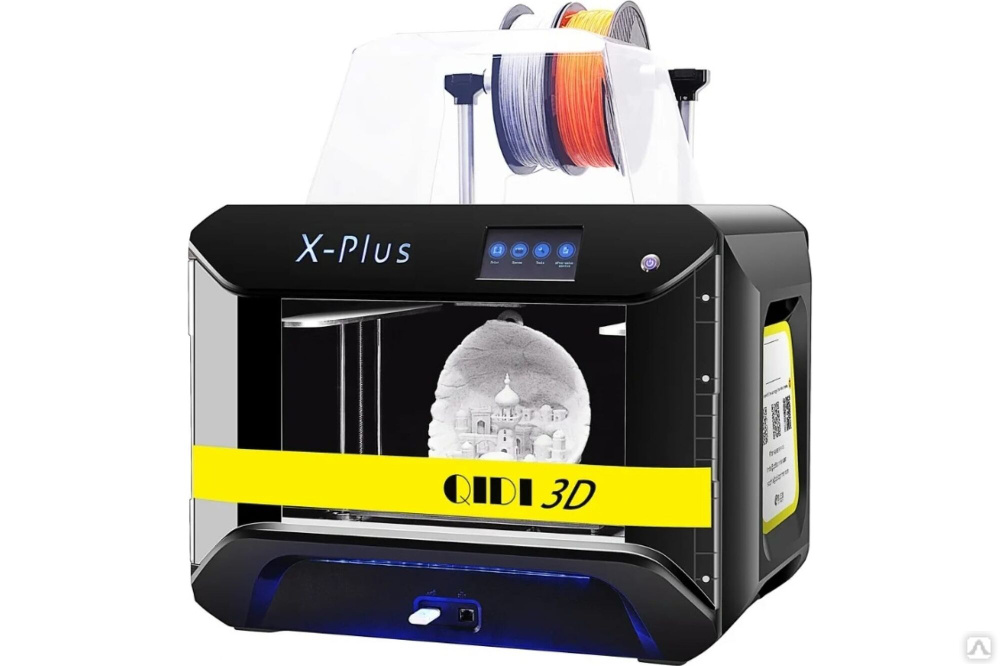
Plastic front panel and door. Plastic, match the metal, thick.
There are tensioners on the belts.
This is so that you do not forget that you have a younger, simple model. nine0003
On the right side USB, SD card and instructions on how to install the card. Fool-proof, that's good. Even if you can't read, it's hard to make a mistake.
By the way, the memory card is not some kind of non-name, but Sandisk is already 8 gigs. There is a manual on the map, a bunch of video instructions, slicer distributions (about it later) and examples for printing.
Nothing interesting on the left side. Don't stick your fingers into the outlet.
Let's go from the rear.
Connector for power cable with fuse. The cable is about one and a half meters long. And here is the first remark - when you turn on / off the printer, you stick your hand into the wire, and the button is behind it.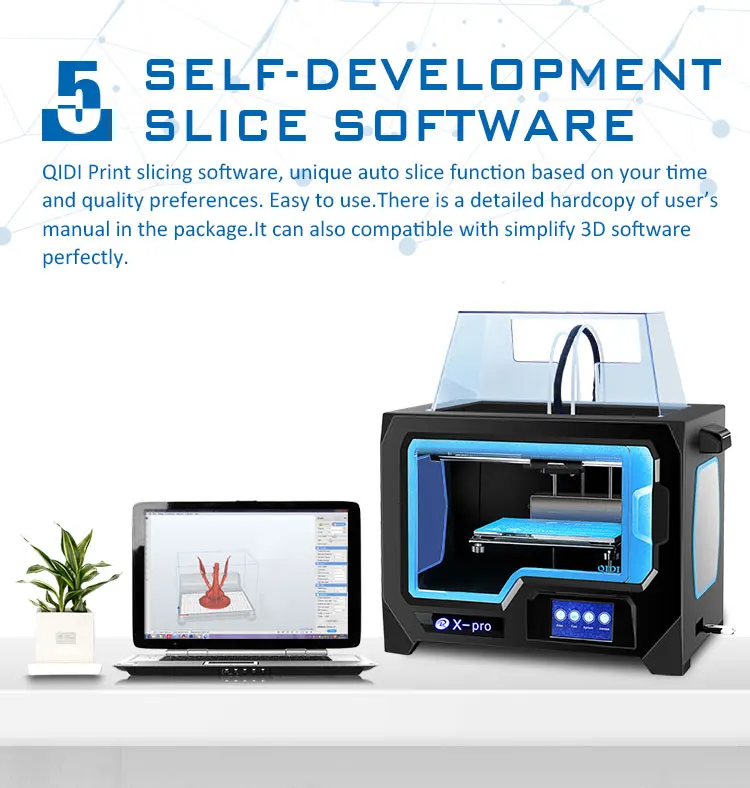 Not very comfortable. It is necessary either to turn this block over or install a block with a mirror arrangement of elements.
Raise the table, remove the transport pad, and there...
Caring for the customer. Everything you need is already included.
Spool holder. He also has questions.
Screwed into the rear wall.
Insert the holder into the spool.
And we screw this whole structure into the body. Not the most convenient way. On the other hand, we do not change the coil so often.
Pressing tool required for half spools.
But you can no longer use the coil from Fdplast with a standard holder. You can, of course, screw in a bolt of the desired length, and even print a sleeve on it. In general, we will write this down as conditional minuses. nine0003
There will be no problems with the Bestfilament coil.
Left plastic for calibration with instructions.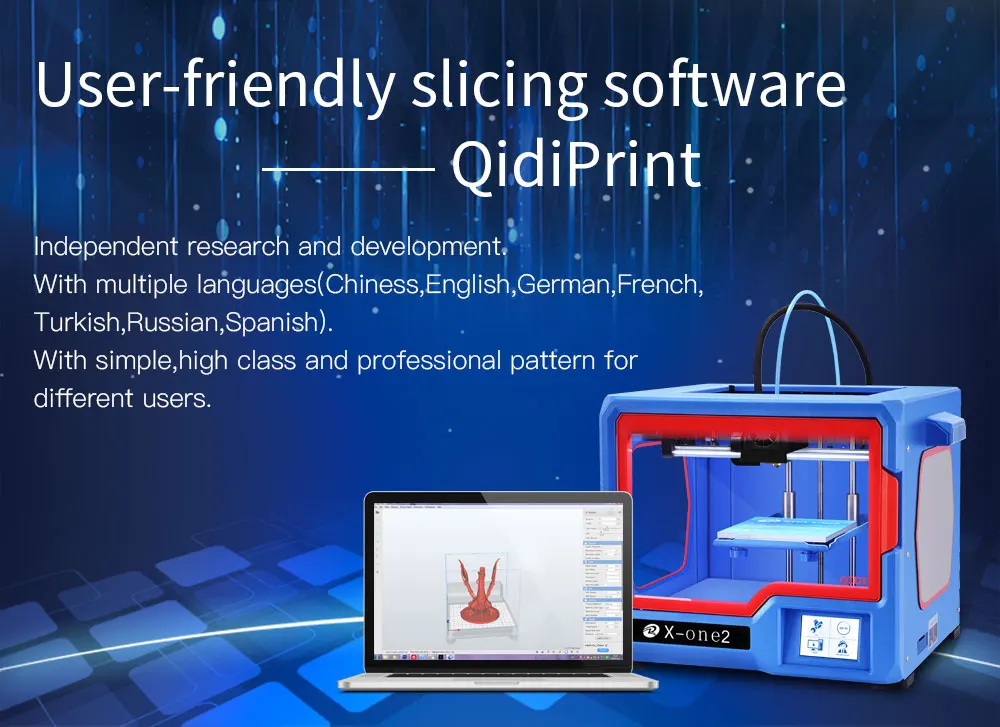 Again, customer care. No need to look for a piece of paper of unknown thickness. On the right is the instruction in English. Thick paper, color printing. In electronic form, it is present on the SD card.
Spare nozzle. And then we have an extruder - direct!
Tools and spare parts. The tool and box are not disposable. Everything is rich and expensive! The tool was not useful from the word at all. nine0003
Space maps filled into tablets. I mean, the filament is tucked into the hotend. I did not film this process, there is a very detailed video instruction on the flash drive. I will post the contents of the flash drive on Yandex disk.
First use.
I almost forgot. Installed side windows. They sit in vyshtampovki and hold on magnets. The body is steel.
LCD color touchscreen welcome window.
Inside System we see such a set. Language English or Chinese. Screen sensor calibration. Reset to factory settings. Return to the previous screen.
Info
About. The sound can be turned off. The squeaker is loud. Firmware version and interface color. While there is only one color, apparently the choice will be in the next firmware, by the way the button is clickable.
Inside Tool. The purpose of the Stop and Back buttons is already clear.
Manual. Everything is like everyone else. When you need to steer the handles. nine0003
Icon with a thermometer. Current and desired temperature. Everything is intuitive.
Filament. To change the filament. Arrows with direction. Nozzle temperature current/set. When you press the arrow, the motor will spin until you press the stop button.
Anchor button. Table setting. We have already seen this instruction on the calibration plastic. We press the button on the left and the nozzle goes to the left point. By the way krutilok 3, not 4 as we are used to.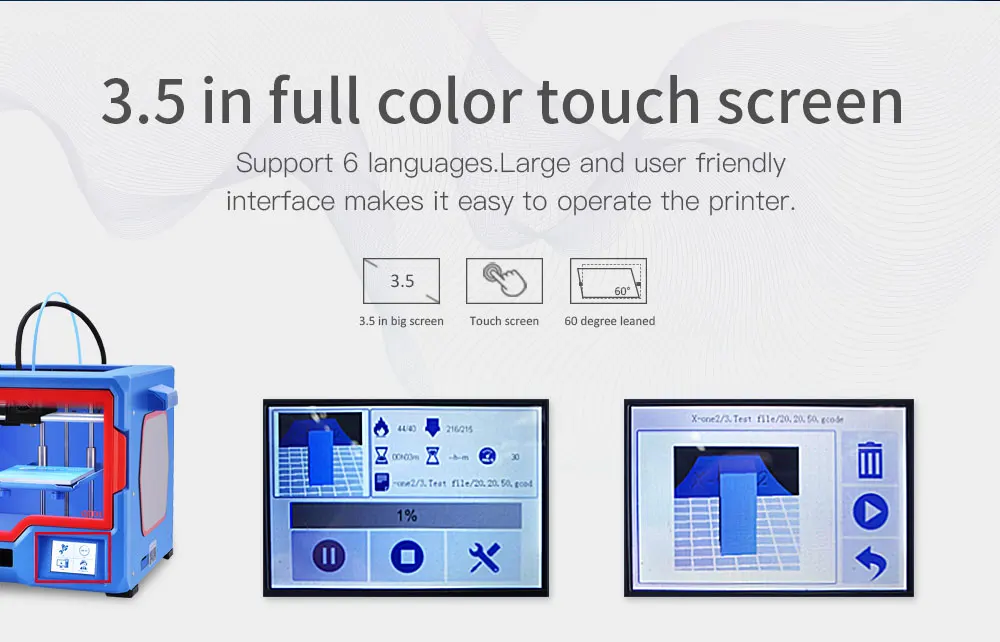 2 in the front and 1 in the back in the middle. Triangulation. In general, the calibration of the table did not cause problems. Moreover, when moving to the next calibration point, the table goes down. Again care and protection from the fool. With this approach, it is impossible to plow the table with a nozzle during calibration. nine0003
Well, the last button on the start screen. A trifle, but nice.
The top right button on the start screen is GO. The structure of files and folders on the memory card. The last run file is highlighted in red. Moving is possible throughout the map, in all folders and subfolders. Therefore, you can structure the storage of models on the map.
When selecting files, we see the full path, model. We can delete, start printing and go back. For display. This is essentially a screenshot from a slicer. Moreover, the screenshot is at the moment of saving the file. This means the picture depends on the position of the model on the screen and the display mode. nine0003
A little inside. The guide shafts are fixed in plastic parts. Looking ahead, I will say that this does not affect the quality of the print in any way.
Bottom table. Such a massive piece of iron. I forgot to say, the printer has a backlight. On as long as the printer is turned on.
Smooth transition to printing. Naturally calibrated cube. I saved the file in layer view mode, so the cube looks translucent on the preview. In principle, all the necessary information is on the screen. nine0003
At the start of printing presses the strip from left to right and back and continues it to the skirt.
This is what it looks like after printing. At the same time, the printer beeps. Not always.
After printing, the table goes down and the head goes to the left and forward.
To the question of adhesion to the table. The table is rough. You remember that the glue stick was included. I thought it was needed with insufficient adhesion.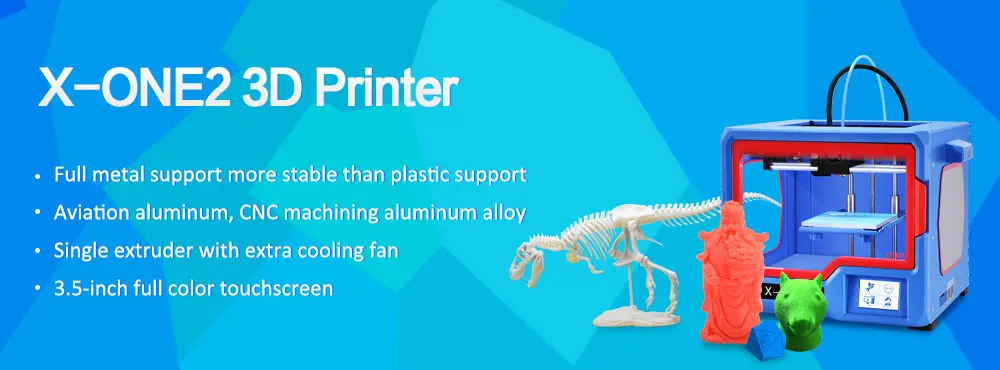 It turned out the opposite. The first seal was right on the table. Adhesion is such that I broke the cube by tearing it off. But we can look at the inside. nine0003
Well, where without Benci? The screenshot is beautiful!
This is what we see when we press the right button while printing.
But after the return, the screenshot is lost. An icon of an unknown format is displayed. Representatives informed. I hope they fix it in new firmware.
Now let's look at the print quality. Top cover of the cube.
Steps, caking of layers, walls. All discussions, reflections and conclusions at the end of the article. nine0003
We don’t look at the bottom part, I screwed up there.
Corner. In general, the quality is top notch.
Roundings.
Table imprint.
Inner bottom side.
Inner case towards the lid.
Corner.
Benchy will be born soon.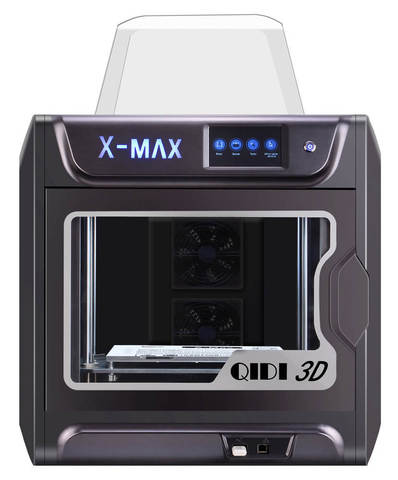
Benchy is ready. There is a nuance with the printing time. Just like all printers. The time is taken from the slicer. It does not quite coincide with reality, but it is not critical. nine0003
Freshly baked boat. Here I was smarter and smeared the table with glue.
Let me explain a little. I have an Ender 3 Pro printer. With magnetic mat. Its adhesion is good, but not as strong as here. I used to remove the mat and finish the piece by bending the mat. Here you can not do without a sharply sharpened spatula. And it's not included in the package.
Now we run another test.
Let's start looking at printed models
Printed in full stock. Installed the slicer, loaded the model. Peeled off for print. All default settings.
Now close. Base speed 60.
Roof.
Aft flagpole.
Board.
You get the idea...
Nose.
Window.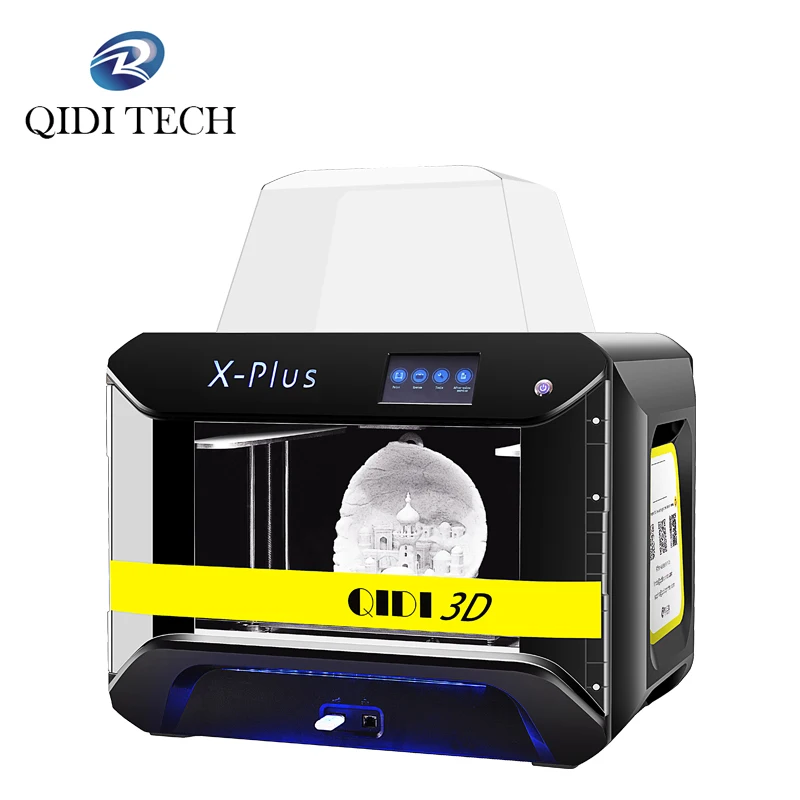
Breakwater.
Feed.
Trumpet.
Roof steps.
Now the test is ready.
At this point, I've almost learned how to pull the model off the table.
The miracle did not happen. The printer cannot print while in the air. And the rest is very good.
Set the speed to 80 and another test cube.
How do you like the result?
Caliper Chinese...
The quality is very good!
Different angles.
Z near.
Y outside.
Y inside.
X outside.
X inside.
Small tower.
Big tower.
Arch.
Set the slicer speed to 100 and start printing.
When comparing the boats, I did not notice a fundamental difference. nine0003
Roof at speed 100.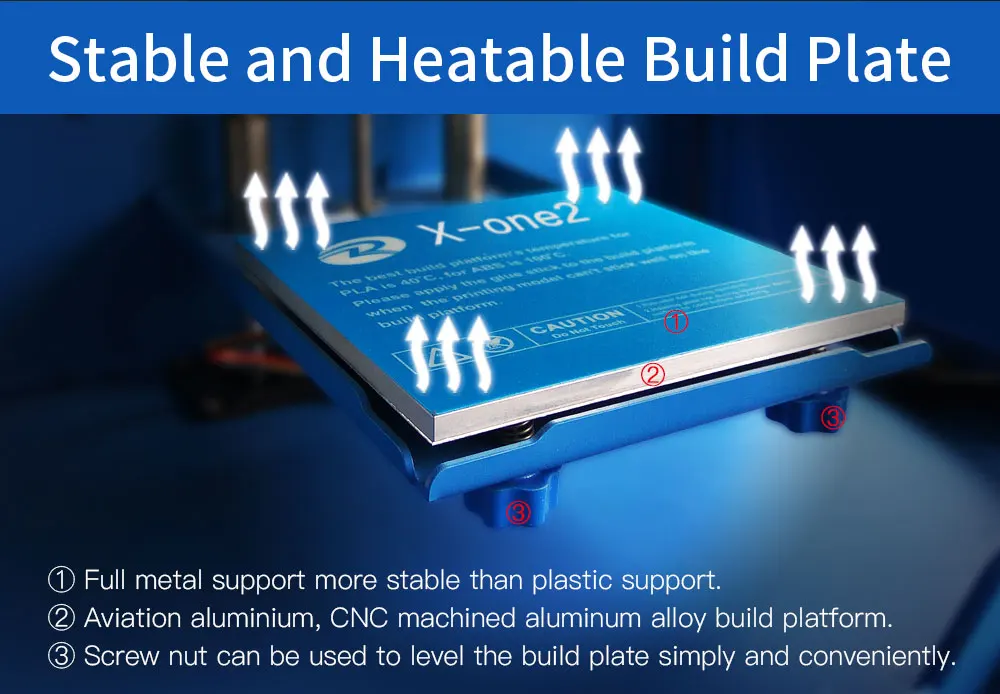
In general, no quality loss is observed during acceleration.
Slicer - Customized Kura. If you want a familiar interface, you can request a printer profile.
Reflections and conclusions.
I started my acquaintance with this printer very skeptically. I have a "god-like" Ender, and even with modifications. But in the course of communication with this device, my worldview and views changed. nine0003
Comparing these printers is like comparing an apple to an orange. On the one hand, this is a budget device. On the other hand, there are many "goodies" from the pros of the segment. Steel frame. Rubber feet. Door, removable windows. Backlight. But ... Plastic rollers on which belts run on motors as well. Plastic parts in the places where the shafts are attached.
But in the end we get a finished product out of the box with good print quality. Not requiring understanding of what is happening. And with not a bad possibility of overclocking if desired.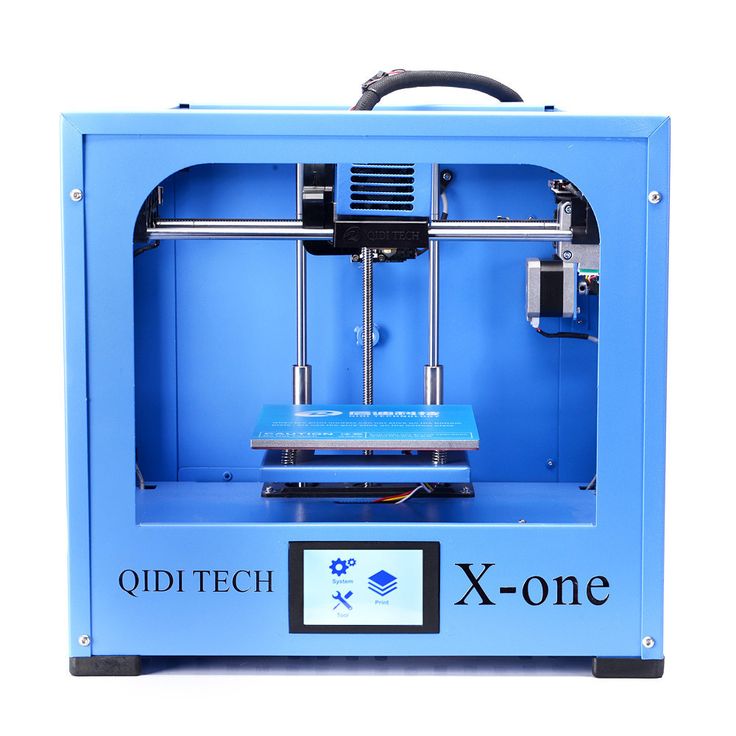 nine0003
I thought for a long time about how to communicate my feelings to you? Who is this printer for? What is its target audience?
This comparison was born to me. This printer is like an automatic coffee machine. I poured coffee, poured water, chose a drink, pressed a button, got a drink. And Ender and others like him, it's like brewing coffee in a Turk. Chalk by choosing a grind. Weigh coffee and water. Pour carefully. Put on fire. Follow and stir. Yes, you can vary the tastes of the output, but much more action and understanding is needed. nine0003
So who is this printer for? In my opinion.
An unencumbered person who wants to get a finished product, and not understand and adjust, that's all.
Schools and clubs from elementary grades. The printer does not require assembly and configuration. The closed body will save your hands from burns, and the model from drafts.
Small companies for which 3D printing is not a business. It will be the same office unit as a coffee machine and a copier. Does not require a separate specialist. nine0003
P.S. I did not open the case and hotend. Firstly, the printer must be returned safe and sound. Secondly, there is a photo of the insides and a video on disassembling the head on the memory card. The contents of the memory card will be in the public domain.
I did not describe the performance characteristics of the printer. You can see them on the printer's page on the website of the official representative in the Russian Federation.
Ready to answer questions that I missed when writing this article. This is my first such experience. Please do not shoot at the pianist, he plays as best he can. nine0003
Contents of the printer's SD card.
Video version of the review below.
QIDI Tech X-Plus: QIDI
3D printersfrom QIDI
Starting price 97 900 ₽ - starting price 97 900 ₽
Starting price
97 900 ₽
97 900 ₽ - 97 900 ₽
Current price 97 900 ₽
| /
Savings 0 ₽ Savings -97.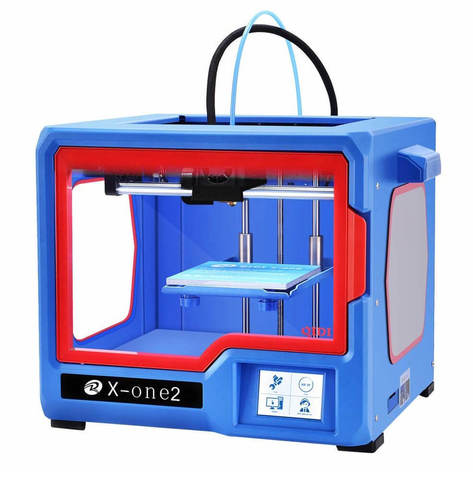 900 ₽
900 ₽
Available on order
This desktop FDM printer is a great find for professional makers, designers and small production. The possibility of high-temperature printing with polycarbonate and nylon, as well as the presence of a closed chamber, will help to realize any technically complex projects.
3D printing properties | nine0514 |
| Print technology | Plastic filament printing (FDM/FFF) |
| Application | Prototyping, Prototyping, Design, Architecture, For educational institutions, For business, For home, Advertising, For engineering, For makers |
| Maximum printing size (LxWxH), mm | 270x200x200 |
| Number of printheads | 1 |
| Thread diameter | 1.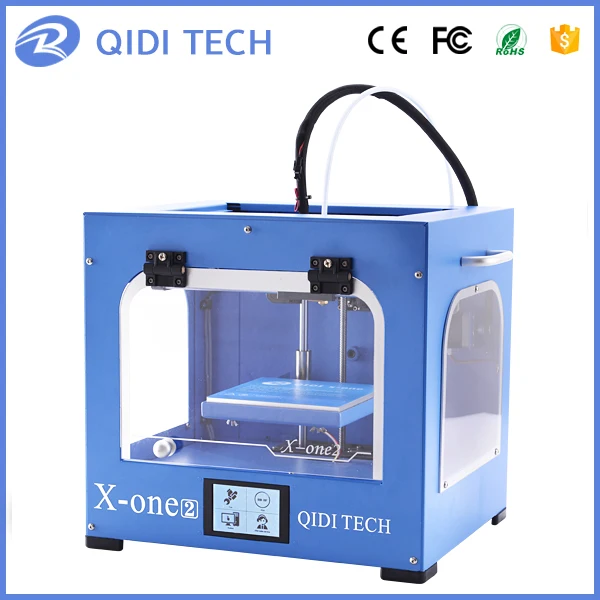 75 mm 75 mm |
| Print speed | 60~180mm/s |
| Layer thickness | 0.02 mm |
| Extruder operating temperature | 300°C |
| Platform operating temperature | 120°C |
| How to download a project | USB, Wi-Fi, Ethernet |
Dimensions | |
| Width | nine0516 600 mm|
| Height | 500 mm |
| Depth | 500 mm |
| Weight | 23 kg |
The QIDI Tech X-Plus 3D printer is designed for FDM printing with various types of plastic.


