3D porcelain printing
Ceramic 3D Printing, Now on Your Desktop
Skip to Main Content
3D print parts with a stone-like finish and fire them to create a fully ceramic piece with Ceramic Resin, an experimental material that pushes what’s possible with the Form 2. Fabricate ceramic parts for engineering research, or create distinctive art and design pieces.
Download the Usage Guide
Formlabs is excited to offer the first affordable ceramic 3D printing material for the world’s most popular desktop stereolithography (SLA) system. Be one of the first to work with a material at the forefront of SLA polymer development, previously only available in industrial and research environments at prohibitively high costs.
Ceramic Resin is a silica-filled photopolymer. After firing, the photopolymer network burns out to form a true ceramic part. Fired parts have unique properties that can be leveraged for applications where fired part accuracy is not critical.
View Technical Data (PDF)
Digital artists and designers can use Ceramic Resin to fabricate complex geometries that wouldn’t be possible by hand. Pieces printed in Ceramic Resin can be fired and glazed to produce functional objects.
Order Now
Ceramic Resin is a Form X product. This material is more complex to work with than other Formlabs products and requires extra steps and additional experimentation for successful printing. It may take a few iterations to create a final fired part that meets your specifications.
Make sure to read the Usage Guide in full before using this material.
WATCH THE PROCESS VIDEO
1. Design
Ceramic Resin requires designing within specific constraints for successful printing and firing. Start small, follow the usage guidelines, and experiment.
2. Prep
Sand your build platform to increase print adherence, shake the cartridge to mix the material, and clear the bite valve.
3. Print
Scale your parts in PreForm to accommodate for shrinkage during firing. Send your design to the Form 2 and press print.
4. Post-process
Wash your prints in isopropyl alcohol (IPA) and remove supports (no post-curing necessary). Ensure that parts are completely dry before firing.
5. Fire
Fire your part in an actively ventilated kiln that fires to at least cone 8 to burn out the photopolymer from the material and create a fully ceramic final part. Parts will shrink by around 15% in XY and 29% in Z during firing.
6. Glaze
If desired, apply a glaze of your choosing, following the manufacturer’s instructions.
Ready to start working with Ceramic Resin?
Order Ceramic Resin Now
Data Sheets
Download safety and technical data sheets for all Formlabs materials.
Handling & Safety
Handling & Safety
Resin should be handled with care. Proper handling will ensure safe printing and efficient use. Our resins have been designed to be similar or safer to handle as other household chemicals or adhesives. Formlabs materials do not contain volatile solvents so special ventilation is not required. Skin contact should be avoided.
The Safety Data Sheets (SDS) are up to date for every resin product and follow the latest government guidelines. Always consult the SDS as the primary source of information to understand safety and handling of Formlabs materials. For more information about handling resin, learn more tips for resin maintenance in our Help Center.
Technical Data
Technical Data
Plastics are complex materials, and finding the right one for your specific application requires balancing multiple attributes. Our library of resins is ideal for product development, rapid prototyping, and a variety of specialized applications. Download our Technical Data Sheets to explore the mechanical properties of each material.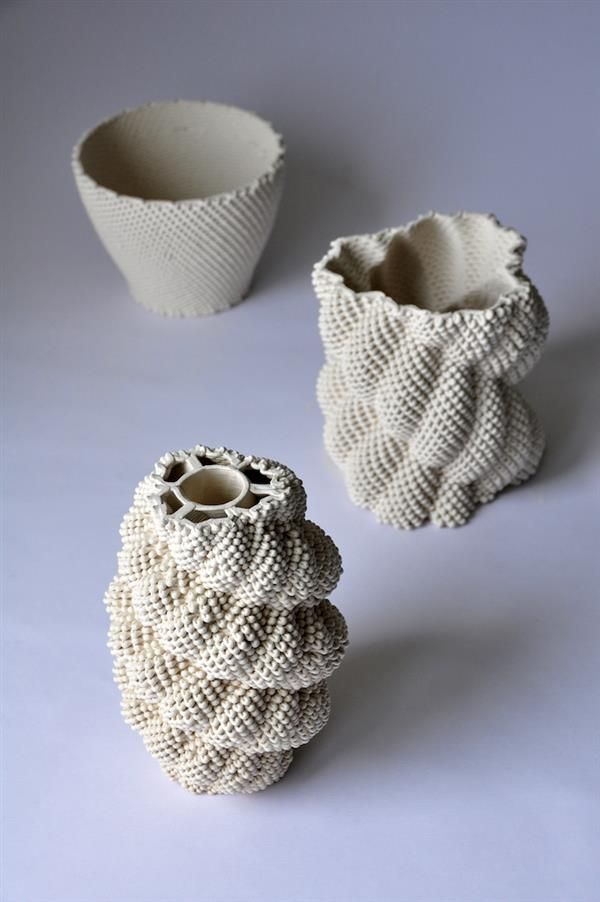
Material
– Select –BioMed AmberBioMed BlackBioMed ClearBioMed WhiteBlackCastableCastable WaxCastable Wax 40CeramicClearColor BaseColor PigmentsCustom TrayDental LT ClearDental LT Clear V2Dental SGDigital DenturesDraftDurableESDElasticElastic 50AFlexibleFlexible 80AFull Materials LibraryGreyGrey ProHigh TempIBTModelModel V3Nylon 11Nylon 11 CFNylon 12Nylon 12 GFPU Rigid 1000PU Rigid 650Permanent CrownReboundRigid 10KRigid 4000Soft TissueSurgical GuideTemporary CBToughTough 1500Tough 2000White
Language
– Select –BulgarianChineseCroatianCzechDanishDutchEnglishEstonianFinnishFrenchGermanGreekHungarianIrishItalianJapaneseKoreanLatvianLithuanianMalteseNorwegianPolishPortugueseRomanianRussianSlovakSlovenianSpanishSwedishTurkish
Technical Data Sheets
There is no technical data sheet available for the chosen material.
Safety Data Sheets
There is no safety data sheet available for the chosen material.
3D Potter - Real Clay 3D Ceramic Printers
Our line of 3D Clay printers have some unique features when compared to other 3D printers. We use a cardinal axis system, rather than a delta printer configuration. This allows for precise control with minimal effort. Most clay printers use a pressurized system using compressed air, with a 3D Potterbot a high-pressure system is not needed.Great entry-level printer
More info
10 Proreliable and accurate
More info
Full size, Full control
More info
3D Printing Cement is here! We have combined our Scara Elite and Small 50 pump with Sikacrete® 3D printer cement developed by Sika USA.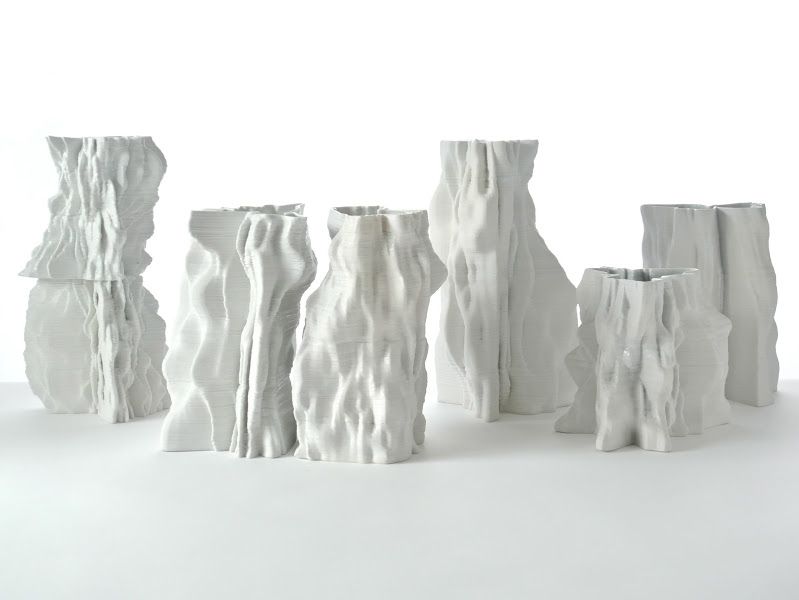 This is a versatile and convenient way of printing large-scale architecture and structures.
The Scara Elite is the first viable large-scale ceramic 3D printer using 3D printing material. It is capable of printing multiple objects non-stop. The Elite with the Small 50 can pump up to 3.5 gallons of material per minute through 85 feet of 1″ hose.
They work together so well, we decided to make them a package.
The possibilities are endless!
PR Articles/Videos
View this post on Instagram
A post shared by Hybrid Objects (@hybrid.obj) featuring non-planar printing.
View this post on Instagram
A post shared by Arina Erdélyi (@arinaerdeyli) featuring a print taken to new heights.
View this post on Instagram
A post shared by Atlas of Lost Finds (@atlas_of_lost_finds) featuring large-scale printing.
See More
3D Potter is proud to offer assembly tutorials and troubleshooting videos for our printers. Our printers can be used with Potterware, a beginner-friendly program to design pots and vases of all shapes, sizes, and patterns.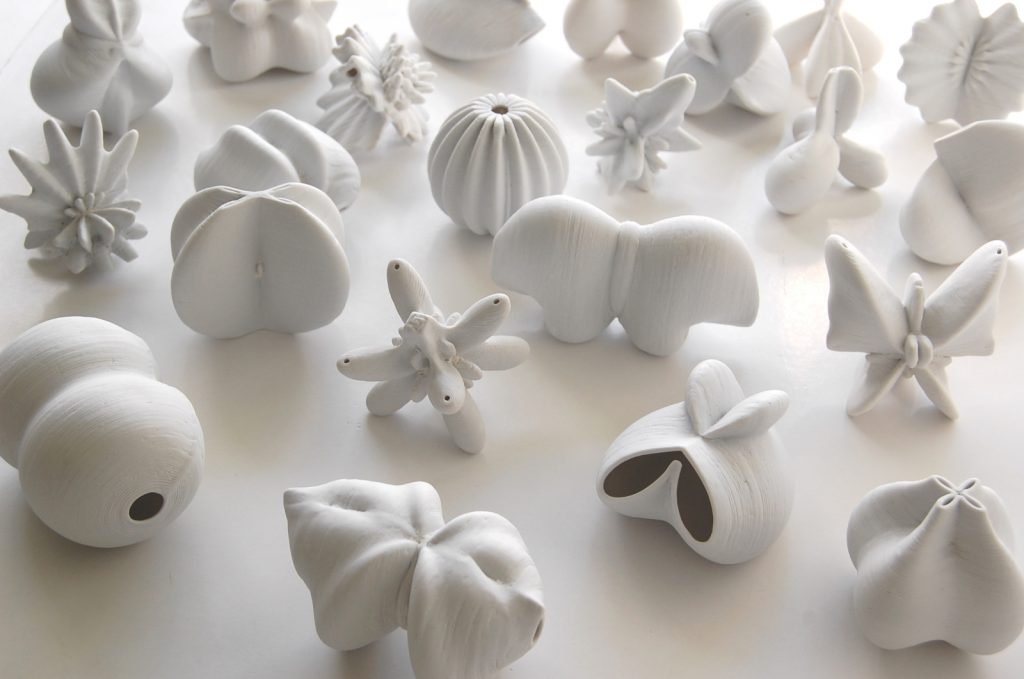 Check out our Youtube channels to see our videos!
Assembly Videos
Main Channel
3D Potter accepts payment of Bitcoin (BTC) for our products. If you wish to pay by BTC, please contact us.bitcoincash:qr5wmqhnylzr0hcewfrla852xxy9zhp94uugrxy9ay
Here at 3D Potter, we like forward-thinking and preserving the environment. Tesla vehicles are a great example of both. So, if you plan on purchasing a Tesla, use our referral code at checkout and you will receive a discount and charging miles.https://www.tesla.com/referral/dan47410
how modern technology improves the efficiency of an ancient craft
application
3D printing. We share an example.
Chinese porcelain is known throughout the world for its beauty, and elegant Song Dynasty style ceramics made in "official" kilns are especially prized. The first such ovens were personally designed and financed by Emperor Zhao Ji of Song, who himself was fond of art and was known as a good artist, musician, calligrapher and master of the tea ceremony. nine0003
Today, porcelain is made by several classical and modern methods, including hand and potter's wheel molding, casting and semi-automatic molding. Chinese ceramic artist Xiao Heqing went even further and introduced 3D printing technology into the process of making porcelain from Song Dynasty kilns.
The use of 3D printing is intended to simplify somewhat the complex process at the pen stage - mold making. Hollow porcelain products are often made by casting: slip, that is, liquid porcelain mass, is poured into a plaster mold, then the workpiece is removed and, after drying, sent for firing, and then covered with glaze and painting. The quality of the blanks directly depends on the quality of the slip and the accuracy of the molds, so the first stage plays a key role. nine0003
Plaster molds are removed from the master models, and the models themselves are traditionally made from clay or plasticine. Such models are not durable, so you need to work with them carefully, especially since the manufacture of a master model is a very laborious process, usually done manually. This is where digital design and 3D printing technologies come in handy.
3D printed molds
Solid Edge Design nine0032
In the new process, master models are first digitally created using CAD systems and then printed with photopolymer resin on a SHINING 3D AccuFab-L4K stereolithographic 3D printer.
3D printed master model
Then everything is as usual: the mold is removed from the master model, and then porcelain blanks are cast.
Master model nine0032
This approach significantly increases the efficiency and speed of production, and allows you to reproduce more complex geometries and patterns with high accuracy.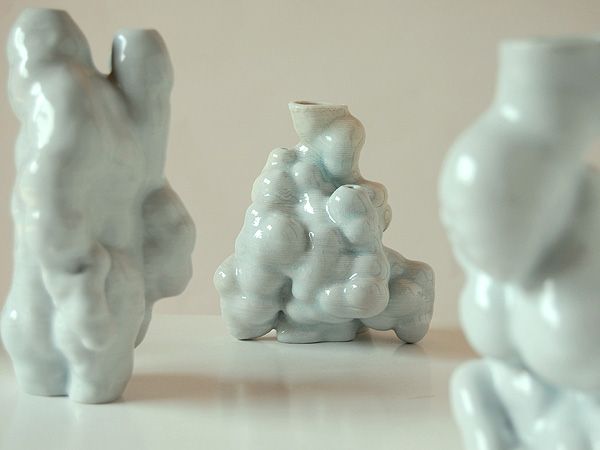
Finished porcelain
Last but not least, if the master model is lost or broken, it can be quickly reprinted from an existing digital model.
AccuFab-L4K 3D Printer Specifications: nine2
If you are interested in AccuFab-L4K 3D printers or other SHINING 3D branded 3D printing and 3D scanning offers, welcome to visit our official website.
Nervous System 3D Printed Porcelite Porcelain Cups (+ video)
The project is inspired by cellular structures, a design designed to keep the contents of the cup warm while keeping the outer shell cool.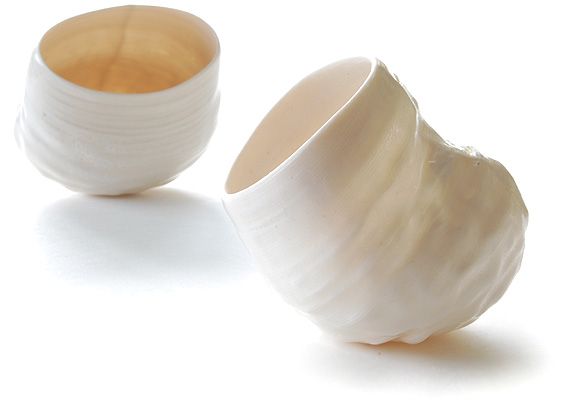 This was achieved with the help of an air structure and double walls. The authors took advantage of 3D printing technologies to create ceramics that would be almost impossible to make using traditional methods, even by hand. Rosencrantz notes that the designs turned out not only beautiful, but also functional. nine0003
Since the designers had just started working with 3D printed ceramics, it took more than a month to model and produce. One of the main reasons the designers chose Porcelite is that it is one of the only ceramic materials available for SLA 3D printing. According to Rosenkranz, it is this technology that allows creating the most attractive and high-quality items.
The Nervous System project used a Form 2 3D printer from Formlabs with a number of challenges. Firstly, the size of objects was limited to about 13 cm. Secondly, the designers did not immediately manage to find the optimal settings for 3D printing from a material that is made from photopolymers and ceramic powder. nine0003
The authors explain that the material may begin to disintegrate on its own - this problem is especially relevant if the printing of the item takes a long time. Rosencrantz explains that he had to work with the advanced settings of the 3D printer to solve this problem. The height of each layer was 50 microns. In addition, the designers covered the print platform with coarse sandpaper to keep the cup from falling off during the printing process, and added supports that are easy to remove later. nine0003
Of course, firing is an essential step in the production of ceramics. In 3D printing, firing also allows the resin to be burned out of the material to produce hard porcelain. According to Nervous System, objects can shrink by 12% during firing, but the 3D printing of this project reduced the cups by 17.5%, which can lead to cracks and warping. To prevent bubbling, the Nervous System used a UV oven treatment for two to three hours.
The last, perhaps the easiest step is glazing.