Xyz printing 3d
XYZPrinting Da Vinci Mini Review 2022
Heard about XYZPrinting Da Vinci Mini 3D printer? We did as well and decided to test one of them to see if they're worth it. Here are our findings!
By Justin Evans
4
See Price
So you’ve decided to get into the world of 3D printing. Where do you begin? There are printers for every possible requirement, and there’s a lot of jargon floating around that makes it hard to accurately compare different models. Relax – we’re here to help.
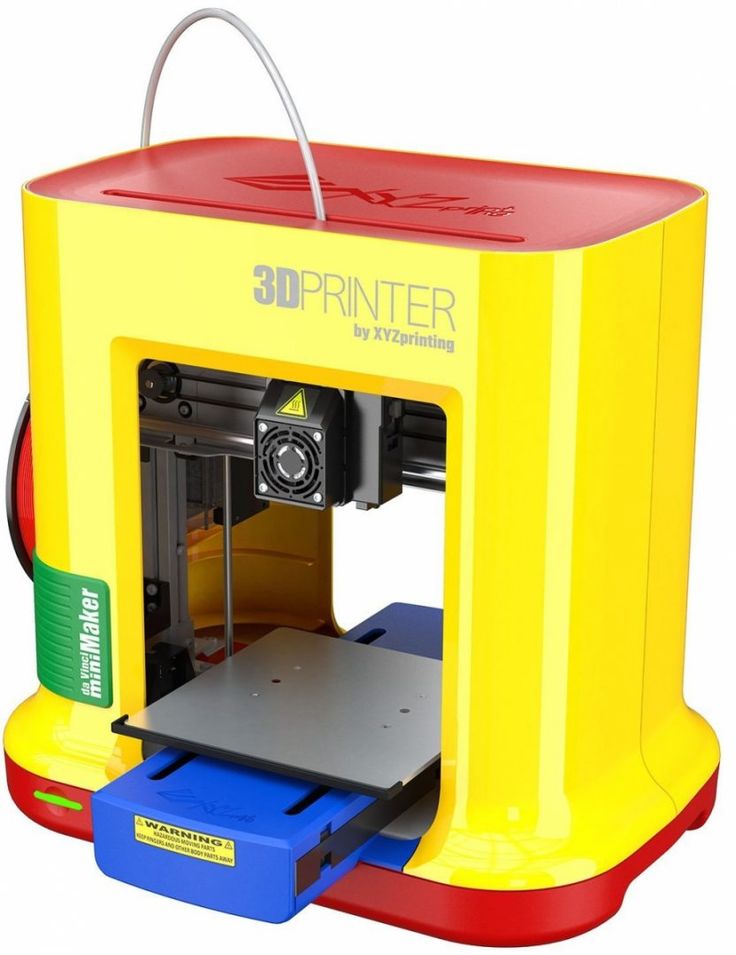
XYZPrinting is known for creating some of the best entry-level 3D printers around. Today, we’ll be looking for any strengths or weaknesses that the Da Vinci Mini might have– it’s a small printer, but it’s certainly capable. However, is it right for you and your needs? You’ll have to read on to find out.
| Filament Diameter | 1. |
| Extruders | 1 |
| Supported Materials | PLA |
| Connectivity | USB, WiFi |
| Printing Speed | 100mm/s |
| Build Volume | 5.91 x 5.91 x 5.91” |
Table of ContentsShow
Design
The XYZPrinting Mini comes pre-assembled, so there’s no need to factor in build time. It’s a small-sized unit, perfect for sitting on your desktop, but this does mean that the build area is similarly restricted. Don’t get us wrong – you’ll be able to print decent-sized models, but nothing too huge.
Notice how there’s no enclosure? This means that it’ll be a little louder when you print, but all things considered, it’s still fairly quiet since the mechanical parts are mostly covered by the plastic frame. There are also implications for heat retention, but that’s not an issue, as we’ll explain later.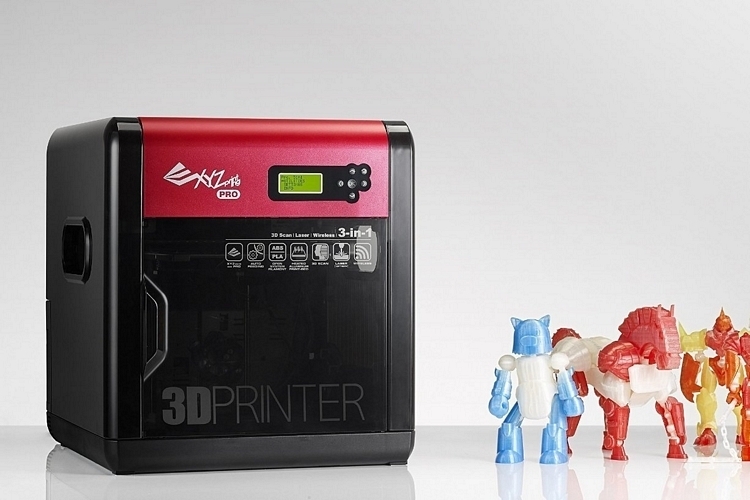
You get exactly what you’d expect from a low-end printer: there’s a single extruder and a maximum speed of 100mm/s. This is fairly standard and just means that you’ll take slightly longer to print. However, as the build area is only around 6” in each direction, you won’t be waiting hours unless you’re trying to print a large, solid cube.
Printing
There are three different speeds to choose from. As expected, the faster you print, the rougher the final quality. We found that the fastest setting resulting in significant stepping on curved surfaces, while if you allow it to take its time, your models look far better, but still not professional-level.
In an attempt to keep things as simple as possible for new users, XYZPrinting has limited the Mini to using PLA filaments. This removes the need for an enclosure but does restrict you somewhat in terms of the things you can build. Still, for beginners, PLA is more than enough to get you started.
The overall quality of the prints is too low for manufacturing, and the build volume too small for mass-production.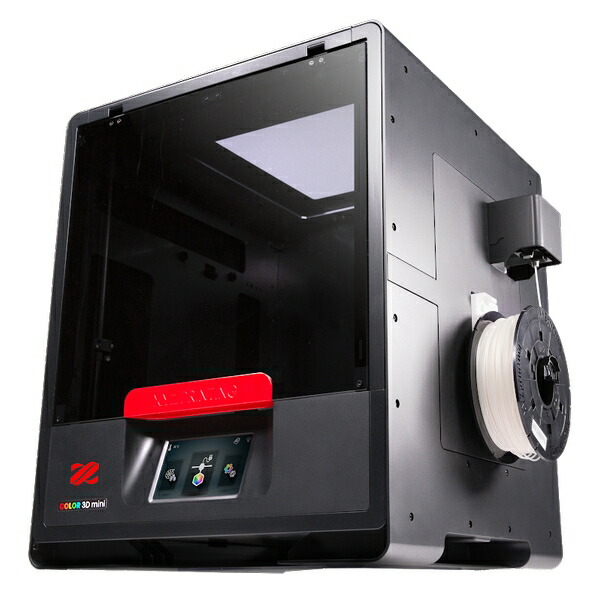 However, it’s perfect for people looking to print things for their home or office. Better still, it takes any 1.75mm PLA filament – not just those made by XYZPrinting.
Features
So what other features does the Mini have to make things easier for beginners? Well, instead of adding things, XYZPrinting has removed components. There’s no heated bed, for instance, and no built-in screen. You do have a USB connection, though, and WiFi functionality, which is almost unheard of in low-budget printers.
We were pleased to see that drivers are available for both Windows and Mac computers. On the other hand, there’s no Linux support. It supports four different file types, though, so you’re not really limited to using a particular modeling program, which is great.
Even the interface is simplistic. There’s a single button for starting a print and a status LED that lets you know how your print is going. All in all, it’s easy to use even if you’re not particularly tech literate.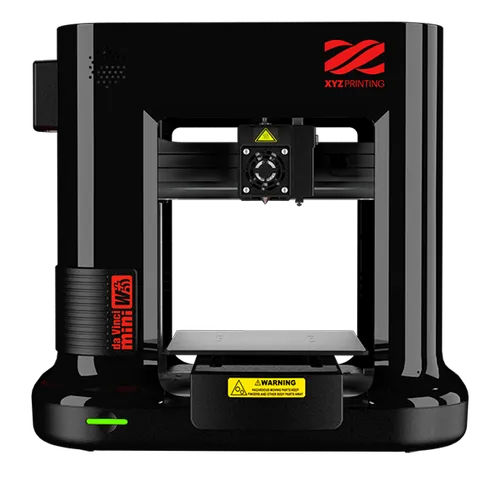 Let’s be honest – that’s never a bad thing.
Cost
Here’s the thing: the Da Vinci Mini isn’t available in the United States. You can buy it from several European locations, though. It costs around $700, which makes it among the cheapest, most robust 3D printers we’ve covered. Of course, you’ll have to find a company to ship it over if you’re in the US.
Running costs are minimal. PLA is among the least expensive materials you can use, and since while third-party filaments aren’t supported, you can easily mod it to accept them. Large spools of PLA often cost less than $20 so really, your monthly material costs will depend on how often you print.
We think that this 3D printer is appropriately priced. It’s clearly intended for novice users, and the price point helps it stay affordable, unlike more advanced printers that offer user-friendly features. You’ll likely outgrow it in a year or two, but until then, it’ll serve you well.
Support
XYZPrinting’s support section provides customer help telephone numbers for 11 different countries. Best of all, each of these can talk to you in the native language or English. This is almost unheard of, and we’re genuinely delighted to see this level of help being offered for free.
The limited warranty period is similarly outstanding. You’re covered from factory defects for up to two years at no extra cost, presuming you bought the printer from one of XYZPrinting’s recommended sellers. There’s no option to extend this warranty, though, which is a bit of a shame.
Customers can consult model-specific FAQs and tutorials in case they need any technical help. There are also different versions of the software, as well as documentation for each printer model here. All in all, it’s one of the most comprehensive support packages offered by any major 3D printing manufacturer.
3Drag 3D Printer Review
XYZprinting da Vinci 1.0
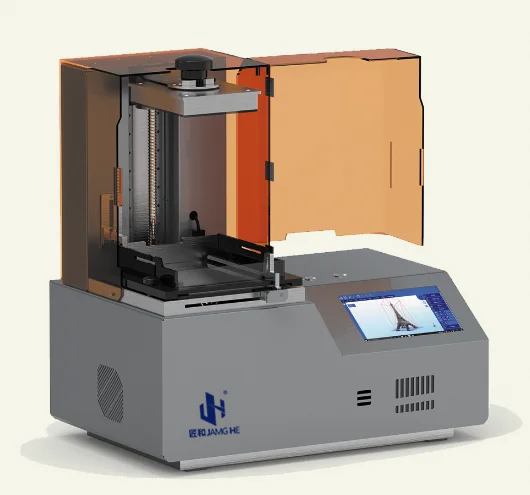
This page will help you set up your new XYZprinting da Vinci 3D printer for use with the All-In-One 3D Printing software by Simplify3D. The da Vinci line of 3D printers come at an affordable cost and include features such as a filament cartridge system, integrated LCD panel, and an enclosed printing chamber. If you are setting up a brand new da Vinci 3D printer, make sure to read the User Manual that comes with the printer. This describes the unboxing process, which includes removing plastic harnesses, filament loading, and bed preparation. You can also download an electronic copy of the User Manual directly from XYZprinting’s Support Page. The remainder of this page is written specifically for the da Vinci 1.0, but the same process can be applied to the da Vinci 2.0 and 2.1 plus.
Final Hardware Checks
Before we dive into the software, there are a few final hardware checks you should perform before using your da Vinci 1.0. If you’re confident your printer is ready to go, you can jump directly to the software setup. The da Vinci 1.0 comes with several additional pieces you will need to remove before performing your first print. These are also described in XYZprinting’s documentation as mentioned above. You will want to remove the plastic clips near the extruder or print head that hold onto the rods and secure the printer when being shipped. You will also want to remove the orange clip securing the build plate, this can be done by removing the thumb screw holding down the orange clip.
Once you have removed the necessary clips securing the printer, you will want to load filament before starting a print. Power on the da Vinci 1.0 by plugging in the included power cord and flipping the switch on the left side of the unit. You can load filament by following the on-screen instructions. Once this setup process is complete, you’re ready to start printing!
Printing with Simplify3D
Simplify3D Software comes with all of the necessary tools required to start printing on your da Vinci 3D printer. It is an integrated package so it’s the only piece of software you’ll need. The software communicates with your da Vinci 3D printer via the supplied USB Cable. If you’re running Linux or OS X, you can move on to the next step. Windows users may need to install the Arduino and RAMBo inf driver files (found here and here). However, if you have installed or used XYZware previously, you should already have the necessary drivers installed and can move on to the next step.
The first time you open Simplify3D Software, the Configuration Assistant will help you choose your printer. Select either the XYZprinting da Vinci 1.0 or 2.0. If this is not your first time opening Simplify3D Software, you can bring up the Configuration Assistant by going to Help > Configuration Assistant.
After completing the Configuration Assistant, import the 3D model you’d like to print. After importing the model, please click “Edit Process Settings”. This will open the FFF Settings window where you can configure a wide variety of slicing options.
In this window, you will find options to select the material for the print, the preferred quality, infill percentage, and whether to use a raft or generate support material.![]() If you’d like to customize your prints further, please click the Show Advanced button. For more information on the options available in the Advanced Settings, please visit our Tutorial Library.
If you’d like to customize your prints further, please click the Show Advanced button. For more information on the options available in the Advanced Settings, please visit our Tutorial Library.
Once you’ve sliced a model with your selected settings, click “Begin Printing Over USB” to start the print job. When the da Vinci 3D printer receives the print job, it will automatically go through its start routine and begin heating up.
You can gather further information about the status of your machine by going to Tools > Machine Control Panel. On this window you can view a plot of the current temperatures, see the communication back and forth with the machine, and issue manual commands such as jogging or preheating. Please note that it may take several minutes for your machine to reach the appropriate temperature before printing can begin.
Troubleshooting
Is my da Vinci 3D Printer supported?
All da Vinci 3D Printers, 1.0, 1.0A, 2.0 Duo, 2.1 Plus, 1. 0 AiO are supported by Simplify3D Software. Enjoy fast slicing, highly customizable print settings, and upload files directly to the printer over USB.
Recommended Firmware?
Every firmware version can take full advantage of Simplify3D’s highly customizable slicer and directly upload print jobs over USB. For other features like manual jogging or bed leveling, we recommend the following firmware.
da Vinci 1.0 – Firmware version 1.1J
da Vinci 2.0 – Firmware version 2.0J
My Printer Reboots During Upload
If you experience this, please turn off the da Vinci printer and close the Simplify3D Software. Re-open the software, turn the printer back on, and retry the file transmission. Newer firmware releases by XYZprinting have greatly reduced the likelihood of this problem, so you may also wish to update to the latest version.
The Iron Man suit and the revolution in stop-motion animation
XYZ Media
A technology that has already affected industry and medicine is now changing cinema.
One of the most difficult tasks in filmmaking is the creation of objects important to the plot, whether they be weapons, figures for animation, complex mechanisms and futuristic costumes.
All this requires the right material. Usually objects are created manually, which takes a lot of time and money and often brings inconvenience in operation.
3D printing could be a solution. This technology has already been used in cinema and there is every indication that it will significantly affect the industry in the future.
Author: Mark Tyutyunnik
What is 3D printing?
3D printing (additive manufacturing, AM) is the construction of three-dimensional objects from models created in CAD (computer-aided drawing programs) or other digital 3D models.
It is not necessary to make drawings for future objects on your own, you can download already developed 3D models - for example, here. Then you need to cut the model into thin layers (using special programs for slicing), in accordance with which the material will be superimposed during printing. By uploading the file with the model to the printer (via an SD card, flash drive or Wi-Fi), even a beginner can print the object.
Additive manufacturing has greatly influenced the development of a wide range of industries. It is used in the creation of weapons, the construction of buildings, the development of medicines and in other areas.
Gradually, this technology was adopted in the cinema.
The benefits of 3D printing are many. Firstly, the production of objects is carried out quickly and efficiently. Secondly, very complex objects can be made using this technology, which eliminates additional assembly steps and provides more freedom for designers.
Another advantage of additive manufacturing is the variety of materials. Printer manufacturers offer a set of sources, but the user always has the opportunity to mix different substances and even simulate ceramics or metal.
How 3D printing works
One of the most important parts of 3D printing is the scanner . It collects the physical data of an environmental object or (volume, texture and color) to create a digital model.
There are two main types of 3D scanners: contact and non-contact. The former explore the object through physical contact. The second is to collect radiation from the target object using a laser, structured light, photogrammetry, or optical coordinate measurement.
SLS-technology is used to manufacture parts of mechanisms and objects with complex geometry. It helps to achieve high strength and precision. A roller rolls the powder, consisting of 50 micron diameter nylon spheres, onto a platform, and the printer heats it up to sintering temperature. Then, with the help of a laser, these spheres are sintered layer by layer until the necessary detail is obtained.
BigRep ONE brand printers are mainly used in cinema. A build chamber with a volume of >1m3 simplifies the additive manufacturing of large-scale objects.
The fast speed and convenience of this kind of production is made possible by the camera, which creates large, life-size parts and allows direct observation of the process. When NeoMetrix Technologies released a video of the development of a functioning car on the BigRep ONE printer, the reason for the technology's popularity in film production was perhaps obvious.
The use of 3D printing in animation
Laika Entertainment has pioneered the full scale application of technology in film. The company has resorted to additive manufacturing to provide naturalistic facial animation for stop-motion dolls. The idea was to take puppet "acting" to the next level.
When working on The Nightmare Before Christmas, director Henry Selick used sculpting by hand and the usual replacement of faces - first they shot the head with one facial expression, and in the next frame they replaced it with another.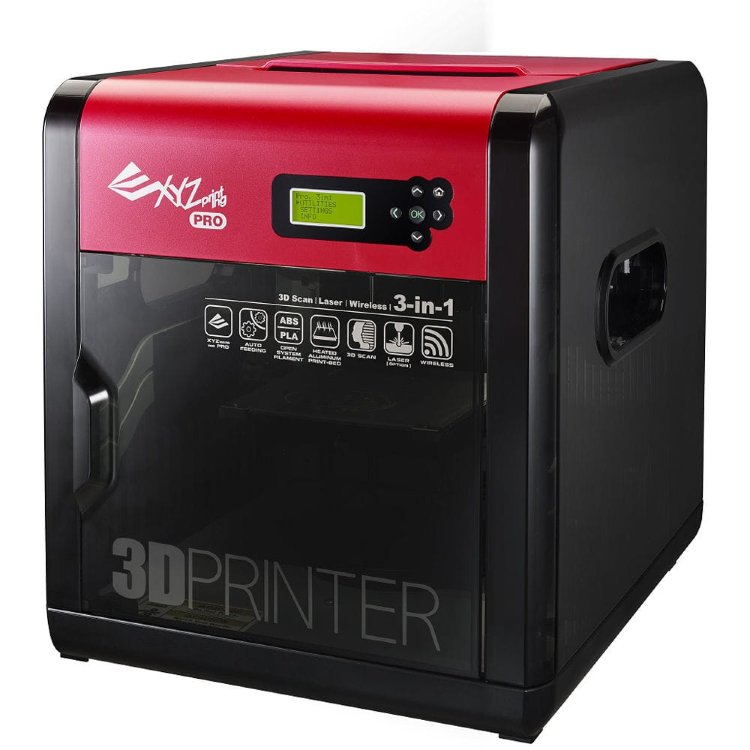 But the range of emotions with this approach turned out to be very meager. When producing Coraline in the Land of Nightmares, Selick wanted the main character to be able to show as many subtle expressions as possible. That is why the director decided to conduct an experiment using 3D printing.
Leading additive manufacturing industry advocate Brian F. McLean Visual effects specialist for Coraline, Paranorman, Family of Monsters and Kubo: The Legend of the Samurai. He has probably the most experience with 3D printing in the film industry today.
In Coraline, McLean used traditional stop-motion animation, combining it with new methods. Additive manufacturing has been used to create facial expressions of characters with thousands of details. The specialist used three Objet printers, with the help of which the animators developed about 20 thousand facial areas that could convey more than 200,000 facial expressions.
The image above clearly shows the line of alignment of the upper and lower parts of the face, which was removed in post-production.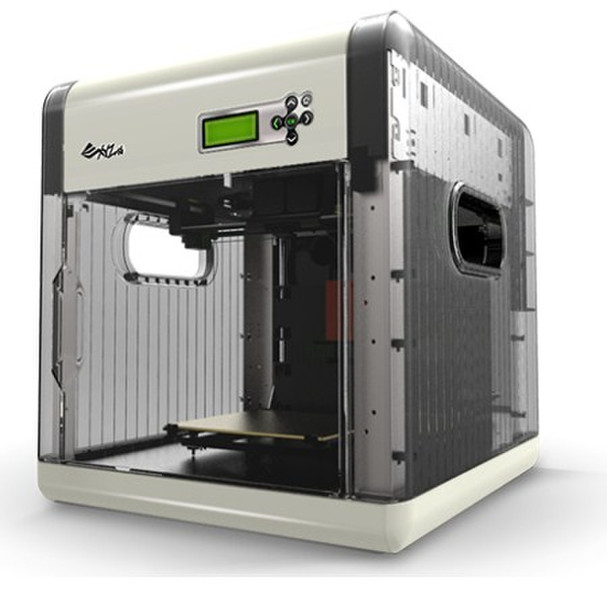 Using traditional methods, this amount of work would have taken about 30 years, but thanks to 3D printing, it turned out much faster.
It is even more difficult to imagine how many years Paranorman would have taken to produce. The animators used about 40 thousand different facial elements to expand the emotional range. Each of the 40,000 elements was put into a special face library. Thanks to their combination, Norman alone had about 1.5 million facial expressions. Each short half-minute episode required about 250 different expressions for one character.
About 56,000 faces were printed for Monster Family, which were divided into two main areas: eyebrows and mouth.
Each of the options had special names, such as "raised eyebrows" or "pursed lips." Combining them, McLean got the unique expression he needed.
According to McLean, the aim of the rapid prototyping department was "to push stop motion into uncharted territory. " This idea reached its peak in The Monster Family, where they tried to touch every muscle of the face, and the heads were printed specifically for one frame and were no longer used in the production of the cartoon.
McLean credits lead texture artist Tori Bryant for finding a way to recreate the nuances of coloring layouts by hand using additive manufacturing. She figured out how to compensate for the lack of color calibration on the printer and found that applying traditional drawing and coloring techniques to digital models resulted in a more believable result.
McLean has also used 3D printing on Laika's latest two projects: Kubo: The Legend of the Samurai and Lost Link. The scale increased again - only the main character could have 48 million facial expressions. In addition, when creating both cartoons, PolyJet 9 technology was used.0044 , with the help of which painted the printed objects in the required colors.
3D printing in big-budget movies
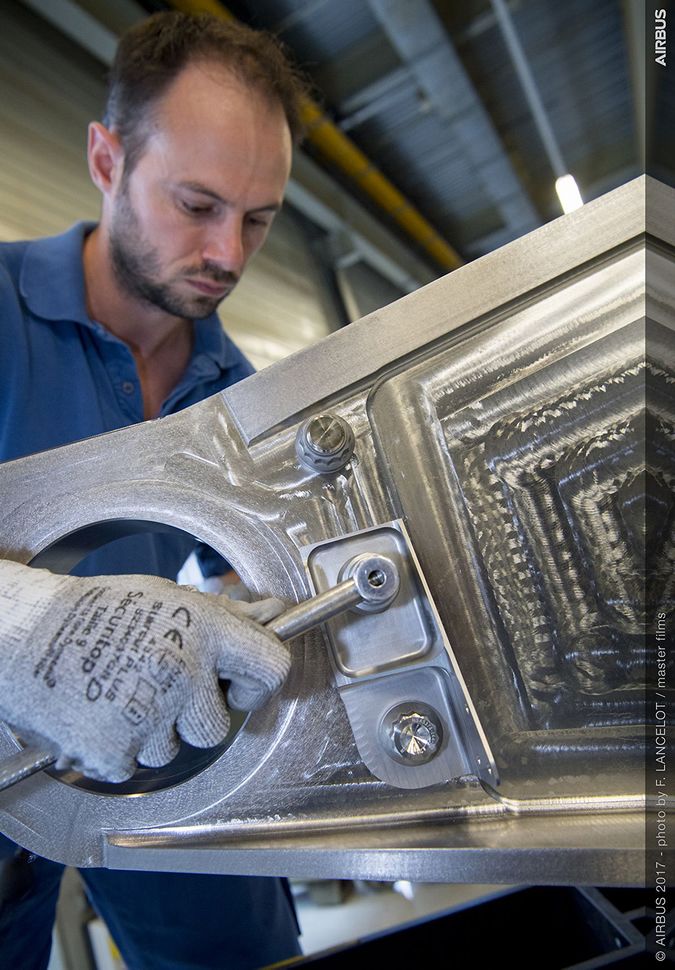
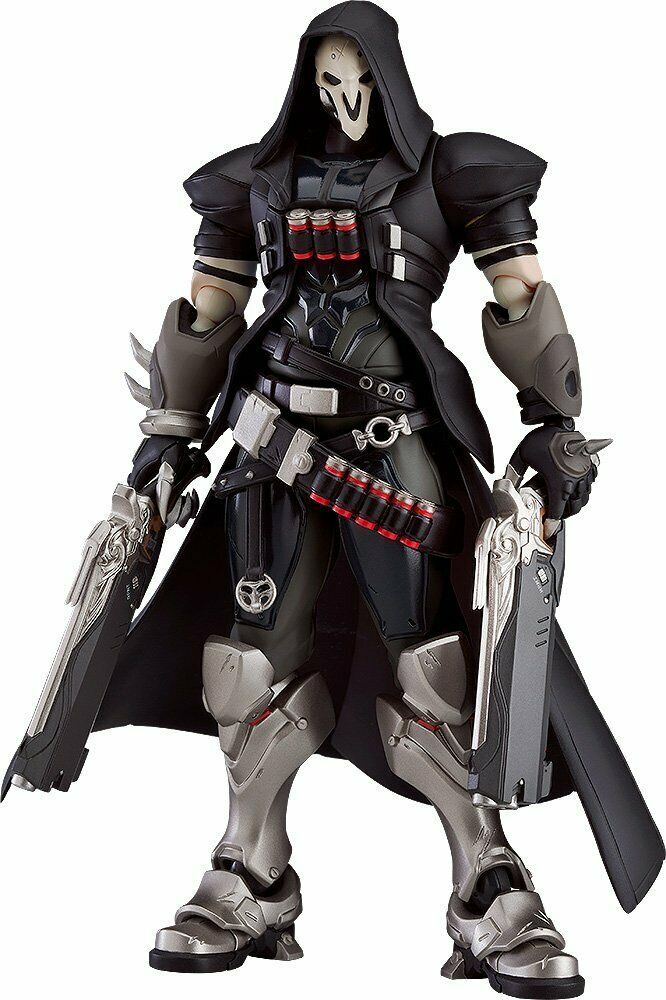
Disney pioneered the use of 3D printing in feature films - Jason Lopez (Legacy Effects specialist who worked with Marvel Studios from Iron Man 2 to Guardians of the Galaxy 2 ”) using this technology greatly accelerated the creation of the Iron Man suit. First, experts scanned the body of Robert Downey Jr. - this was necessary to make wearing the suit more comfortable - and then printed armor fragments on Objet Geometries from various materials. Rubber was used for action scenes and fast movements, and metal for close-ups.
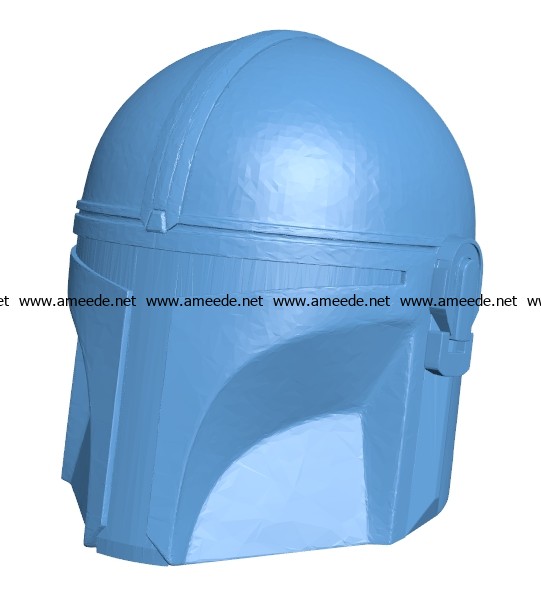
For Thor: Ragnarok, Hela's helmet was designed by José Fernandez, costume designer at Ironhead Studios, using this technology. It used SLS (laser sintered nylon powder) with the addition of reinforced carbon fiber so that the headgear was not heavy.
3D printed synthetic materials such as nylon have also been used in the development of other Disney projects: Queen Ramonda's headdress from Black Panther; Kylo Ren costume, shining chrome stormtrooper armor, some parts of Rey's staff, C3PO droid as a costume for actor Anthony Daniels from The Force Awakens, Interpol car from The Muppets 2. Disney is again the first to apply new technologies, as it was with virtual production or the first “animation” of an actor using a mockup.
Additive manufacturing is also used by Sony Pictures Entertainment, Universal Pictures and Warner Bros.
Rapid prototyping for 007: Skyfall created an Aston Martin DB5 and a one-third life-size helicopter specifically for the explosion scene, which proved to be significantly cheaper than any other method.
Stratasys printers were used to design the armor for the 2014 RoboCop remake.
A The red stripe on the visor was printed using a transparent photopolymer material.
The Apollo 11 spacecraft for Man on the Moon was also recreated using large scale printers - it was created using BigRep ONE V3.
Weta Workshop, a special effects and props company, used this technology to design helmets, sword hilts, spears and axes for the Hobbit trilogy. Animatronics engineer Rob Sheeney has stated that using 3D printing is beneficial as it is more economical and less time consuming.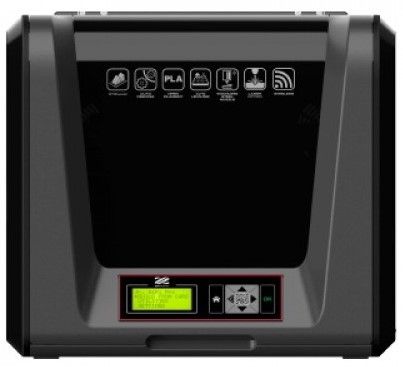 Then, in 2012, Weta Workshop also tested large-scale printers.
How 3D printing will change cinema
Cinematographer Victor Marin (Young Americans) believes this technology will play an increasingly important role in the future. He recommends combining methods, instead of replacing traditional ones with innovative ones.
Julia Koerner (helped with 3D printing for the Black Panther designers) also calls for a combination of these methods. She sees the benefits of additive manufacturing in creating really complex and detailed structures that can't be created with traditional methods. In his work, Koerner tries to combine traditional methods with progressive ones.
Gilles-Alexandre Deschaux, creator of stop-motion short Chase me :
“3D printing is already widely used in the film industry, from stop-motion films to big American blockbusters and commercials.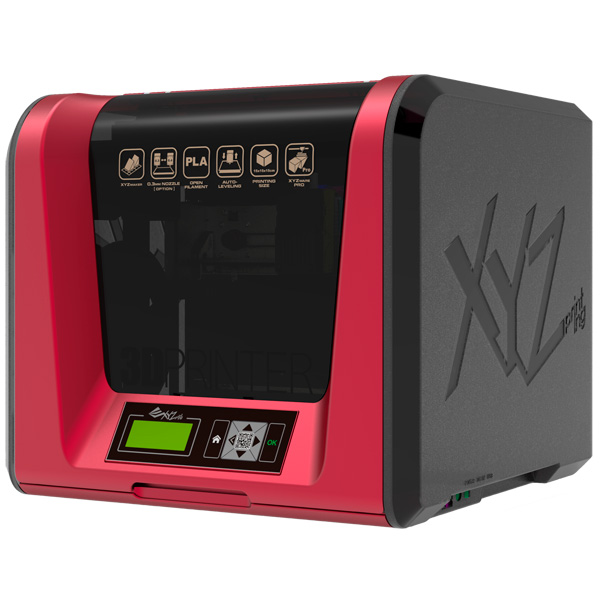 3D printing is often used to create decorative items and props, but not only there. At the development stages, it is used to promote new individual projects and conceptual solutions.
According to Pinewood Studios 3D supervisor Jet Cooper, the possibilities of this technology are already “incredible”, because if you want, you can even scan someone's face with all the wrinkles and pores.
Jet Cooper, Pinewood Studios 3D Supervisor:
“Voxeljet has the biggest printers. Their maximum format: 4000 mm x 2000 mm x 1000 mm. This is the largest printer in the world as far as I know. We have a 1060mm x 500mm x 600mm resolution printer at Pinewood. Anything over this size, we print in parts and then put them together.
3D printing is used to create props, and the metal coating of the material makes it strong and durable. But the Germans are working on a new material - epoxy resins, which are as strong as stone. They are extremely hard. "
"
3D printing is developing rapidly and is becoming cheaper every time, especially when compared to traditional methods or the use of computer graphics. Perhaps the day is not far off when handmade props and scenery will almost cease to be used in films - they will be replaced by cheaper and faster “printed” counterparts.
Like this article?
WANT TO GET BEST ARTICLES
FROM XYZ ONCE A WEEK?
Subscribe to the XYZ newsletter
By clicking on the button, you agree to the terms of data processing
How physics was used to create animations in Star Wars Jedi: Fallen Order.
About creating physical animations for Star Wars Jedi: Fallen Order and the problems that game designers faced. There are 3 ways to adjust the animations in the game for physics.
How Unreal Engine is used in movies
The game engine Unreal Engine 4 is being used in movies. For example, in The Mandalorian they created virtual objects right on the set.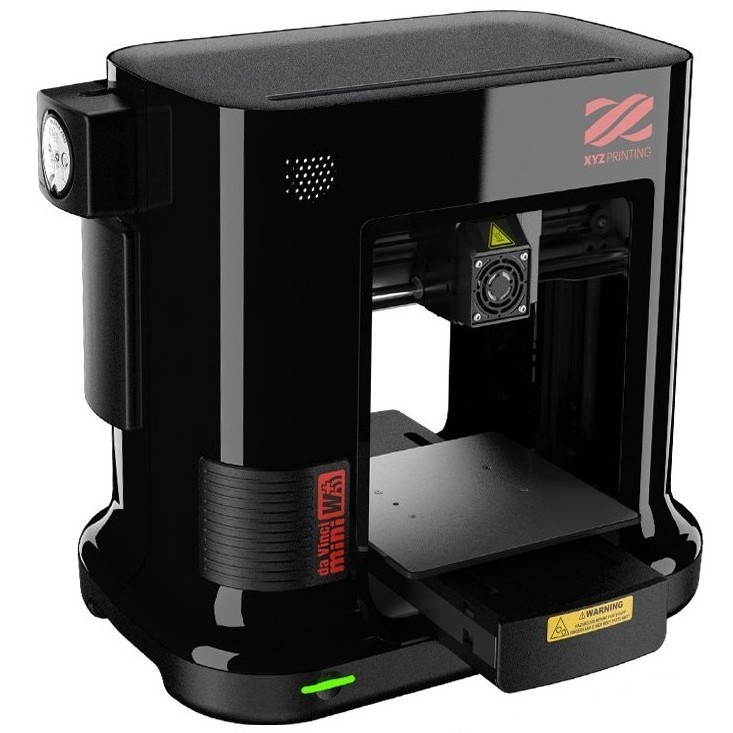 We tell you how...
Read more about XYZ Printing's first color FDM 3D printer
Reviews
Good afternoon dear colleagues.
We, iGo3D Russia, are the official distributor of XYZprinting products in the Russian Federation and the countries of the Customs Union, and today we will tell you about another significant step in the development of FDM 3D printing technologies.
XYZ Printing takes the technology lead this time.
They were the first to announce a desktop FDM 3D printer with full digital gamut!
We present you: ' da Vinci Color '
How does it work?
The 3D printer uses a unique ink module with CMYK color profile and ink cartridge system. And together with the printer, proprietary software is used for processing, painting and preparing models for printing.
Technically, the da Vinci Color is sort of a hybrid between an inkjet and a 3D printer.
A word about XYZMaker software
This 3D modeling software has a large set of objects and editing tools that you can combine and use with each other to create stunning designs. XYZmaker has the function of combining with the da Vinci series 3D printer from XYZprinting, being at the same time a slicer.
Solution for designers and print-to-order.
da Vinci Color is a powerful and economical solution for small business owners. Thanks to the use of PLA filament as the main consumable material, you end up with a ready-made, color model that does not need post-processing. This 3D printer will fit perfectly into any custom 3D printing service, as it significantly saves time in the production of a full-color product.
Also, one of the interesting innovations is the platform: EZ-Removable Print bed .
This is a special, sandwich-like, flexible design designed to make it easier to remove the finished model.
So, the main features:
- First FDM 3D printer with full color printing capability
- Print area size: 200x200x150 mm, unheated table
- 0230 Nozzle diameter: 0.4 mm
- Supported materials: PLA, 3D-Color-inkjet PLA, Tough PLA, PETG
- Latest technology printing platform
- Positioning accuracy: X,Y - 12.5 µm, Z - 4 µm .
- Layer thickness 100 - 400 microns
- Print speed 30-120 mm/s
- Automatic calibration
- Friendly interface from software to color LCD on board by XYZ Printing - XYZ Printing Color
.
Your iGo3D team
Our social media groups:
YouTube
VKontakte
Facebook
Instagram
Follow author
Follow
Don't want
9
More interesting articles
eleven
Subscribe to the author
Subscribe
Don't want
Hello, dear readers! Sit back, I'll be happy to tell you about two of my 3d projects.
Learn more