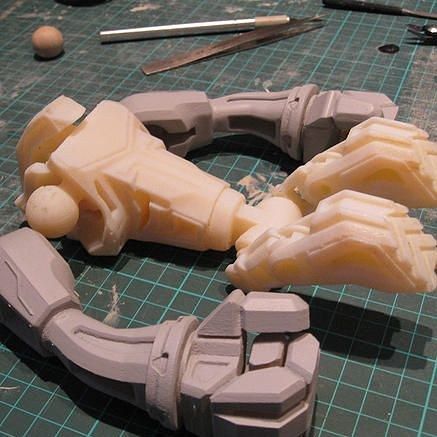
Weathering 3d prints
How to Weather 3D Prints – 3D Printerly
Some people have wondered how to weather their 3D prints to get that older style effect that looks great in some models. This is great for cosplay models like helmets, armor, weapons, and more. It can be done with filament and resin models after painting them.
To weather 3D prints, you can use acrylic paints, dry pigment rubs, spray paint, or even buffing products to add effects like smudges, wounds, dirt, cuts, etc. For scratches, you can use (semi-gloss or gloss) clear coat, rub-n-buff, or any other product like that.
Keep on reading to learn the details behind weather your 3D prints properly.
Weathering is the process of making your 3D prints look aged and worn down like it has gone through a lot.
Doing so can give an attractive look to the model while giving more detail to the 3D prints and an interesting history to it. Weathering a 3D print isn’t too difficult, and can be done with a few products within just a few minutes.
Using multiple colors to create smudges and give a worn look to the model works very well. You can also use acrylic paints to give some sections of the model a duller, dirtier or darker look than the rest of the model.
Here are the steps on how to weather your 3D prints:
- Apply a Filler Primer to the Model
- Sand the Model
- Paint the Model
- Pick Products for Weathering
- Apply Product to Model to Add Weathering
Let’s look into these in more detail.
1. Apply a Filler Primer to the Model
The first step to creating a weathered 3D print is to get it painted by using a filler primer of your desired color.
This is the base coat that you paint your 3D print, then you can choose other paint colors to apply the weathering and finishing coats. A good recommendation is the Rust-Oleum Automotive Rusty Metal Primer Spray Paint from Amazon.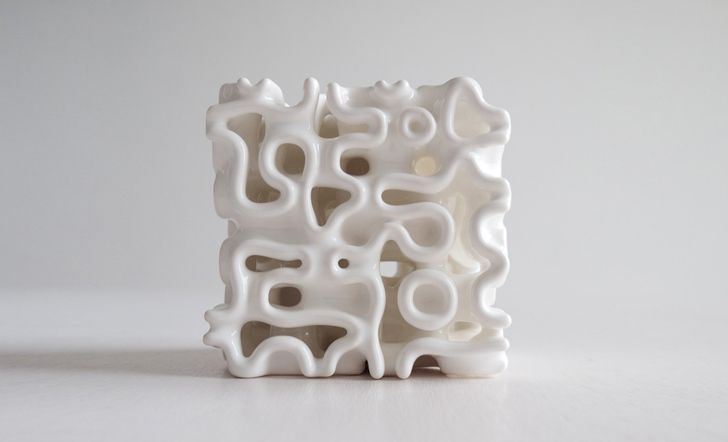
You can even get a Krylon Spray Paint & Primer combination so you can skip the primer step.
Try not to go too heavy when spray-painting models, light coats usually work best for details.
Many people recommend a darker color base coat depending on the model.
2. Sand the Model
After that, you can sand the model with an assortment of sandpaper depending on how smooth you want the model to be. You can go with the PAXCOO 42 Pcs Sandpaper Assortment from Amazon, which has a 120-3,000 grit assortment.
Start off with some lower grit and sand around the model, then move up as high as you want to get rid of the layer lines and smooth/polish the surface. A few users have said it worked really well for their 3D prints.
3. Paint the Model
After the model is fully dried and sanded, you can give it a more detailed painting, getting the patterns and design that you want on the model. If you just want to keep the model all one color, then you don’t have to do this step.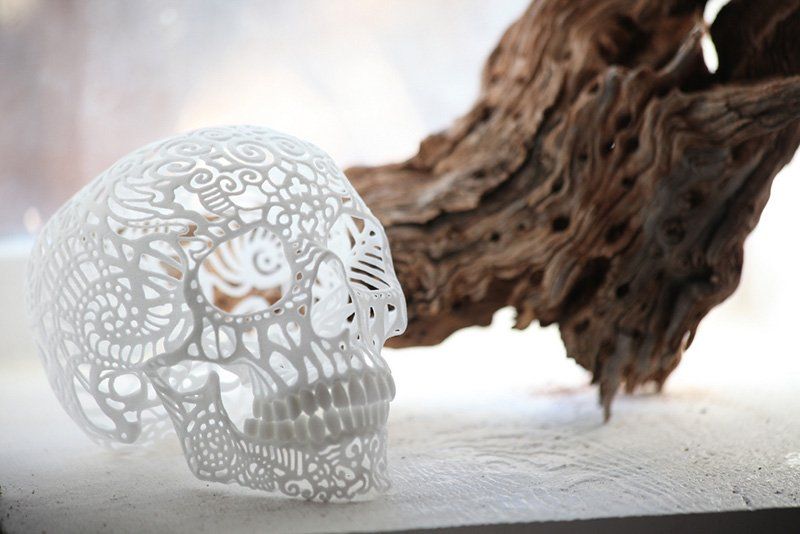
4. Pick Products for Weathering
There are a few different products you can use to apply weathering to your 3D prints such as:
- Acrylic paint
- Dry pigments
- Rub-N-Buff
A basic Acrylic Paint Set can work very well also, using brushes or a tablecloth to apply it and rub it off. It comes with the brushes in the kit so you won’t need to get them separately.
This video is a great example of using acrylic paint and two tablecloths to apply weathering to a model.
This Tamiya Weather Master Set (C) is a great dry pigment product that you can use to weather your models effectively.
These will allow you to add some cool effects like smudges, scars, dirt, wounds and worn out parts. You’ll also need some basic brushes or some tablecloths to help apply the product to your model.
These Soucolor Acrylic Paint Brushes from Amazon should work very well.
Rub-N-Buff (Amazon) is a great product that many people recommend for applying weather to models, as well as having other uses.
It’s possible to remove the paint coat on 3D models to add some scratches. Users recommend using Rub-n-Buff with a dull brush to get this desired effect.
First time using Rub n’ Buff, looking for some new things to print and use it on, feel free to drop some STLs below from 3Dprinting
5. Apply Product to Model to Add Weathering
Dip the brush into the weathering product, whether it’s paint or a dry rub, then gently apply it to your 3D model in the areas you want weathering in. It’s a good idea to use a contrast of colors while doing this process to give a more realistic effect.
While you are dry brushing, try to use minimum paint, while being gentle and light to weather your 3D prints.
It’s even possible to airbrush the paint onto your model. Rather than using just paint, you can mix acrylic paint with water and press this on the model with a cloth.
After applying the mixture, you can rub it off the model with another cloth to get a contrasting effect that looks like weathering.
One of the most important things in weathering 3D printing is to decide which parts need dirt and which parts should have scratches and other imperfections.
Also, you need to decide what the frequency of paint should be so that the model looks aged but attractive as well.
While adding weathering, you should go for areas like nooks, crannies, or bends. For making smaller marks, you can dab excess paint off the model, but for larger marks like a deep wound, you can be generous with the paint.
Here is a detailed, comprehensive, and easy-to-follow video on how to weather 3D prints by 3D Printed Props.
A user asked him whether he put on an extra coat after the weathering because lately the user has experienced that the Rub-N-Buff comes off the print and gets attached to the fingers and clothes.
Kevin responded by saying that he doesn’t usually use it but applying an extra clear coat should protect the weathering effect.
One user posted that he printed a Wolffe Armor on a CR-10 3D printer. He used a 0.2mm layer height, then got the model really smooth by using epoxy resin and a lot of sanding.
After that, he added some weathering effects to his 3D printed armor using the methods shown in the video below.
Another user suggested adding some burn marks, scratches, or any other kinds of imperfections as well so that it looks more worn down instead of looking like there is just some dirt on the armor.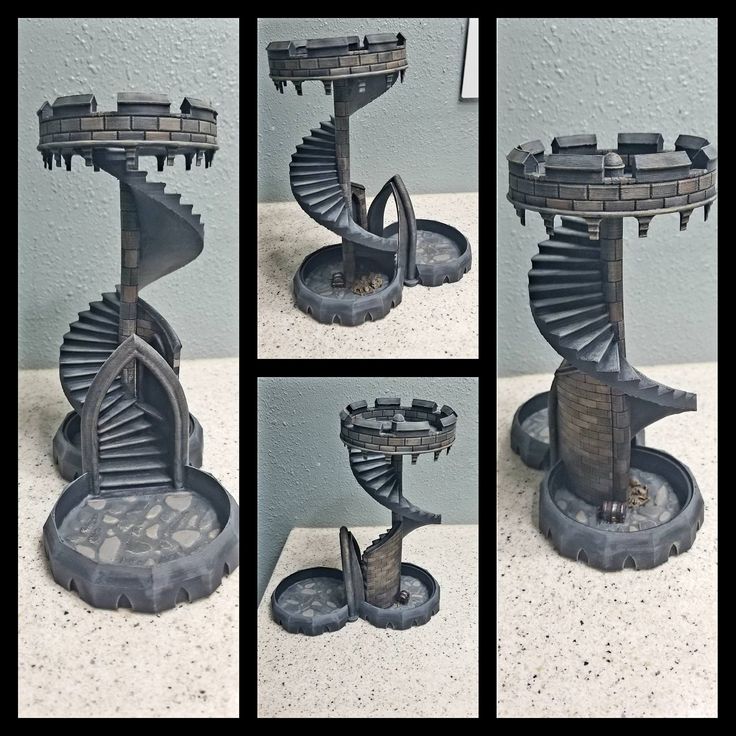
I added a little bit of weathering to my 3d Printed Wolffe armor from 3Dprinting
Postprocessing of 3D prints step-by-step
I’m pretty sure that you have thought at least once that you would love to have a replica of a certain weapon or armor from your favorite game, movie or TV series – something cool to put on display. Or perhaps you want to get into the increasingly popular hobby, cosplay. Perhaps you don’t want an expensive and pre-made item from a shop. You want something that YOU created. And that is why we are here to show you how the Original Prusa i3 MK3 (or any other 3D printer) and several other tools can be used to create an amazing model. The process of machining 3D prints is called postprocessing, and today, I want to show you all of its secrets. Once you master these techniques, you will be able to work with pretty much anything you print.
Recently, we have looked at what postprocessing is about, but only in general terms.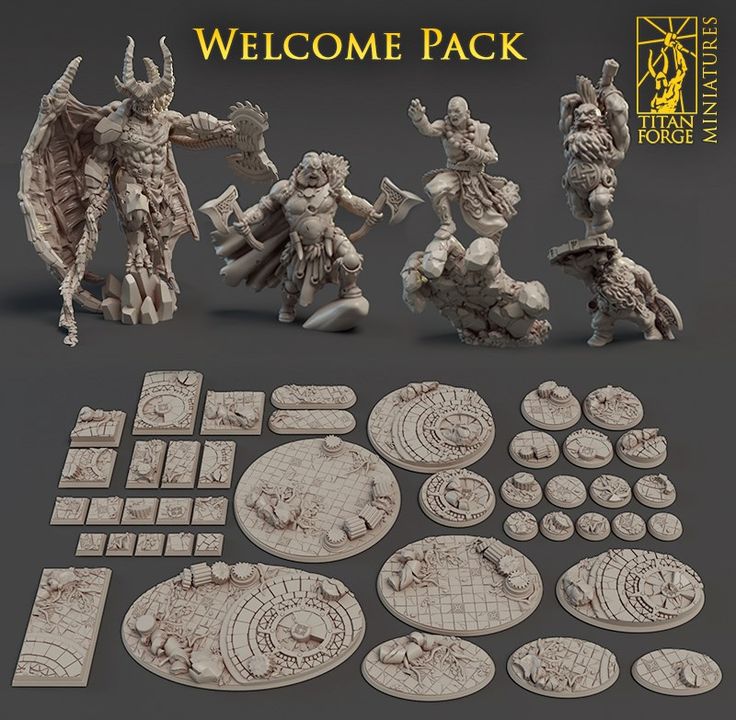 Today, we will describe the whole process step-by-step. We will transform grey 3D printed models into beautiful replicas of your favorite game or movie props.
- Model and material selection, 3D printing
- Assembly and gluing
- Reinforcing the model
- Body filler and sanding
- Filler spraying and final sanding
- Base colors
- Coloring
- Costs
Choosing a model, material, and printing
First of all, we need to decide which filament to use. We are mainly interested in how well we can work with various materials and how you can achieve the best possible result while remaining efficient. First chapters of material guides usually mention two materials – PLA and ABS.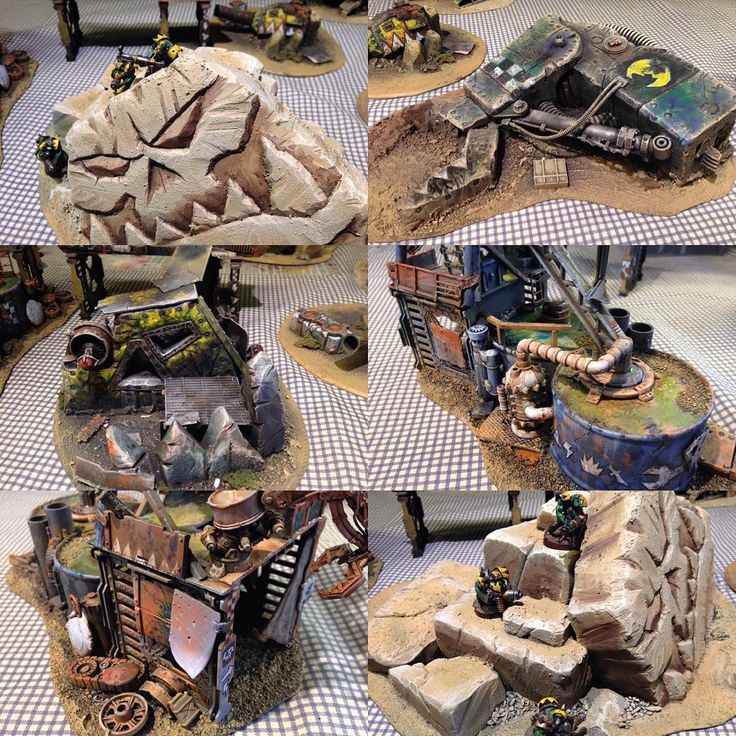 The very popular PLA is ideal for 3D prints for which aesthetics are important. Thanks to a lower printing temperature, it is easier to print and also, it’s suitable for producing finer details. ABS is more suitable for applications where strength, ductility, machinability and thermal stability are required. However, it is more prone to warping and it’s not very easy to print.
That’s why we’re choosing PET-G instead of ABS because this material guarantees the same durability as ABS, but it’s not so prone to twisting, warping or cracking. Another advantage is that PET-G does not have an unpleasant odor like ABS.
As far as filament colors are concerned, the choice is yours. You will most probably paint the model, so the color of the filament is not important at all.
For postprocessing, I selected two models, one for each material, and I’ll take you all the way to the final result. From PLA, we will produce Tracer Guns from Overwatch because they are quite detailed and the vast majority of parts will be hand-processed.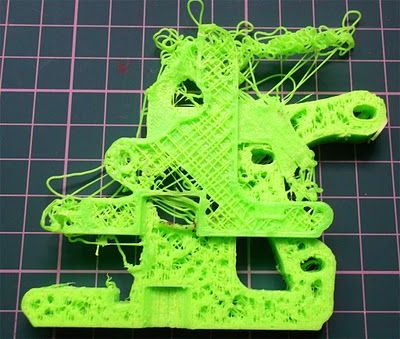
And every loyal Star Wars fan should have a Mandalorian helmet at home. 🙂 We will print it from PETG. The helmet has simpler shapes, so we can smooth it with a sander. To do that, we need a material with higher temperature resistance – hence PET-G.
When you print a model you want to postprocess further, it matters very little how many supports and what settings you use. Also, the layer height doesn’t make much of a difference. Essentially, just use the optimal factory settings for the printer to get the results you need. Use infill of 20% or higher, as objects will be stressed during processing.
Okay, we have the prints ready, so now it’s time to glue the parts together and prepare them for grinding.
Assembly and gluingThe printed model should first be temporarily assembled (ordinary adhesive tape is ok) to see what’s ahead of us. This applies to painting, too. If we have the possibility to have each part painted with a different color separately, we can save ourselves a lot of trouble – like masking various parts of the model so that the spray paint does not affect already painted parts. Once we know how the model will look, and we know which parts will have to be glued together, we can finally use the proper glue.
I personally recommend using glue with an activator, either fix or spray. If you don’t have that, any better Superglue should be enough to ensure a strong bond.
Reinforcing the modelDuring gluing, it may happen that we encounter parts that will be more stressed. To achieve a better toughness, we can reinforce the stressed parts to prevent them from breaking. The best practice is to use metal profiles and drill small holes in the plastic where we can insert the profiles. You can use various screws, pipes or wires, skewers or plastic boards as a reinforcement profile, or pretty much any materials/objects that fit the particular model and improve the strength of the stressed part. For example, the antenna required reinforcing, because this part was too thin and susceptible to fracturing. I fixed that by drilling a small hole and inserting a steel rod in it.
Large and thin surfaces can be reinforced with a polyester resin that improves the structural strength of the whole model. Add a hardener to the mixture according to the manufacturer’s instructions. It’s better to prepare smaller amounts that you will actually use up. Mix the resin in a bowl with a brush (keep in mind that the bowl and the paintbrush will be unusable after this procedure). Then, apply the mixture into the inside of the model with a brush. If you still find the model fragile, use a fiberglass cloth, which you will press into an already applied polyester resin layer and then apply another layer on top of it. If there are any sharp corners on the model, simply sand them with a P100-grit sanding paper so that the surface is smooth and any potential injury during manipulation/wearing is avoided. The resin should be applied in a well-ventilated room or outdoors, but preferably at temperatures above 20 ° C.
Now we have the models ready for the next step – hiding gaps between parts and sanding. First, let’s do a rough sanding of the printed object to find out whether we need to add extra material to hide the gaps between different parts. It is also the first step in the process of creating a nice smooth surface. Personally, I prefer the P100-grit sandpaper for this task. Be careful, however, not to make unnecessarily large scratches or gaps in the print, which would require extra fixes afterward. On the other hand, if you just grind through the surface into the infill, don’t throw the part away. You can easily hide it with a putty.
Once the model has been roughly sanded, we can move to fill the gaps between single parts. I recommend using body filler used in the automotive industry. Apply a thin layer on the gaps and let it dry. Once the model has dried, polish it with P100 sandpaper. Keep repeating this procedure until the gaps are not visible. Once the model is ready, we can apply a layer of putty/body filler onto the rest of the model, and then sand it with a P100 sandpaper. And we basically repeat this step over and over (and over) until the model is beautifully smooth.
Filler spraying and grinding
Between each round of application and sanding of body filler, it is a good practice to spray the model with a filler in a spray that will highlight contours between layers, so we can instantly see whether there is some kind of bulge or defect. Use the spray from a distance of approx. 20 cm (8-10 in.) at an angle of about 15 °, this applies to base colors or colorless varnishes as well. Use smooth long strokes and spray the model from one end to the other without staying in one place for too long. This will avoid accumulation of drops of paint. Use a marker to mark areas that have visible inconsistencies and require more care in the next round of sanding/smoothing/painting. You do not have to worry that alcohol-based markers will be visible through the base color and multiple layers of the filler. When the model is finally dry, you will easily mask these marks with the first proper color layer.
Primer colors
Once we have sanded everything to achieve the best possible look, the model needs to be sprayed with a base paint and then finished with a very fine P400-grit sandpaper to achieve a completely smooth surface, which is ready for applying the last layer of base paint. If you feel that the surface is still not smooth enough, you can spray the model with a filler or basecoat again and then sand it with P400 sandpaper – either using dry or wet sanding methods.
Coloring
Now we have the base paint applied, so we can finally move onto other colors. The best way to apply the paint is to start from the least accessible places or from the largest areas. A good practice is to fix every layer of paint in place using a clear coat spray (glossy or matte) to preserve the layer and prevent any damage to it (such as smudging) during subsequent work.
Then you can proceed with applying other colors either with a brush, airbrush or spray. If you use a brush, keep in mind to mix the color with enough water to avoid visible brush strokes on the surface of the object. Apply multiple layers to achieve proper coverage. The color will be beautifully saturated and the brush marks will not be visible.
If you apply paint using a spray or airbrush, you may need to use a paper adhesive tape to mask already sprayed surfaces. With regard to color selection: brands like Vallejo, Citadel or Model Air will offer you a huge range of shades. Maybe you already have your favorite brands, but I know from my own experience that it’s good to do a bit of experimenting from time to time and discover new products.
Once we have all the colors applied, we can switch to so-called washing, chipping and drybrushing techniques.
Chipping is a technique useful for achieving a damaged surface look. You will need a piece of sponge for this. Soak the foam into the paint, then wipe it into a napkin and start tapping the object lightly with the sponge. (see photo below). This way you can create the effect of weathered/scratched metal for example.
Washing or weathering is a technique for reproducing a weathered look of a surface. It consists of applying heavily diluted paint onto a model with a soft brush. The color is then wiped with a paper napkin in such a way that the residual color creates the “depth” of the model and highlights edges or lines. Applying this color to a larger surface helps to make an object look old or heavily used.
Drybrushing is a technique to highlight the edges of an object. Use a flat brush to pick a color of your choice, then wipe it into a napkin and leave only a small amount of paint on the brush. We use roughly ⅓ of the bristles and move them with a quick movement from one side of the model to the other. The slope should be 90°. This technique ensures that all the edges of the model and details are highlighted.
Finally, fix the last applied color layer of the model with a colorless varnish in spray – shiny or matte, depending on what type of effect you want to achieve. This prevents damage to the color during further manipulation.
CostsAnd what about the costs? To be honest, it’s pretty hard to give you an exact calculation, because you rarely get the color or body filler in the exact amount for only one model. The total cost of postprocessing of one model is roughly 16 USD, but we do not include the costs of colors, because their use can vary a lot, depending on the project. The above mentioned amount includes sanding paper, varnish, base spray, and filler. But you will definitely be able to use these items on more than just one model, so the 16 USD price is calculated proportionally.
Postprocessing is, first and foremost, time-consuming. You should prepare for the eventuality that you will play around with bigger models for even more than 15 hours. For an experienced modeler, the helmet was a job that required over 8 hours of work, not including drying, curing or printing parts. A beginner is likely to need more than twice the time. The Tracer guns are a bit easier to work with because the model consists of several parts that can be postprocessed separately. Still, it required over 10 hours of work, not counting curing, drying and printing the model. Beginners can potentially spend up to 18 hours of work here.
Sounds like pretty scary numbers, but be patient 🙂 The results are worth it. A huge advantage is that if you accidentally damage the model, you can easily print another one. So don’t worry about something like “I’m clumsy, I would ruin it”. With a 3D printer, you can always try again.
A keen eye and a 3D printer restore a crumbling story
- home
- News AT
- World
- A keen eye and a 3D printer restore a crumbling history
Where others see decay and decay, Patrick Letourneau sees beauty.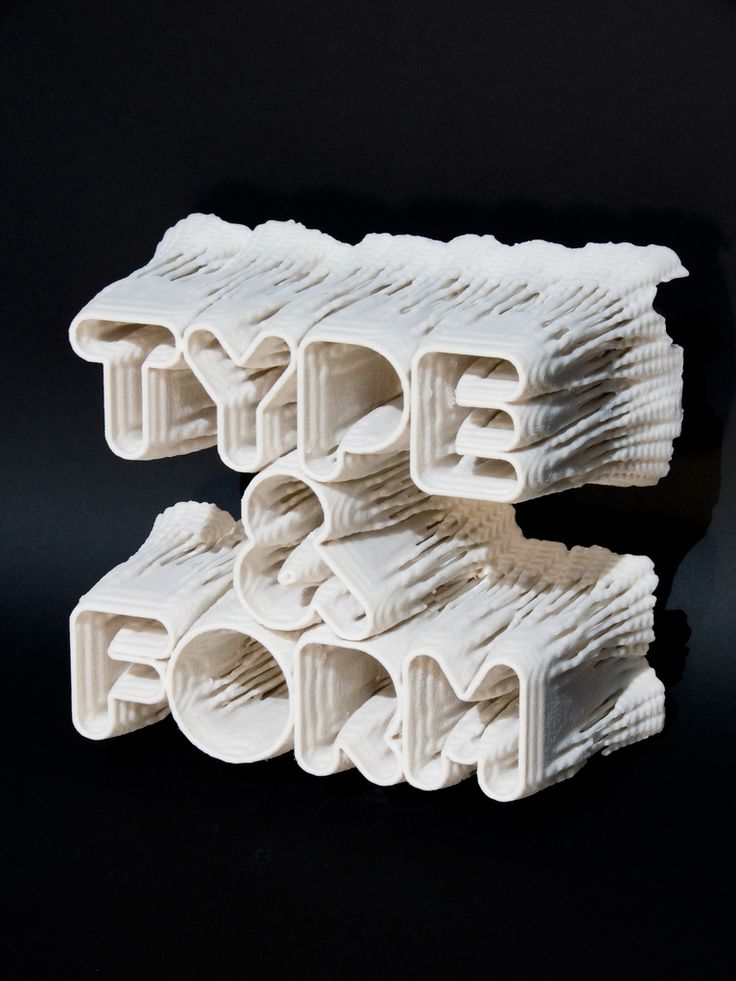 nine0014
The 32-year-old Winnipeg artist marvels at the dilapidated and doomed buildings slated for demolition, sees rusted silos and run-down ancient granaries behind rust-red paint, behind rickety beams ghostly barns dotted across farmer fields.
Letourneau peers into spaces that once flourished and then, using a technique called photogrammetry, brings them to life.
Patrick Letourneau is cleaning one of his 3D printed buildings, which he carefully photographed and reproduced. nine0014
"I'm interested in seeing how buildings age and what character their long life gives them. Old buildings, especially wood, show their age and weathering in a unique way," says Letourneau, owner of the 3D animation studio. Polygon Sandwich.
"They move with the ground, sag and warp, moss and rot. It's a very organic, fickle building method that reflects the landscape in which it was built."
An artist takes hundreds of superimposed photographs of the ruins he comes across, using both a handheld camera and a drone camera.
The photographs are cleaned and processed before being sent to special software that converts them into 3D digital images. A laser 3D printer then turns them into hard plastic models, some of which are the size of a postage stamp.
Letourneau peers into spaces that once thrived and then, using modeling techniques such as photogrammetry and laser printing, brings these doomed structures destined for demolition back to life. nine0014
"I can hold these ghost towns in my hands; it's magical. The printer resolves 50 micron/0.05mm detail, so the detail is preserved. I can see the individual boards," Letourneau says.
But not every dilapidated building he encounters gets this treatment. Letourneau is drawn to the strong wooden structures, silos on the verge of collapse and towering elevators that are "a fun challenge" to capture.
His favorite job is the Windsor family's grain elevator, a granary built in 1890s Diggory Windsor and his brothers. The building once stood in a farmer's field east of Provincial Road 242 in Pembin.
"When I first found it, it was collapsing. I knew it was going to be demolished. So I went on a little road trip; I had to wait for the right lighting conditions before I could shoot what I wanted," Letourneau explains .
Patrick Letourneau
Overcast skies are essential for 3D printing to be as close to life as possible, and Letourneau often has to wait for clouds to cover the sun in order to capture as many shots as possible. nine0014
"I can tell you it's not easy in Manitoba; we have so many sunny days. The more even the lighting, the better the color of the model is retained in the computer. Cloudy weather is best for capturing the true colors of objects without shadows or lighting that gets baked into models," he explains.
When Letourneau returned to the farm field to try to take a second picture of the Windsor family's grain silo, it was already too late: the granary had already been destroyed.
"It was no longer there, and then the historical aspect of what I was doing really struck me. I felt sorrow, but at the same time gratitude that I was able to visit there when it still existed." nine0014
The artist finds structures to photograph from Facebook offers or random encounters on rural roads.
Letourneau finds structures to photograph from community suggestions in Facebook groups or random encounters on rural roads.
He also uses a map compiled by Gordon Goldsborough of the Manitoba Historical Society, which he studied thoroughly.
"I rely on a map that shows all the remarkable old buildings, and that was my guiding light for most of the project. It was impressive. I spent a lot of time on it." nine0014
He has 20 scanned buildings waiting in the wings to be printed, each with its own set of challenges.
One of Patrick Letourneau's 3D printed buildings
"In a personal project like this, it's about how much the structure makes you feel; some buildings are more interesting than others. Some are better in print. "
"
The artist has now laser printed five 3D models of his buildings in Manitoba, including his first full shoot, a brutalist design of the former Winnipeg Public Safety Building on Princess Street, which he was able to photograph shortly before it was demolished. nine0014
A model printed on matte plastic is on display in his living room.
As Letourneau admits, the process of converting superimposed images into 3D laser prints is a labor intensive process. The photo shoot itself can take a couple of hours, with 100 to 600 individual shots needed to capture the required level of detail before printing.
"It's a lot of work and I do it in fits and starts, often in the evenings and weekends. It can take the printer five to 30 hours to recreate a building piece by piece, often with over 4,000 vertical layers." nine0014
Manitoba's buildings are a passion project, although it does take a big hit on Letourneau's wallet, like the $4,000 camera he recently purchased to promote the project.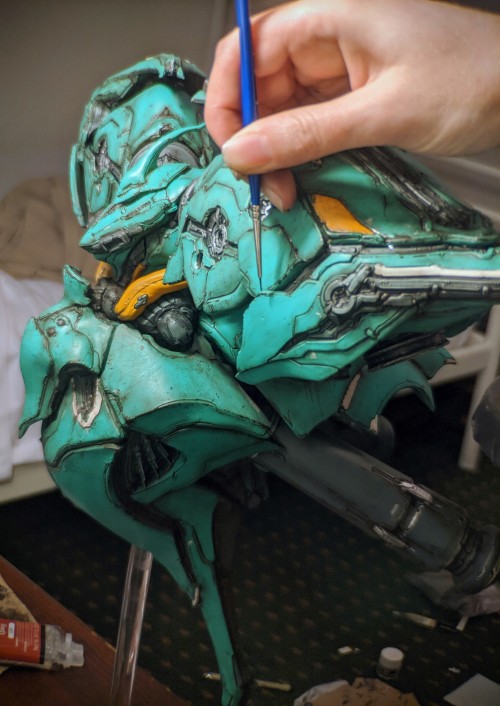
"This is an expensive undertaking, from 3D scanning and printing to lighting and camera equipment. But I hope to recoup my costs. I am focused on improving the technique and I already have a job."
Letourneau hopes to travel to neighboring provinces in the future to save their decaying old buildings. nine0014
"I consider myself a technologist working in the service of historians. I am both obligated to save more and horrified by the logistics," he says.
Share article:
Roscosmos allowed the use of space debris for 3D printing
NASA
He noted that now the state corporation faces a number of tasks in this direction. “It is necessary to formulate requirements for printing in orbit, achieve and adapt existing technologies, design production in space <…> additive technologies, we must find material. It could be regolith, if it’s the Moon, it could be space debris, if we are in near-Earth space", - TASS quotes Urlichich's speech during the leader forum "Additive Technologies. Expanding Horizons". nine0014
As the first deputy general director specified, the development of additive technologies will make it possible to develop a highly efficient system for manufacturing rocket and space technology in outer space.
Experts explain: regolith is residual soil that is the product of space weathering of rock in situ. At present, this term is most often used to refer to the surface layer of loose lunar soil. It must be said that the possibility of using lunar soil as a material for 3D printing of parts for the repair of space technology right on the Moon has not yet been discussed by experts. Much earlier. So, apparently, this issue is being comprehensively considered and worked out. nine0014
Meanwhile, 3D printing in orbit is already on the rise. So, at the International Space Station, namely, on a Russian bioprinter, experiments are being carried out to print various tissues - cartilage, bone, muscle. In particular, the bone tissue of a rat was printed, which then scientists on Earth will transplant into “earthly” tailed ones. Cosmonauts Anatoly Ivanishin and Ivan Vagner, who have worked on the ISS for 196 days as part of the 63rd expedition since April 9, 2020, brought the necessary materials to the station specifically for this experiment. The printing took several days. The experimenters are interested in the properties of the materials obtained in space, that is, their ability to initiate tissue growth and how well they are suitable as a scaffold for such growth. In the future, this technology can be used to treat critical fractures, as well as to replace defects in tumors of bone tissue or surrounding soft tissues with bone metastases. nine0014
For the first time such an experiment was carried out in orbit by cosmonaut, Hero of Russia Oleg Kononenko. Here is what he said in an interview with RG:
- During the first session of the experiment, which I performed in December 2018, a tissue-engineered construction of human cartilage (chondrospheres) and the rat thyroid gland were obtained from animal thyroid cells.