Uv curing resin 3d printer
How to Post-Cure Your Resin 3D Prints
If you use a stereolithography (SLA) 3D printer, it’s essential to know how to post-cure your resin 3D prints. Post-curing enables parts to reach the highest possible strength and become more stable. However, each resin behaves slightly differently when post-cured, and requires different amounts of time and temperature to arrive at the material’s optimum properties.
Download our guide on post-curing resin prints to learn the basics of post-curing and how post-curing affects each Formlabs resin
Download the Post-Curing Guide
Each Formlabs Resin is formulated with advanced, light-sensitive polymer chemistries. Formlabs stereolithography (SLA) 3D printers, such as the Form 3+, Form 3B+, Form 3L, and Form 3BL use 405 nm lasers to cure the liquid resin, producing a highly accurate solid part.
When a resin 3D printed part finishes printing, it remains on the build platform in a “green state.” This means that while parts have reached their final form, polymerization is not yet fully completed and the part has yet to attain maximum mechanical properties. Post-curing with light and heat is key to unlocking this last mile of material properties for SLA 3D prints.
Achieving optimal properties is especially essential when using functional or specialty resins. For biocompatible materials, post-curing is necessary to achieve the safety standards determined by regulatory agencies.
An ideal post-cure setting achieves the properties you need in the most optimized amount of time. For Formlabs Standard Resins (White, Grey, Black, and Clear), this amount may be none at all, or a short 15 minute post-cure. Where strength, rigidity, and temperature resistance are needed, Formlabs Engineering Resins improve with post-cure of up to 120 minutes.
Formlabs developed an in-house post-cure study to identify optimized settings for each individual Formlabs Resin. Using the ASTM method, our materials scientists tested a variety of mechanical properties at various temperatures for each material.
Material properties, such as modulus, are improved by post-curing printed parts.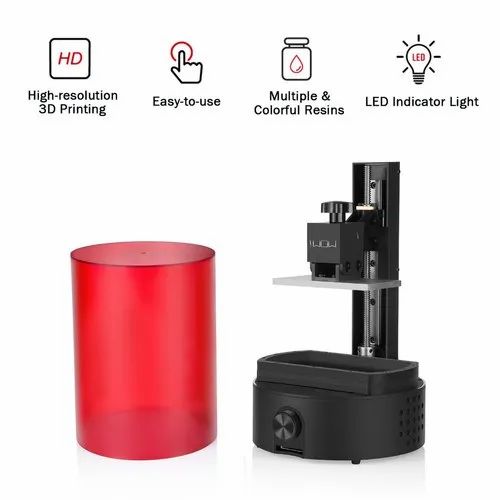 Each type of Formlabs resin requires unique post-cure settings. Please refer to the official Formlabs data sheets with ASTM testing for more information.
Find all up-to-date recommended post-cure settings for Form Cure or Form Cure L on our website. Material data sheets with specific mechanical properties after the recommended post-cure are available for download on our website.
Many methods for post-curing exist, from curing simply with light (natural sunlight, UV nail salons, UV curing stations, DIY UV cure boxes, etc.) to using both light and heat. Heat accelerates the process and enables even more complete bond formation, resulting in increases in material properties impossible to achieve with light alone.
Form Cure and Form Cure L, the two post-curing solutions from Formlabs for desktop and large-format SLA 3D printers, are designed to post-cure parts printed in Formlabs Resins with speed and consistency. With Form Cure and Form Cure L, SLA 3D printed parts can be post-cured at precisely the correct wavelength, at different temperatures, and for varying lengths of time.
Use Formlabs Post-Curing Guide to understand how post-curing affects the key properties of each Formlabs Resin, and determine the optimum post-curing plan for your application.
Download the guide to learn:
- How post-curing affects the key properties of each Formlabs material
- Optimum post-curing recommendations for material-specific applications
- Strategies for avoiding common post-curing issues
Access the Full Post-Curing Guide
7 Best Resin UV Light Curing Stations for Your 3D Prints – 3D Printerly
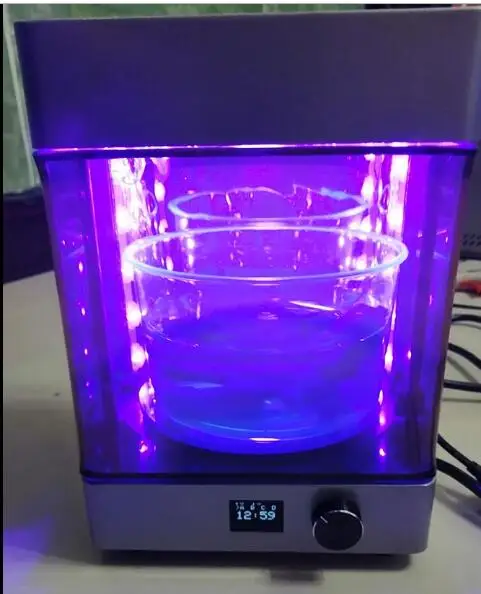
First, we are going to start off with the separate professional curing stations, and a great choice that many resin 3D printer users love is the Elegoo Mercury UV Curing Machine.
It is specially designed to offer focused, stabilized, and consistent UV lights to cure the 3D models printed using photopolymer resins.
The curing process after printing a 3D model allows the model to get hard and become safe to touch. This post-curing process increases the durability of the resin 3D printed models to many folds.
Because of its high quality, efficiency and many other benefits, the Elegoo Mercury has become one of the top choices of many 3D printer users to cure their 3D prints.
There is an LCD display located at the top of its lid that allows you to control the curing length/time. The machine has a transparent see-through window that allows you to safely see your resin 3D model during the curing process.
The Elegoo Mercury curing station includes a pair of 405nm LED strips with 14 UV LED lights in total. These LEDs are used as a light source and there are reflective sheets inside the machine that improve the curing process to cure all angles of your models.
The machine is equipped with a light-driven turntable that allows the whole print model to absorb UV lights as it rotates.
Being able to take your model and put it into a professional curing station, with a built-in turntable with reflective sheets works really well for curing your freshly made prints.
There is an intelligent time control function so you can set the exact curing times which you’ll need to adjust depending on the size and complexity of your model.
Users’ feedback claims that the machine’s control buttons are so soft to touch that they are sometimes presumed as touchpads.
The Elegoo Mercury can only be used for curing purposes as there are no washing components included. There are more expensive all-in-one solutions as well but we’ll talk about that further down this article.
Check out the Elegoo Mercury on Amazon today for an amazing curing process.
Another curing station that is appreciated is the Sovol 3D SL1 Curing Machine. It is a fast, efficient, and high performance curing machine with many amazing features.
It’s cheaper than the Elegoo Mercury but not as popular.
There are 12 LED UV lights in two 405nm strips which is the same as many other curing stations but the best thing about this curing machine is the addition of another LED strip that has two UV LED lights on the roof.
This addition allows the light to reach every part of the resin print and increases the speed of the curing process which is loved by its users.
The 360° turntable is capable of absorbing the UV lights energy so it can keep on rotating without requiring any battery.
There are smooth, sensitive, and extremely responsive touch buttons allowing you to operate the machine with ease.
The wall is also covered with a reflective sheet that illuminates the light and brings better curing results, similar to the Elegoo Mercury.
There are different time intervals of 2, 4, 6 minutes, allowing users to control the curing time according to the requirement without wasting time or damaging the print model.
A see-through window is equipped on the front to give a clear view of the print and curing process, while still blocking the UV lights inside the machine.
One user who has used many alternative curing stations mentioned how the Sovol 3D SL1 Curing Machine is one of the best solutions out there in this price range.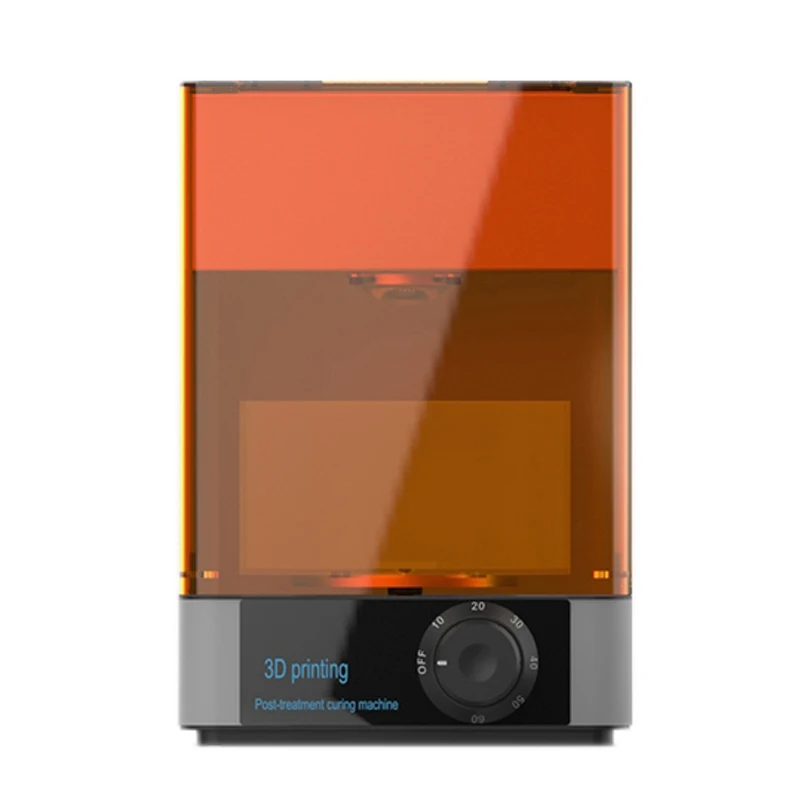
Check out the Sovol 3D SL1 Curing Machine on Amazon today.
The Sunlu UV Resin Curing Light Box is great curing solution which is compatible with almost all types of 3D printers such as LCD, SLA, DLP, etc.
This light box is suitable to cure 3D prints of 405nm resins efficiently. It is equipped with a UV light stripe that consists of 6 heavy-duty and powerful 405nm UV LED lights, perfect to cure all types of resin models.
These power packages have the ability to cure the resin 3D prints properly and entirely in just a few minutes. It ensures that there will not be any uncured resin residues once the post-curing process is completed and the model has become hard.
The cured print will not only have an elegant and smooth finish but will be durable as well.
It has a highly responsive control button that allows you to set the time at any interval from 0 to 6 minutes.
Operating and using the machine is much easier because there are fewer chances that the model will get stained or burned if kept in the light box for a relatively long time.
The light box ensures that each part of the print model can get cured evenly. This curing solution includes a turntable that rotates the model at a consistent speed of 10 revolutions per minute.
It has a special optical filter material so the UV light is properly kept within the chamber and doesn’t leak out like other cheaper curing solutions.
On top of all this, you have a 1-year guaranteed after-sale service for any issues, so you aren’t left guessing.
Get yourself the Sunlu UV Resin Curing Light Box from Amazon.
Comgrow UV Resin Curing Lamp is specially designed to complete the post-curing process in less time as compared to other resin curing lamps.
Compared to the solutions above, this one is more on the budget side, yet still works really well.
There are 6 powerful 405nm UV LED lights that can cure the resin print model effectively.
A 360° turntable is included in the system to rotate the model and doesn’t use batteries to work, instead utilizing UV lighting or natural solar light as the power source.
The turntable can easily rotate the model weighing up to 500g which is enough for pretty much any resin print.
As it gets power from the UV lights, it is recommended to keep it near to the lamp to increase its spinning speed if desired.
Thicker or complex parts may take a bit more time but normally a thin resin print can be cured efficiently in just 10 to 15 seconds even if it is placed 5cm away from the lamp.
It’s recommended to wear protection glasses or goggles because the lamp emits powerful ultraviolet rays that can be harmful to the eyes.
Users find it quite helpful especially because of its solar-powered turntable that eases the post-curing process at a reasonable price.
Many people use this as a key part to their own DIY curing station, using something like a bucket lined with metal reflecting duct tape.
One person even used the delivery box it came with, cut a hole in there, and taped the UV light right onto it.
It has an inline switch so you can turn it on and off with ease, rather than having to plug it in and unplug it each use.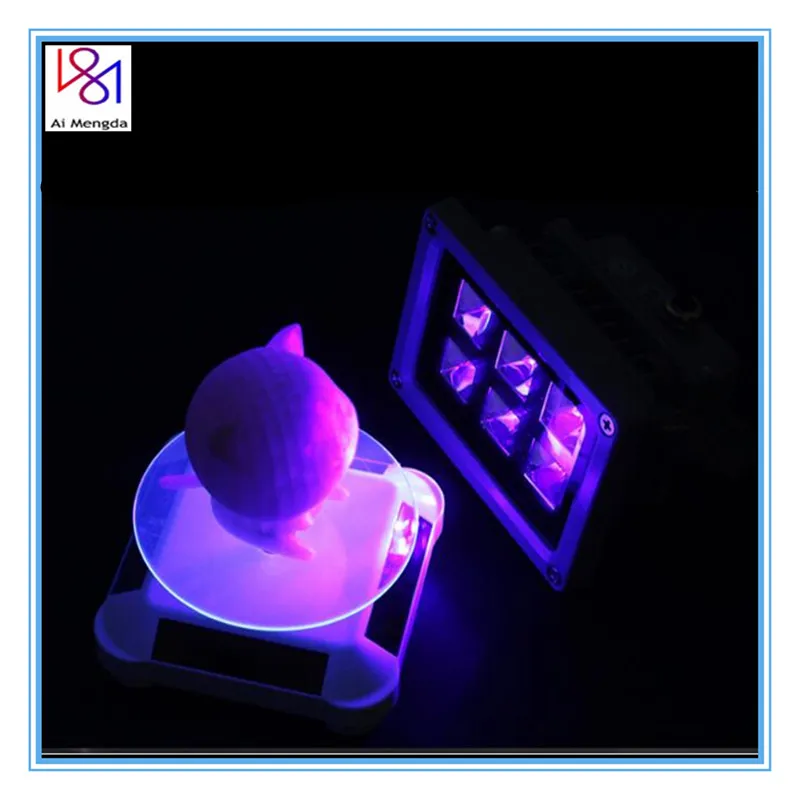
Check out the Comgrow UV Resin Curing Light with Solar Turntable from Amazon.
Simple light lamps can become weak in just 3 weeks and cannot survive for more than 6 months. The Befenybay UV Curing Light Set can serve you for more than 10,000 hours without losing its full power and efficiency.
This complete set protects you from looking into the UV light which is a great safety feature unlike some of the other options in this list. It’s still a good idea to use safety googles just as a precaution, to maximize your safety.
The light bulbs are really bright. It’s recommended to not expose your skin to the light for a long time either.
The curing box is made out of acrylic and effective blocks the UV light from getting out, similar to your standard SLA 3D printer.
These LED UV resin curing lamps do not contain any sort of mercury which makes them 100% eco-friendly.
The closer you place the object to the lamp, the better your results will come out.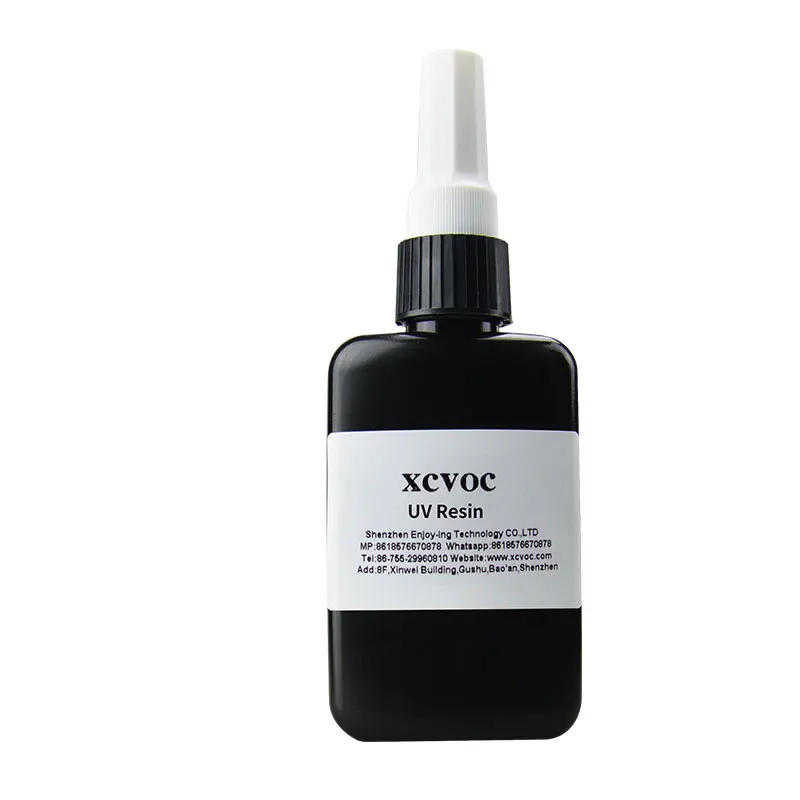
Its cold light source with low heat generation makes it a safe, yet powerful UV light lamp solution. It can cure any resin print without causing any damage to the surfaces.
Users love that the turntable spins automatically so they don’t have to occasionally move their uncured resin prints around a few times for an even cure.
It doesn’t even require battery which is a gamechanger for most people.
Check out the Befenybay UV Curing Light Set on Amazon.
When it comes to the best resin UV light curing station for 3D prints, Anycubic Wash and Cure cannot be ignored. No matter if it is an SLA, LCD, DLP, or any other kind of 3D printer, the services of Anycubic Wash and Cure can be utilized.
A 4.8/5.0 rating on Amazon at time of writing is hard to ignore!
This is a dual-purpose machine that can cure prints and has a built-in ultrasonic washer for washing purposes as well. The machine has a sealed plastic container that allows you to store the washing liquid to be used in the future instead of throwing it away after each wash.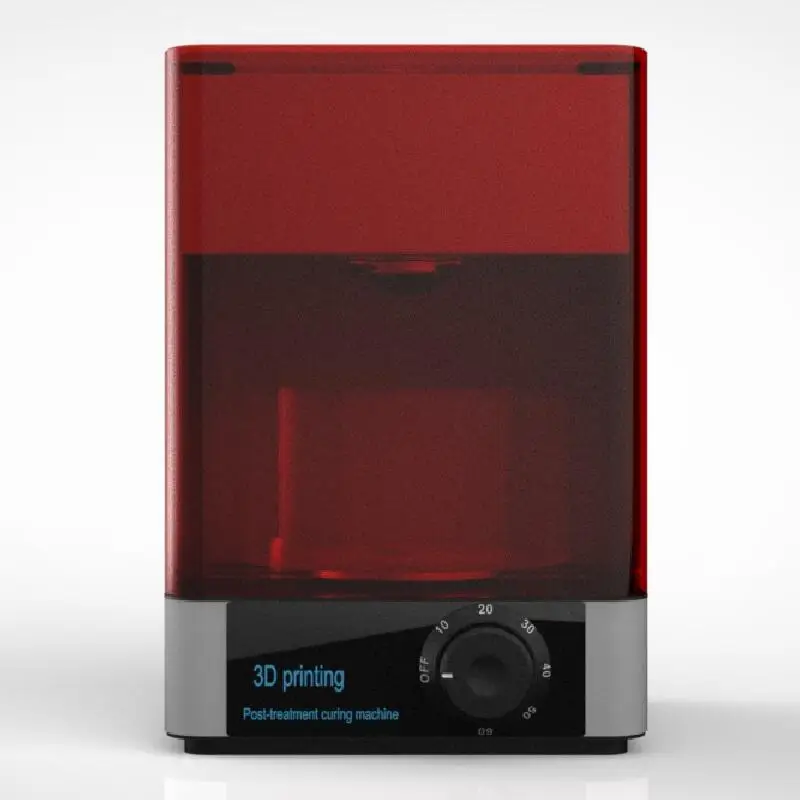
The machine is compatible with almost all types of 3D printers because it is equipped with 405nm and 305nm UV lights.
The platform keeps on rotating 360° to make sure that each part of the print can absorb the UV lights and get better post-curing during effects.
There is a semi-transparent see-through window that can stop up to 99.95% of the internal UV lights from entering your eyes and allow you to monitor the curing process without any hassle.
To enhance the safety of the user, there is an auto-pause feature that can stop the post-curing process anytime if something goes wrong especially if the top cover is removed.
The washing mechanism consists of a propeller at the bottom that rotates the water at a high speed and alters the spinning direction during the process which ensures the complete cleaning of the 3D print.
There are two different washing modes that allow you to place the model after removing, directly into the basket to get washed or hang the print platform into the basket pad.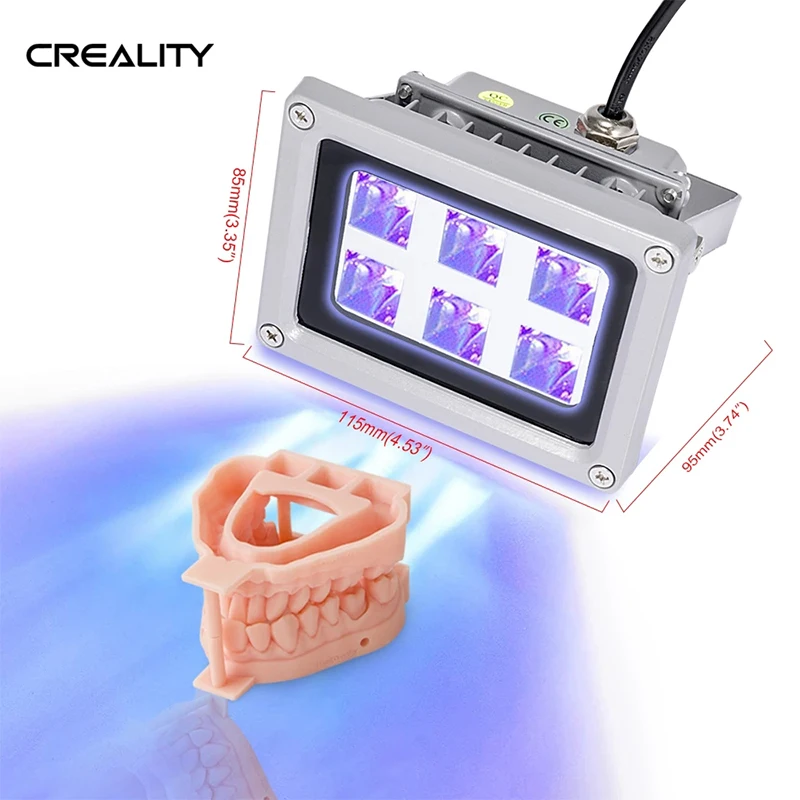
The first one is known as the basket washing mode while the latter is called suspension washing mode.
Users are happy with the machine because it is secure, leak-proof, agitates well, and has different washing modes and curing time intervals.
Check out the Anycubic Wash & Cure on Amazon.
Elegoo Mercury Plus 2-in-1 is the upgraded version of the Elegoo Mercury. It is compatible with most of the LCD, SLA, and DLP 3D printers including Photon, Photon S, Mars, Mars Pro, Mars C, and many more.
Its price is a bit higher as compared to other curing machines but it is efficient and useful for the users in the long run. It is widely considered a great alternative to the above mentioned Anycubic Wash and Cure machine.
It includes a dual-purpose resin 3D print curing and washing box that offers several different washing modes to provide better and efficient results. It allows you to fill the basket with different amounts of liquids by using its height-adjustable platform bracket.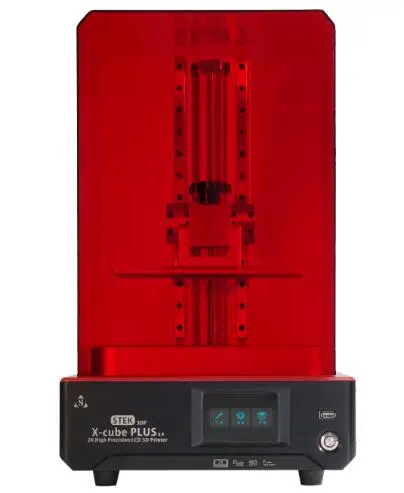
You can wash the resin 3D print separately in the washing basket and you can also place the print with the build plate to thoroughly wash them properly in the station.
There is a turntable platform and the machine has 385nm and 405nm UV light curing beads that allow the light to reach every inch of the resin 3D print in the chamber. The equipped TFT display screen has a brief timer that shows the remaining and total time.
There is an acrylic hood that is capable of blocking 99.95% of the UV lights and its safety features stop the curing process immediately if the hood is removed or opened.
Users say that with its different LED light frequencies, safety features, washing modes, and all the amazing features, it is worth it to spend $100 to get this helpful curing station.
Get yourself the Elegoo Mercury Plus 2-in-1 Machine today.
Anycubic Wash & Cure Vs Elegoo Mercury Plus 2-in-1
The Anycubic Wash & Cure and the Elegoo Mercury Plus 2-in-1 are amazingly efficient machines that help users facilitate the post-processing of their high quality resin prints.
They both have very similar functions in terms of how they look and what they do, which is washing freshly-made resin 3D prints in a bath of cleaning solution, then having a curing station with in-built 405nm UV lights to cure the models.
The Elegoo Mercury is much cheaper than the Anycubic Wash & Cure even though they can hold very similar-sized models, so I would opt-in to get the Mercury between these two machines.
It also has stronger curing lights with a 48W rated power compared to the 25W of the Wash & Cure.
Conclusion
Now that you are aware of the curing station options for your resin 3D printer, you can carefully pick the best option that makes the most sense for you.
Some people like the budget solution of the UV Lamp and Solar Turntable, while others love how easy the 2-in-1 Elegoo Mercury Plus solution is.
I currently have the budget solution, but I definitely will upgrade to a professional all-in-one solution as soon as the bigger size comes out, since I have an Anycubic Photon Mono X (my review on it).
Curing photopolymer in SLA printing: how to improve the quality of products
Basics of 3D
Rapid prototyping
Experts recommend
Author: Aleksey Chekhovich
Author: Aleksey Chekhovich
Post-curing of photopolymers - what is it? | Process Chemistry | Competent choice of light | What products need additional curing? | An easy way to improve strength and quality
Additional curing of the product in an ultraviolet oven (eng. post curing) is one of the stages of the 3D printing process using laser stereolithography (SLA) technology. Although often underestimated, it can have a decisive effect on the final properties of a printed part. But this is not a universal method that will work in every situation.
Making the right decision about the post-curing time for different materials and sizes in a UV oven requires some skill and experience. For some parts, additional polymerization is important, for others it may not play any role. Let's take a closer look at the technical nuances of this process, which is an important part of SLA technology, and discuss why it is important to do everything right.
Want to print a photopolymer prototype or functional product in 1-2 days? Test print for free!
Order 3D printing service
Post-curing of photopolymers - what is it?
During printing in an SLA printer, certain areas of the photopolymer resin are exposed to a laser, which causes them to cure. Upon completion of this process, the entire part will be cured, and it may not be entirely clear why there is a need for post-curing. To answer this question, we must understand the properties of photosensitive resin and how it changes from a liquid to a solid.
Final approval of the prototype in SLA technology
When in a liquid state, a photopolymer resin consists of many unbound monomers mixed with photoinitiators. Exposing this mixture to strong ultraviolet laser radiation causes the photoinitiators to react and the monomers to bind together to form a polymer.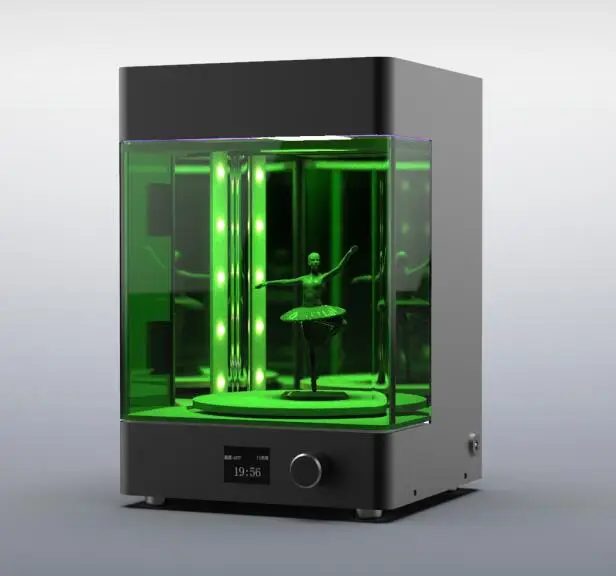 This is the initial curing stage.
The cured resin is a cross-linked macromolecule, that is, every part of it is directly connected to every other part of it. However, after 3D printing, there will be many areas that are not sufficiently crosslinked, which affects the tensile strength and other properties. UV light can be used to complete the molecular bond and create any possible cross link.
The sun is actually a good source of ultraviolet radiation for further curing purposes. Many hobbyists who use home SLA printers simply leave the printed parts in the sun for a while and the process ends. But more professional solutions tend to use UV ovens (polymerization chambers), which are much easier to operate.
iQB Technologies experts recommend: 9 products that are more profitable to make on a photopolymer 3D printer
Why re-curing?
The post-hardening process makes the parts not only stronger, but also more stable. The presence of unreacted photoinitiator and unbound polymers in the model means that its state can continue to change for a long time after printing, especially when exposed to sunlight. For parts with high demands on accuracy (for example, light-cured fillings in dentistry), this is completely unacceptable.
Unpainted parts can also change color when exposed to sunlight if not properly post-cured. This is a problem with SLAs in general, but it becomes even more pronounced if the part is not cured enough.
The main reason for post-curing is usually to improve tensile strength and eliminate unwanted surface tack. Models made from individual materials may be slightly soft before post-curing, and weaker areas of the printed part may sag, affecting accuracy.
Fully cured printed part
Equally important is the issue of safety, because uncured resin is toxic to humans. If incompletely cured products come into contact with the skin, irritation or other problems will result, especially if the operator's fingers come into contact with the mouth. The subsequent curing of the part results in the resin being completely stable and safe to the touch.
Process Chemistry
Curing is affected by both heat and light. Heat increases the energy in the crosslinked polymer network and causes more active movement at the molecular level. This increase in energy and mobility greatly facilitates the contact of reactive groups with each other and the formation of further bonds.
However, UV light is the main ingredient needed for post curing. Although the equipment is called an oven, in fact, the temperature inside it is not at all high - not much higher than in a solarium. The resin used in SLA printing is light sensitive and will react when exposed to light. As discussed above, not all possible compounds are formed during the initial curing phase of printing, and therefore further reactions need to be stimulated. When exposed to ultraviolet light during post-curing, free radicals are formed, which bind to neighboring groups and cause polymerization.
Large automotive component in the post-curing process
Smart choice of light
It is wrong to think that the more light you provide, the faster the process goes or the stronger the material becomes.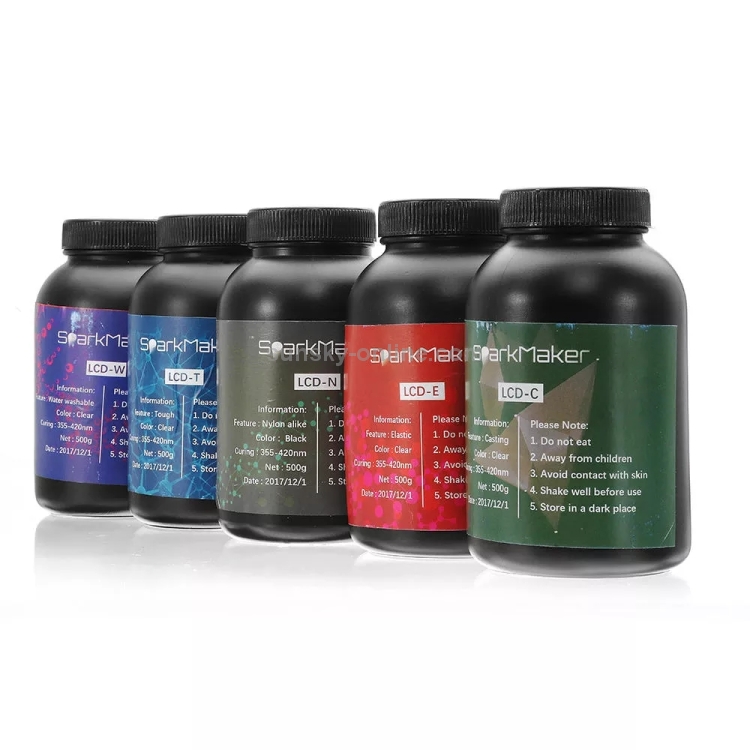 Here it is important to take into account the wavelength of light affecting the photopolymer from which the model is made. Photosensitive resins are designed to respond to certain wavelengths of light, and using a different wavelength in post-curing will give unfavorable results.
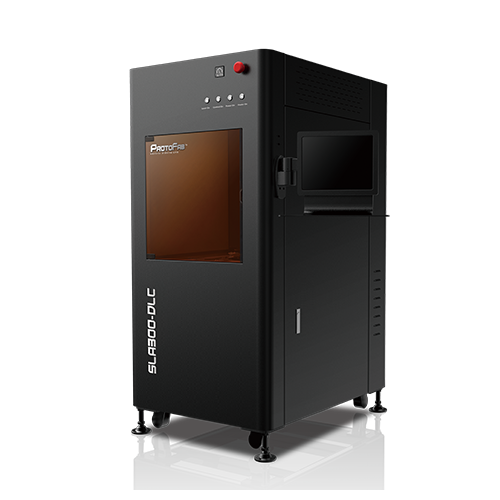
This is one of the reasons why 3D printing professionals use specialized post curing equipment. For example, ProtoFab photopolymers cure best under 355 nm light. When using resins from another manufacturer in ProtoFab 3D printers, this value may be different. For example, Formlabs photopolymers cure optimally using 405 nm UV light. This is a good reason to use ProtoFab's own UV oven if you are already using the consumables supplied by ProtoFab. The use of a different type of UV chamber or a UV curing agent for nail polish removers will provide some additional curing but will not maximize the mechanical properties of the material.
ProtoFab equipment in the Business Development Fund of the Krasnodar Territory: UV oven and 3D printer SLA450 DLC
Another problem with sunlight or non-specialized equipment is that curing can be uneven. The sun can shine more on one side than the other if you don't constantly change the position of the model, and the same applies to nail polish removers that only emit light from above. Special ovens usually have a rotating platform or UV lamps that completely surround the part to ensure uniform curing.
Read the article on the blog Affordable 3D services for business: an industrial SLA printer is being mastered in Krasnodar
Which products need to be cured?
Photopolymers come in a wide variety of types and have a wide range of properties, and this has an impact on post-curing. Materials with particularly low strength or high flexibility often do not require post-curing or require little time. Over-curing of these resins will result in reduced flexibility and brittleness. On the other hand, materials chosen specifically for their strength or stiffness require the most post-cure to enhance those properties.
Left: Smaller parts generally require less post-cure time
Right: flexible materials should be handled with care
For standard SLA materials, such as photopolymers similar to ABS, additional polymerization is required, but not necessarily long. ProtoFab usually subject ABS-like materials to this process in UV ovens for about 20 minutes. Transparent materials will take a little less time, about 10-15 minutes. As a rule, all ProtoFab photopolymers need post-curing to some extent, and only in rare cases it is not carried out at all.
Product size is also an important factor to consider when deciding how long to post-cure. Large objects need to be in the oven for much longer, while small parts will be ready in just a few minutes. This is where experience comes into play. An experienced specialist knows the optimal amount of processing of models based on the material and dimensions, and there is no doubt that the mechanical properties of all printed products will be the same.
The easy way to improve strength and quality
A well-done post-curing is a quick and easy way to improve the quality of your SLA parts. Models that have been even slightly under-cured will cause various problems and will have a much lower tensile strength than fully cured models.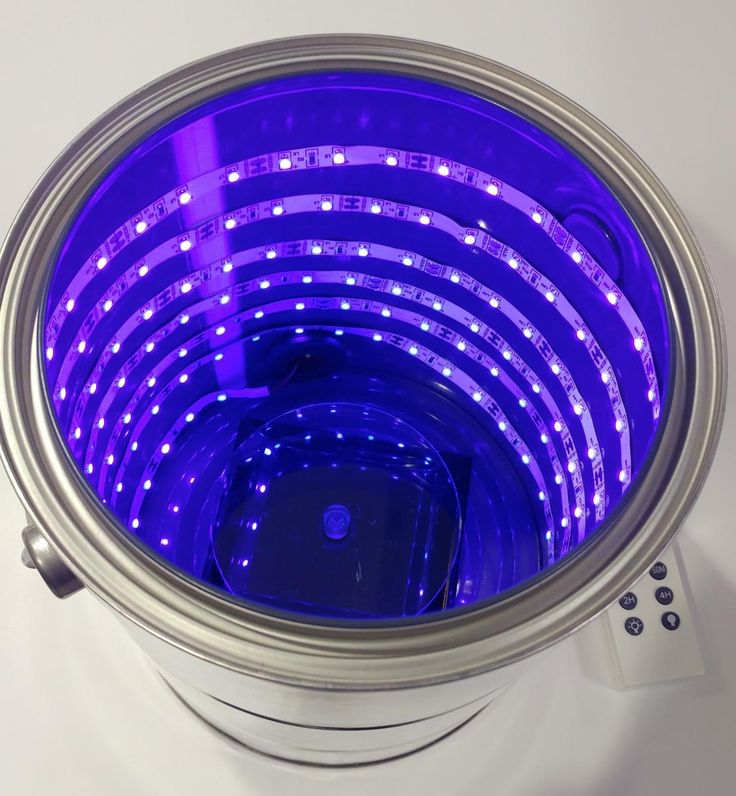
When it comes to objects printed with softer or more flexible materials, be more careful. In any case, the vast majority of photopolymers used in SLA printing can be significantly improved through additional curing in a UV oven.
Material provided by ProtoFab
Article published on 06/21/2022, updated on 06/21/2022
Photopolymer 3D printer
3D printers can be sorted not only by the printing technologies used, but also by the consumables used. In this section, we will look at devices that use photopolymer resins to build models.
- 1 Consumables
- 2 Laser Stereolithography (SLA)
- 3 Projector stereolithography (DLP)
- 4 Multi-jet (MJM and PolyJet)
- 5 3D pens
- 6 Additional illumination
Consumables
Photopolymer resins are liquid polymers that harden when exposed to light.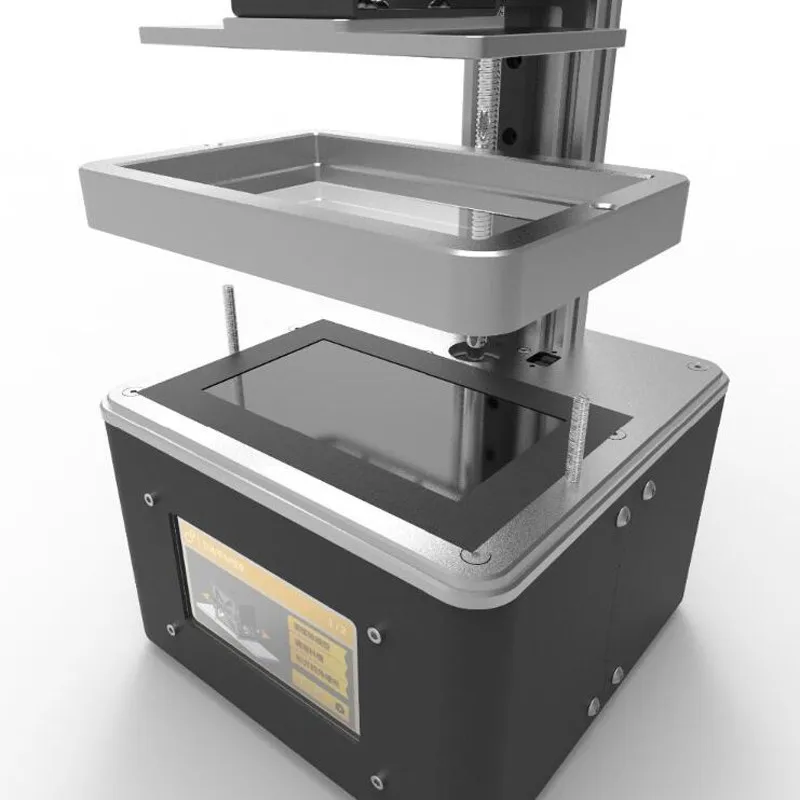 As a rule, such materials are sensitive to the ultraviolet range, which determines the design of photopolymer printers. One of the common design elements is a transparent colored cap or housing made of a material that filters ultraviolet radiation. This is done both to protect the user's eyes and to protect the supplies inside the printer from exposure to sunlight and background lighting.
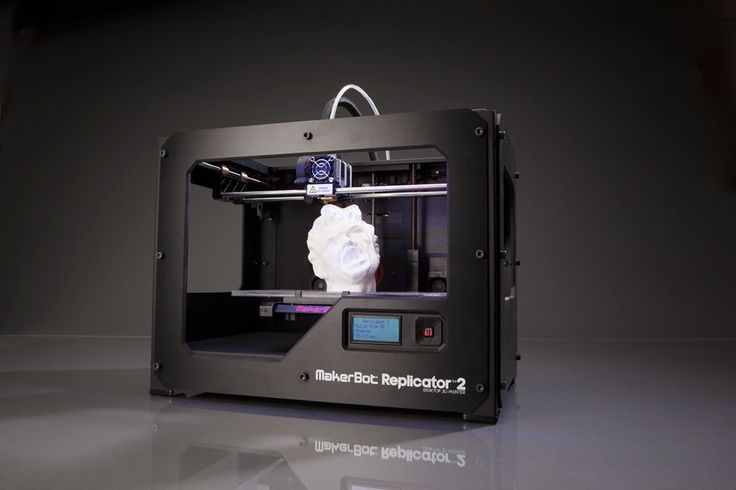
Photopolymer resin loaded into Form 1 3D printer
The physical properties of resins after polymerization vary widely. Both rigid and flexible options are available, transparent and matte. A wide selection of colors is also available. Resin consistency and exposure times also vary, so a range of compatible media should be considered when choosing a printer.
The last aspect to consider when choosing a material is its toxicity. There are both quite toxic options and biologically safe ones.
The cost of consumables can be considered the Achilles' heel of photopolymer printing.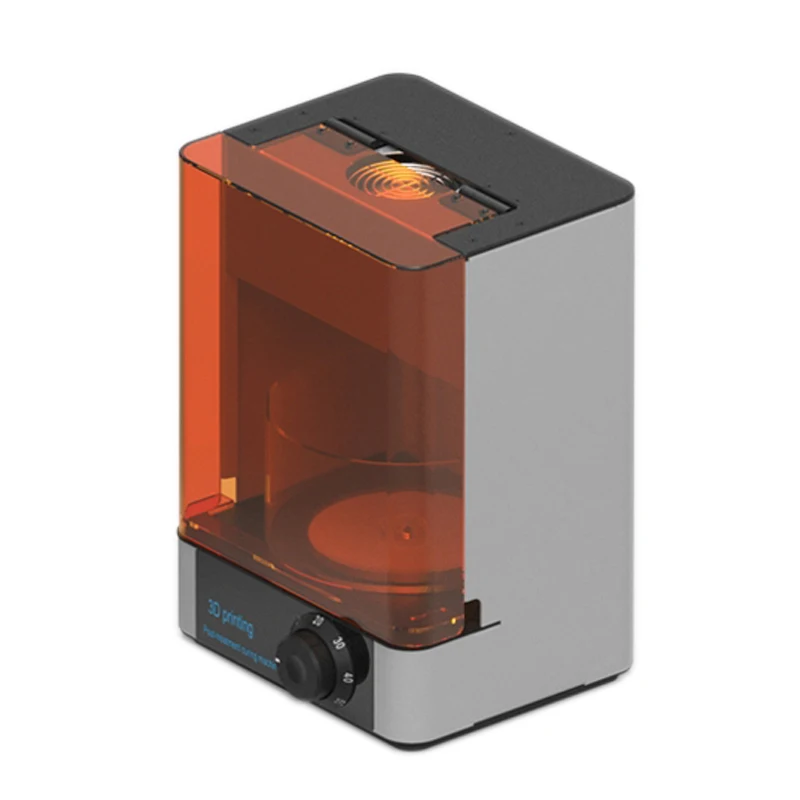 The plants themselves are already reaching quite acceptable price levels, but it is still quite difficult to find inexpensive photopolymer resins. It is hoped that the proliferation of inexpensive photopolymer printers will lead to an increase in the production of consumables and lower prices.
Laser Stereolithography (SLA)
SLA Model
The firstborn of photopolymer printing and modern 3D printing in general. The technology was developed in 1984 by Charles Hall, who later founded 3D Systems.
SLA printers use laser emitters to cure the photopolymer supply.
A typical SLA printer consists of a consumable tray sitting under a build platform driven vertically by a raise/lower mechanism.
Alternatively, the cuvette itself can be driven - what matters is the relative movement of the platform and the container. Above the cuvette is a laser emitter and a mirror system for deflecting the laser beam.
During printing, the platform is immersed in the consumable for the thickness of one layer of the digital model.
Since photopolymer resins can be quite thick, a leveling mechanism is often used to speed up the process.
SLA printer operation scheme
After leveling, the process of illumination of the material begins. Illumination is produced by laser irradiation. Most photopolymer resins are designed to cure (polymerize) when exposed to ultraviolet light, which determines the choice of laser frequency. The movement of the beam along the X and Y axes is determined by the operation of the deflecting mirrors.
After the drawing of the layer is completed, the platform is immersed in the material for the thickness of one more layer, and the process is repeated with the drawing of the next layer of the digital model.
Model building animation
SLA printing takes quite a long time, and printers using this method tend to have relatively small build areas.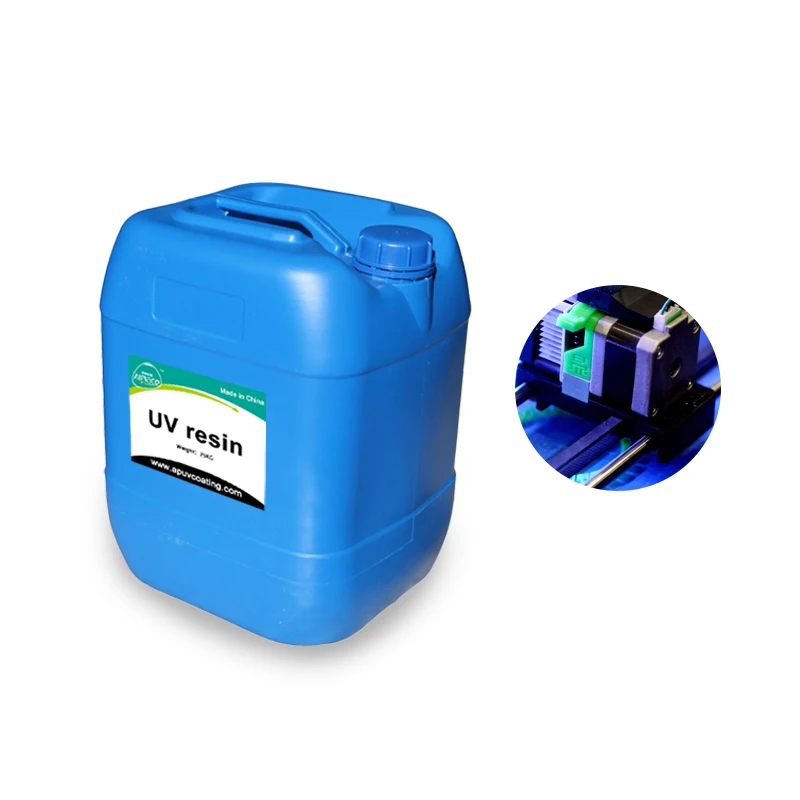
This is mainly due to the high cost of laser emitters: printing large objects with a single laser will take too much time, and installing additional emitters and mirrors will complicate the design, increase the dimensions of the installation and raise the price to an unacceptable level for most users.
Despite the success of this technology, projected stereolithography is considered to be a more promising, albeit very similar, method.
Projector Stereolithography (DLP)
Formlabs Form 1 Desktop DLP Printer
A close relative of laser stereolithography, this method uses digital LED projectors instead of laser machines with mirror deflection systems. The method became popular due to the development of technology for the production of low-cost high-resolution digital projectors by Texas Instruments.
Layers are illuminated using a digital projector that highlights the patterns of the entire layer, which distinguishes this method from SLA, where the “picture” emerges progressively using an ultraviolet laser.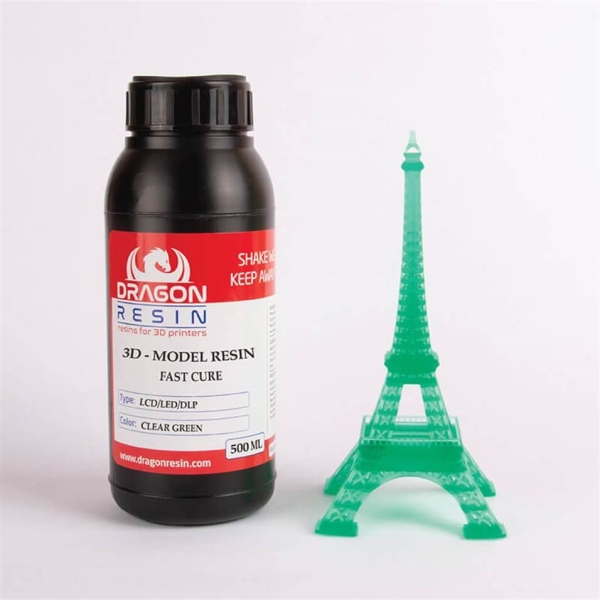
A similar approach was previously used on SGC-type plants, but this technology used physical photomasks, making the process expensive, time consuming, slow and noisy.
FTI continues to exist, a development of SGC that is virtually indistinguishable from DLP printing, as it also uses digital LED projectors.
DLP printer design
Simultaneous illumination of an entire layer using projectors allows you to significantly speed up the printing process, even compared to SLA printers that have a high scanning speed (ie beam movement).
In addition, these printers are less sensitive to rough physical impact due to the absence of delicate mirror systems.
The absence of mechanical mirror systems improves accuracy. Finally, the cost of projectors sets them apart from laser systems.
Projection size can be quite significant, reaching the average of popular FDM printers.
An interesting feature of DLP printers is the ability to "reverse" or "reverse" printing.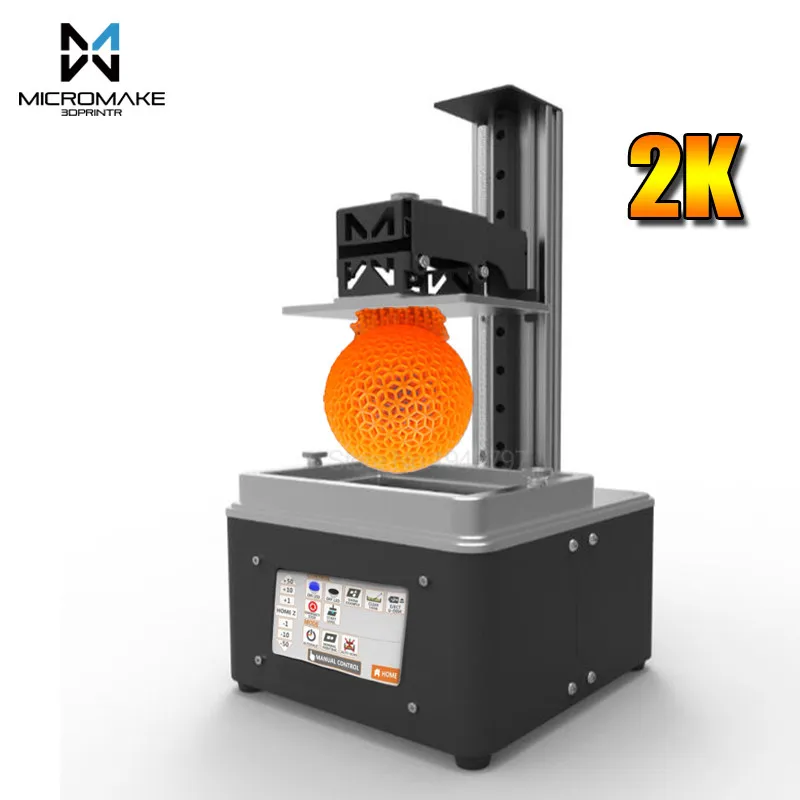
In this case, the projector is installed under a transparent (material choice for transparency in relation to ultraviolet light) cuvette, and the platform does not sink into the material, but gradually rises, pulling out the layers of exposed polymer.
This approach eliminates the alignment mechanism and achieves even higher Z resolution than SLA printers.
In addition, the size of models in height is not limited by the depth of the cuvette, which favorably affects the dimensions of the printer and the possibility of increasing the build area.
Multi-jet printing (MJM and PolyJet)
3D Systems ProJet 3500HDMax MJM printer
MJM and PolyJet technologies are almost indistinguishable from each other. The name difference comes from the respective patents: Multi Jet Modeling is owned by 3D Systems, while PolyJet is owned by rival Stratasys.
The very principle of multi-jet polymer printing was developed by the Israeli company Objet, which eventually became a division of Stratasys.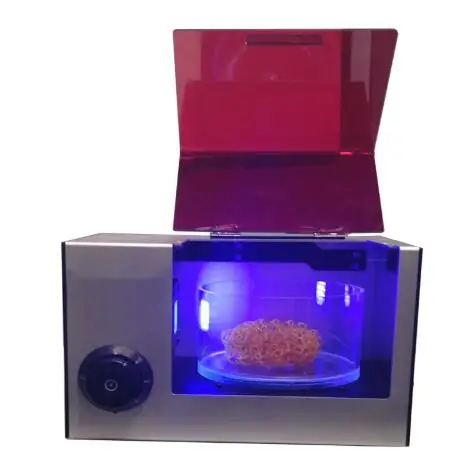
Multi-jet printing technology combines features of 3D inkjet printing (3DP) and projection stereolithography (DLP).
How the MJM PolyJet printer works
Models are built by spraying photopolymer using linear arrays consisting of multiple nozzles.
The applied layer is immediately exposed to ultraviolet lamps - as a rule, two processes occur simultaneously.
By the time the array reaches the end of the build chamber, the previously deposited material is hard enough to print a new layer.
Composite models created on the ProJet 3500 DP dental printer
This approach allows for very high printing speed, but is characterized by high design complexity, which negatively affects the cost of such installations and limits their distribution to professional use.
One of the advantages of MJM and PolyJet technologies is the ability to create composite structures from photopolymer resins with different physical characteristics.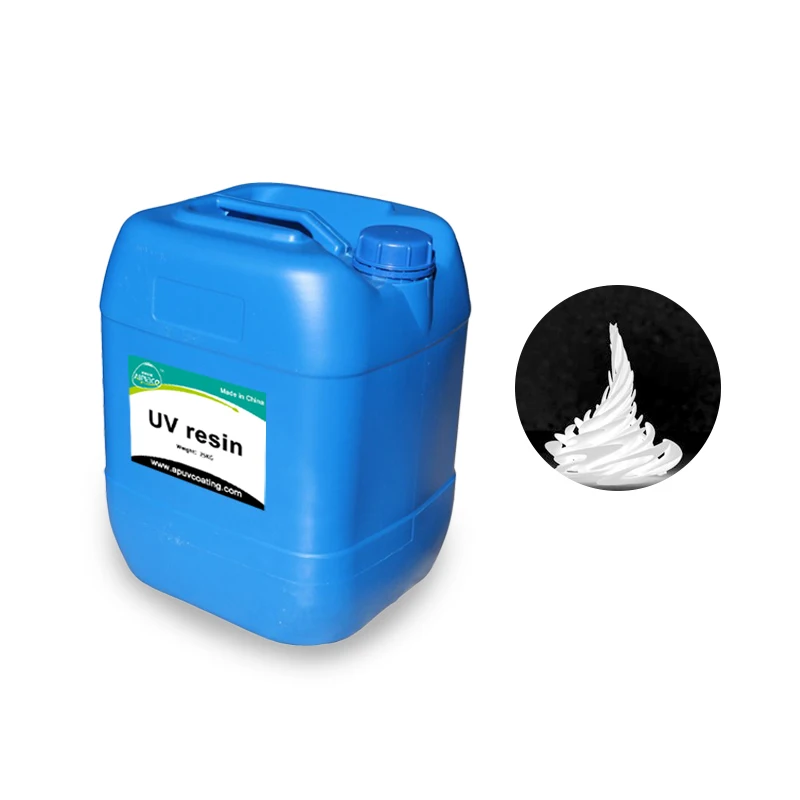
It is thus possible to create models with easily removable supports, use several colors and use flexible and rigid materials in parallel within one model.
3D Pens
CreoPop 3D Pen
Recently, there has been a craze for hand-held printing devices called 3D pens. At the moment, there are three main options for such devices: drip-jet pens (DOD), called BioPen and used in the development of new methods for treating damaged tissues, FDM 3D pens, which are manual extruders (essentially similar to the usual hot glue guns, but using thermoplastics) and developments in 3D-drawing with photopolymer resins.
CreoPop 3D pen was the first "handheld resin printer". The design of this device is quite simple, because the most complex function, positioning, is performed by the user himself. The pen only extrudes resin through the tip surrounded by LED emitters.
CreoPop 3D pen in action
This way the resin hardens immediately after application, allowing you to literally draw on air.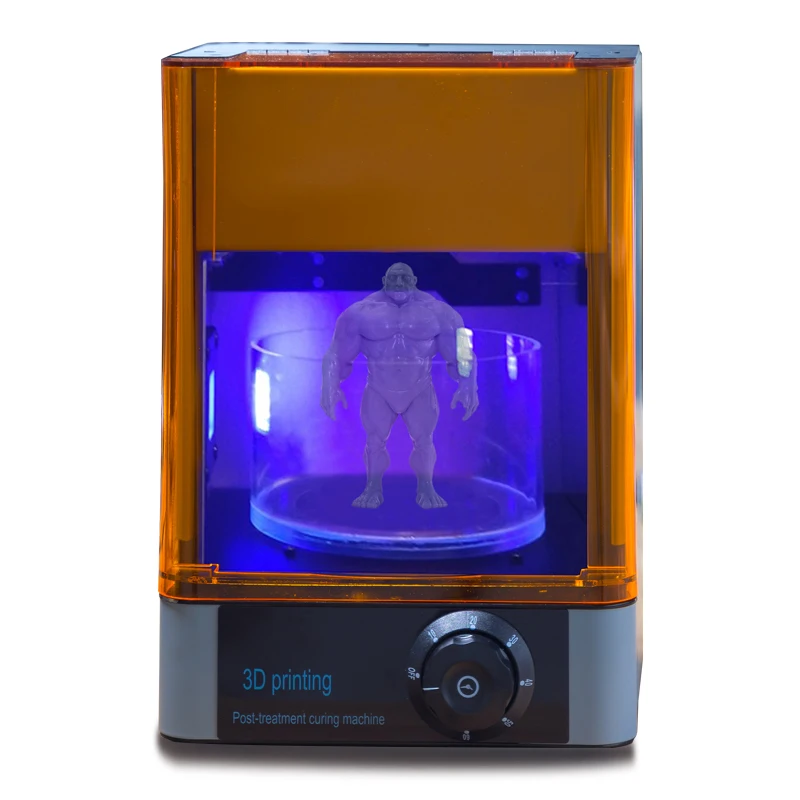
The advantage of such handles over FDM-analogues is the low operating temperature - there are no heating elements in the device. As a result, with such pens you can even draw on the skin.
In addition, a wide range of photopolymer resins with different physical properties can be used with such devices, which greatly expands the range of possible applications. At a minimum, this is a relatively inexpensive, but entertaining toy.
The only drawback is the relatively high cost of consumables, but such devices are unlikely to require large volumes of photopolymer resin for domestic use.
Additional Lighting
Final Lighting of Resin Models in a Homemade Camera
Full curing of models can take quite a long time, so models in SLA and DLP-printing are only partially polymerized, sufficient to maintain the physical shape of the part.
After production, the models are usually placed in chambers equipped with ultraviolet lamps until fully cured.