Tape for 3d printing
Blue Tape for 3D Printing: The Complete Guide [2021]
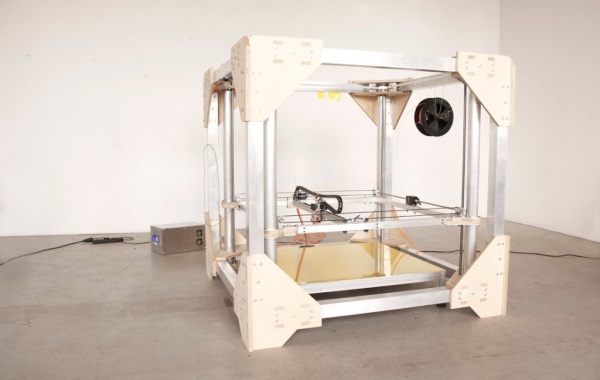
3D Printing has rapidly grown in popularity and accessibility. What used to only be possible in advanced laboratories is now possible in the comfort of the home!
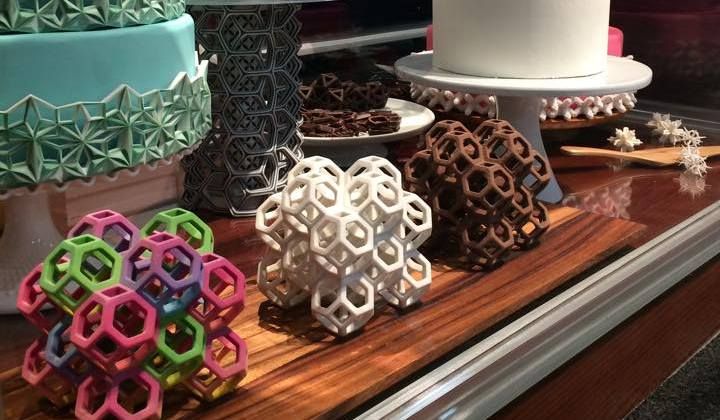
Whatever your purpose for 3D printing, whether professionally or just for fun, there are many components that play into the quality of the final product. One of the most important is bed adhesion.
Here is the ultimate guide to 3D printing with blue painters tape.
3D Printing Bed AdhesionWhat is 3D printing bed adhesion?Bed adhesion in 3D printing is how well the printed plastic parts are able to stick to the build plate. Good bed adhesion means that the plastic will not be easily removed or nudged, while poor bed adhesion means that it might move around during the printing process.
Essentially, as the filament hardens on the build plate, bed adhesion is what keeps everything in place. If the plastic pieces become top-heavy or get bumped, adhesion to the build plate is what keeps everything in place.
Bed adhesion is an important part of the 3D printing process. Luckily, there are special products designed to create the perfect amount of bed adhesion. Here are the reasons why bed adhesion is so crucial in 3D printing.
Not enough adhesion
If the 3D printed parts are loose enough to move around during the printing process, it can ruin the entire build. 3D printing requires exact measurements, so any sort of movement can misalign the entire build.
Too much adhesion
Alternatively, if the build plate has too much adhesion, it can be difficult to remove the plastic components. Any particularly thin pieces can potentially become damaged by the greater force required to remove them from the adhesion.
What kind of adhesives are used for 3D printing?Options for 3D Printing Bed Adhesion
PEI Sheets
PEI sheets, or Polyetherimide sheets, are adhesive plastic sheets designed to withstand the cycles of heat in 3D printing. On one side, they adhere to the build plate, and on the other they allow you to build your 3D prints.
While are supposed to be reusable for up to a month, the soft plastic can be dented and damaged very easily. A build plate that isn’t perfectly level can ruin a print. Investing in a PEI sheet can be risky because if it is damaged during an early print, the sheet can become unusable.
Adhesive Spray
Another option for bed adhesion is adhesive sprays. You simply spray the adhesive onto the plate and start printing. This route is easy and allows you to maintain a level bed. Plus, cleaning up is simple too, as most sprays are soluble in water.
Even though this is certainly a convenient method of getting your prints to stick, it is not the most effective. Getting an even stickiness to the bed with a spray can be difficult, and often it can be hard to get the bed to be sticky enough.
Glue
Using a glue stick is a way to keep your prints in place during 3D printing.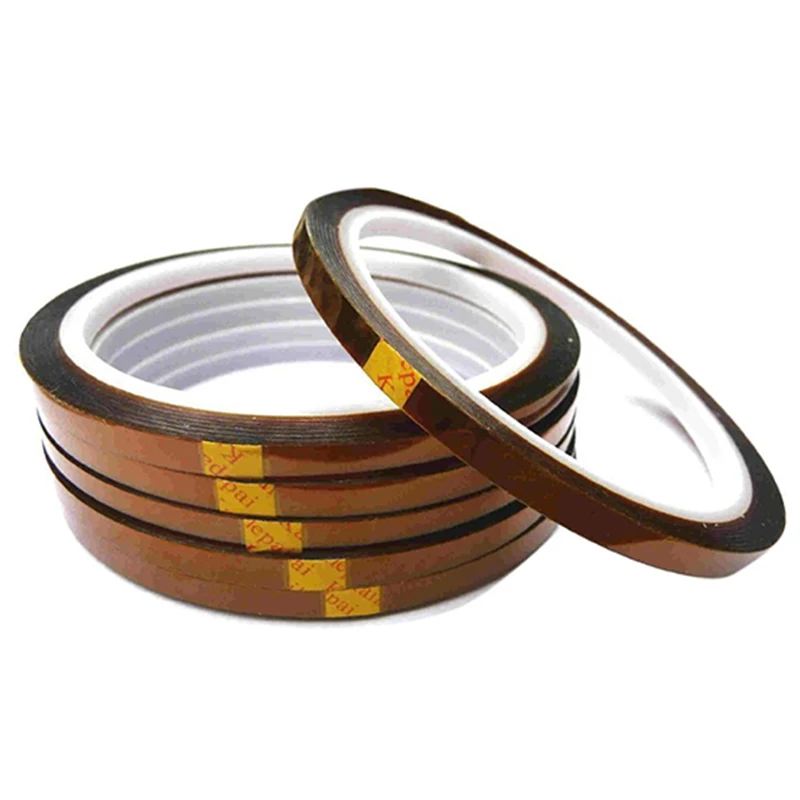 Special glue designed for 3D printing is available at a relatively low cost. All you have to do is rub the glue stick where you are going to be printing, and the printer will take care of the rest.
However, like PEI sheets, they can create an unlevel bed. If too much glue builds up in one spot, the print can become crooked. Also, clean up can be kind of a pain because the glue will stick to the plate and the print.
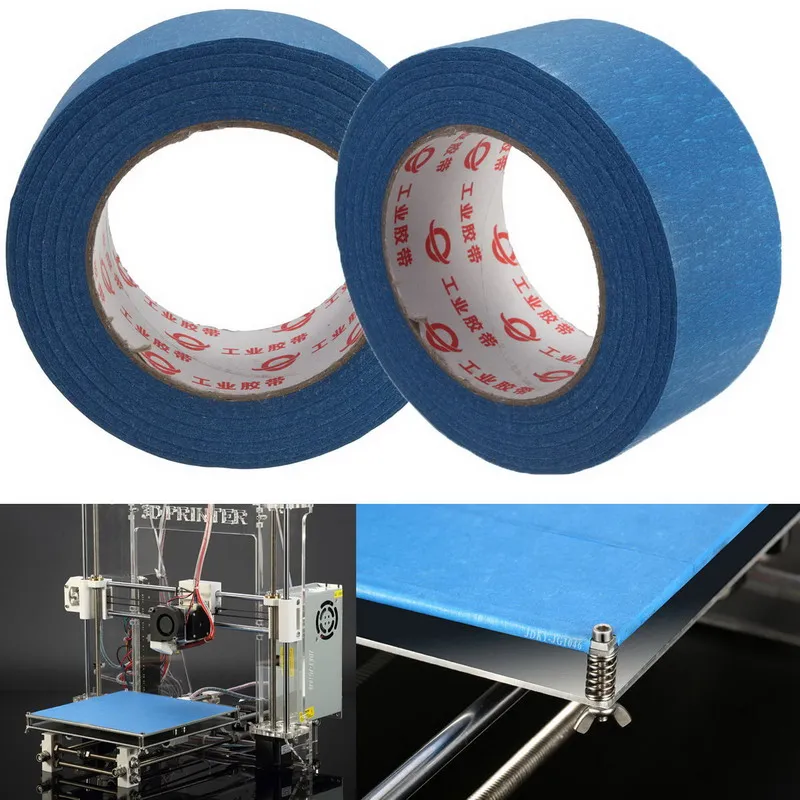
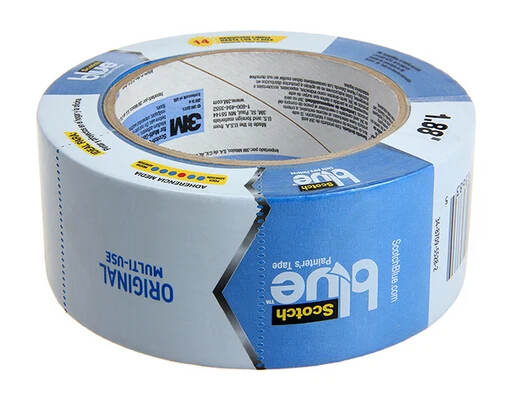
Blue Painter’s Tape
Specialized blue painter’s tape is a great option for creating bed adhesion. The porous nature of the blue tape allows PLA nylon, and other filaments to stick directly to the back of the tape. Painter’s tape is also heat resistant so it can withstand heated beds and the heat of the filament.
While it does take some set up, the price of the supplies and the quality of the printed parts are unmatched.
How to Use Blue Tape for 3D PrintingClean the Surface
Before you start applying the tape, you should clean your printing bed of all residue.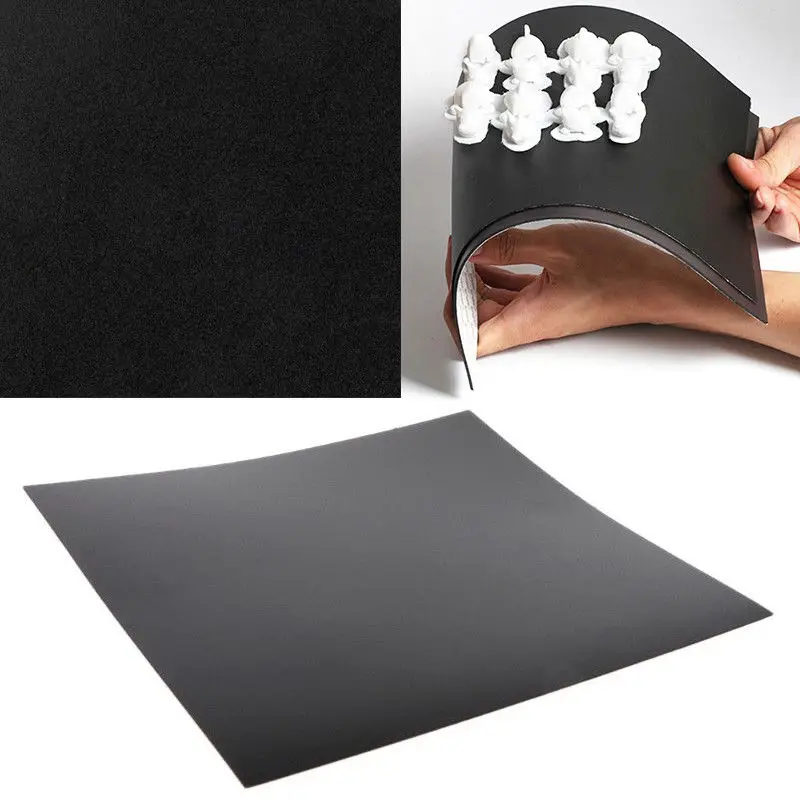 This lets the tape stick and helps to keep your plate level.
Taping a 3D Printer Bed
While it will take a few minutes to properly tape your build plate, the prep work is not too difficult and can quickly be mastered.
With the adhesive side down, lay the tape down side by side. You want to be as precise as possible with this step so that there are no gaps that could let the filament through, but you also do not want any overlap of the tape which would cause the surface to be uneven.
Tape Diagonally
A key tip for taping a build plate is to lay the pieces of tape diagonally. When laying out the pieces side by side, start from one corner at a forty-five degree angle and work your way over.
This is helpful because it keeps the tape from warping with the print. If the straight edges of the print line up with the straight edges of the tape, the tape can lift off the plate as the filament cools.
Remove Bubbles with a Scraper
As you lay the pieces of tape down, be sure that there are no bubbles underneath the tape. To ensure this, run a scraper over every piece as you place it.
You want to be gentle so that you do not damage or tear the tape, but you must be firm enough to remove any imperfections. If there is a piece of tape that becomes unusable, tear it off and try again; it is better to waste one piece of tape than an entire print!
Trim the Tape
When sizing up the strip of tape, pull it so it is longer than the width of the plate. Then when placing it, be sure to leave plenty of slack on either side of the plate. With a sharp razor, carefully slice the ends of the tape so it is flush with the sides of the plate.
If you don’t have a razor, it is also an option to wrap the excess tape underneath the bottom of the plate. However, this can affect the leveling of the build plate.
Avoid Touching the Top of the Tape
During this whole process of taping your build plate, try to touch the top of the tape as little as possible. The oils in your fingers can affect the porousness of the tape.
If you are trying to print onto tape that you have been touching a lot, the oils from your hands may keep your parts from adhering to the tape. It is not so impactful that you need to wear gloves to place the tape, but just keep your contact to the tape at a minimum.
Preparing the Surface of the Tape
Once you have your blue painter’s tape on the build plate, there are various ways you can prepare the surface of your tape. Depending on what kind of adhesion you are looking for, you can use different methods for your own work.
You want to find the best balance between adhesion and clean removals that you can. If it has too much grip, the parts will not be easily removed. This could rip the tape or damage the parts. Too little adhesion will keep the printed parts from staying in place.
Unprepped Blue Tape
Leaving the blue tape untreated is a viable way to get adhesion. The porous nature of the tape allows the filament to attach itself, keeping your printed parts in place.
This method of adhesion should give you extremely clean removals. However, for prints that are top-heavy or unbalanced, you may need more adhesion to keep them steady and attached.
Scuffed Blue Tape
A simple trick you can use to add more adhesion to your blue tape is to scuff up the surface. Just take a dry sponge and rub-down the spot that you want to add adhesion to. By doing this, you increase the porousness of the tape, allowing the filament to stick to it even more.
This increases the adhesion of the tape, but it still allows for very clean removal of printed parts. The downside is, it will limit the lifespan of your tape. If you continue scuffing the same spot print after print, the tape will become worn down more quickly and will stop giving you quality results.
Glue on Blue Tape
Another option to greatly increase adhesion is combining blue tape with other methods of adhesion. Spraying hairspray or adhesive spray on top of the tape can give it more grab, and adding glue to the tape can increase it even more!
However, adding too much adhesive can cause problems.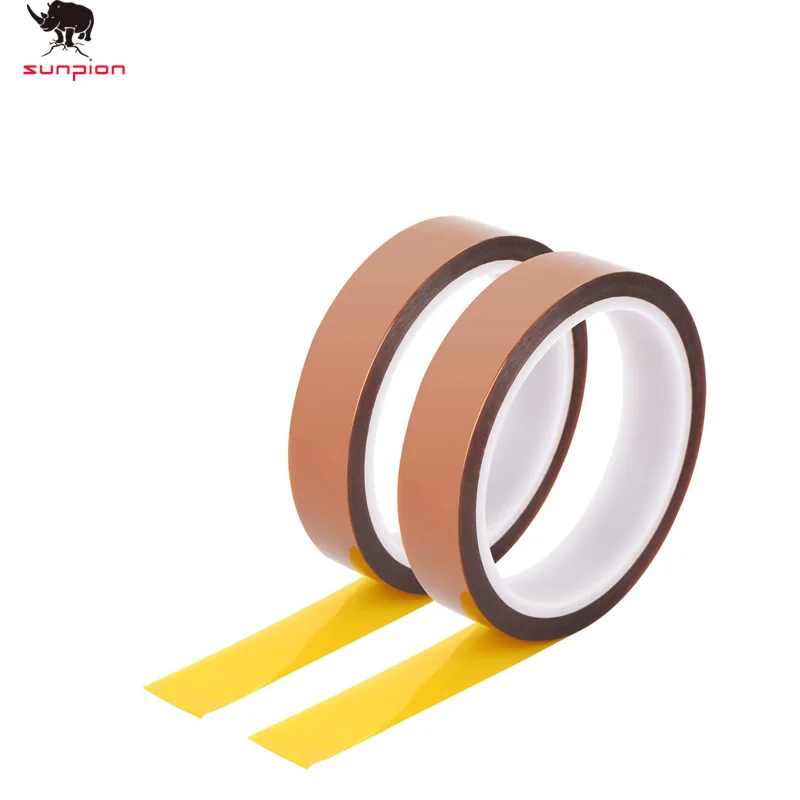 If you have a print with a large surface area stuck to the tape, it can be very challenging to remove it cleanly from the build plate.
Additionally, while you can clean glue and spray off of the build plate, you cannot clean it off of tape. Using alcohol to clean glue off of the tape ruins porousness, making it unusable for future prints.
When to Add More Adhesion to the Build Plate
The typical rule of thumb is the more surface area that is in contact with the plate, the greater the adhesion will be. This is a good rule to take into account when dealing with bed adhesion. Blue painter’s tape will already provide great adhesion even without any added prep work.
Large-Based Parts
If your printed part has a wide base that will be making a lot of contact with the build plate, it could be unwise to add more adhesion. It could become difficult to remove the part even without added adhesion.
Small-Based Parts
On the other hand, printed pieces that have small legs or slim bases will not attach as firmly to the tape. These pieces may need additional adhesion to keep it in place.
The best way to remove a 3D printed part from a taped bed is simply to wrench it loose with your hand. Do this carefully though, because applying too much force could snap your part.
You want to use this method if you can because it will preserve the quality of your tape, letting you use it again for future prints. However, if the adhesive of the tape is too strong, use these tricks to remove your printed parts safely.
Pry with a Putty Knife
After trying to wiggle the printed part free with your hand, the next course of action should be to use a putty knife to pry the piece off of the plate. If you can, slide the knife under a corner and work around the part, gently prying the piece free.
Remove the Tape
If that does not work, then the next step will be to remove the tape from the build plate. You can use your knife to make tears in the tape so you can remove it all.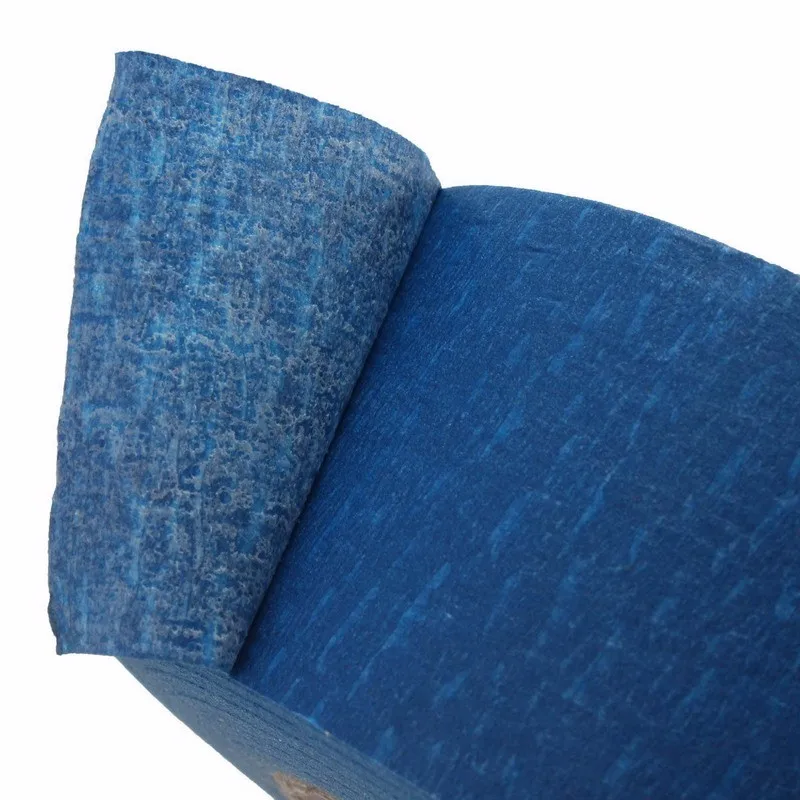
Spray Isopropyl Alcohol
It is possible that the tape will tear up everywhere except for underneath the part. In this instance, you will want to spray or rub a solution made up of alcohol and water around the base of the piece. Wait a few seconds and the printed part and the tape underneath should remove easily.
Adjust the Height of the Nozzle
If your printed pieces are so hard to remove that you need to resort to removing the tape and spraying alcohol after every print, you may just need to adjust the height of the nozzle. The filament might be taking too long to cool between leaving the nozzle and contacting the plate, so it is seeping too deeply into the pores of the tape.
Start by raising the distance between the nozzle and the build plate by .1mm for your next print. Then continue raising it by this increment until you find that your parts are easy to remove but still have enough adhesion to the bed to get the job done.
When to Remove Blue Tape from a 3D Printer Bed
If you treat your blue tape carefully, you can get several weeks of use (up to 20 prints) out of a single taping.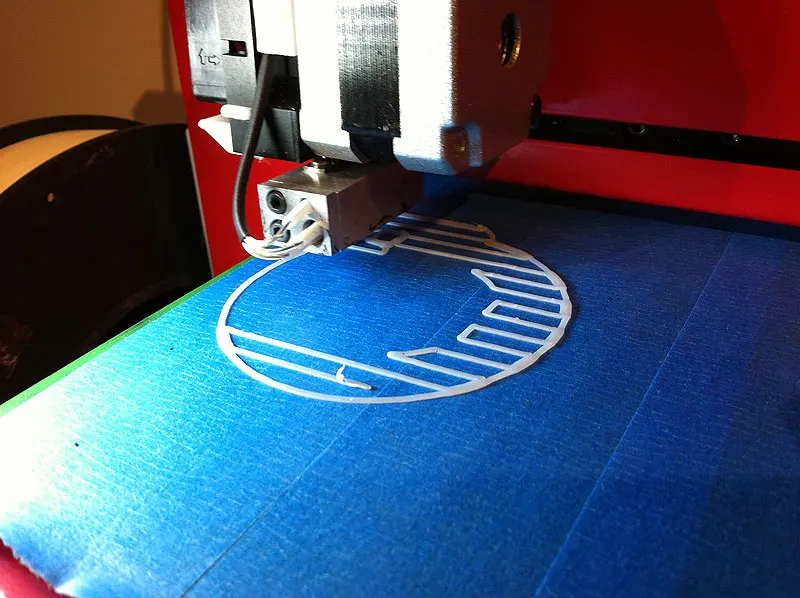 The more care you take with placing and maintaining your tape, the longer it will work for you.
If you need to apply alcohol, tear up the tape, or the filament stops sticking to it, you will have to apply a fresh layer of tape to the build plate.
How to Remove Blue Tape from a 3D Printer Bed
Once you decide that it is the proper time to remove the tape, the process is as simple as unsticking it from the plate. If you have trouble getting it off in spots where parts were built, spray some alcohol and wait ten seconds. It should come off cleanly after that.
Once you have removed all of the tape, you should clean the build plate with alcohol so that there is no adhesive residue left behind. Once you have a clean build plate, you are ready to retape it to begin your next print!
Common QuestionsDoes blue painter's tape work on heated beds?
Because blue painter’s tape is heat resistant, it is able to withstand the heat generated by a heated 3D printing bed.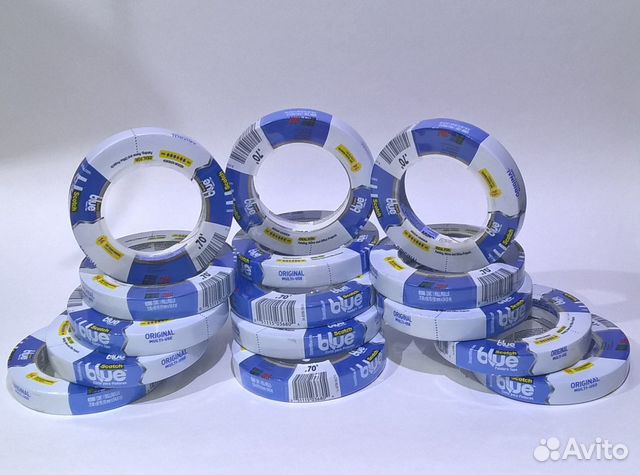 Quality painters tape will not come loose from the bed or become misshapen from the heat.
PLA and PETG are the best filaments for sticking to blue tape. They seep into the tape, allowing for grip to take place with no extra adhesives applied. ABS will stick to blue tape if you add some sort of extra adhesive.
Can masking tape be used for 3D printing?While masking tape can be used for 3D printing, it is not nearly as effective. Even though a roll of masking tape is similarly priced to blue tape, the rolls are typically slimmer so it takes more tape to cover the build plate.
Additionally, masking tape does not remove cleanly like painters tape does, meaning you will have to work a lot harder to clean your build plate once you are done with a layer of masking tape.
Is investing in blue tape to improve bed adhesion worth it?YES! Blue painter’s tape is an extremely cheap way to get bed adhesion for your 3D prints. With other products, you need to worry about potentially damaging your bed adhesives, but a build plate can be covered with blue tape for less than a dollar.
Blue tape is cheap, resilient, and simple to use. If you need a simple solution to your bed adhesion problems, blue tape could be the answer you are looking for.
Shop Blue Painter's Tape
3D Printing PET Tape - Gizmo Dorks
Gizmo Dorks
$13.99
Current stock: 0
Superior Polyester Film
Gizmo Dorks PET tape is the highest quality Polyester film available on the market. Polyester PET tape is used for 3D printing where a heated build platform is required. Most consumers use it for printing with ABS or HIPS, but PET tape can also be used for PLA or other exotic 3D filaments.
When printing with ABS, sometimes ABS filament does not adhere well to the build platform. Adding Polyester PET tape eliminates this problem by providing a smooth, flat, and clean surface to print on. The best part is that the Polyester tape can be reused many times.
ABS filament needs to be printed on a heated build plate, and PET tape transfers heat exceptionally well. PET Polyester film is an alternative to the widely used Kapton tape. Some users say that PET Polyester film is a better alternative because it has better adherence to ABS and lasts longer than Kapton.
Polyester PET Tape Specifications
- PET layer thickness – 1 mil
- Adhesive layer thickness – 1 mil
- Excellent adhesion even at high temperatures
- Silicone Adhesive
- Can be used with ABS, HIPS, PLA, T-glase, Wood, and other filament
- Color – Dark Green
PET Polyester tape has an upper temperature range of 392 F or 200 C. The tape has a Polyester PET film layer that measures 1 mil thick, and it also has a silicone adhesive layer which is another 1 mil thick.
Available Sizes
- Roll - 6.25 inches by 100 feet
- Roll - 9 inches by 100 feet
- Sheets (10 Pack) - 6.
 25 inches by 6.25 inches
 - Sheets (10 Pack) - 8 inches by 8 inches
- Sheets (10 Pack) - 9 inches by 12 inches
- Sheets (10 Pack) - 10 inches by 10 inches
- Sheets (10 Pack) - 12 inches by 12 inches
How to Apply PET Tape
PET tape is very easy to apply and even easier to remove. For application there are generally two methods. The first “dry” method is a simple application of the Polyester tape to the build plate by rolling the tape on. A more efficient method is referred to as the “wet” method where soapy water is first sprayed on to the build platform. The tape is placed directly on top of the water and can be easily repositioned. The Polyester PET tape can be lifted to squeegee out any air bubbles. The build plate should be allowed to dry for a few hours. Removal of Polyester tape will not leave any residue behind.
Your shopping cart
Account
Log in
Email Address *
Password *
Forgot password?
New Customer
Create an account with us and you'll be able to:
- Check out faster
- Save multiple shipping addresses
- Access your order history
- Track new orders
- Save items to your wish list
Create Account
Forgot Password
Fill in your email below to request a new password.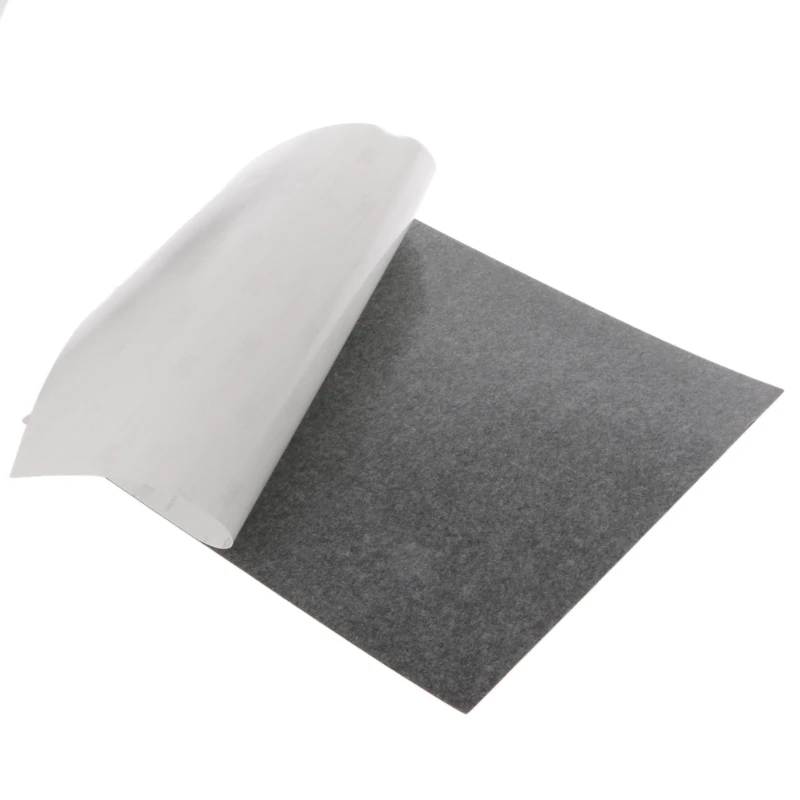 An email will be sent to the address below containing a link to verify your email address.
Email Address *
Techno Print 3D Company
This is our first review of the most popular and inexpensive 3D printers for 2020. The list will include the best-selling devices in two price ranges (up to 30 tr and up to 60 tr). Printers working with both plastic filament (FDM) and photopolymers (LCD/DLP) will be presented. This list will always be up to date, as it is periodically updated and supplemented. Read more→
The Chinese company Dazz3D announces the launch of the project on KickStarter and accepts pre-orders for Dazz3D Basic and Dazz3D Pro 3D printers. These revolutionary new devices are aimed at both the professional and amateur markets. Read more→
We all know that precise calibration of the 3D printer desktop is the foundation and the key to successful printing on any FDM printer. In this article we will talk about the main and most popular ways to level the "bed". So, as mentioned above, 3D printing without desktop calibration is impossible. We face this process Read more→
It's hard to go through a day today without hearing about 3D printing technology, which is bursting into our lives at an incredible speed. More and more people around the world are becoming addicted to 3D printing technology as it becomes more accessible and cheaper every day. Now almost anyone can afford to buy a 3D printer, and with the help of Read more→
The FormLabs Form 2 and Ultimaker 3 are perhaps the most popular 3D printers today, capable of high quality printing with incredible surface detail. Moreover, these two devices use completely different technologies, and therefore, there are a lot of differences between them. Many will say that it is wrong to compare them or Read more→
XYZprinting, best known for its daVinci line of desktop 3D printers, is bringing five new devices to the professional and industrial environment. One will use laser sintering technology, the second full color inkjet printing and three DLP machines. First of all, the novelties will be of interest to dentists and jewelers. Read more→
Cleaning the nozzle of a 3D printer is a fairly common process that any user of such a device has to deal with. This is not at all a complicated procedure that anyone can handle. You can complete this task in 15 minutes, using only handy tools and accessories. Read more→
Acetone steam polishing of ABS plastic is a process for smoothing the surface of 3D printed models. The result of this treatment makes your printed products look as if they were made by a professional mold casting method. If you want to understand how this is done correctly, then read this article. Aceto Read more→
Creality 3DPrintMill CR-30: Creality
3D printersfrom Creality
Starting price 77 900 ₽ - starting price 77 900 ₽
Starting price
77 900 ₽
77 900 ₽ - 77 900 ₽
Current price 77 900 ₽
| /
Savings 0 ₽ Savings -77.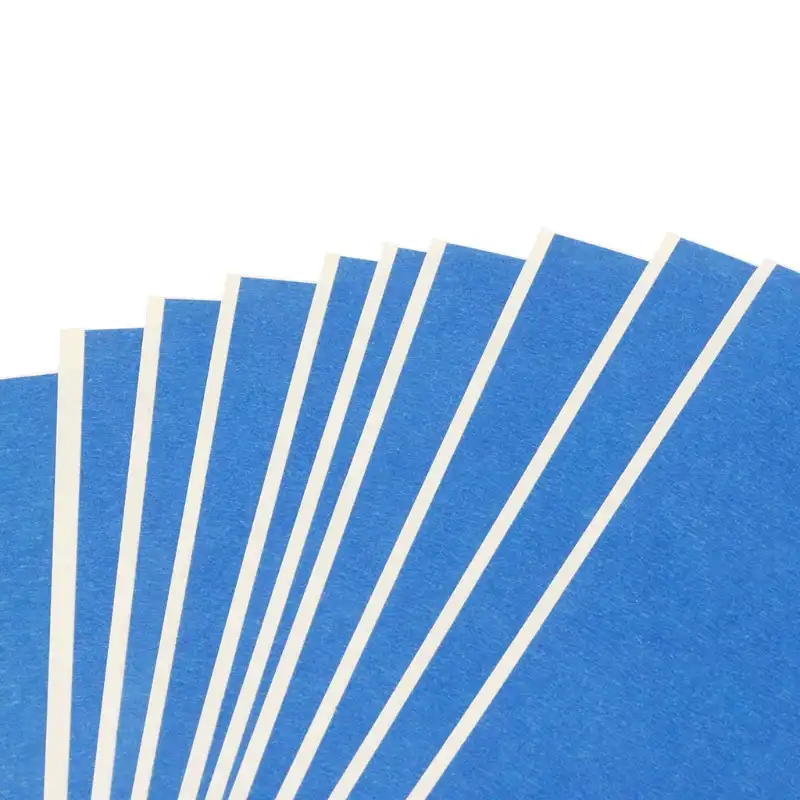 900 ₽
900 ₽
Available on order
Creality CR-30 is Creality's first Z-axis endless printing model.
Dimensions