Tape 3d printer
Blue Tape for 3D Printing: The Complete Guide [2021]
3D Printing has rapidly grown in popularity and accessibility. What used to only be possible in advanced laboratories is now possible in the comfort of the home!
Whatever your purpose for 3D printing, whether professionally or just for fun, there are many components that play into the quality of the final product. One of the most important is bed adhesion.
Here is the ultimate guide to 3D printing with blue painters tape.
3D Printing Bed AdhesionWhat is 3D printing bed adhesion?Bed adhesion in 3D printing is how well the printed plastic parts are able to stick to the build plate. Good bed adhesion means that the plastic will not be easily removed or nudged, while poor bed adhesion means that it might move around during the printing process.
Essentially, as the filament hardens on the build plate, bed adhesion is what keeps everything in place. If the plastic pieces become top-heavy or get bumped, adhesion to the build plate is what keeps everything in place.
Bed adhesion is an important part of the 3D printing process. Luckily, there are special products designed to create the perfect amount of bed adhesion. Here are the reasons why bed adhesion is so crucial in 3D printing.
Not enough adhesion
If the 3D printed parts are loose enough to move around during the printing process, it can ruin the entire build. 3D printing requires exact measurements, so any sort of movement can misalign the entire build.
Too much adhesion
Alternatively, if the build plate has too much adhesion, it can be difficult to remove the plastic components. Any particularly thin pieces can potentially become damaged by the greater force required to remove them from the adhesion.
What kind of adhesives are used for 3D printing?Options for 3D Printing Bed Adhesion
PEI Sheets
PEI sheets, or Polyetherimide sheets, are adhesive plastic sheets designed to withstand the cycles of heat in 3D printing. On one side, they adhere to the build plate, and on the other they allow you to build your 3D prints.
While are supposed to be reusable for up to a month, the soft plastic can be dented and damaged very easily. A build plate that isn’t perfectly level can ruin a print. Investing in a PEI sheet can be risky because if it is damaged during an early print, the sheet can become unusable.
Adhesive Spray
Another option for bed adhesion is adhesive sprays. You simply spray the adhesive onto the plate and start printing. This route is easy and allows you to maintain a level bed. Plus, cleaning up is simple too, as most sprays are soluble in water.
Even though this is certainly a convenient method of getting your prints to stick, it is not the most effective. Getting an even stickiness to the bed with a spray can be difficult, and often it can be hard to get the bed to be sticky enough.
Glue
Using a glue stick is a way to keep your prints in place during 3D printing.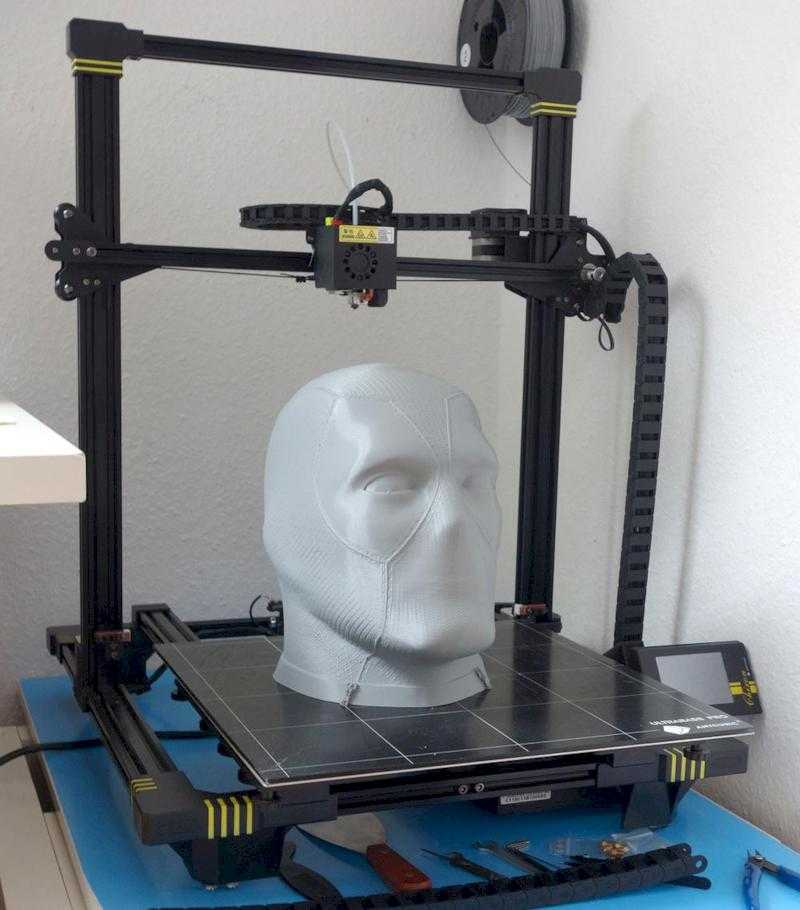 Special glue designed for 3D printing is available at a relatively low cost. All you have to do is rub the glue stick where you are going to be printing, and the printer will take care of the rest.
However, like PEI sheets, they can create an unlevel bed. If too much glue builds up in one spot, the print can become crooked. Also, clean up can be kind of a pain because the glue will stick to the plate and the print.
Blue Painter’s Tape
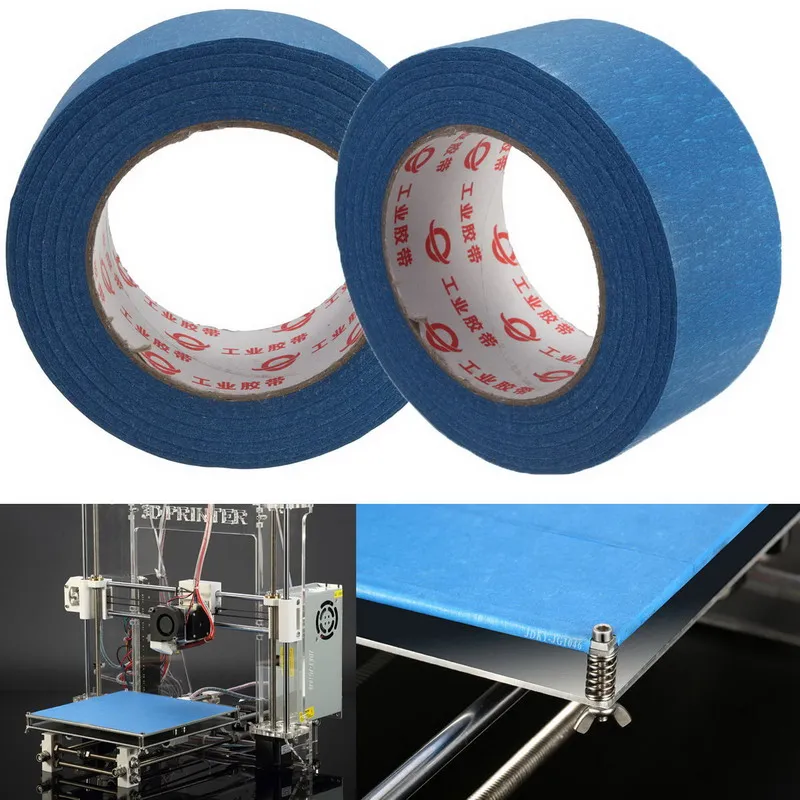
Specialized blue painter’s tape is a great option for creating bed adhesion. The porous nature of the blue tape allows PLA nylon, and other filaments to stick directly to the back of the tape. Painter’s tape is also heat resistant so it can withstand heated beds and the heat of the filament.
While it does take some set up, the price of the supplies and the quality of the printed parts are unmatched.
How to Use Blue Tape for 3D PrintingClean the Surface
Before you start applying the tape, you should clean your printing bed of all residue.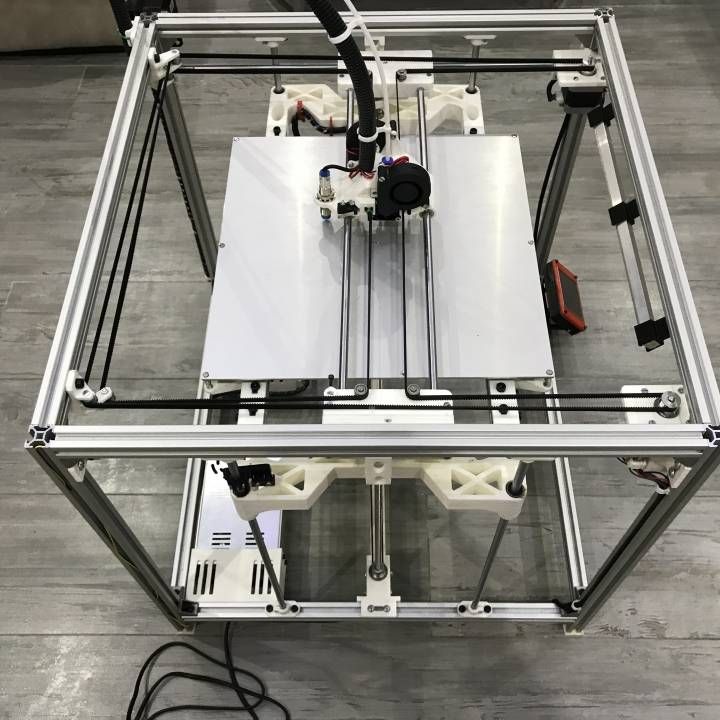 This lets the tape stick and helps to keep your plate level.
Taping a 3D Printer Bed
While it will take a few minutes to properly tape your build plate, the prep work is not too difficult and can quickly be mastered.
With the adhesive side down, lay the tape down side by side. You want to be as precise as possible with this step so that there are no gaps that could let the filament through, but you also do not want any overlap of the tape which would cause the surface to be uneven.
Tape Diagonally
A key tip for taping a build plate is to lay the pieces of tape diagonally. When laying out the pieces side by side, start from one corner at a forty-five degree angle and work your way over.
This is helpful because it keeps the tape from warping with the print. If the straight edges of the print line up with the straight edges of the tape, the tape can lift off the plate as the filament cools.
Remove Bubbles with a Scraper
As you lay the pieces of tape down, be sure that there are no bubbles underneath the tape.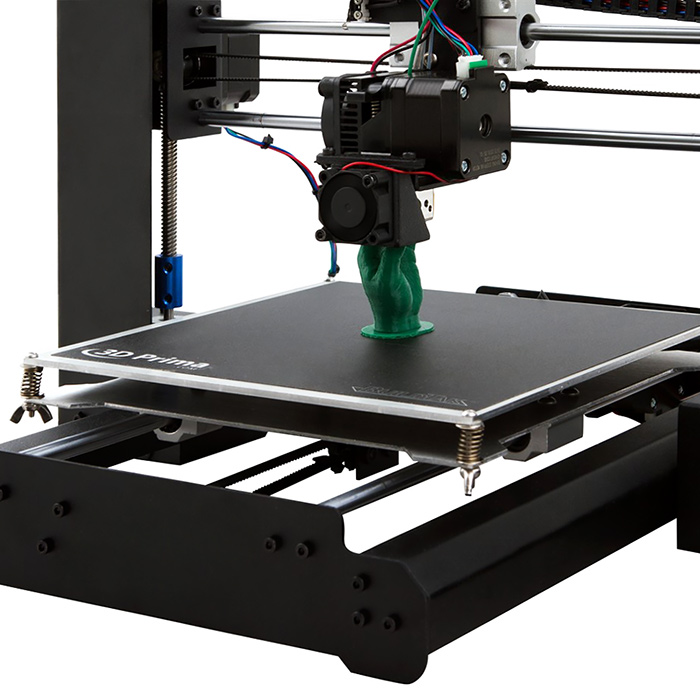 To ensure this, run a scraper over every piece as you place it.
You want to be gentle so that you do not damage or tear the tape, but you must be firm enough to remove any imperfections. If there is a piece of tape that becomes unusable, tear it off and try again; it is better to waste one piece of tape than an entire print!
Trim the Tape
When sizing up the strip of tape, pull it so it is longer than the width of the plate. Then when placing it, be sure to leave plenty of slack on either side of the plate. With a sharp razor, carefully slice the ends of the tape so it is flush with the sides of the plate.
If you don’t have a razor, it is also an option to wrap the excess tape underneath the bottom of the plate. However, this can affect the leveling of the build plate.
Avoid Touching the Top of the Tape
During this whole process of taping your build plate, try to touch the top of the tape as little as possible.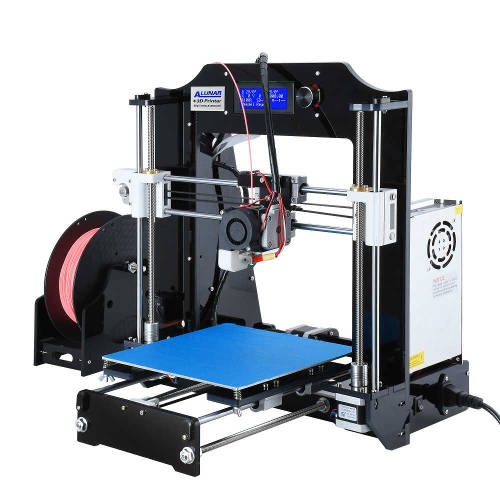 The oils in your fingers can affect the porousness of the tape.
If you are trying to print onto tape that you have been touching a lot, the oils from your hands may keep your parts from adhering to the tape. It is not so impactful that you need to wear gloves to place the tape, but just keep your contact to the tape at a minimum.
Preparing the Surface of the Tape
Once you have your blue painter’s tape on the build plate, there are various ways you can prepare the surface of your tape. Depending on what kind of adhesion you are looking for, you can use different methods for your own work.
You want to find the best balance between adhesion and clean removals that you can. If it has too much grip, the parts will not be easily removed. This could rip the tape or damage the parts. Too little adhesion will keep the printed parts from staying in place.
Unprepped Blue Tape
Leaving the blue tape untreated is a viable way to get adhesion. The porous nature of the tape allows the filament to attach itself, keeping your printed parts in place.
This method of adhesion should give you extremely clean removals. However, for prints that are top-heavy or unbalanced, you may need more adhesion to keep them steady and attached.
Scuffed Blue Tape
A simple trick you can use to add more adhesion to your blue tape is to scuff up the surface. Just take a dry sponge and rub-down the spot that you want to add adhesion to. By doing this, you increase the porousness of the tape, allowing the filament to stick to it even more.
This increases the adhesion of the tape, but it still allows for very clean removal of printed parts. The downside is, it will limit the lifespan of your tape. If you continue scuffing the same spot print after print, the tape will become worn down more quickly and will stop giving you quality results.
Glue on Blue Tape
Another option to greatly increase adhesion is combining blue tape with other methods of adhesion. Spraying hairspray or adhesive spray on top of the tape can give it more grab, and adding glue to the tape can increase it even more!
However, adding too much adhesive can cause problems. If you have a print with a large surface area stuck to the tape, it can be very challenging to remove it cleanly from the build plate.
Additionally, while you can clean glue and spray off of the build plate, you cannot clean it off of tape. Using alcohol to clean glue off of the tape ruins porousness, making it unusable for future prints.
When to Add More Adhesion to the Build Plate
The typical rule of thumb is the more surface area that is in contact with the plate, the greater the adhesion will be. This is a good rule to take into account when dealing with bed adhesion. Blue painter’s tape will already provide great adhesion even without any added prep work.
Large-Based Parts
If your printed part has a wide base that will be making a lot of contact with the build plate, it could be unwise to add more adhesion. It could become difficult to remove the part even without added adhesion.
Small-Based Parts
On the other hand, printed pieces that have small legs or slim bases will not attach as firmly to the tape.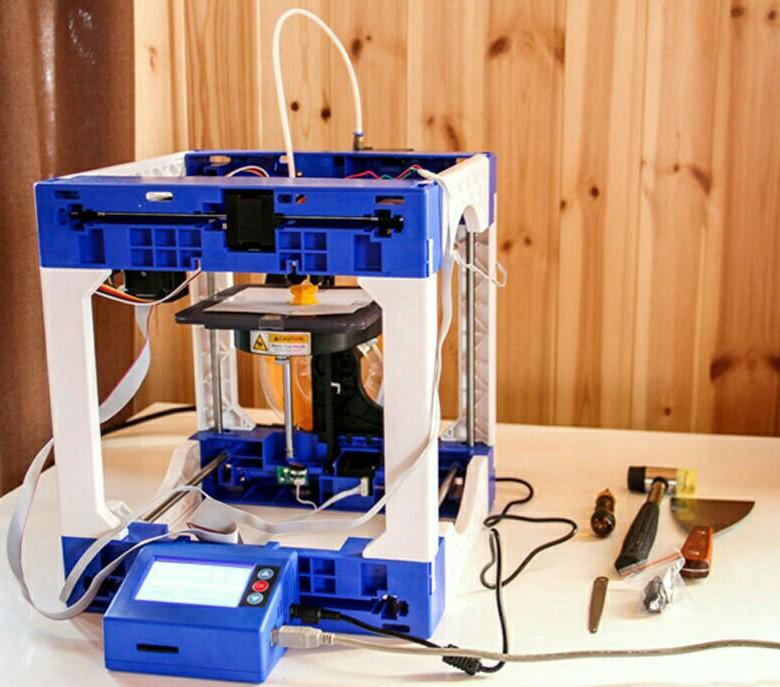 These pieces may need additional adhesion to keep it in place.
The best way to remove a 3D printed part from a taped bed is simply to wrench it loose with your hand. Do this carefully though, because applying too much force could snap your part.
You want to use this method if you can because it will preserve the quality of your tape, letting you use it again for future prints. However, if the adhesive of the tape is too strong, use these tricks to remove your printed parts safely.
Pry with a Putty Knife
After trying to wiggle the printed part free with your hand, the next course of action should be to use a putty knife to pry the piece off of the plate. If you can, slide the knife under a corner and work around the part, gently prying the piece free.
Remove the Tape
If that does not work, then the next step will be to remove the tape from the build plate. You can use your knife to make tears in the tape so you can remove it all.
Spray Isopropyl Alcohol
It is possible that the tape will tear up everywhere except for underneath the part. In this instance, you will want to spray or rub a solution made up of alcohol and water around the base of the piece. Wait a few seconds and the printed part and the tape underneath should remove easily.
Adjust the Height of the Nozzle
If your printed pieces are so hard to remove that you need to resort to removing the tape and spraying alcohol after every print, you may just need to adjust the height of the nozzle. The filament might be taking too long to cool between leaving the nozzle and contacting the plate, so it is seeping too deeply into the pores of the tape.
Start by raising the distance between the nozzle and the build plate by .1mm for your next print. Then continue raising it by this increment until you find that your parts are easy to remove but still have enough adhesion to the bed to get the job done.
When to Remove Blue Tape from a 3D Printer Bed
If you treat your blue tape carefully, you can get several weeks of use (up to 20 prints) out of a single taping.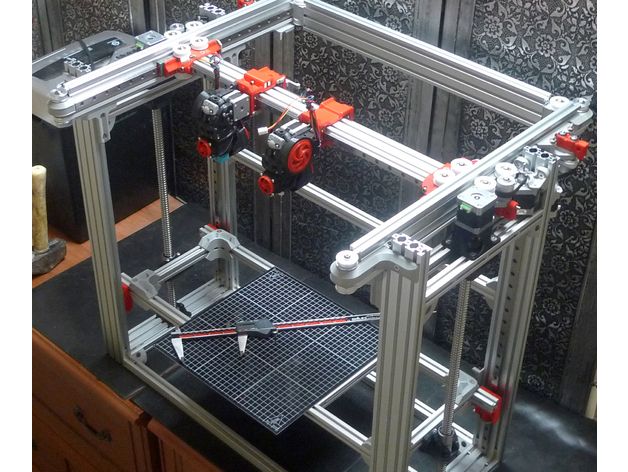 The more care you take with placing and maintaining your tape, the longer it will work for you.
If you need to apply alcohol, tear up the tape, or the filament stops sticking to it, you will have to apply a fresh layer of tape to the build plate.
How to Remove Blue Tape from a 3D Printer Bed
Once you decide that it is the proper time to remove the tape, the process is as simple as unsticking it from the plate. If you have trouble getting it off in spots where parts were built, spray some alcohol and wait ten seconds. It should come off cleanly after that.
Once you have removed all of the tape, you should clean the build plate with alcohol so that there is no adhesive residue left behind. Once you have a clean build plate, you are ready to retape it to begin your next print!
Common QuestionsDoes blue painter's tape work on heated beds?
Because blue painter’s tape is heat resistant, it is able to withstand the heat generated by a heated 3D printing bed. Quality painters tape will not come loose from the bed or become misshapen from the heat.
PLA and PETG are the best filaments for sticking to blue tape. They seep into the tape, allowing for grip to take place with no extra adhesives applied. ABS will stick to blue tape if you add some sort of extra adhesive.
Can masking tape be used for 3D printing?While masking tape can be used for 3D printing, it is not nearly as effective. Even though a roll of masking tape is similarly priced to blue tape, the rolls are typically slimmer so it takes more tape to cover the build plate.
Additionally, masking tape does not remove cleanly like painters tape does, meaning you will have to work a lot harder to clean your build plate once you are done with a layer of masking tape.
Is investing in blue tape to improve bed adhesion worth it?YES! Blue painter’s tape is an extremely cheap way to get bed adhesion for your 3D prints. With other products, you need to worry about potentially damaging your bed adhesives, but a build plate can be covered with blue tape for less than a dollar.
Blue tape is cheap, resilient, and simple to use. If you need a simple solution to your bed adhesion problems, blue tape could be the answer you are looking for.
Shop Blue Painter's Tape
3D Printer Tape – Which Adhesive Tape Should You Use?
3D Insider is ad supported and earns money from clicks, commissions from sales, and other ways.
Getting perfect bed adhesion is one of the foundations of creating a high-quality 3D printer product. Good bed adhesion does not just get the print to stick to the bed – it must also prevent issues like warping and layer shifting. This is considerably easier said than done.
A go-to material to achieve this purpose is simple adhesive tape. However, not just any adhesive tape will do. In this article, we’ll take a look at the best types of tape to use in 3D printing, as well as the merits and drawbacks of each option.
Why use tape?
There are several different options for enhancing bed adhesion in 3D printers, but tape remains one of the more popular. This can be easily attributed to one characteristic – tape is very inexpensive but offers good reliability. Even if you used a roll of tape that costs less than $5, you can likely get your 3D print to stick as long as you use the proper techniques.
The tape also has the added benefit of being easy to remove. This allows for gentler handling of the finished 3D print during removal. You can simply allow the tape to peel off the print bed, eliminating the need to lift the print off with a scraper. If you’re planning to print a very delicate design, then
The application of the tape, however, is another matter entirely. Applying tape to a print bed is a slow and deliberate process. The tape strips have to be perfectly parallel with each other and their edges have to coincide but not overlap. Experience makes this step easier but not exactly less tedious.
Blue painters’ tape
The most common type used in 3D printing is blue painters’ tape. Take note that painters’ tape does not necessarily have to be blue. The blue color became popular because this was the color of the original ScotchBlue Multi-Surface Painters’ Tape. However, you can also find ‘generic’ painters’ tape which can be white, yellow, or green. The color does not matter, but we recommend getting one from a reputable brand.
The special characteristic of painters’ tape is that it can be removed without leaving any residue. It is a little easier to remove than masking tape. This can be both a good and a bad thing. It makes removal of finished prints easier but can also result in it coming off mid-print. If your layer of painters’ tape is getting removed too easily, then it’s probably a low-quality roll.
Blue painters’ tape is best used for prints that do not a heated bed. The tape is primarily made with paper and is not exactly heat-stable. It’s an inexpensive and easily available option for printing with PLA or TPU.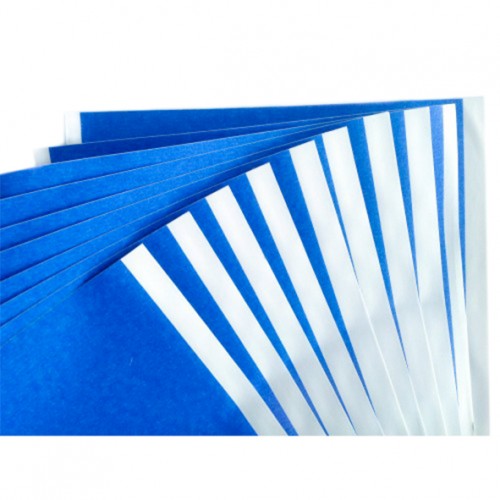
Kapton tape
Kapton tape (or more technically, polyimide tape) is commonly used to wrap around electrical cables and wires. Aside from providing some electrical insulation, Kapton tape is very durable and has good thermal stability. It is these same characteristics that make Kapton tape an excellent choice for 3D printing.
When printing on a heated bed, Kapton tape is considered to be one of the best options for bed adhesion. Its heat stability means that its adhesive does not break down at elevated temperatures and is not transferred from the tape to the print bed.
Kapton is slightly less flexible than blue painters’ tape. This makes the application and removal of Kapton tape more difficult. Kapton tape is prone to trapped bubbles when applied, although this can be avoided with some experience and by simply taking it slow. It’s also harder to remove, so you’re better off just taking them off in separate fragments as they rip off.
Another common strategy is to apply some hair spray on top of a layer of Kapton tape. This improves the adhesion of the print to the tape. This might be a necessary modification in some cases, given how smooth the surface of Kapton tape is.
Kapton tape is about twice as expensive as blue painters’ tape. Given how their suitable applications do not overlap, it is common to stock both blue painters’ tape and Kapton tape if you use 3D printers heavily.
Polyester tape
Not as common as the first two options is polyester film or PET tape. These can be sold by brands that specialize in 3D printing accessories. The major strength of polyester tape is that it is extremely heat-stable, making it the best choice for printing on a heated bed. The tape can withstand temperatures of up to 200 C without the adhesive breaking down. Removal of the tape is easy even when exposed to these temperatures.
A unique trait of polyester tape is that you can apply it to a build plate while it is still wet with a soap and water mixture. This gives more allowance for the tape to be repositioned and adjusted to remove air bubbles. You will have to wait a few hours for the entire build plate to completely dry before starting with the print.
Polyester tape is very strong and has a better likelihood of not tearing apart after just a single use. It’s a good option if you don’t like having to replace the tape layer in your build plate after every project. This also somewhat justifies the price point of polyester tape. It is a little more expensive than Kapton tape and easily around three times more expensive than blue painters’ tape.
Polyester or PET tape is still an unconventional choice for 3D printing, mostly because it is not as easily accessible. If you can get your hands on one, we suggest giving it a try. With good results, the polyester tape may just completely replace the Kapton tape in your inventory.
Best practices on using tape for 3D printing
As simple as they may seem, there is considerable technique needed to make adhesive tape work for your print bed. Here are a few tips in mind to avoid the common problem of 3D printing tape.
Clean the print bed before use
Not even the best tape can stick to your print bed if it has not been cleaned properly. Make sure that your print bed is free from any dirt or dust before applying tape. Be careful not to leave fingerprints, as well – the oil from your fingers can make tape come off easily.
If your 3D printer has a removable print bed, then you can wash it with some soap and water and wipe it dry with a clean cloth. Applying some acetone is also an option, especially if you need to remove any adhesive residue.
Apply tape diagonally
Tape can fail when the motion of the print head is parallel to the direction of application of the tape. The problem is that the print head can move in multiple directions. The best way to neutralize this problem is to apply the tape in strips that are oriented diagonally. It’s best to start this with the longest diagonal distance between the corners of the print bed.
Apply the strips perfectly every time
Do not underestimate the task of laying down tape on the print bed. This is a task that is best done slowly and carefully. You will want to avoid getting any bubbles trapped between the print bed and the tape. The tape strips also have to be placed perfectly side-by-side with each other. They should have no gaps and should not overlap, either.
The keyword here is perfection. Anything less than perfect and your print runs the risk of suffering from poor bed adhesion because of an uneven printing surface. This can be enough to completely ruin a print.
If you find a strip out of place during application, it is usually better to take it off and start over again. This is a better use of time than going ahead with the print just to have it fail and still end up reapplying the tape layer. Try to get the tape layer perfectly every time – it will get easier the more you do it.
Final thoughts
Adhesive tape is one of the most basic tools you can have in 3D printing and also one of the most essential. Our recommendation is not to cheap out on your tapes and buy them from fairly popular or reputable brands.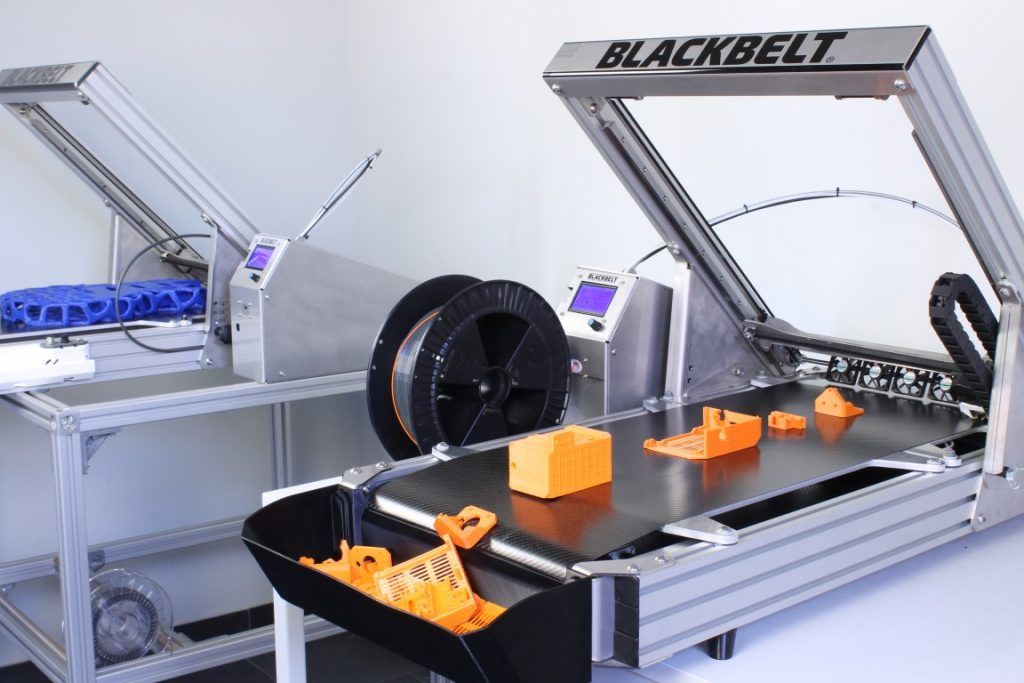 You are going to save yourself from a lot of headaches if you can get your prints to stick to the build platform.
Warning; 3D printers should never be left unattended. They can pose a firesafety hazard.
90,000 conveyor 3D printer from Creality enters the KickstarterNews
Subscribe to
Subscribe
Z. The desktop additive system can be used for both oversized 3D printing and small-scale additive manufacturing.
This 3D printer has already been featured in several reviews under the designation CR-30. In the additive community, the idea of conveyor 3D printers has been floating around for a long time, at least twelve years, but commercial versions have only recently begun to appear: Blackbelt in 2017, Powerbelt Zero in 2019, from the open source versions, the White Knight project can be mentioned. Another promising option called Printrbelt was never brought to market due to the untimely demise of Printrbot.
It was only a matter of time before an analogue appeared in the assortment of leading Chinese manufacturers of 3D printers, and already on November 18, everyone will be able to apply for Creality's system, called 3DPrintMill. The development of our own version of a conveyor 3D printer was promoted by Naomi Wu (a.k.a. SexyCyborg), a DIYer familiar to our community members, who has been collaborating with Creality for a long time. Perhaps the main factor was the cost: the price range among the above offers is wide, reaching up to €12,500, and Creality offers a very affordable option: early Kickstarter campaign participants can place orders for as low as $538.
As you can see in the illustrations, the distinguishing features of these 3D printers are the guides mounted at an angle of 45 ° to the surface along the X and Y axes, as well as the conveyor belt. You can get confused with the coordinate system, but imagine that a slightly skewed 3D printer is lying on its back - then the CoreXY kinematics are mounted on the portal with the appropriate coordinates, and the belt moves along the Z axis. The tilt of the portal, coupled with the translational movement of the belt, provides the ability to build parts in height without the need to rollback the entire model. In other words, this scheme allows you to print parts of theoretically unlimited length - just remember to attach the roller table and open the window.
Alternatively, this 3D printer can be used for in-line production, printing one part after another and allowing the models to separate themselves from the tape at the end and fall into a container. From an economic point of view, serial 3D printing will be justified as long as we are talking about relatively small batches of products, measured in hundreds or thousands of pieces.
Polylactide, PET-G, and TPU are listed as consumables, but there is a heated platform in the work area under the belt. The wear-resistant conveyor belt is made on a nylon base, apparently with the addition of carbon fibers. The system is calibrated at the factory, equipped with quiet drivers, a massive airflow with three fans is installed on the head. Additional features include a filament sensor, save and resume function, plus a card capture reader for offline operation. Frame made of aluminum profiles with V-shaped rollers and guides reinforced with corners. Given the unusual coordinate system, the preparation of machine code requires special software - for this purpose, the company offers a specialized slicer CrealityBelt.
Specifications of 3DPrintMill 3D Printer (CR-30):
- Print technology: FDM
- Number of extruders: 1
- Construction area size: 200x170x∞ mm
- Printing accuracy: ±0.1 mm
- Nozzle diameter: 0.4 mm
- Layer thickness: 0.1-0.4 mm
- Hot end temperature: ≤240°C
- Heating temperature: ≤100°C
- Power consumption: 350W
- Power supply: AC 100-120V / 200-240V, DC 24V
- Consumables: PLA, PET-G, TPU
- Filament diameter: 1.75 mm
- Interface language: English
- Data transfer: USB, SD card
- Software: CrealityBelt Slicer
- Dimensions: 535x656x410 mm
- Weight: 16.
 5 kg (net), 20.5 kg (gross)
The start of accepting orders is scheduled for November 18, 19:00 Moscow time.
You can subscribe to the notification about the start of the campaign here.
FFF fdm CREALITY 3DPrintMill CR-30 conveyor
Follow author
Follow
Don't want
11
More interesting articles
5
Subscribe to the author
Subscribe
Don't want
The training course "Additive Manufacturing" was created by the Moscow State Technological University. ..
..
Read more
four
Follow the author
Subscribe
Don't want
ETH Zurich-based startup NematX announces...
Read more
sarkazm
Loading
04/01/2016
39919
68
Subscribe to the author
Subscribe
Don't want
News from the world of printing in a short line
FDplast announced the release of a free...
Read more
Creality 3DPrintMill CR-30: Creality 3D Printers
from Creality
Starting price 77 900 ₽ - starting price 77 900 ₽
Starting price
77 900 ₽
77 900 ₽ - 77 900 ₽
Current price 77 900 ₽
| /
Savings 0 ₽ Savings -77. 900 ₽
900 ₽
Available on order
Creality CR-30 is Creality's first Z-axis endless printing model.
Dimensions
